Project 1
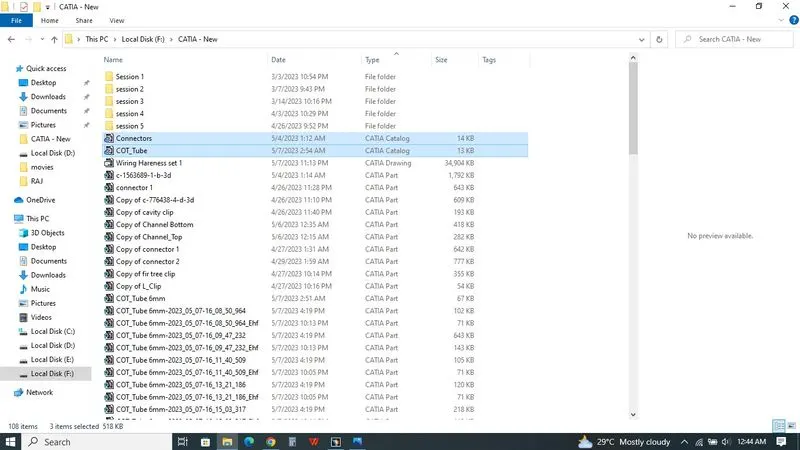
Files were downloaded from the source. All the parts opened at CATIA and The Axis, Point, Plane created as per the Part. Then the Products defined based on product like Connectors Connecting point, Bundle connection point, etc., at Electrical Part design workbech. Catalogue for created for Connectors and Protective Coverings of Cot_tubes.
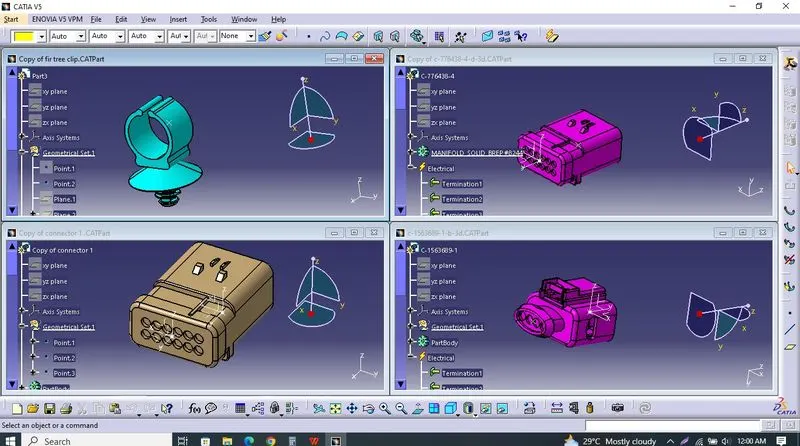
Engine Part opened at Part Design Workbench. Then it was imported into New Product workbench and the All connectors were imported into the product.Some Connecctors were placed at corresponding position by Snap, Manipulation at Mechanical Assembly Workbench. Some Connectors and for the Wirness Bundle some FIR Tree Clip also Placed at the required position.
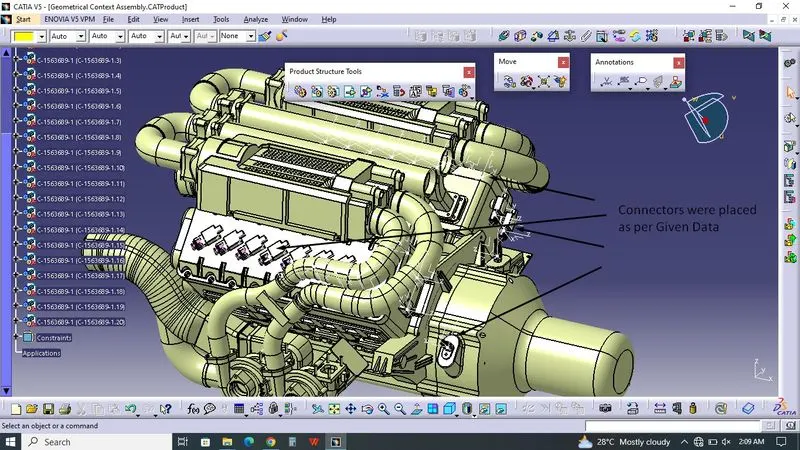
Then the Assembly switched to Electrical Hareness Assembly, Product was intially defined Geometrical Bundle. Multibranchable wiring Hareness set 1 was created between the Front position and middle position of Connectors with 5mm Wiring Hareness with help of FIR Tree Clips in Middle.
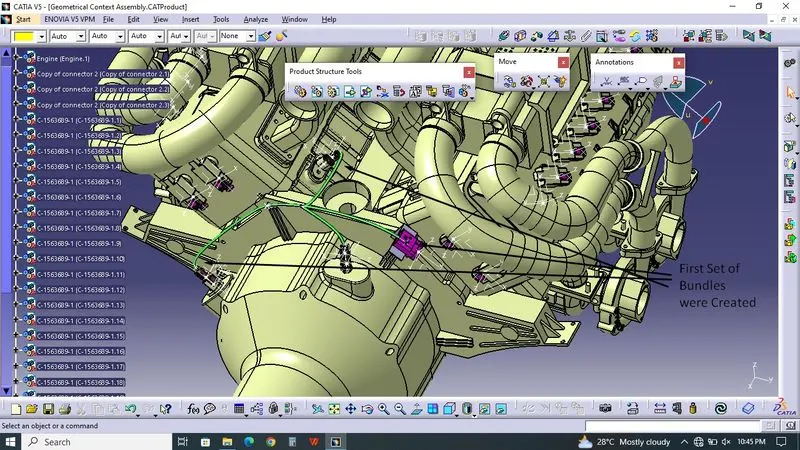
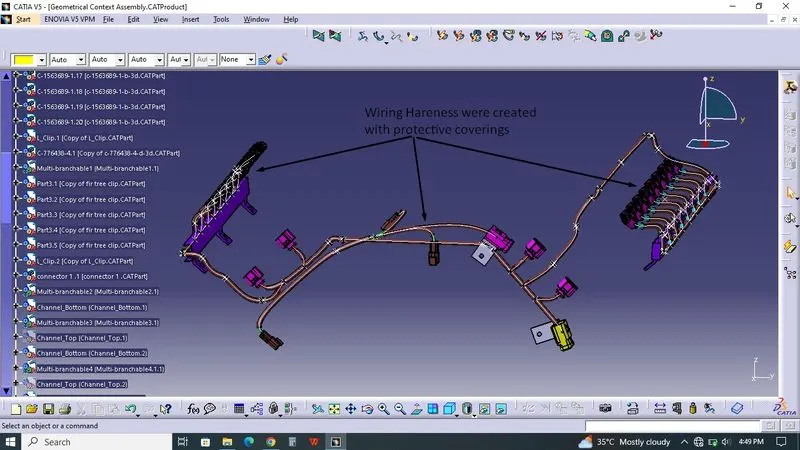
Wiring Hareness Set 2 created between the Top of Engine Connectors & Side Wall portion of Engine Valve. Previously, Guiding Channel was positioned by Mechanical Assembly Workbench. At Electrical Hareness Assembly, Wiring Hareness Bundle created by the help of FIR Tree Clips. After that, COT_Tube added the wiring hareness bundles.
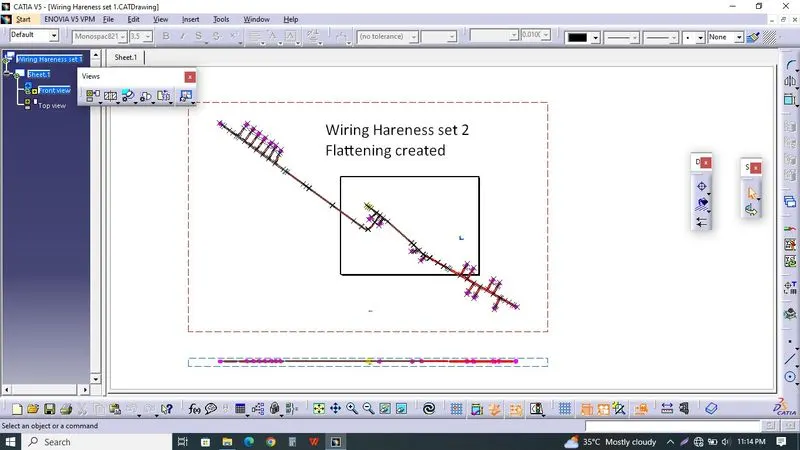
At Electrical Hareness Flattening Workbench, Wiring Hareness Set 1 was imported by using extract command. Before that, Hareness Parameters was set. Wiring Hareness Bundle bended at radius for the Clear View. Wiring Hareness has Flattened. At Drafting workbench, Flattened Wire Hareness 2D Created. At Drafting, Selecting the View and Properties was edited where the 3D colours, Hidden lines, 3D Wireframe and required option were enabled.
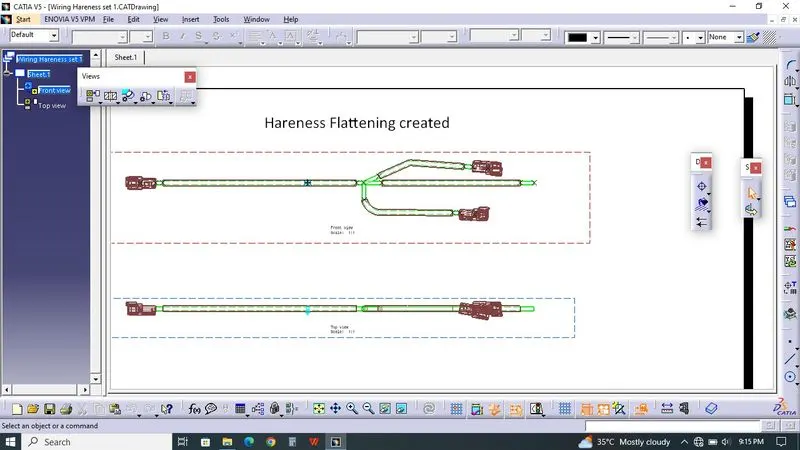
And then,Wiring Hareness Set 2 was imported by using extract command. Before that, Hareness Parameters was set. Wiring Hareness Bundle bended at radius for the Clear View. Wiring Hareness has Flattened. At Drafting workbench, Flattened Wire Hareness 2D Created. At Drafting, Selecting the View and Properties was edited where the 3D colours, Hidden lines, 3D Wireframe and required option were enabled.