3D Hexa Meshing using Hypermesh
OBJECTIVE:
1. To check the material properties of the rail component and calculate the speed of sound in steel rail using the given .rad file
2. The length of the rail is about 1000 mm. To calculate the time takes for a shock wave to travel from one end of the rail to the other.
3.Tp calculate the time for sound to travel length of rail
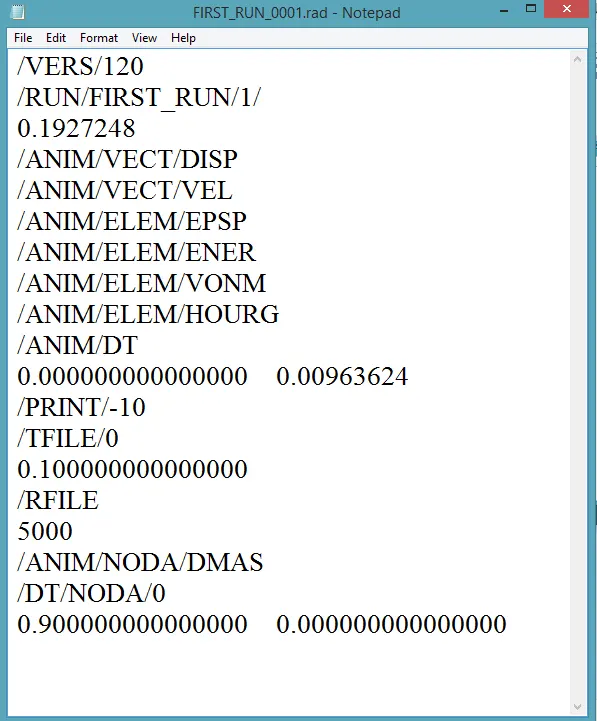
4. To edit the engine file so that the stress wave can be monitored, moving from one end of the rail to the other during impact -this will require a termination time equal to the time it takes for the sound to travel the length of the rail(set on/RUN card)
5.To set the frequency of animation output to a time that will give 20 animation steps(/ANIM/DT)
6.Change /print -10.
7.3d meshing tetra mesh and hex mesh for the given models using the quality criterias given below
- Target tet size=5mm,hex size=10mm,tet collapse=0.15
PROCEDURE:
1. From the given .rad file,
Youngs modulus of the material E=210 GPa
Density of the material = 0.0078 g/mm^3
Speed of sound is given by the formula below:

Speed of sound = 5188.745 m/s (or) 5188.745 mm/ms
2. Length of rail = 1000 mm
Time taken for shockwave to propagate = Length of rail/Speed of sound
Time taken for shockwave to propagate = 0.1927248 ms
3. Time for sound to travel length of rail = 0.1927248 ms
5. Frequency = Time taken for propagation/Time steps = 0.1927248/20 = 0.009636 ms
4, 6. Editing the engine so that stress wave can be monitored
7. To perform 3D meshing using the given quality criteria
7.1 3D Hex mesh for Arm bracket
7.1.1 Open the given model using Hypermesh
7.1.2 Hide all the surfaces and wireframes except base and make this as current component.
7.1.3 Go to 2D>>automesh>>element size: 10mm>>element type: quads>>select upper surface>>mesh. The meshed surface is shown in the figure below.
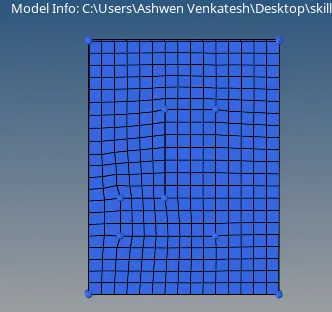
7.1.4 Go to 3D>>Line Drag>>Select elements>>Line along which elements has to be dragged>>give density>>drag. This is shown in the figure below.

7.1.5 Hide all the surfaces and wireframes except arm curve (make this as current component) in components view tab.
7.1.6 To use the spin option for arm bracket, the centre of spin must be defined. Go to nodes>>arc centre>>select the curve>>create. This is shown in the figure below.
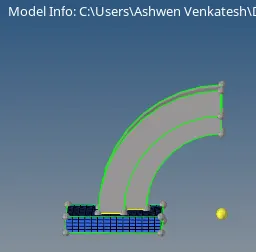
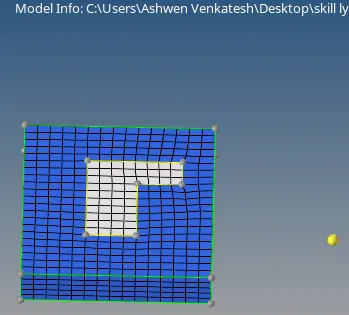
7.1.7 Go to 3D>>spin>>select the following elements shown below>>Angle 90 degrees>>give desired density>>mesh. This is shown in the figures below.

7.1.8 Hide all the surfaces and wireframes except arm straight(make this as current component) in components view tab.
7.1.9 Go to the outside surface and 2D mesh the surface by matching the exact number of elements at the end of arm curve. This is shown in the figure below.
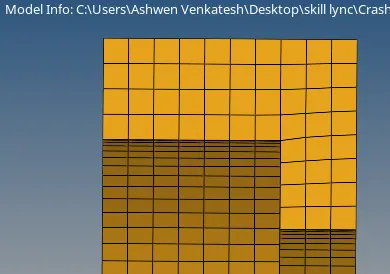
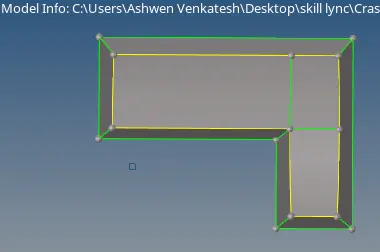
7.1.10 Go to 3D>>linear solid>>select elements on either side>>mention the density>>mesh. This is shown in the figure below.

7.1.11 Hide all the surfaces and wireframes except boss (make this as current component) in components view tab.
7.1.12 Go to 2D>>automesh>>select top surface of boss>>element size: 10mm>>match the element as that of arm straight>>mesh. Now project the lowermost node of the arm straight to the bottom surface of the boss. This is done to get connectivity
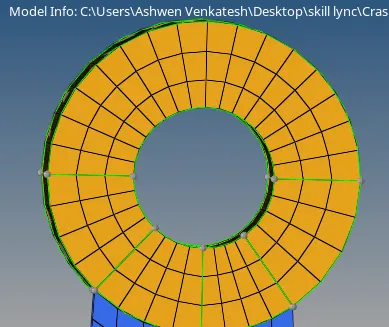
7.1.13 Go to 3D>>solid map>>general>>give the following option in the figure below>>mesh.

7.1.14 After doing mesh in all regions delete all the 2D elements in the geometry.
7.1.15 The final meshed model is shown in the figure below.
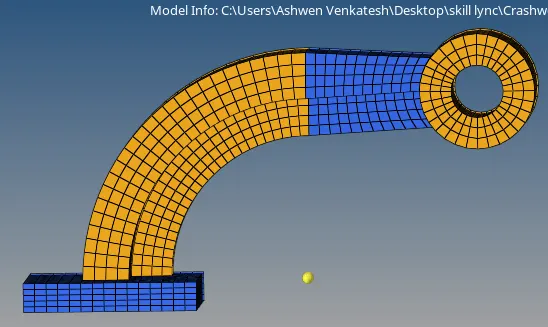
7.2 Tetra Meshing for Housing model
7.2.1 Open the given model using Hypermesh Software
7.2.2 Hide all the surfaces and wireframes except for cover and make it as a current component.
7.2.3 Change the view to By Topo to check for any geometrical errors over the surface. If any error found these are fixed using quick edit and defeature options.
7.2.4 Go to 2D>>automesh>>element size: 5mm>>element type: trias>>select the surface>>mesh.
7.2.5 Go to 3D>>Tetramesh>>select elements>> mesh. The meshed model elements are masked and checked for correctness of mesh. This is shown in figure below.

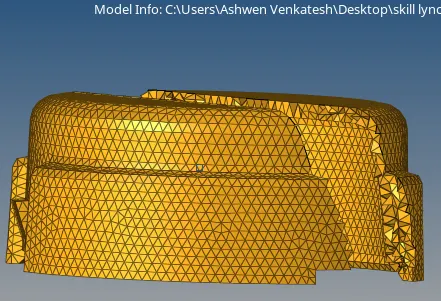
7.2.6 Go to Tools>>check elements>>3D>>tet collapse. Check for tet collapse failure. If found adjust the respective elements.
7.2.7 Hide all the surfaces and wireframes except for hub and make it as a current component.
7.2.8 Repeat steps 7.2.3 to 7.2.5. The masked figure is shown below.
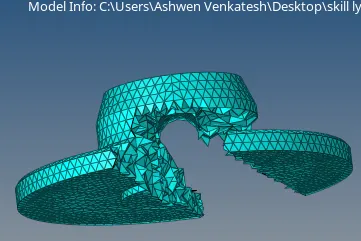
7.2.9 Go to Tools>>check elements>>3D>>tet collapse. Check for tet collapse failure. If found adjust the respective elements.
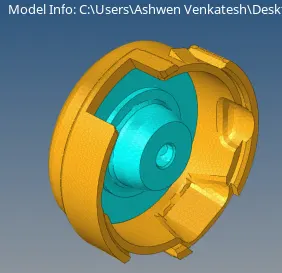
7.2.10 The final meshed assembly is shown in the figure below.
RESULTS AND CONCLUSION:
Therefore, speed of sound is calculated from the formula. The datas are obtained from the starter file. Time taken for shockwave to propagate and frequency of animation is calculated.
Time taken by shockwave to travel: 0.1927248 ms
Frequency of animation: 0.009636 ms
Also, the given geometries are 3D meshed in accordance with the quality criterias given.
Drive link: https://drive.google.com/file/d/1GeGa61dw1l9S9auzCNzDWwGo5tHACb9x/view?usp=sharing