Wiring harness design in CATIA V5 - 3D modeling Week 7 Challenge
Steps followed while Flattening and flattened view creation of the given wiring harness assembly
1. Save the wiring harness assembly which should be flattened.
2. Create a new product and (add the catalog when required) use the "Harness flattening parameters" command to add the parameters. Save the file in the folder where the wiring harness assembly is saved.
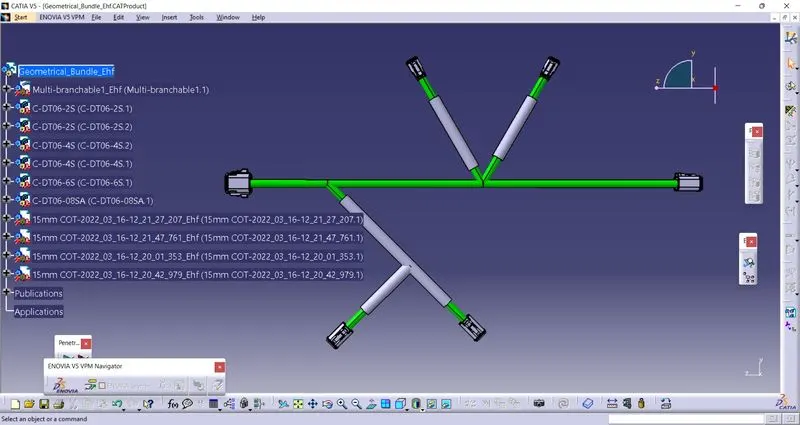
3. After setting up the flattening parameters accoding to the requirement, tile the windlow vertically so that the harness product can be selected after clicking on the "Extract" command.
4. The product will appear with suffix as "_Ehf"
5.Now select the "flatten" command and then choose the required plane and the bundles.click on ok.
6. use Flatten link commands to auto update, manually update and to remove links. Also use "synchronize" command to update the 3D changes made in the harness assembly.
7.Use the rotate, roll, straighten and junction command to change the branch orientation as per the requirement. Save it.
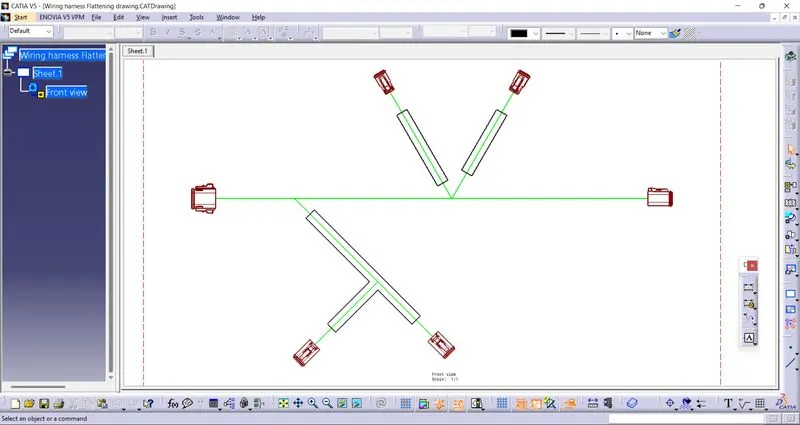
8. create a new CATDrawing file. Select the "front view" command and then select required plane in the Flattened Harness assmebly to pull the flattned view into the drawing sheet.
9. Go to properties and enable the "3D wire frame" option and "3D colors" click ok and save the drawing file.