Wiring harness design in CATIA V5 - 3D modeling Week 7 Challenge
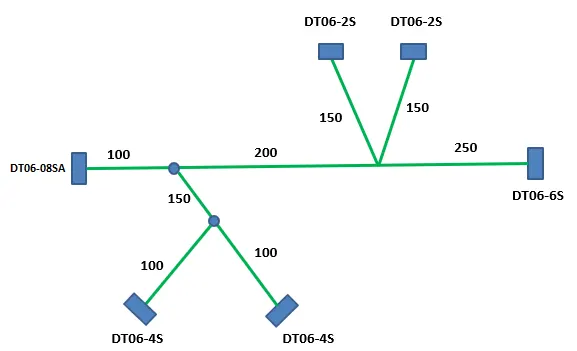
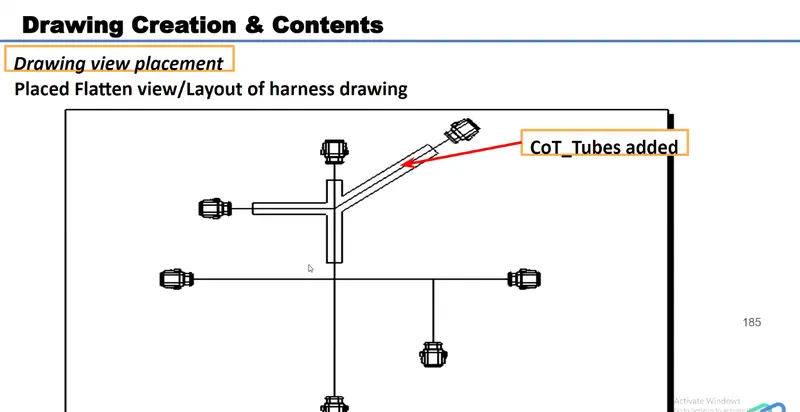
Aim - Flatten the harness assembly completed in “ week 4 challenge”. Place the flattened view on drawing sheet. Ensure bundles with protective coverings has different visuals on drawing view.
OBJECTIVE- The objective of this project is to create a flattened-view for a harness assembly and then place it on the drawing sheet. It is desired that the bundles with protective coverings are represented with different visuals on the drawing sheet.
Procedure :
1.) Define the Connector
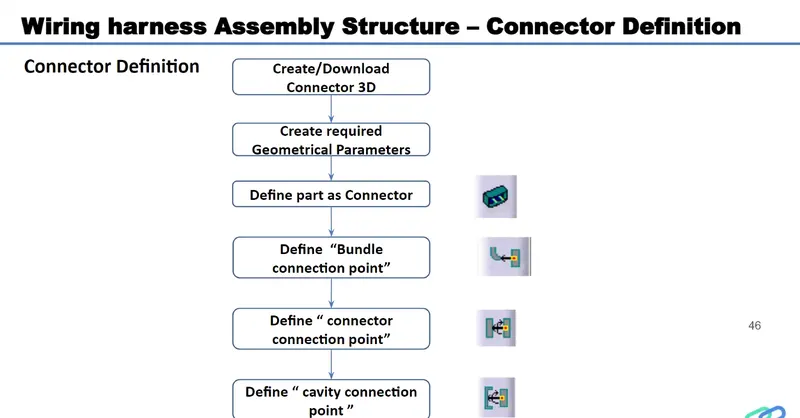
a) Download Connector 3D Part from www.te.com
- DT06-4S
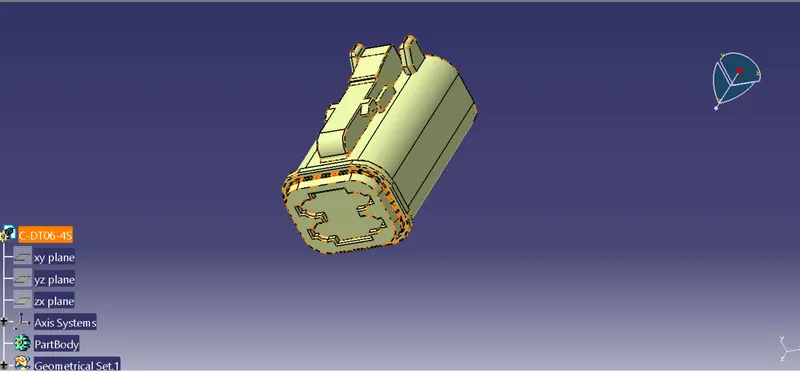
b) Create a Required Geomtrical parameters- Point, Axis Systems
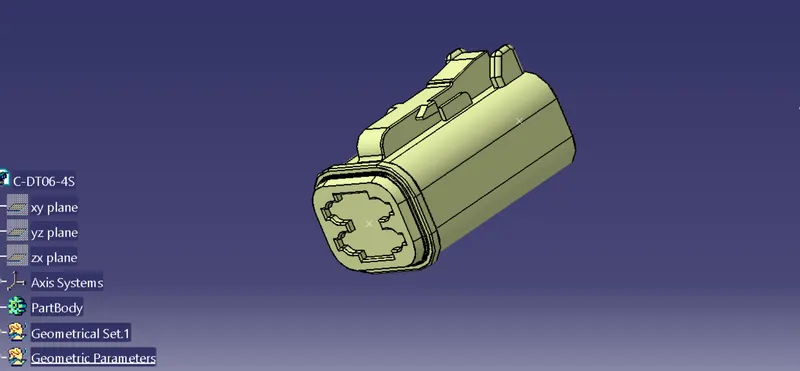
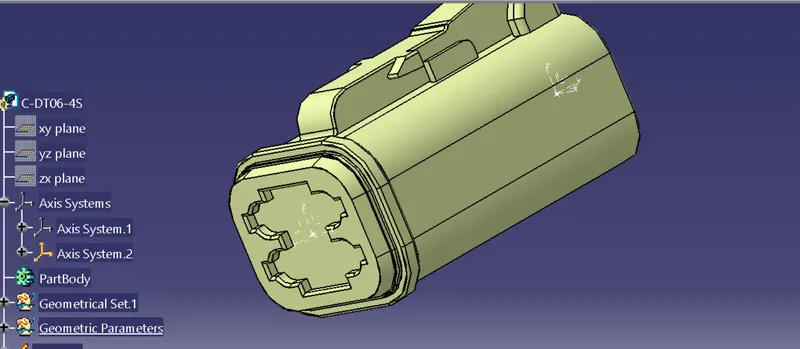
c) Define Part as a connector
Switch from part workbench to Electrical Part workbench, Using the Define connector command to define the connector as a Electrical component
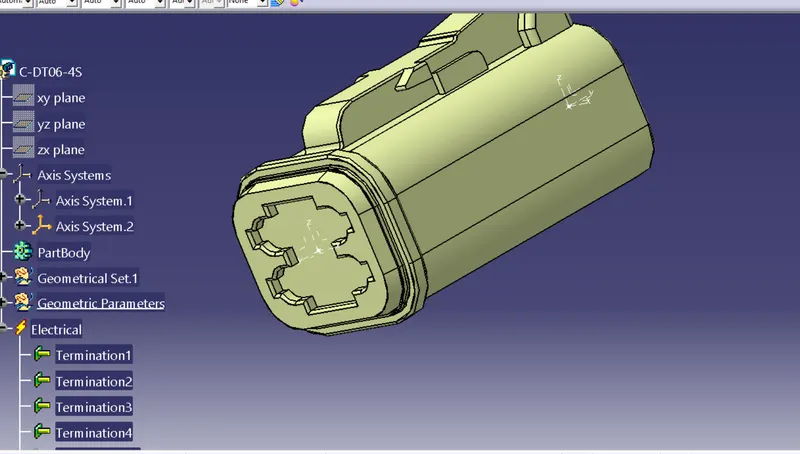
Define the Bundle Connection point and Connector connection Point
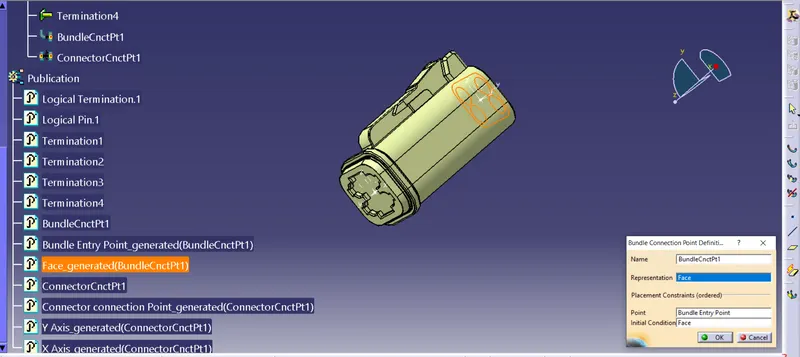
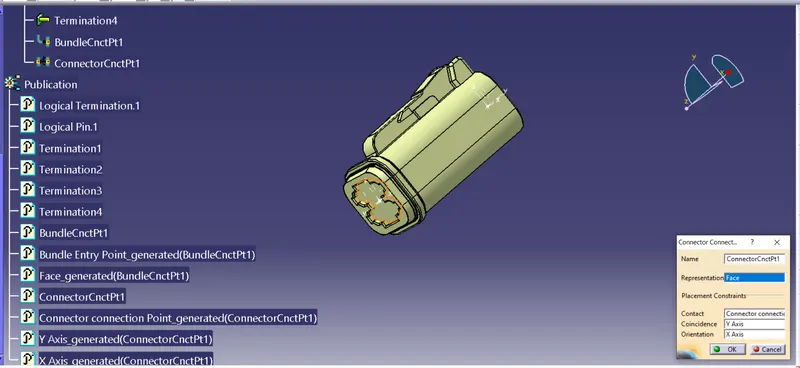
Follow the same process for define the all connectors
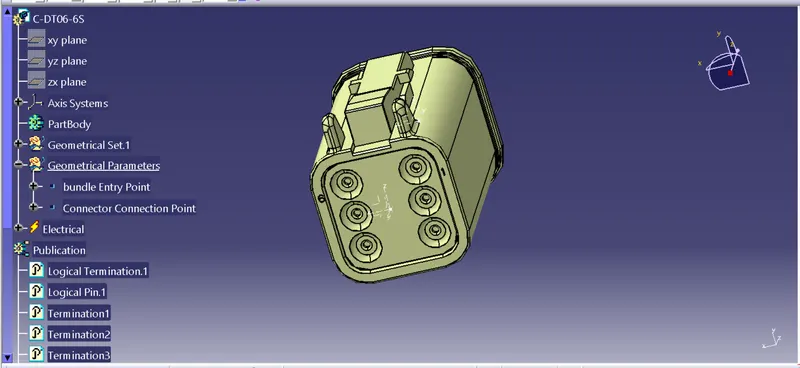
- DT06-6S
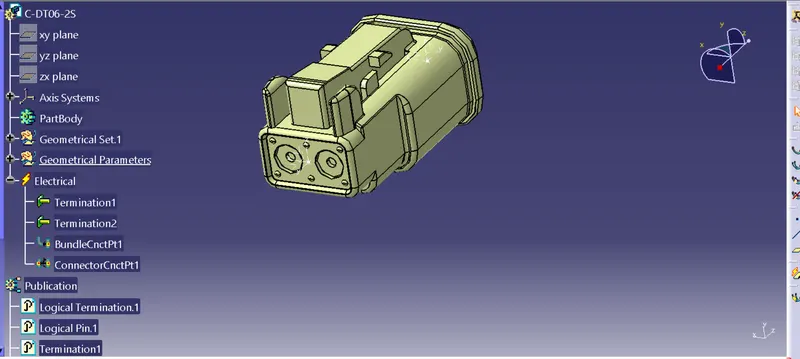
- DT06-2S
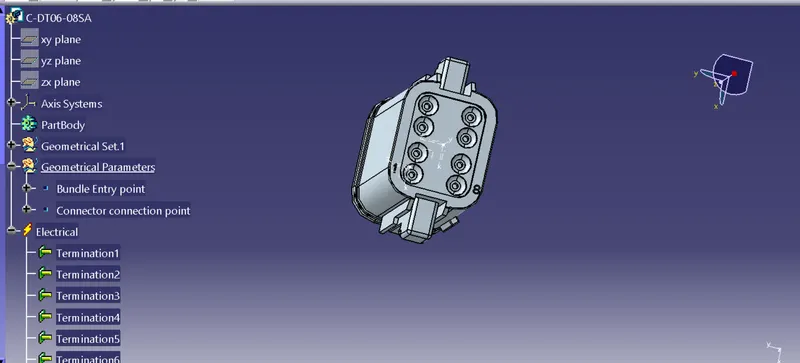
- DT06-08SA
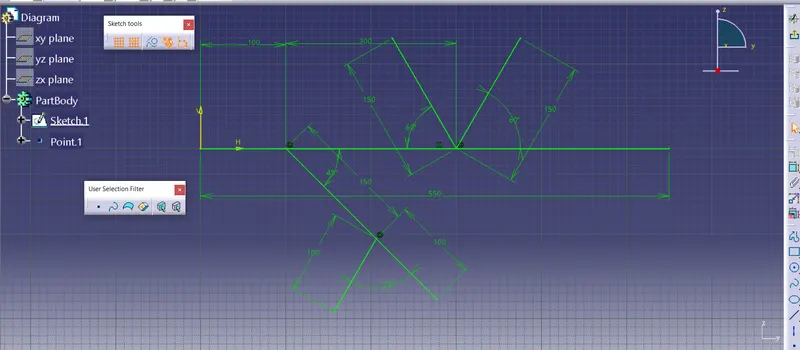
2.Now create a New Sketch in part workbench for Reference purpose
3. Now create a Context Assembly
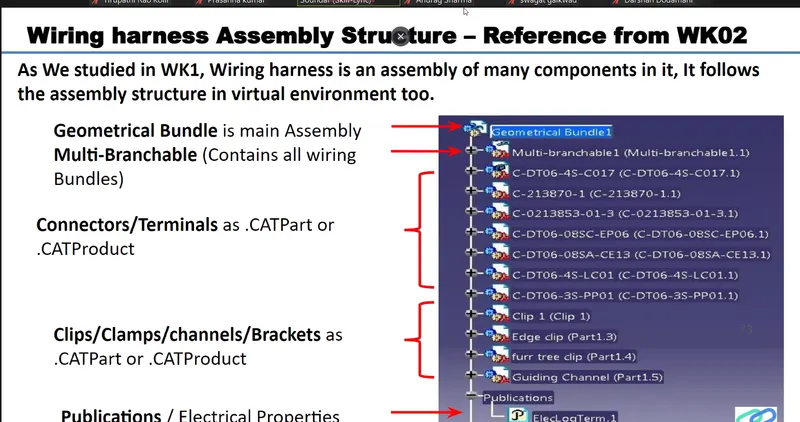
a)Exit all components in that By using Exit component command
b) Switch from Part assembly to Electical Harness Assembly workbench
c) Using the Geometrical Bundle command Convert the product as Geomtrical Bundle
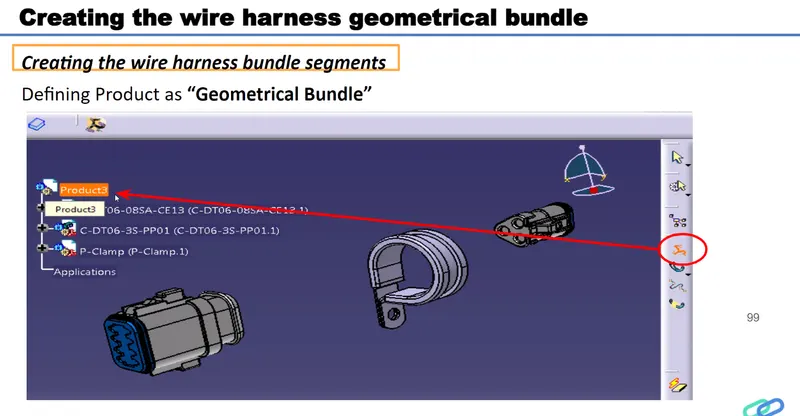
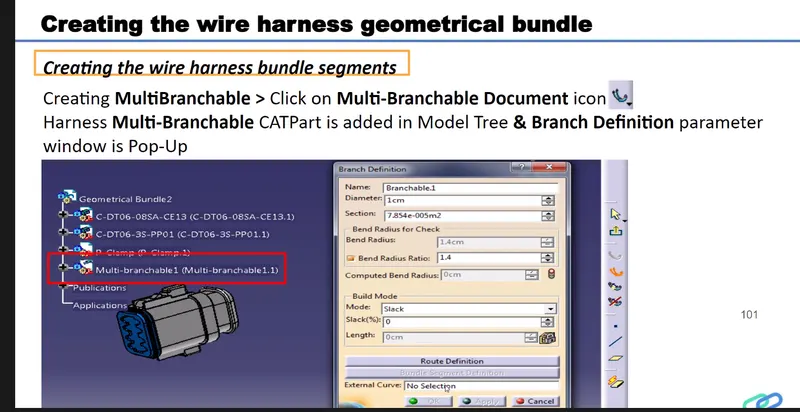
d) Using the Multi Branchble component Command to create the Bundles .
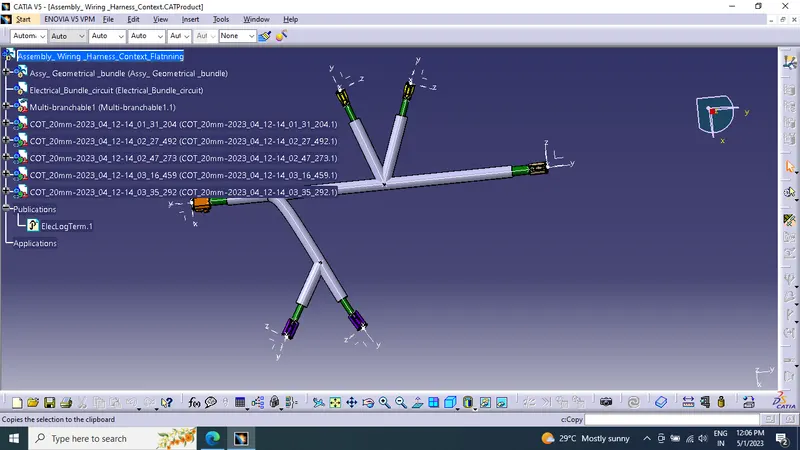
Finally Creat the COT_ Tubes by using Protuctive Covering Command
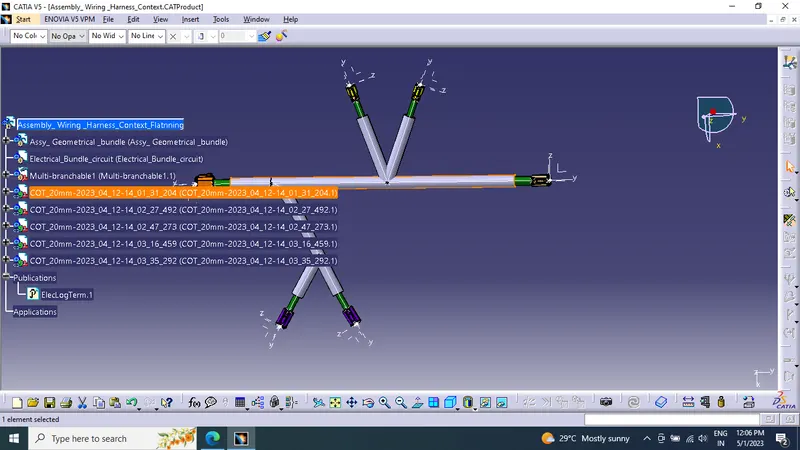
FIGURE1: PREVIOUSLY ROUTED HARNESS ASSEMBLY FOR WHICH FLATTENED-VIEW HAVE TO BE CREATED
To make a flattened view of any wiring harness we should be working in the Electrical Harness Flattening workbench of CATIA V5. We should make sure that the flattening file should be in the same folder where you have all the parts of the harness assembly.
CONTENT Steps-
The following steps are to be done to complete this project.
1)create the product > Switch to Electrical Flattening Workbench > Create the flattening Parameter)
2)By using windows vertically > Extract command > to extract the Geometrical Bundle in to the Flattening Product
3)Using Flatten command Flatten the Product
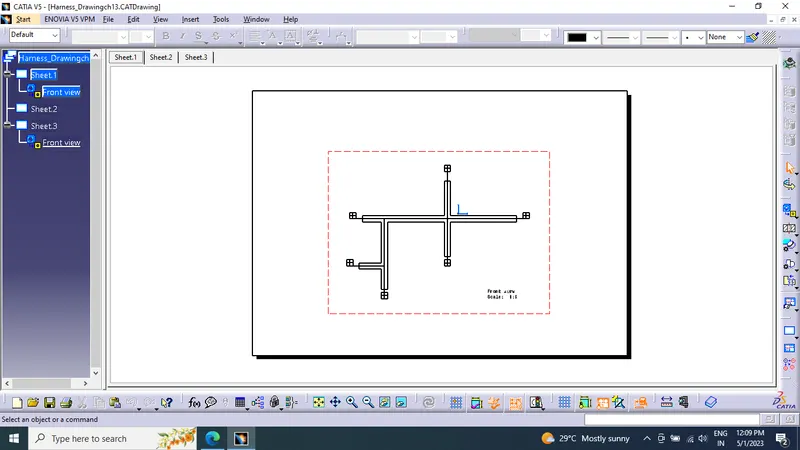
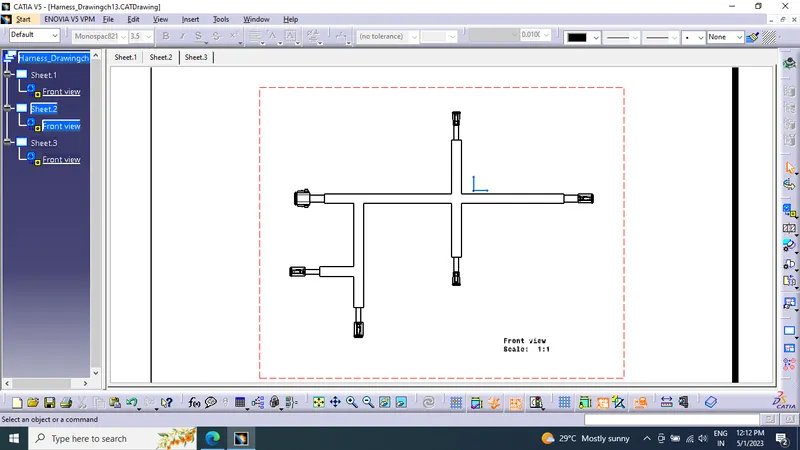
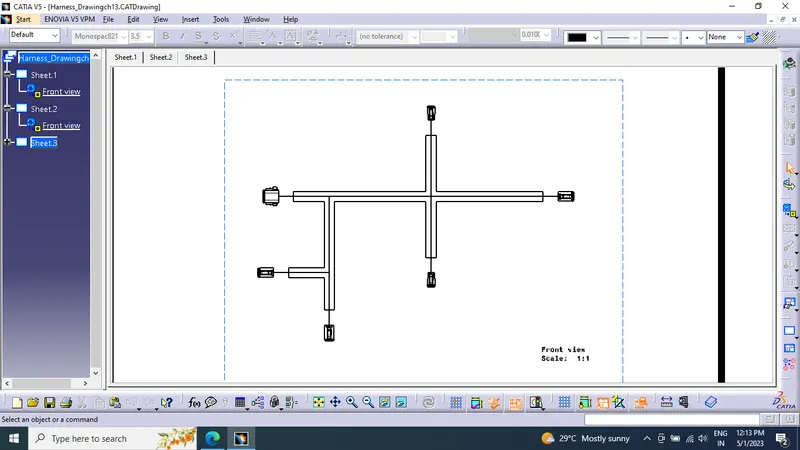
4)Make a new drawing & Insert view into the drawing file.
5)Final drawing
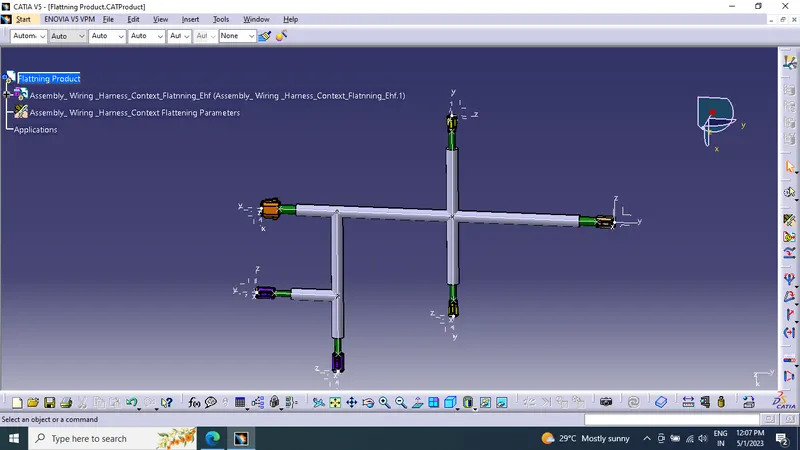
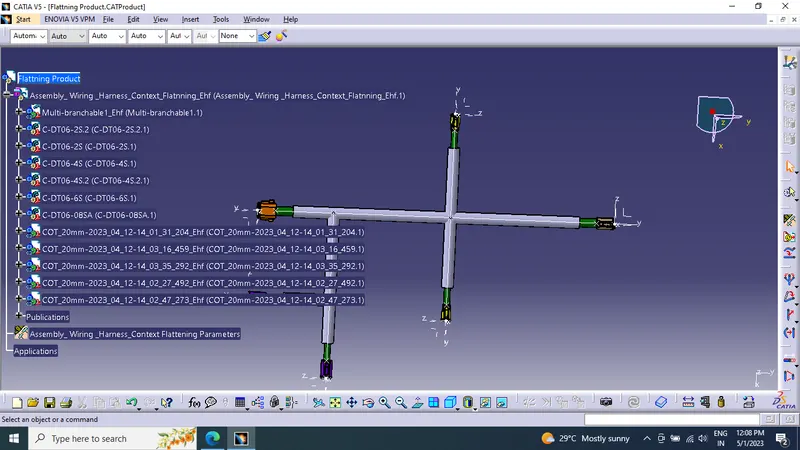
Next Create a Drawing
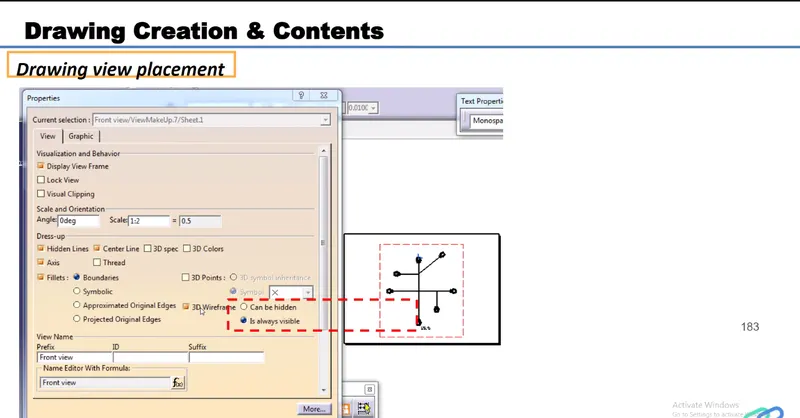
Cat File Attached As Zip Folder (Add all the files required to complete the challenge)
CONCLUSION-
- From the above assignment we learnt how to define the Electrical support & its Electrical properties Harness Assembly.
- We also learnt how to Electrical Routing in Electrical Harness Assembly Workbench
- We also learnt how to make Corrugated Tubes of different diameters and also save them in the respective families in the Corrugated Tubes catalogues.
- From this Assignment we learned Wiring harness routing
And Mainly The final flattened drawing was produced for the wiring harness. As per requirement, different representation was given to the bundle segments and the protective coverings.