Wiring harness design in CATIA V5 - 3D modeling Week 4 Challenge
WEEK 4 CHALLENGE
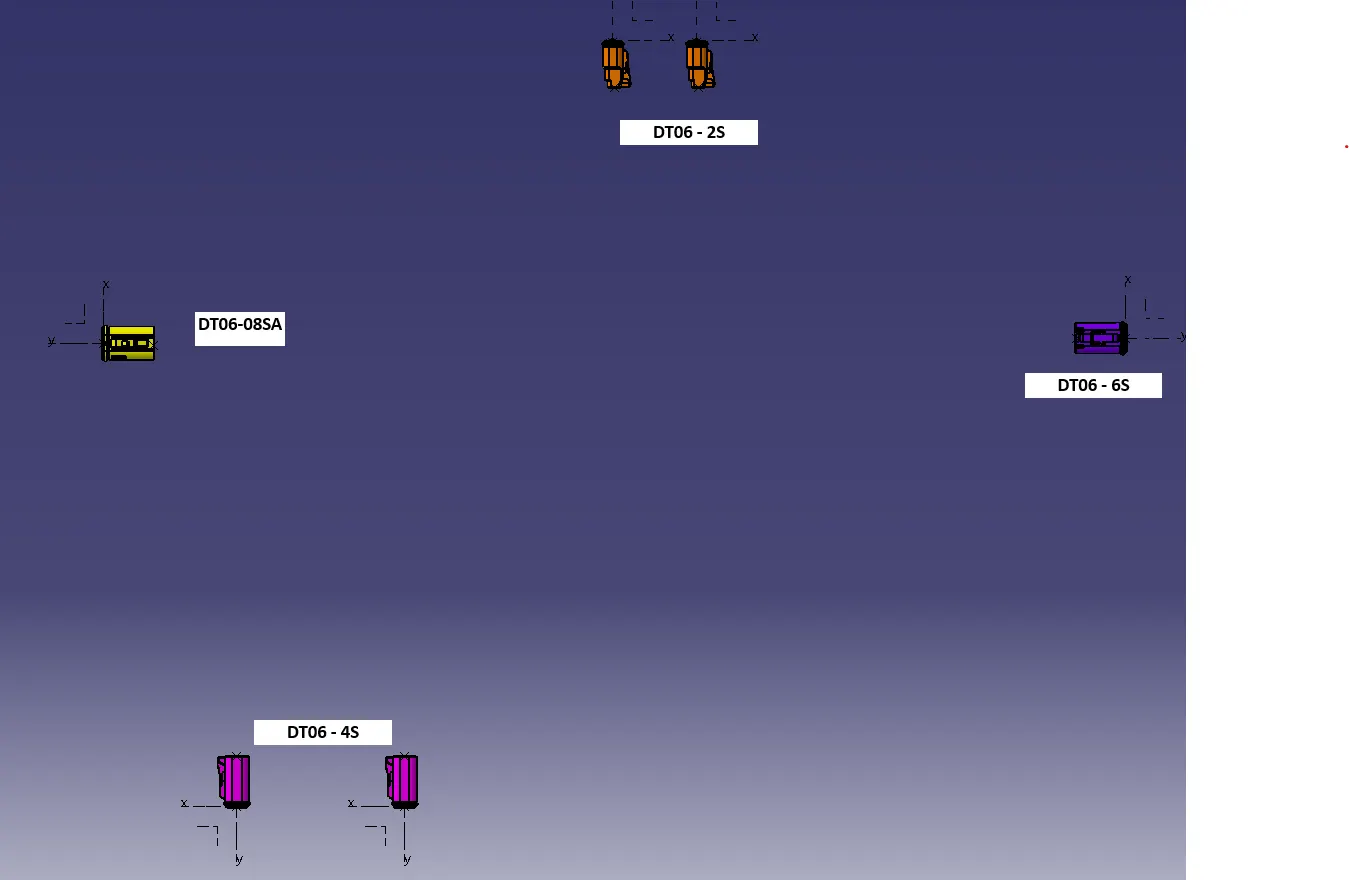
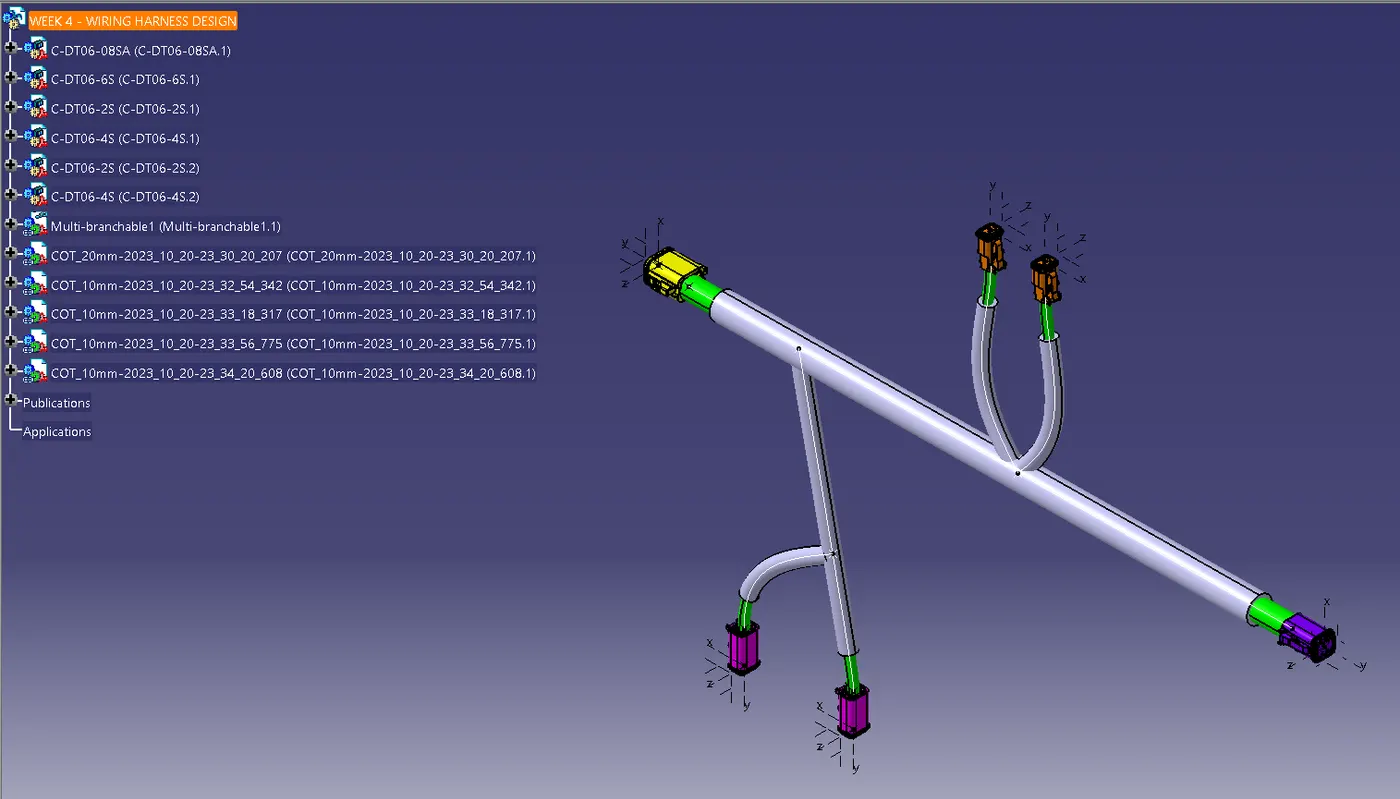
AIM =Route the following harness layout in Electrical workbench. Make assumption for harness bundle diameters. Use Following connectors as shown in layout diagram.Add protective covering on all branches connected to DT06-2S & DT06-4S connectors. Keep end extremity at 30mm (from connectors end).Download connector 3D data fromwww.te.com
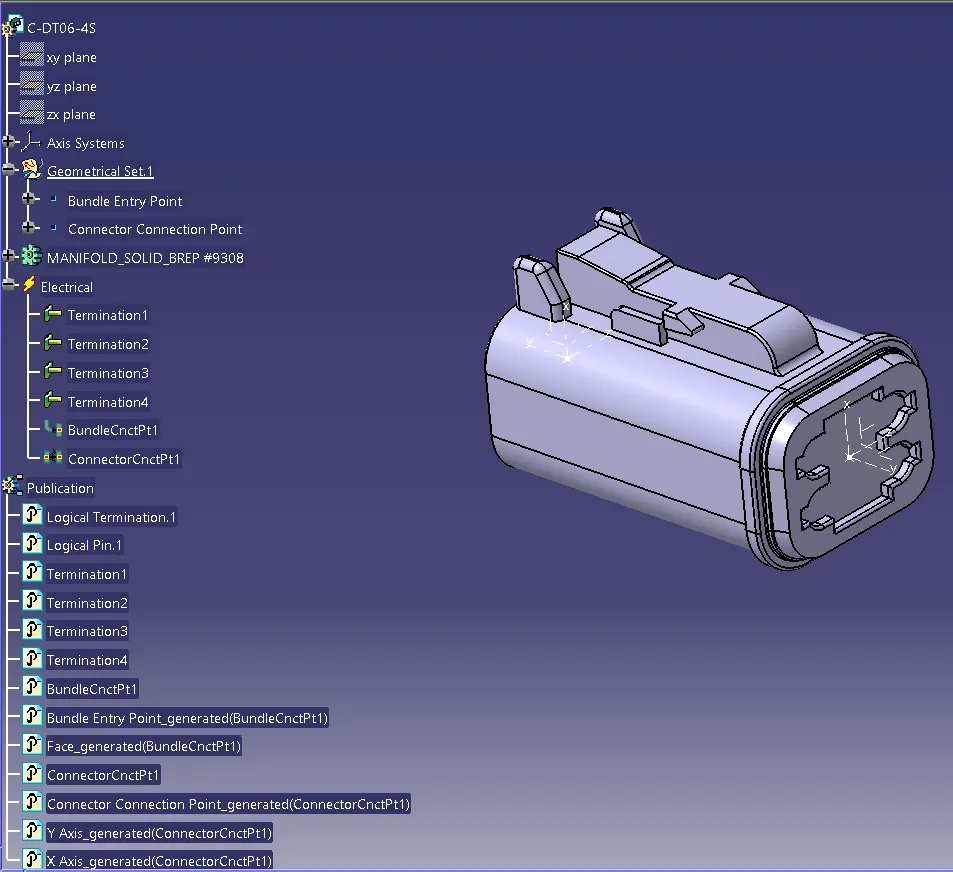
- DT06-4S
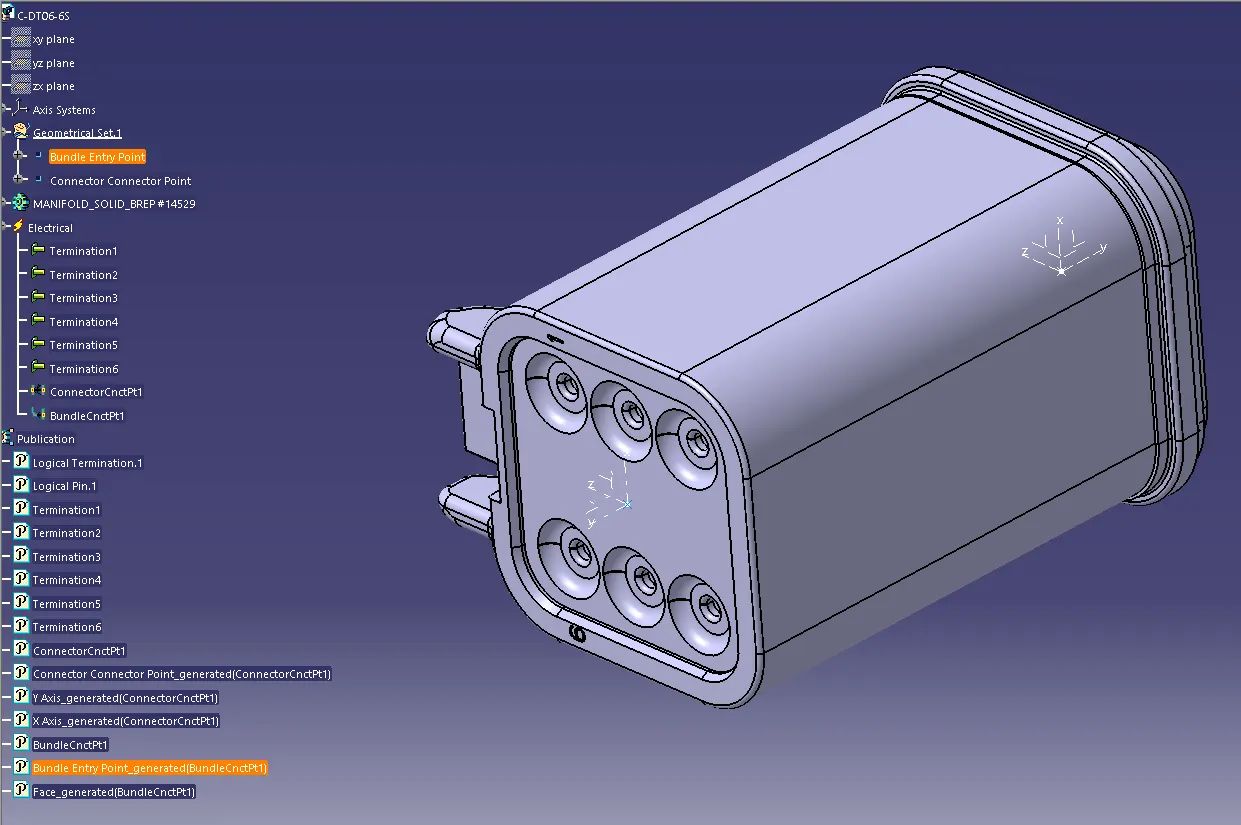
- DT06-6S
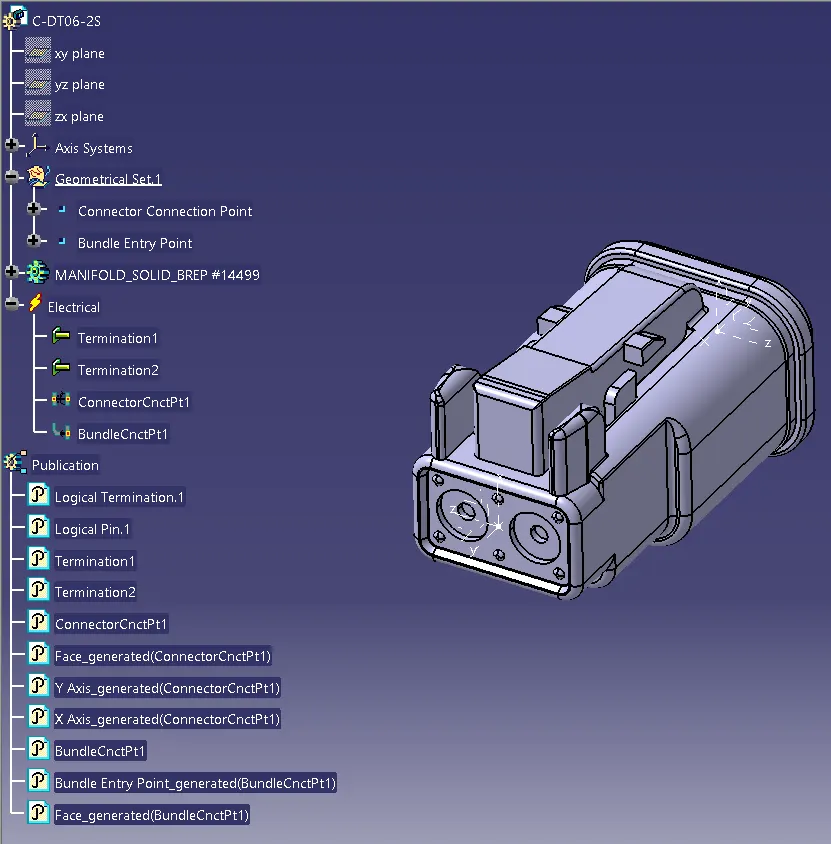
- DT06-2S
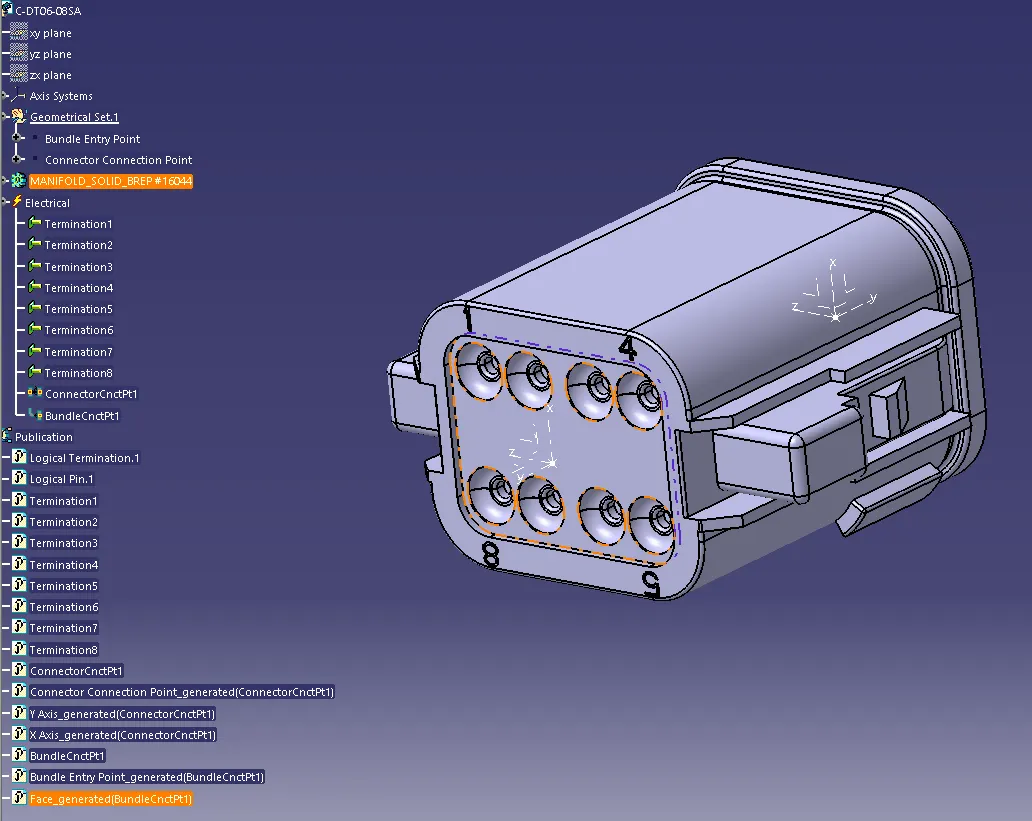
- DT06-08SA
Connection Layout: -
Procedure in Electrical Part Defining: -
REPORT
- All the data are downloaded from TE.com and opened in CATIA V5 part workbench.
- DT06-2S
- CAD part is loaded in partworkbench
- Created Bundle entry and Connector Connection Point
- Switch to Electrical Part Workbench
- Defined Connector, Connector Connection Point, and Bundle Entry Point
- DT06-4S
- CAD part is loaded in partworkbench
- Created Bundle entry and Connector Connection Point
- Switch to Electrical Part Workbench
- Defined Connector, Connector Connection Point, and Bundle Entry Point
- DT06-6S
- CAD part is loaded in partworkbench
- Created Bundle entry and Connector Connection Point
- Switch to Electrical Part Workbench
- Defined Connector, Connector Connection Point, and Bundle Entry Point
- DT06-08SA
- CAD part is loaded in partworkbench
- Created Bundle entry and Connector Connection Point
- Switch to Electrical Part Workbench
- Defined Connector, Connector Connection Point, and Bundle Entry Point
- Created Corrugated tubes of 20mm and 10mm and is added in COT family catalogue along with Connectors family Catalogue, are attatched below.
- Arranged the connectors in assembly workbench as per the dimensions provided in the process layout.
- Switch to Electrical Harness Assembly Design workbench
- Defined the product file as Geometrical Bundle and Created Multi-Branches to the connectors.
- Protective coverings are added to branches with COT tubes by keeping the end extremity of 30mm as mentioned.
IMAGES
- DT06-2S
- DT06-4S
- DT06-6S
- DT06-08SA
- ASSY ARRANGEMENT
- BRANCHES
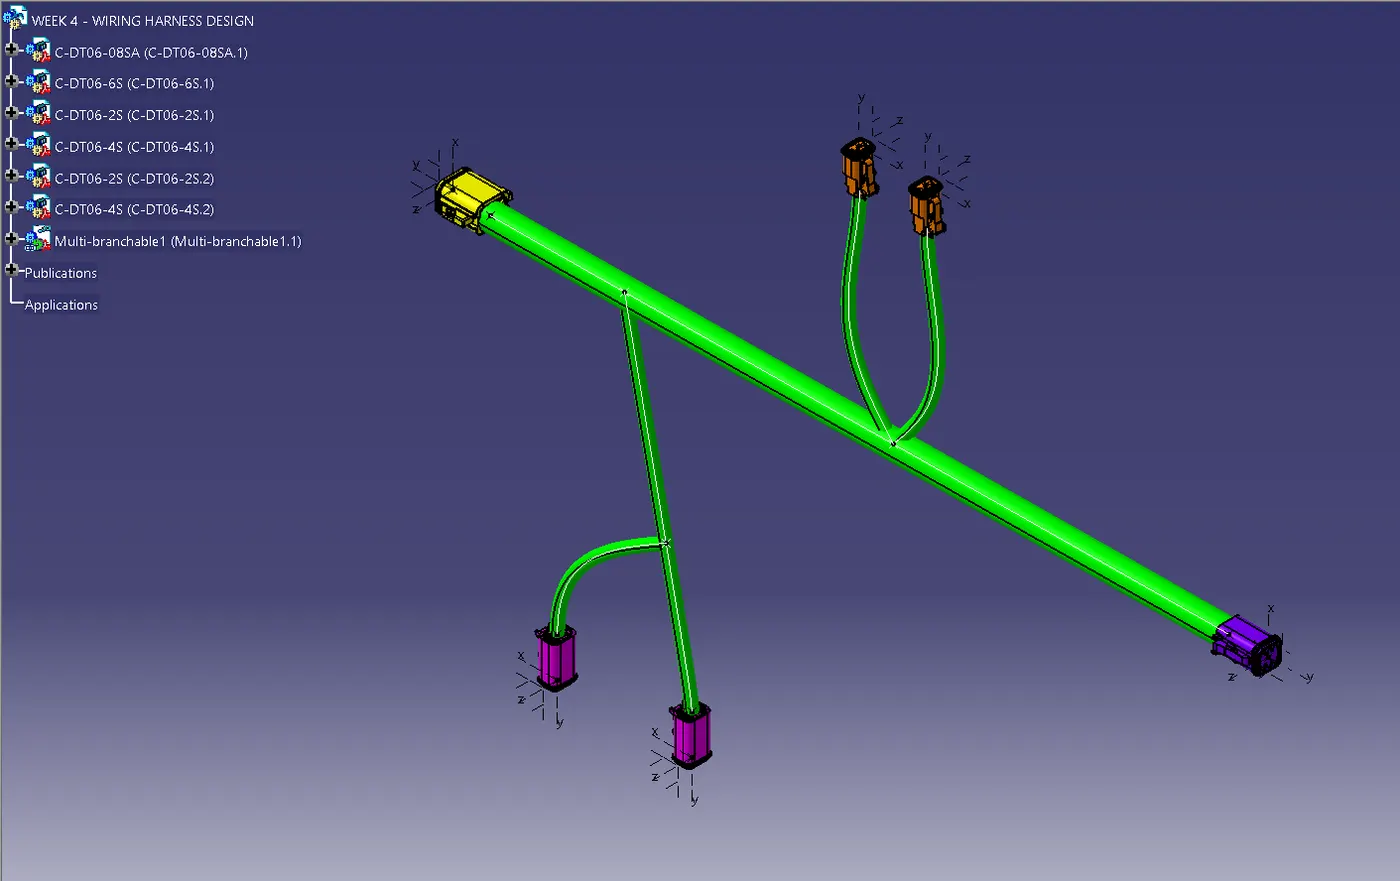
- WITH PROTECTIVE COT TUBES
�CONCLUSION
-
Harness layout in Electrical workbench is routed.
-
Used following connectors as shown in layout diagram as reference and assumpted the values.
-
Added protective covering on all branches connected to DT06-2S & DT06-4S connectors.
-
Kept end extremity at 30mm (from connectors end).
- Connectors and COT tubes are aligned in separate families in "Week 4 Catalogue", attached below.