Week 9 - Project - Master Section Development
B PILLAR PLASTIC COMPONENT
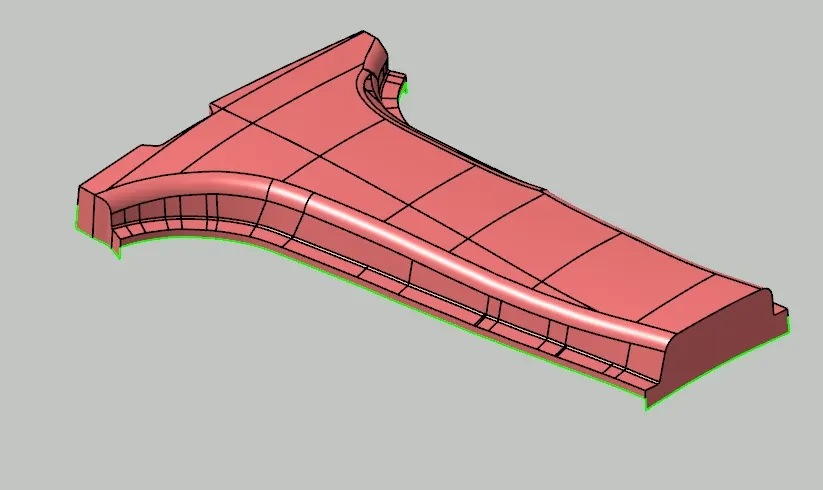
Aim : The main objective here is to create a B Pillar plastic component from a given Class A Surface and validate the design by doing Draft Analysis on it. Also, B side features like ribs and locator pins are need to be created.
The approach towards it will be simple. We will create a closed surface and later solidify the component. To start with, lets create a tooling axis first. The CAS is not that complex here. Also, we are provided with master sections that gives information of component thickness and B side features.
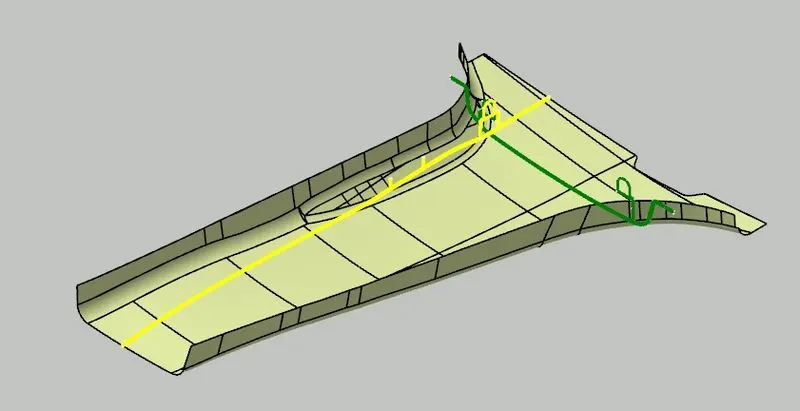
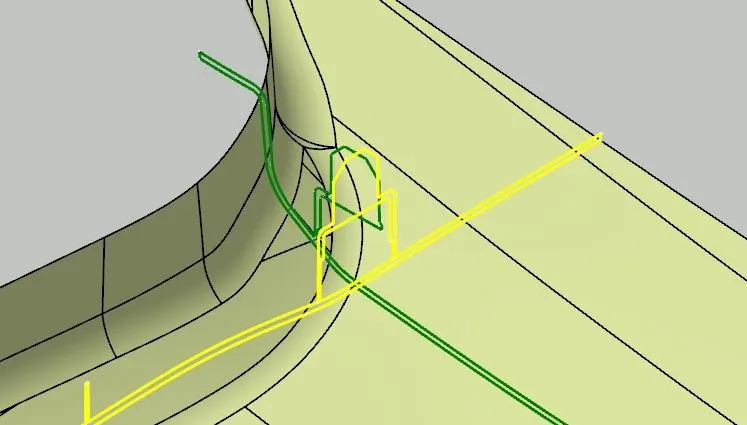
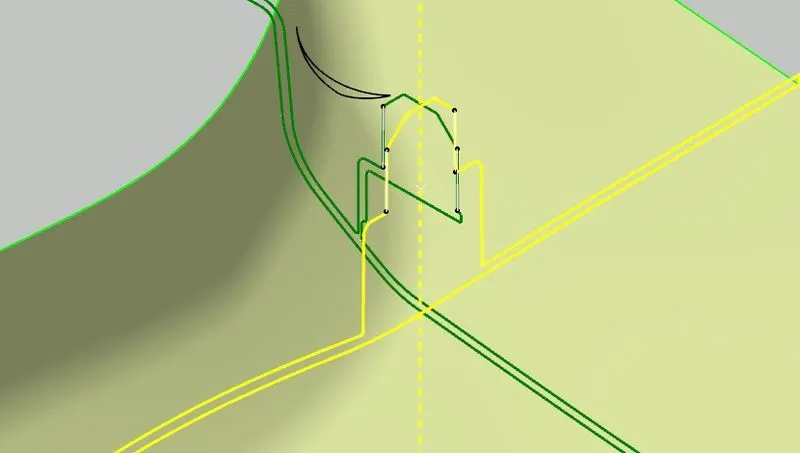
Here if we take reference from the B side features which looks like doghouse and 4-way locator pin and create a tooling axis, it will be automatically correct for the main component too. So, take outer walls references and by bisecting them create a tooling axis.
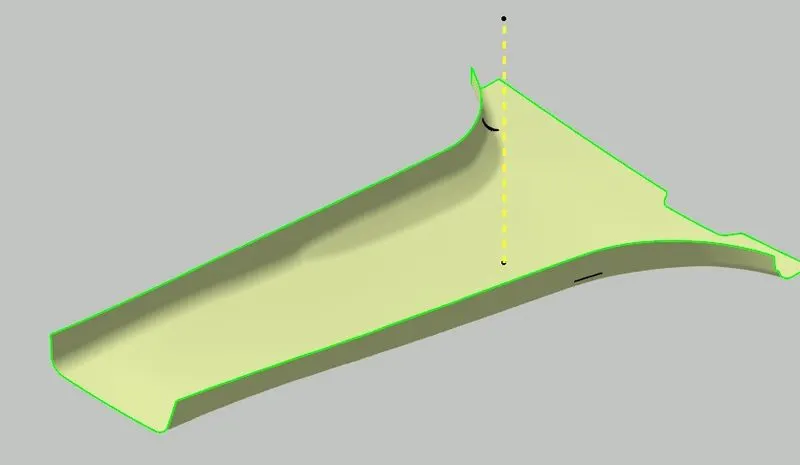
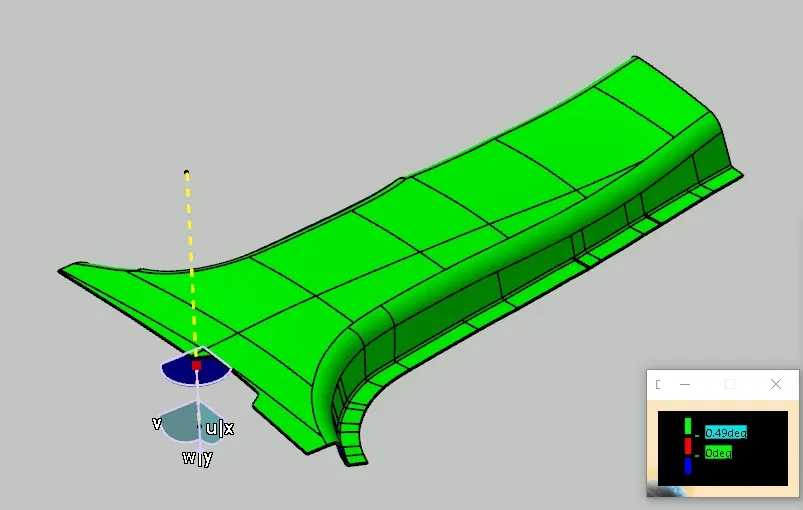
To ensure if the tooling axis is perfect, lets do the draft analysis for CAS. Drag and drop the compass along the tooling axis and analyse the surface for 3 degrees. Here, it is almost all green that means the draft angle is achieved all over for the particular tooling axis and there will be no disturbance during the ejection. For 0.5 degrees, that also gets neglected mostly.
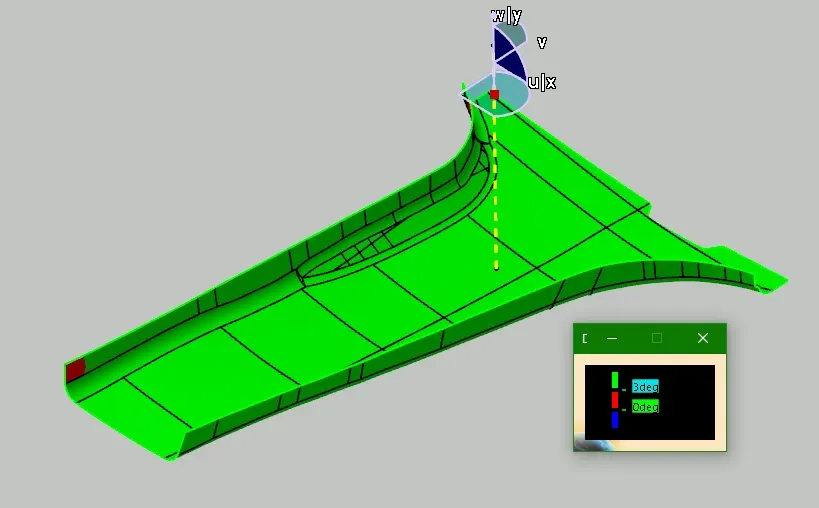
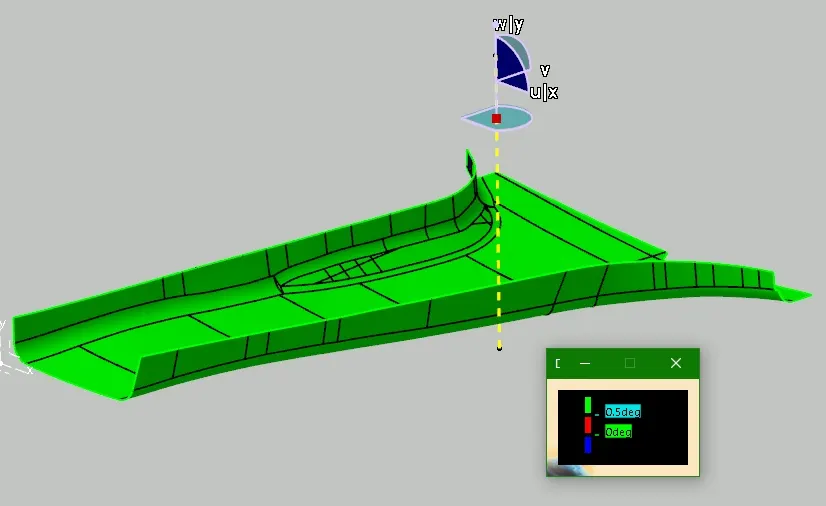
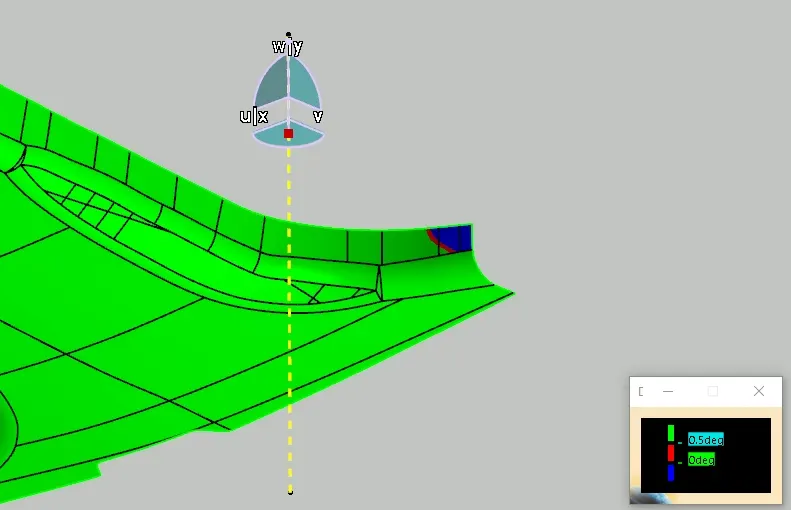
In one corner, we can see some negative draft. So for that, we can ask the CAS team to modify it for a little.
Now, let us move further and create Class B surface. As the CAS is not that complex, we can just take an offset of entire surface for 2mm.
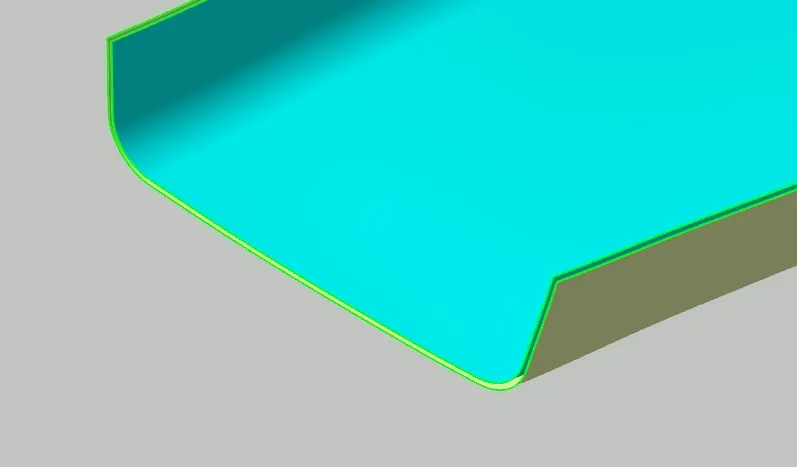
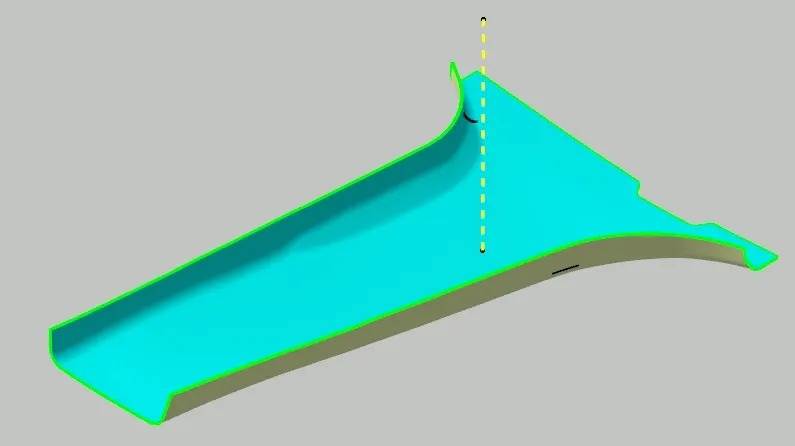
According to master sections, the surfaces are not just limited to this boundary. Flanges are needed to be created here. Do surface extension by sweeping following the master section and give edge fillet to the edges.
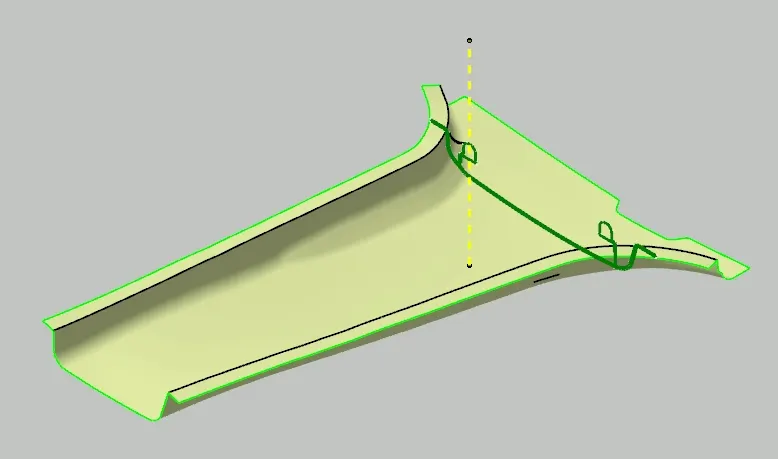
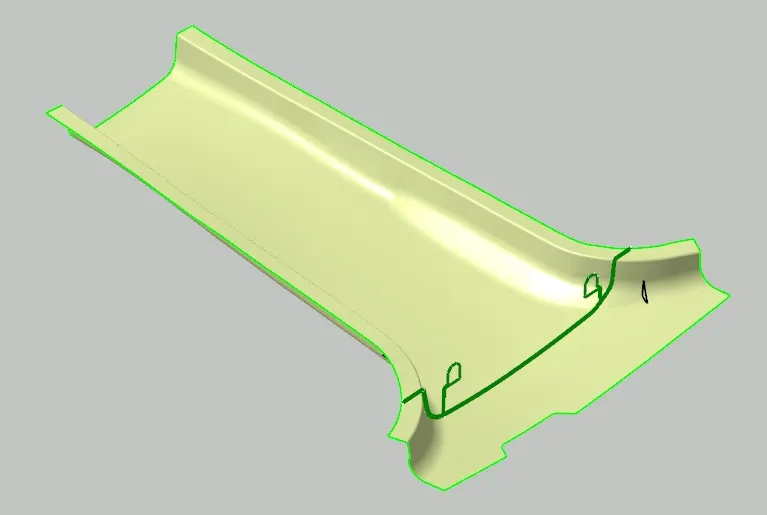
Now for B side flange, offset the extended surface for 2mm and extrapolate it. Then trim and add fillet to the edge created. This gives the final Class B surface.
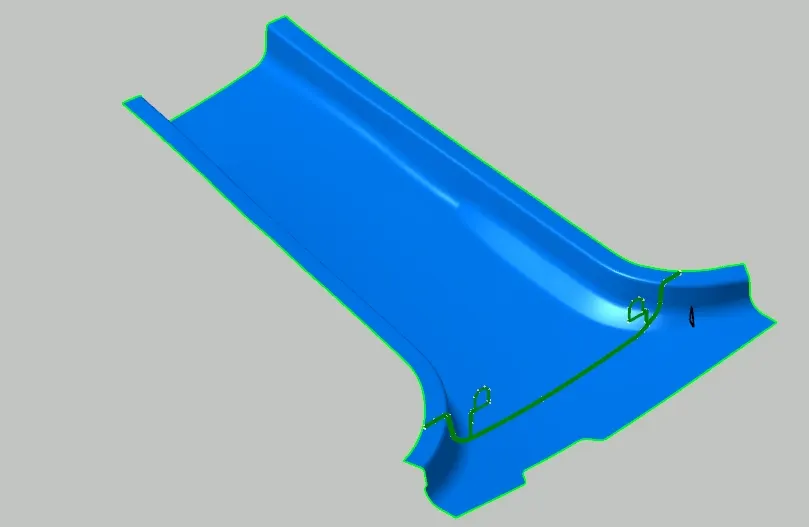
After creating Class A and B surfaces, its time to enclose them by Class C surface. For this, extend the surface by sweeping the boundary of CAS towards Class B and make sure to keep normal draft angle.
Make sure the sweep direction is chosen wisely. Class C needs to get clear with Class A only, so in case there are flashes, they be on parting line which is connected to Class B surface.
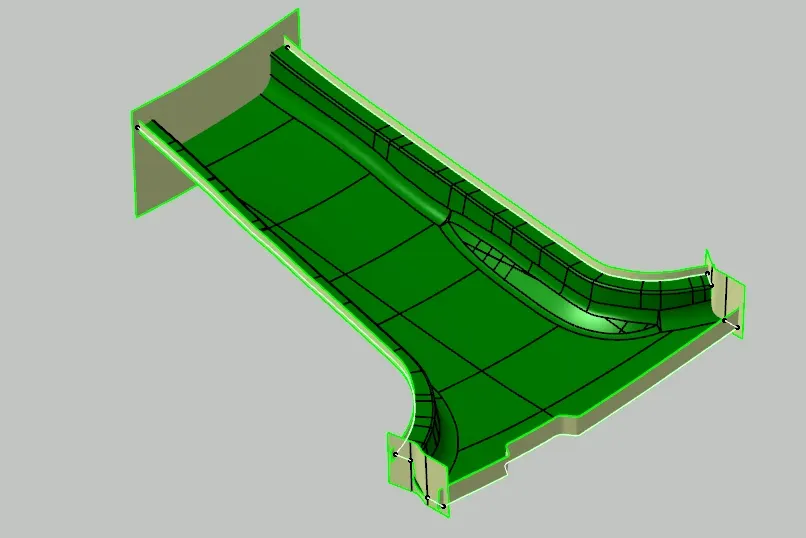
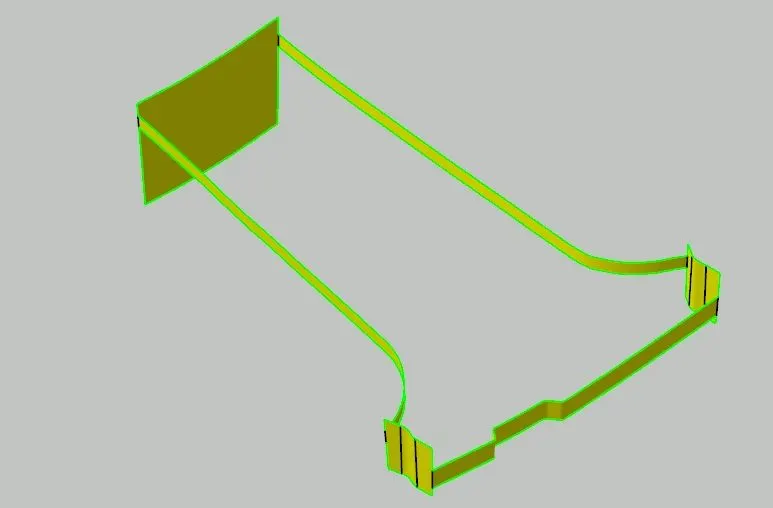
Join both the surfaces and trim it along Class B surface. A final closed surface of component is created which is shown below in purple with thickness value 2mm.
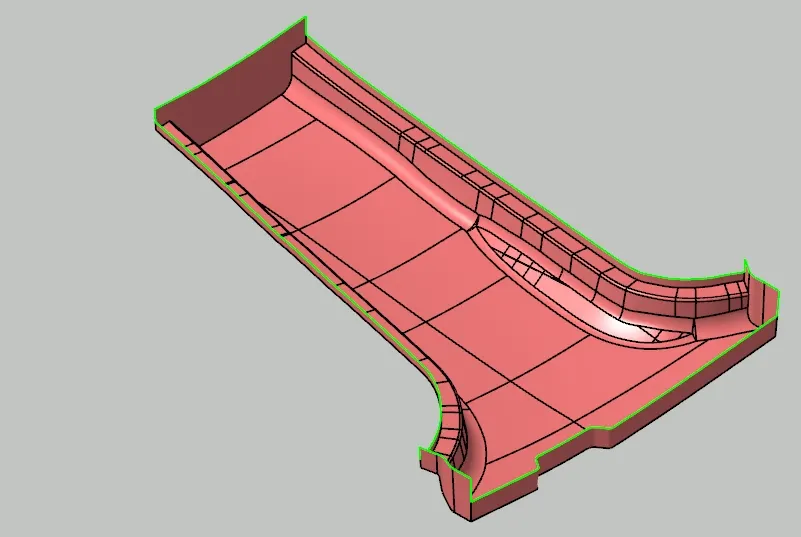
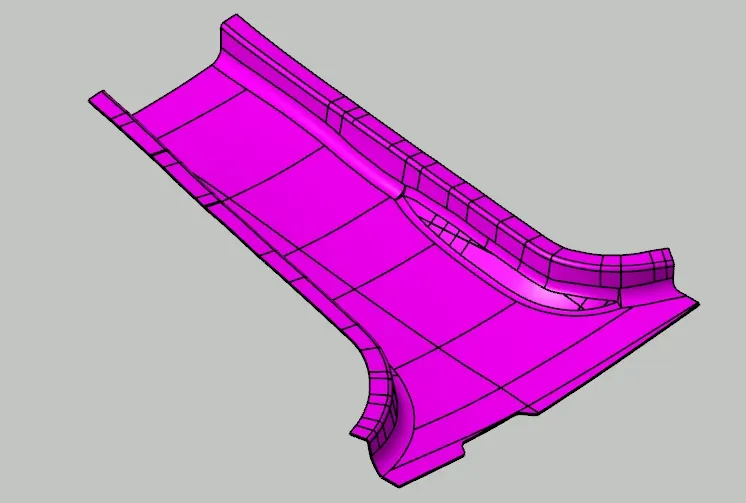
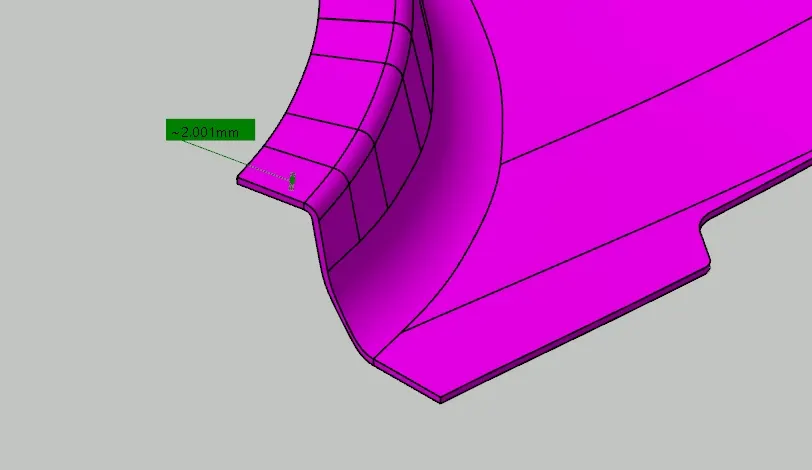
Switch to the part workbench and make the closed surface into solid part which is our B pillar plastic Component.
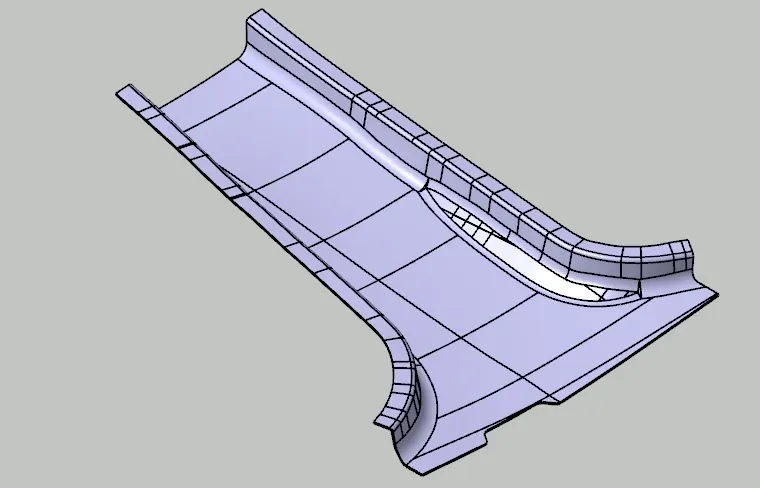
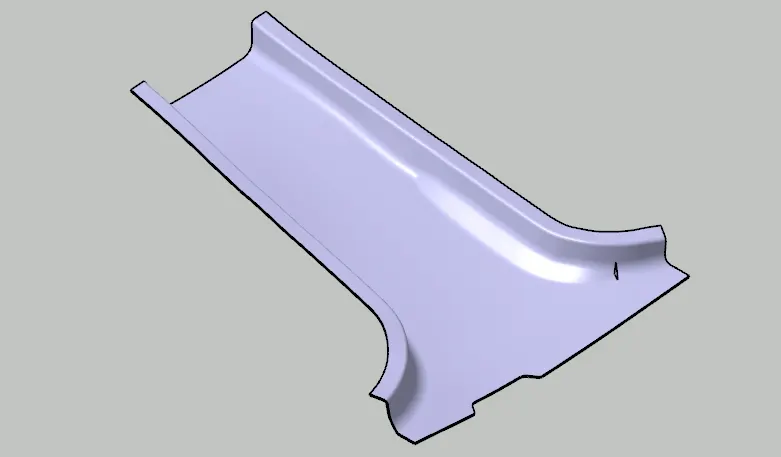
Lets ensure the design by draft analysis. Drag and drop the compass along the tooling axis and click on the component. Here we are getting all green over Class B surface and Class A and C in opposite direction, that means the design is fine and the component will get ejected easily.
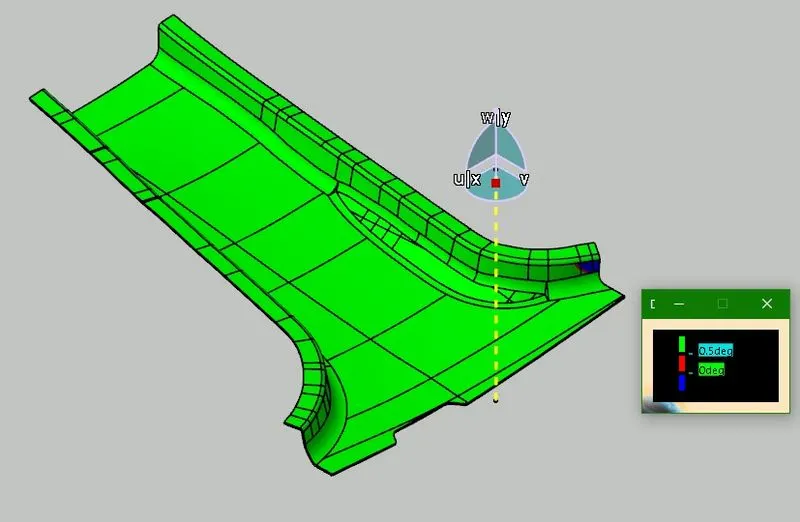
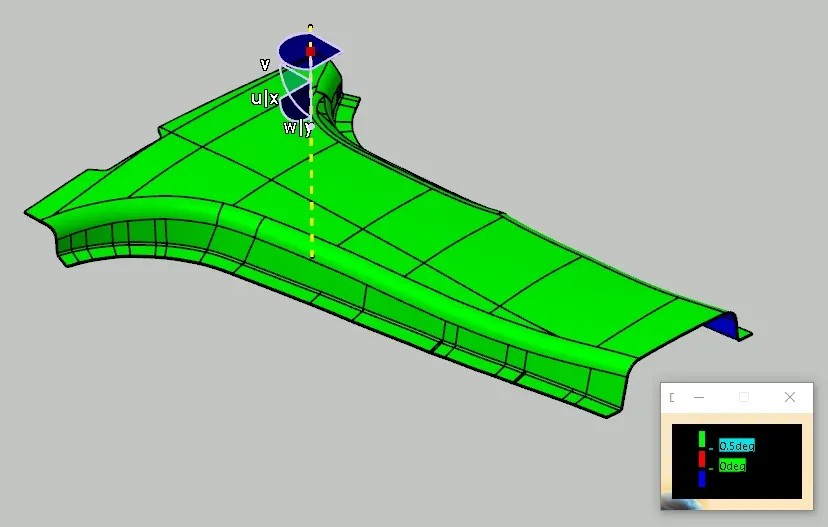
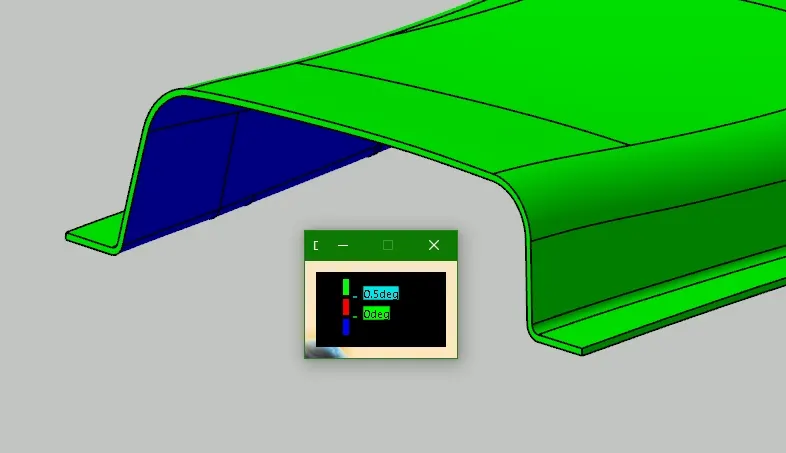
Lets now focus on creating the B-side features. According to master sections, we can see that there are two doghouses and two 4-way locator pins on top of them. Also, ribs are provided along side part.
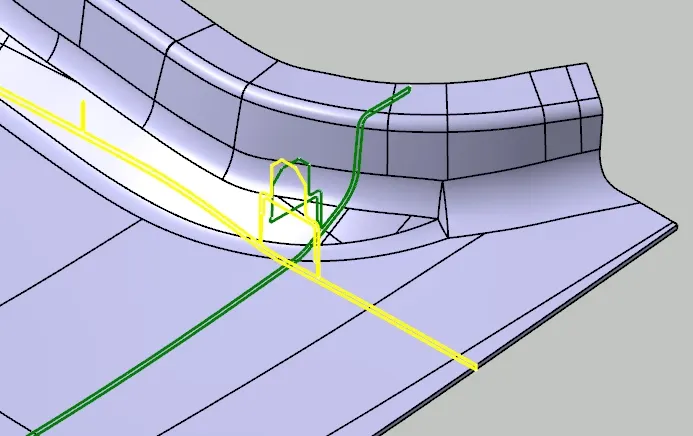
To create a doghouse we will simply take master section reference and create needful lines.
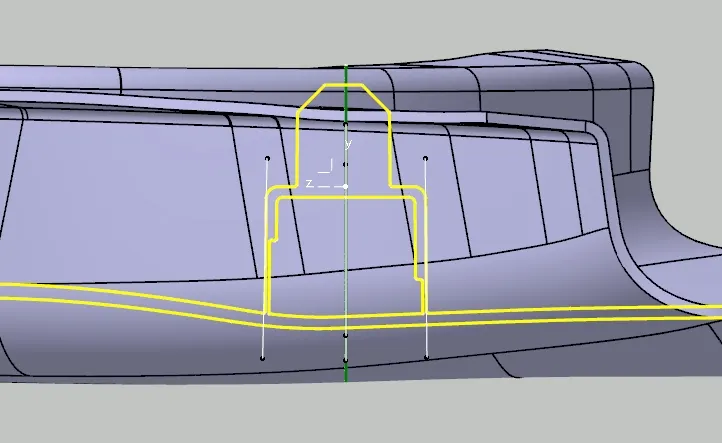
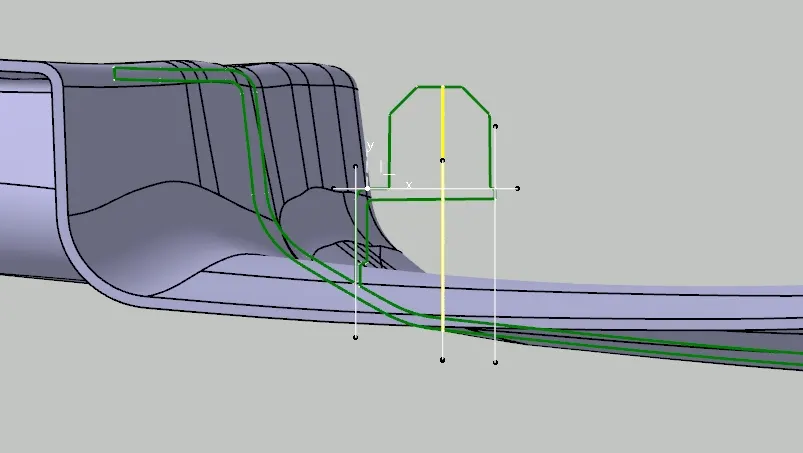
Extrude the same lines to create walls of doghouse.
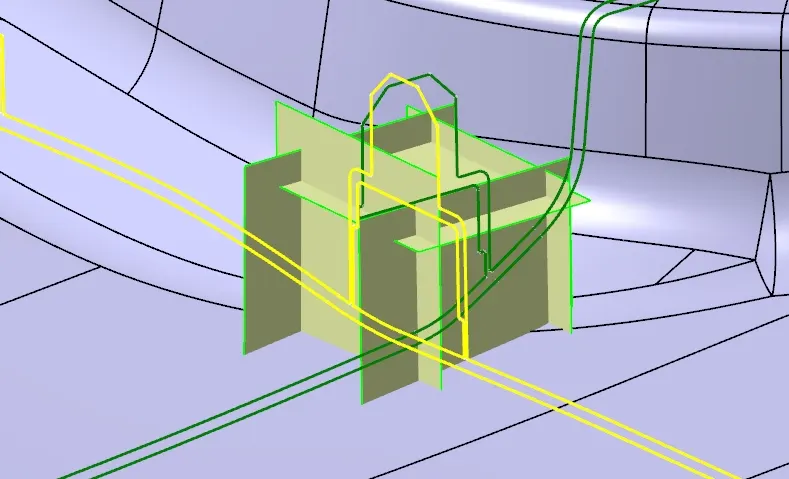
Trim the extruded surfaces an get a doghouse shape.
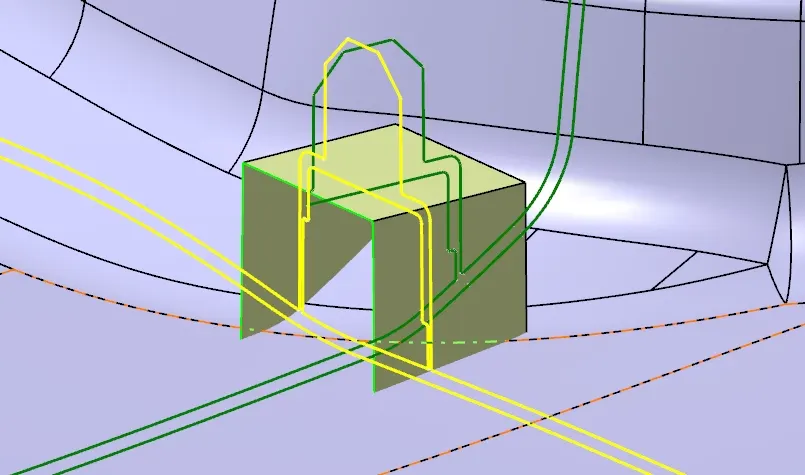
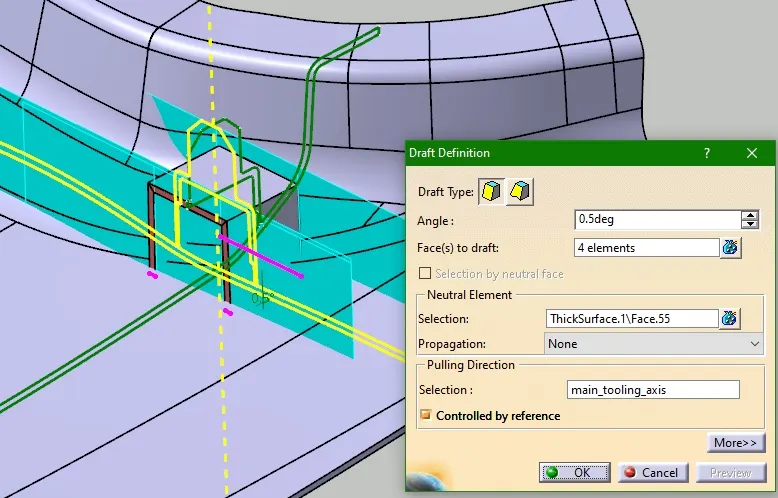
Now, switch to Part Design workbench and add thickness to these surfaces. Then, add draft of 0.5 degree to the outer walls.
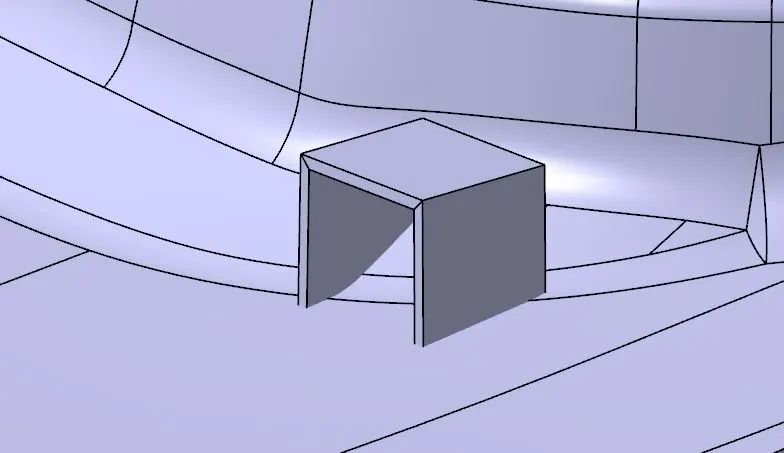
Now, as per rules, the emerging wall thickness should be 0.4 times the component wall thickness. And to follow the master section, extract the surface and offset it to 3mm as illustrated. The minimum length according to guidelines is 3mm, that is why we are taking 3mm here.
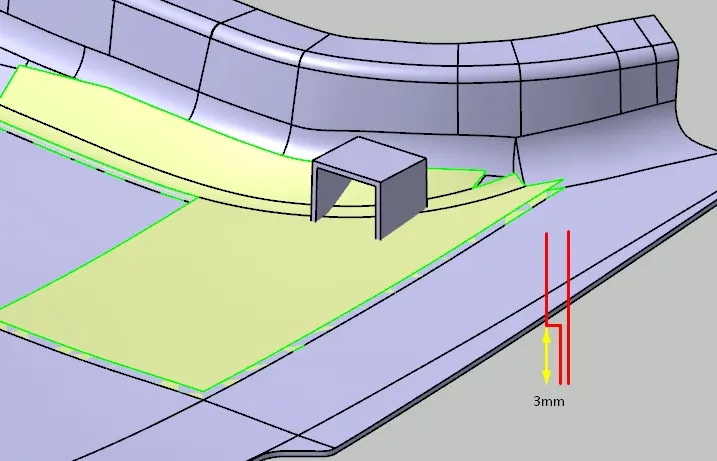
Take intersection of this surface and the outer wall of doghouse. Extrude the profile as shown and take walls offsets too.
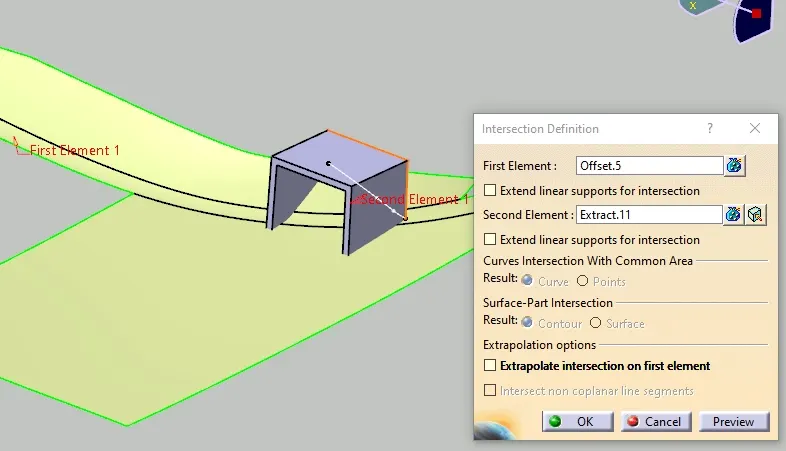
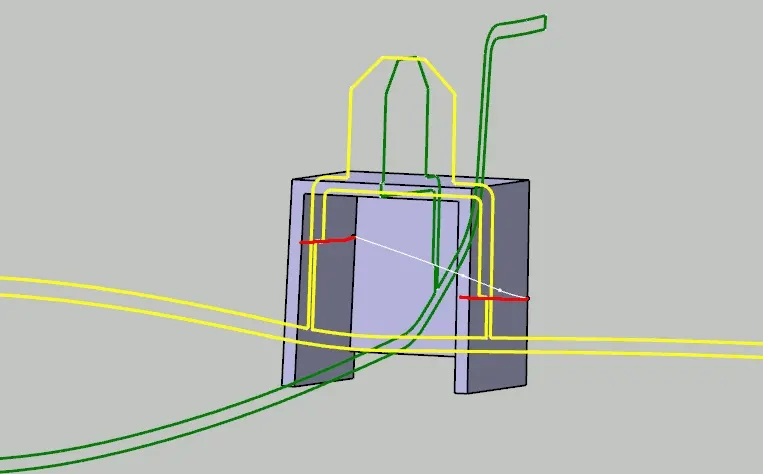
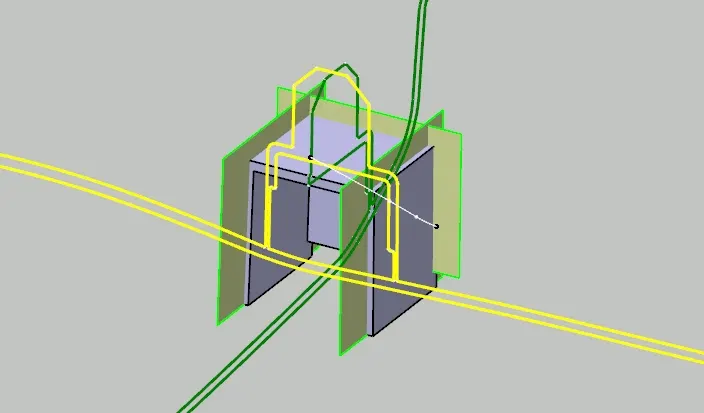
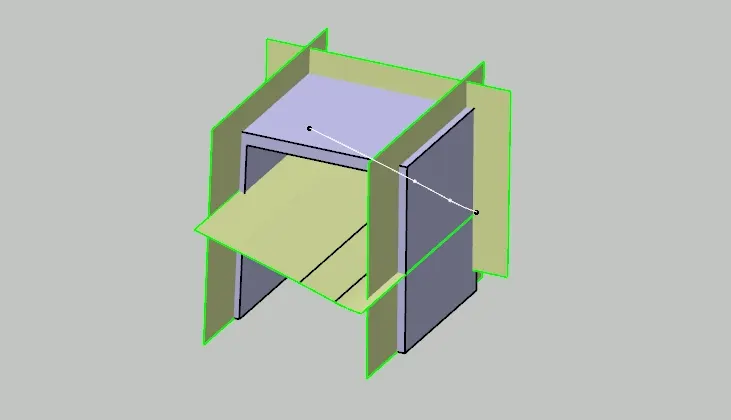
Trim these surfaces accordingly and split the solid doghouse structure by it.
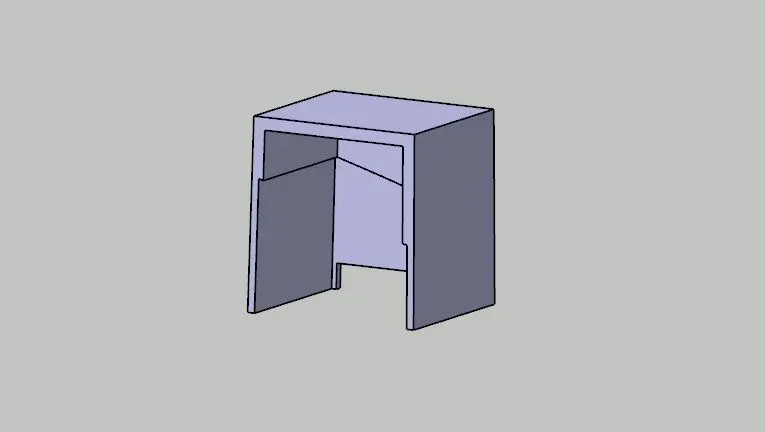
This inner part of the doghouse will not clear in the main tooling axis. Also, it is not on the sides, so the side core tooling axis will not work too. Here, a lifter will be used to clear this part and for that we will need an axis. Draw a line normal to the front face, which will act as one. Provide draft of 0.5 degree to inner walls.
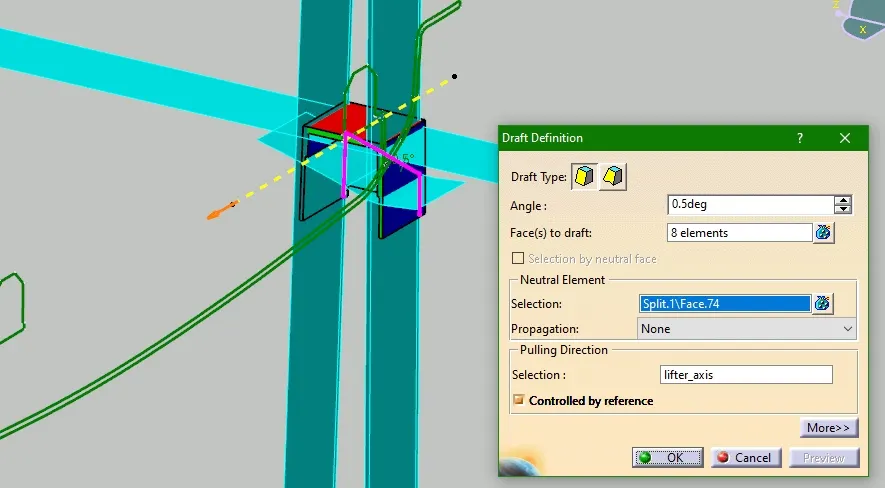
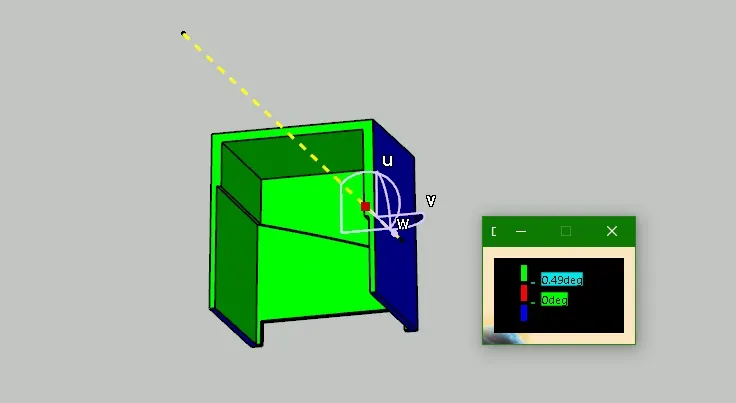
Do draft analysis by dragging and dropping the compass on lifter axis. Entire sections comes out green which states that the desin is correct.
Now, for the locator pin on top, create lines from master section and extrude the profiles into surfaces.
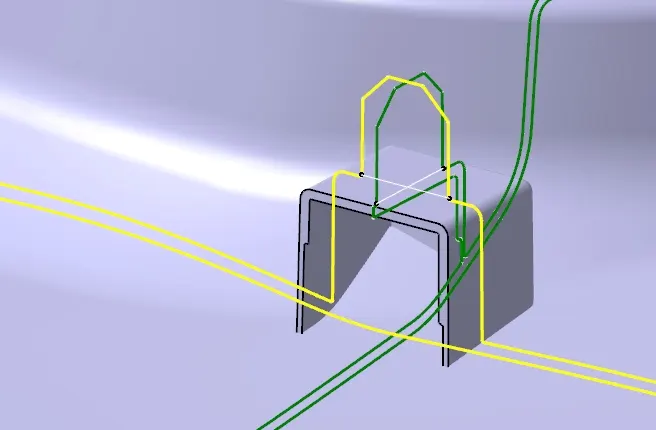
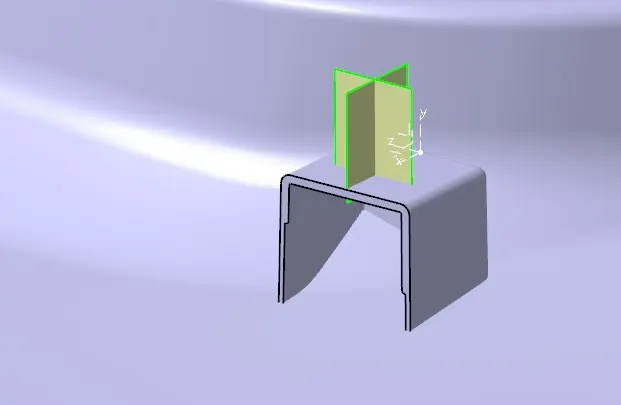
Thicken the surfaces and union trim it with doghouse body.
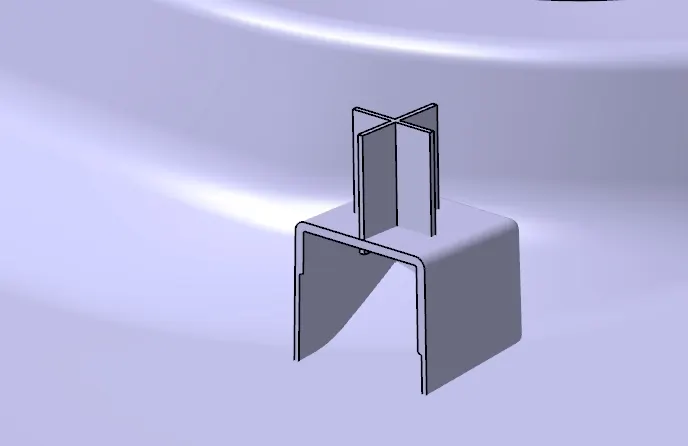
Add chamfer, draft of 0.5 degree and fillet radius of 0.3mm to the pin. Later union trim the entire doghouse and pin to the main component and add fillet to sharp edges.
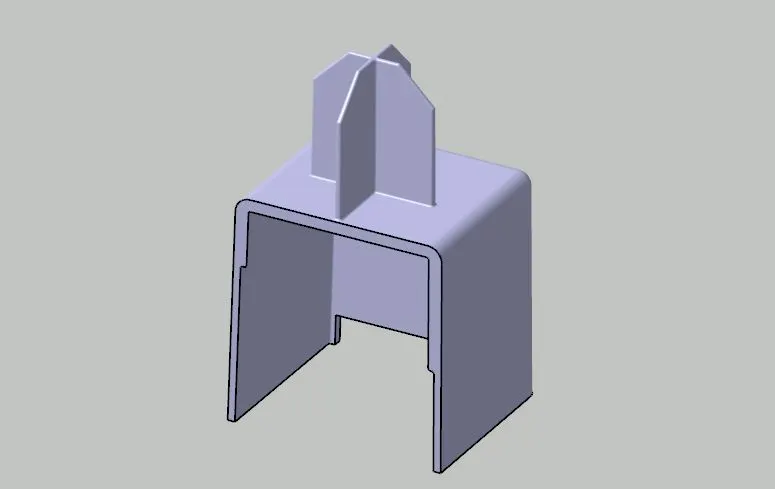
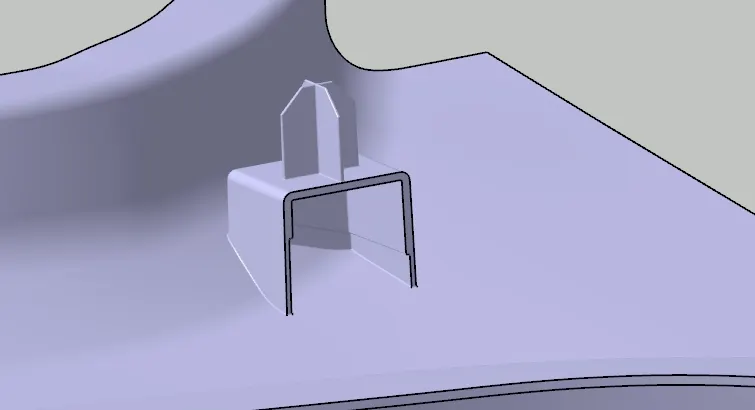
To create the same setup on other side, through reference of master section, create a point in betweeen and add a plane. Taking this plane as mirroring reference, mirror the doghouse body on another side as well. Add fillet to sharp edges and the below shown component is created.
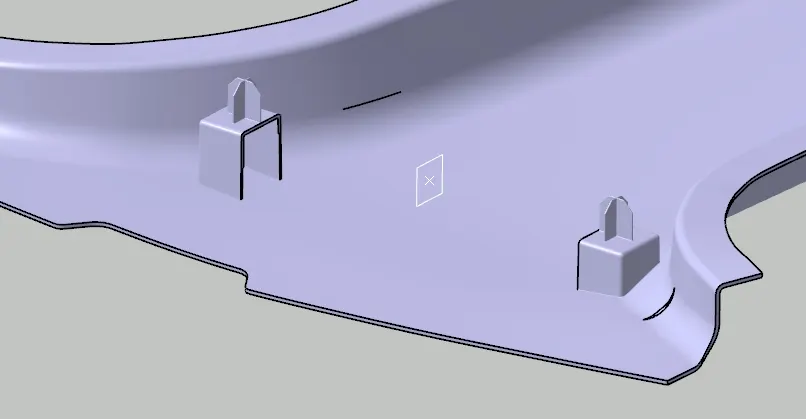
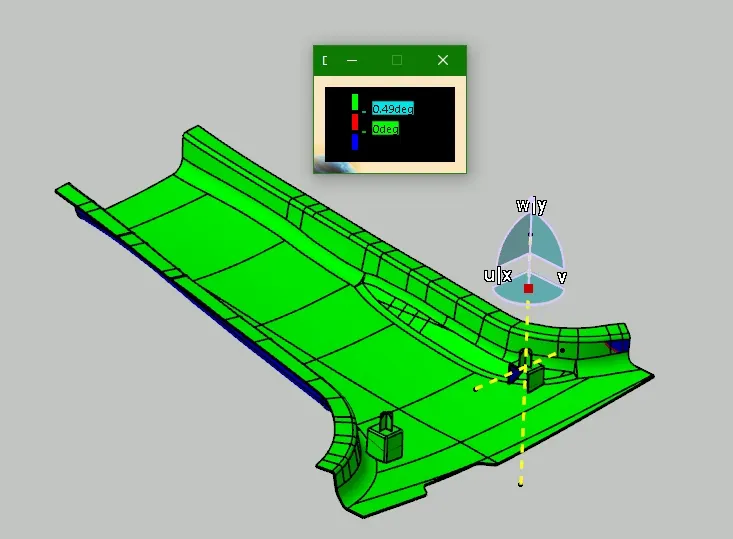
On draft analysis, we get all green surface.
Now, to strengthen the component, add some ribs on B side. For that, create a plane over doghouse and create a sketch on it. The lines should be equidistant to 50mm as per rules for ribs. Extrude them to surfaces, broad enough that passes through the component as shown.
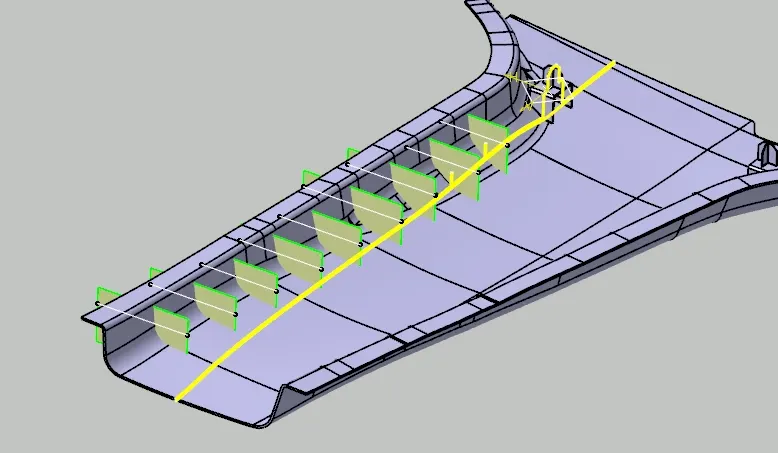
Extract the side wall and offset it to 20mm. Extrapolate the same and split the extruded surfaces. By this, we just limited the ribs size to 20mm away from the wall.
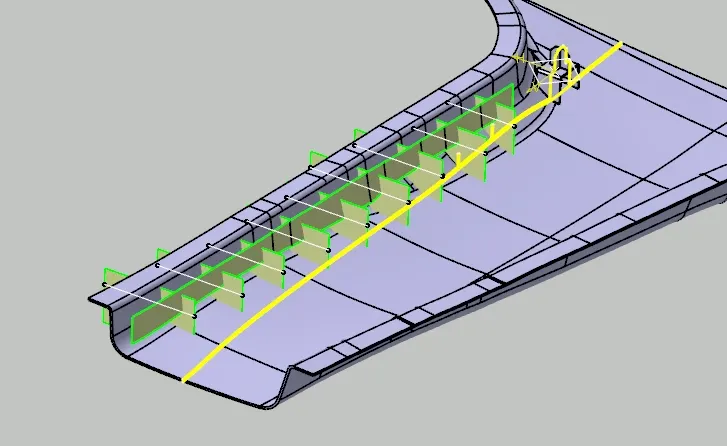
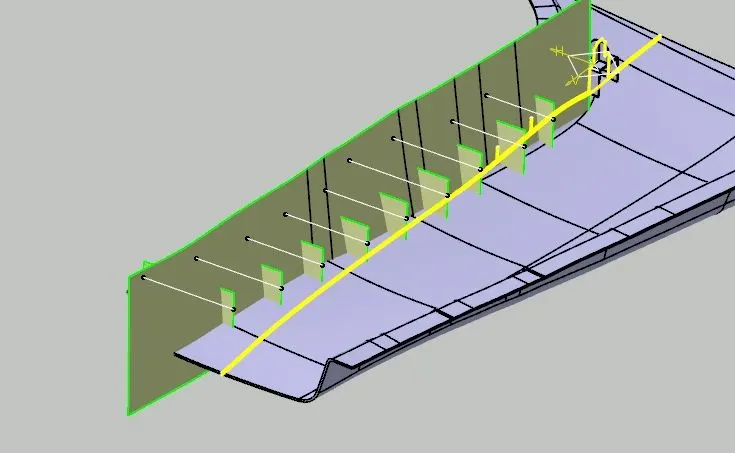
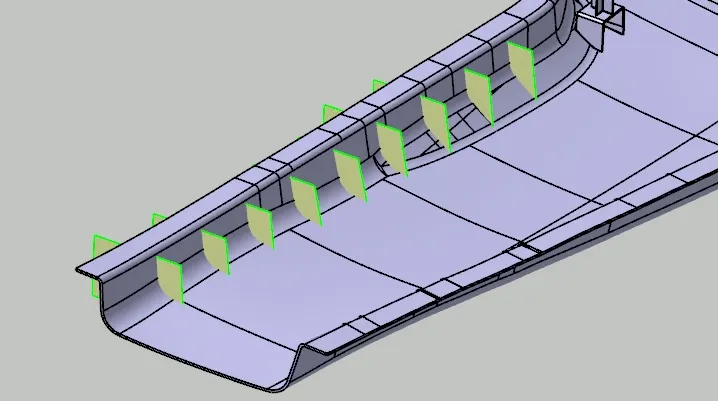
Now, again extract the B surface and offset it to 10mm, because the maximum height of rib can be 5 times that of thickness (i.e. 2mm). Split the surfaces again with the offset surface.
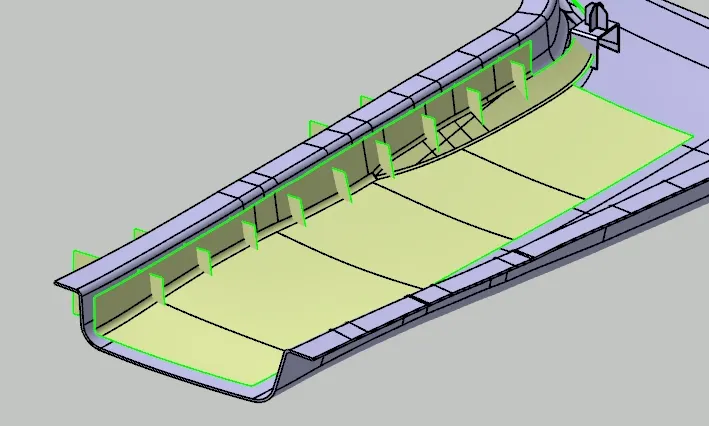
Thicken them in part workbench by 0.8mm because 0.4 times that of 2mm thickness a rib can be of. Union trim them with the main body.
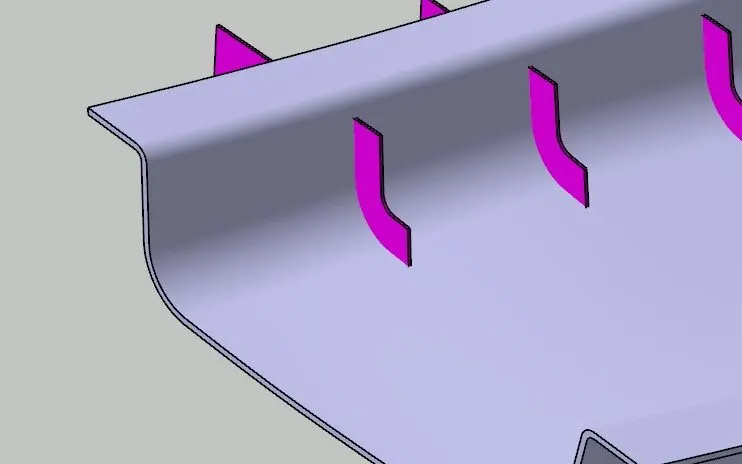
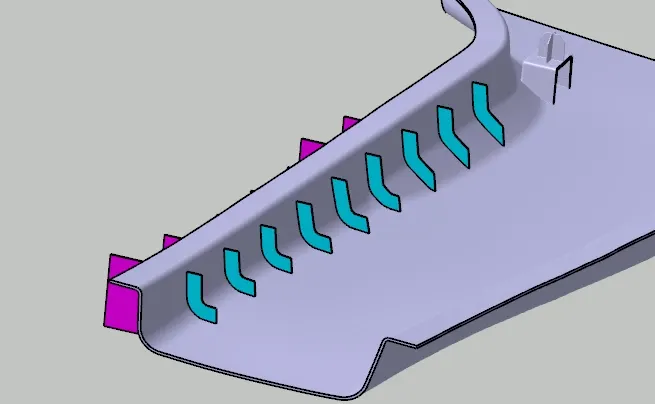
Add draft of 0.5 degree and fillet radius of 0.1mm. The final rib section is created.
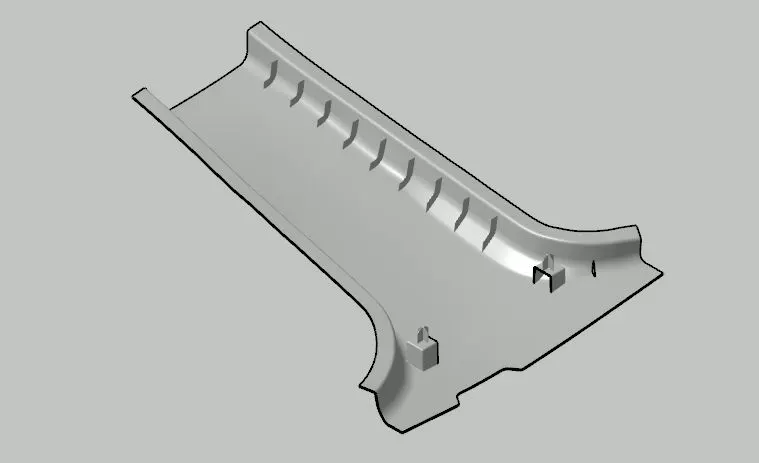
Follow the same method to create ribs on other side too.
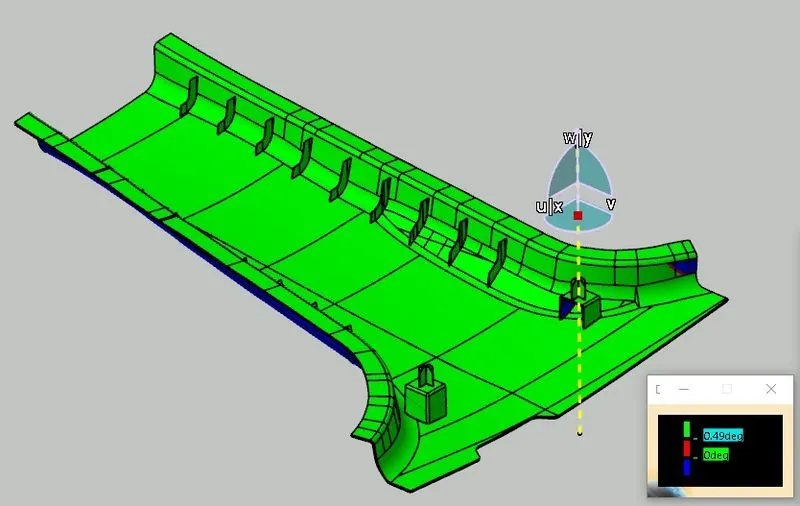
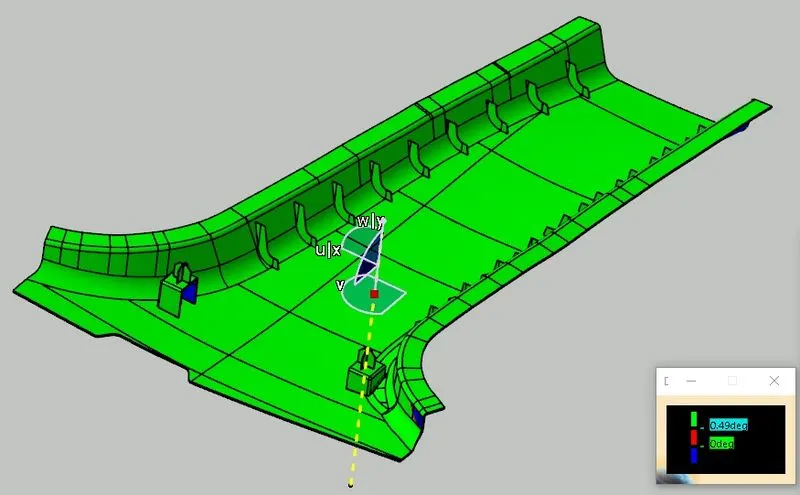
Later do the draft analysis and check the feasibility again. Entire surface comes out green, thats means the design is correct and manufacturable.
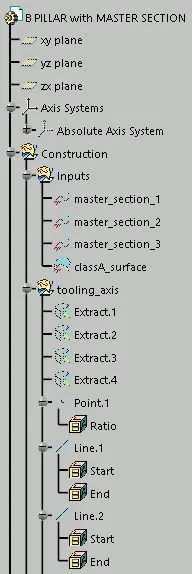
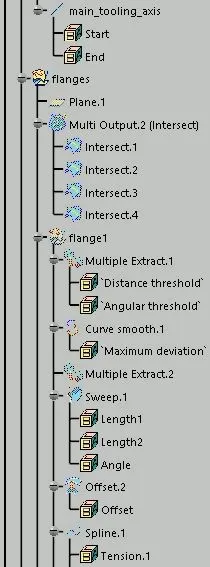
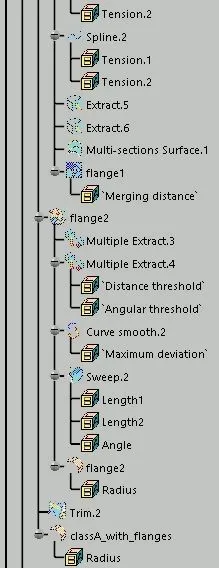
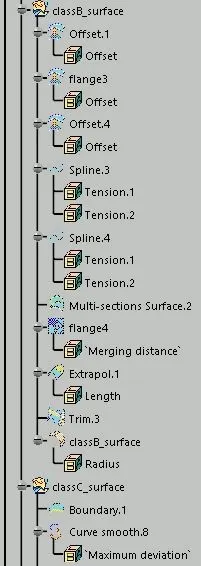
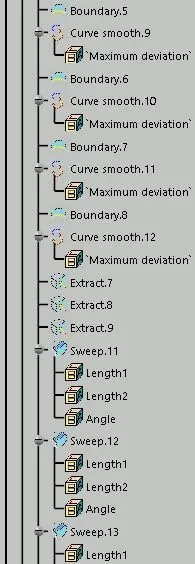
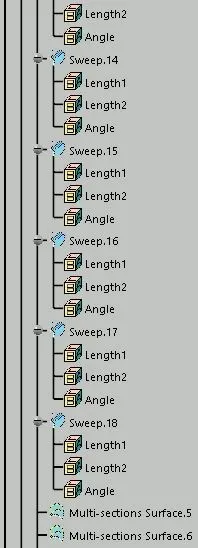
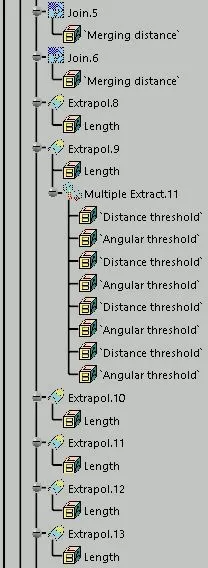
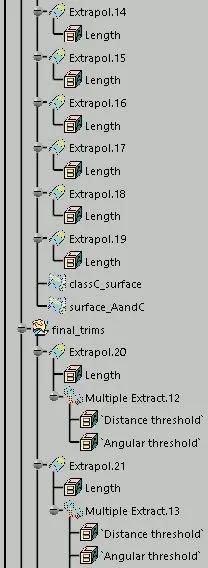
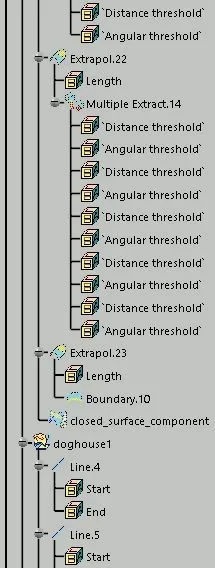
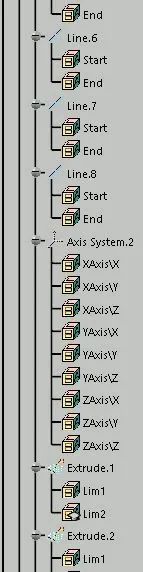
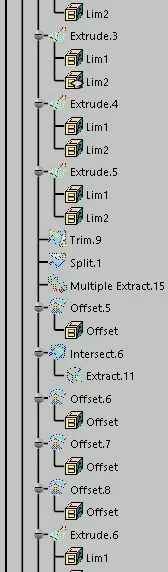
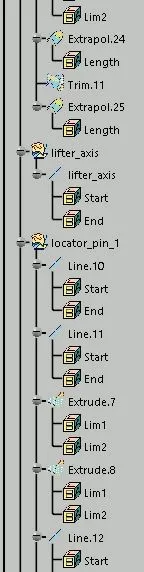
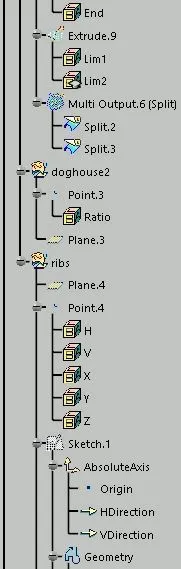
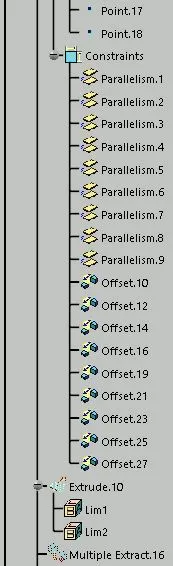
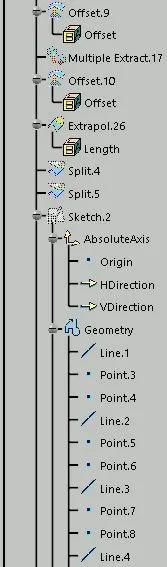
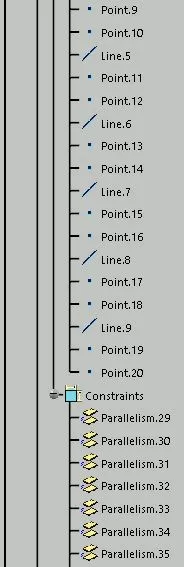
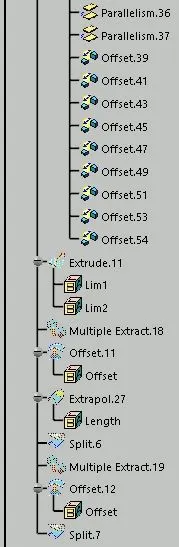
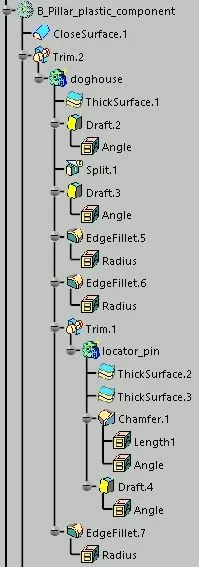
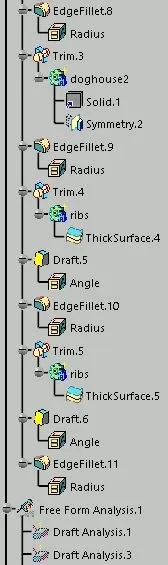
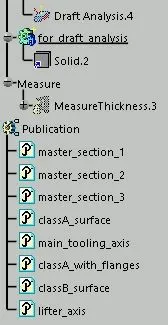
Tree Structure