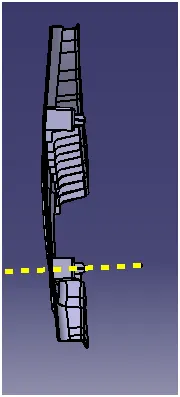
Week 9 - Project - Master Section Development
AIM:
Create a master section development the 4 way locator and dog house for the B-pillar lower section considering the design rules mentioned in the video.
OBJECTIVE:
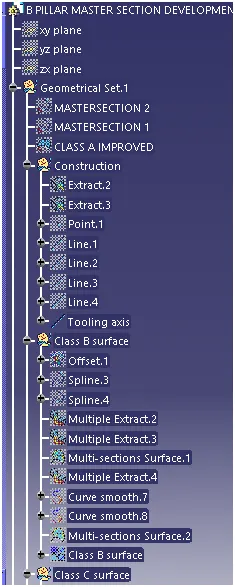
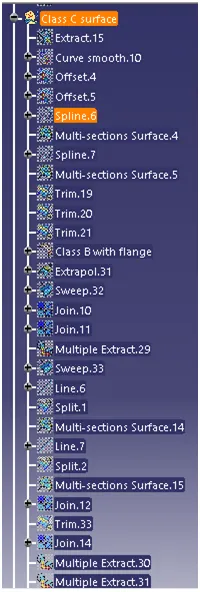
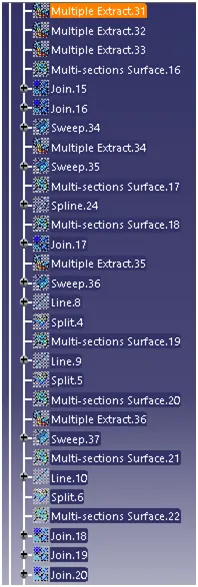
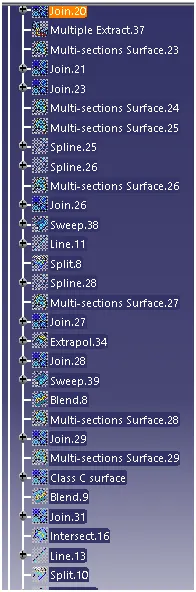
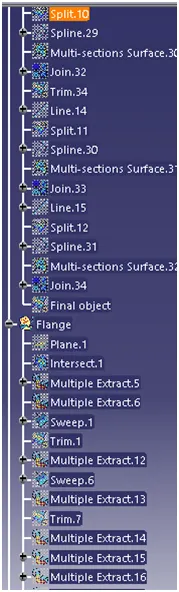
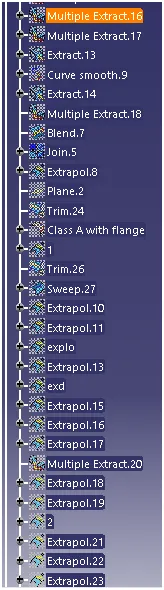
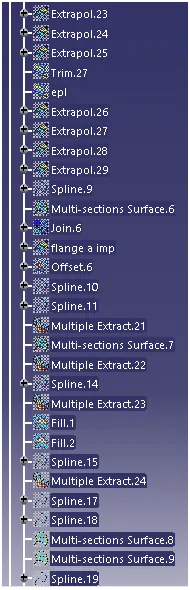
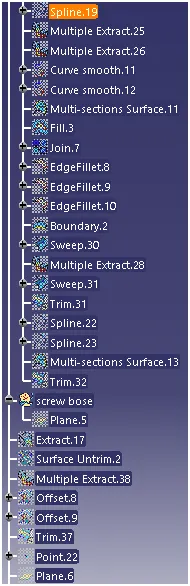
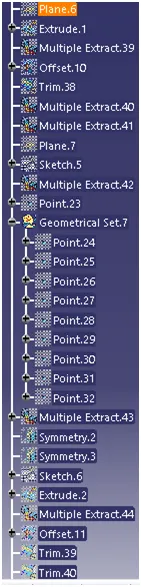
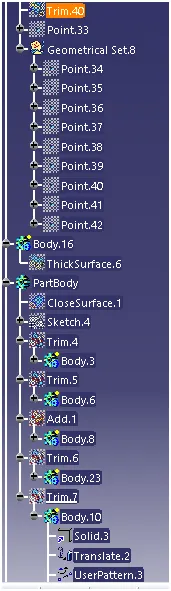
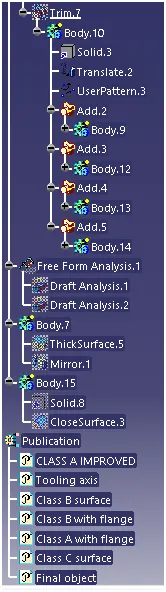
- Ensure Proper Tree Structure
- Geometrical sets should have a proper name based on the sketches present inside of it
- All the sketches should be created under the Geometrical set
- A detailed report should be done explaining the draft analysis and the tooling axis creation.
- An explanation should be given on the way of creating the tooling axis particularly the Bisecting method.
PROCEDURE:
Step-1: Connectivity check
- First we have to verify the part design using join surface option by simply selecting the class A surface .
- Another method is create a boundary layer of surface and disassemble it from the boundary layer from the surface.
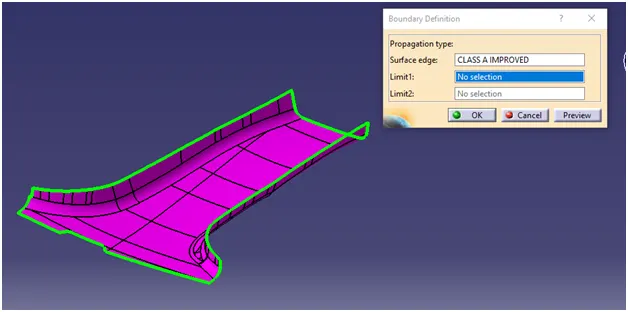
Step-2: Create tooling axis (Bisecting method)
- Create a reference point by selecting the center circle of surface.
- Then create the axis for the surface to easily define the tooling axis.
- simply select the point and xyz plane.
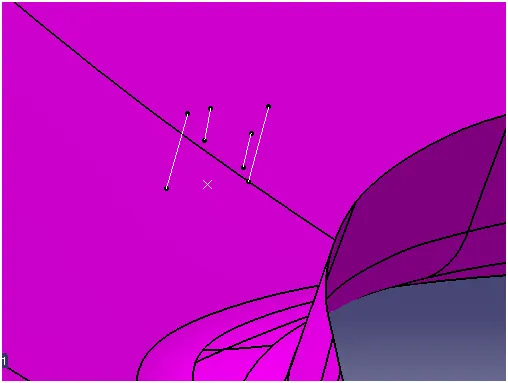
- To get a dummy tooling axis in x direction.
- Use the intersection command, to get a wire diagram of surface in x direction.
- Use multiple extract to separate the bottom face for tooling axis definition.
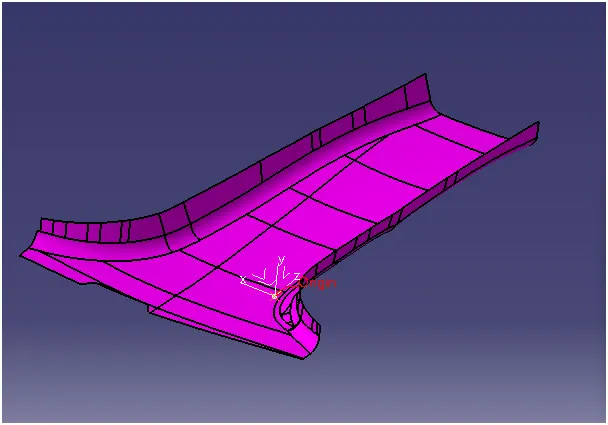
- select the intersection command, select first element is plane of dummy axis say zx plane, select second element as class A surface, click ok.
- The draft angle of x direction is created to get the tooling axis of x-direction.
- We will get the tooling axis in x-direction and also define its line color and thickness
- After the dummy axis definition, select the tooling axis of x to bisect using line command.
- The tooling axis for draft analysis is formed.
- Use publication command to publish the class A surface and tooling axis.
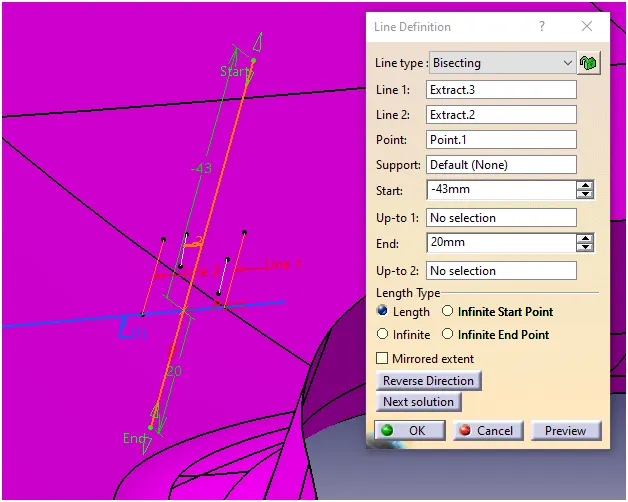
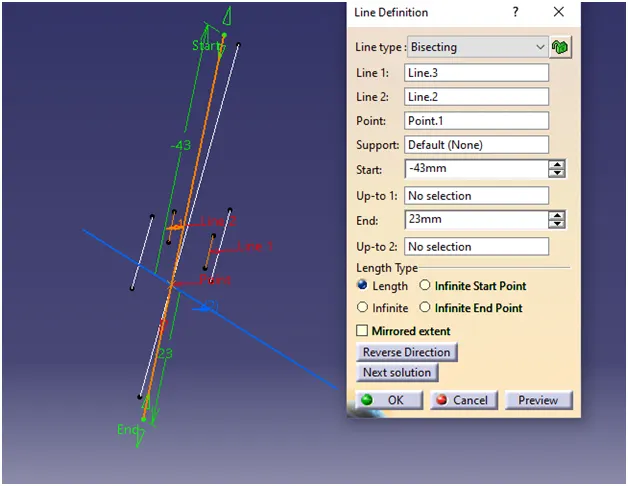
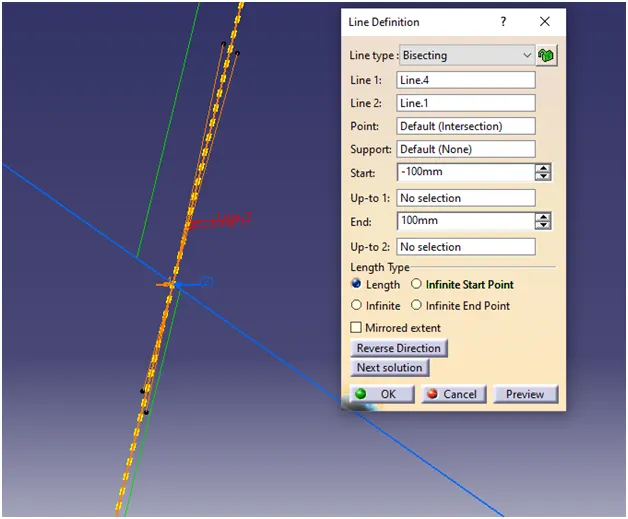
Step-3: Perform draft analysis
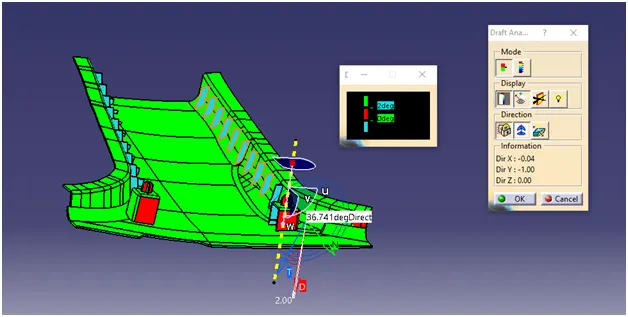
- Select the draft analysis command, ensure the material feature is used.
- Use quick analysis mode, display color scale option.
- Click on compass command on direction, drag and drop it in tooling axis.
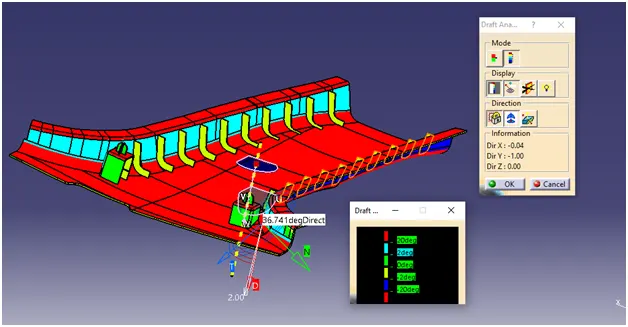
- The draft should show green surface which is feasible draft angle.
- If red is shown not feasible draft angle and for blue negative draft angle.
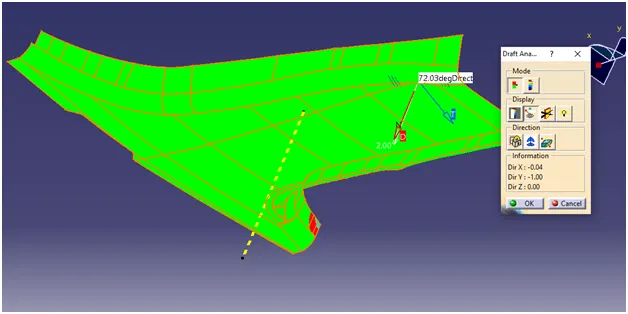
- Use analyses under running point, to ensure same angle on symmetrical direction.
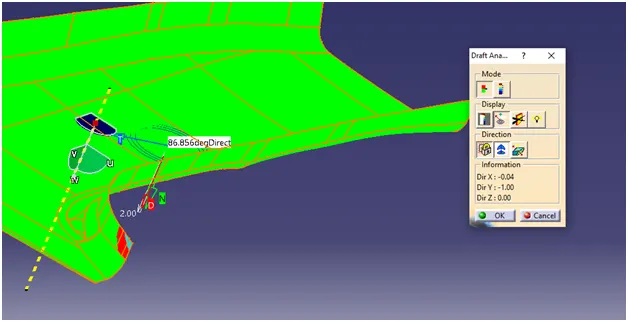
- Below is fully analyze mode to get the varied angle in class A surface.
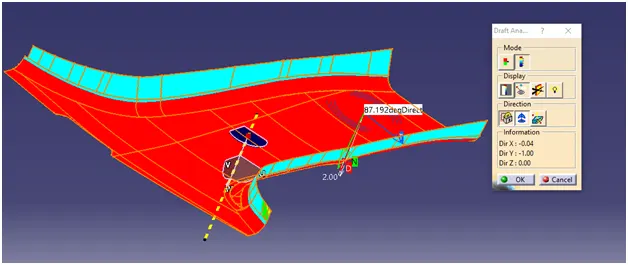
Step-4: Create class B surface
- First explorate the surfaces for 10mm length with boundary to be specified.
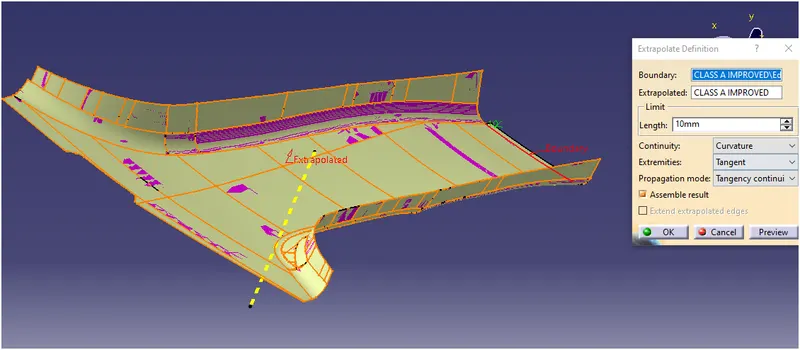
- Then offset the trimmed surafce from 2.5mm.
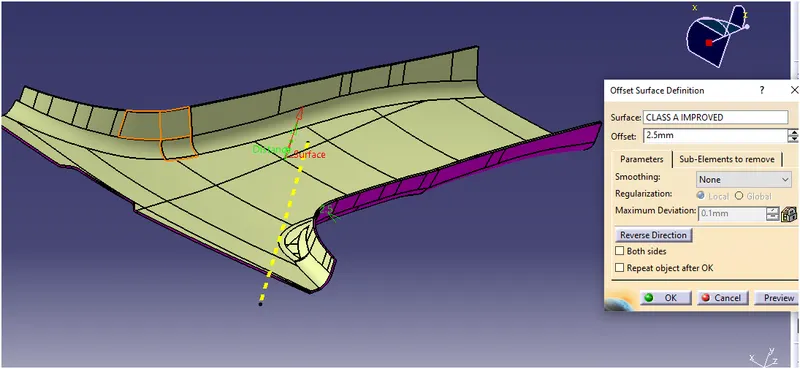
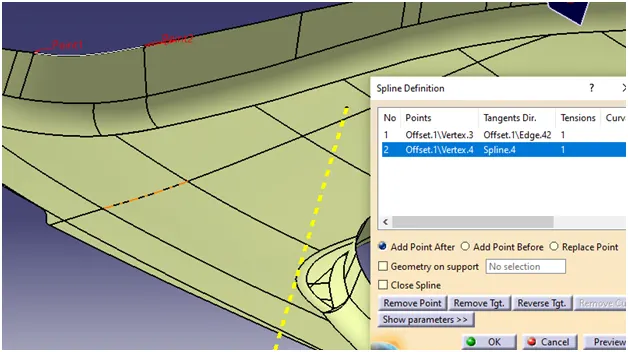
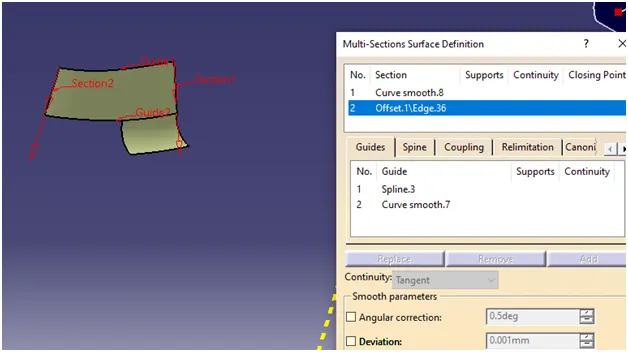
- Due to some errors there may be some patches missing. So Create curves and use the multi section surface option.
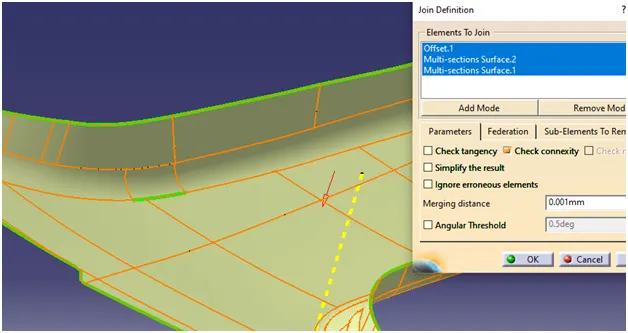
- Then join the patches with class B surface.
Step-5: Create flanges for both the class A and B surfaces
- Sweep out the flanges for 20mm.
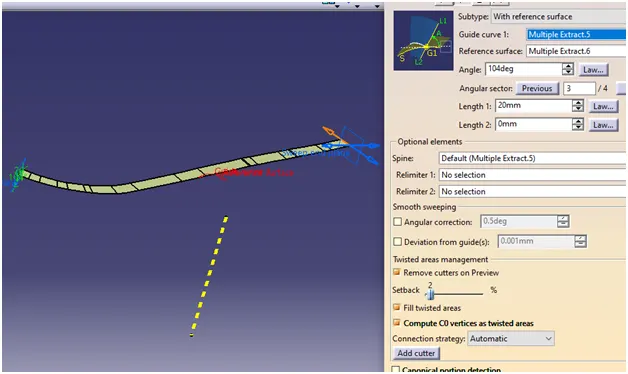
- And trim the side and bottom surfaces together.
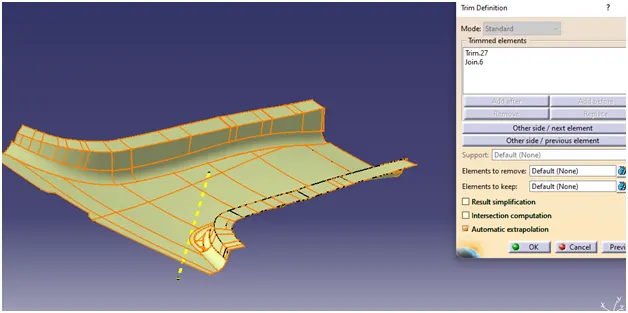
- And apply the fillet option measure the edges and enter the value.
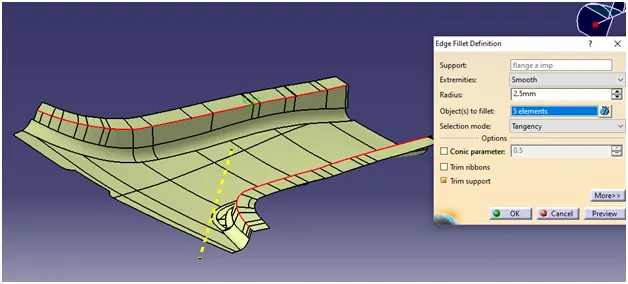
Step-6: Create class C surface
- First create boundary of class B surface to from a guide curve.
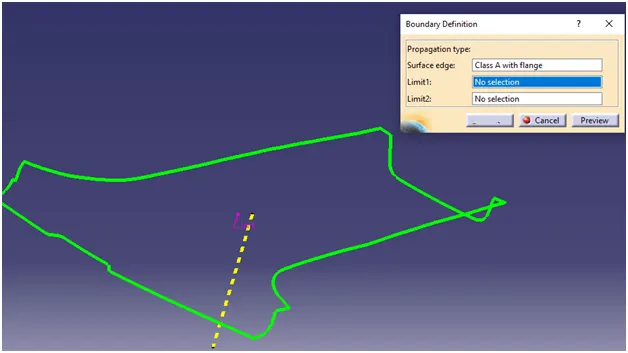
- Then click the sweep option to select profile type line, draft direction, guide curve as boundary layer and draft direction as tooling axis.
- Follow the same procedure to attain the top layer and 2 holes.
- Then join the side sweep and top sweep togther and 2 holes as well.
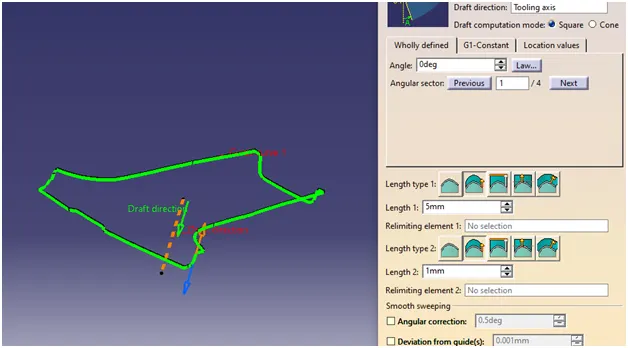
- Finally trim the joined surfaces and class C surface to get the final result.
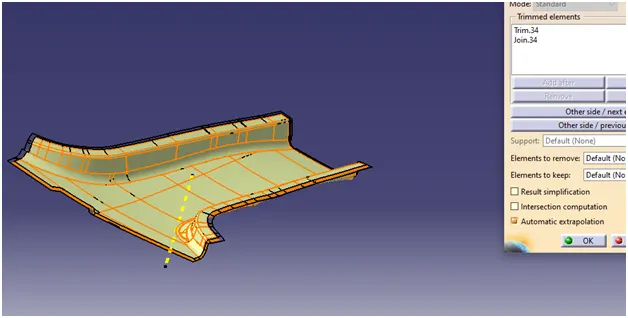
- Also follow the same procedure for the new final part made as C surface.
Step-6: Create dog house
- First create a sketch of a line which is 4 way locator baseline and constraints should apply.
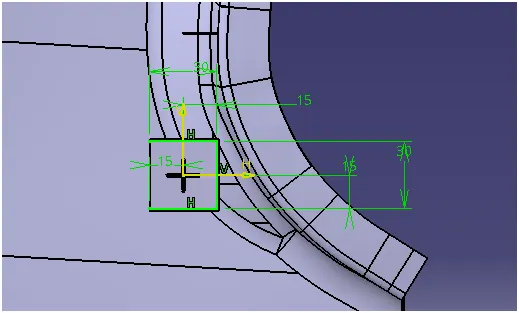
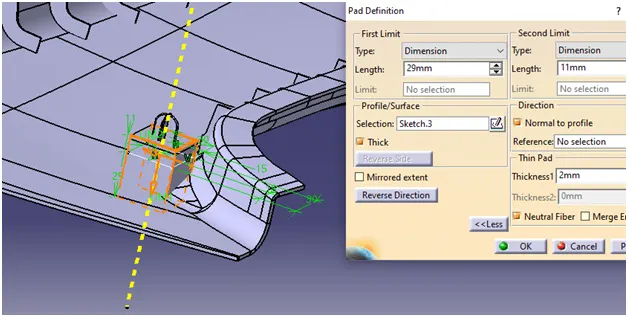
- Pad the line for 5t where t is thickness of the object (2.5mm).
- Also extended the other side for 1 mm or else the object can't be assembled.
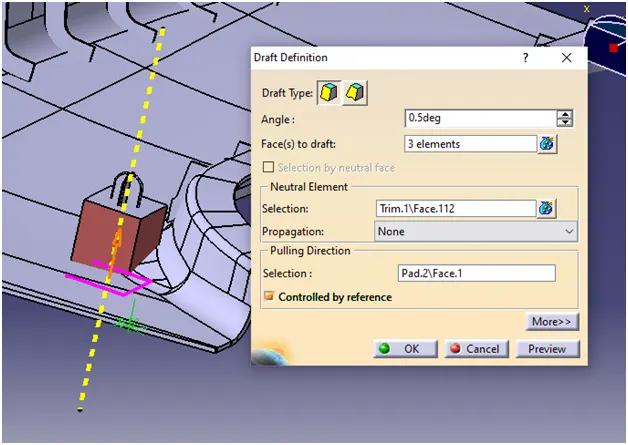
- Apply draft angle of 0.5 deg.
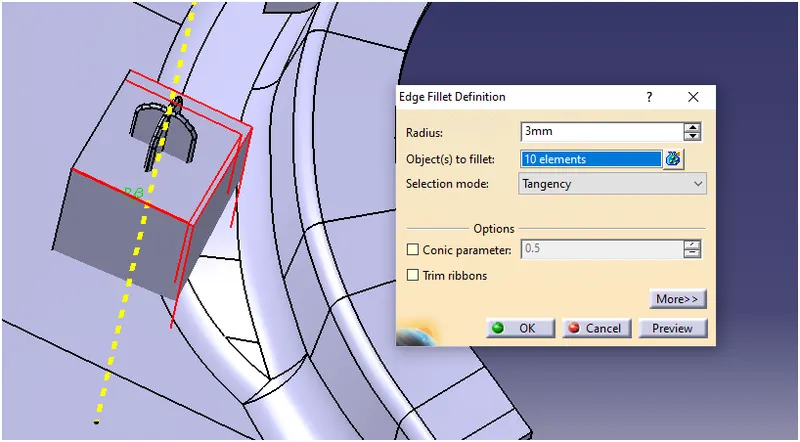
- And also apply edge fillet as 0.25 mm.
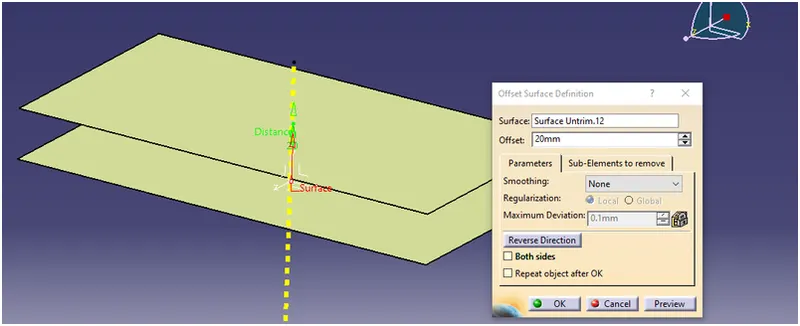
- And offset it to close the swept dog house baseline and trim it.
- Use the thick surface option.
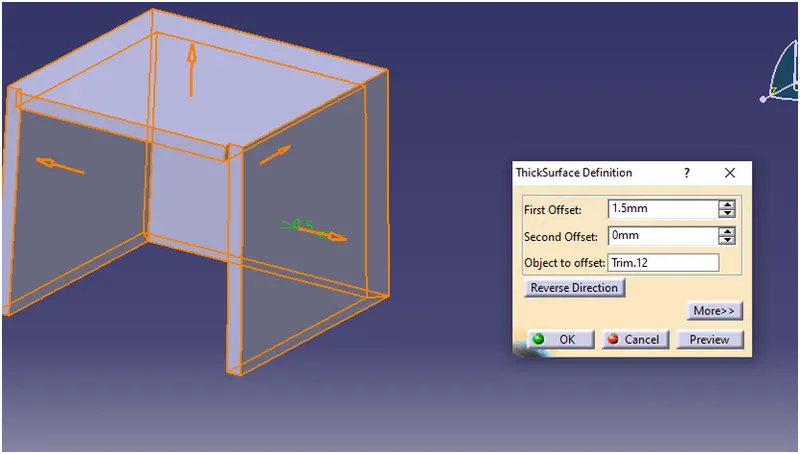
- And offset it to trim the excess part.
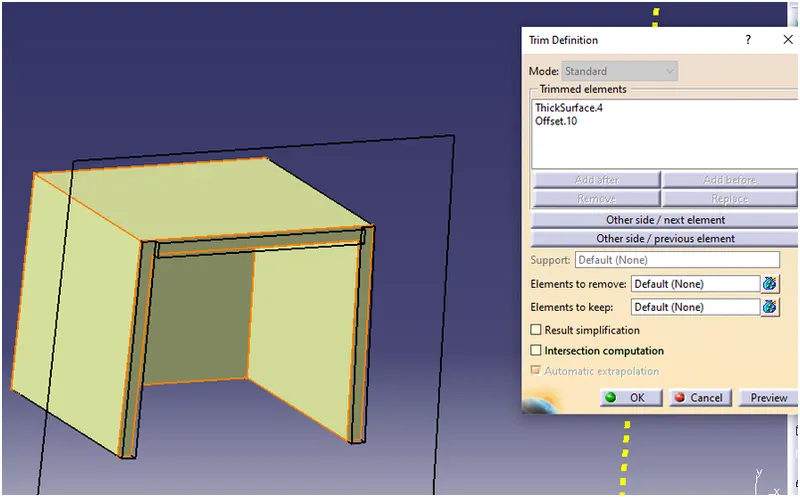
- Extract and explorate the inner part of dog house.
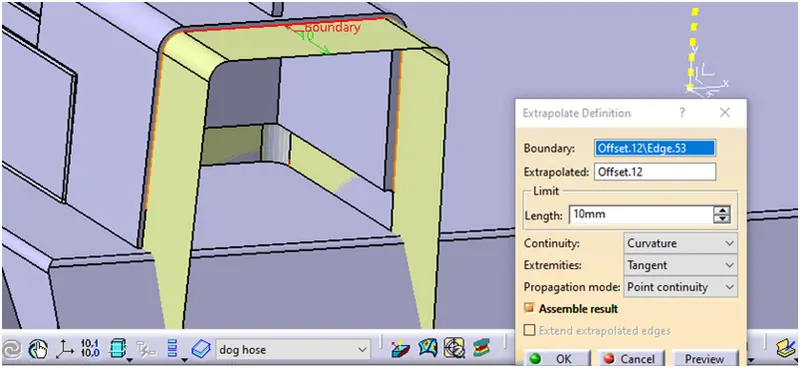
- And offset the base plane to trim the inner wall of intersection to dog house.
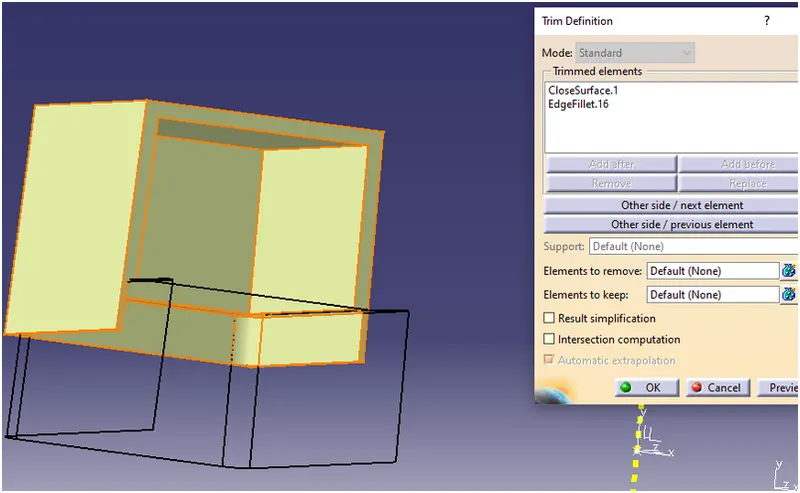
- And also apply edge fillet as 0.25 mm.
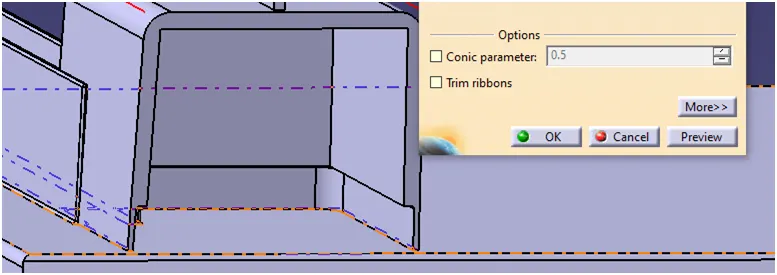
- Create a body and use boolean assemble option.
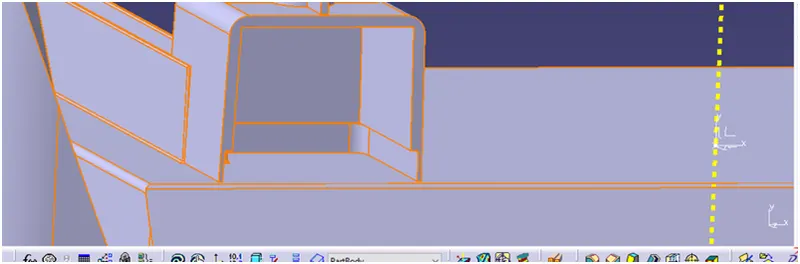
- Use Translate or pattern option to move the 4 way locator to upper side of dog house.
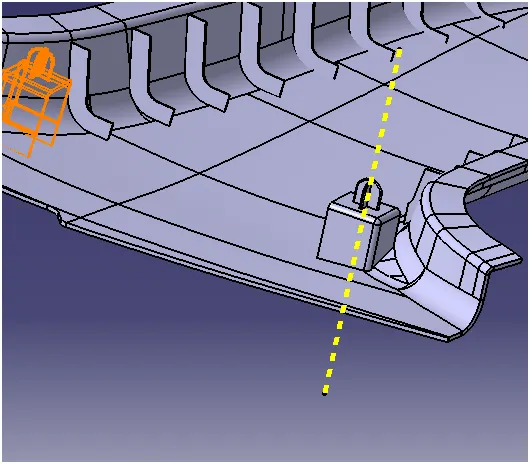
Step-8: Create 4 way locator
- Then create a sketch of a line which is 4way locator baseline and constraints should apply.
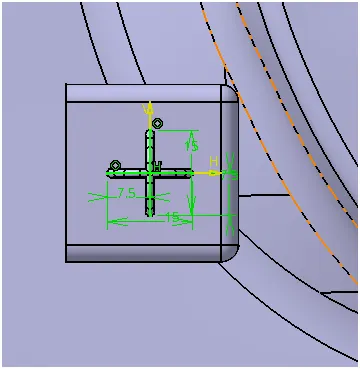
- Sweep the line for 5t where t is thickness of the object (2.5mm).
- Also extended the other side for 1 mm or else the object can't be assembled.
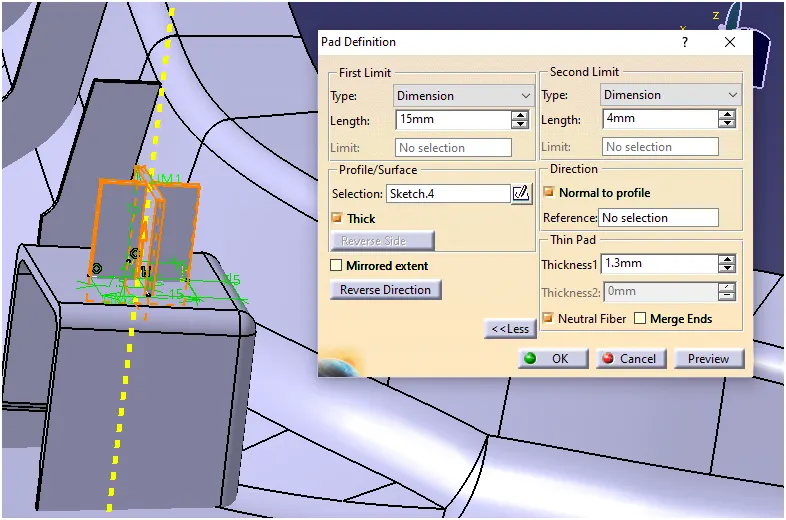
- And also apply edge chamfer and fillet as 0.25 mm.
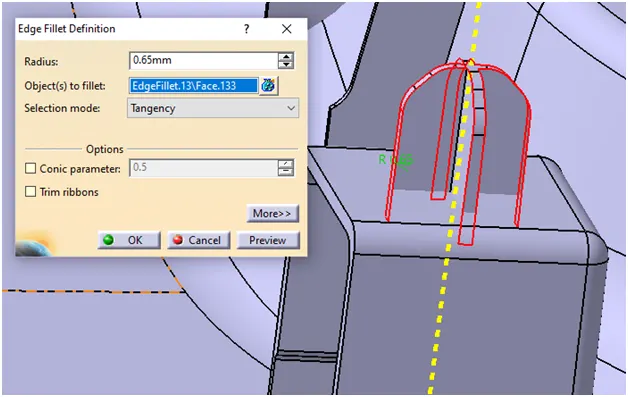
- Create a body and use boolean assemble option.
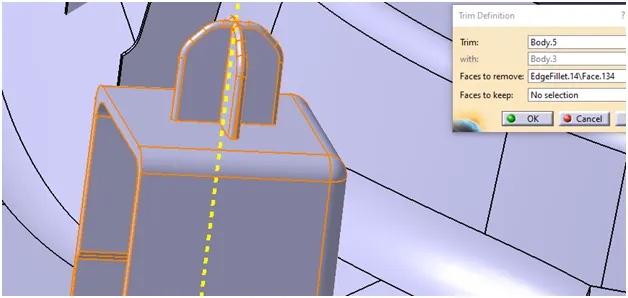
Step-5: Create ribs
- Then create a sketch of a line which ribs baseline and constraints should apply.
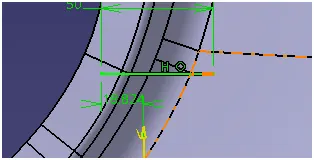
- Also extended the other side for 1 mm or else the object can't be assembled.
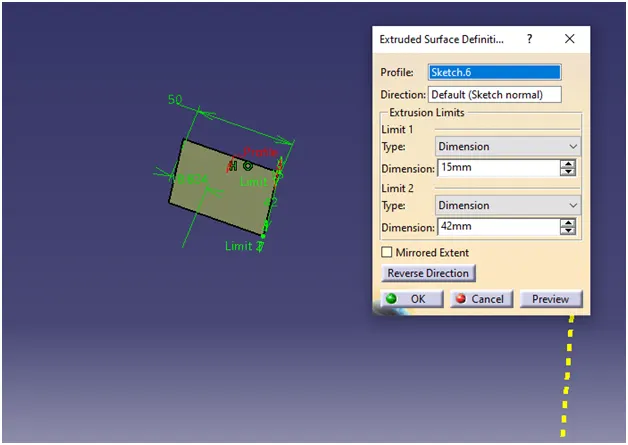
- Extract and untrim the bottom part of ribs.
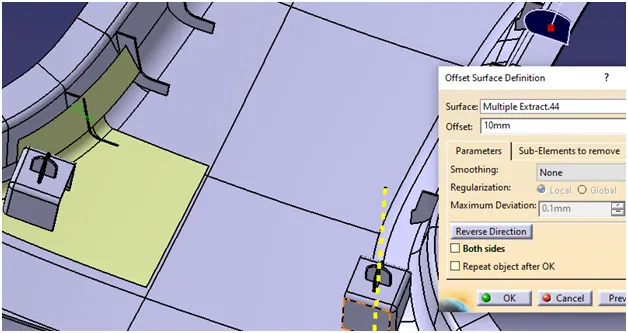
- And offset it to close the swept ribs baseline and trim it.
- Also translate the ribs for 10 places by parallel point definition on the extracted boundary.
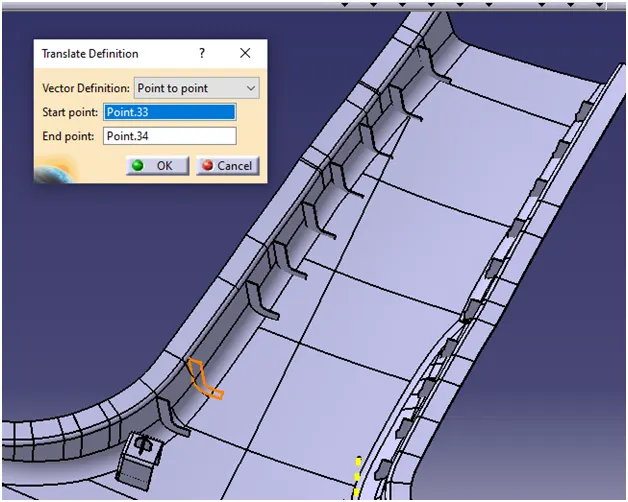
- Create a body and use boolean assemble option.
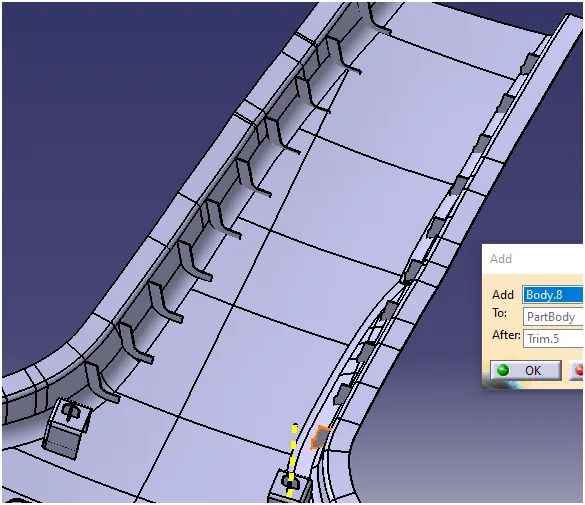
- Follow the same procedure to other side too.
RESULT:
- Tree structure
- Isometric View
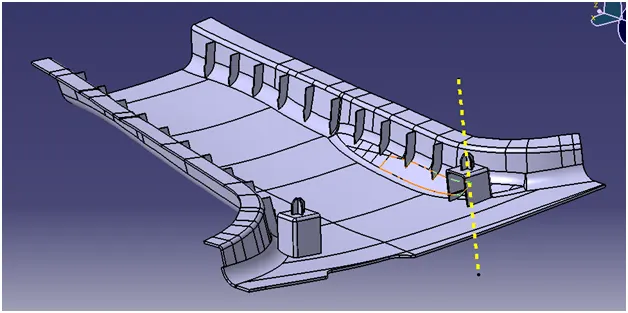
- Front View
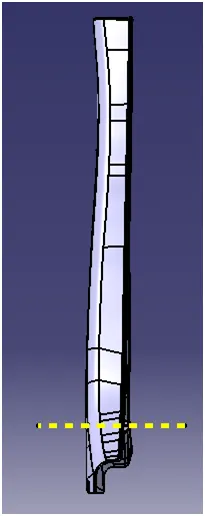
- Side View
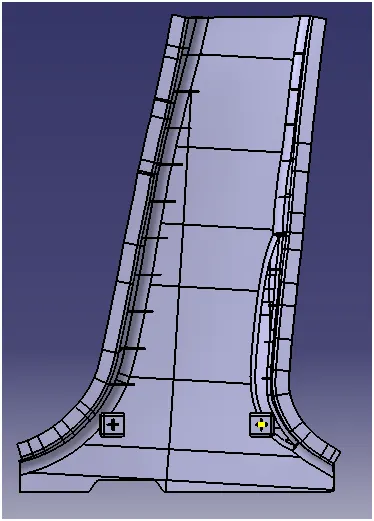
- Top View