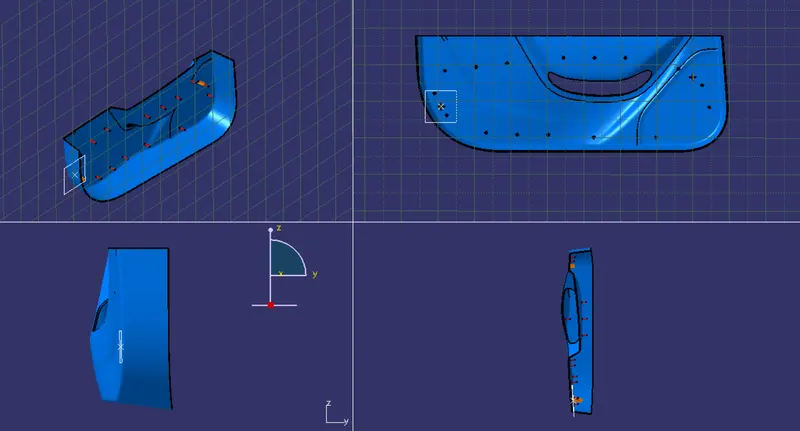
Week 9 - Project 1 - Door Trim Lower with Engineering Features
Aim: To Create the Door Trim through the given Class-A surface by creating a required tooling axis.
Procedure for Designing Door Trim:
To start with is to download and open the below class A file of the door trim.
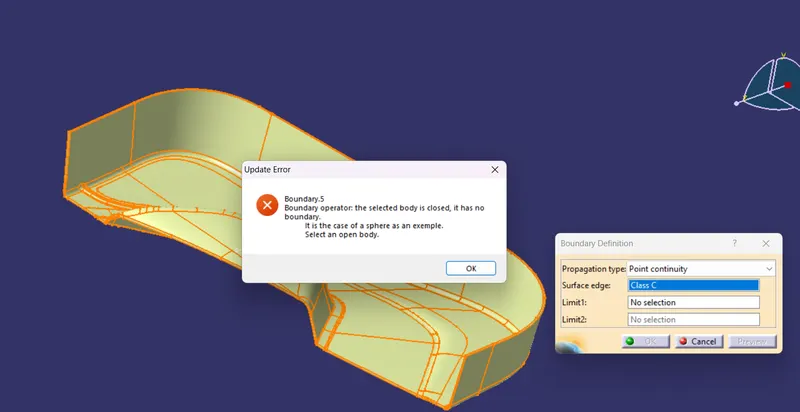
Now check the continuity of the surfaces using boundary option. There should not be not gao between the surfaces.
Tooling Axis / Direction creation:
Once it is verified that there is no gap, next step is to create Tooling axis of the above model. Check visually for the direction of tooling. The should be permissible 2.5 degree draft angle for the ejection of the part after manufacturing.
For that should create a dummy axis in any direction.
The base of the class A surface is extracted and a point at the center is created and axis system is inserted.
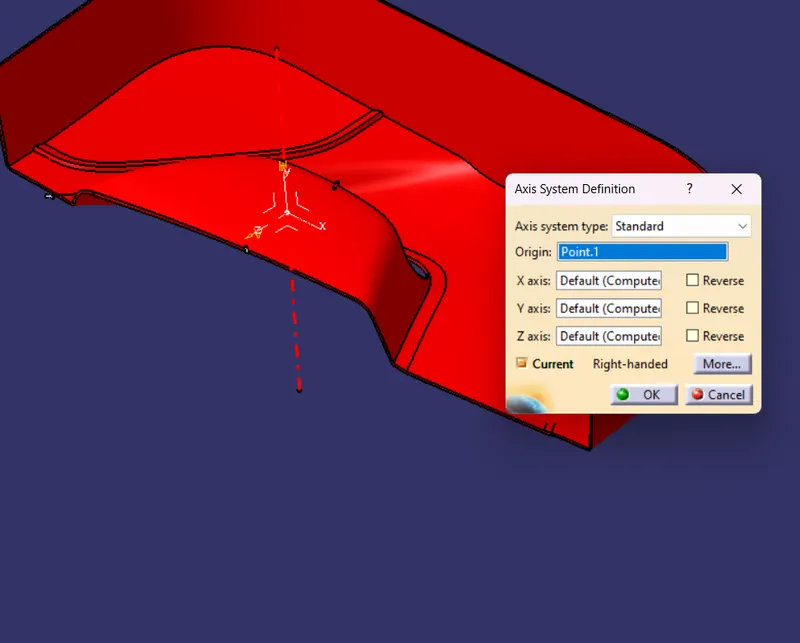
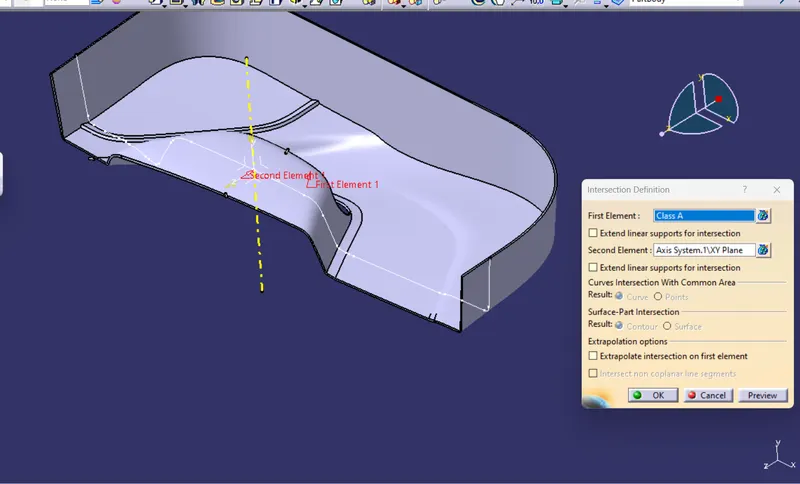
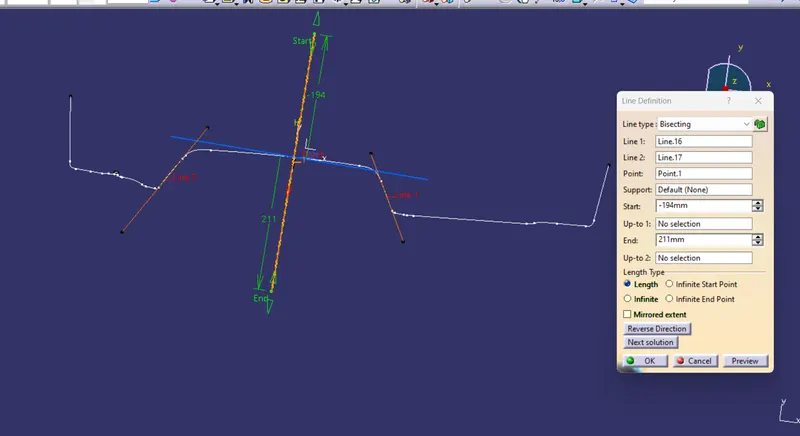
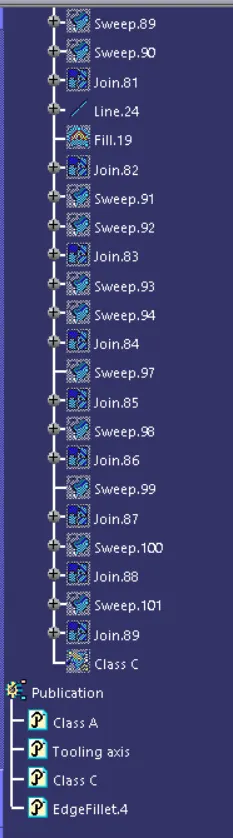
As the tooling axis is created next publish it using publication option in tools section.
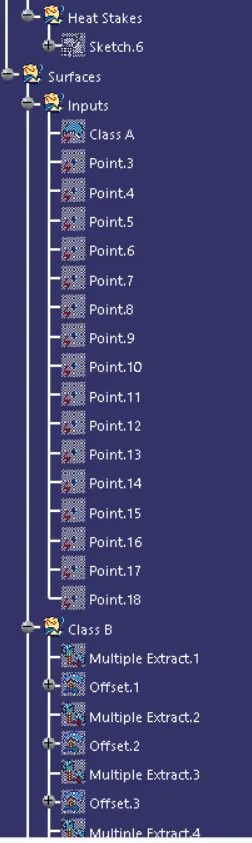
First thing we have to do is to extract the base surface using extract tool  and multiple extract one by one carefully.
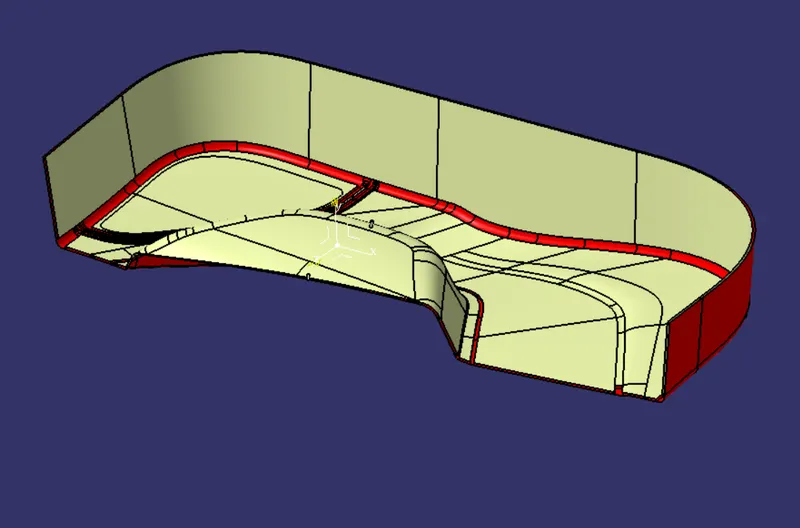
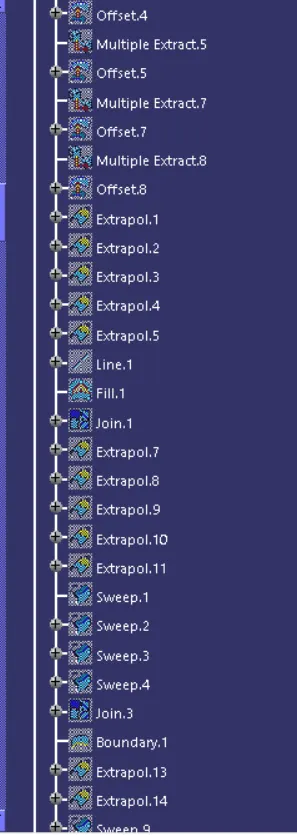
Untrim the surface and extrapolate the walll surface. Trim the wall surfaces as required.
Similarly follow the procedure for all the surfaces and trim them all together.
Offset the trimmed surface by 3mm thickness towards outside.
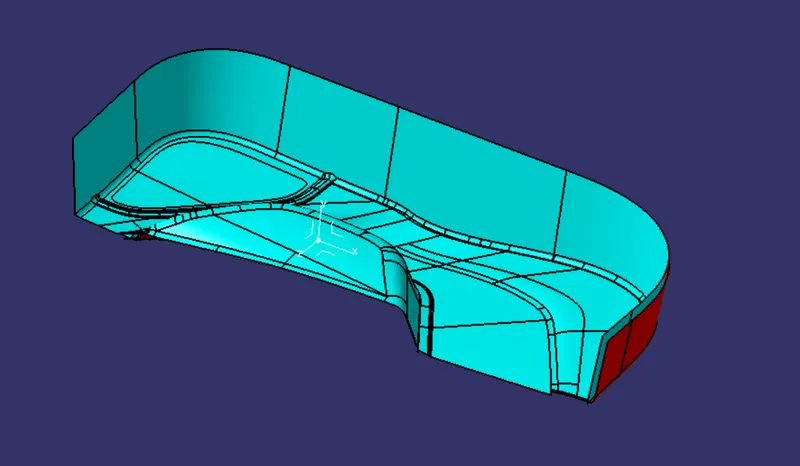
Apply the edges fillet to the edges and check for the fiilet dimension by measurng on the class a surface.
Class C creation:
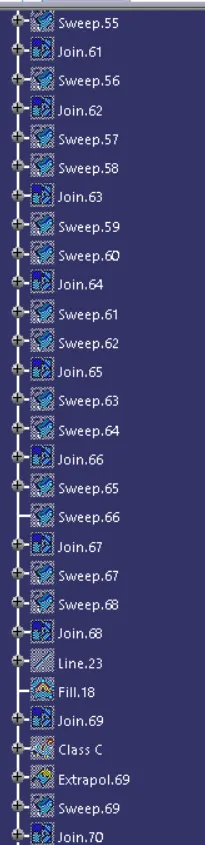
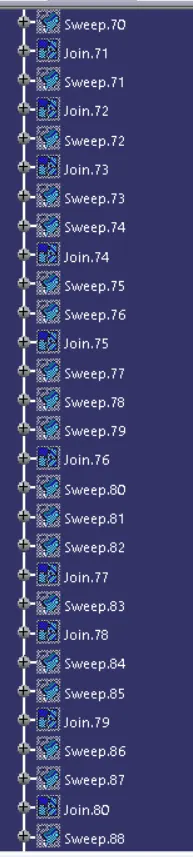
Create the boundary of the class A first
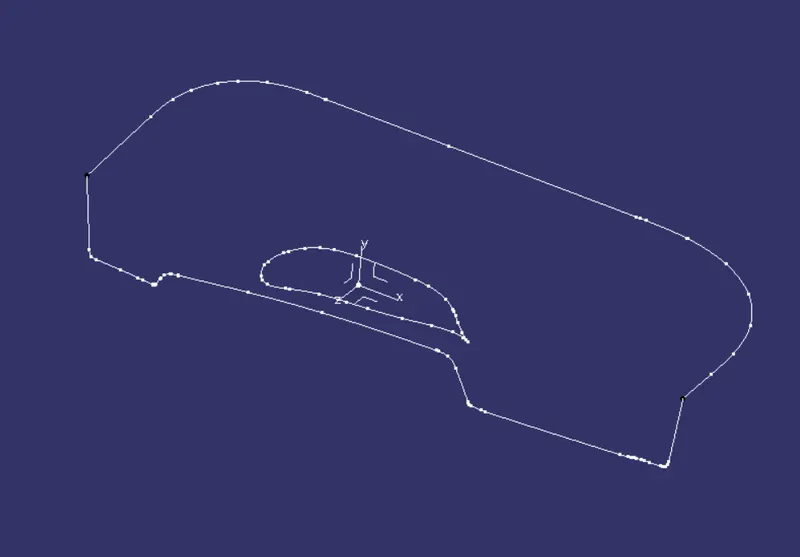
Create a insection of both class A and class B alond the zy plane.
Create a 2.5 degree line at the insection at the zy plane as showin in below diagram
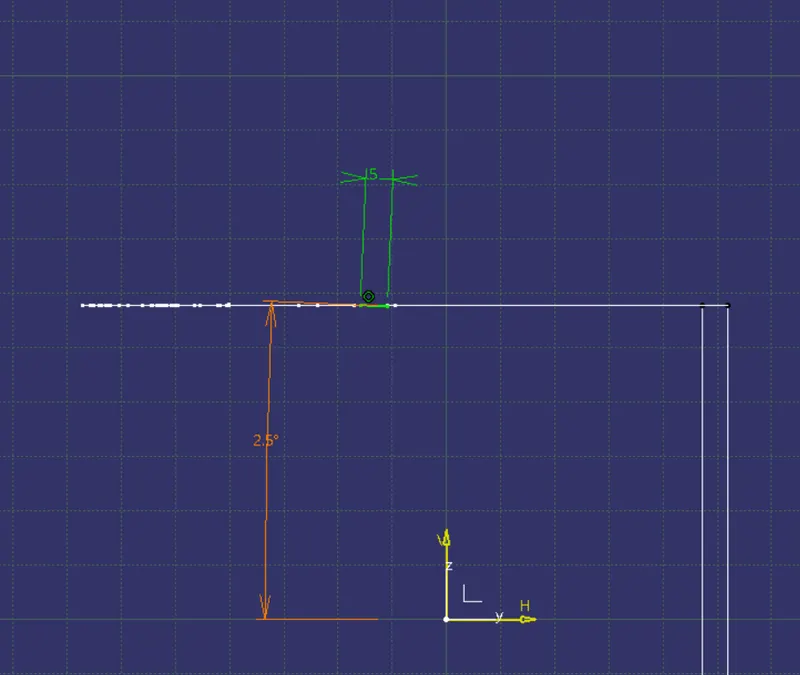
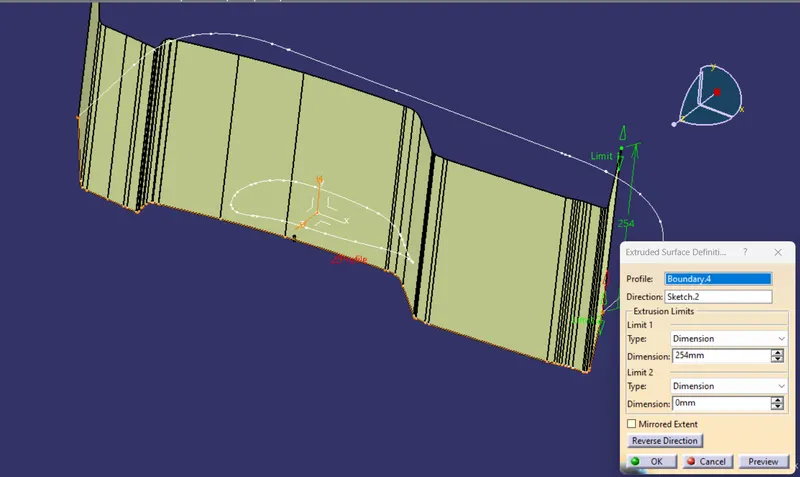
Extruce the suface along the line as a directioin .
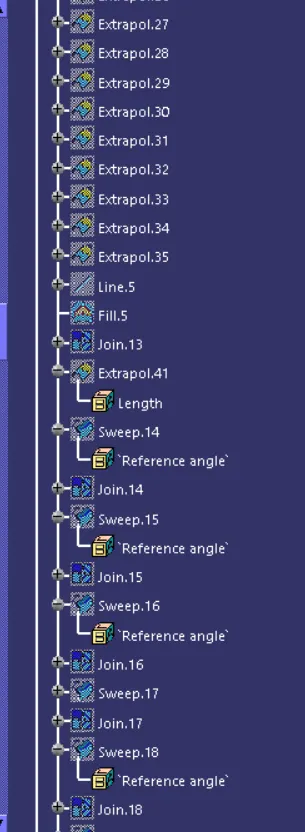
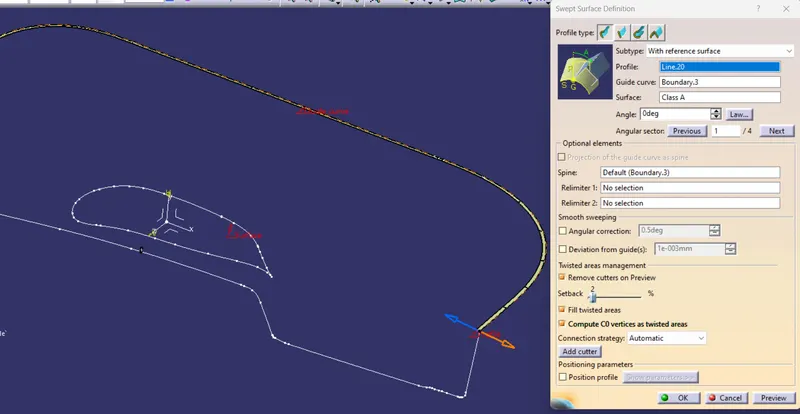
Similarly using sweep command, extrude the top boundary perpendicular ot the surface.
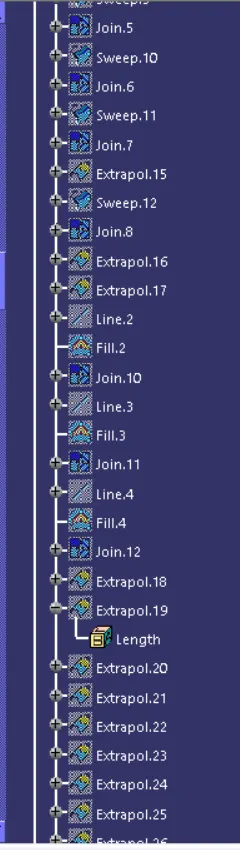
Extrapolate and trim the created class C surface and class B surface for joining accuractely.
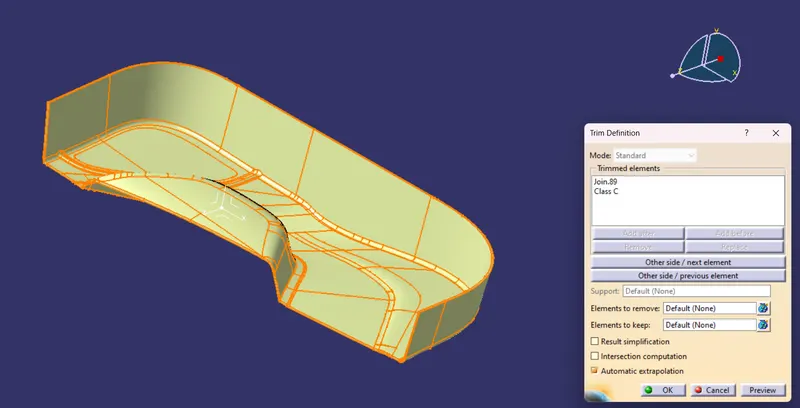
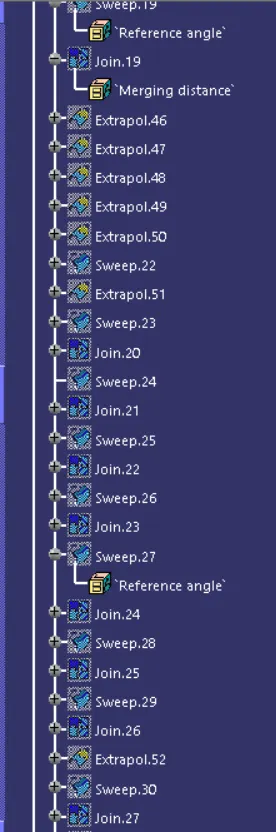
Now join the Trimmed surface with the class A / B surface.
Now check for the boundary if open edges are there or not.
Since there is no open edges, we can proceed to creating solid.
Open part design workbench and click close surface , select the surface body and click ok.
Steps for Draft Analysis:
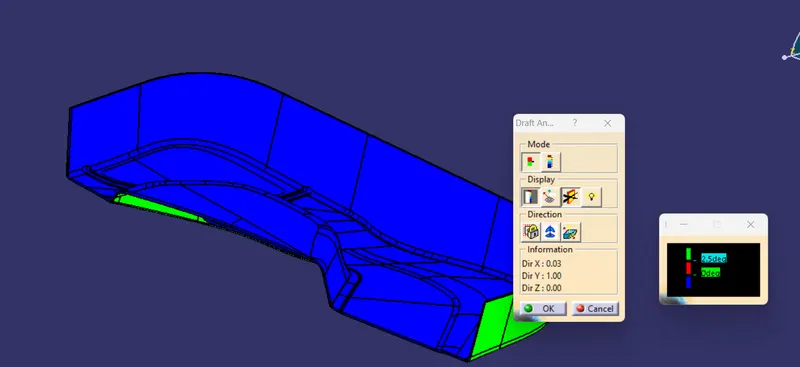
Change the view mode to the custom view and select view paramater as Material mode, then the draft analysis is enalbles.
Click the draft analysis option  , move the compass with the red dot to align with the tool axis.
Now lock the compass and click anywhere on the part, the color will be changed.
Change the value of the green color limit as 2.5 degrees.
The green color shows that the surface satisfies the draft angle and other color if the angle is not satisfied. This can be corrected by altering the angle and measuring at points to get succesfully draft to get satisfied.
Now we will see how the plastic part is fixed onto the other plastic part. The door applique is fixed on to the door surface with the help of locators and heat stakes. Every component in space has 12 degrees of freedom.
So these locators and heat stakes restrict all these degrees of freedom. Locators are 4-way locators.
Creation of 4 way locators:
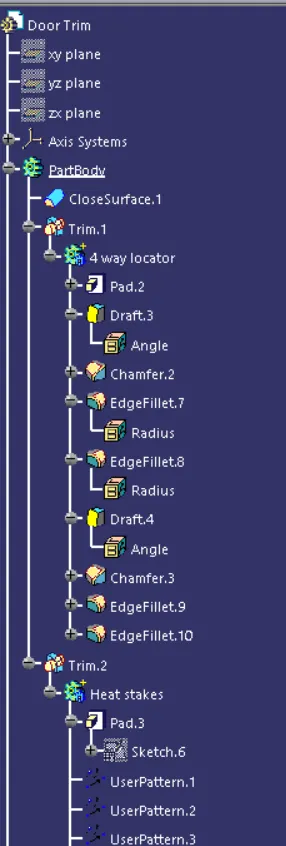
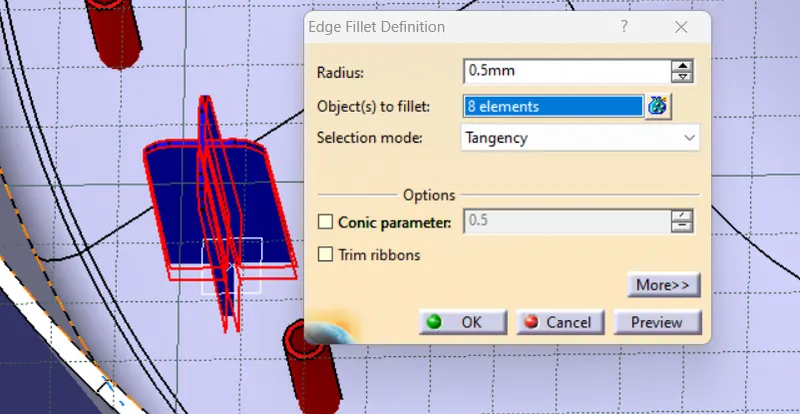
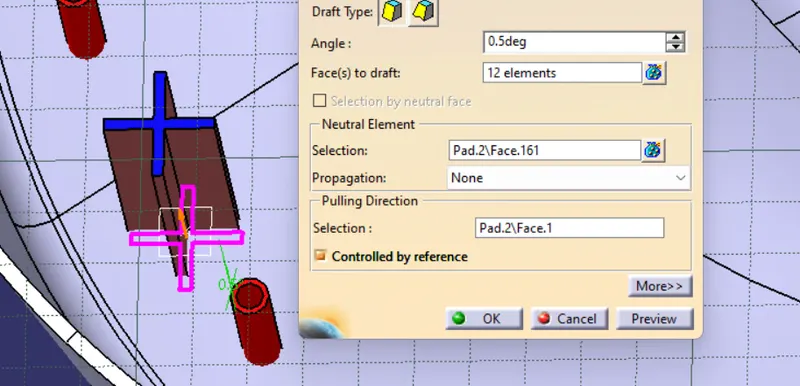
The locators will follow the rib design guidelines and will be given a minimum draft of 0.5 degrees and a minimum fillet of 0.2mm and an entry chamfer of 3mm. This entry chamfer is given so that the locators can mate with the other part easily.
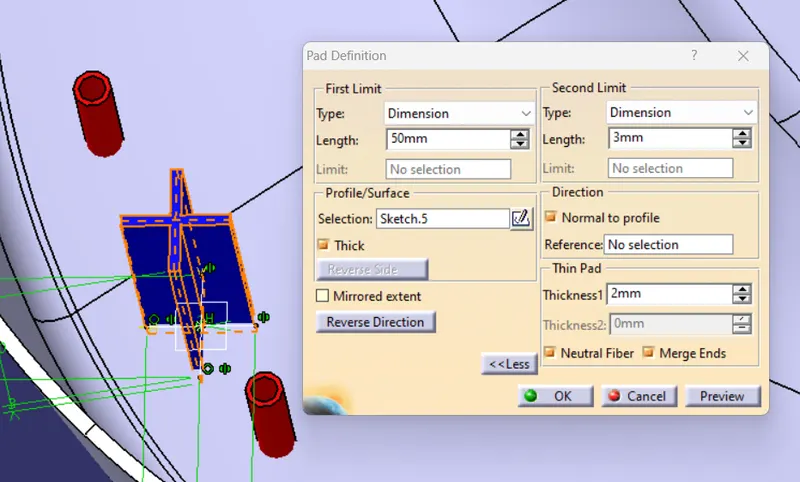
A draft of 0.5degress, chamfer and fillet is applied locator edges and faces.
Creation of Heat Stakes:
These heat stakes will enter the mating component and using a heat staking machine these heat stakes are melted and cooled. When cooled this will get hardened and the two components will stick together. Thus all degrees of freedom are arrested.
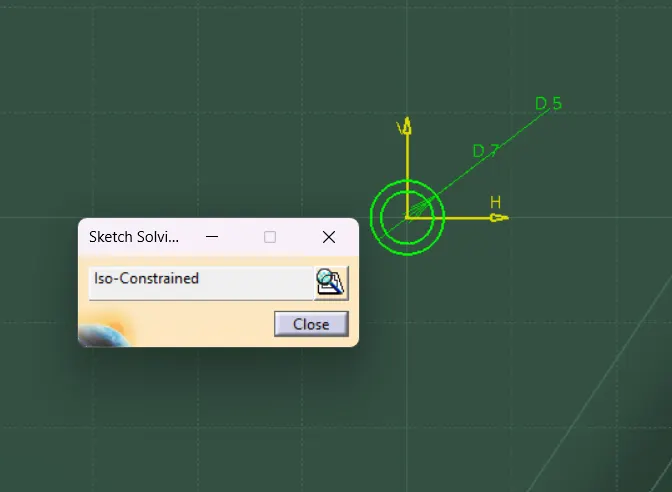
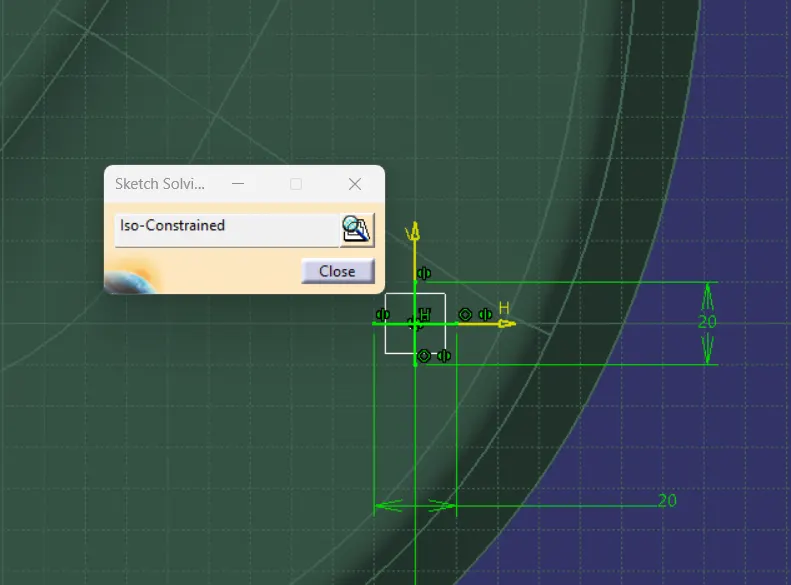
The above sketch is created and padded to about 25mm length from the class A surface.
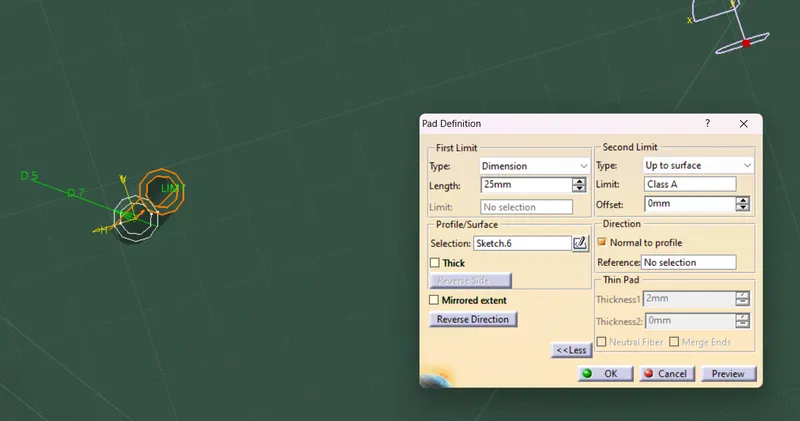
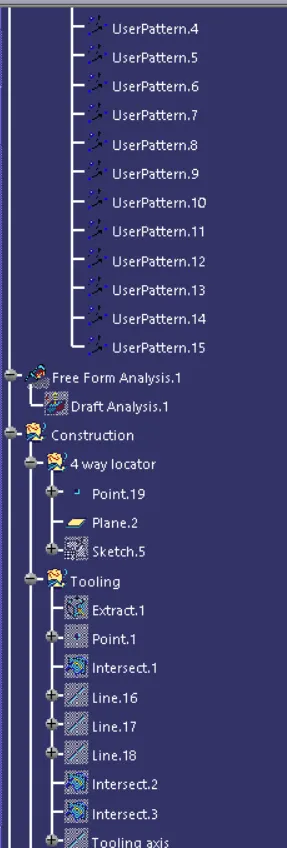
Using tranlate ( otherwise use pattern command) the cylinder is then duplicated o the desired points provided.
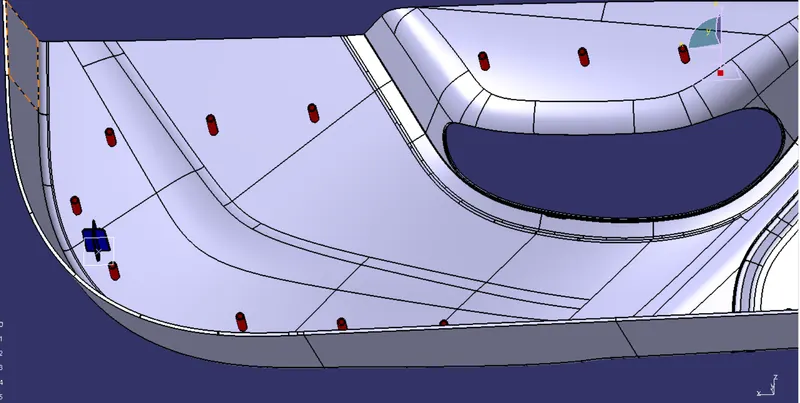
The red coloured cylinders are the Heat stakes.
Once both Heat stakes and locators are finished creating, they are added to the Door trim body using union trim feature and the necessary faces are selected to remove or keep.