Week 9-Creation of 1D Connectors Challenge
OBJECTIVE:
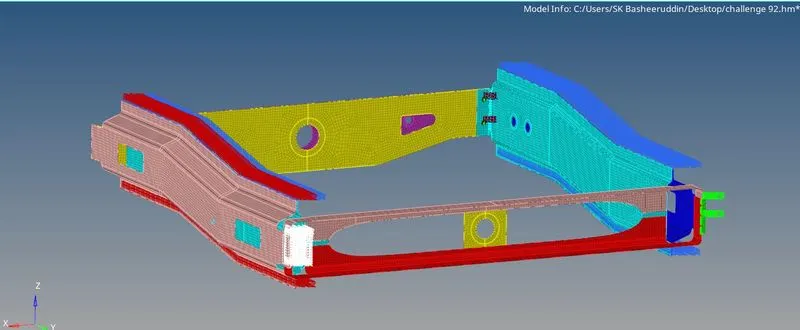
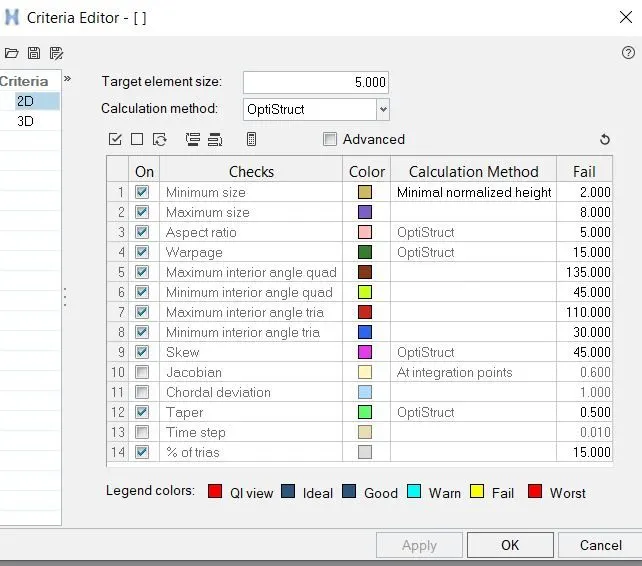
For this challenge, you will have to mesh the given geometry. Provided below are the quality parameters that you have to follow.
Target Element size - 5 Units
Import Geomentry:
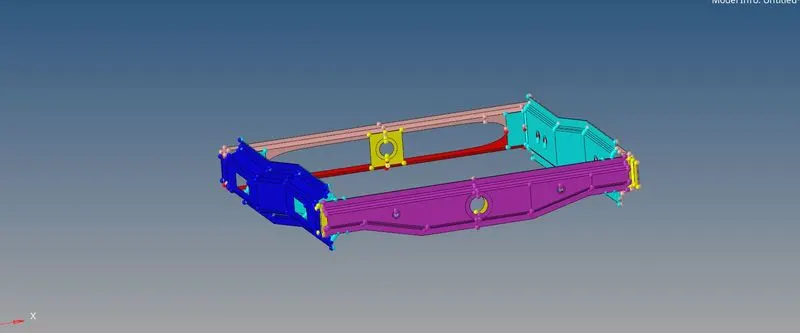
- Open the Hypermesh software and import the given geomentry into the GUI.
- click on File -Import-Geomentry and click on Import.
- Then the file will be importrd and it will be visible on the GUI.
2D MESHING:
- click on the 2D and click on the automesh.
- Set the Target Element size as 5 units and select the elemenst as Quards.
- Check the Max and Min elemental criteria for elements.
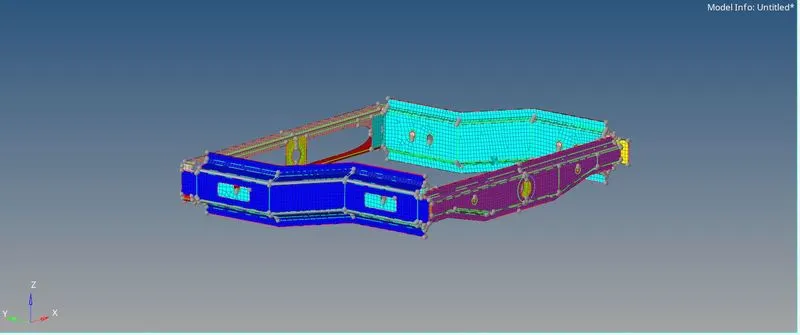
Connectors:
- Connectors are to be created at the component attachments.
- Click on create you will be see the connectors is created and click on Realize you will be seen on the status bar.
- Click on connector from View>browzer>Hypermesh>conectors.

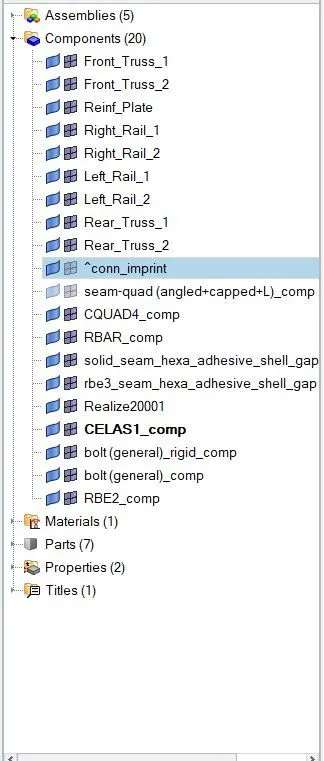
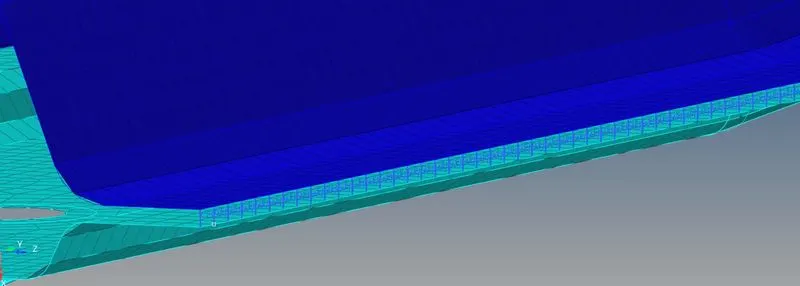
Right_Rail_2 & Front_truss_1:- Seam-Quad(angled+capped+L):
- Click on the 1D panel on connectors.
- click on seam on 1D menu bar.
- Hide the other componemt expect the componemst to be highlighted make it as current componemt.
- Click on the seam click on the node list to be coonected as created.
- click on the type of the coonector and select the Seam-Quard(Angled+capped+L).
- Select the tolerance value to be 10 depends on the distance between the model.
- clcik on componemts and select the components to be connected and click on the skin inprint.

- click on the create and you will be seen in the realised and status bar.
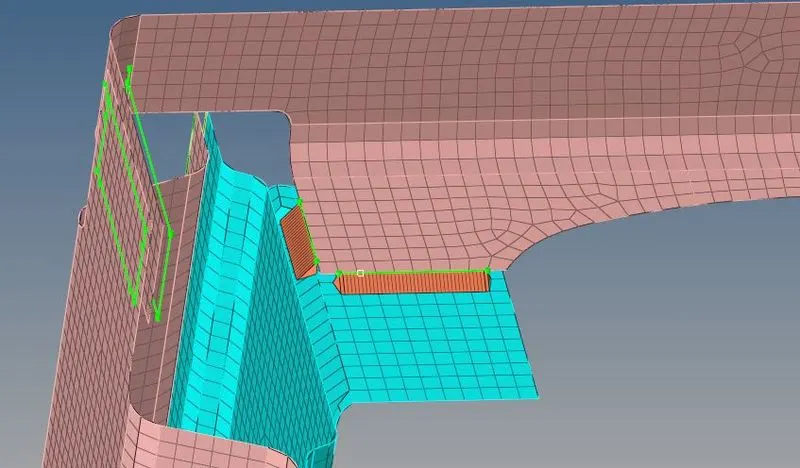
Left_Rail_2 & Front_truss_1:- Quad elements
- Click on the 1D panel on connectors.
- click on seam on 1D menu bar.
- Hide the other componemt expect the componemst to be highlighted make it as current componemt.
- Click on the seam click on the node list to be coonected as created.
- click on the type of the coonector and select the Quards.
- Select the tolerance value to be 10 depends on the distance between the model.
- clcik on componemts and select the components to be connected and click on the skin inprint.
- click on the create and you will be seen in the realised and status bar.
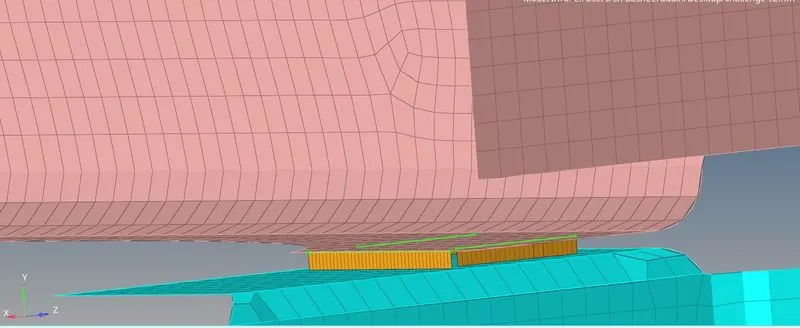
Front_truss_2, Front_truss_1 & Right_Rail_1:- Spot weld with 2 Layers and 5 mm Diameter
- Click on the 1D panel on connectors.
- click on sport on 1D menu bar.
- Hide the other componemt expect the componemst to be highlighted make it as current componemt.
- Click on the seam click on the node list to be coonected as created.
- click on the type of the coonector and select the weld with 5mm diameter and 2 layer.
- Select the tolerance value to be 10 depends on the distance between the model.

- clcik on componemts and select the components to be connected and click on the skin inprint.
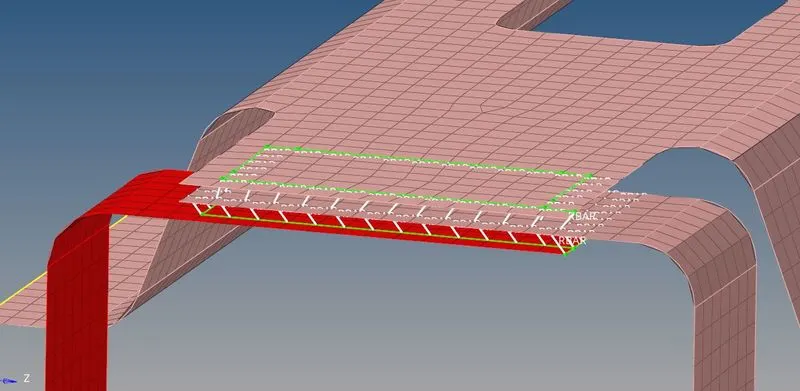
- click on the create and you will be seen in the realised and status bar.
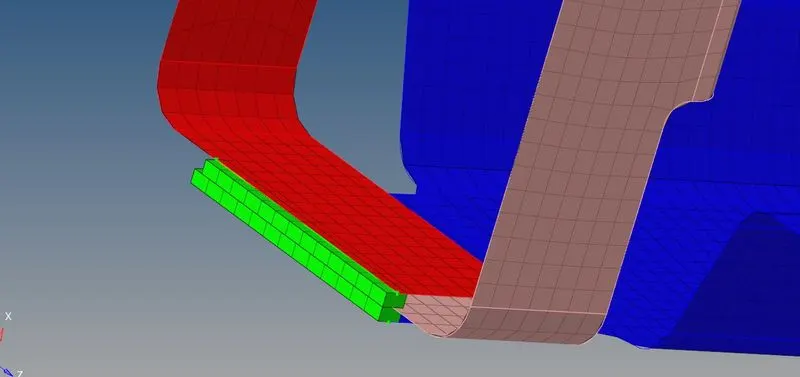
Front_truss_2, Front_truss_1 & Left_Rail_1:- Hexa (Adhesive)
- Click on the 1D panel on connectors.
- click on seam on 1D menu bar.
- Hide the other componemt expect the componemst to be highlighted make it as current componemt.
- Click on the seam click on the node list to be coonected as created.
- click on the type of the coonector and select the Hexa(Adhesive).
- Select the tolerance value to be 10 depends on the distance between the model.

- clcik on componemts and select the components to be connected and click on the skin inprint.
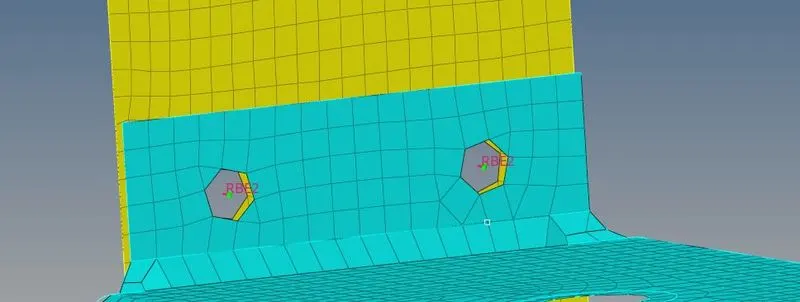
Rear_truss_2 & Right_Rail_2:- Bolt [Connector]
- Click on the 1D panel on connectors.
- click on Bolt on 1D menu bar.
- Hide the other componemt expect the componemst to be highlighted make it as current componemt.
- Click on the Bolt click on the node list to be coonected as created.
- click on the type of the coonector and select the Bolt
- Select the tolerance value to be 10 depends on the distance between the model.

- clcik on componemts and select the components to be connected and click on the skin inprint.
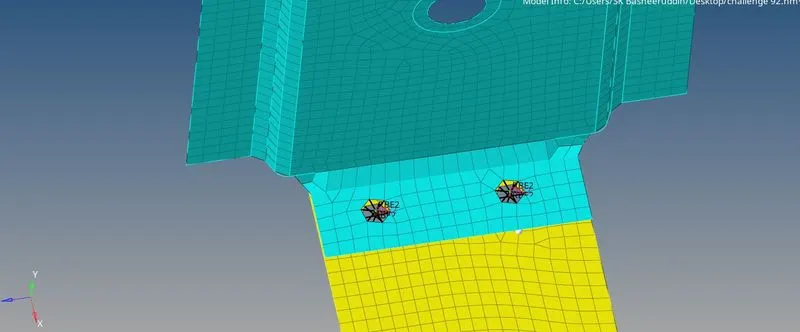
Rear_truss_2 & Left_Rail_2:- Bolt Connector
- Click on the 1D panel on connectors.
- click on Bolt on 1D menu bar.
- Hide the other componemt expect the componemst to be highlighted make it as current componemt.
- Click on the Bolt click on the node list to be coonected as created.
- click on the type of the coonector and select the Bolt
- Select the tolerance value to be 10 depends on the distance between the model.

- clcik on componemts and select the components to be connected and click on the skin inprint.
Right_Rail_1 & Right_Rail_2:- Spot-weld with Rigid Elements
- Click on the 1D panel on connectors.
- click on spot on 1D menu bar.
- Hide the other componemt expect the componemst to be highlighted make it as current componemt.
- Click on the spot click on the node list to be coonected as created.
- click on the type of the coonector and select the Spot weld with Rigid elements.
- Select the tolerance value to be 10 depends on the distance between the model.

- clcik on componemts and select the components to be connected and click on the skin inprint.
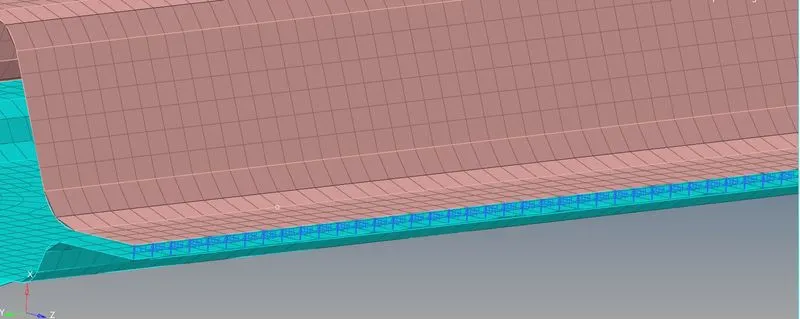
Left_Rail_1 & Left_Rail_2:- Spot-weld with Spring Elements
- Click on the 1D panel on connectors.
- click on spot on 1D menu bar.
- Hide the other componemt expect the componemst to be highlighted make it as current componemt.
- Click on the spot click on the node list to be coonected as created.
- click on the type of the coonector and select the Spot weld with spring Elements.
- Select the tolerance value to be 10 depends on the distance between the model.

- clcik on componemts and select the components to be connected and click on the skin inprint.
Rest all the component left Join them with suitable connectors