Week 9-Creation of 1D Connectors Challenge
Aim :
Mesh the given components with the given criteria. Create connector and Attach the various parts of the given model.
Criteria :
Target Element size = 5 Units
|
S.N |
Quality Criteria |
Value |
|
1 |
Aspect Ratio |
5 |
|
2 |
Skewness |
45 |
|
3 |
Warping |
15 |
|
4 |
Taper |
0.5 |
|
5 |
Min. Length |
2 Units |
|
6 |
Max. Length |
8 Units |
|
7 |
Min angle Quad |
45 |
|
8 |
Max angle Quad |
135 |
|
9 |
Min angle Tria |
30 |
|
10 |
Max angle Tria |
110 |
|
10 |
Tria % |
15 |
CAD model image :
front truss :
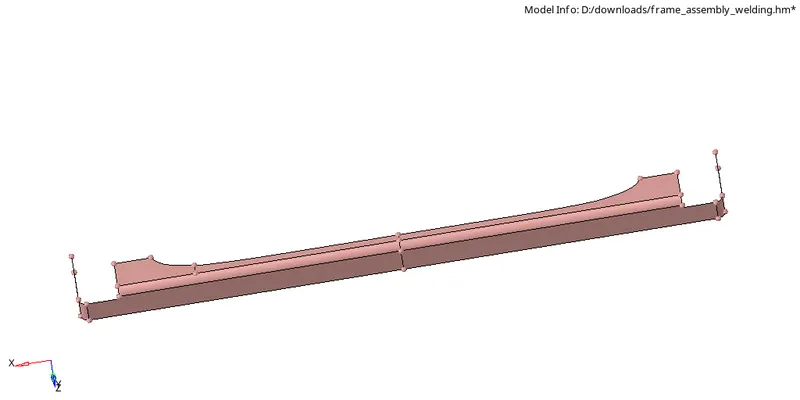
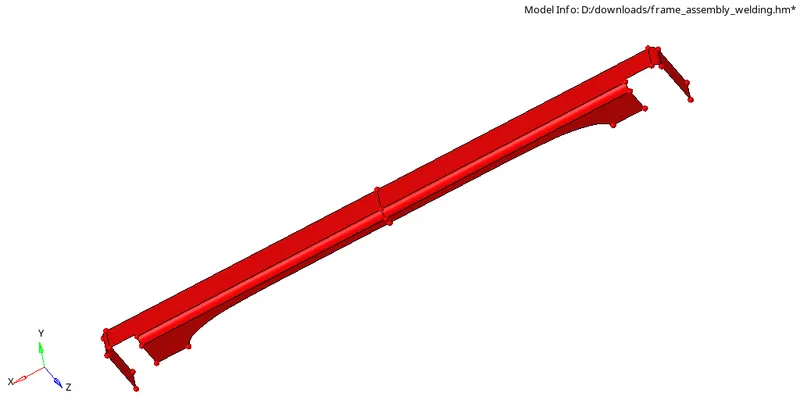
right rail :
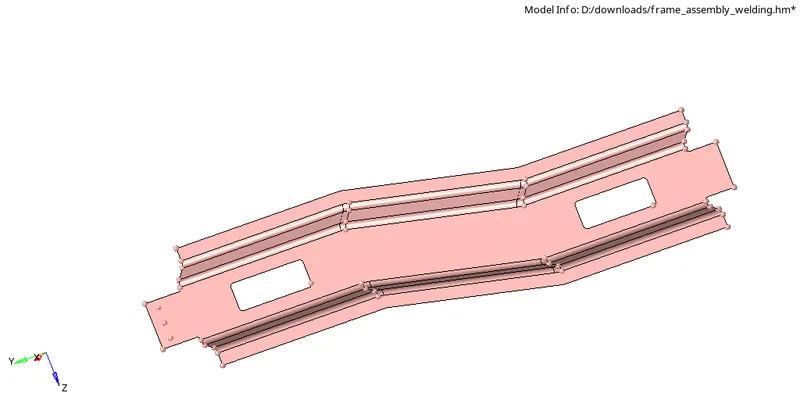
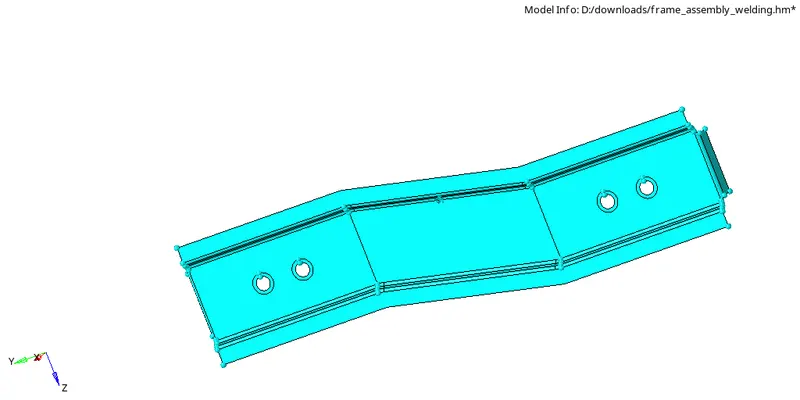
left rail :
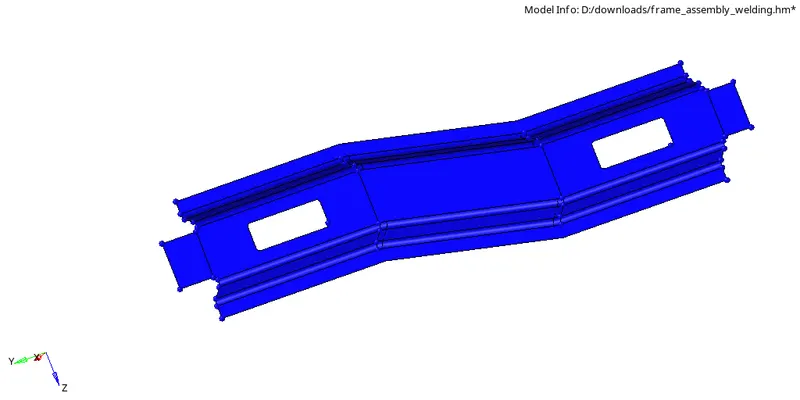
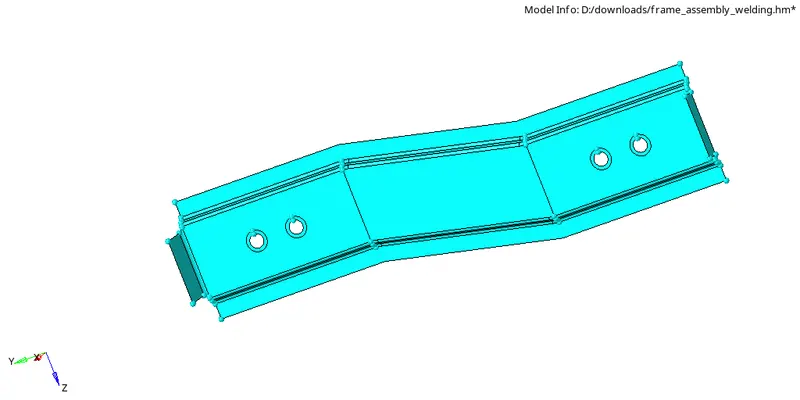
rear truss :
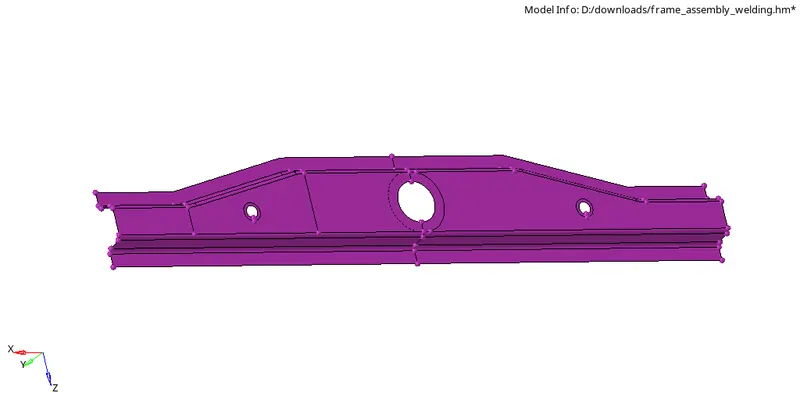
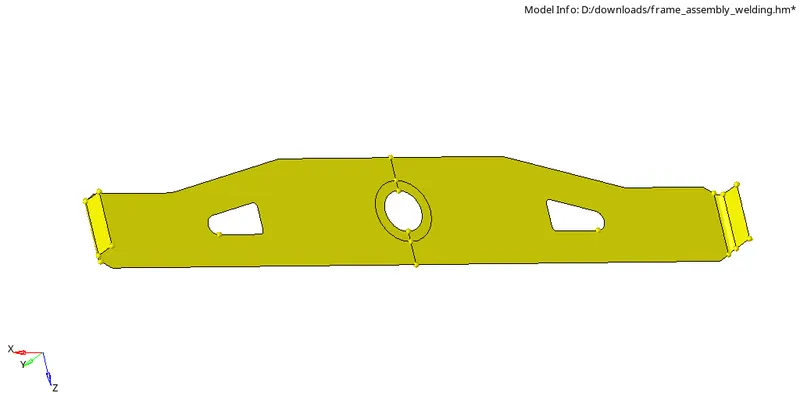
Procedure:
Importing the model:-
- At first we need to Import the Model File->import > import geometry > Choose the File and hit on open.
2D Meshing:
- To generate mesh go to 2D>>automesh>>Element size=5>>mesh type Mixed>>Select the surface>>mesh.
- To get a proper flow edit the mesh by selecting the elements and click on mesh.
- If any element is failing for Quality criteriia ,then we can use the element edit, rebuild mesh, element cleanup and translate tool on failing element to satisfy the criteria.
Creating connectors :
1. Seam-Quad(angled+capped+L) - Right Rail 2 & Front truss 1
- Hide all the components expect Right Rail 2 & Front Truss 1.
- 2D<Connectors<Seam<Type=Seam-Quad(angled+capped+L)
- Select the node list and components.
- Give Spacing value as 5 and give tolerance value as 5 click create.
- Remesh the required areas if the mesh flow is not proper.
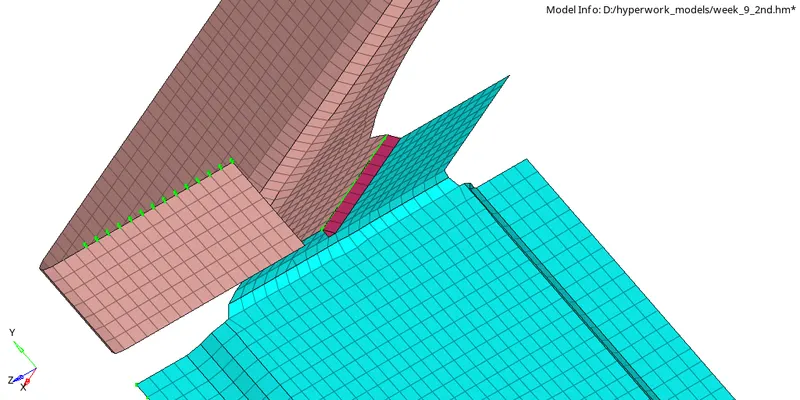
2. Quad elements - Left Rail 2 & Front truss 1
- Hide all the components expect Left Rail 2 & Front truss 1 .
- 2D<Connectors<Seam<Type=Quad
- Select the node list and components.
- Give Spacing value as 5 and give tolerance value as 5 click create.
- Remesh the required areas if the mesh flow is not proper.
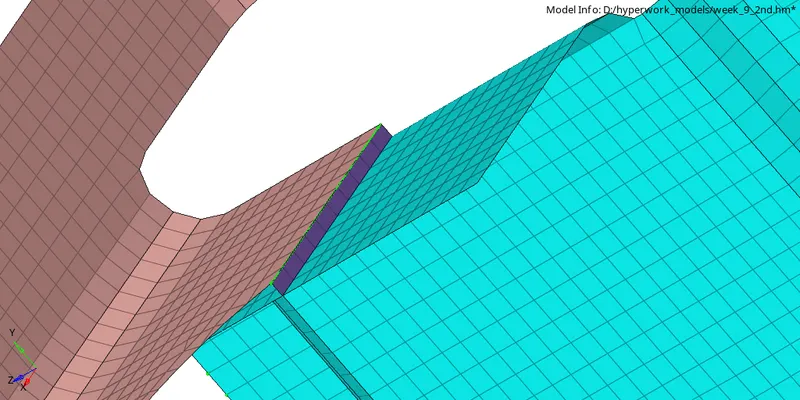
3. Spot weld with 2 Layers and 5 mm Diameter - Front truss 2, Front truss 1 & Right Rail 1
- Hide all the components expect Front truss 2, Front truss 1 and Right Rail 1 .
- 2D<Connectors<Spot<Type= weld
- Select the node list and components.
- Give Spacing value as 5 and give tolerance value as 5 click create.
- Select the number of layers as 2 and diameter as 5.
- Remesh the required areas if the mesh flow is not proper.
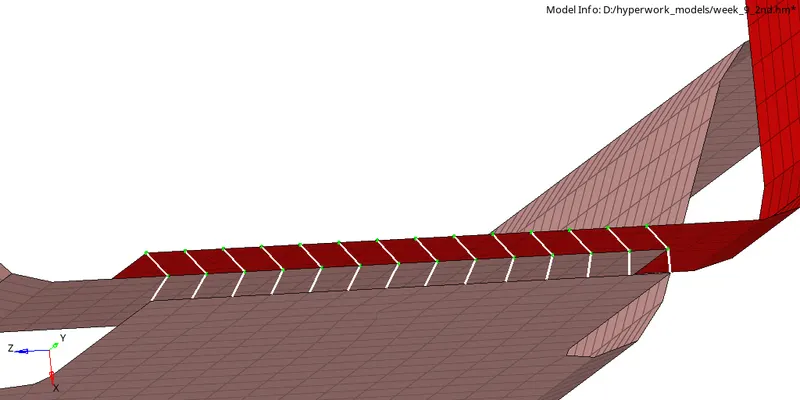
4. Hexa (Adhesive) - Front truss 2, Front truss 1 & Left Rail 1
- Hide all the components expect front truss 2, Front truss 1 & Left Rail 1.
- 2D<Connectors<seam<Type= adhesive
- Select the node list and components.
- Give Spacing value as 5 and give tolerance value as 5 click create.
- Remesh the required areas if the mesh flow is not proper
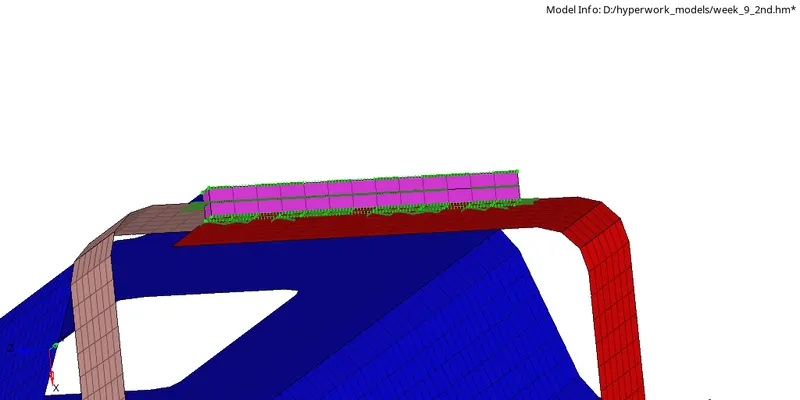
5. Bolt Connector - Rear truss 2 & Right Rail 2
- Hide all the components expect rear truss 2 & right Rail 2.
- 2D<Connectors
- Select the node list and components.
- Give a tolerance of 10 and click on create.
- Remesh the required areas if the mesh flow is not proper
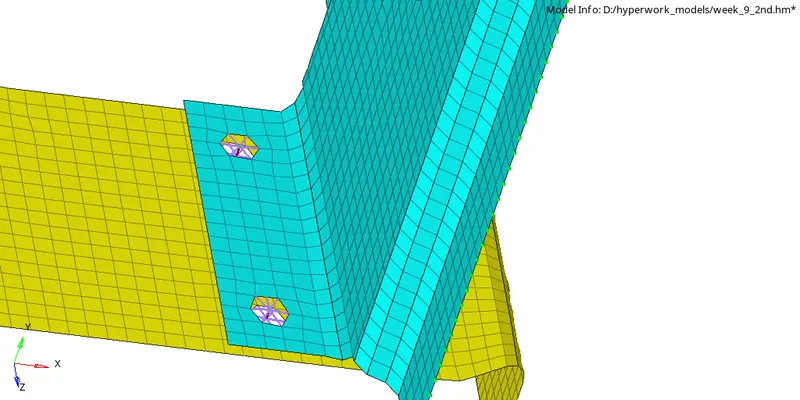
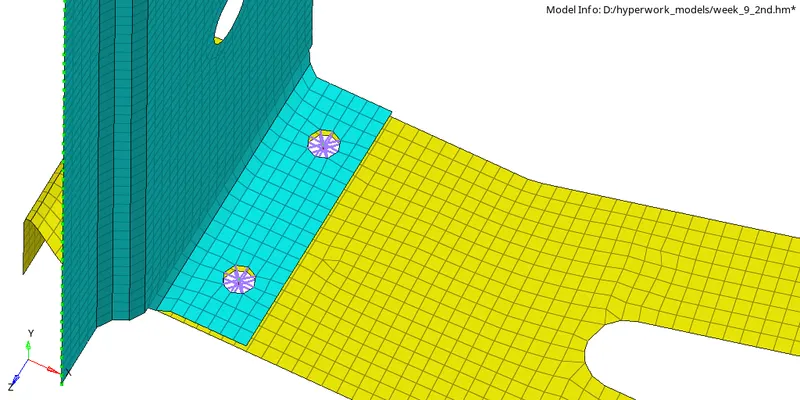
6. Bolt Connector - Rear truss 2 & Left Rail 2
- Hide all the components expect rear truss 2 & left Rail 2 .
- 2D<Connectors
- Select the node list and components.
- Give a tolerance of 10 and click on create.
- Remesh the required areas if the mesh flow is not proper
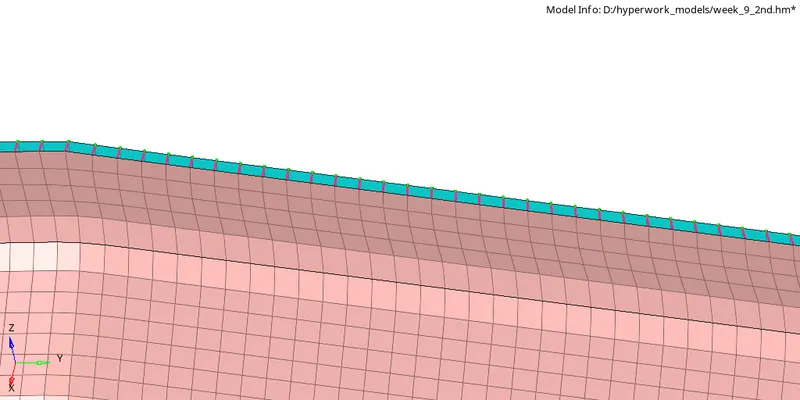
7. Spot-weld with Rigid Elements - Right rail 1 & Right Rail 2
- Hide all the components expect right rail 1 & right rail 2.
- 2D<Connectors<spot<Type= rigid
- Select the node list and components.
- Give Spacing value as 5 and give tolerance value as 5 click create.
- Remesh the required areas if the mesh flow is not proper
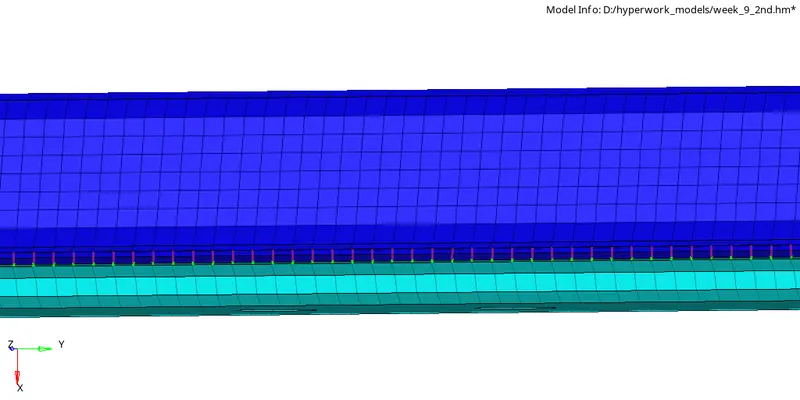
8. Spot-weld with Spring Elements - Left Rail 1 & Left Rail 2
- Hide all the components expect left rail 1 & left rail 2.
- 2D<Connectors<spot<Type= spring
- Select the node list and components.
- Give Spacing value as 5 and give tolerance value as 5 click create.
- Remesh the required areas if the mesh flow is not proper
9. Rest all the component left Join them with suitable connectors
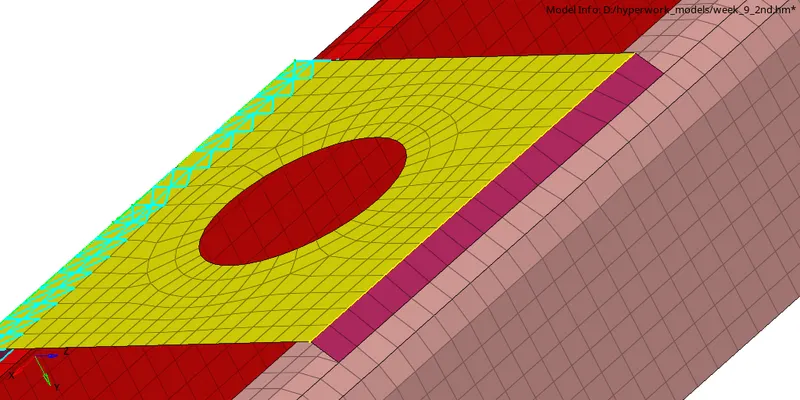
Seam weld between reinforced plate and front truss 1
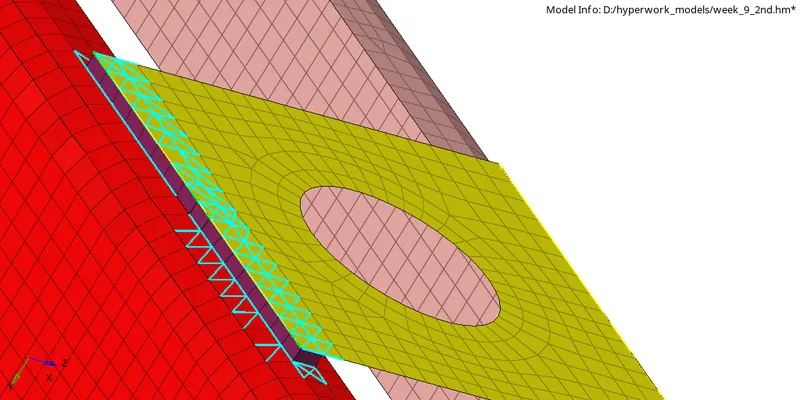
Adhesive connector betweem reinforced plate and front truss 2
Result :
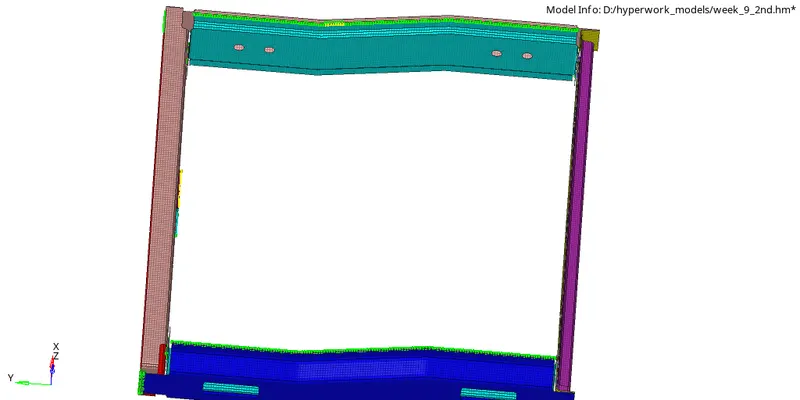
Created mesh on the given component. Created connectors to attach various components to form a assembly
Final model image :
Conclusion:
- Learned how to create spot and seam weld
- Learned how to create adhesive connectors