Week 9-Creation of 1D Connectors Challenge
Objective: To mesh the given geometry and learn to create connectors between them.
Procedure:
1. First we do auto color and give different colors to all the components to better differentiate.
2. Each component is meshed, and quality is cleared. thereafter we checked for normals, duplicates, and free edges.
3. first we create a seam quad ( angled +capped+ L) between Right_Rail_2 & Front_truss_1. Under connectors nodes are connected by path on one of the components and the tolerance value is set at 10 units. with spacing 5 both components are selected and keeping imprint option on-seam connecter is given.
4. Left_Rail_2 & Front_truss_1:- Quad elements . Process in this is similar to the above one but here, the element type is selected as quad
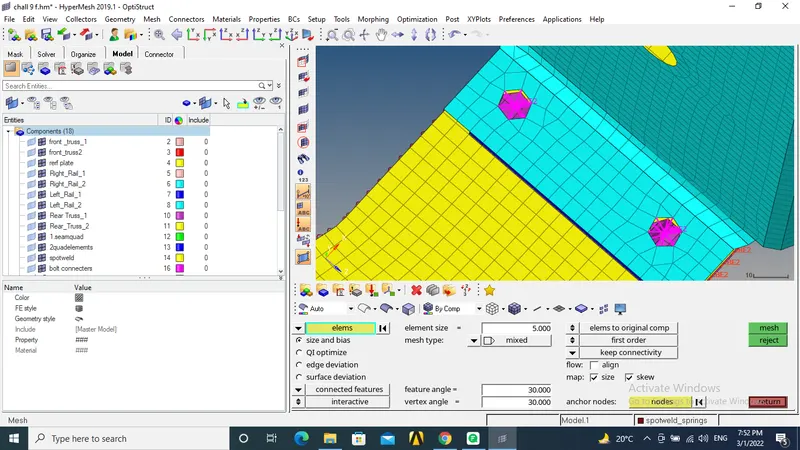
5. Front_truss_2, Front_truss_1 & Right_Rail_1:- Spot weld with 2 Layers and 5 mm Diameter. Under connecter, we click on spot and we specify no of layers and diameter in it.
All nodes to be connected is selected and the connection is given
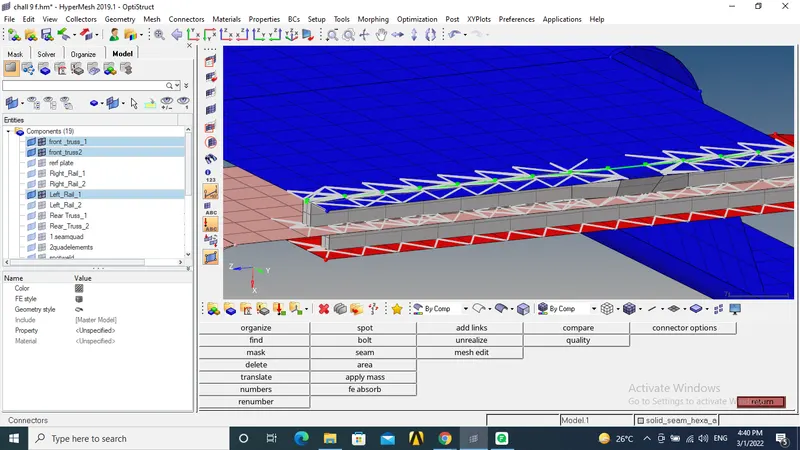
6. Front_truss_2, Front_truss_1 & Left_Rail_1:- Hexa (Adhesive).
Under connecter seam option nodes are selected on one of the components, tolerance is given keeping imprint option on connection is given. Weld type is Hexa adhesive
7.
Rear_truss_2 & Right_Rail_2:- Bolt Connector
Rear_truss_2 & Left_Rail_2:- Bolt Connector
Under Connecters, bolts we create bolted connections. The first node is selected then two components on to which it has to be bolted is selected and under remesh option, bolts are made
8. Right_Rail_1 & Right_Rail_2:- Spot-weld with Rigid Elements
nodes on both components have to be selected and element type should be kept as rigid.
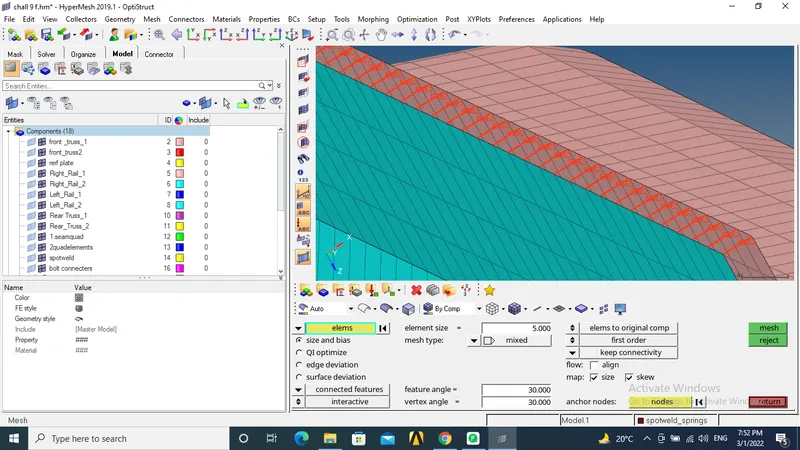
8. Left_Rail_1 & Left_Rail_2:- Spot-weld with Spring Elements
Nodes on one side of the components are selected and elements type is set as springs.
Under imprint option, these elements are created
9. Wherever felt, connection are lagging and are less were connected