Week 9-Creation of 1D Connectors Challenge
Frame Assembly:
The following are the steps to perform to mesh and Create connector for Attaching the various parts of the given model.
- Import the model
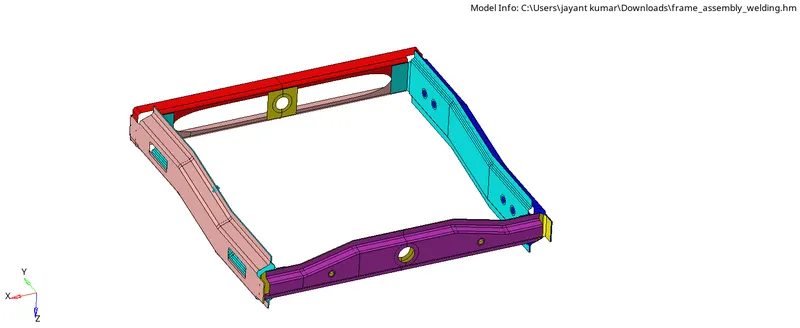
- The imported Model consists of only surface, opt any part and start create a mesh.
Reinf_Plate
- Make the Reinf_Plate as the current component.
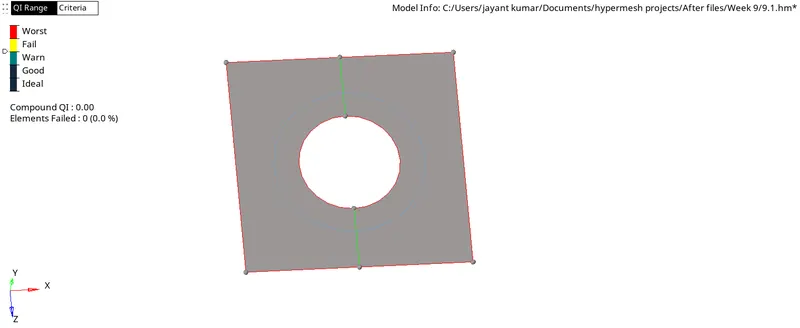
- Mesh the part keeping all the quality parameters into the consideration.
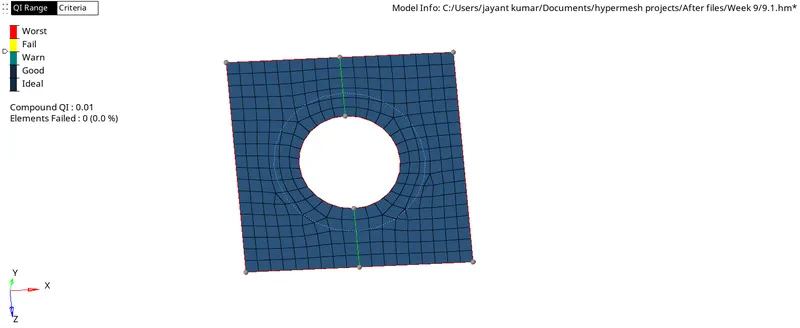
- Similarly create the mesh to all the other components respectively following the same procedure.
Right_Rail_1
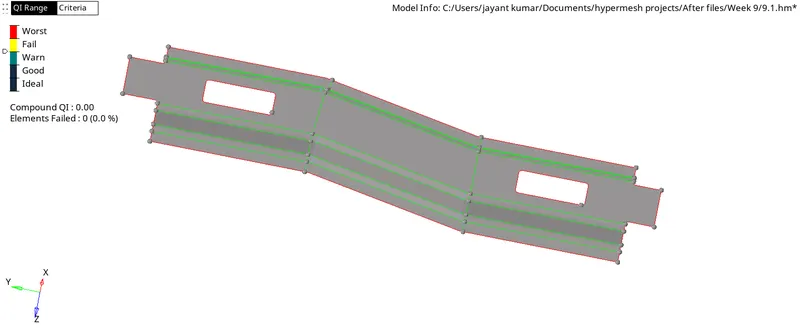
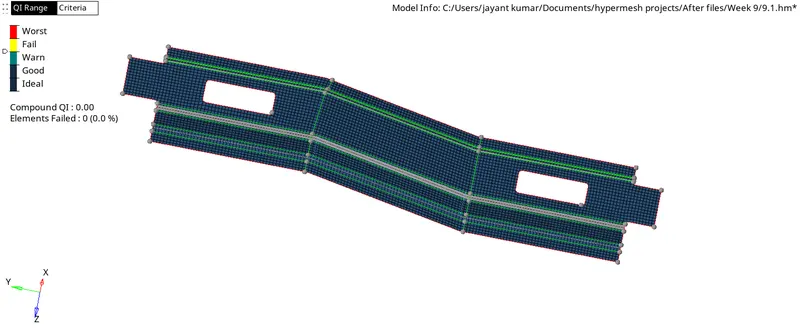
Front_Truss_1
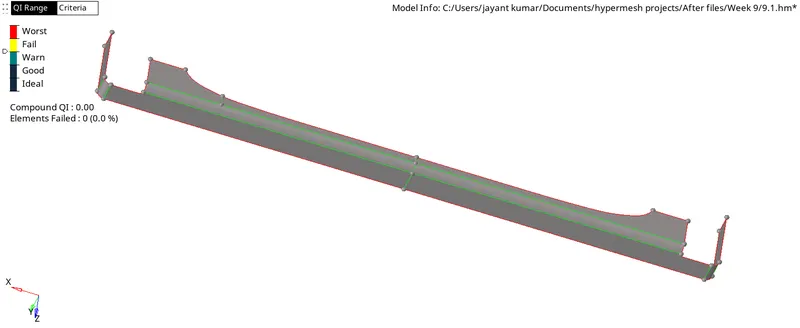
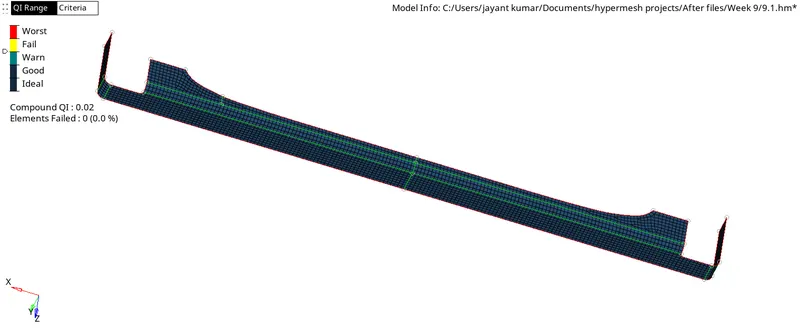
Front_Truss_2
Left_Rail_1
Right_Rail_2
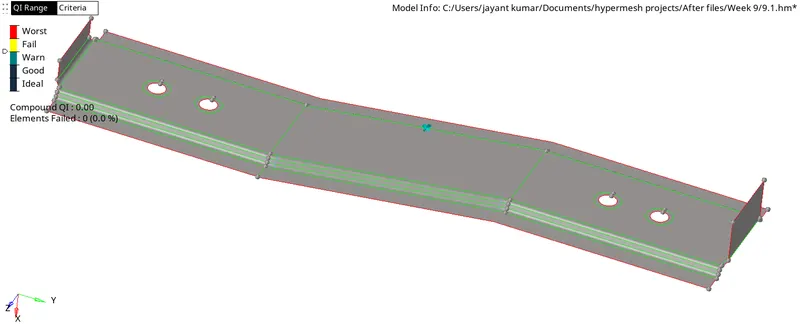
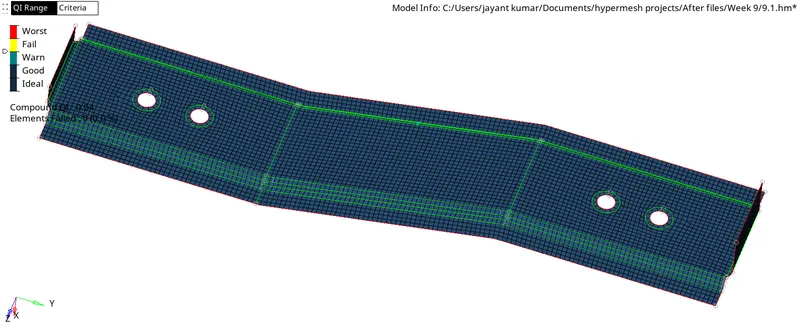
Left_Rail_2
Rear_Truss_1
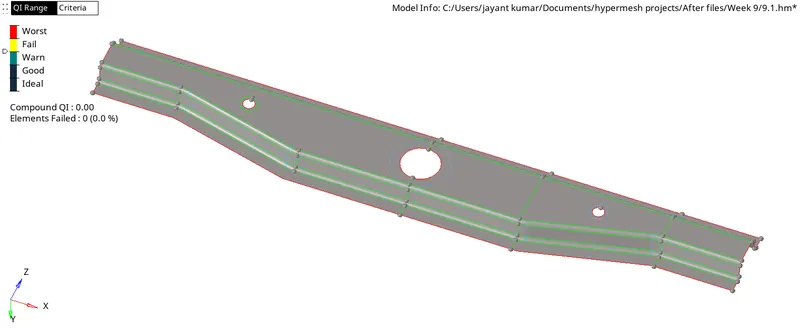
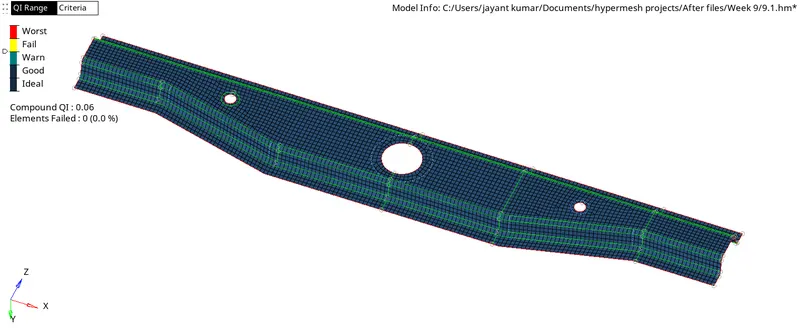
Rear_Truss_2
Creating Connectors
-
1. Right_Rail_2 & Front_truss_1:- Seam-Quad(angled+capped+L)
- Make the parts visible, that are need to get connected and hide all the remaining.
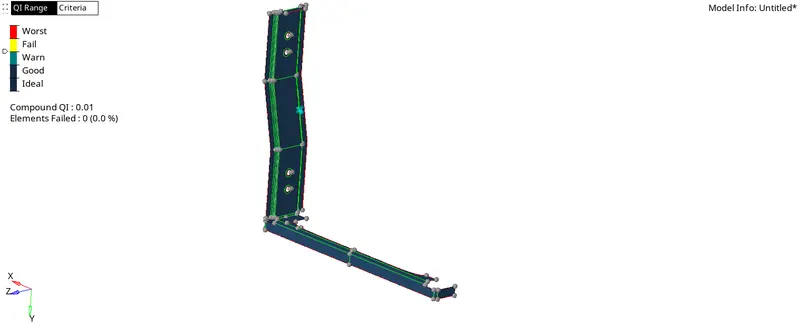
- Go to 1D or 2D connectors>Seam>Specify the nodes>check in the retain Nodes> Give the required spacing> Specific the components >Give the required Tolerance > Specific the Type as Seam-Quad(angled+capped+L)> Create.
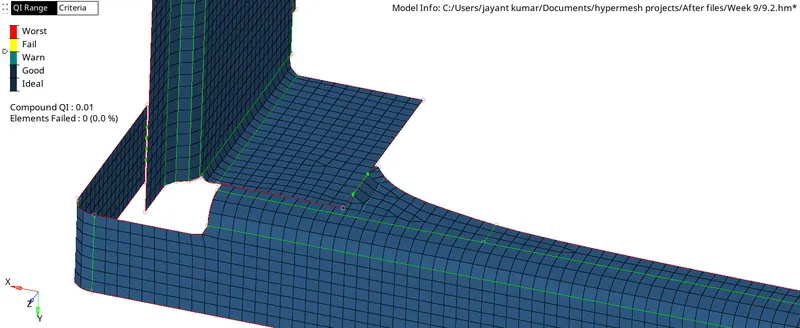
-
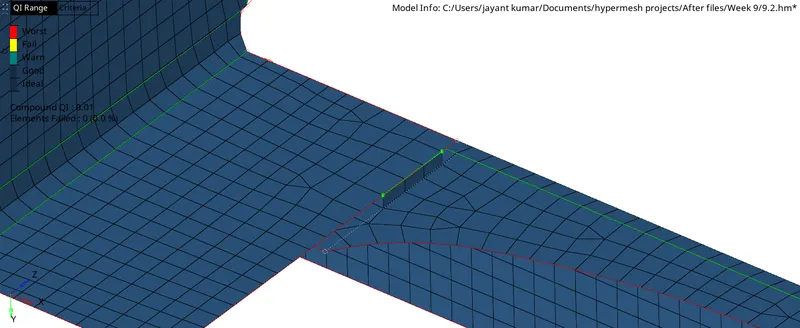
2. Left_Rail_2 & Front_truss_1:- Quad elements
-
- Go to 1D or 2D connectors>Seam>Specify the nodes>check in the retain Nodes> Give the required spacing> Specific the components >Give the required Tolerance > Specific the Type as "Quads"> Create.
-
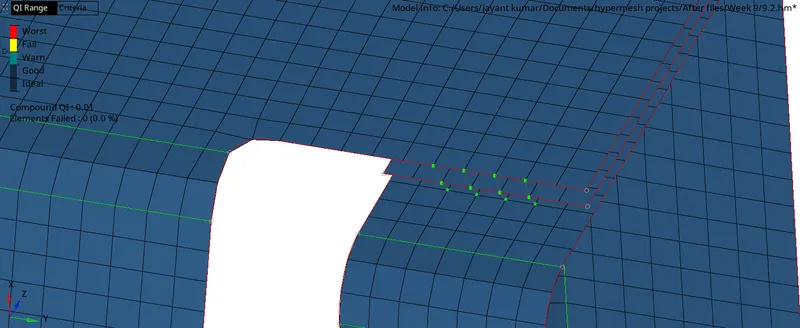
3. Front_truss_2, Front_truss_1 & Right_Rail_1:- Spot weld with 2 Layers and 5 mm Diameter
- Go to 1D or 2D>connectors>Spot>Specify the nodes>Total number of layers as '2'> Give the required Diameter> Specific the components >Give the required Tolerance > Specific the Type as "Weld"> Create.
-
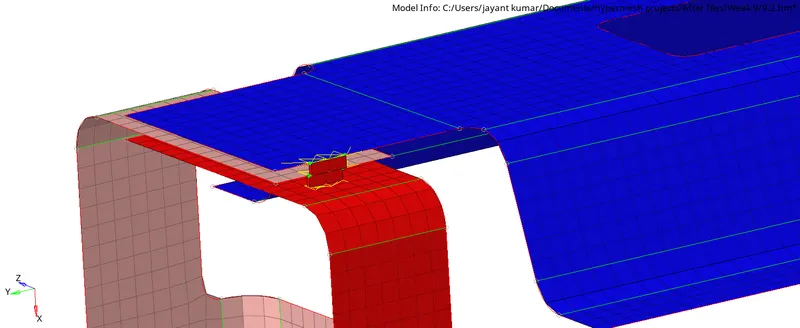
4. Front_truss_2, Front_truss_1 & Left_Rail_1:- Hexa (Adhesive)
- Go to 1D or 2D>connectors>Seam>Specify the nodes> Specific the components >Give the required Tolerance > Specific the Type as "Hexa(Adhesive)"> Create.
-
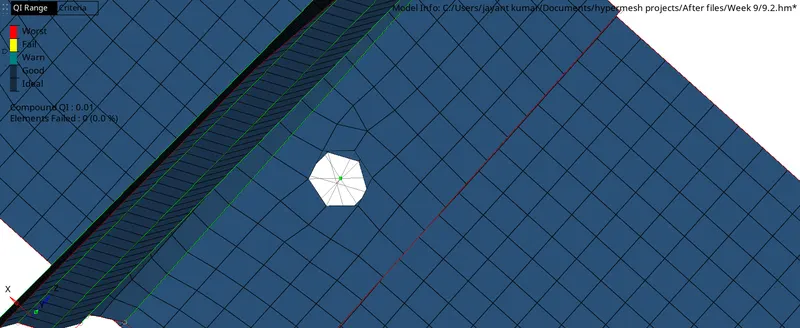
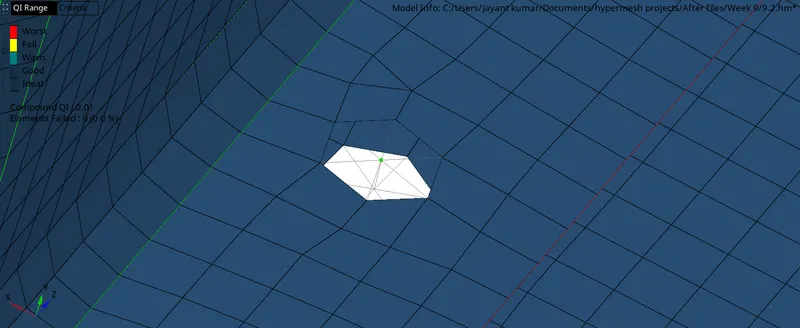
5. Rear_truss_2 & Right_Rail_2:- Bolt Connector
- Go to 1D or 2D>connectors>Bolt>Specify the nodes> Specific the components >Give the required Tolerance > Specific the Type as "bolt(General)"> Create hole if none>Define a new vector>Create.
-
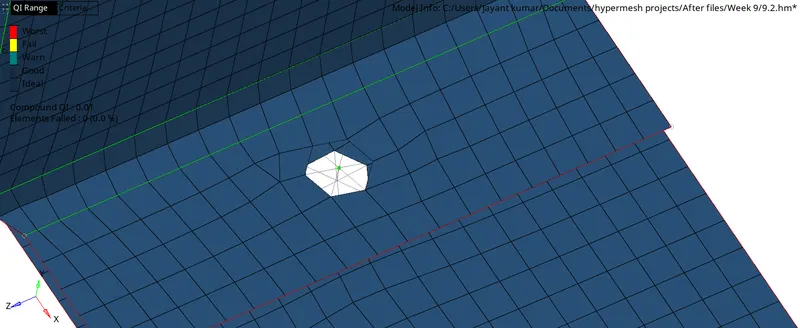
6. Rear_truss_2 & Left_Rail_2:- Bolt Connector
- Go to 1D or 2D>connectors>Bolt>Specify the nodes> Specific the components >Give the required Tolerance > Specific the Type as "bolt(General)"> Create hole if none>Define a new vector>Create.
-
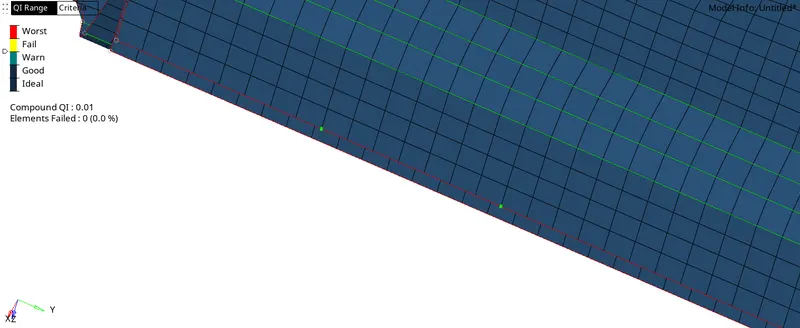
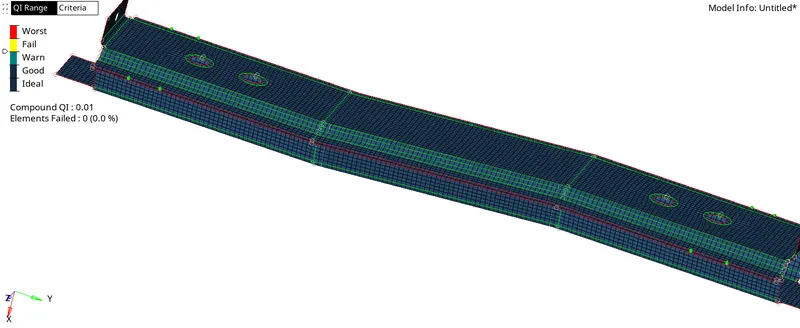
7. Right_Rail_1 & Right_Rail_2:- Spot-weld with Rigid Elements
- Go to 1D or 2D>connectors>Spot>Specify the nodes> Specific the components >Give the required Tolerance > Specific the Type as "Rigid"> Create hole if none>Define a new vector>Create.
-
8. Left_Rail_1 & Left_Rail_2:- Spot-weld with Spring Elements
- Go to 1D or 2D>connectors>Spot>Specify the nodes> Specific the components >Give the required Tolerance > Specific the Type as "Rigid"> Create hole if none>Define a new vector>Create.
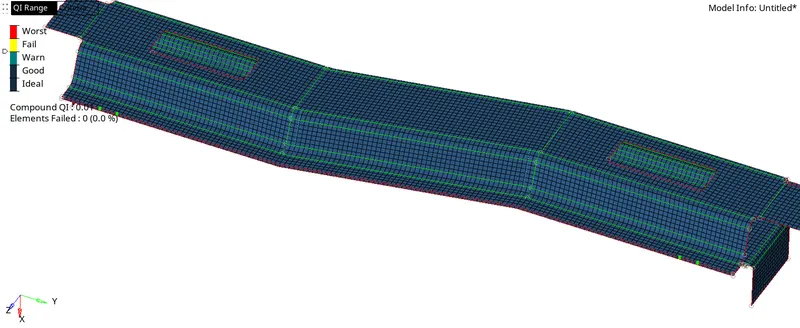
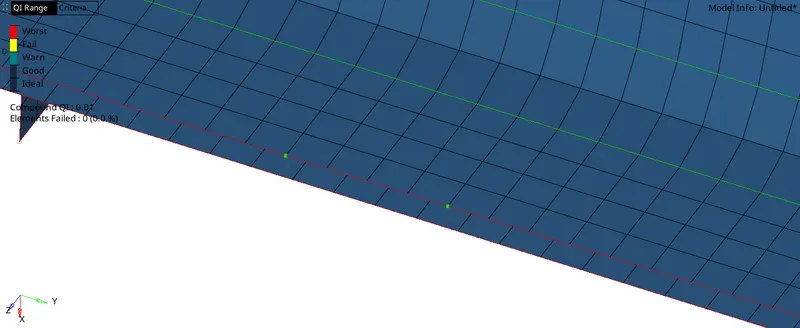
- The Rear_truss_1 & Rear_truss_2 are also attached similarly as shown w.r.t the spot weld with the rigid.
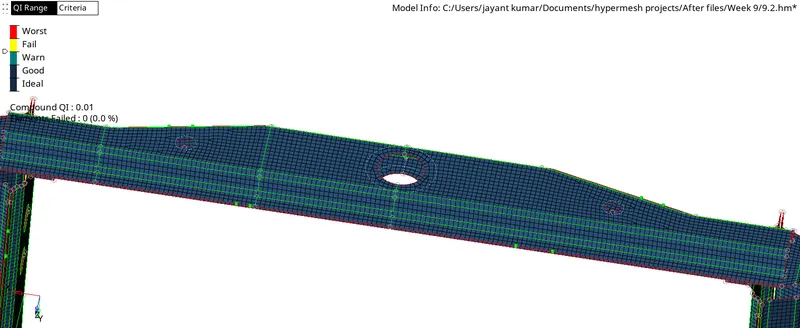
- The front truss 1, front truss 2 & the reinf plate are similarly connected w.r.t the sopt weld element.
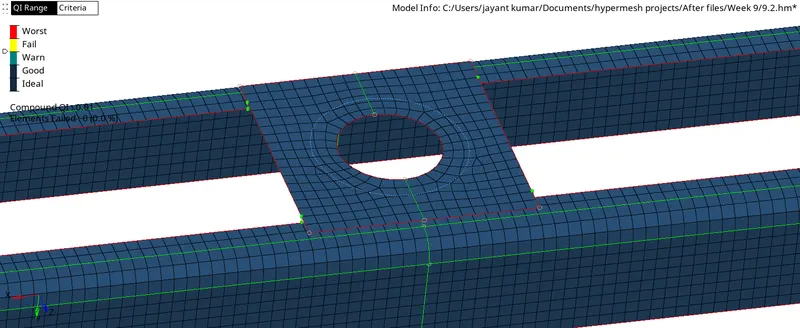
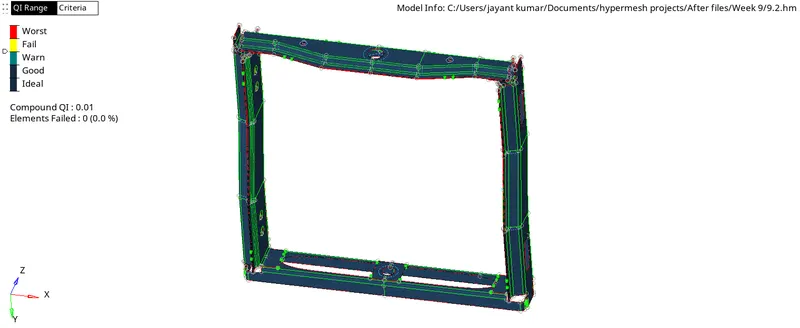
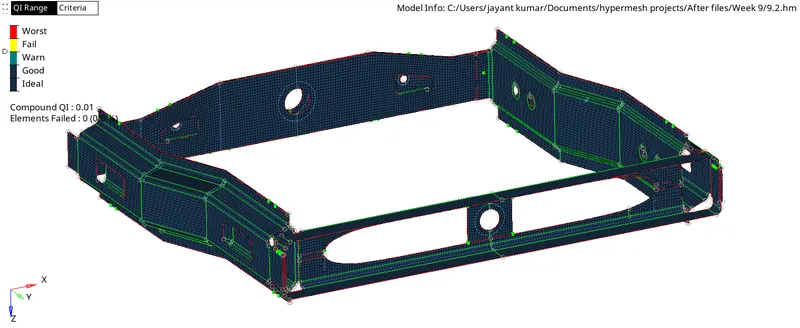
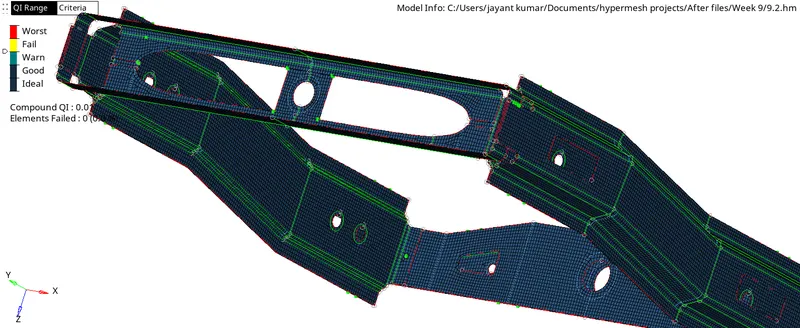
- Finally the parts are attached w.r.t different type of suitable connectors as shown in figure.