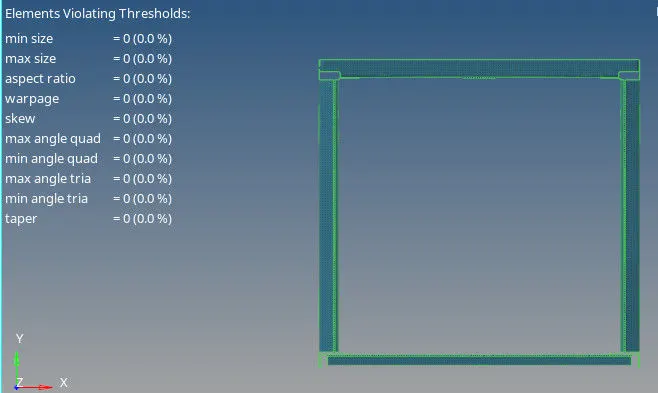
Week 9-Creation of 1D Connectors Challenge
Objective.
- Deploying the connection on the components.
-
Right_Rail_2 & Front_truss_1:- Seam-Quad(angled+capped+L)
-
Left_Rail_2 & Front_truss_1:- Quad elements
-
Front_truss_2, Front_truss_1 & Right_Rail_1:- Spot weld with 2 Layers and 5 mm Diameter
-
Front_truss_2, Front_truss_1 & Left_Rail_1:- Hexa (Adhesive)
-
Rear_truss_2 & Right_Rail_2:- Bolt Connector
-
Rear_truss_2 & Left_Rail_2:- Bolt Connector
-
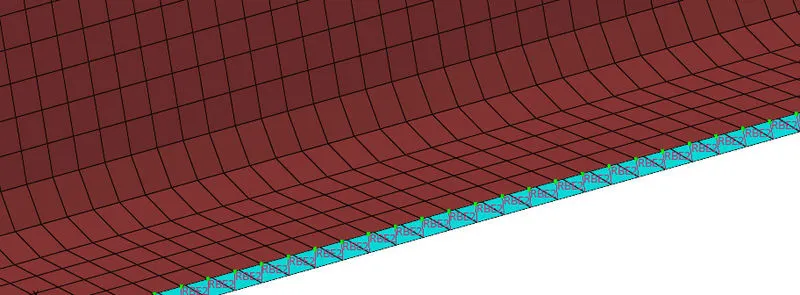
Right_Rail_1 & Right_Rail_2:- Spot-weld with Rigid Elements
-
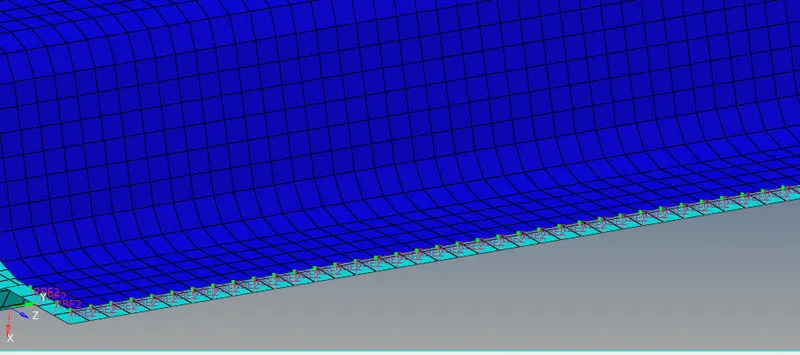
Left_Rail_1 & Left_Rail_2:- Spot-weld with Spring Elements
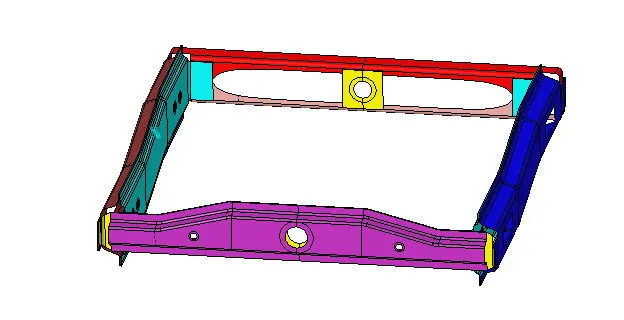
CAD Model-
Procedure.
1.Setting Quality Criteria.
|
1 |
Aspect Ratio |
5 |
|
2 |
Skewness |
45 |
|
3 |
Warping |
15 |
|
4 |
Taper |
0.5 |
|
5 |
Min. Length |
2 Units |
|
6 |
Max. Length |
8 Units |
|
7 |
Min angle Quad |
45 |
|
8 |
Max angle Quad |
135 |
|
9 |
Min angle Tria |
30 |
|
10 |
Max angle Tria |
110 |
|
10 |
Tria % |
15 |
- Target element size "5".
- For setting up the quality criteria, go to menue bar, after that click "preferences". Under preferences select the command as "criteria file settings".
- Under criteria file setting, enter the following quality criteria and click apply.
2. Meshing.-
There are 9 different component which is to be mesh separately namely,
- Front Truss 1
- Front Truss 2
- Reinf Plate
- Right Rail 1
- Right Rail 2
- Left Rail 1
- Left Rail 2
- Rear Truss 1
- Rear Truss 2
- For meshing, go to "2D", under 2D select "automesh". After that give the element size as "5" and element type as "mixed". Select the 1st component and under surface give the command as "displayed", entire surface will get selected, and then click "mesh". The component will get mesh.
- After meshing, checking the mesh flow and quality criteria is important. There are various ways to deal with mesh flow and quality criteria such as, remeshing the given mesh, dragging trias, element optimisation, placing nodes, smooth, etc.
- For remeshing, go to "2D", select "automesh", after that select the elements which is to be remesh and then click "mesh". The selected elements will get remesh.
- There is another option called as "quality index" by which we can improve our mesh flow and quality. For that, go to "2D", then select "quality index". Under quality index click the option "cleanup tools", there are various command under cleanup tool which we can make use off.
Front Truss 1.
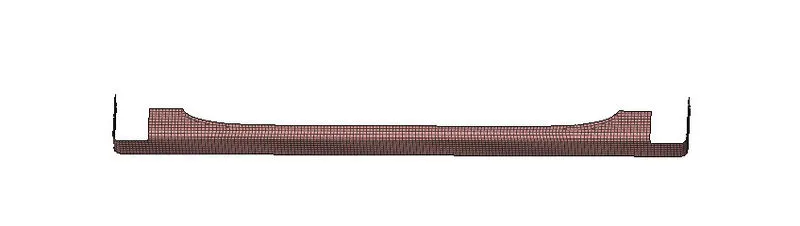
Front Truss 2.
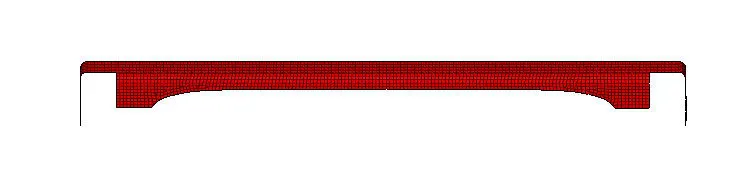
Reinf Plate.
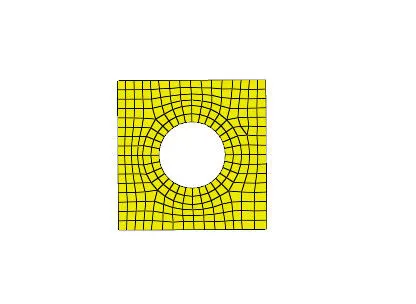
Right Rail 1.
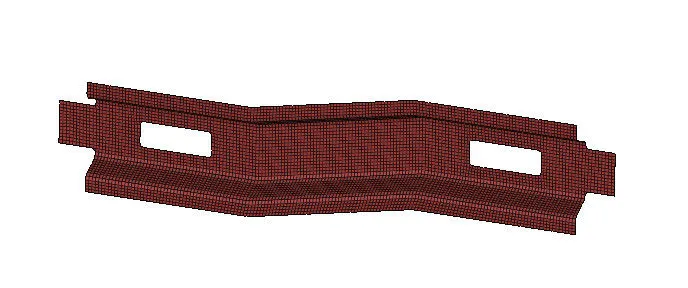
Right Rail 2.
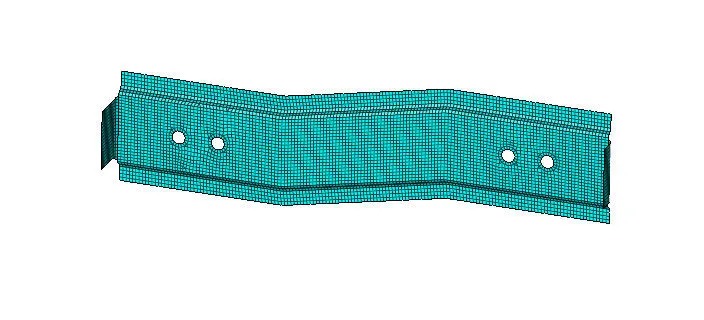
Left Rail 1.
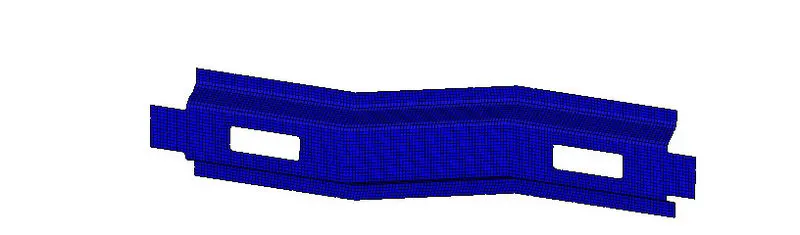
Left Rail 2.
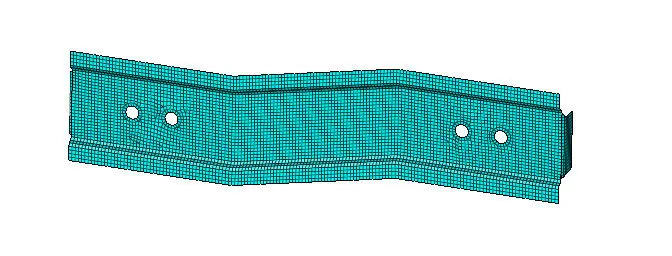
Rear Truss 1.
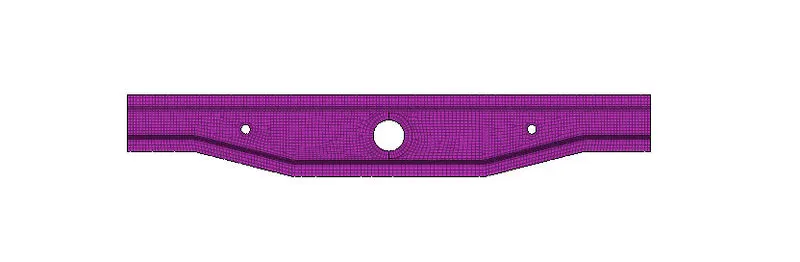
Rear Truss 2.
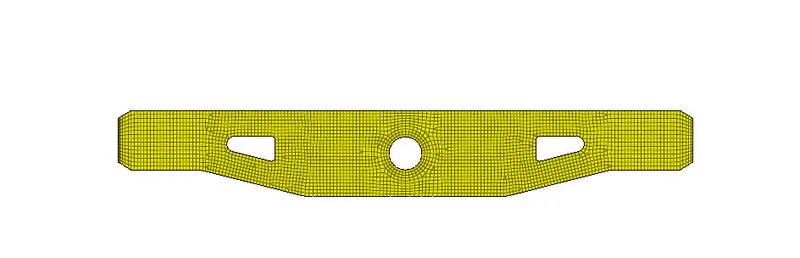
3.Connector.-
- Right Rail 2 & Front truss 1
-For connecting this two component we will use seam weld. For that, go to "2D" then select "connectors", after that click "seam". Now under seam, select the type as "seam-quad (angled+capped+L)", set the tolerance value "10", select the location as "node path", set the connect what as "component" and weld angle as "45".
-Select node from one component and then under what component, select the two component. After that click create, the two component will get connected by seam weld.


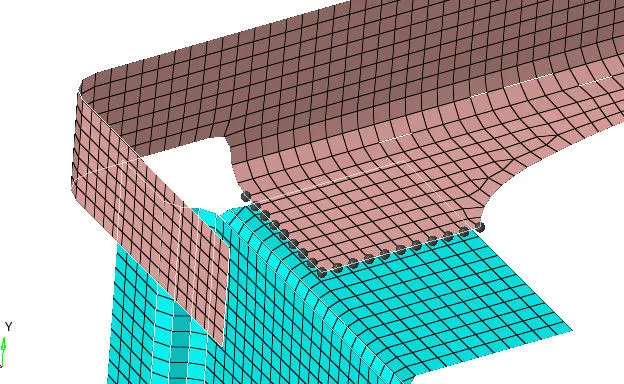
- Left Rail 2 & Front truss 1.
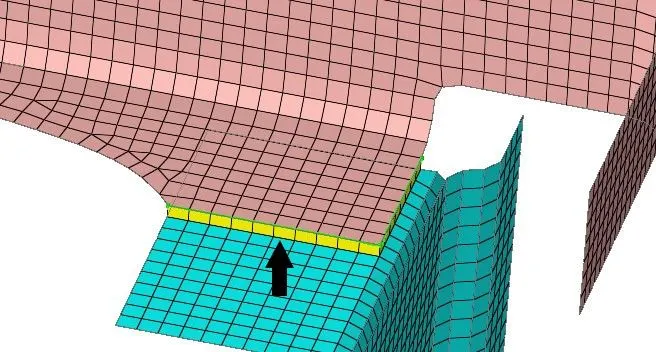
-Connection between this two component is done using seam weld, under seam weld with the type as quad elements. For that, go to "2D" then select "connectors", under connectors select "seam". After that give the type as "quads", tolerance "10", spacing as "5" and connect what as "component".
-Select nodes from one component and then select the two components and click create. Two component will get connected by seam weld.

- Front truss 2, Front truss 1 and Right Rail 1.
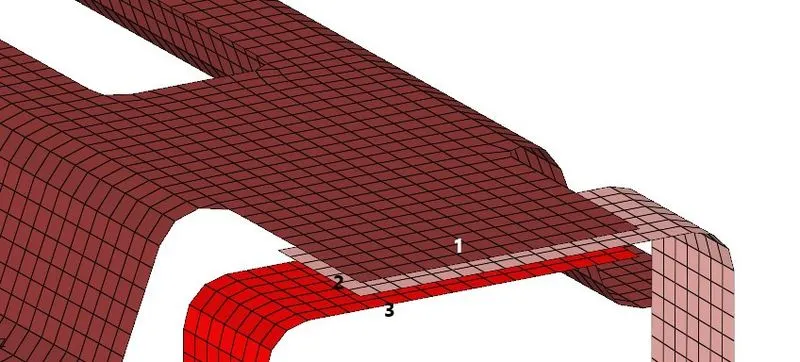
-Connection of this three component will be done with the help of spot weld. For that, go to "2D" then select "connectors", under connectors select "spot". Now under spot weld give the type as "Rigid", diameter as "5", number of layers as "2" and tolerance as "10".
-Select the nodes from one component and under connect what, select the two component and then click "create". Two component will get connected by spot weld. Similarly perform the same operation for third and the second components.


- Front truss 2, Front truss 1 and Left Rail 1.
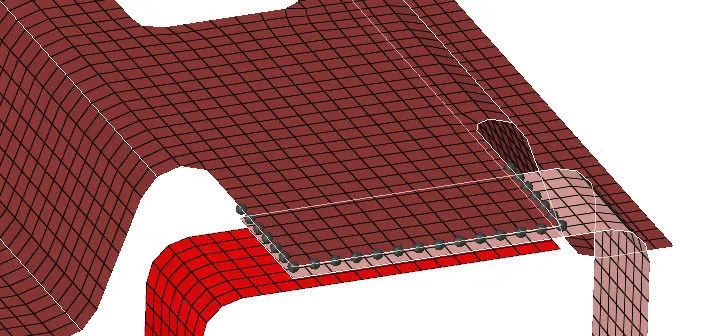
-Connection of this three component are done with the help of Adhesive. For that, go to "2D" then select "connectors", under connectors select "seam". Select the type as "hexa adhesive", spacing as "5", width as "4', strips as "1" and coats as "1".
-Set the tolerance as "10" and select the nodes from one component, under connect what, select the two component and click "create". The two component will get connected by adhesive, similarly perform the same operation for third and second component.


- Rear truss 2 and Right Rail 2.
- Rear truss 2 and Left Rail 2.
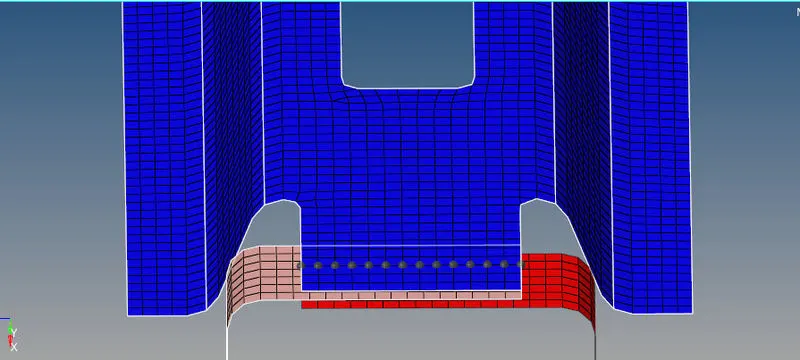
-This two components are connected with the help of bolt joint. For that, go to "2D" then select "connector", under connector select "bolt". Select the type as "bolt (CBAR)", give the tolerance value as "10".
-Select a node from any one component, change the option to "create hole, if none", this cammand will basically create a hole, if there are no existing hole in it. Under connect to what select the two component and then click "create". Two component will get connected by a bolt.
-Similar operation is to be perform to connect "Rear truss 2 and Left Rail 2" component.



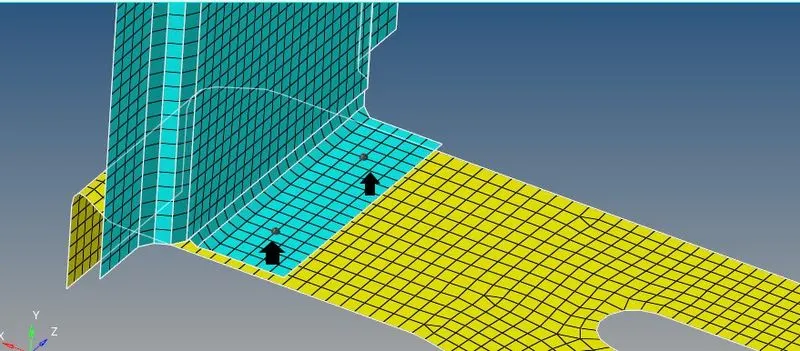
- Right Rail 1 and Right Rail 2.
-This two components are joined with the help of spot weld, basically with rigid elements. For that, go to "2D" then select "connectors", under connectors select "spot". Now under spot weld give the type as "Rigid", diameter as "5", number of layers as "2" and tolerance as "10".
-Select the nodes from one component and under connect what, select the two component and then click "create". Two component will get connected by spot weld "rigid elements".

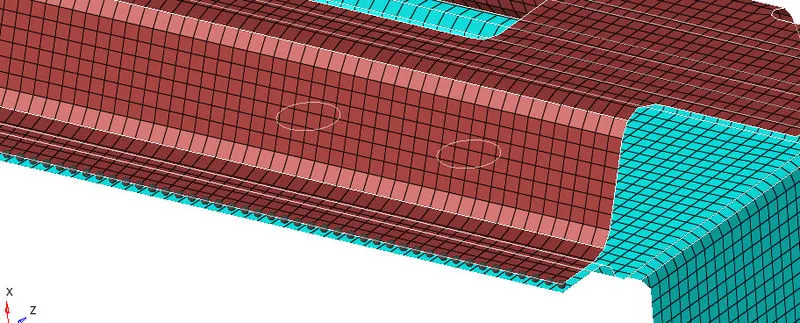
- Left Rail 1 and Left Rail 2.
-This two components are joined with the help of spot weld, basically spring elements. For that, go to "2D" then select "connectors", under connectors select "spot". Now under spot weld give the type as "spring", diameter as "5" and tolerance as "10".
-Select the nodes from one component and under connect what, select the two component and then click "create". Two component will get connected by spot weld "spring elements".


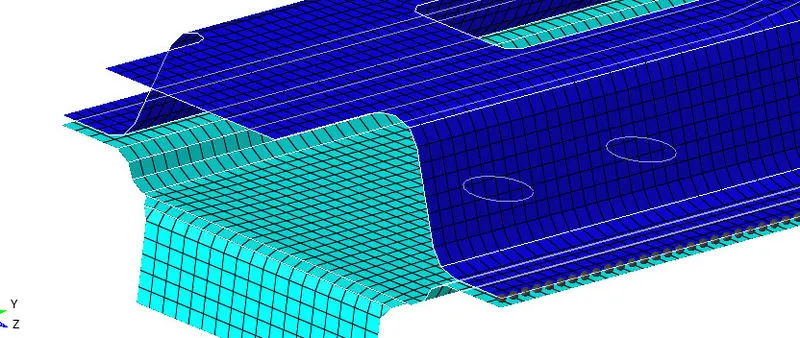
4.Quality check.
- Whenever we will try to join any two component with the help of connectors, the mesh will get deviated from it's original position. Due to this, mesh flow and quality will get disturb and result will not be proper. So for getting a proper result, remeshing the mesh or improving the quality of mesh is very important after connecting two components.
- There are various method to deal with such kind of issues, one of the easy way to deal with such issue is by using quality index cleanup tools. For that, go to "2D" then select "quality index", under quality index select the option "cleanup tools". Now there are various options under cleanup tools such as, place nodes, modify holes and washers, swap edge, node optimize, element optimize, smooth, split/collapse edge, drag tria element, split quad element and combine tria elements.
- All this options can be used to improve mesh flow and quality, for example, with the help of drag trias, we can easily drag any trias from one position to another, with the help of place nodes, we can easily move our node.



RESULT.
1.Right Rail 2 & Front truss 1:- Seam-Quad(angled+capped+L)
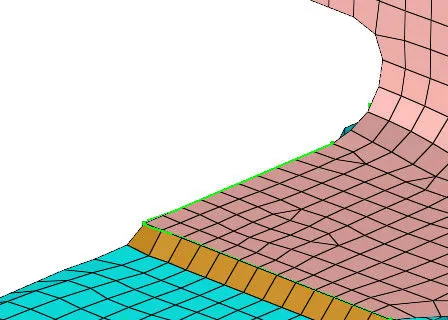
2.Left Rail 2 & Front truss 1:- Quad elements
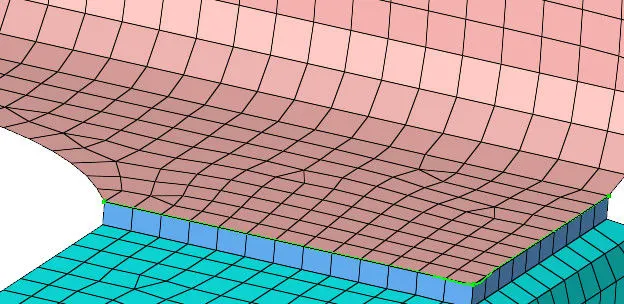
3.Front_truss_2, Front_truss_1 & Right_Rail_1:- Spot weld with 2 Layers and 5 mm Diameter.
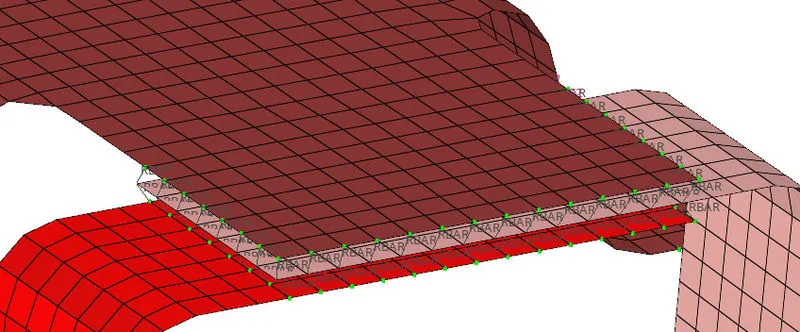
4. Front_truss_2, Front_truss_1 & Left_Rail_1:- Hexa (Adhesive).
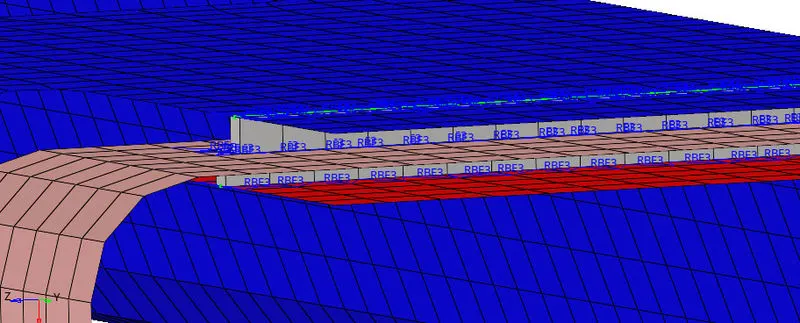
5.Rear_truss_2 & Right_Rail_2:- Bolt Connector
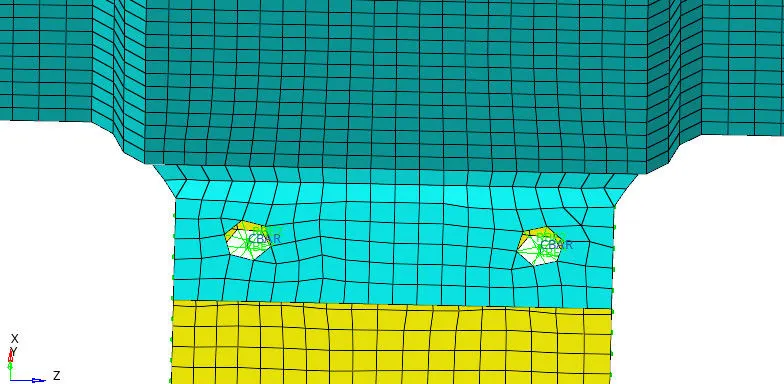
6.Rear_truss_2 & Left_Rail_2:- Bolt Connector
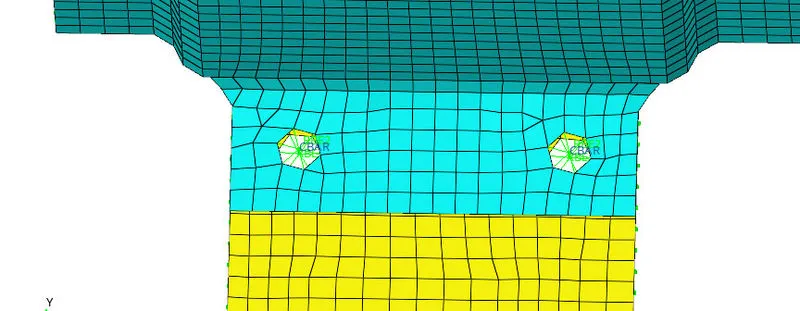
7.Right_Rail_1 & Right_Rail_2:- Spot-weld with Rigid Elements.
8.Left_Rail_1 & Left_Rail_2:- Spot-weld with Spring Elements.
9.Remaining Component.
- Bolt joint.
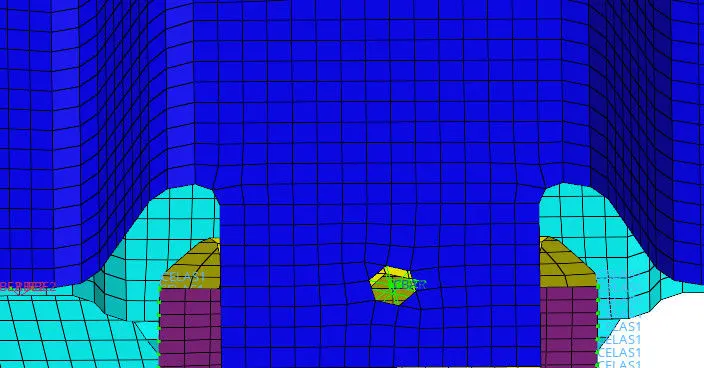
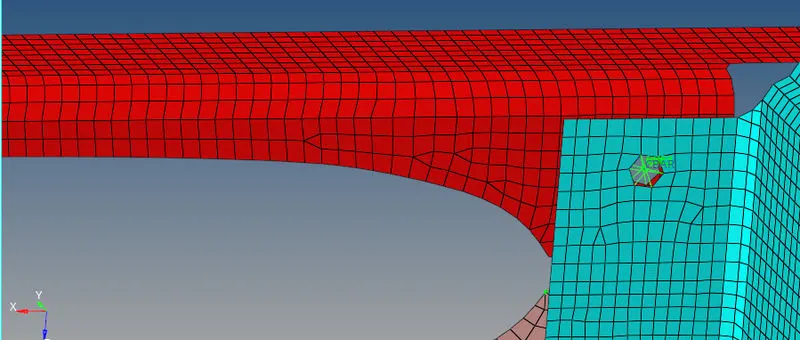
- Spot weld.
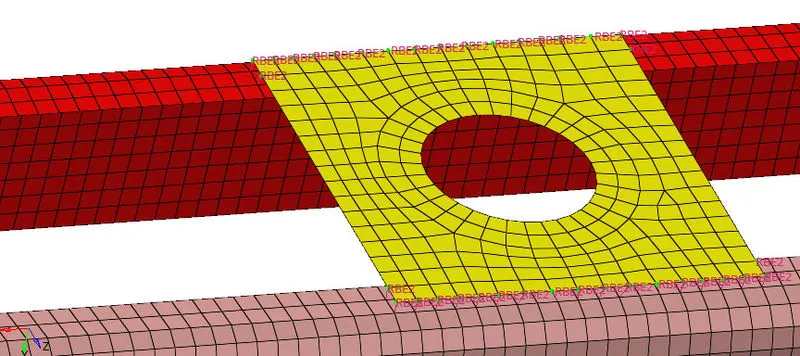
10. Quality.