Week 8-3D Tetra Meshing Challenge
Objective-
- Generating 3D mesh on a component.
- Creating a TetraMesh (from 2D to 3D) for a housing component.
- Creating a TetraMesh (Quick TetraMesh/Volume Mesh) for Model 2.
- Creating a TetraMesh (Quick TetraMesh/Volume Mesh) for Model 3.
- Mesh should pass the given Quality parameters.
CAD Model-
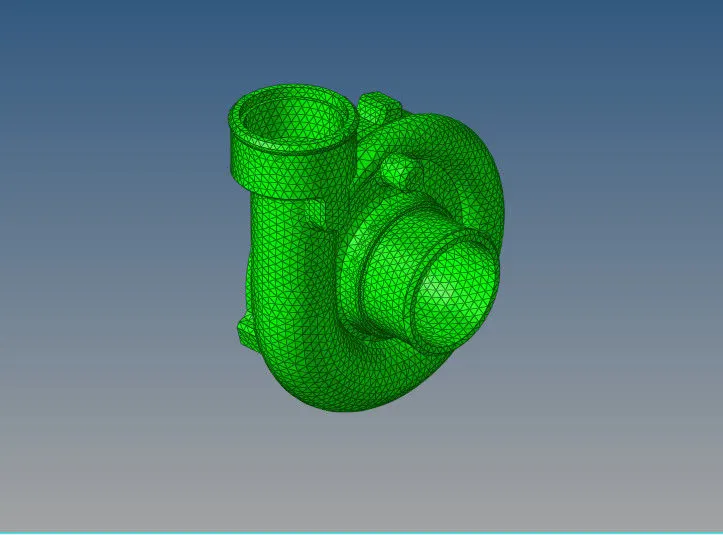
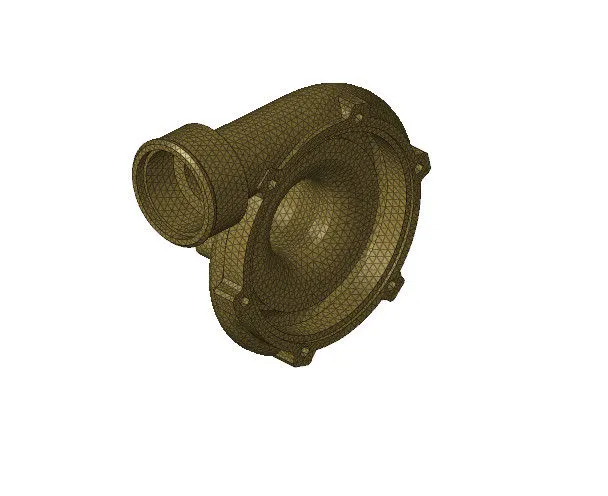
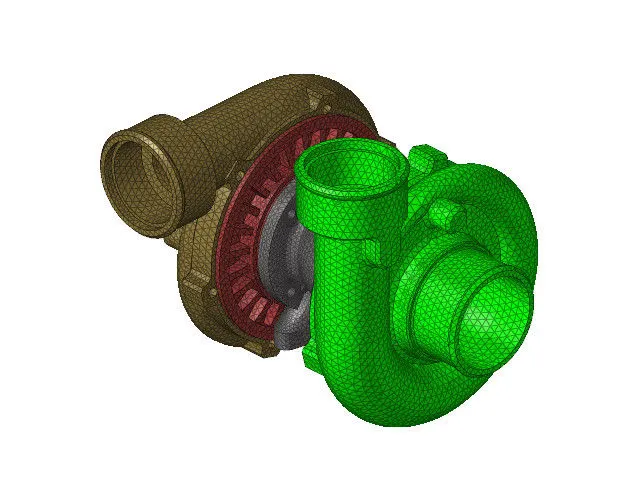
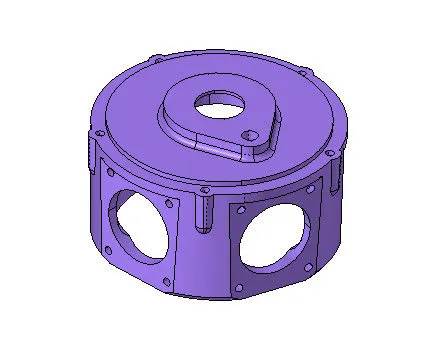
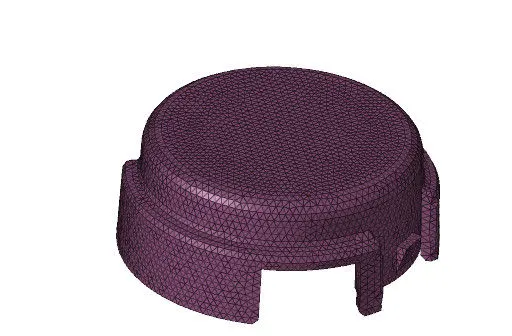
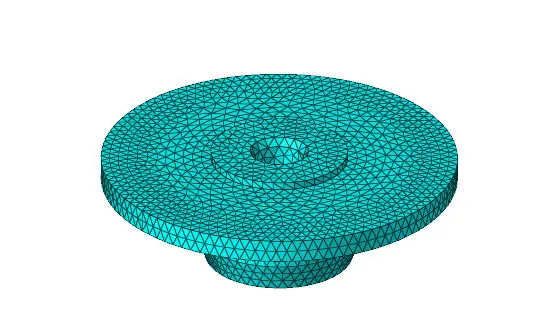
- Housing.
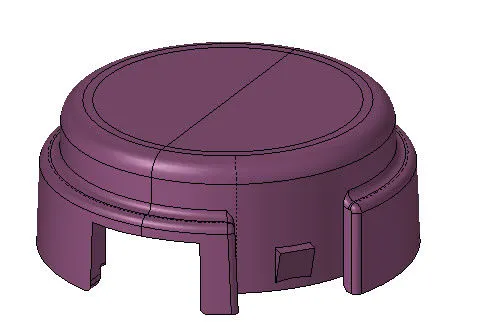
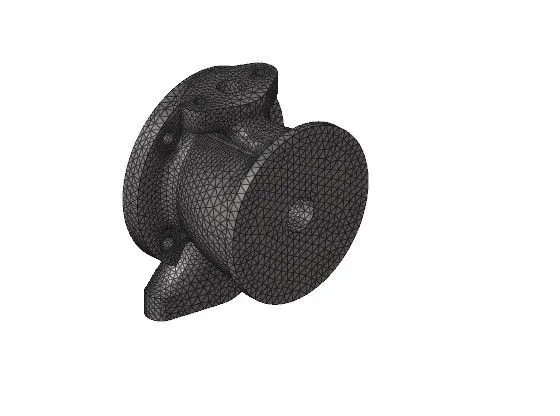
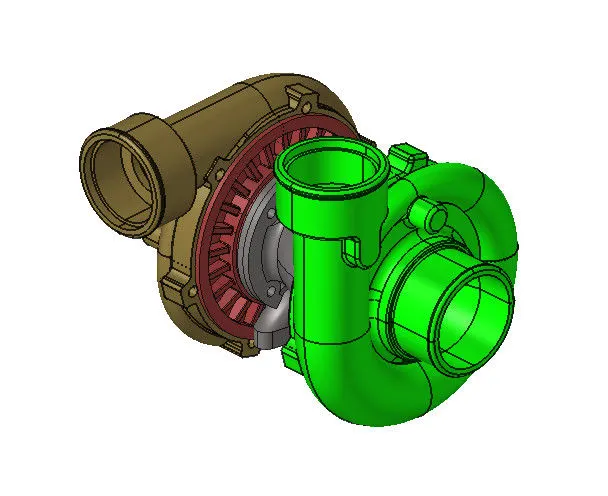
- Model 2
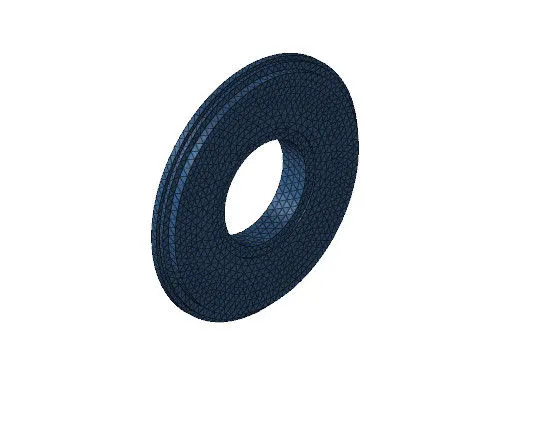
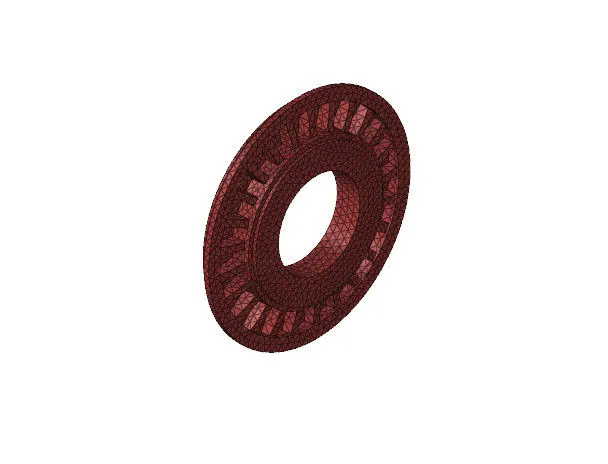
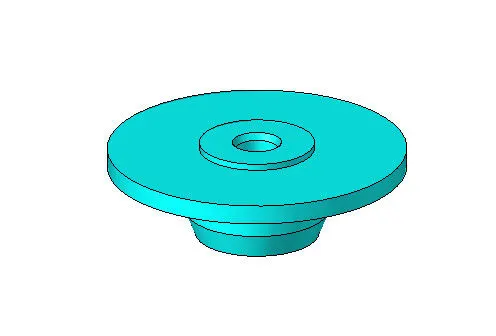
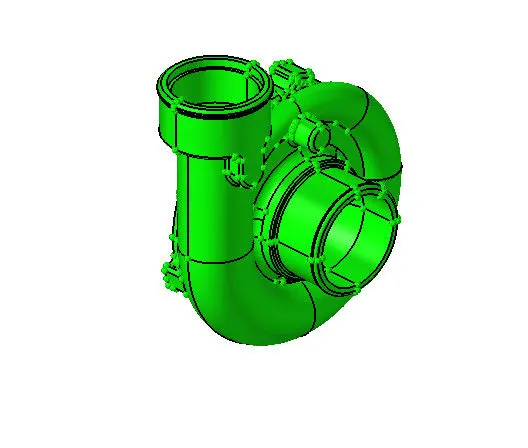
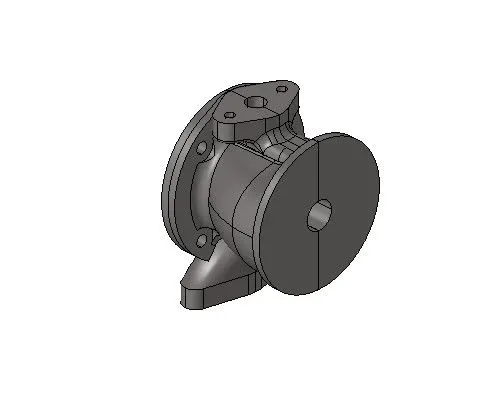
- Model 3
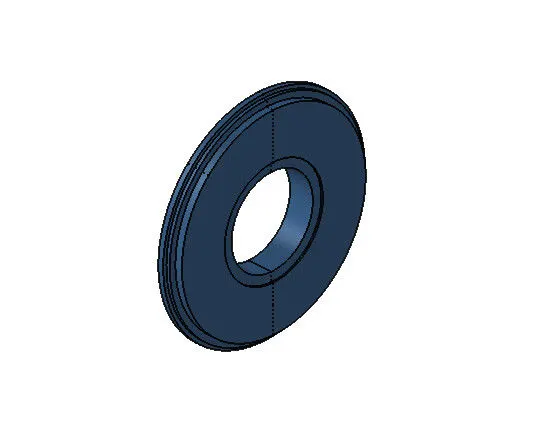
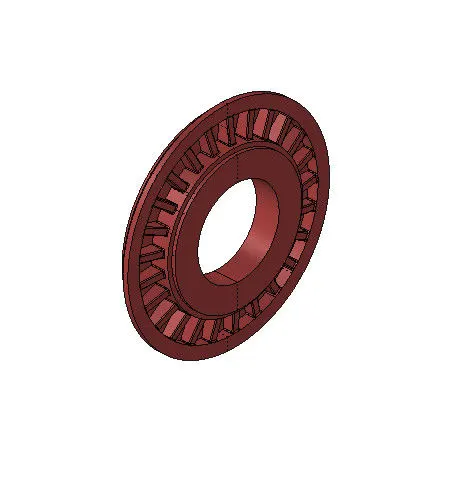
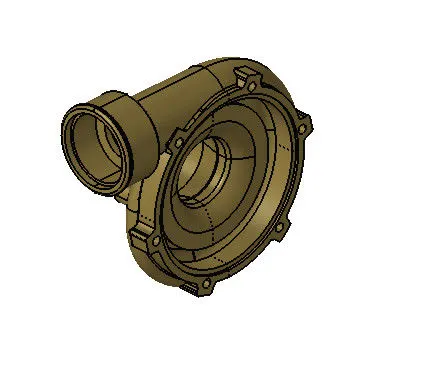
PROCEDURE.
1.Extracting Model.
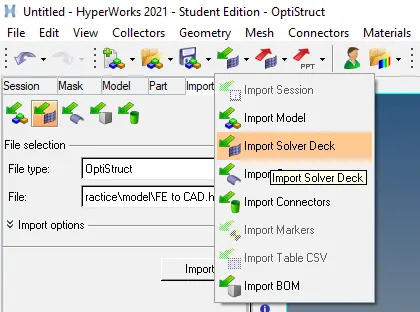
- For Extracting model first click on "import solver deck" from the tool bar. Under "import solver deck" select the option as "import geometry" and file type as "IGES" or "STEP" as per requirement.
- After selecting the model just click "import". Sometimes model is not visible on the screen because it is not been originated in a particular plane, to originate the model in the given plane just click "fit model" from the tool bar or just press "F" from the keyboard.
- Next step is to assign different colors to the different component of the model so that it will be easy to identify the component seperately.
2.Geometry Cleanup.
- We have to be very careful about the geometry before meshing a particular component.
- Geometry cleanup is done to get a proper mesh flow.
- Geometry cleanup is necessary for removing unnecessary points, toggling the edges, supressing/unsupressing the edges, filling the geometry, rebuilding the geometry, removing fillets.
- Before going for geometry cleanup deleting the solid is necessary so that it will be easy for us to identify the edges properly. For that go to "delete" option from tool bar, select the option as "solid". Under "solid" give the command as "displayed", the entire solid will get selected and then click "delete entity", solid will get deleted. After that in the tool bar select the view option as "By Toppo".
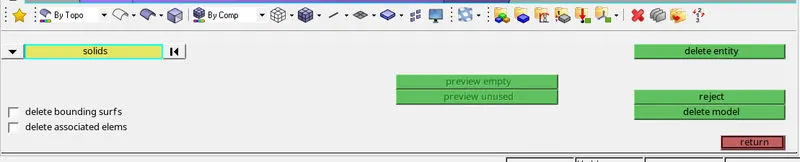
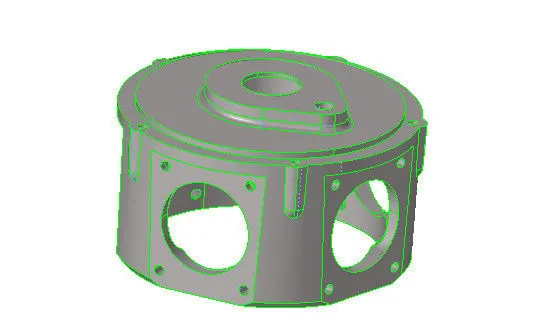 By Toppo.
- Toggling edge is necessary because our geometry shouldnot fail due to minimum element size criteria. For toggling the edges, go to "geometry" then select "qiuck edit". Under "quick edit" click the option as "toggle edge", after that select the edge which is to be toggled from the geometry.
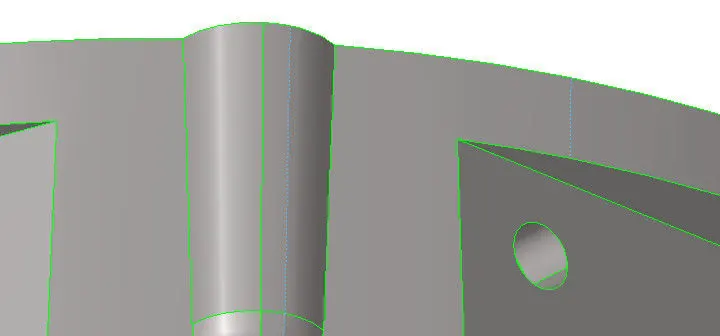
- Rebuilding surface in 3D meshing is an important step because for 3D meshing the geometry should be enclosed throughout otherwise the mesh will fail. While extracting CAD model some part may be damaged, this is rare case but still we have to be very careful about our geometry.
- There are various ways to rebuild surface, one of the way is to just delete the surface and rebuild it by using spline option, for that go to "delete" option from tool bar and then select the option as "surfs". After that select the surface which is to be deleted from the geometry by just left clicking on the surface, and then click "delete entity", the surface will get deleted.
- For using spline command, go to "geometry" then select "surfaces", under surface click the option as "spline", select the line from the geometry. New surface will get created.
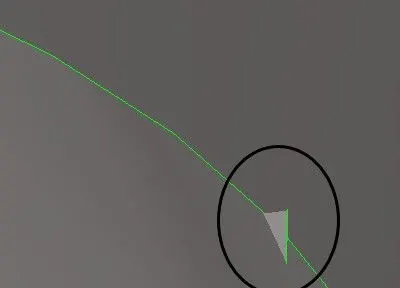
- Defeature is one of the command used to remove the surface fillet which falls under minimum size criteria. Removing the surface fillet falling under minimum size criteria is improtant so that our element donot fails for Tet collapse. For using defeature option, go to "geometry" then select "defeature", under "defeature" click the option as "surf fillet". Then under find fillet in the selected surface, select the surface give the maximum radius value as "8" and minimum radius as "1". Click the option as find, if the fillet is falling under the given criteria it will get highlighted and then click "remove", the fillet will get remove.

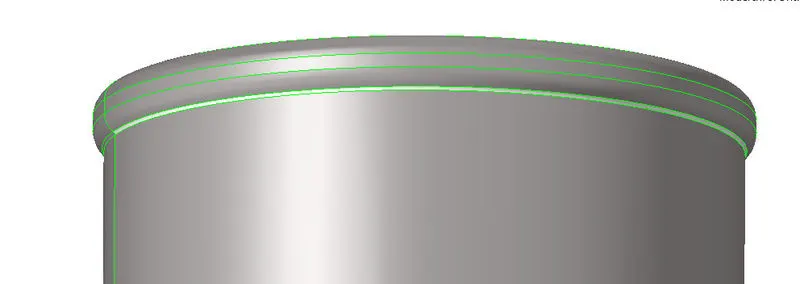
- For 3D meshing we have to convert the surface into solids, for that go to "geometry" then select "solids" under solids click the option as "Bounding surfaces". Select the entire surface and click "create", solid will get created.

3.Tetra Meshing.
- Tetra Elements are used where the geometry has high thickness and complexity. Tetra elements has four triangular faces with four nodes joining them together. Tetra elements are the four nodded solid elements which can be generated through tria elements. There are basically three methods for creation of Tetra elements they are;
- Converting 2D tria to Tetra Elements, by using Tetra Mesh panel.
- Using the quick Tetra Mesh, from the utility panel.
- Using the Volume Tetra Mesh panel.
A.Meshing of a Housing Model.
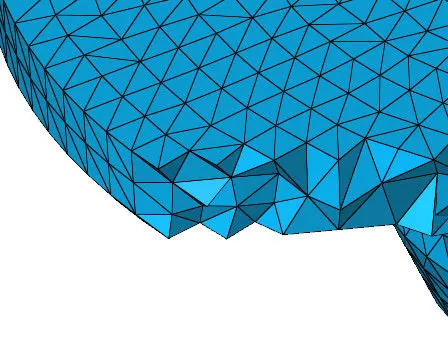
- Tetra Mesh generation for Housing model is done from 2D tria elements to 3D Tetra elements conversion.
- First Step is to delete the solids from the model, for that to go "delete" from tool bar then under "delete" select the option as "solids". Select the entire solid from model by using "displayed" option and then click "delete entity", the solid will get deleted.
- Now we have to generate 2D tria elements on the two components of the housing seperately. For creation of a 2D tria elements, go to "2D" then select "automesh" option. Under "automesh" give the mesh type as "trias" and target element size as "5", then select the entire surface by clicking "displayed" option and then click "mesh". 2D trias will get generated on the surface.

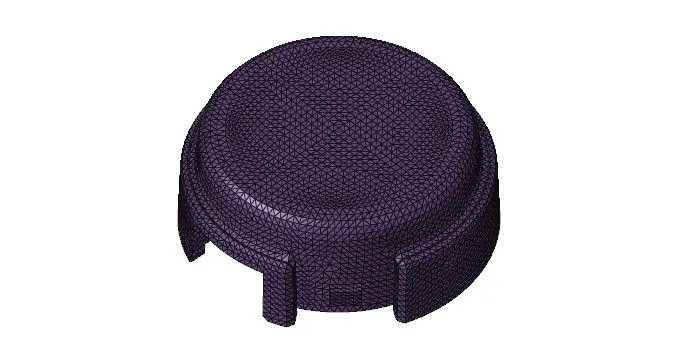
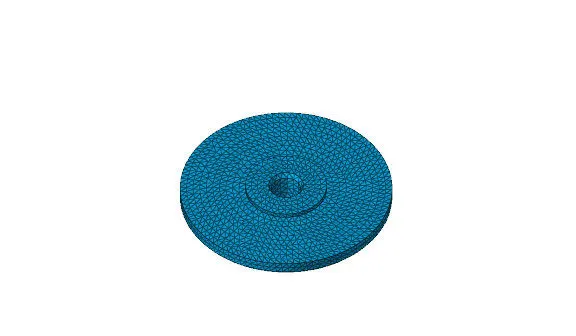
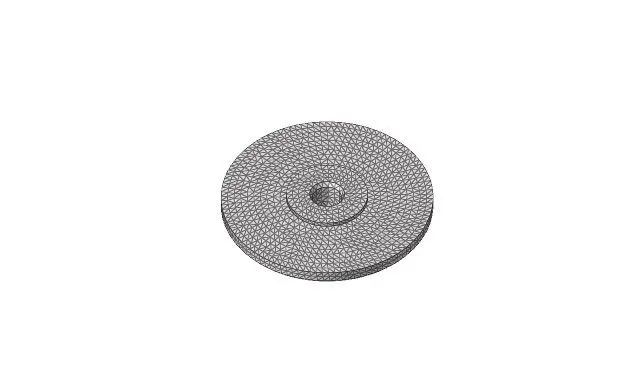
- To convert 2D trias to 3D Tetra Elements, go to "3D" then select "tetramesh". Under "tetramesh" select the option as "Tetra Mesh", then under "Fixed trias/quads to tetra mesh" give the option as "elems" and type as "Simple Pyramid". Select the entire 2D tria elements by clicking "displayed" option and then click "mesh". 3D Tetra Elements will get created.

- Final step is to delete the 2D trias from the mesh, for that go to "delete" option then select "elems", under "elems" select the option know as "by config". Under configuration select "tria3" and then click on "select entity", 2D trias will get displayed on the mesh then click "delete entity". 2D trias elements will get deleted.


B.Meshing of Model 2.
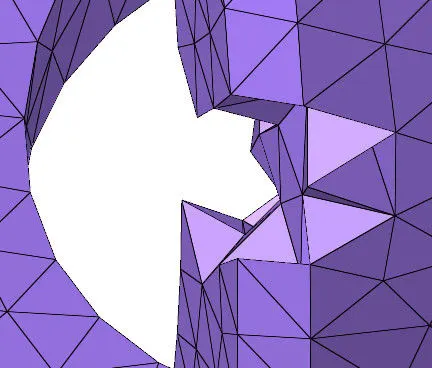
- Tetra Element generation of model 2 is done by Volume Tetra Mesh panel.
- For direct creation of a Tetra element this option is very helpfull. Before creating Tetra Element we should always check the connectivity of our solid component and also we have to check weather the solid is completely enclosed or not, otherwise the mesh will fail.
- First step for creating Tetra Mesh is to do a proper geometry cleanup and then perform the operation.
- For creating Tetra Elements, go to "3D" then select "tetramesh". Under "tetramesh" click the option "Volume tetra", select the enclosed volume as "solids", 2D type as "trias", 3D type as "tetras" and element order as "first". Give the target element size as "3" and click "cleanup elements" option. After that click "mesh", Tetra Elements will get created.

C.Meshing of Model 3.
- Tetra Element generation of model 3 is done by two method 1st by Volume Tetra Mesh panel and 2nd by quick Tetra Mesh, from utility panel.
- For volume Tetra Mesh, go to "3D" then select "tetramesh". Under "tetramesh" select the option as "Volume tetra", 2D type as "trias", 3D type as "tetras" and element order as "first". Give the target element size as "4" and click "cleanup elements" option then click "mesh", Tetra elements will get created.
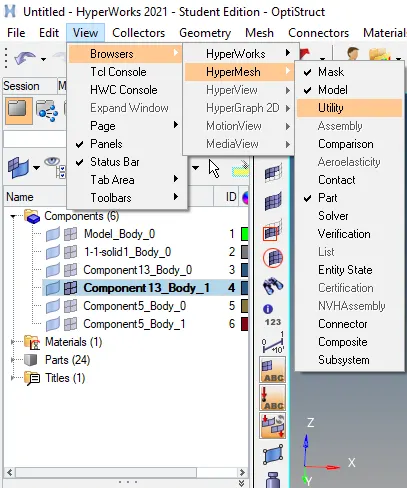
- Second method is by utility panel, for that go to main menue bar then click "view", under "view" select "browsers", under "browsers" select "hypermesh", and then under "hypermesh" select "utility".
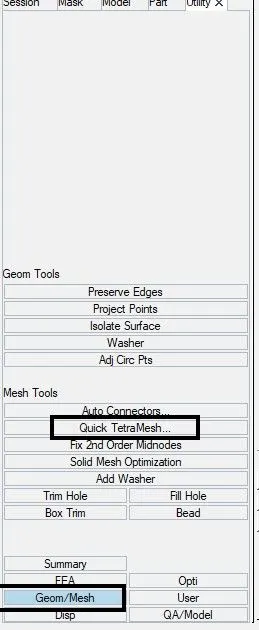
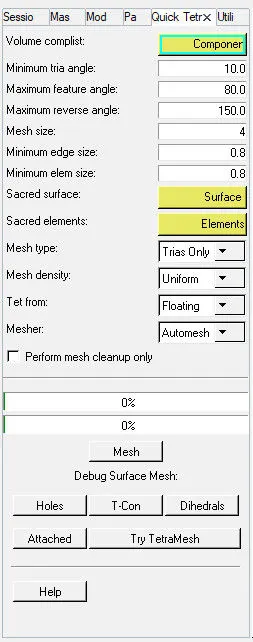
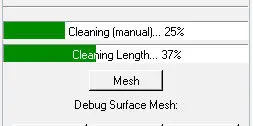
- Now a Utility panel will get created in the tab bar. Under the utility panel select "geom/mesh", after that click "Quick Tetra Mesh". Change the target element size as "4" and mesh type as "trias only", then click mesh. Tetra Element along with Tria element will get created.
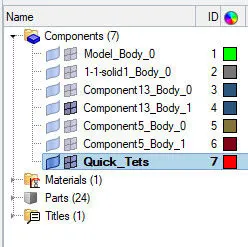
- A new collector name "Quick_trias" will get created, now the next step is to delete the tria elements and organize the "Quick_trias" elements to "Component 13_Body_1", for that go to "delete" option select "elems" then select "by config" and give the configuration as "trias3" and click "select entities". After that click "delete entity", trias will get deleted.
- Now to organize the Tetra elements to the component, go to "tool" then select "organize" under organize select the entire elements by clicking "displayed" and under dest component select "Component 13_Body_1" and click "move", the elements will get organize to the given component.
4.Tet collapse and Remesh.
- Tet Collapse is one of the quality parameters which is to be checked whiile creating a Tetra Elements. For the given model tet collapse value is "0.15".
- There are two methods for clearing tet collapse problem, first by "translate" command to increase the height, and second by "tetra remesh" panel to remesh the failed elements
- For checking tet collapse, go to "tool" then click "check elements" then select "3D'. After that set the value of tet collapse as "0.15" and click on tet collapse, on the status bar it will show the number of elements failing from tet collapse. Just click save failed so that all the failed element will get saved.
- Now go to "mask" option to mask the following failed elements, for that go to "tool" then select "mask", under "mask" click "elems" and under "elems" select the option "retrieve" and click "mask" then "reverse". The failed element will get display on the display area.


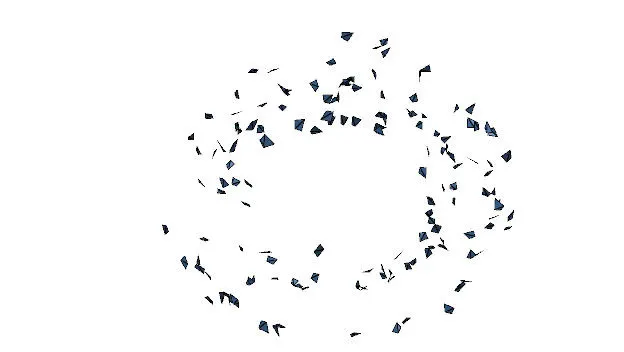
- To clear the tet collapse by Tetra Remesh option, go to "3D" then select "tetramesh", under tetramesh click "Tetramesh parameters", after that give maximum tetra size to be "10" and minimum tetra size to be "2". Click the option such as fill voids, fix midnodes and smoothing. Now go to "Tetra Remesh" option and select the elements by displayed option under 3D, and click "remesh". The failed elements will get remesh.


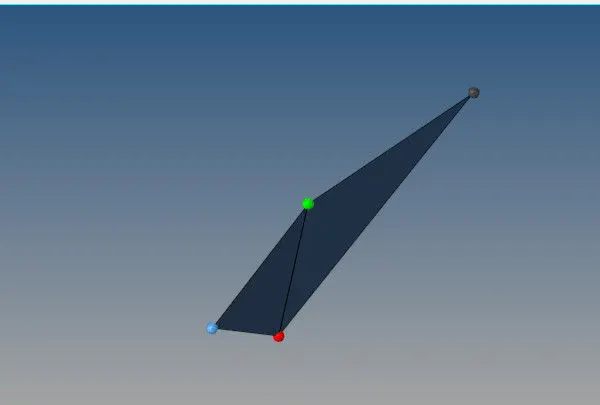
- To clear tet collapse by translate option, go to "tool" then select "translate" opton. Under translate, pick a node in any one failed elements which has minimum height.
- Select N1, N2, N3 which represent the opposite plane of the selected node.
- Give the magnitude value as "1" and then click "translate" option to move the node.

RESULT.
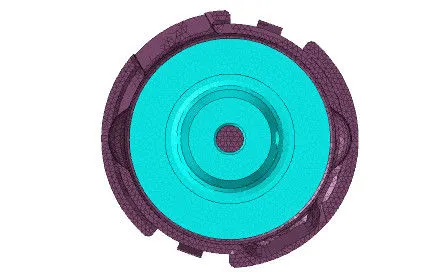
1. Housing Model.
2. Model 2.
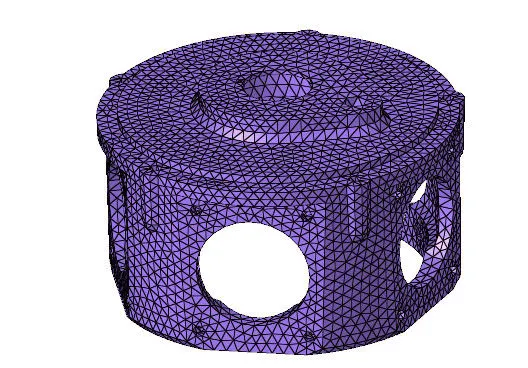
3. Model 3.