Week 9-Challenge
Objective: To create a connector for the given model .
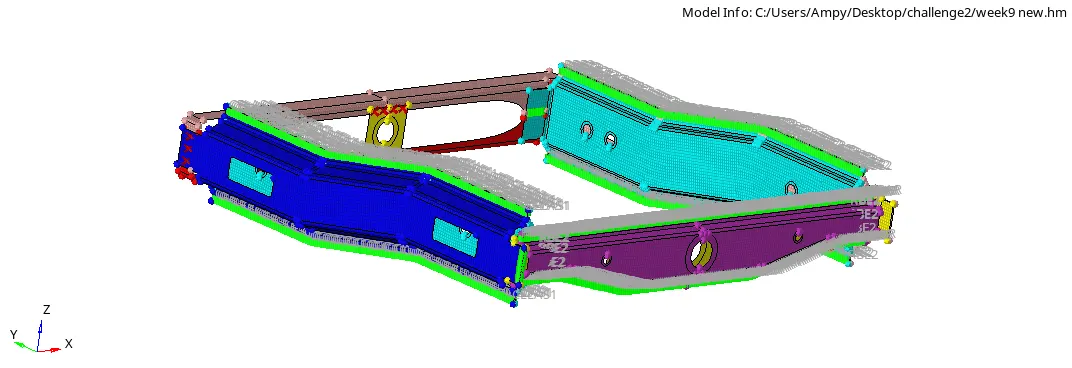
CAD model:
Procedure:
Import the model.
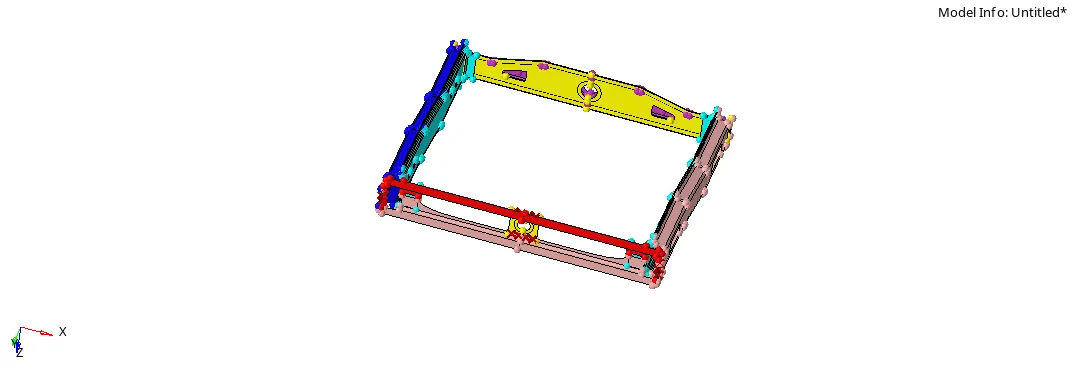
According to the given connector information select the part to be connected and hide the reamining parts.
1. Right_Rail_2 & Front_truss_1:- Seam-Quad(angled+capped+L)
Hide the remaining parts and the mesh the surfaces
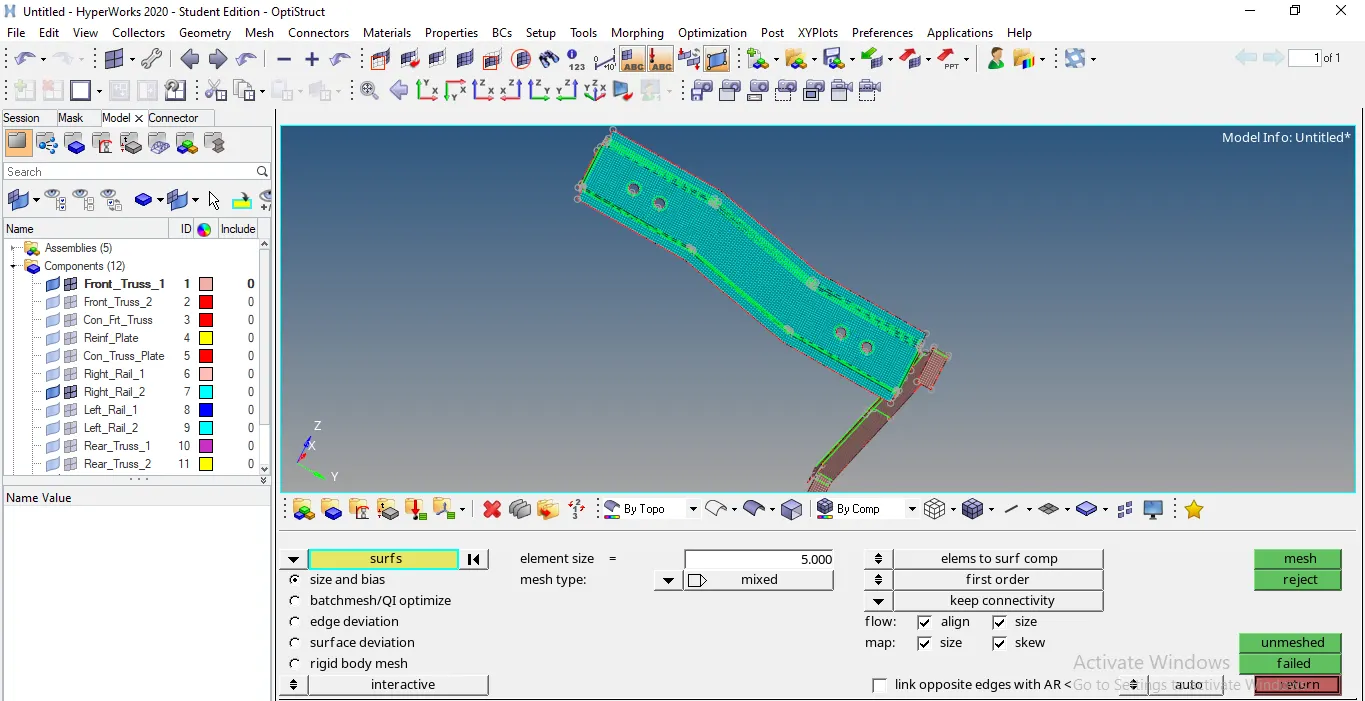
Go to 2D-connector-seam-select nodelist And select the nodes to be welded. Enter the spacing value, select the components to be weld-enter the tolerance value-select the type Quad(angled+capped+L) and press create .
the weld is created adjust the mesh and check the mesh flow.
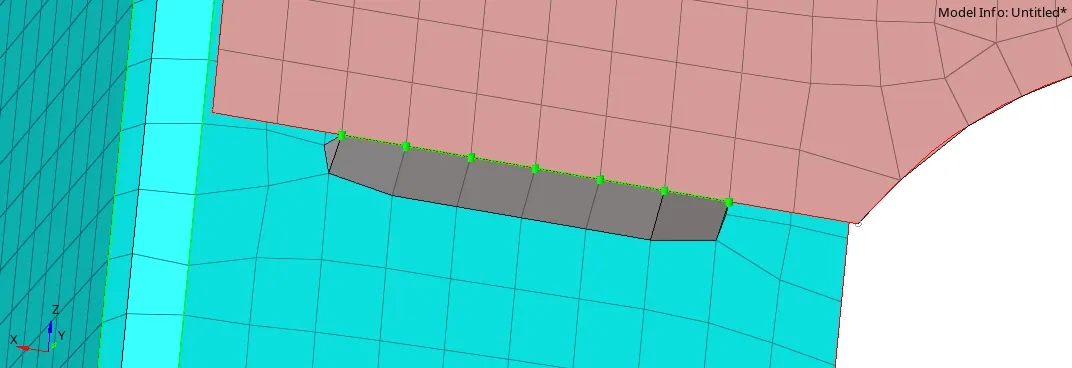
2. Left_Rail_2 & Front_truss_1:- Quad elements
Hide the remaining parts and the mesh the surfaces
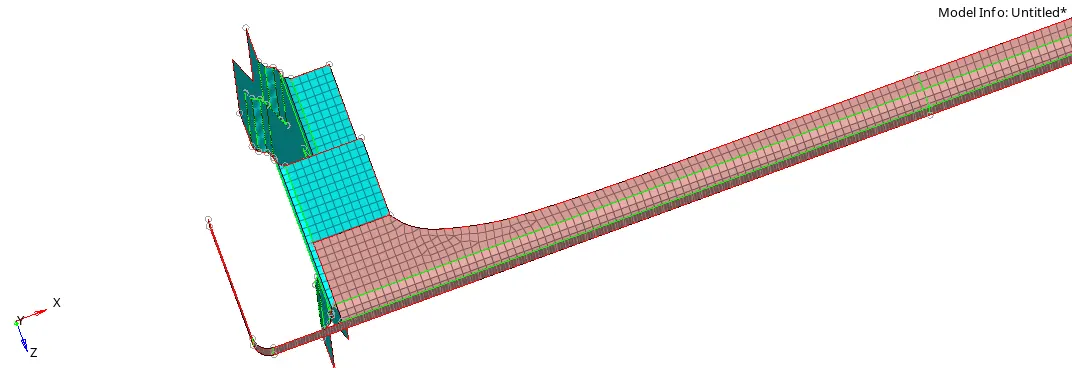
Go to 2D-connector-seam-select nodelist And select the nodes to be welded. Enter the spacing value, select the components to be weld-enter the tolerance value-select the type Quads and press create .
The weld is created adjust the mesh and check the mesh flow.
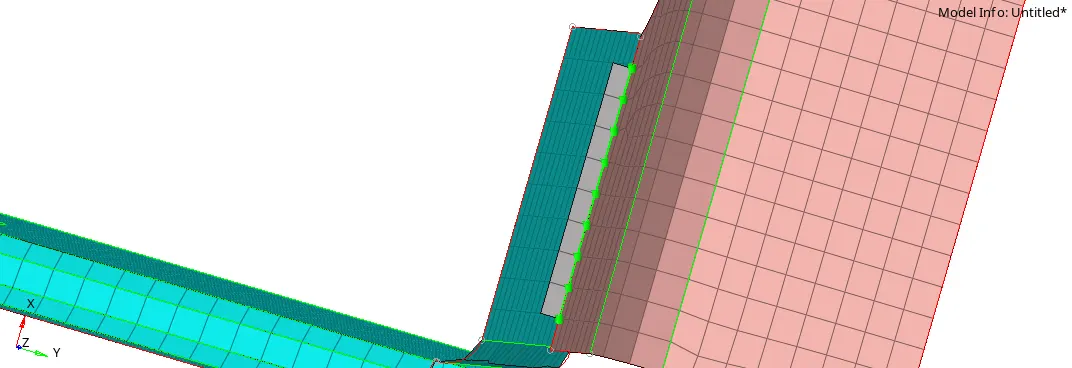
3. Front_truss_2, Front_truss_1 & Right_Rail_1:- Spot weld with 3 Layers and 5 mm Diameter
Hide the remaining parts and the mesh the surfaces
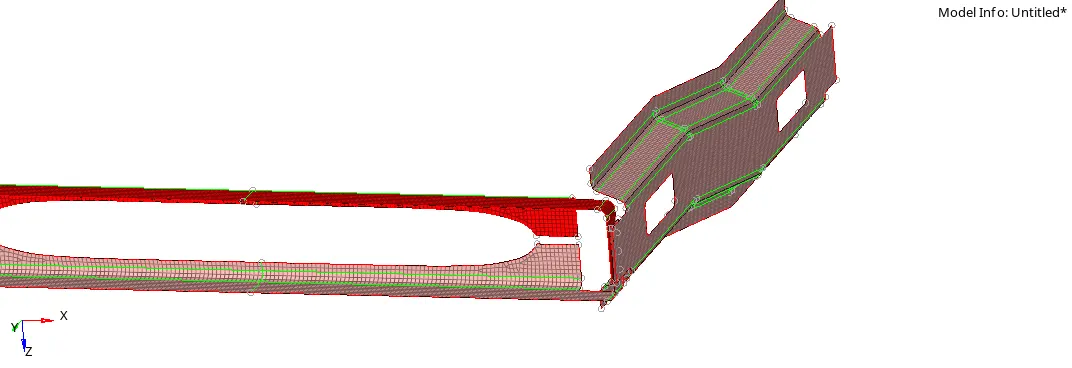
Go to 2D-connector-spot-select nodes And select the nodes to be welded. select the layers as 3, select the 3 components to be weld-enter the tolerance value-select the type weld and enter the diameter as 3mm
The weld is created adjust the mesh and check the mesh flow
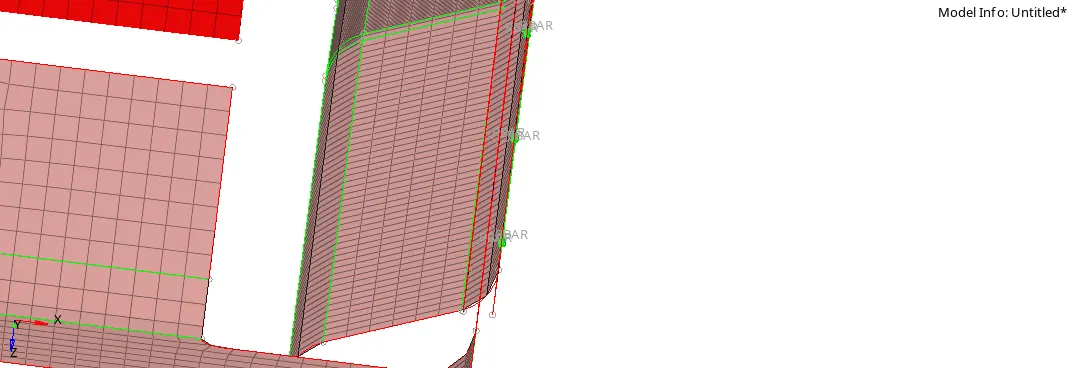
4. Front_truss_2, Front_truss_1 & Left_Rail_1:- Hexa (Adhesive)
Hide the remaining parts and the mesh the surfaces
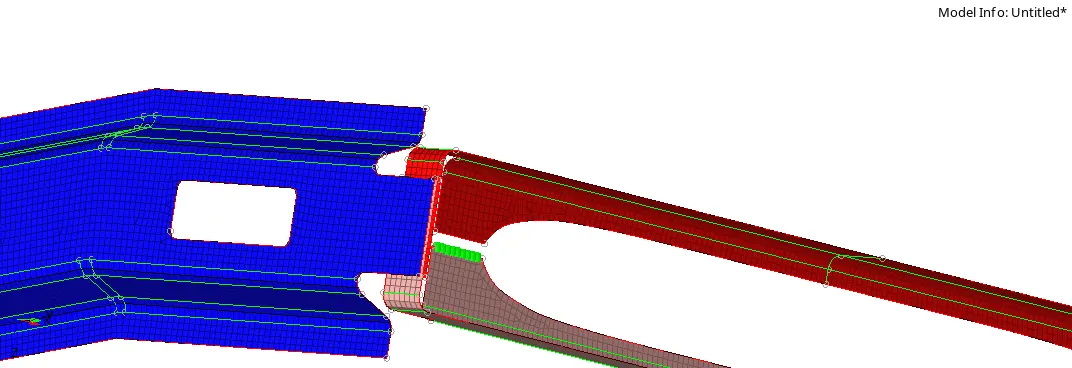
Go to 2D-connector-spot-select nodes And select the nodes to be welded. select the 2 components to be weld-enter the tolerance value-select the type HEXA adhesive and press create
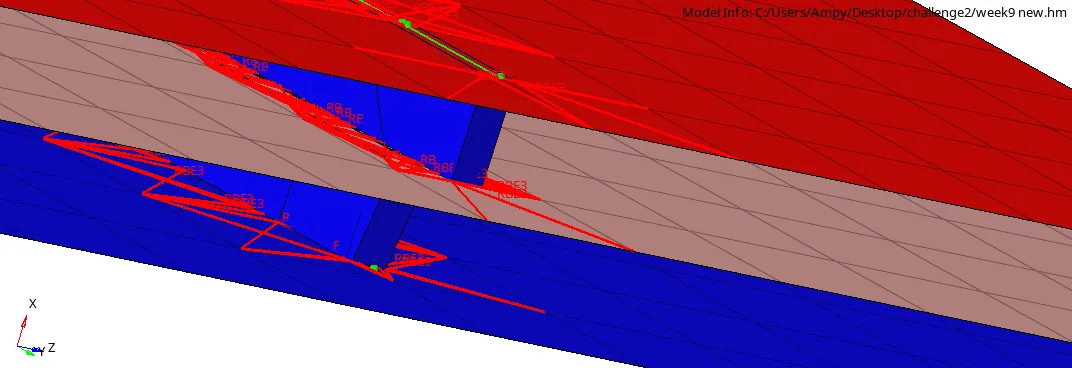
The weld is created adjust the mesh and check the mesh flow
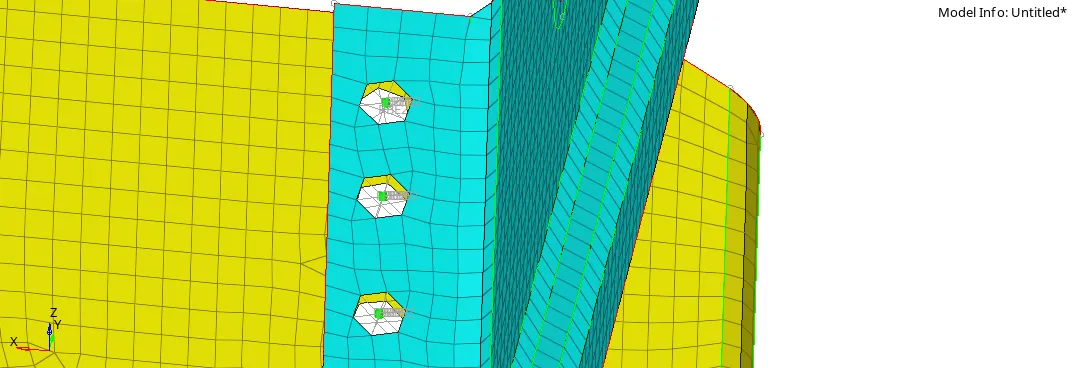
5. Rear_truss_2 & Right_Rail_2:- Bolt Connector
Hide the remaining parts and the mesh the surfaces
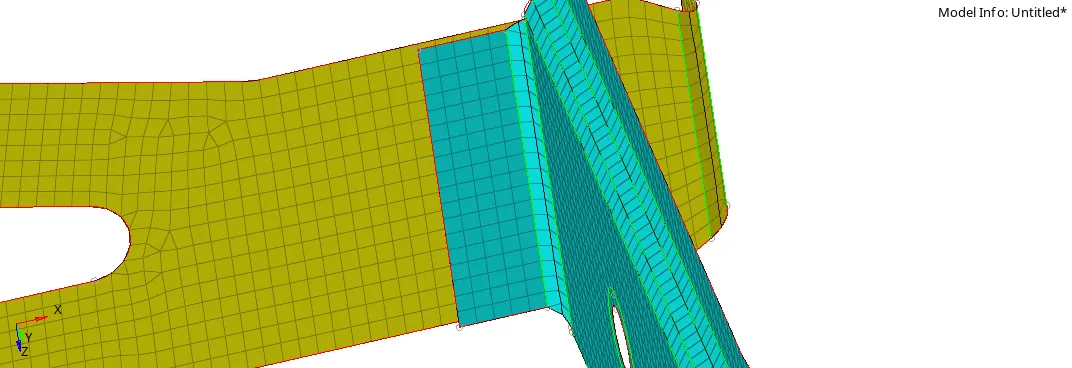
Go to 2D-connector-bolt-select nodes. select the components -enter the tolerance,value- type-bolt, and select the (create hole if none). and press create
The weld is created adjust the mesh and check the mesh flow
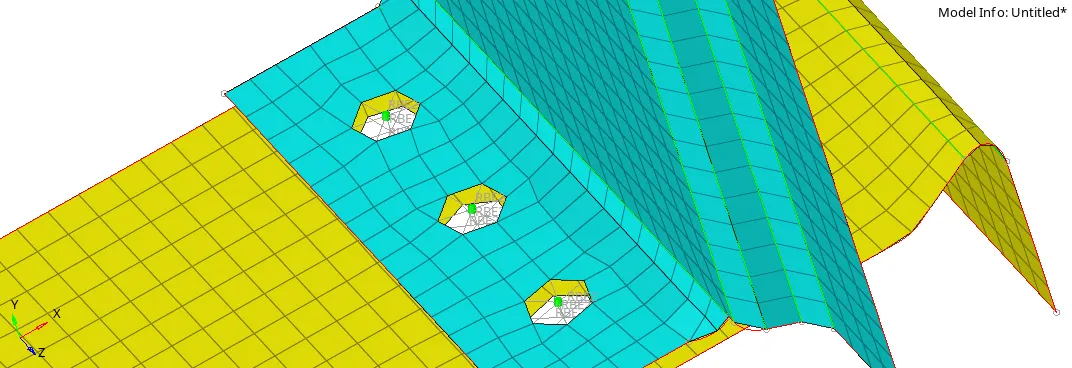
6. Rear_truss_2 & Left_Rail_2:- Bolt Connector
Hide the remaining parts and the mesh the surfaces
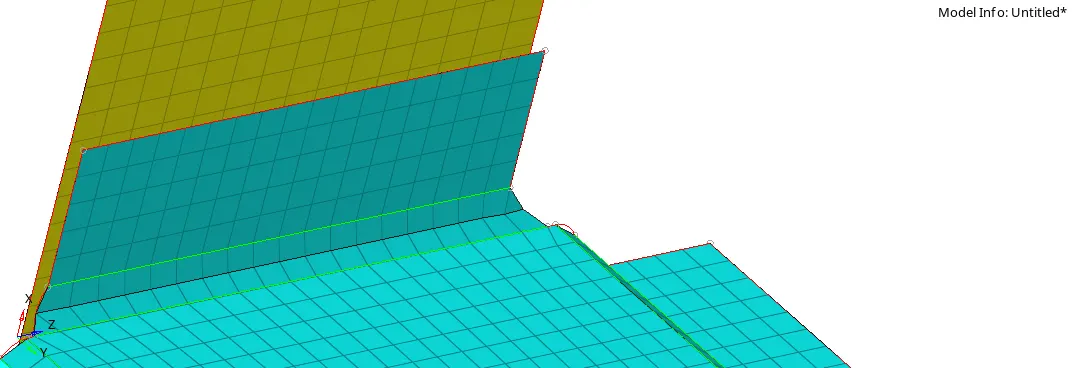
Go to 2D-connector-bolt-select nodes. select the components -enter the tolerance,value- type-bolt, and select the (create hole if none). and press create
The weld is created adjust the mesh and check the mesh flow
7. Right_Rail_1 & Right_Rail_2:- Spot-weld with Rigid Elements
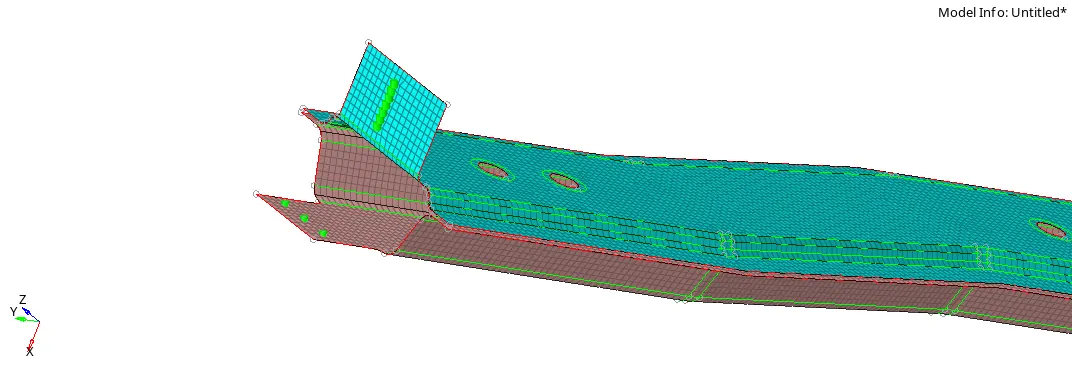
Go to 2D-connector-spot-slect the nodes to be weld -enter the tolerance value and select the type rigid, select the components. and press create
The weld is created adjust the mesh and check the mesh flow
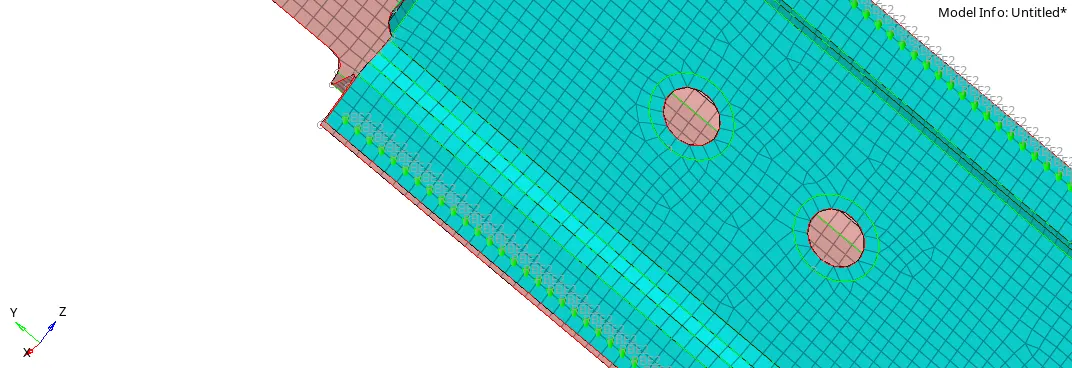
8. Left_Rail_1 & Left_Rail_2:- Spot-weld with Spring Elements
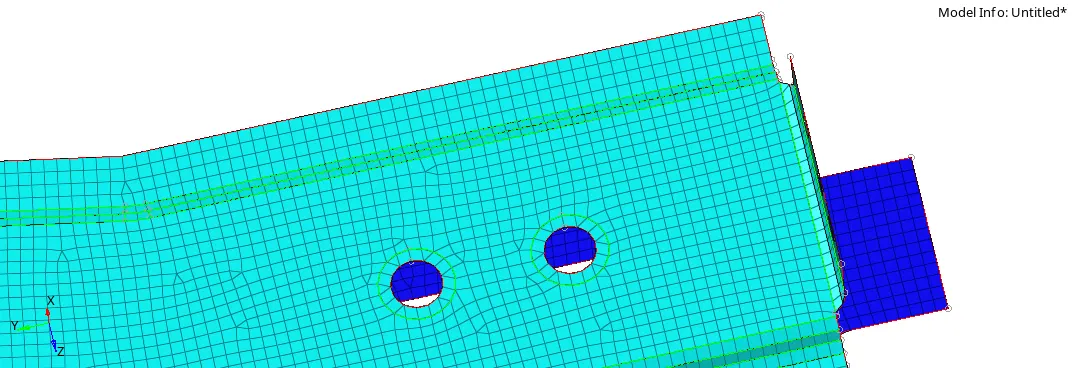
Go to 2D-connector-spot-slect the nodes to be weld -enter the tolerance value and select the type spring, select the components. and press create
The weld is created adjust the mesh and check the mesh flow
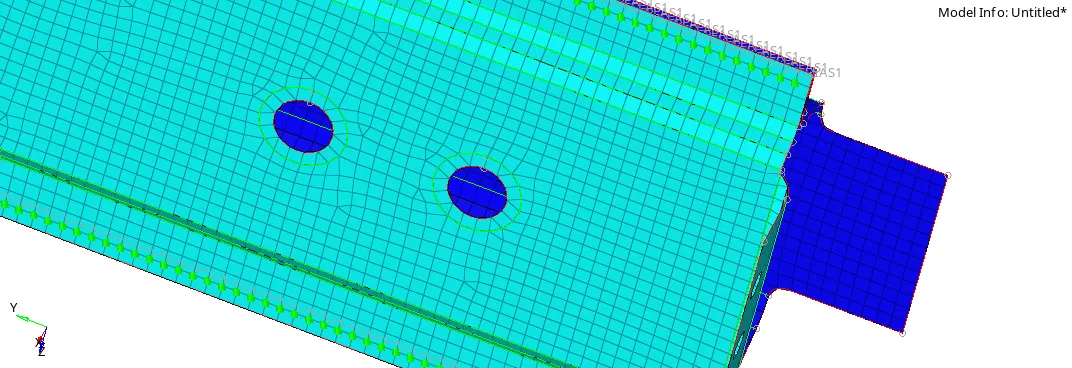
9. Rest all the component left Join them with suitable connectors
a) connected rear truss1& rear truss 2 with help of riging spot weld
b)rear truss 2 & left rail1 with quad elements
c)right rail 1& rear truss 2 with adhesive
Result: The complete model parts are connected with the help of connectors
final image: