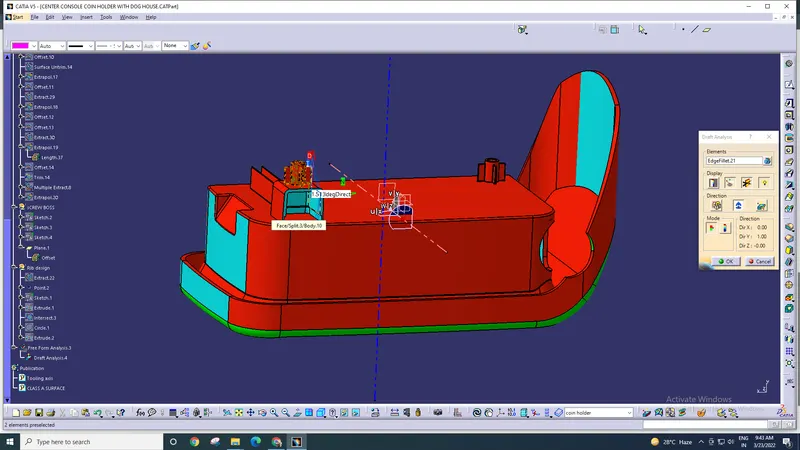
Week 9 - Attachment Feature Creation - Challenge 2
AIM-
To create a Coin holder with ribs from the given A-class surface by adding a thickness of 2.5 mm to it and to create a screw boss and dog house as per the design standards.
Tooling Axis-
- Check the Connectivity of class A Surface: these can be done by creating boundaries or by joining command if there are any gaps or openings they will be easily visualized.
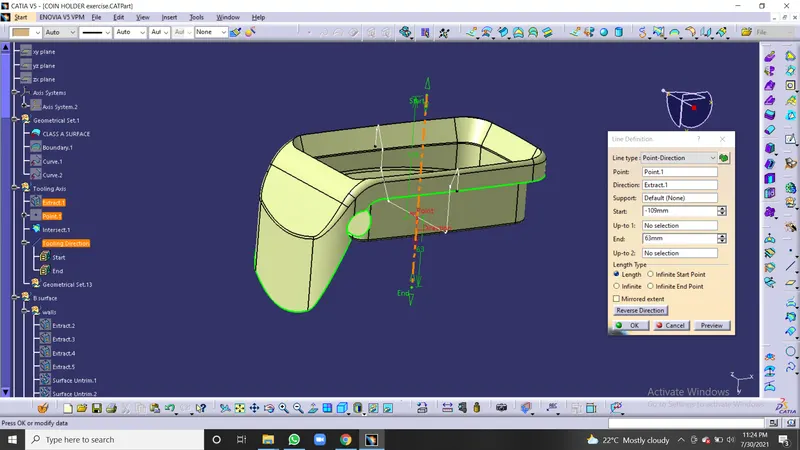
-Visually analyse the best possible tooling axis.
The tooling axis is nothing but the direction in which the core and cavity open and close. The design engineer works are to analyse the Class-A surface and find out the best possible tooling direction keeping in mind all the draft angle is with respect to the tooling axis so that the component can be easily ejected from the moulds.
-the clearance checking along all the axis on the plane with the model and constructing two lines contact with the walls, the line bisecting the two lines and passing through the point will be the tooling Axis.
For This, we have to use the intersection command to get the intersection of the class a
Intersection-
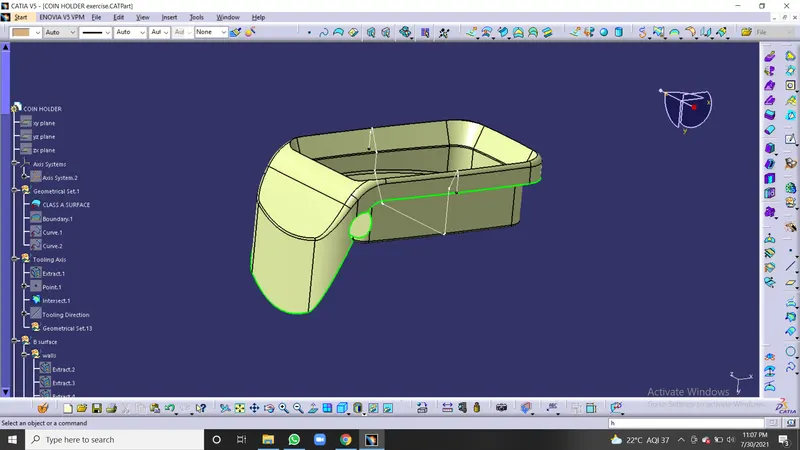
To create an intersection line we have to extract the plane surface and create the point on it and insert an axis system
by using the intersection command with the input of the plane along with the surface. as output, the single line will be visible along the surface with the line we can observe the draft of the lines easily.
in this cat part, none of the walls is having a draft, which means every wall is at 0deg, For components like this, we can simply draw the tooling axis normal to the surface.
Class A surface-
In automotive design, a class A surface is any of a set of freeform surfaces of high efficiency and quality. Although strictly, it is nothing more than saying the surfaces have curvature and tangency alignment – to ideal aesthetical reflection quality, many people interpret class A surfaces to have G2 (or even G3) curvature continuity to one another. Class A surfacing is done using computer-aided industrial design applications. Class A surface modellers are also called "digital sculptors" in the industry. Industrial designers develop their design styling through the A-Surface, the physical surface the end-user can feel, touch, see etc. and the class A surface is created in the software called ALIAS.
Draft Analysis on Class A surface-
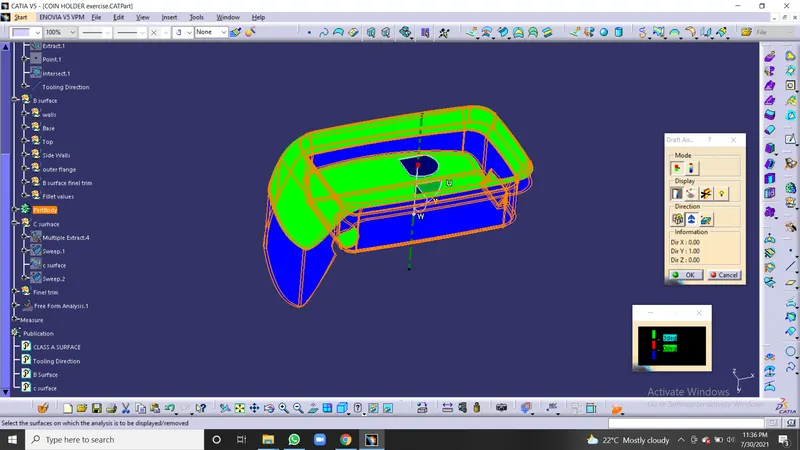
Draft analysis compass is used to define the draft direction.
check whether the minimum draft of 3deg is assumed or not. the minimum draft of 3 deg is provided with the whole component changes into green colour.
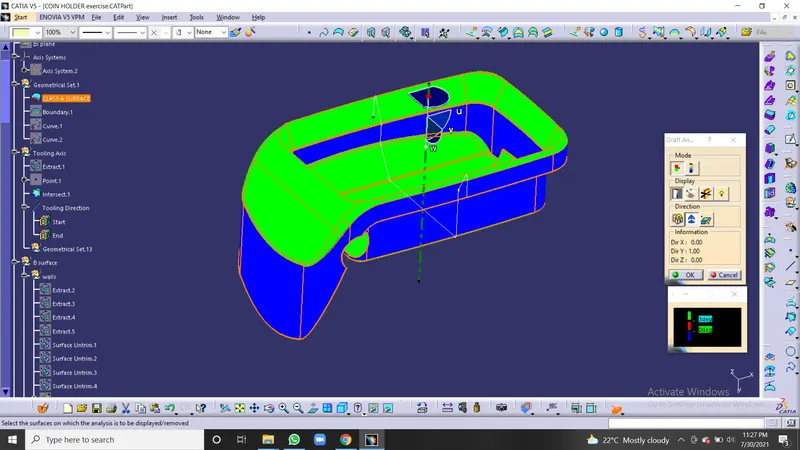
the above class A should be sent to the class A team because the sidewalls of this part are 90degree so it is very difficult to design manufacture this part.
Class B Surface Creation-
Represent internal and/or functional surfaces. This cluster exemplary includes derived surfaces created by offset operations from class A surfaces to define the thickness of the material (2.5mm). In this file, it is important to link class B surfaces geometrically to enable an adaptation to class A surfaces automatically in case of styling change.
After creating the tooling axis, a B surface is to be created which is nothing but the surface parallel to the A surface. B surface contains all the fillets and the edges which the A surface contains.
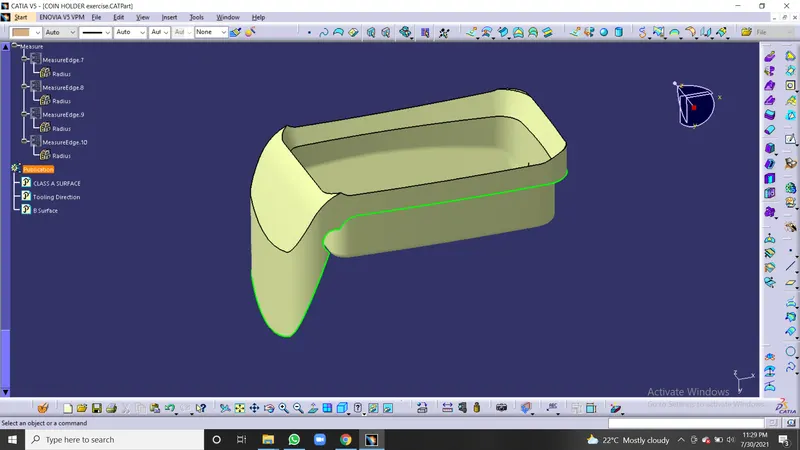
Class C Surface Creation-
Class C Surface is swept along the boundary of Class A at an angle perpendicular to the CLASS A surface with respect to the tooling axis direction with a draft angle of 3 degrees.
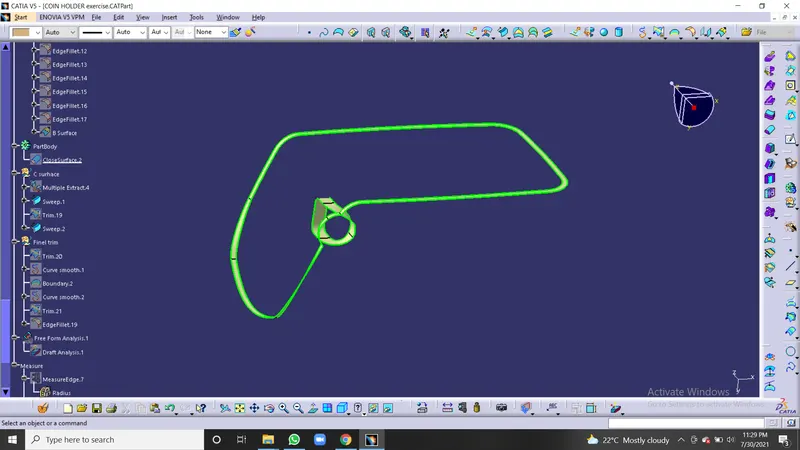
Joining CLASS A, B and C Surfaces to get Closed Surfaces-
After finishing all the 3 surfaces, join the class A and class C surfaces together using the Join command. Now, the joined surfaces are then trimmed with a class B surface to form a closed surface.
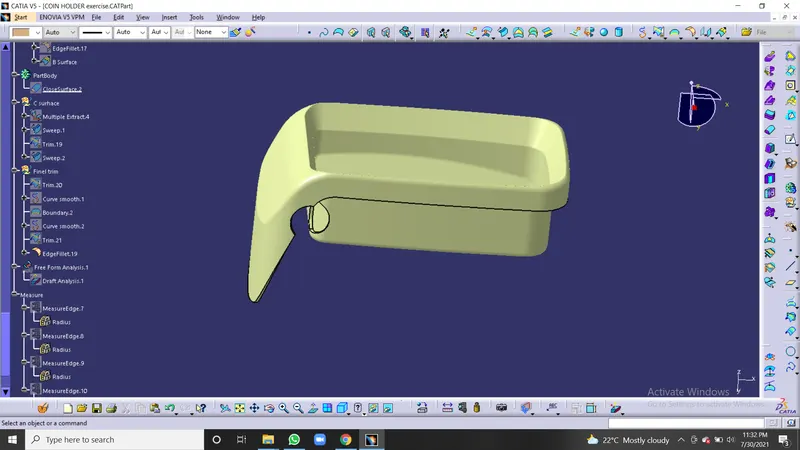
Making of the solid part using the class surface command-
after the completion of joining the class A, B, C surfaces ensure that the surface has no gaps between then using the boundary command if it did not form the boundary then the surface is closed switch to the part design and insert the new part body and use the close surface command to get the solid part.
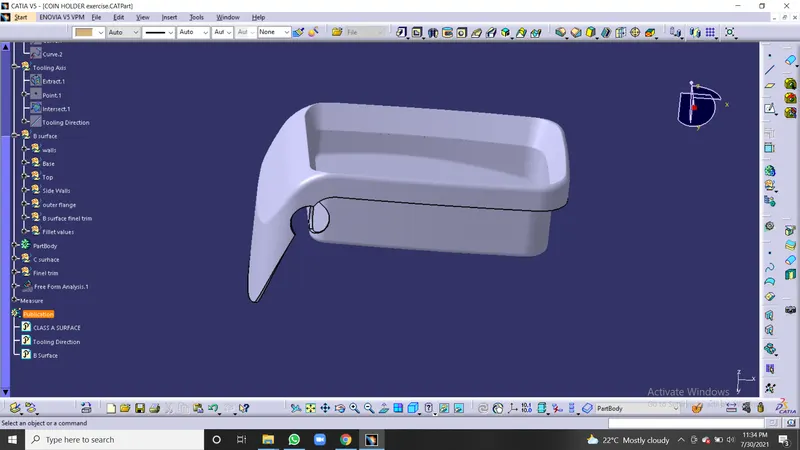
Draft Analysis-
The Draft Analysis command enables you to detect if the part you drafted will be easily ejected from the mould without damage. This type of analysis is performed based on colour ranges identifying zones on the analyzed element where the deviation from the draft direction at any point, corresponds to specified values.
Draft angles are very important in thermoforming product design. If the product is formed onto a female or negative mould, it shrinks away from the mould sidewalls. As a result, true female or negative products can be thermoformed with vertical walls having zero draft angles.
Rib design-
Ribs are used to strengthen the walls of the mould without increasing the overall wall thickness.it is an economical way to increase the stiffness of the component.
they help in-
Locating and arresting components of an assembly
providing alignment in mating parts
acting as stops or guides for mechanisms
ex- headlight
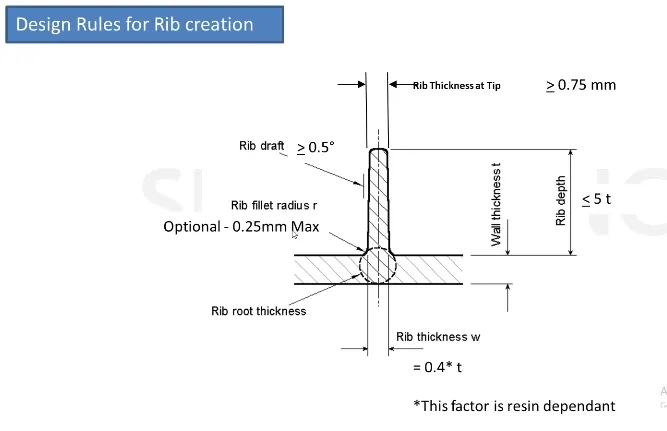
design rules to follow while cretin the ribs-
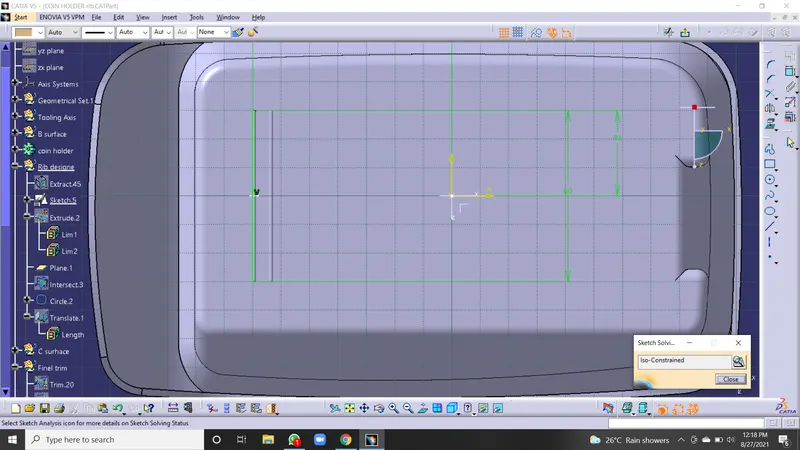
Sketch 1-
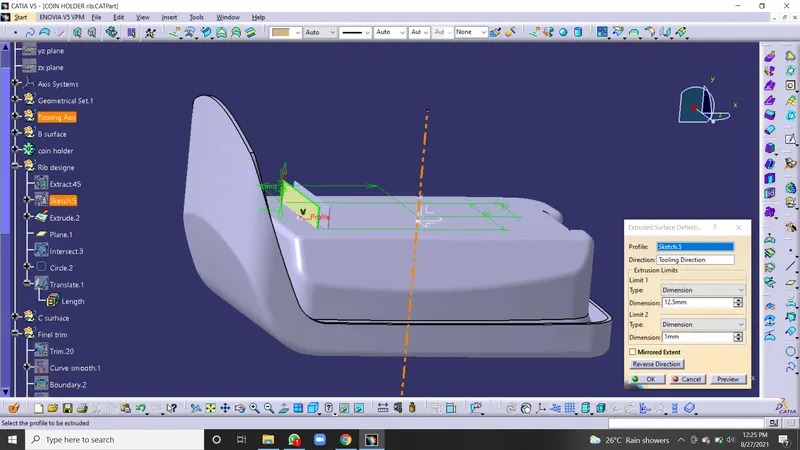
Extruding the sketch-
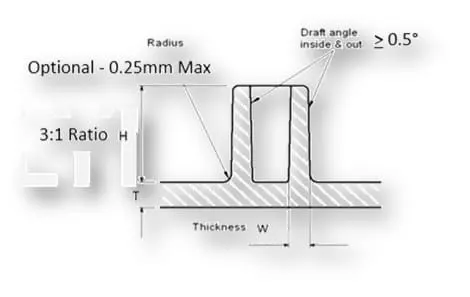
According to the design rules, the height of the rib should be 5 times the thickness of the component by following the designed rules the sketch will be extruded along with the tooling direction.
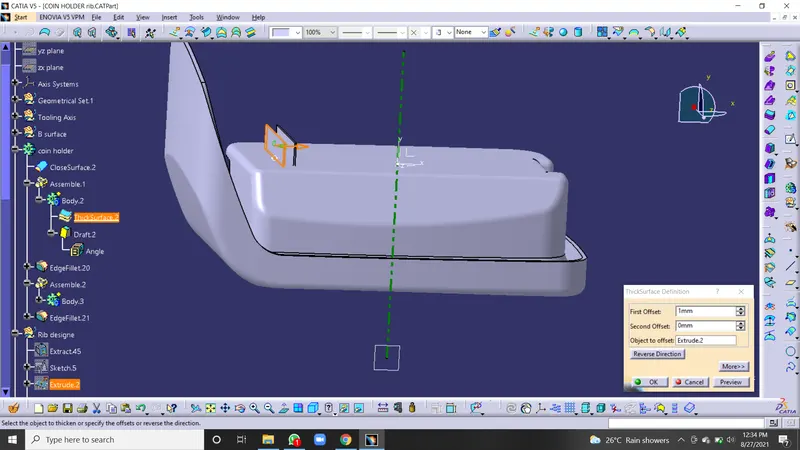
Thickening-
According to the designer rules, the thickness of the rib should be 0.4times the thickness of the component.
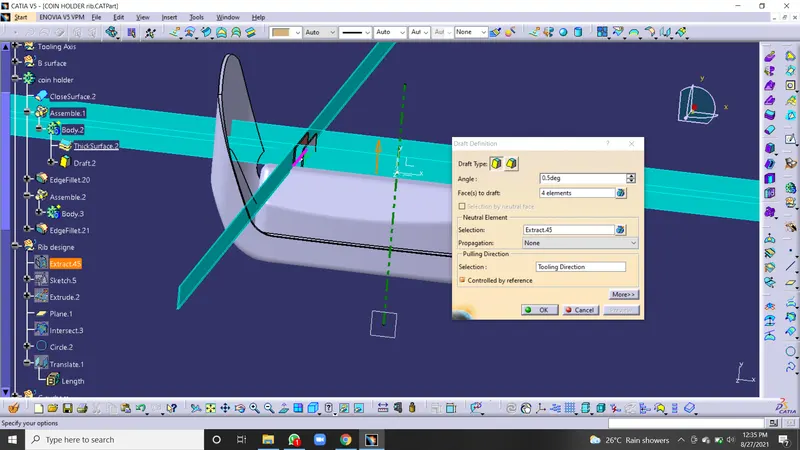
Drafting-
the draft of the rib should be 0.5deg
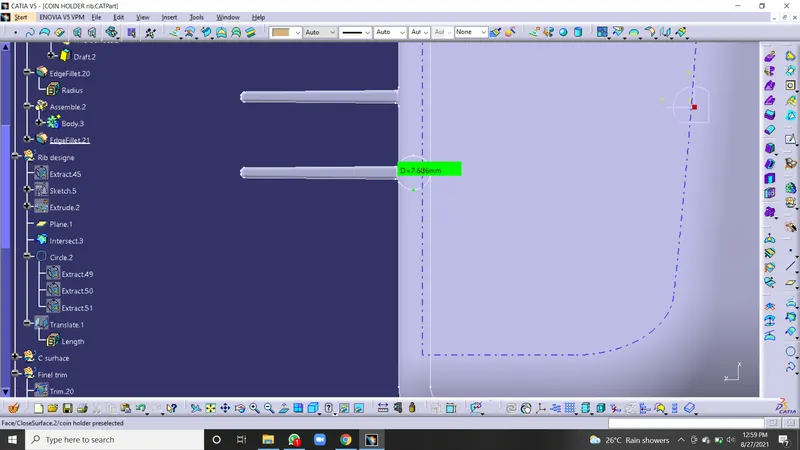
Rib root thickness-
we can check it by creating the intersection with the XY plane and the component using the tri tangent circle.
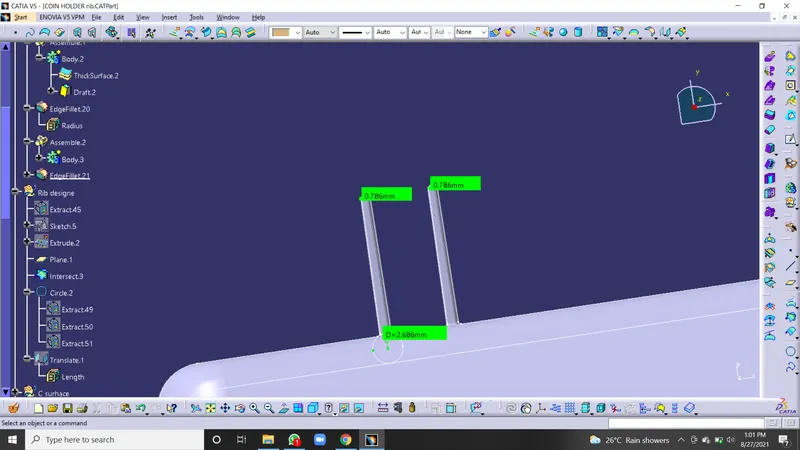
the top edge of the rib should be greater than the 0.75mm
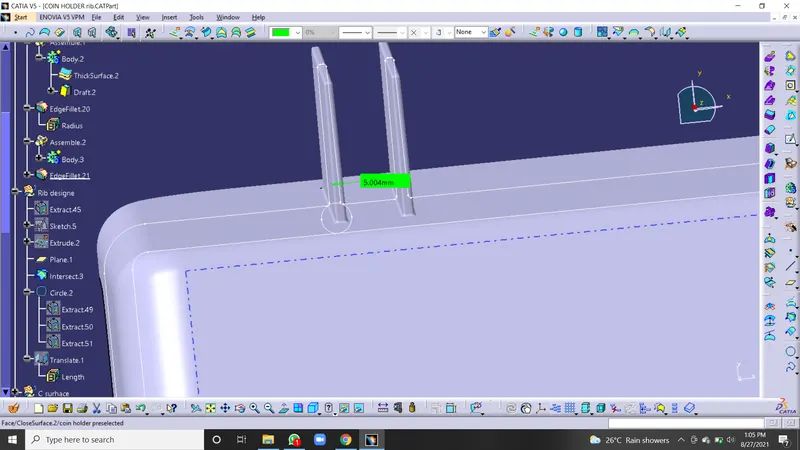
Spacing between two ribs-
 \
\
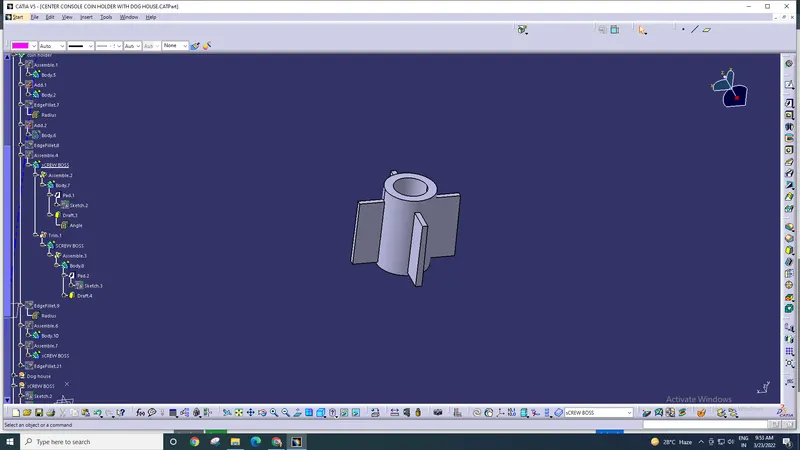
Creating Screw Boss-
Creating the screw boss as per the design rules and giving the required draft angle.
Boss features are commonly found in injection moulding designs. They are used to aid in the assembly of moulded parts by providing a channel for a screw. To get these specifications, refer to the screw manufacturer's guidelines for recommended hole size and surrounding wall thickness for your given screw.
 \
\
Sketch 2-
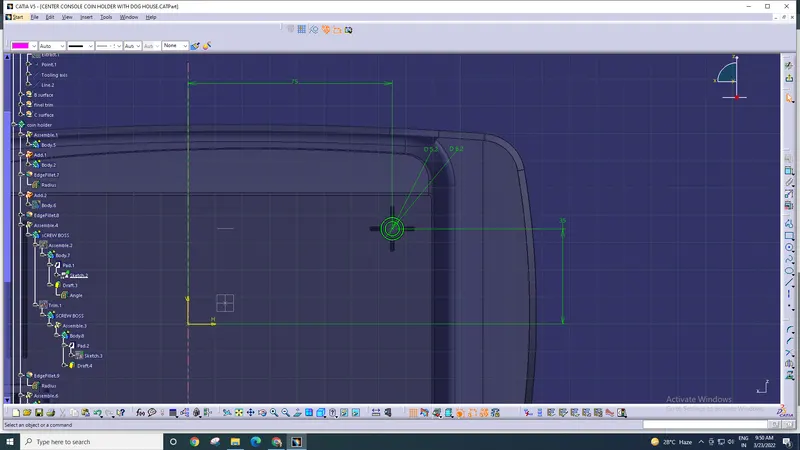
Sketch 2
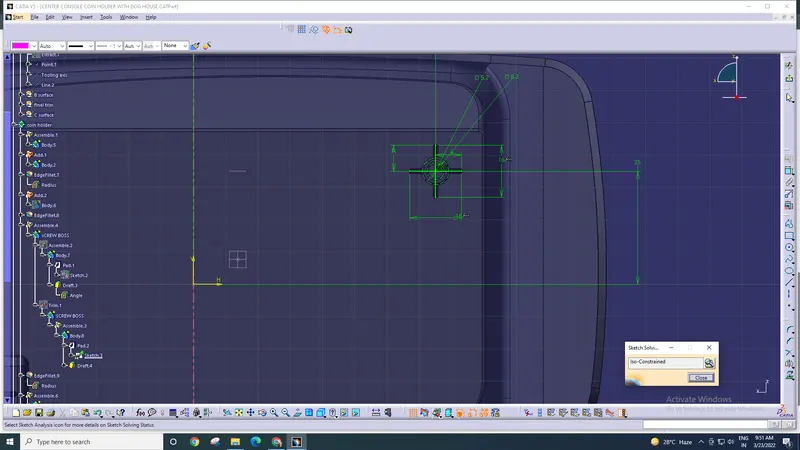
Screw boss-
Creating Dog House-
Create the dog house as per the design rules and give the required draft angle.
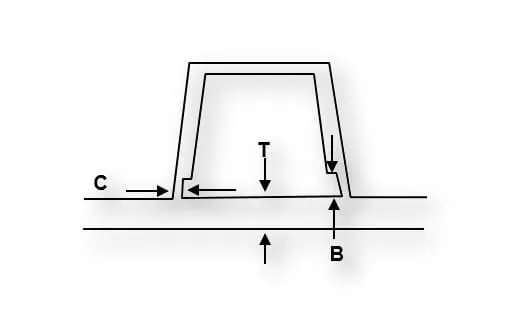
Doghouse wall thickness at the intersection of the part wall ( C ) should be 40% or less than the main wall stock ( T ).
Height of ( B ) should be between 3.0 – 6.0 mm
Dog house-
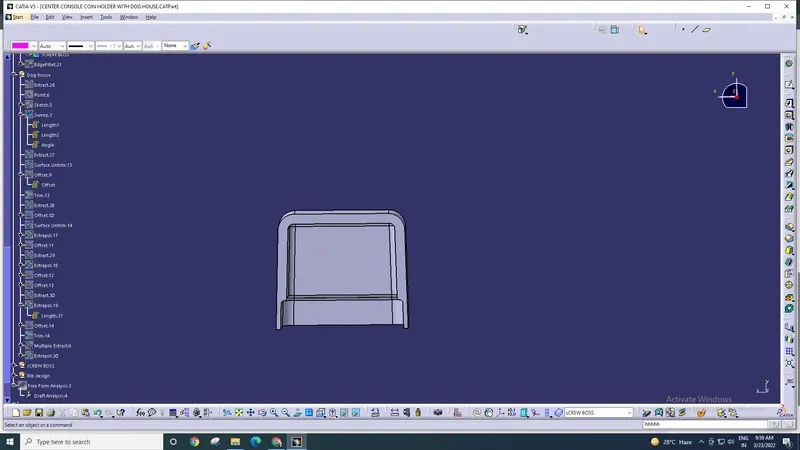
creating the tooling axis for the dog house-
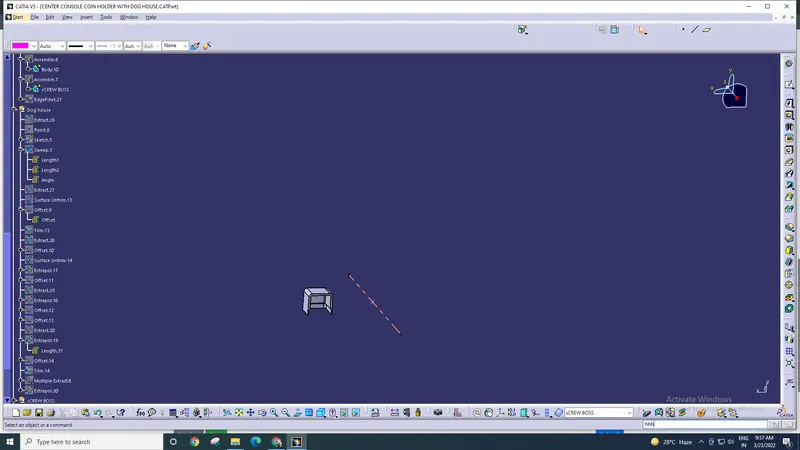
Draft analysis on the final component-
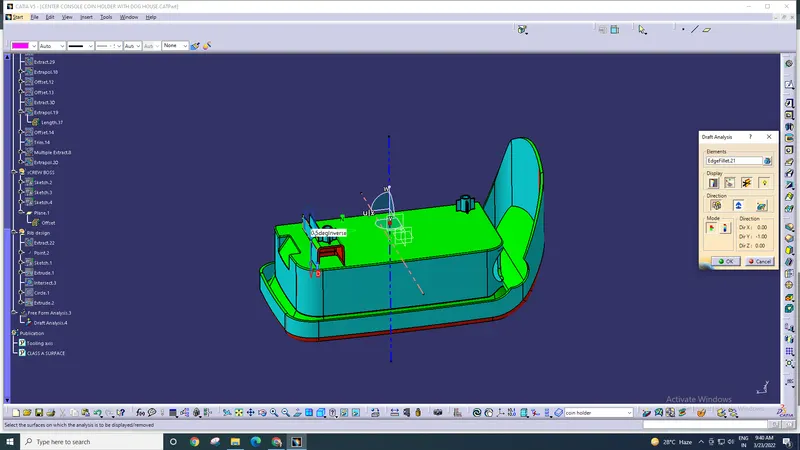
Draft analysis for the dog house-