Week 9 - Attachment Feature Creation - Challenge 2
WEEK 9 CHALLENGE - 2
ATTATCHMENT FEATURE CREATURE (DOOR TRIM - DOG HOUSE)
Aim
To create Dog Houses for the Door Trim from the the Class A component.
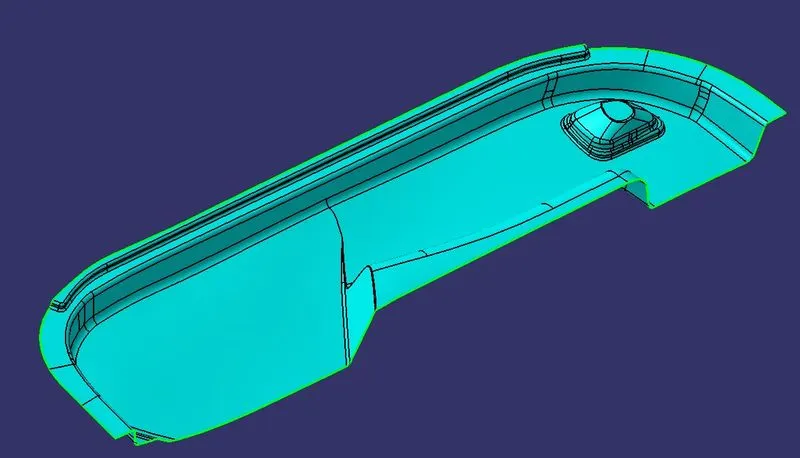
Pic.1 (Given Class A Surface)
Steps to perform given task
- Create Tooling axis.
- Create Class B Surface from Class A Surface.
- Create Class C Surface.
- Create a solid body using close surface command.
- Create Dog Houses
- Perform draft analysis for given model.
Create Tooling axis:
To create the tooling axis, I extracted the surface of class A with no propagation and I created the point at the centre of the extracted surface and created a line at that point in the Y direction. After creating the Tooling axis, I performed a draft analysis for class A to check the draft angle for it.
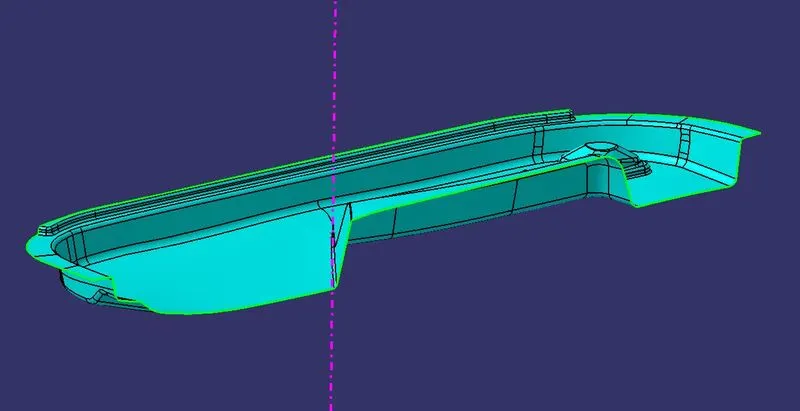
Pic.2 (Tooling Axis)
Draft analysis for class A surface:
To perform the draft analysis in class A,selected the featured draft analysis tool in the Generative shape design workbench.Before drafting we have to make sure that in the view mode it is selected for the materials.
After selecting the feature draft analysis tool we drag the compass from its position to
the tool axis. Then lock the compass. After that select anywhere on the component and
it will give you the result.
We change the minimum draft for the component to 3°.
We can use the running point option to check the angle of the component.Y direction
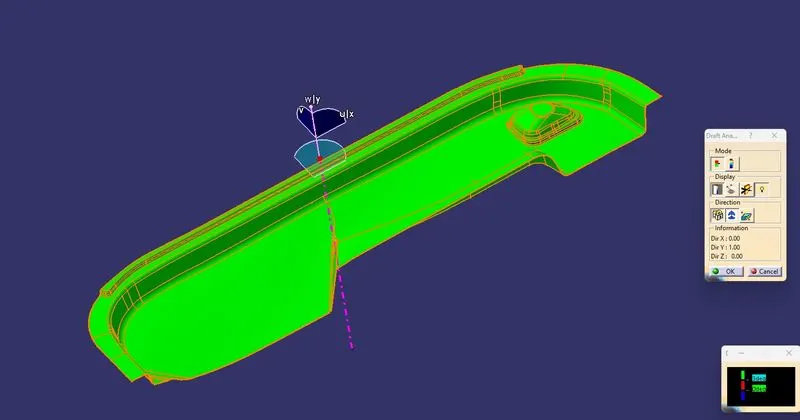
Pic.3 ( Draft Analysis for Class A)
Create Class B Surface from class A Surface:
To create the class B surface for the door handle, I offset the class A surface to 2.5mm outside.But in this case i got a complicated surface.So,instead of that I choose a different approach to create Class B Surface.ie, I have divided the class A Surface into multiple sections then extract those sections separately and offseted that sections 2.5mm separately.By using this approach i can easily cover the patches with the help of Extrapolation Command,then Trimming.Same method used for all patches.After joining all parts i filleted those edges.Finally got the Class B Surface.
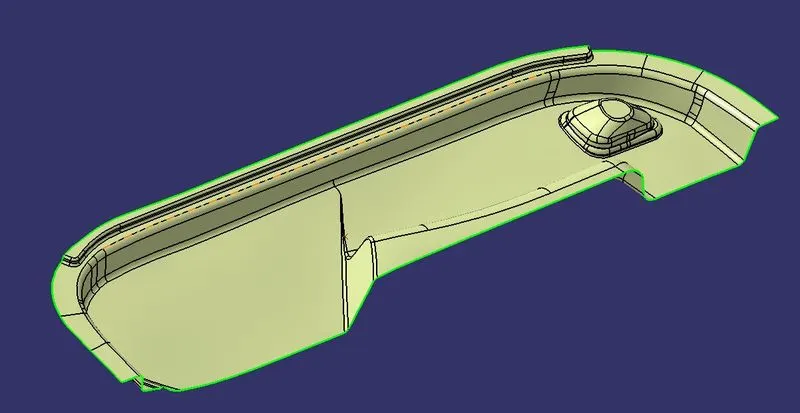
Pic.4 (Class B)
Create Class C Surface:
To create the class C surface concerning the boundary of the class A surface, used the Sweep command.Initially,I extracted the edges of the class A surface with tangent continuity by using the multiple extract command. After extracting the class A surface edges correctly, I sweeped the extracted edges with 3 degrees toward the class B surface. After sweeping the extracted class A surface edges, I extrapolated the edges of the sweep for 2mm to intersect the sweep edges with each other. Now I trimmed the extrapolated surfaces together to create a complete sweep surface towards the class B surface. I joined both the trimmed sweep surface and class A surface together, to get the class A+C surfaces as a single surface. Now, to create a solid body for the door handle we need a closed surface. I trim the class B surface with joined class A+C surface to make the closed surface of a door handle.
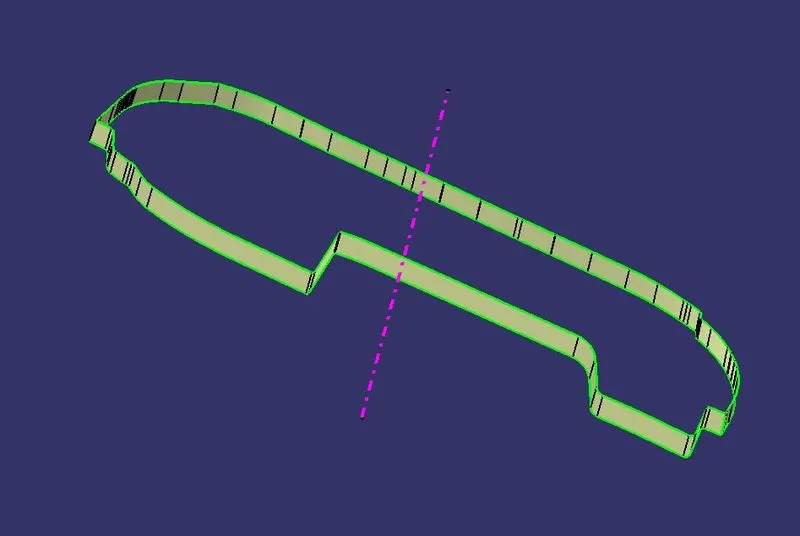
Pic.5 (Class C Surface)
Creating Solid body:
To create the solid body I used the closed surface command in the part workbench. Click on the closed surface command in the part workbench and give the closed surface as an input to create the solid part body.
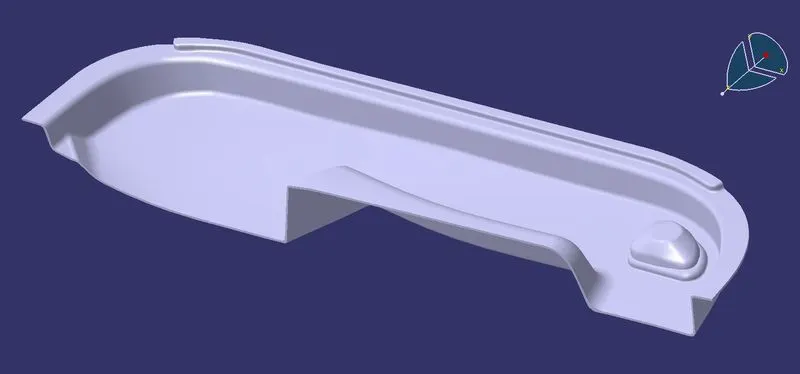
Pic.6
Dog House Design:
Dog house is an engineering feature used in the plastic trim design. Dog houses are used as supporting features. Sometimes other engineering features like snaps; locators, etc. are mounded on them to increase their strength. Dog house and other engineering Features are built on B-surface.
Design rules for Dog house creation
-> "C" is where the doghouse contacts the backside of the surface
-> Doghouse wall thickness at the intersection of the part wall ( C ) should be 40% or less than the main wall stock ( T ).
-> The height of ( B ) should be between 3.0 – 6.0 mm.
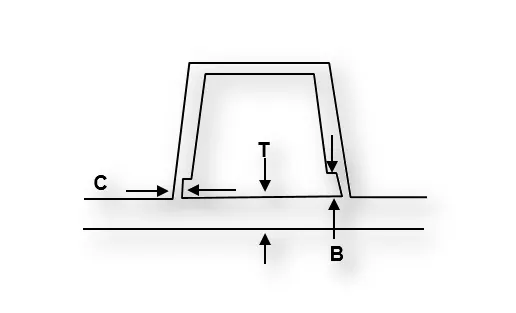
Pic.7
Extract the surface on which we want to create the dog house and create a sketch on a plane.Now we have closed the upper surface of the dog house by extracting the base surface of it.We can start the dog house sketch by creating a point on the extracted surface.Then Creating new body we can Pad the Square Shaped Sketch.Here I have used a 30x30mm Square and paded it to 40mm upwards and 3mm downwards.Then using Shell command giving a thickness of 2.5mm.Then I gave draft of 1.5 degree to the the outer dog house surface with respect to Tooling Axis.
Then I Splitted the bottom part of Dog House by extracting inner surface and offset of upper surface of dog house.Then give draft to inner surface of dog house about 0.5 degrees.And Finally give fillets all edges.
Then I copied the Dog House 1 and pasted it and translated to respected location.Finally Union Trim the Dog House 1 & 2 with Main Part Body.
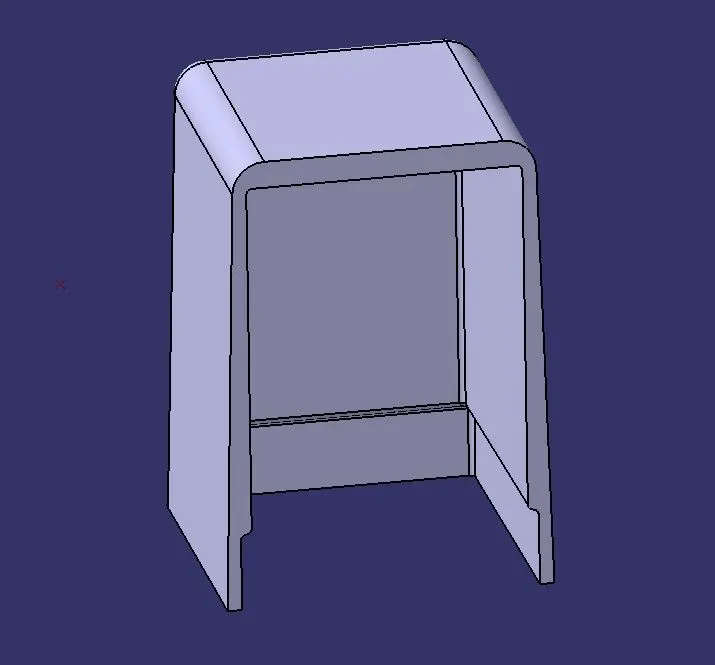
Pic.8
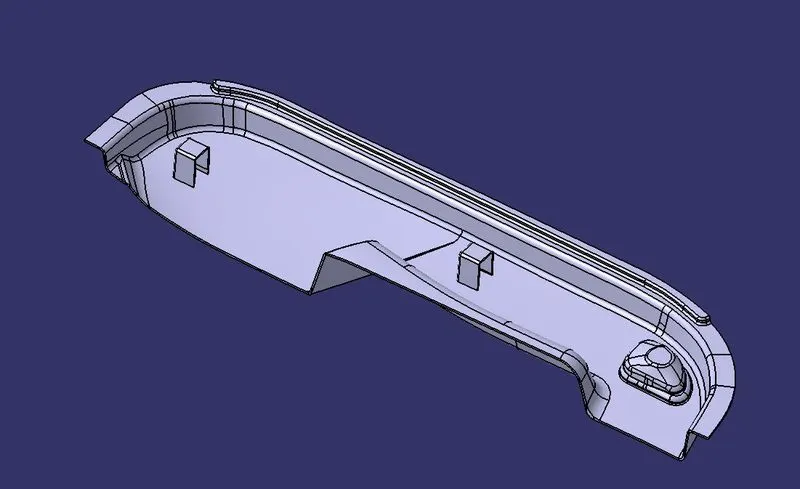
Pic.8 (Door Trim With Dog Houses)
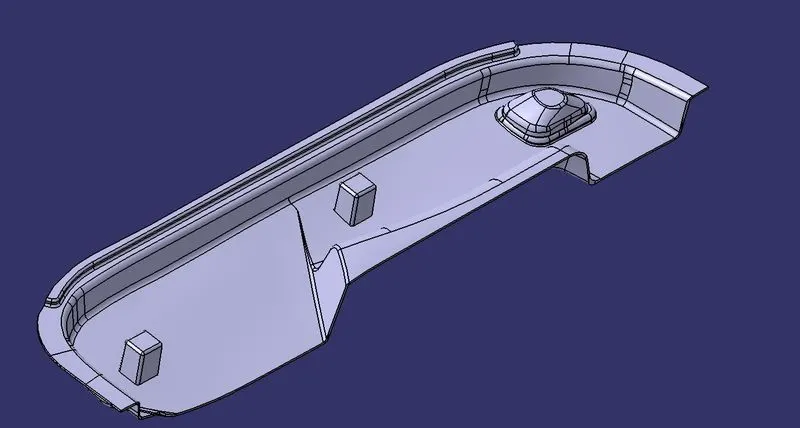
Pic.9
Draft Analysis for the Solid Body:
To perform the draft analysis for the solid part body (which has ribs and screw bosses on it),used the featured draft analysis tool in the generative shape design workbench. Initially,aligned the compass to the tooling axis and selected the solid part body, 0.9deg draft angle, in the colour bar 0.49deg draft angle provided The areas which highlighted in Green the below image are cleared in the 0.49deg draft angle.
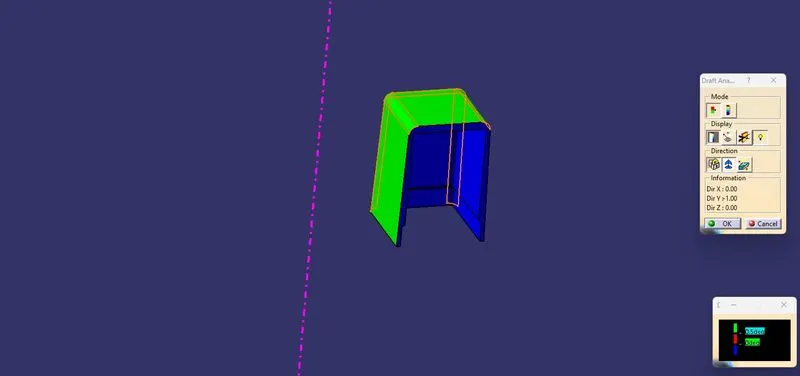
Pic.10 (Draft Analysis of Dog House Outer with Tooling Axis)
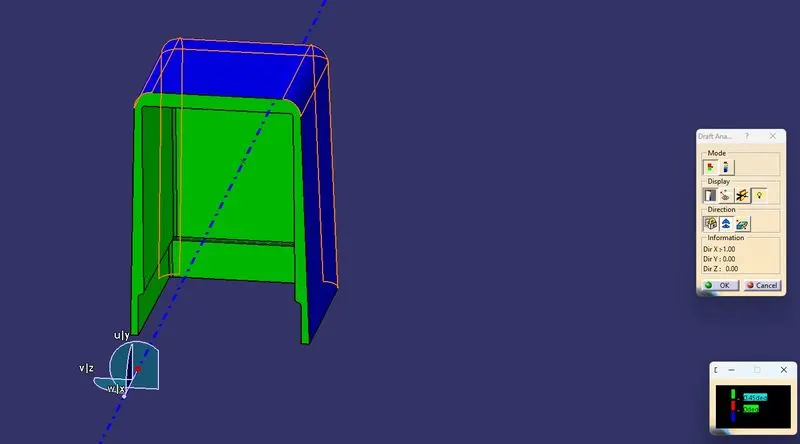
Pic.11 (Draft Analysis of Dog house with Side Core Axis)
Differtent Orientation :
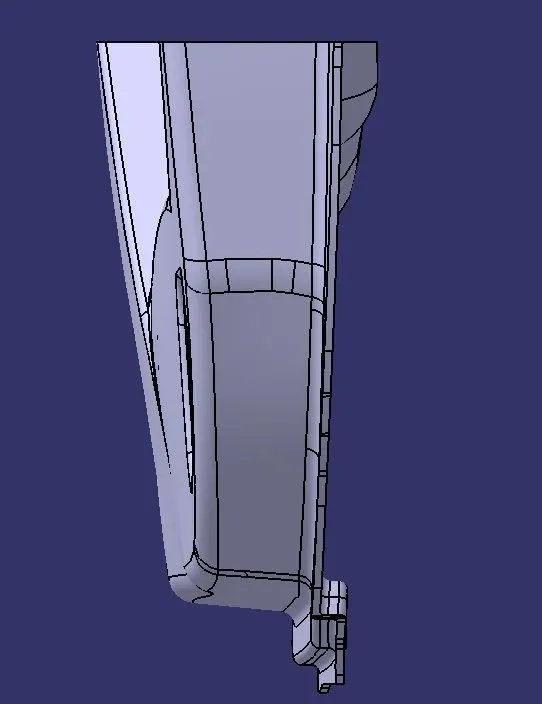
Pic.12 (Front View)
Pic.13 (Isometric View)
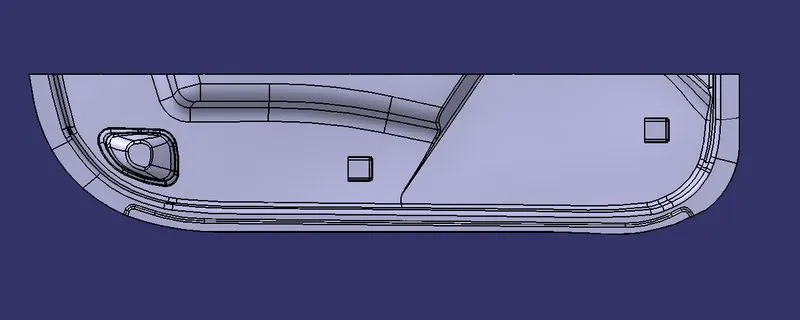
Pic.14 (Side View)
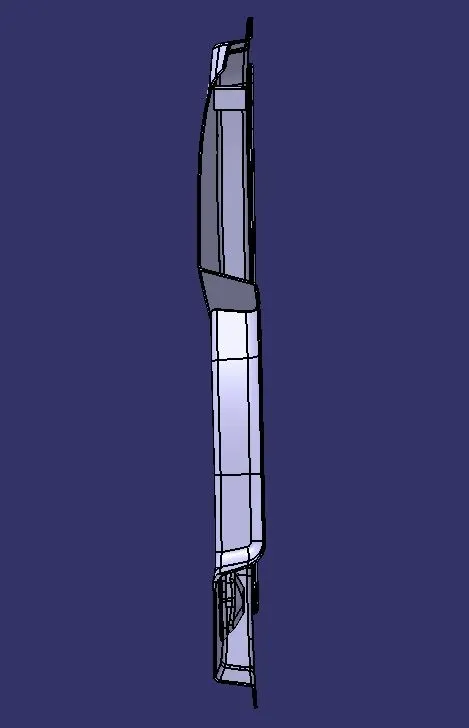
Pic.15 (Top View)
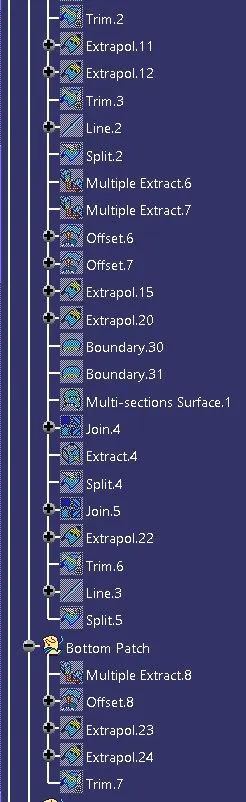
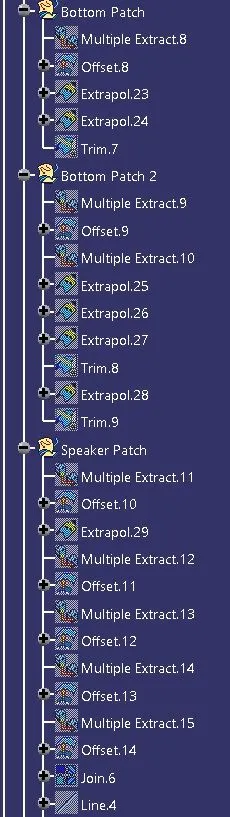
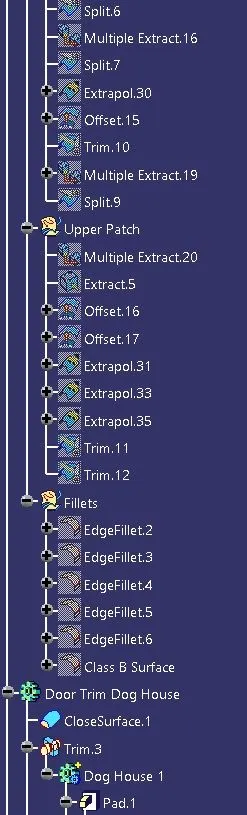
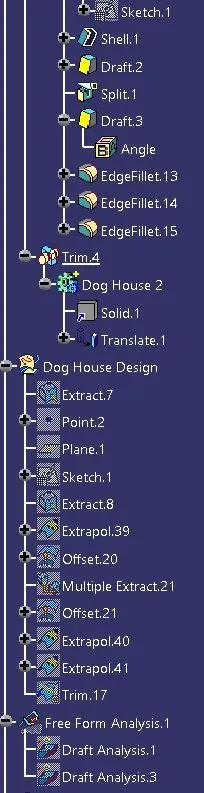
Tree Structure :
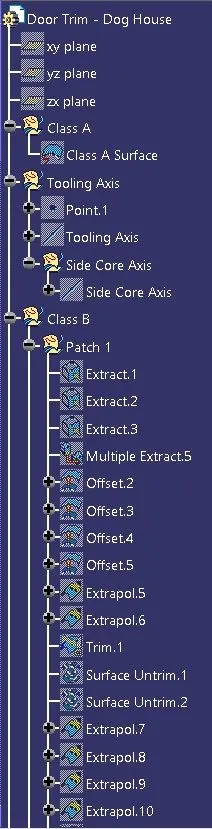
Pic.16
Pic.17
Pic.18
Pic.19
Pic.20
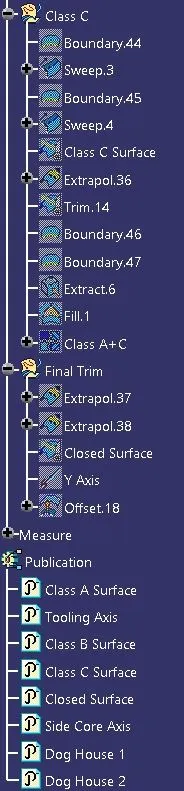
Pic.21
Publication :
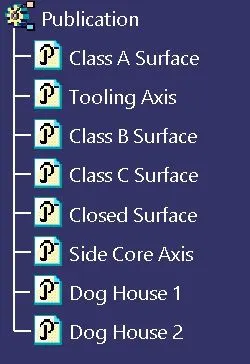
Pic.22