Morphing
AIM -
To perform morphing techniques to the two models provided in the challenge.
DEFINITION OF MORPHING -
- Morphing a component or element systems capable of changing shape across multiple operating conditions to improve performance or enable new functions to the vehicle or body to which it is attached or comprises.
PROCEDURE -
#MODEL 1 - COMPONENT
- Firstly, after opening the model we first orient the surface, perform topo and then check geometry errors as a routine.
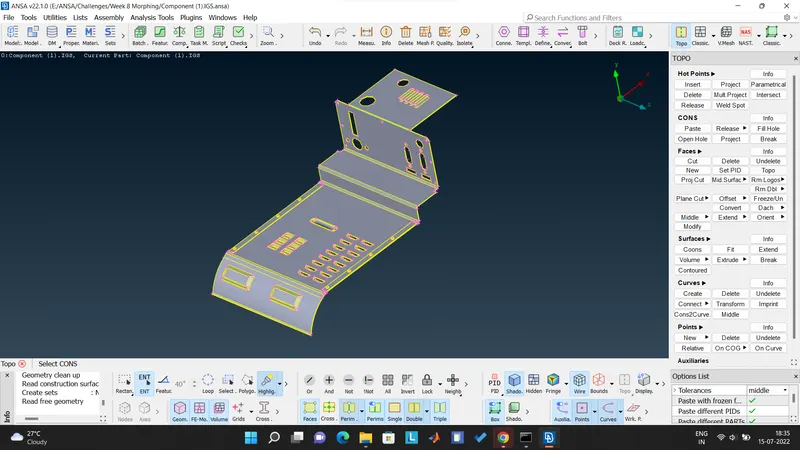
Figure 1 - Model after performing Topo
- As the challenge is only to morph the model, so we will not perform meshing operation.
- We now switch to Morphing deck, and then select few components randomly.
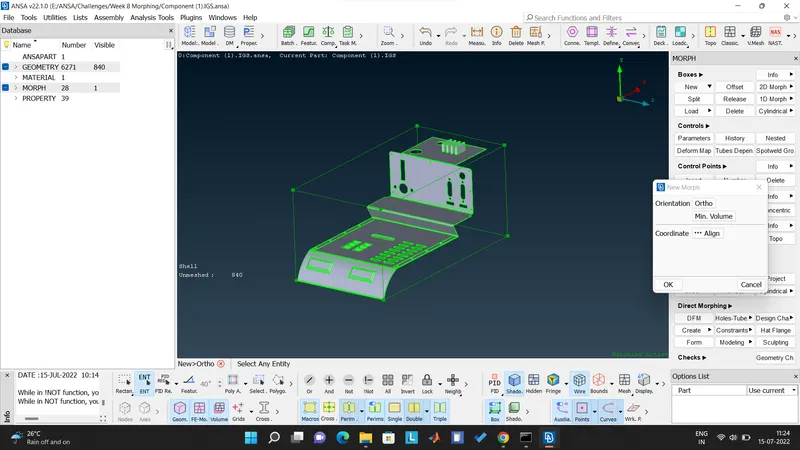
- We select the component to be morphed by using Boxes > New > Ortho.
- A box like is created around the component as shown below -
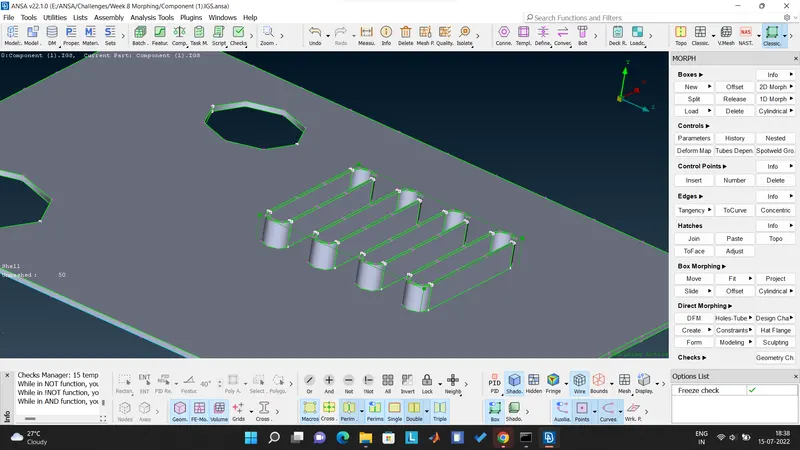
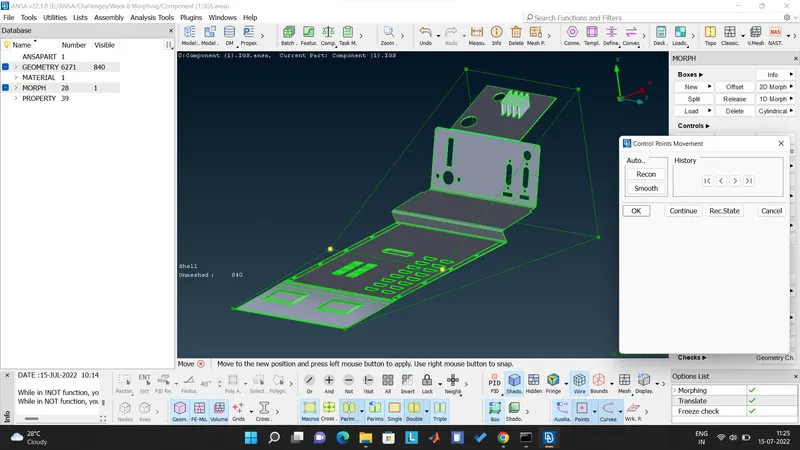
- Now as we want to increase the hieght of the component, we select Box Morphing > Move and then right click on the edge of the morph box to define Local coordinate system (LCS).
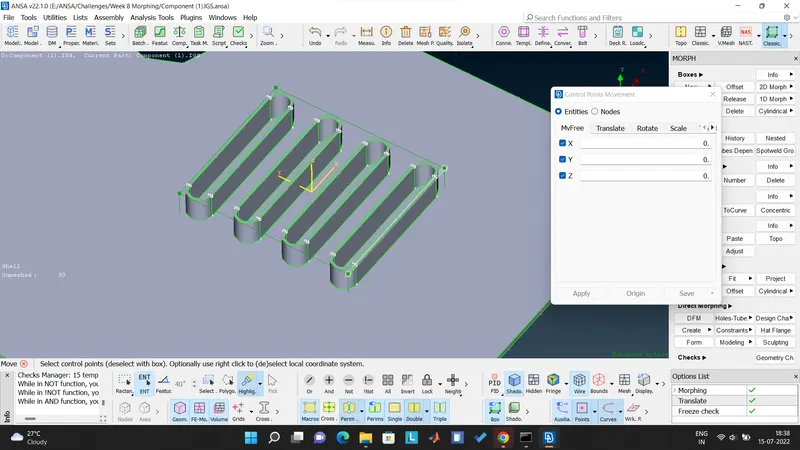
- Now unticking all the axis and just keeping Z-axis ticked as we want to increase the height in Z-direction of LCS. The result is as shown below -
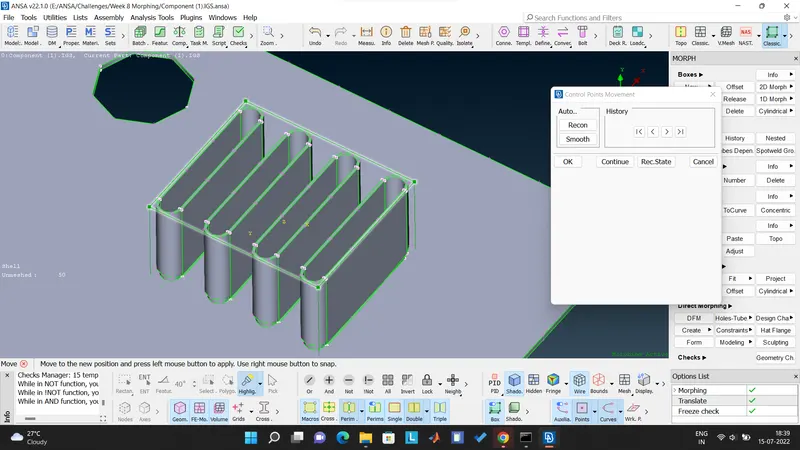
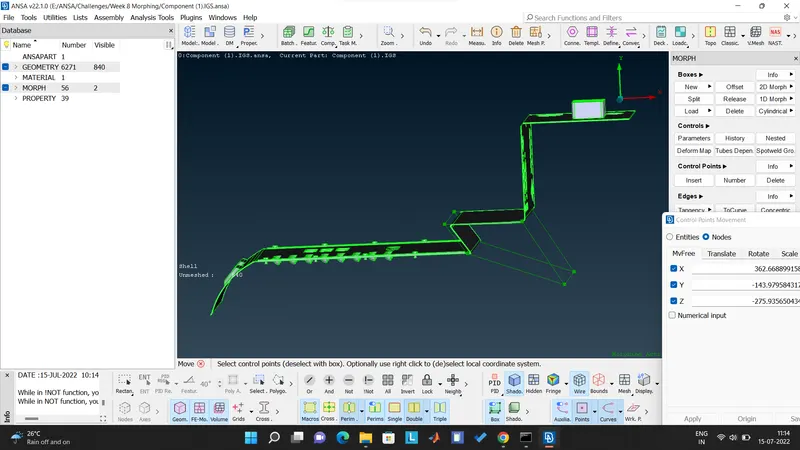
- We also have morphed some different elements of the same component. Below are the snippets of the morphed elements. The differences can be compared with Figure 1 above -
#MODEL 2 - HAND REST
- Firstly, after opening the model we first orient the surface, perform topo and then check geometry errors as a routine.
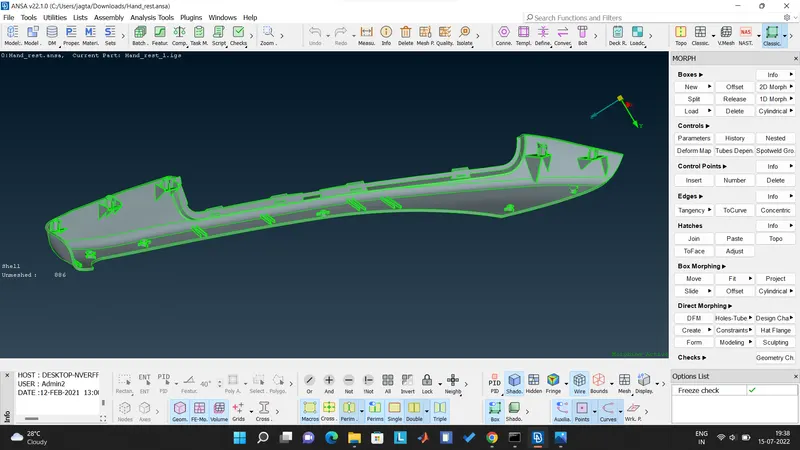
Figure 2 - Model after imorting in ANSA
- In this component the task is to morph or increase the height of the Dog houses and the ribs provided in the component.
- Same procedure will be followed as the Model 1. Here we hide some components for proper selection of the components to be morphed.
- We use option Boxes > New > Ortho to select the ribs and then morph box is created across. In model, as the components are inclined, the morph box was adjusted to Minimum volume to fit to the component as shown in the snippet below -
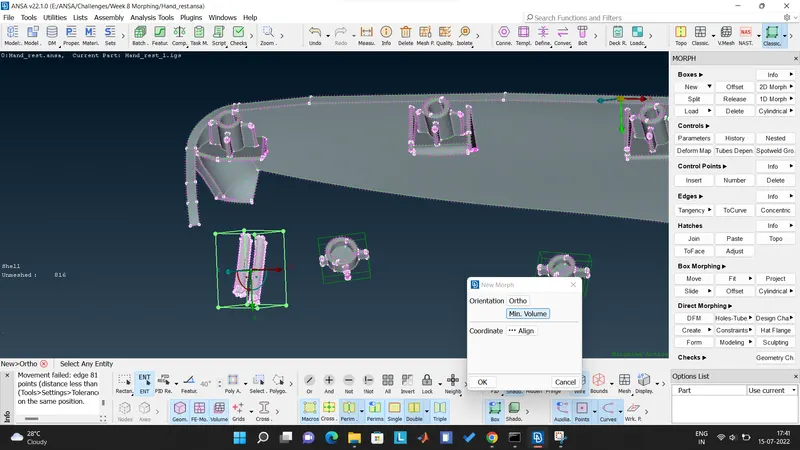
- After Min. Volume, the morph box hot wrapped to the rib component.
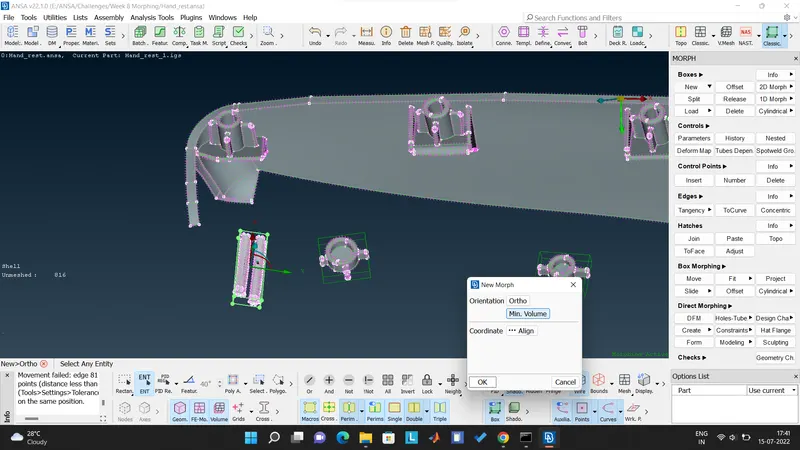
- Now we performed Box Morphing > Move to the ribs.
- We define LCS by right clicking on the edge of the Morph box -
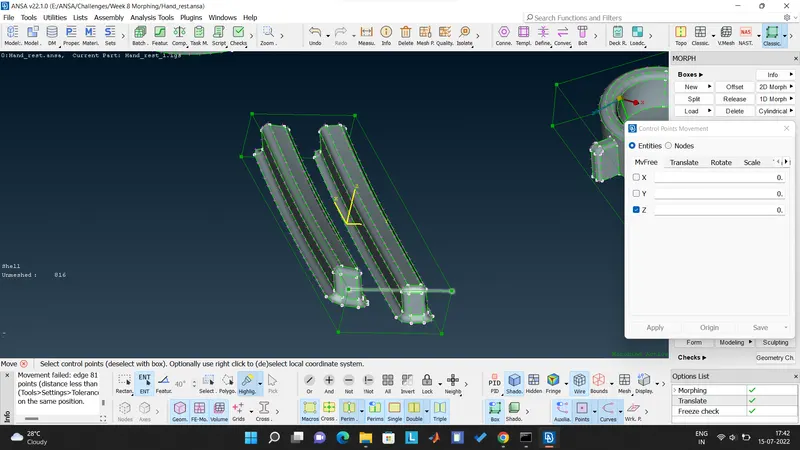
- Then we extend in Z-direction wrt LCS as shown below -
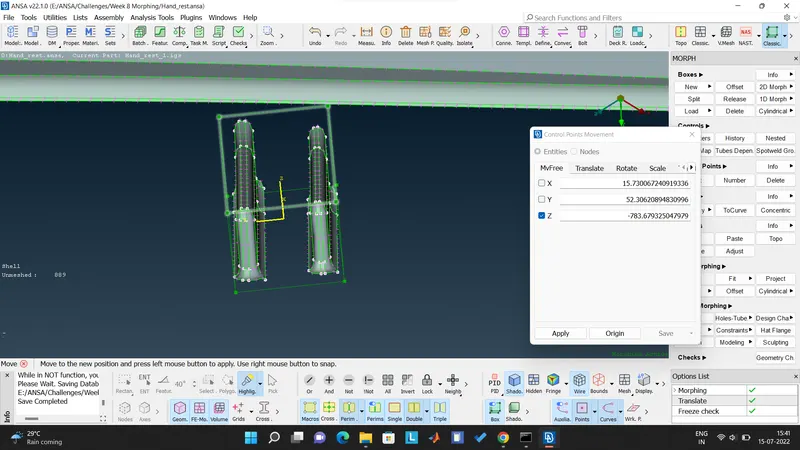
- Same operations were performed for all the ribs and dog houses. Following are the snippets -
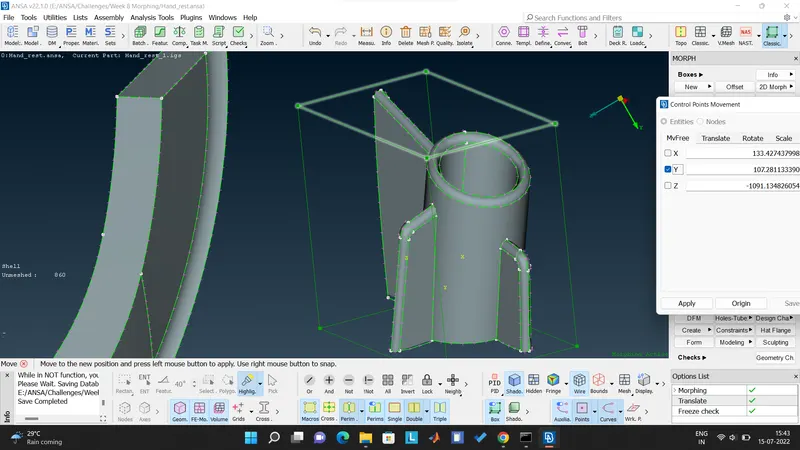
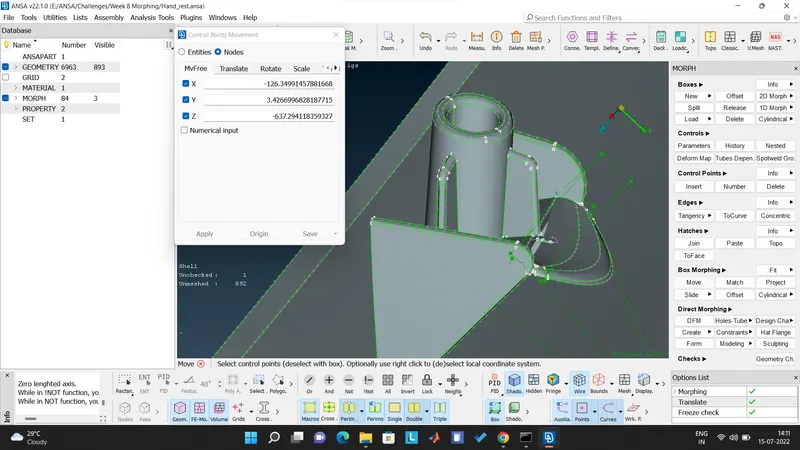
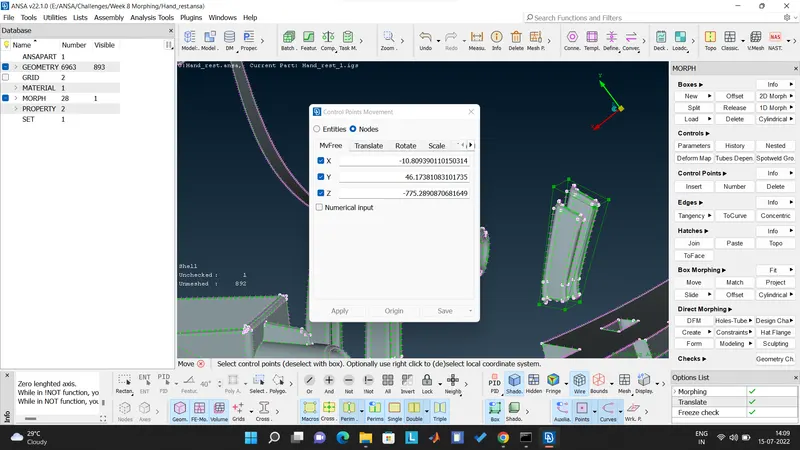
- Thus all the Ribs and Dog houses height was increased with morphing technique. Below is the final model after morphing -
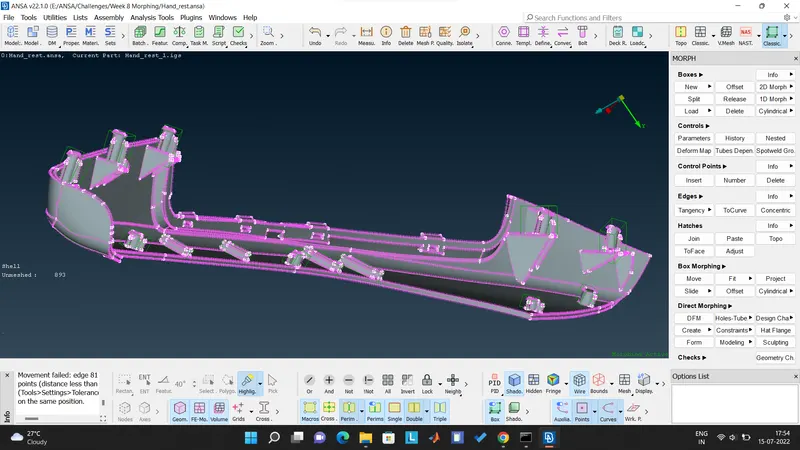
- The difference can be compared with the Figure 2.
LEARNING OUTCOMES -
- Got to understand some new concept which requires some creative and skillful approach.
- Can morph some basic elements after this challenge.
CONCLUSION -
- The models are morphed according to the requirement.