3D Element meshing using Hypermesh
3D Element meshing using Hypermesh
AIM: To study and perform 3D meshing using teramesh and check for tet collapse in the given components using Hypermesh.
BRIEF: Tetrahedral is a four nodded solid element which can be generated through tria element by creating a volume and also through the existing volume of the geometry. These elements used where the geometry has high thickness and complexity. Tetra element will have 4 triangular faces with four nodes joining them together.
PROCEDURE:
Model 1: HOUSING
Step 1: Import geometry.
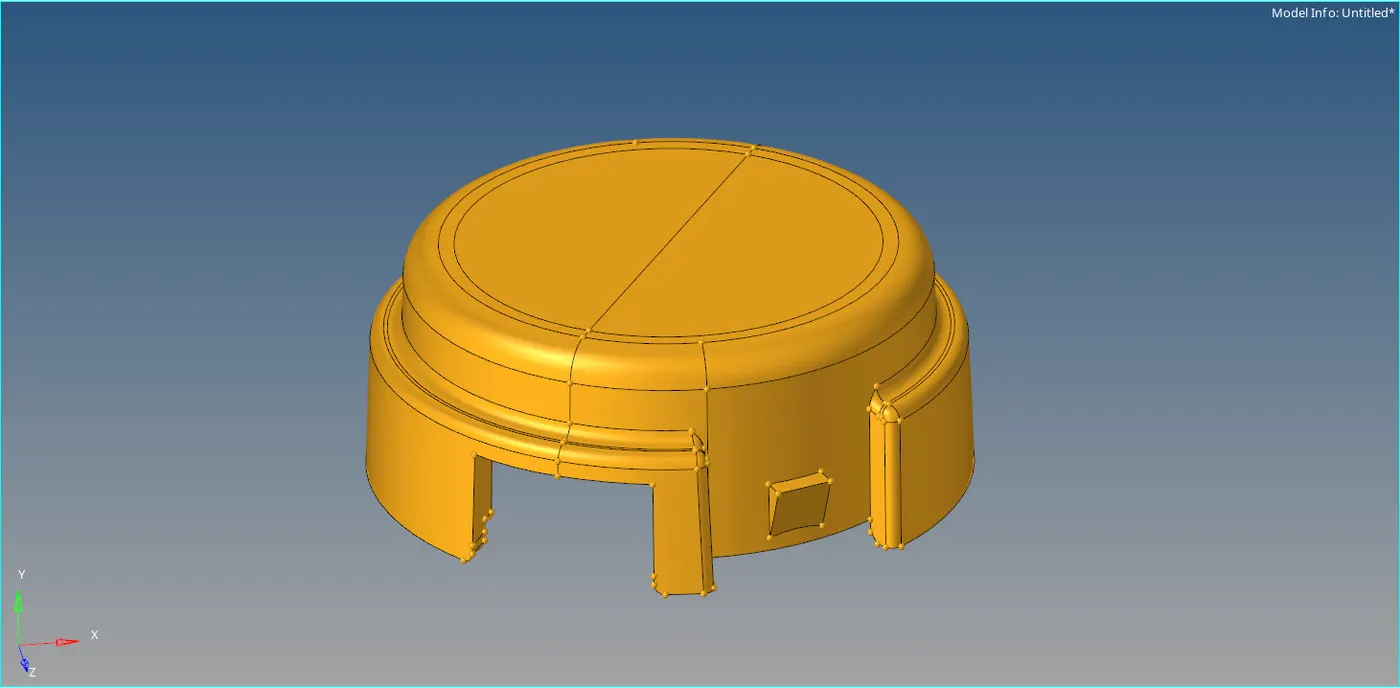
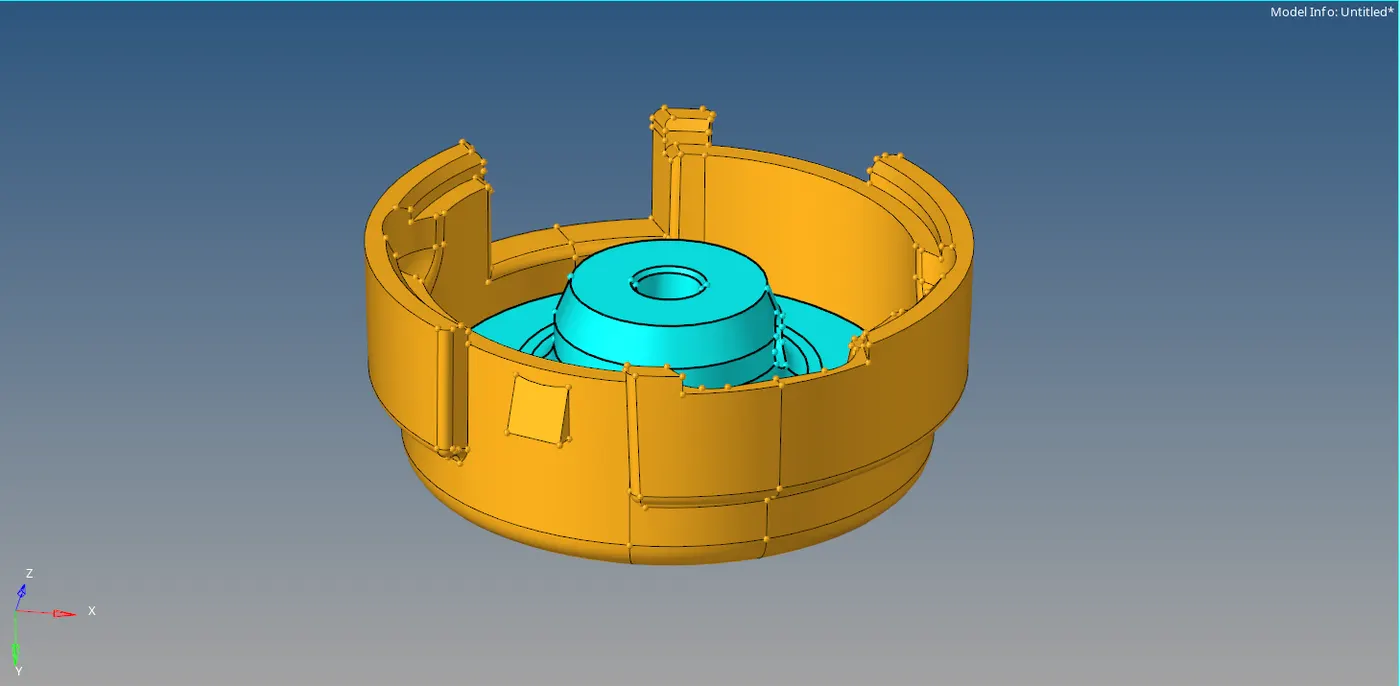
Step 2: Delete the solids
F2>Solids(displayed)>Delete
Step 3: Manual geometry clean up is performed to toggle unwanted lines which have distance between them less than min element length.
Step 4: 3D meshing. In this model, sub-part 1 i.e. inner part is meshed by 2D tia with element size as 5mm. Then quality check was using the quality index tool with min length as 2mm and max length as 7mm.
2D>automesh>surfaces(displayed)>create.


Step 5: Convert the 2D to 3D mesh we use quick tetra.
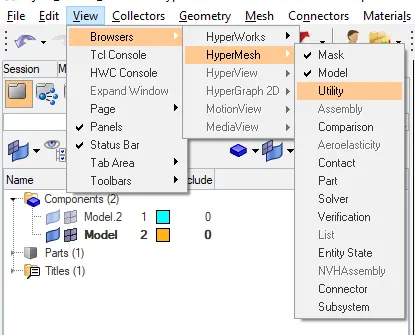
view>browser>hypermesh>utility>Geom/mesh>Quick tetra
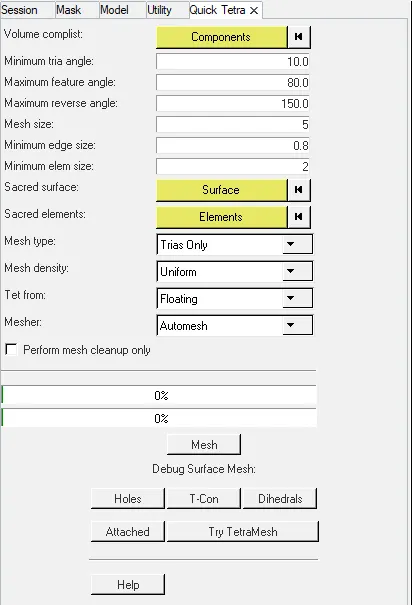
In quick tetra, we need to specify the element size and select the component on which the operation has to perform. And the 3D mesh is created on the selected component.
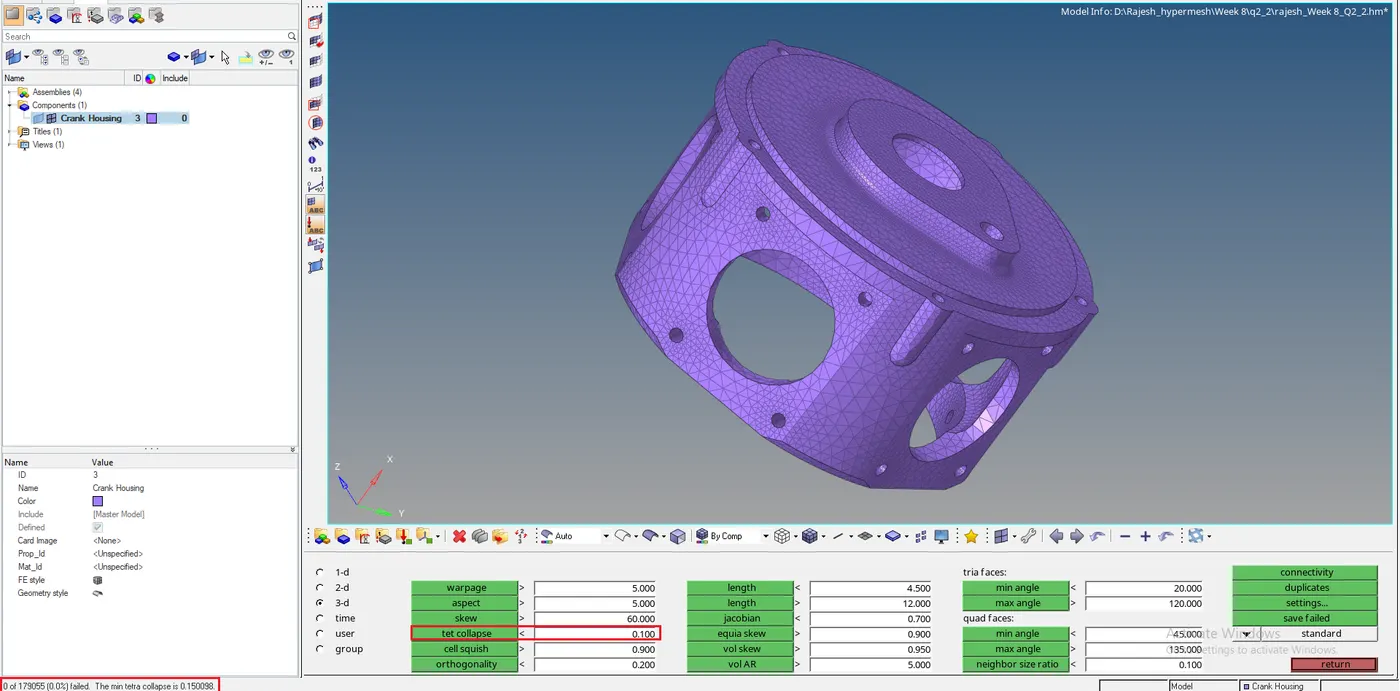
Step 6: Check for tet collapse, which should be less than 0.15. Check the value of collapse by using element edit or F10.
Tools>Check Elems


Step 7: Remeshing. We can solve the tet collapse by re-meshing the failed element or by using the translate option. For re-meshing the failed element, we can save the failed element from the check elems and retrieved by masking that element and re-mesh them by creating adjacent elements.


After retrieving the failed elements, we can mask them and reverse the masked elements to view.
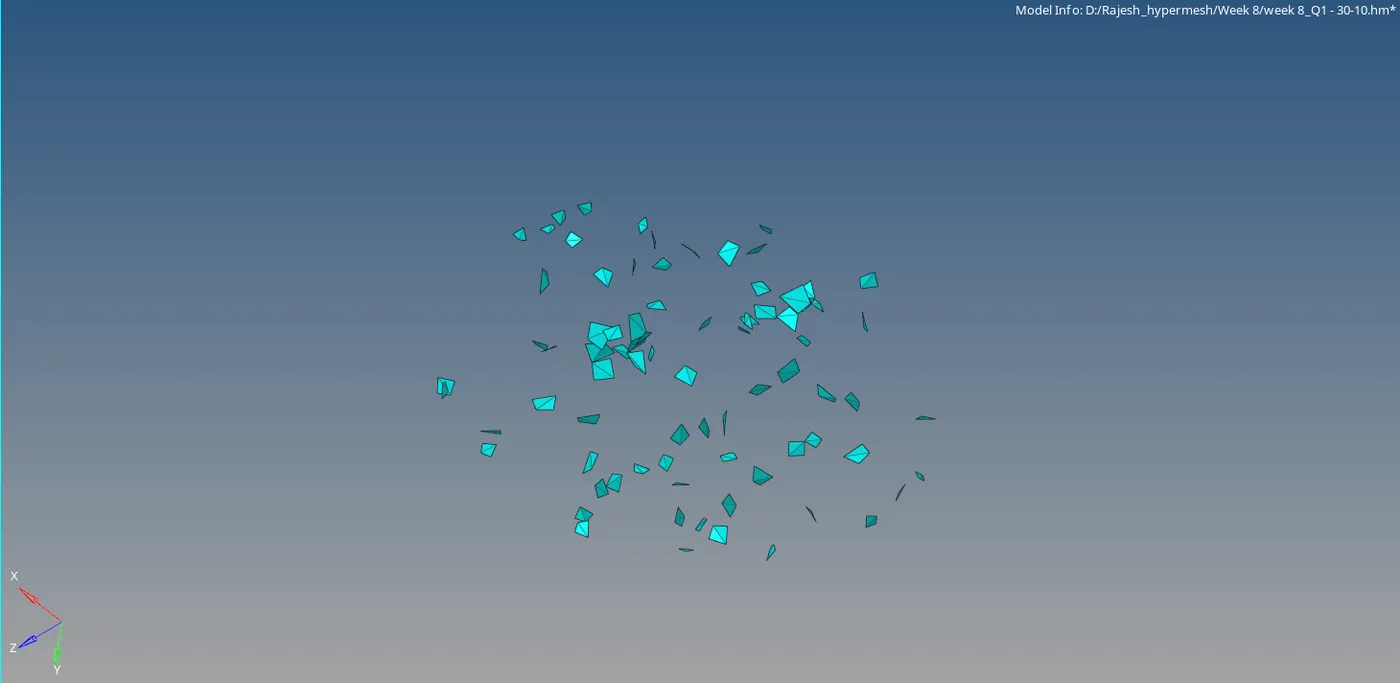
Make the adjacent elements unmask to re-mesh these failed elements.
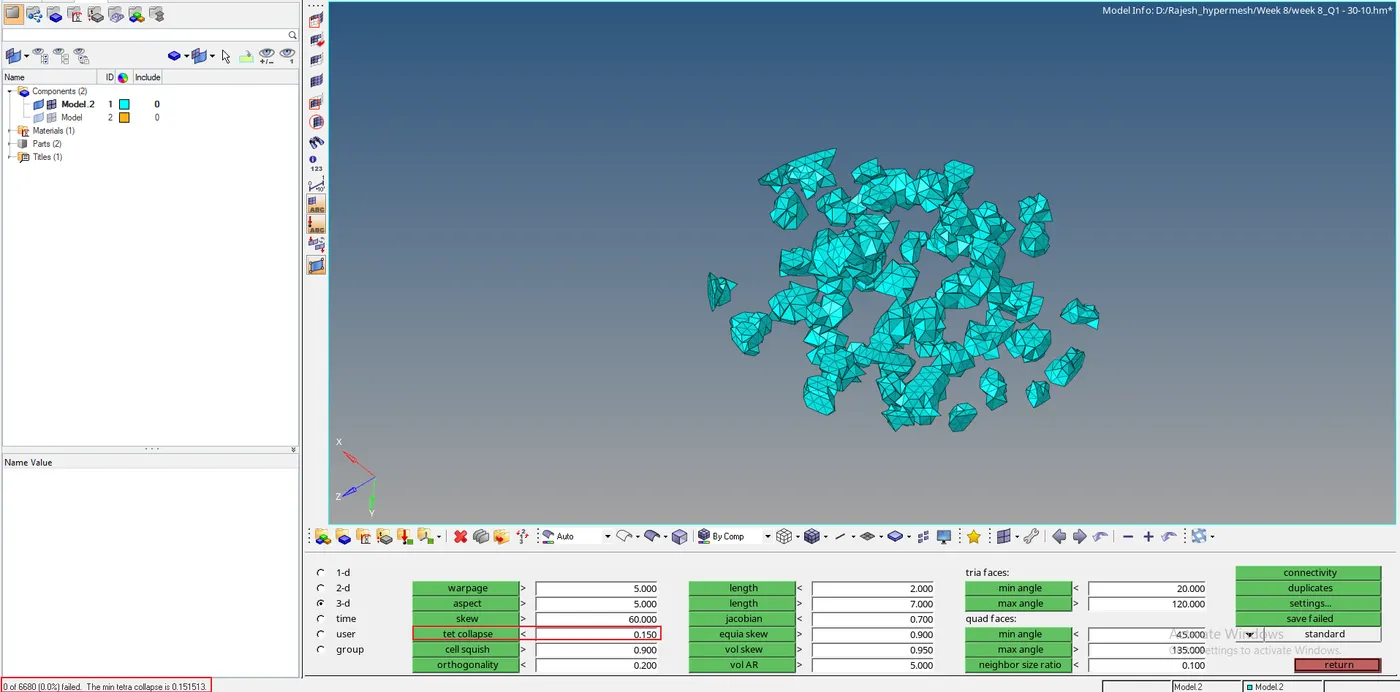


Step 8: Subpart 2 i.e. the outer panel, we use volume tetra and create the mesh by selecting the surface and check for tet collapse.
3D>Tetra>Volume tetra>surface(displayed)>element size>Min elem siez>tick Use curvature>tick Use proximity>mesh.
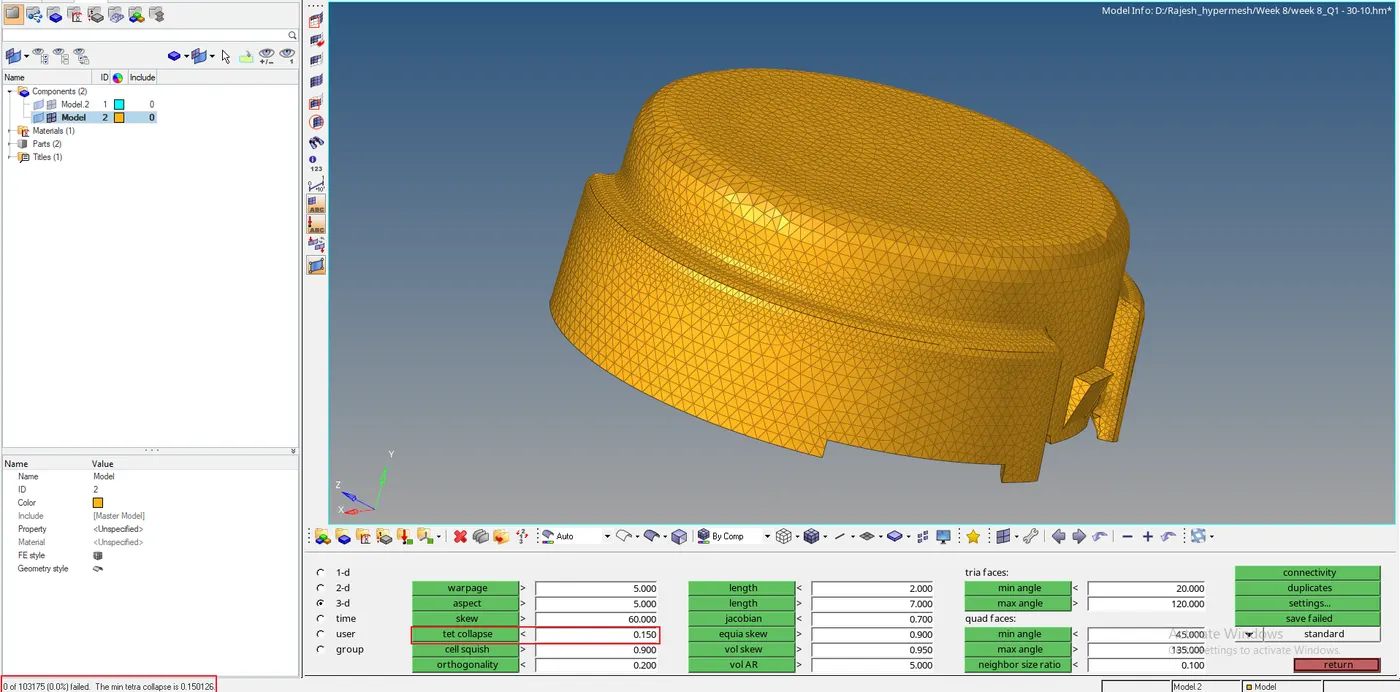
Step 9: To check the meshing is done in 3D, we can mask some elements to check.
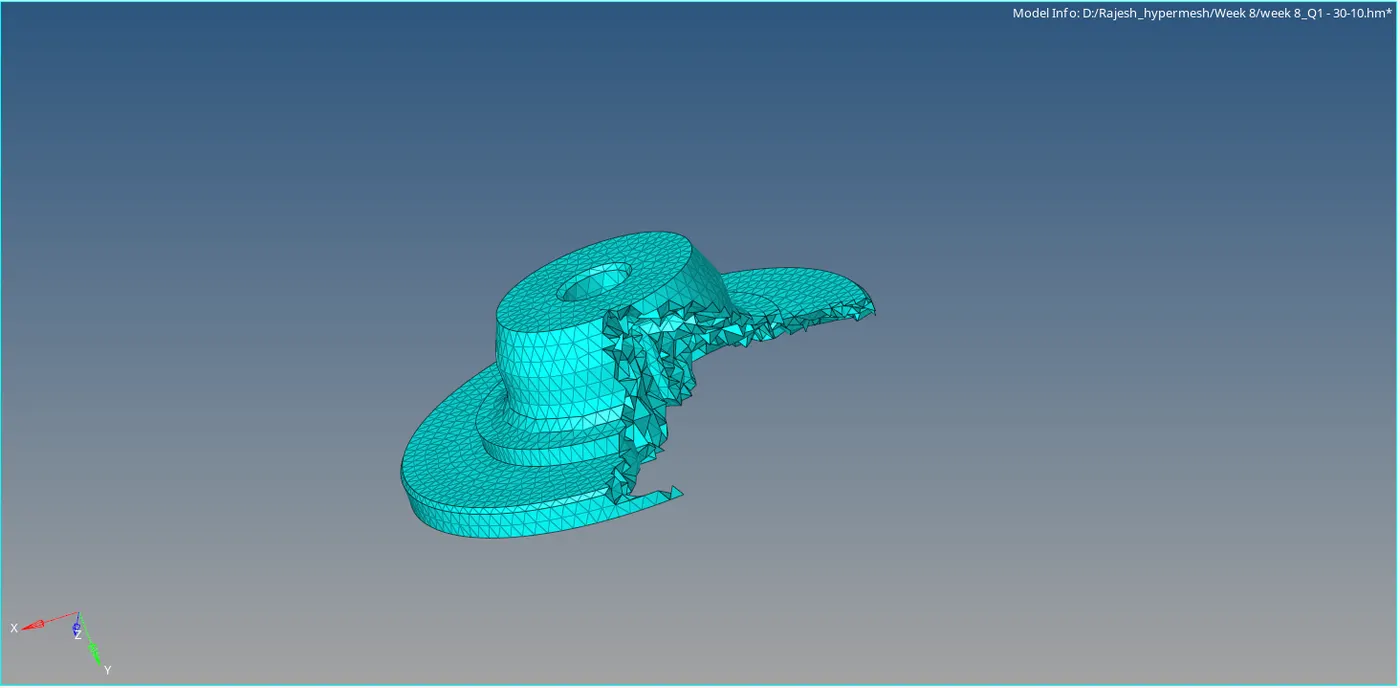
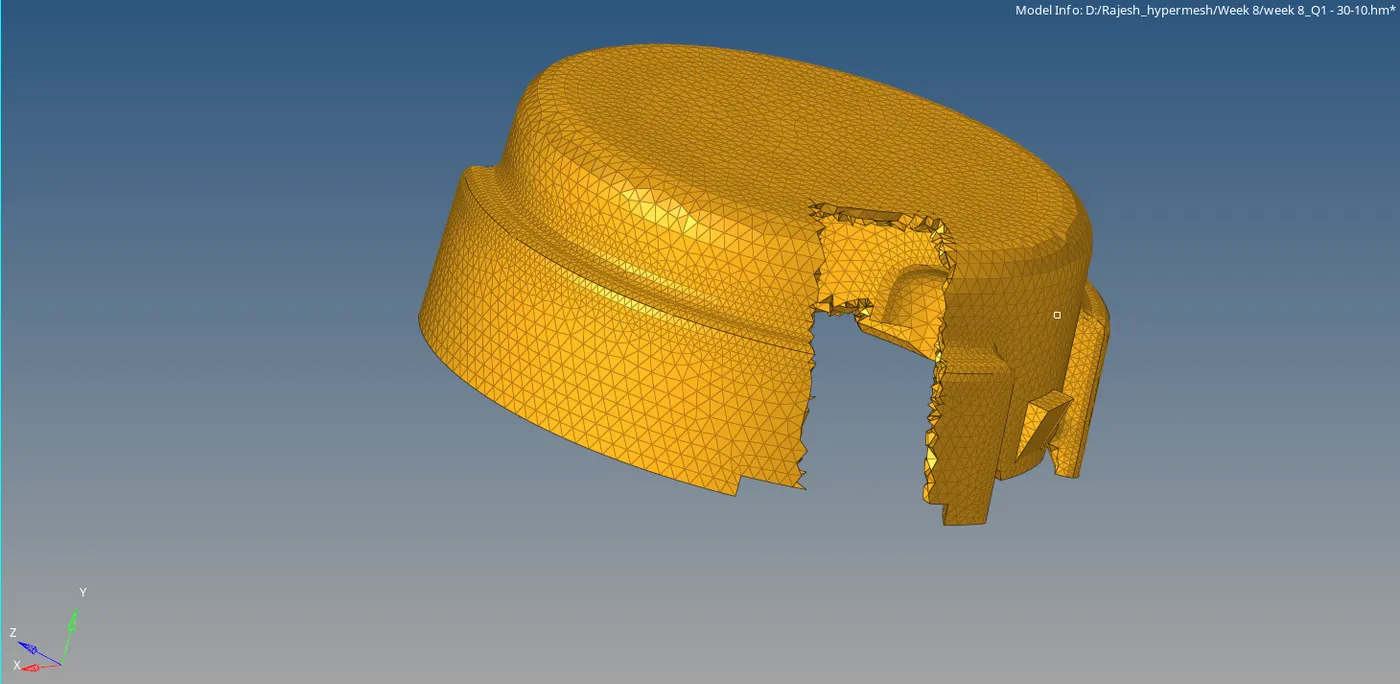
Model 2: CHASSIS ASSEMBLY
All the steps are the same as we used in the above model of 'HOUSING'.
Here we perform volume tetra and quick tetra mesh for all the components and check for tet collapse.
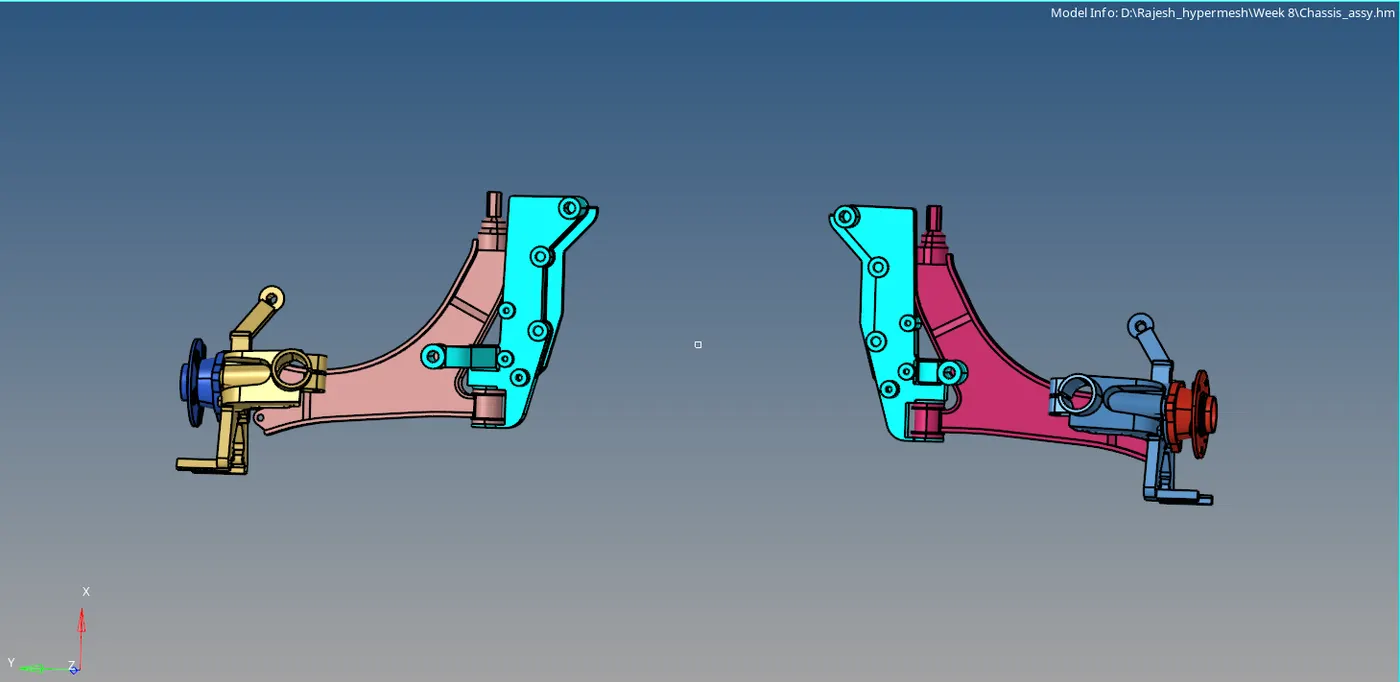
*Delete one side of the components as it is symmetry and file submitted is for one side only, as student version can't allow more 1 lakh nodes to save a file.
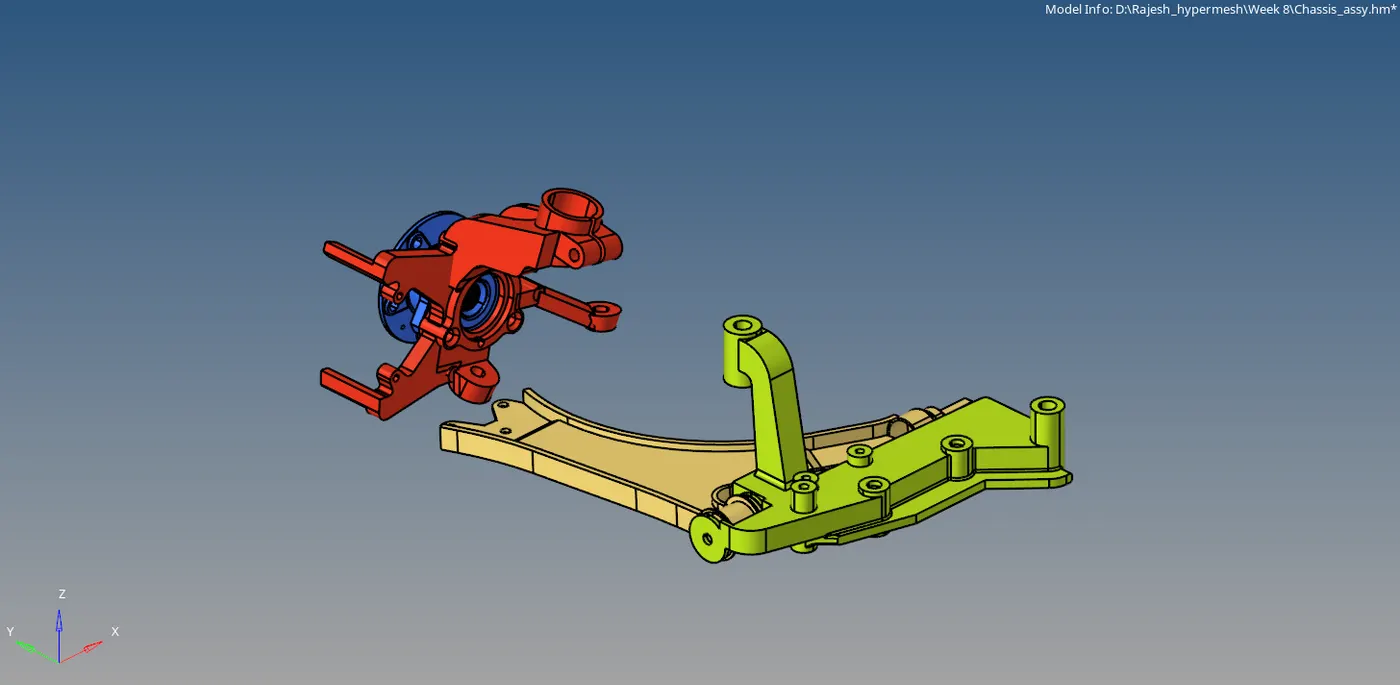
Check for tet collapse for all the meshed components.
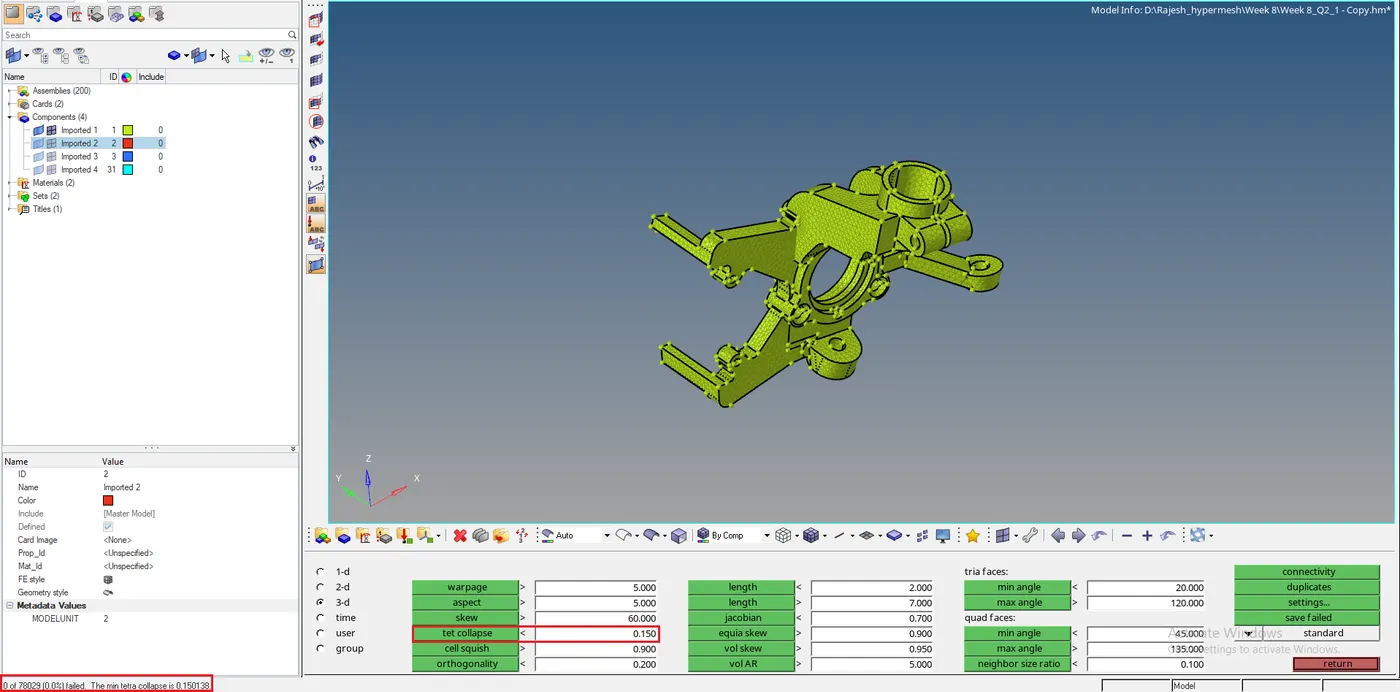
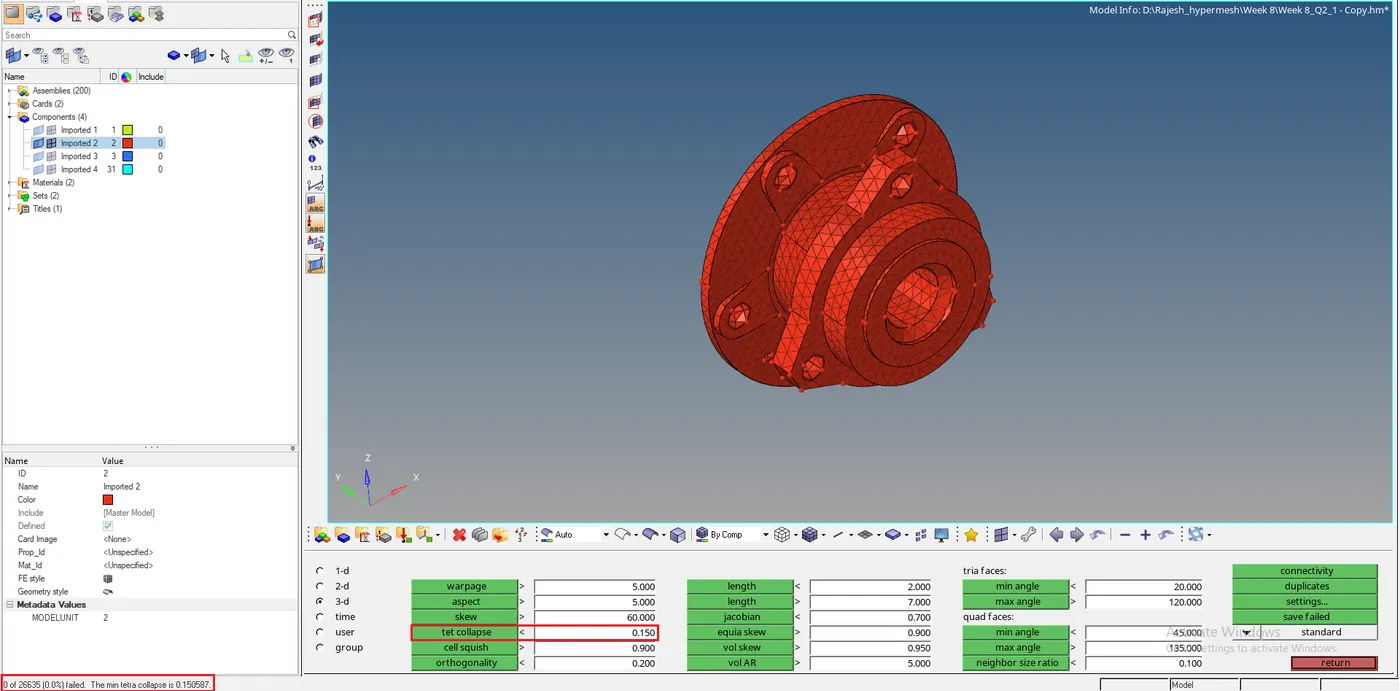
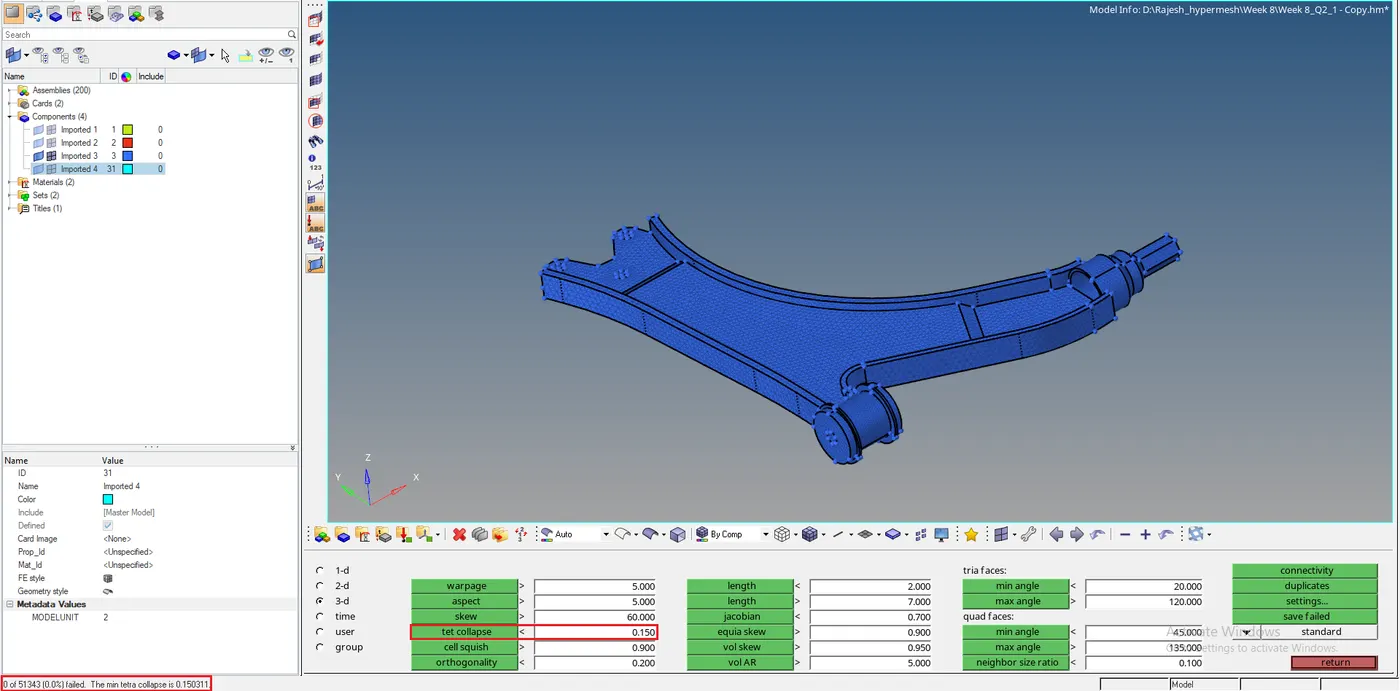
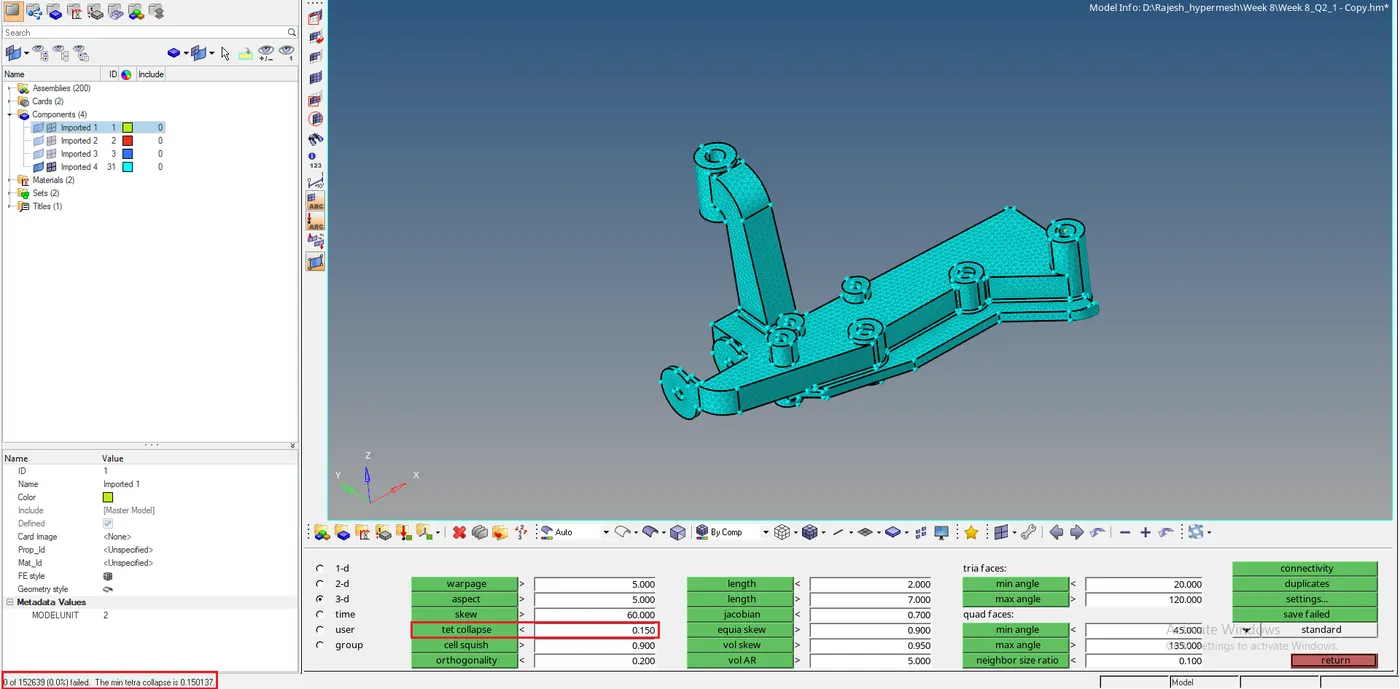
To solve the tet collapse by translate nodes.
Tools>Translate or Shift + F4

Check for the element's tet collapse angle by going to the check element (F10). Select the node by visual inspection and translate as per the plane by selecting the N1, N2 & N3 or by the axis. Give magnitude and translate to pass the tet collapse quality criteria.

Final checking after clearing all the tet collapse
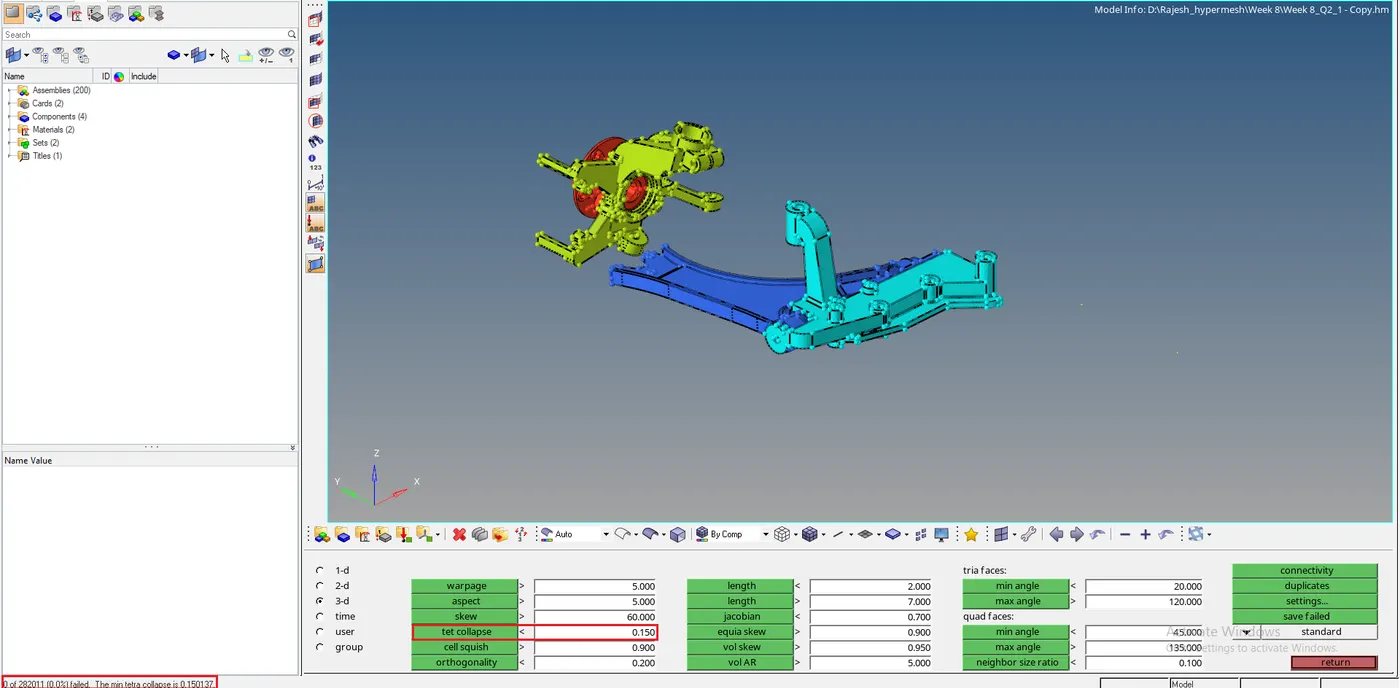 .
.
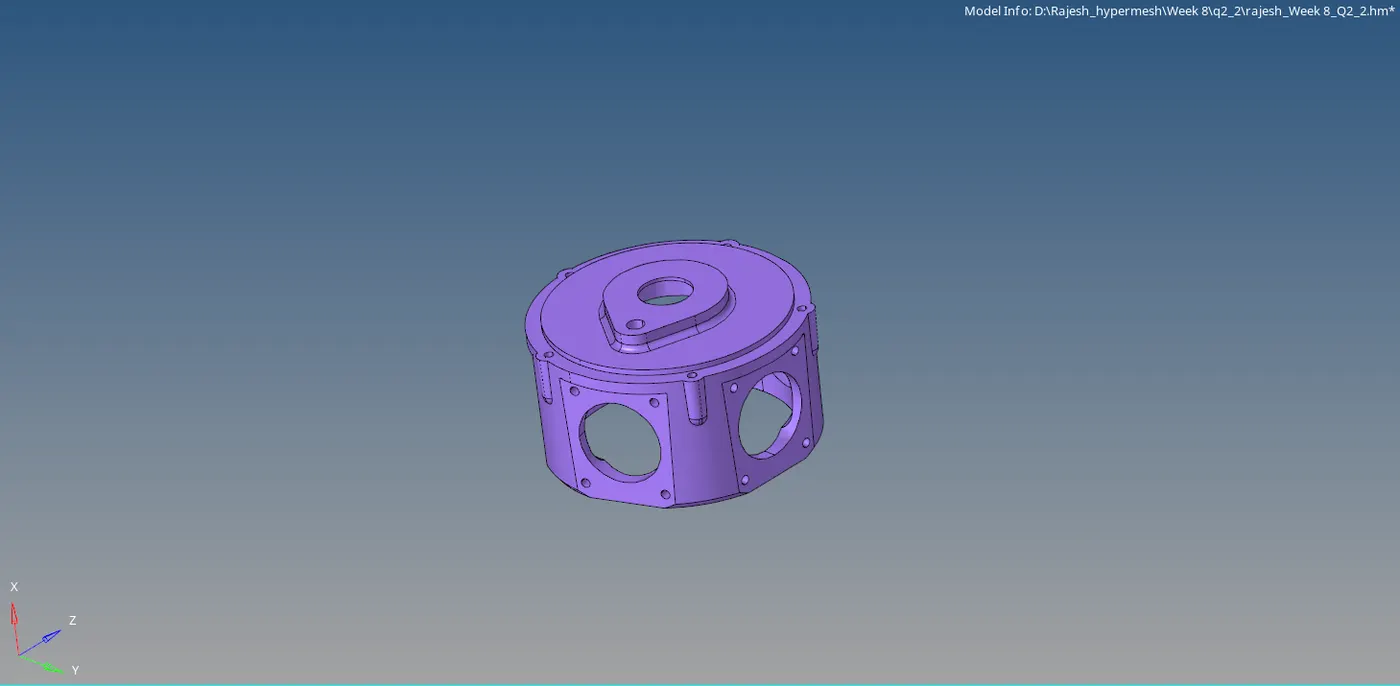
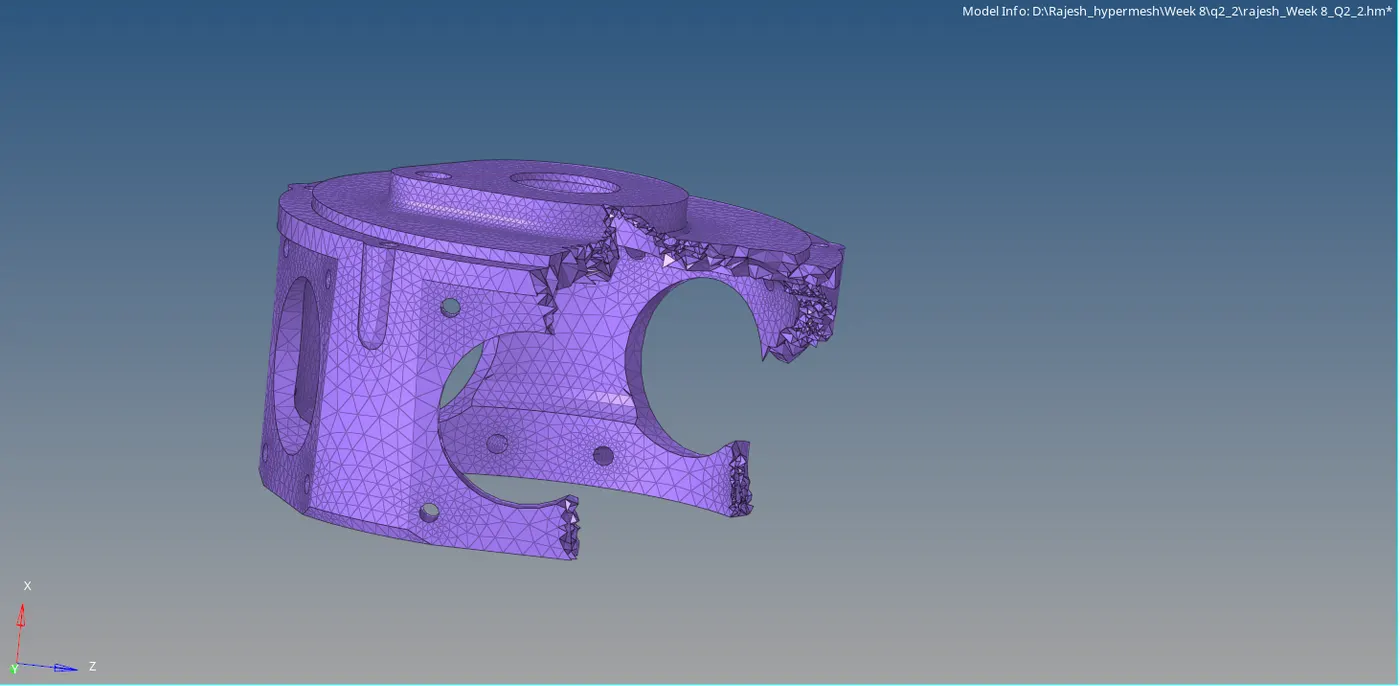
Model 3: CRANK HOUSING
Steps are the same as we solved for the above component.
Here we perform volume tetra to create 3D tetra meshing and check for tet collapse.
CONCLUSION: Learn about the different methods of 3D tetra meshing viz., Volume tetra, Quick Tetra mesh & Tetra mesh using 2D shell element and performed on the given components and learned how to remove tet collapse by using translate node and re-meshing the failed elements.