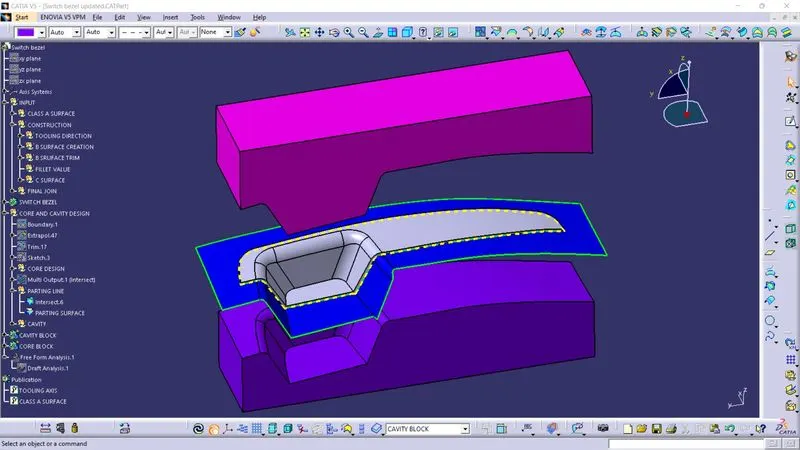
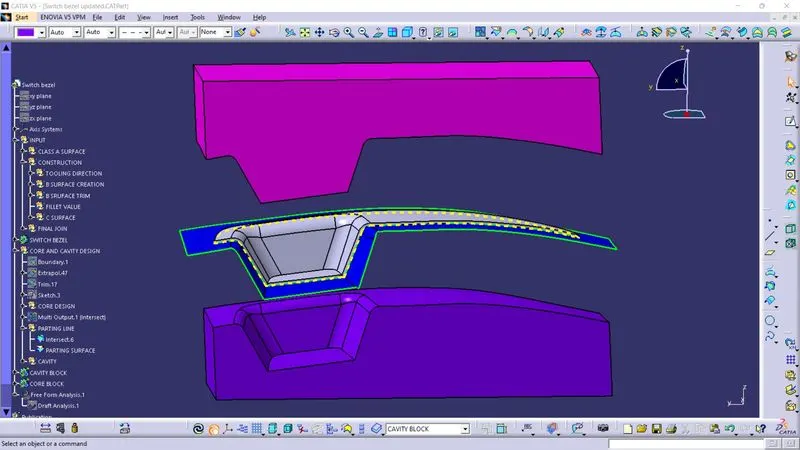
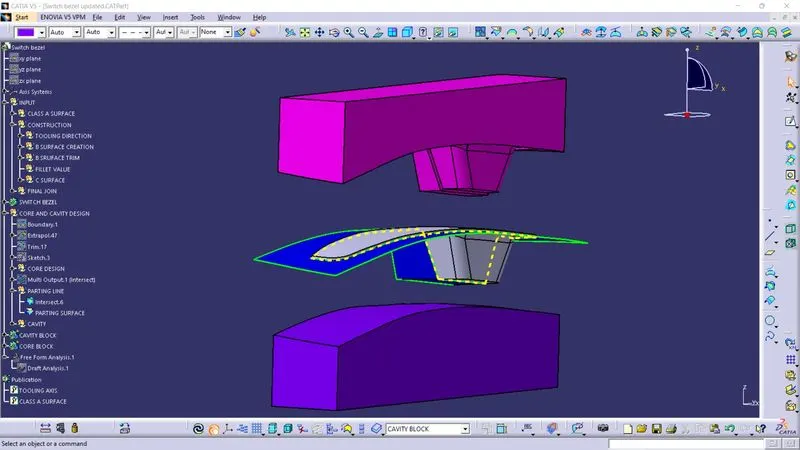
Week 8 - Challenge 6 - Core & Cavity Design
AIM : Create the Core and Cavity blocks for the switch bezel designed in the earlier challenge.
METHODOLOGY :
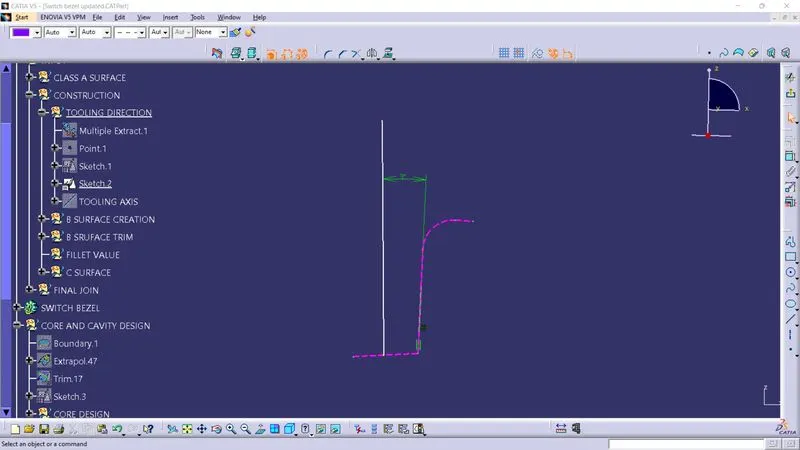
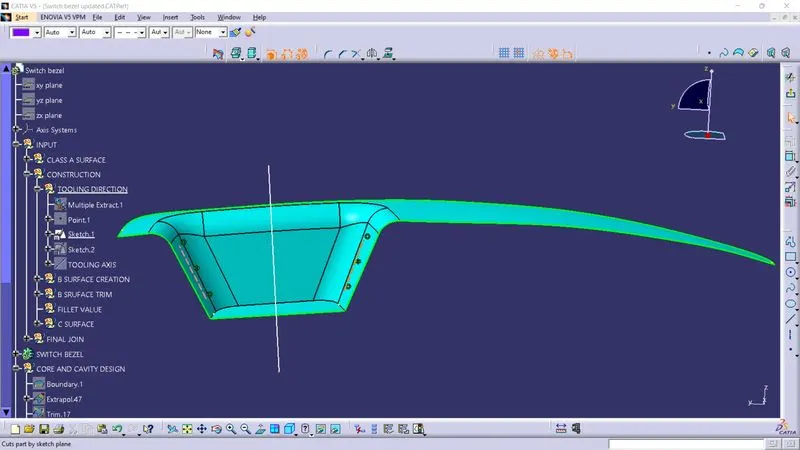
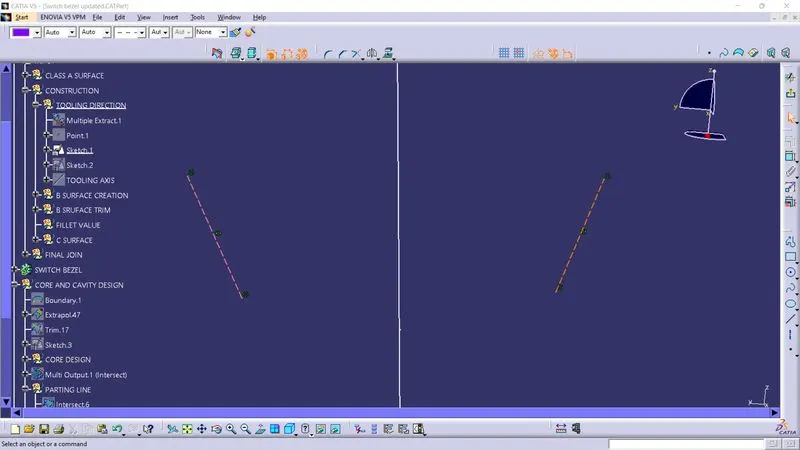
TOOLING AXIS : Creation of Tooling Axis is necessary as it specifies the direction in which the Core and Cavity will be open. Also it directly affects the component and result in defects if the direction is not given properly. So for this component we have to use Bisecting method to create a Tooling Axis.
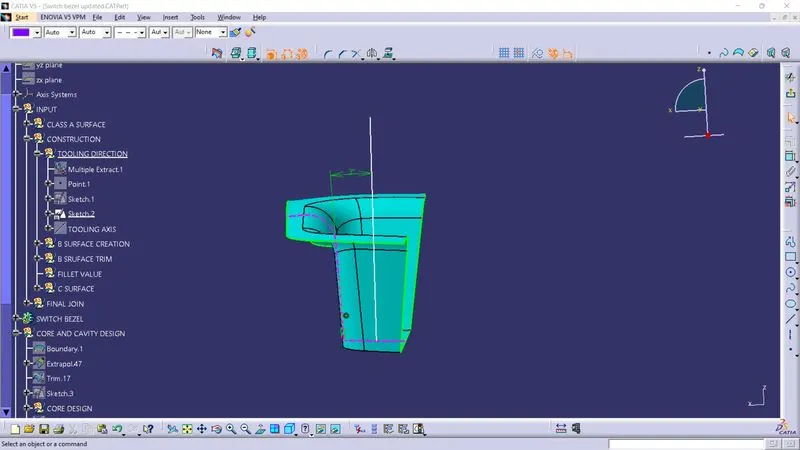
CORE DESIGN :
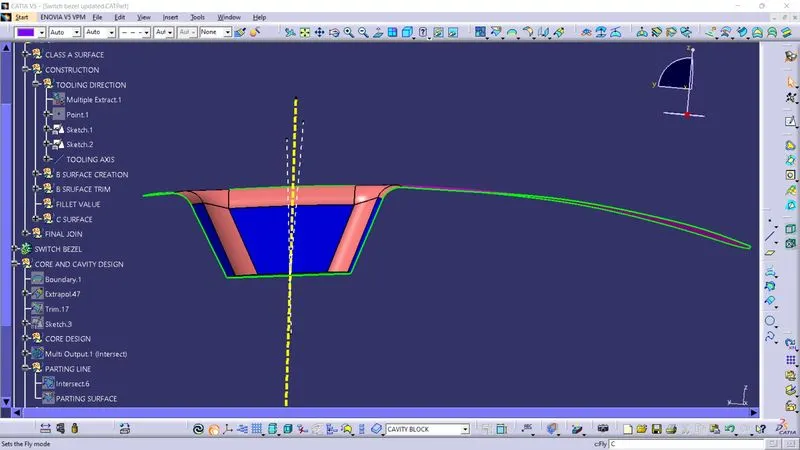
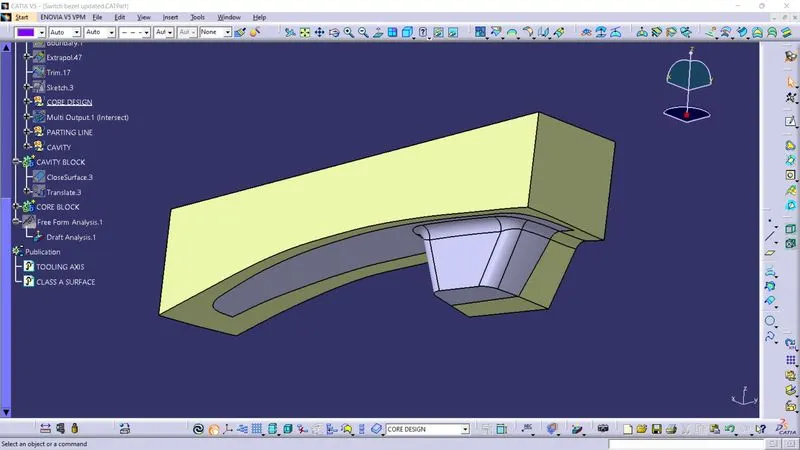
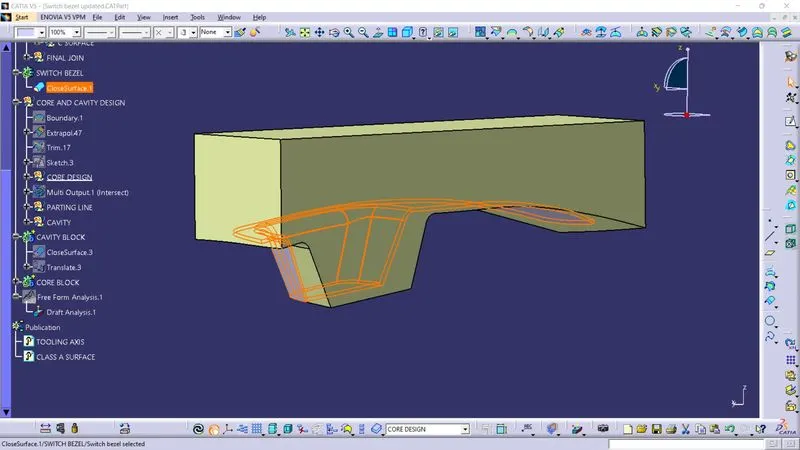
To design core firstly we have to extract the parting surface that becomes the reference for the core and cavity. Extract the A surface and C surface and trim with extrapolated B surface.
The achieved surface is extruded and closed to make rectangular box at a distance from the parting line along tooling direction. It is closed and joined together to form closed surface which is converted to solid body in part model.
CAVITY DESIGN :
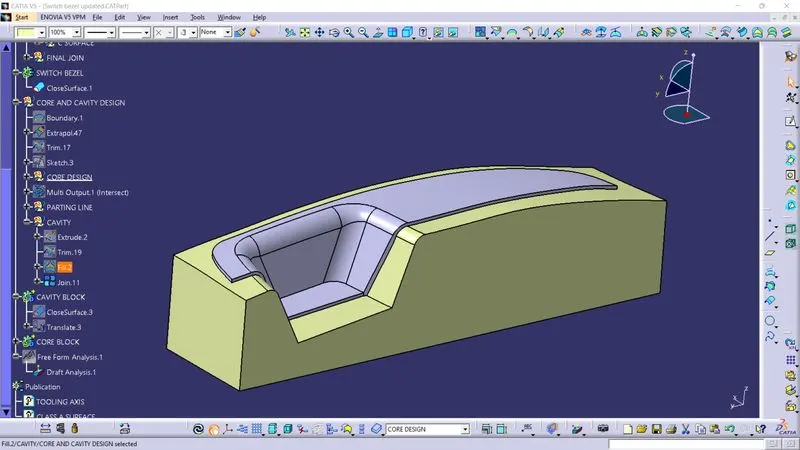
The filling of the molten plastic take place in the cavity. The cavity block is prepared by trimming the extrapolated B surface and extruding along the tooling direction using the same profile as used in core for rectangular block. The resultant surface is the Fill and Joined together.
CORE AND CAVITY :
Hot molten plastic is injected into Core and Cavity and the Part is formed. The cycle starts when molten plastic is injected in the mold Cavity and then it is closed by cavity block this process is known as Injection molding.
PARTING SURFACE :
Injection moulding consist of two major components Fixed half and Movable half.
During the injection moulding, these two components are pressed tightly and form a sealed to avoid melt flow leakage and maintain certsin holding pressure.
The pressed surface is called Parting Surface. It is the outline projection of the component.