Week 8 - Challenge 5 - Core & Cavity Design
AIM:
Perform draft analysis of the both switch bezel components. And creation of core and cavity of the Switch bezel designed in the earlier challenge.
OBJECTIVE:
Ensure proper tree structure
Geometrical sets should have a proper name based on the sketches present inside of it
All sketches should be under the geometrical set.
Use the close surface feature to make a solid body from the surface.
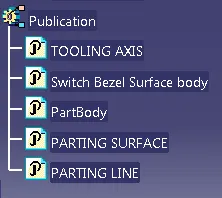
Publication of tooling axis,switch bezel solid, parting line and parting surface.
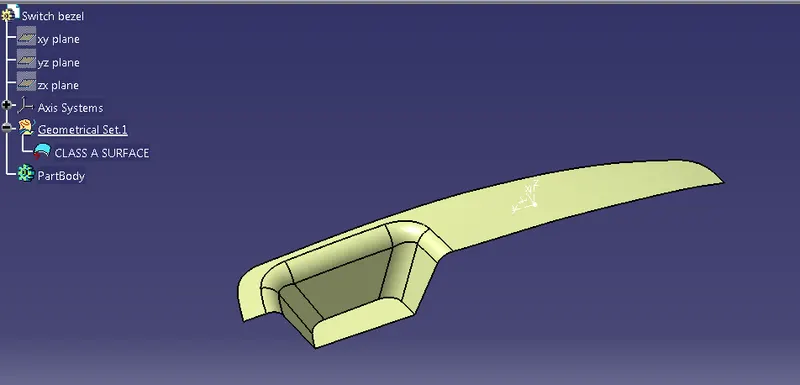
Provided Class A surface after importing in CATIA
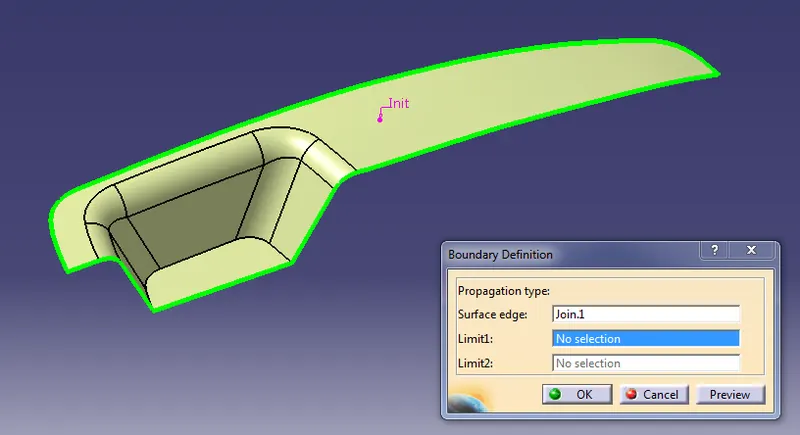
1st we have to check the connectivity of the surface.whether the surface provided has any discontinuity in it. It will be done by creating a boundary or by using the joining command.
Tooling axis creation:
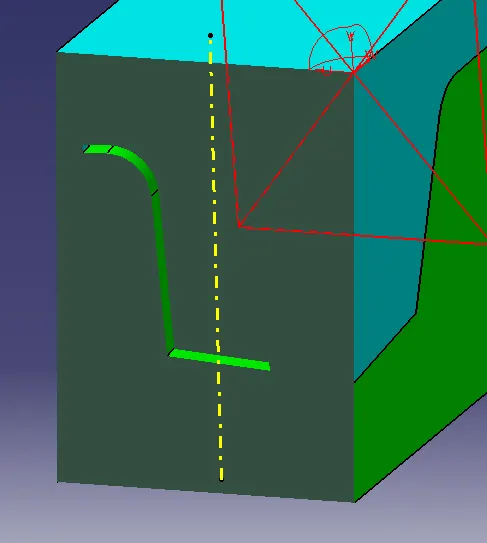
Then analyze all surfaces for the possibility of tooling clearing all surfaces. Let’s start considering the Y direction. First create a point on the base surface and insert an axis system at that point. Then go to a positioned sketch to create a tooling axis along the Y direction.
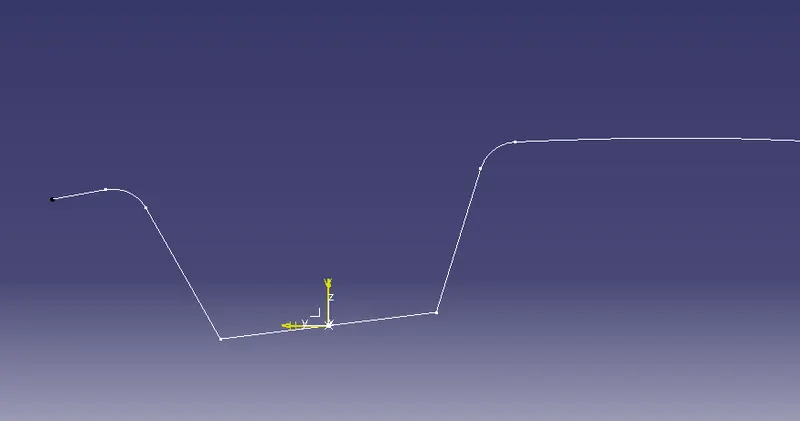
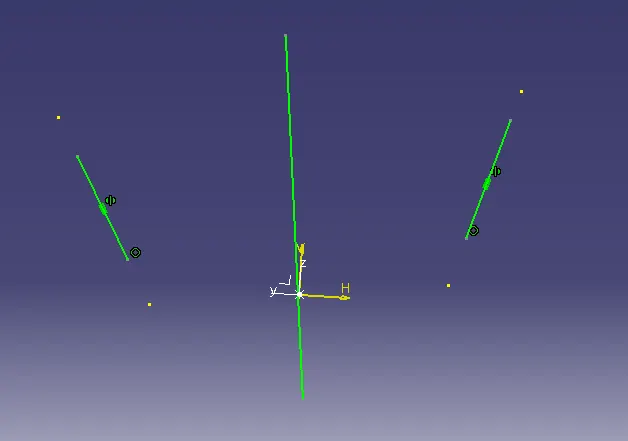
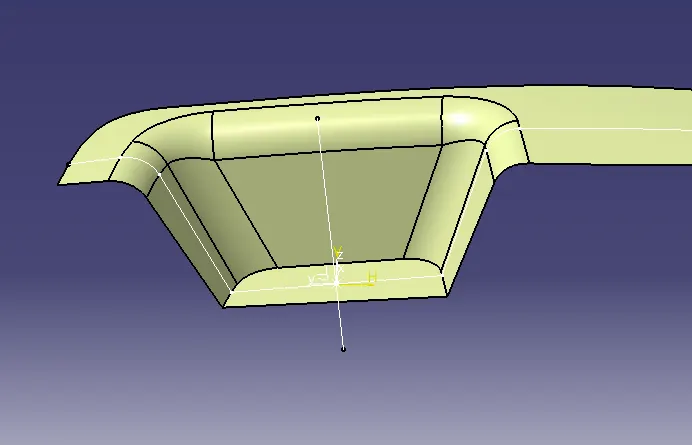
Next do the same process to get tooling directions along the X direction..
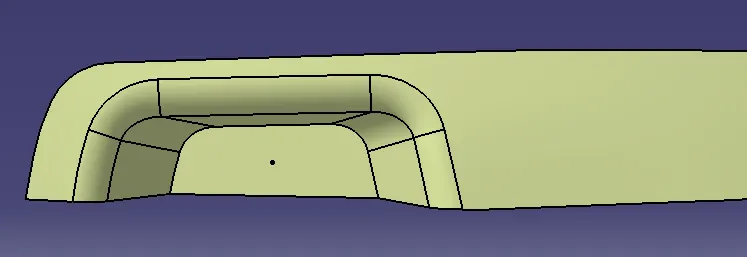
Take the intersection of the component along the XZ plane. In this case there is only one face which may create a problem. So we will sketch another line which makes an angle with the surface.
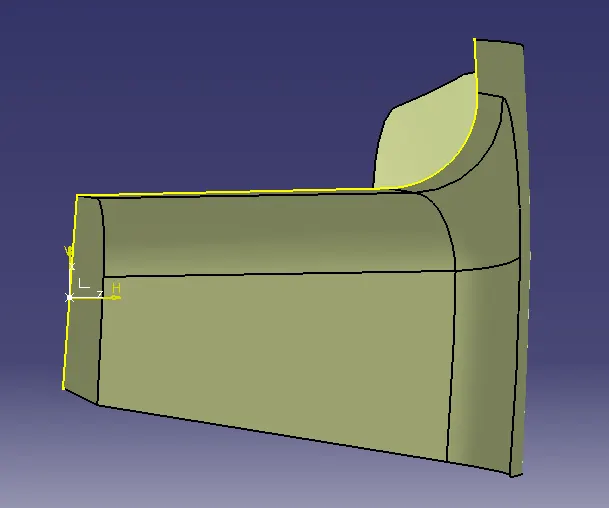
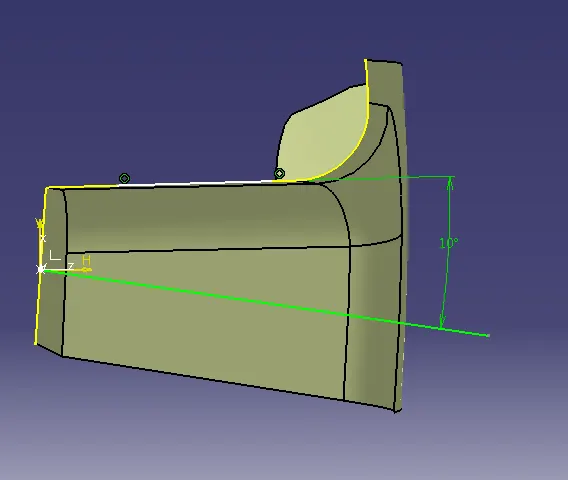
Now we got the two tooling axis along both X and Y direction.
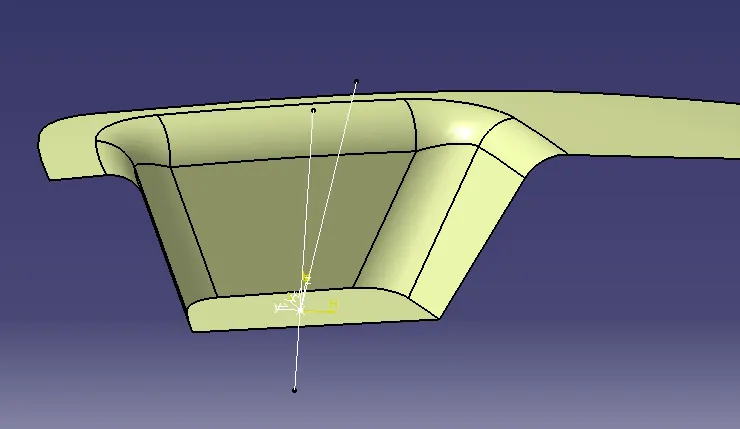
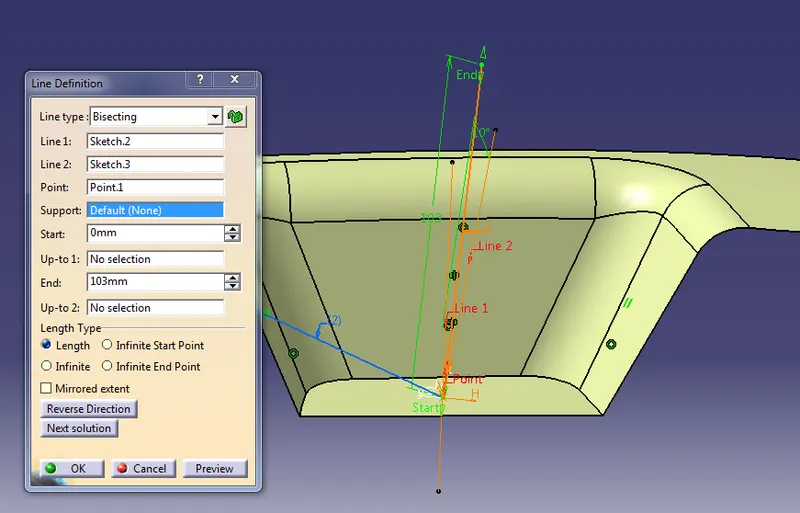
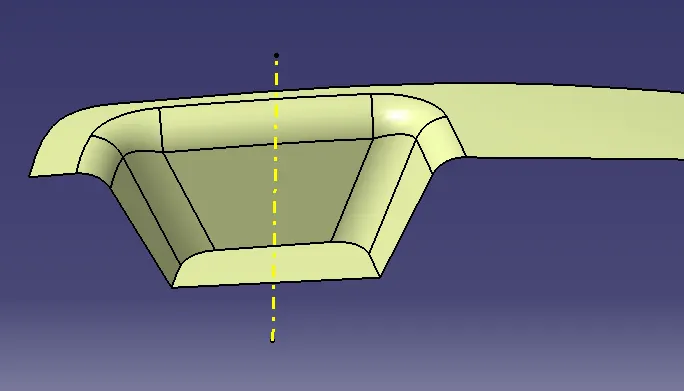
Then bisect those lines to get the final tooling axis.
Draft Analysis of the Class A surface:
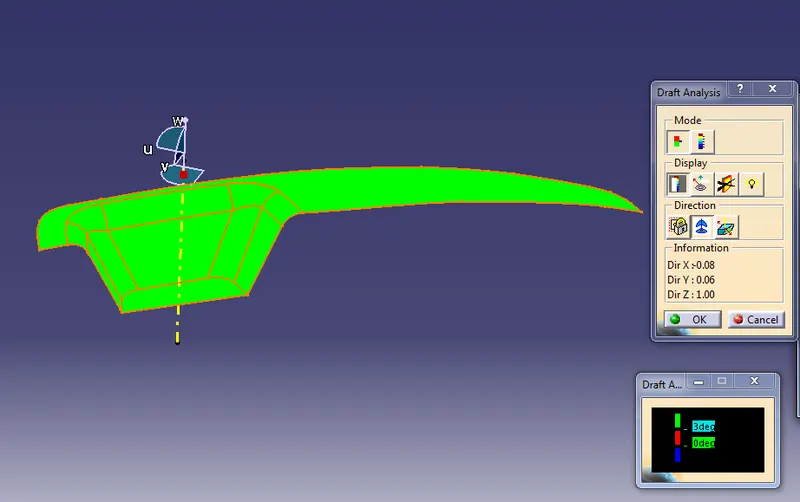
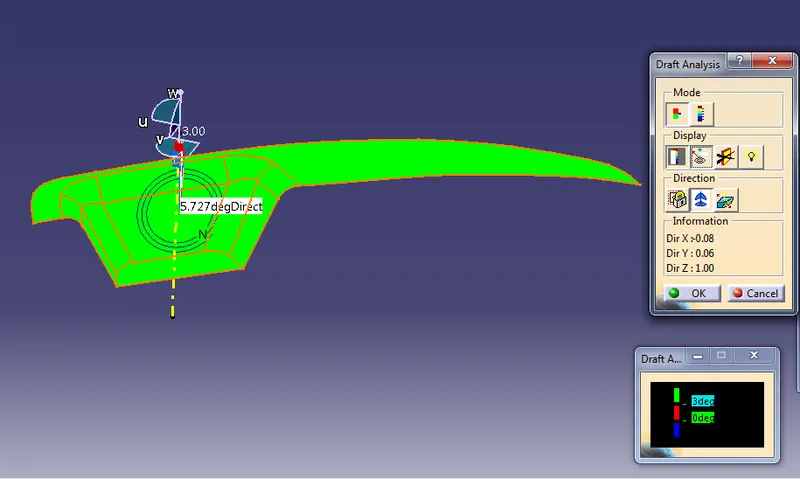
To perform draft analysis on the model: go to Menu bar > Analysis > Feature Draft analysis. We have to select customize the material mode under the shading option.
For draft analysis, the model and tooling axis are the inputs. For easy to remove parts from mold, the minimum draft angle is 3 degrees.
Draft Analysis of the solid component:
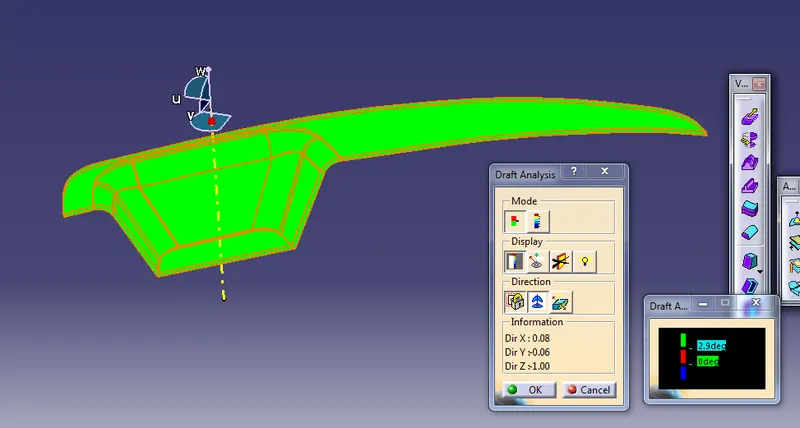
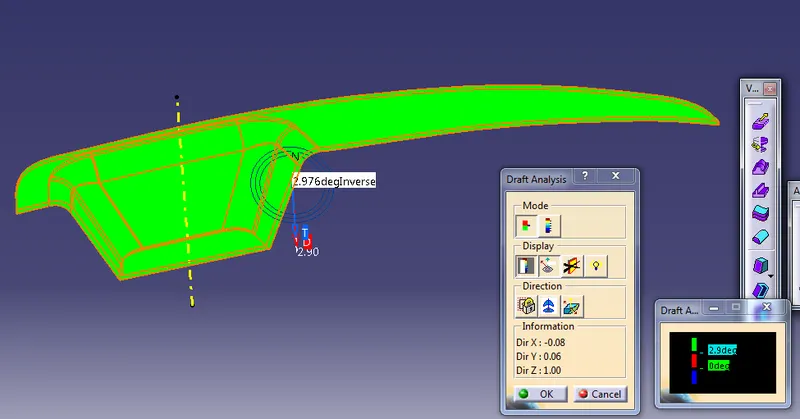
To perform draft analysis on the model: go to Menu bar > Analysis > Feature Draft analysis. We have to select customize the material mode under the shading option.
For draft analysis, the model and tooling axis are the inputs. For easy to remove parts from mold, the minimum draft angle is 3 degrees.
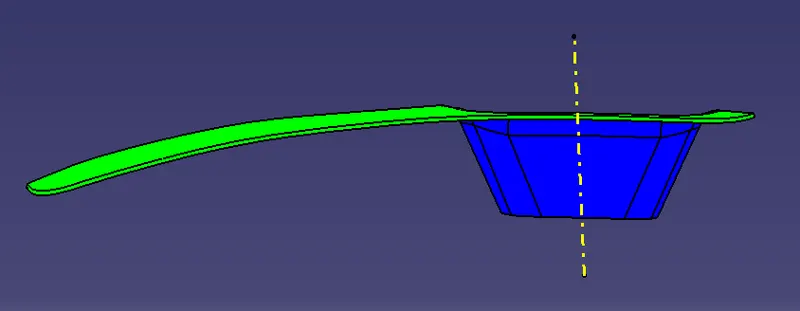
CORE AND CAVITY DESIGN
The core & cavity are the shaped sections in either half of the mould tool which give the plastic product its final shape. The hot molten material is injected into the core & cavity and then sets hard into shape. The design of the core & cavity is essential in the correct formation of the product.
Now to create the core and cavity of the component first we have to analyze the component which areas will come under core and which areas will come under cavity.
Parting Surface:
The parting surface of a mould are those surfaces of both mould plates adjacent to the impressions which butt together to form a seal and prevent the loss of plastic material from the impression.
For creation of the parting surface first we have to extrapolate the class A surface and then trim with the Class C surface.
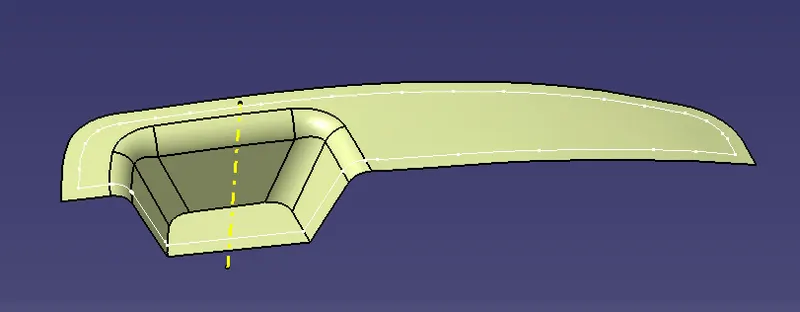
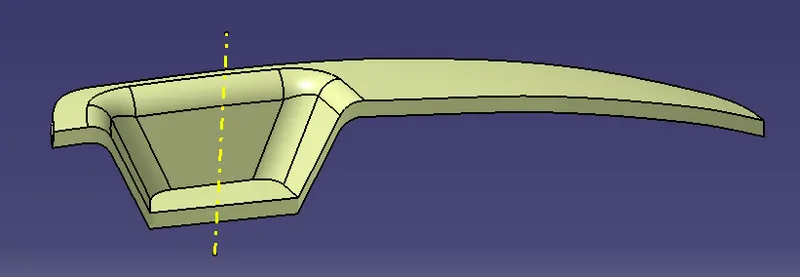
Then trim the result surface with class B surface to get the parting surface.
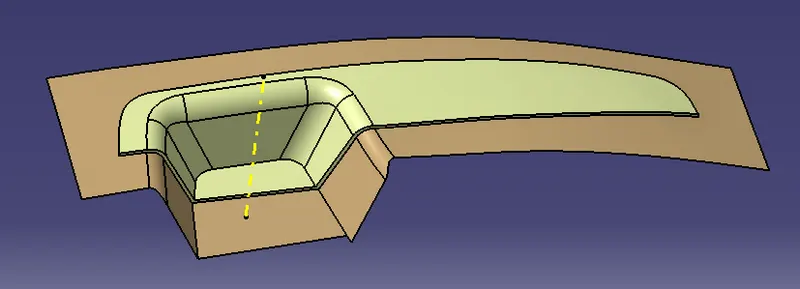
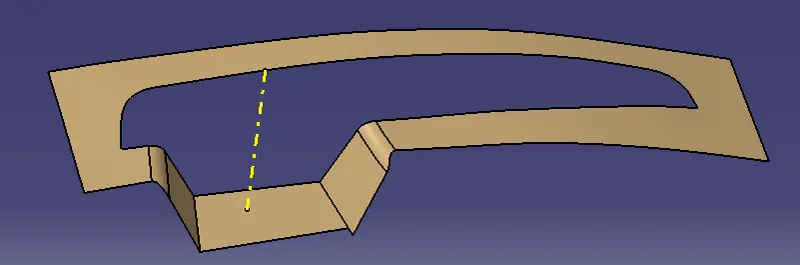
Then create a rectangle on the parting surface, make sure that the rectangle should be placed under the parting surface.
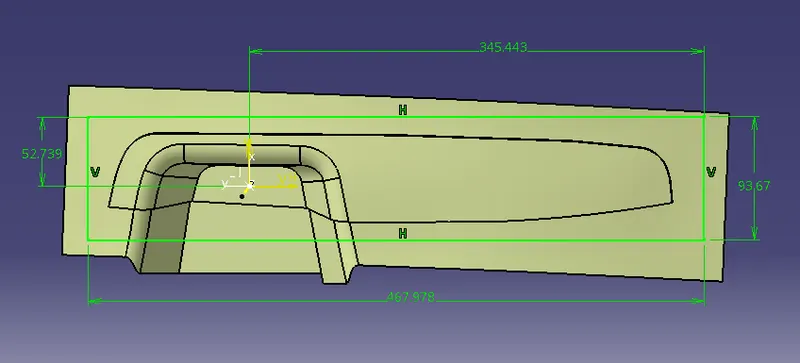
CORE BLOCK:
Then extrude the rectangle along the tooling axis in both directions.
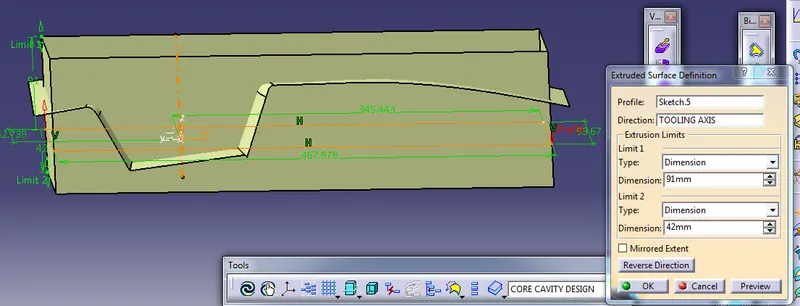
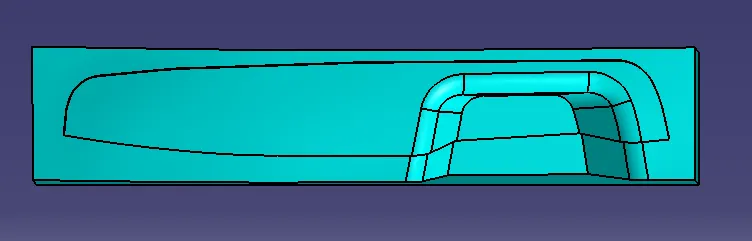
Now trim the parting surface with extruded surface to get core and fill the upper surface with the help of boundary patch and make it solid. This is our Core Block.
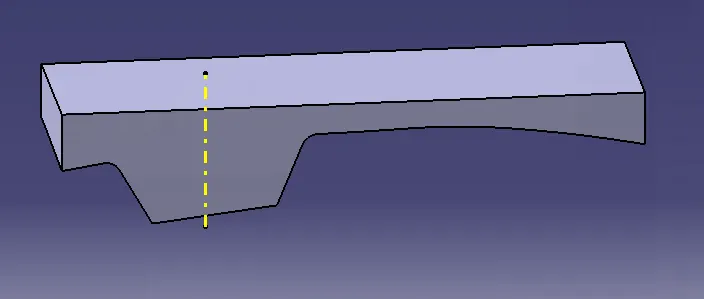
CAVITY BLOCK:
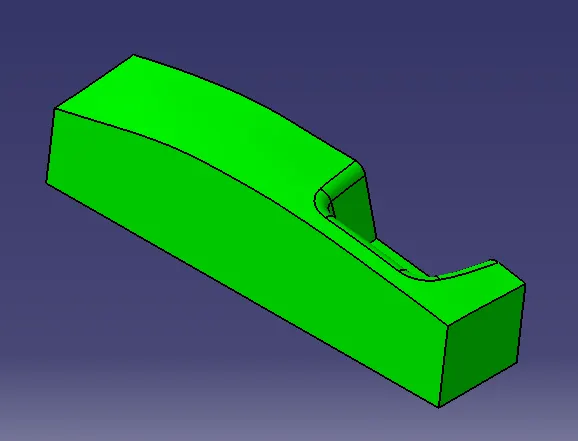
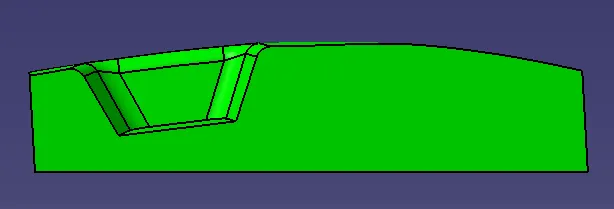
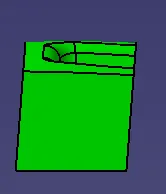
Now trim the Class B surface with extruded surface to get cavity and fill the lower surface with the help of boundary patch and make it solid. This is our Cavity Block.
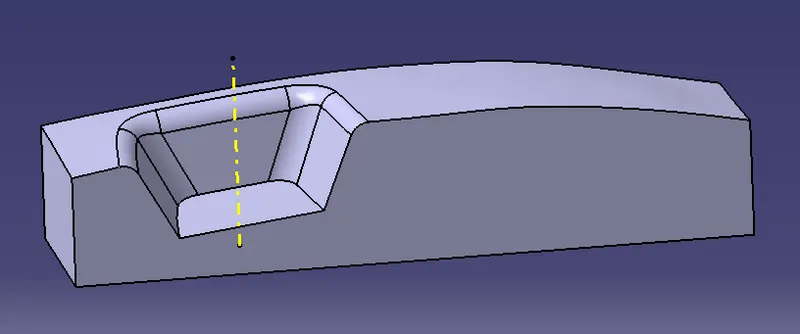
Parting Line:
A 'parting line' is the line of separation on the plastic part where the two halves of the plastic injection mold meet. The line actually indicates the parting 'plane' that passes through the part.
For the Parting line we intersect the join of Class A and C with the Class B surface.
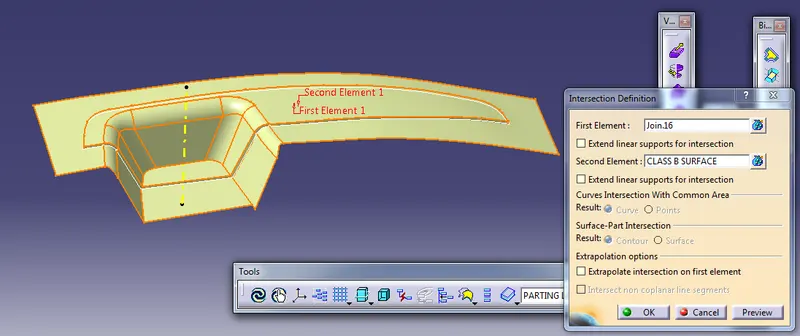
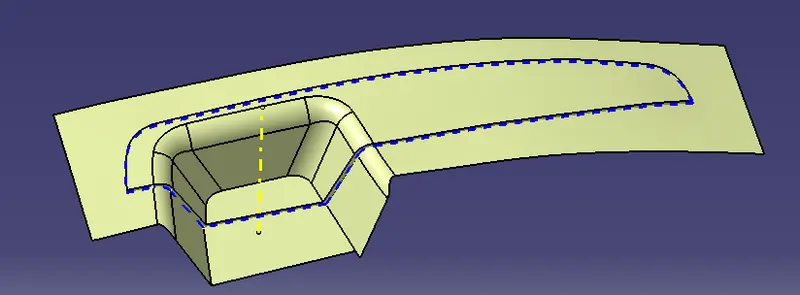
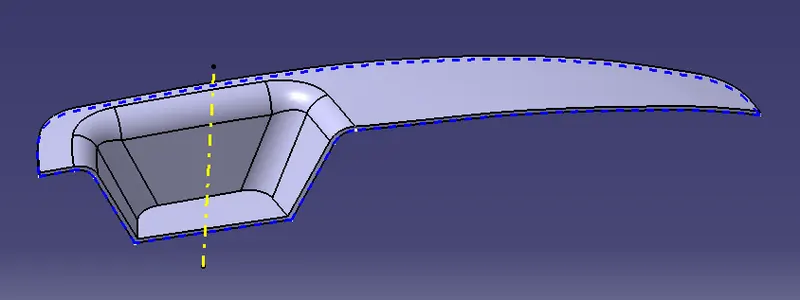
Cross Section view the gap between two halves where molten plastic material gets filled and forms plastic components.
Views of Core Block:
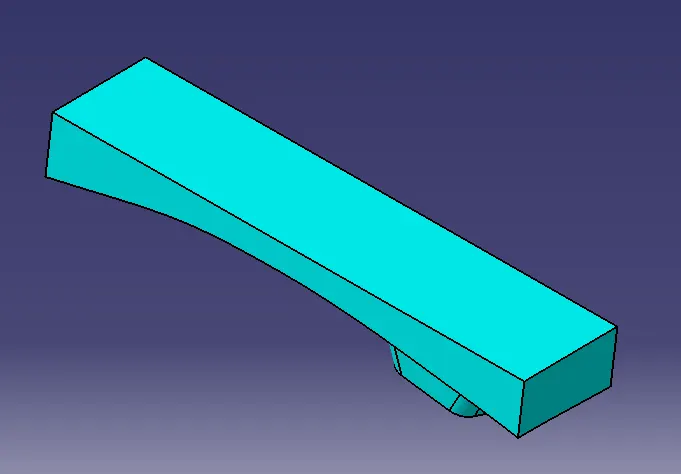
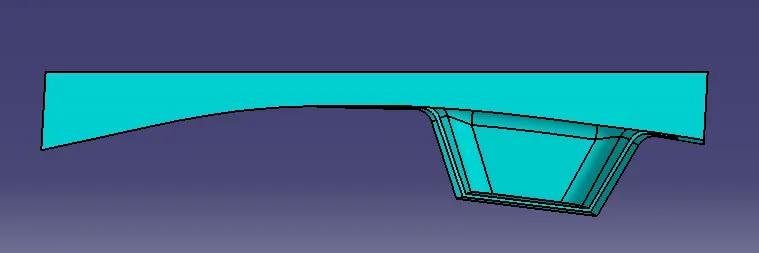
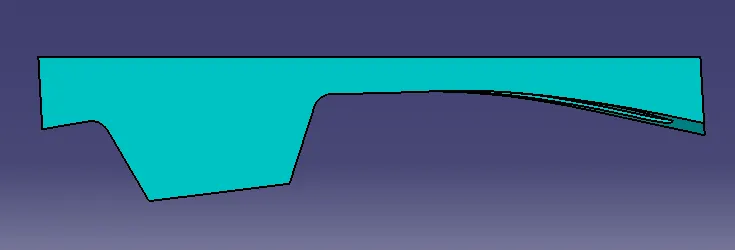
Views of Cavity Block:
PUBLICATION: