Week 8 - Challenge 4 - Bumper
Challenge 4 - Bumper
AIM:- To Create the BUMPER Plastic component through the given Class-A surface. To begin with, the tooling axis for the given Class-A Surface should be created meeting the requirements of the draft angle and at the end perform the Draft analysis on the model. Take the Thickness of the component to be 3 mm
DESCRIPTION:
Class A surface: Class-A surface is a term used in most automotive designs to describe a set of freedom surfaces of high efficiency and quality.
Class B surface: Class B surfaces are the secondary surfaces that you can we see sometimes but are less critical.
Class C surface: Class C surfaces are the surfaces that connect the class A and Class B surfaces.
Draft analysis: Draft analysis is performed on components where the ejection of materials happens after the material is made inside the tools.
OBJECTIVE:-
- Creation of Tooling Axis.
- Result of class B and C surface.
- Creating a solid part out of surface modeling.
- Draft Analysis of class A Surface and final plastic component.
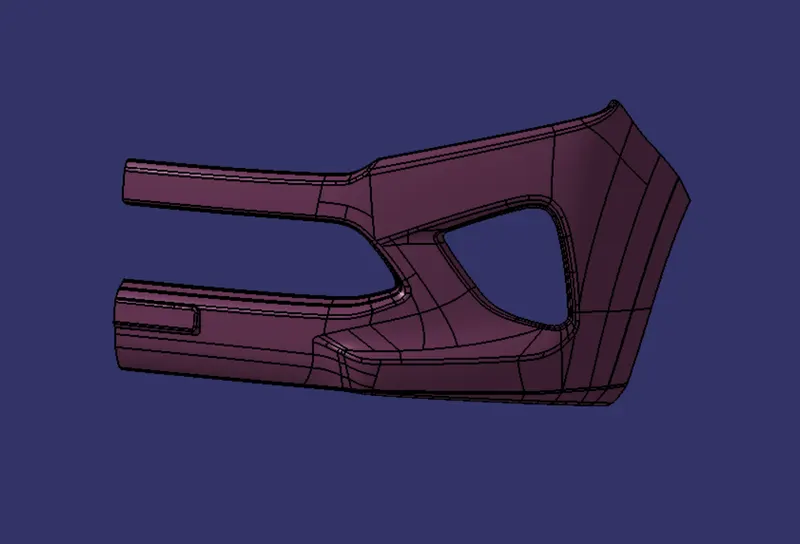
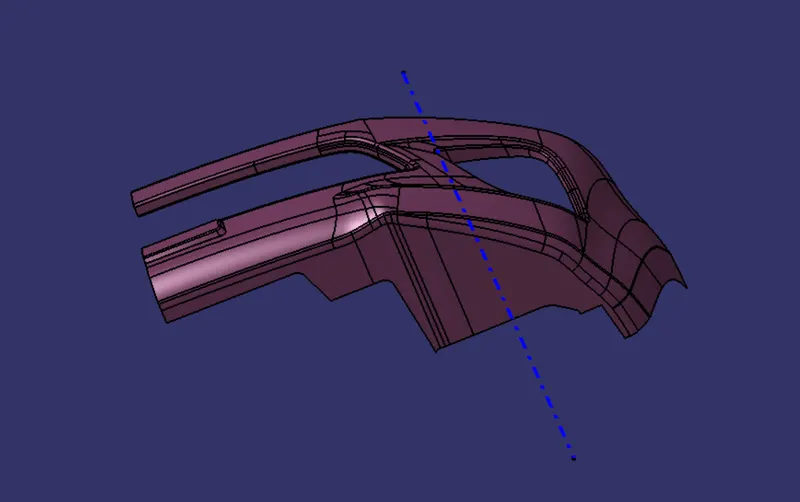
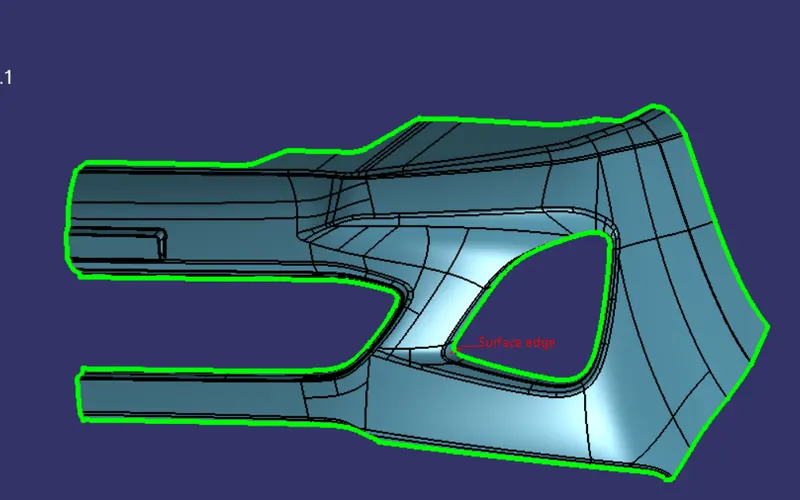
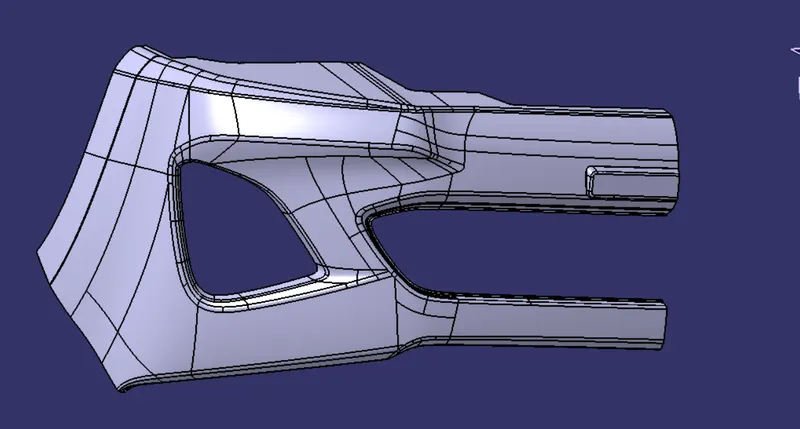
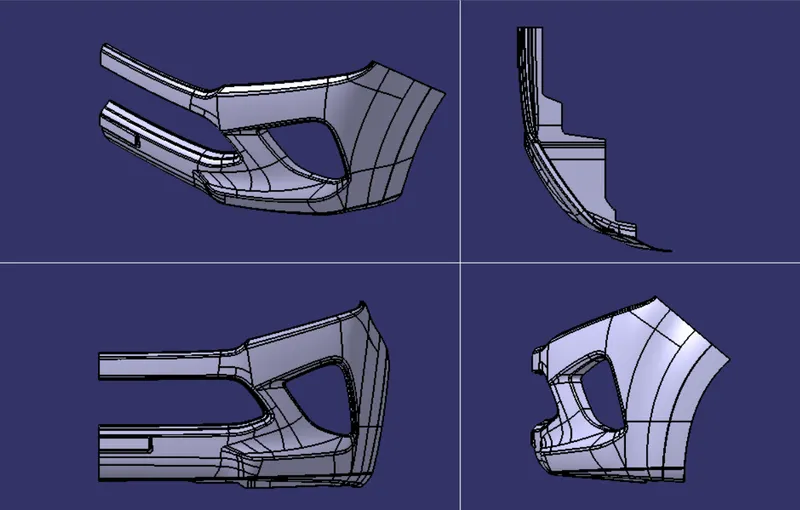
CLASS A:- Following Surface is given as the input for the component creation.
Creating of Tooling Axis:
- Considering the Ejection from the cavity of the mold after manufacturing the interior trim (switch bezel) must have a nominal 3-degree draft angle.
- Hence the tooling direction is created by considering the above factor and bisecting method is used.
- The base surface of the class – A was extracted and a point at the center is created and an axis system was inserted to the point with the current feature disabled.
- Then, using project intersection along the yz plane is created and the two inclined lines were drawn inside the positioned sketch.
- Then bisecting lines with the two inclined lines were drawn.
DRAFT-ANALYSIS FOR THE CLASS A SURFACE USING THE MAIN TOOLING AXIS
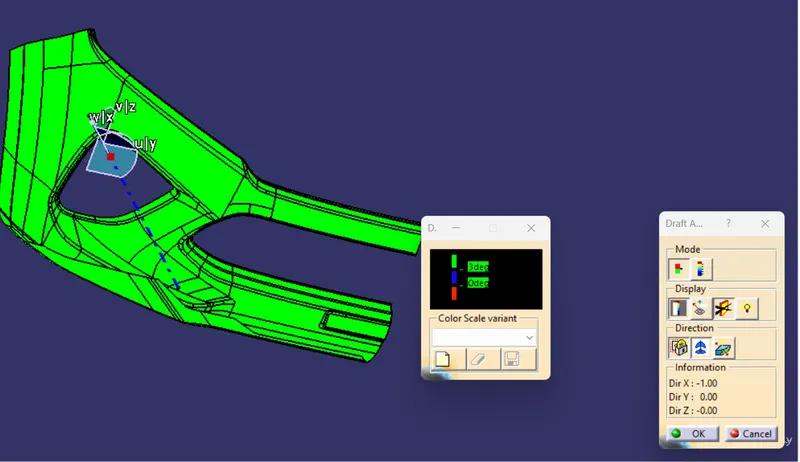
Now, We will perform a Draft Analysis on the Class A Surface itself using the Main Tooling Axis created using the First Method:
Before starting with a Draft Analysis Operation, we will go to the 'Customize View Parameters' option under the 'View Toolbar'. Then we will enter the 'Customize View Mode' where we will go under the 'Mesh' option and select 'Material' and press 'OK'.
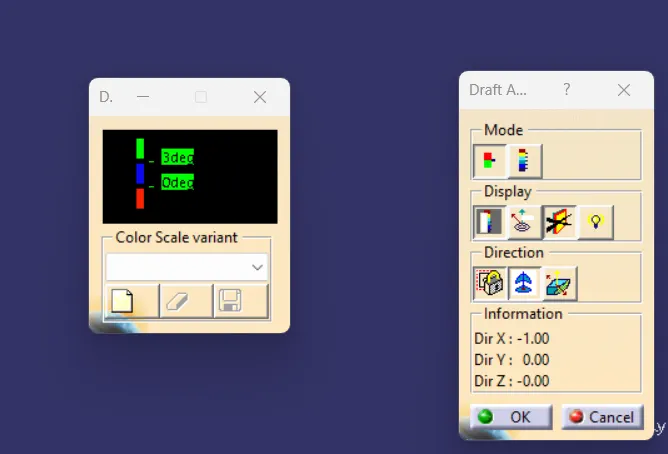
To start the Draft Analysis in the 'Generative Surface Design Workbench', we will go to 'Insert' and then look for the option called 'Analysis'. Once found, we will go under that and click on 'Feature Draft Analysis. This will open the 'Draft Analysis' Dialogue box. There, we will ensure that under 'Mode' we have selected 'Quick Analysis', under 'Display' we will select 'Show or Hide the Color Scale' and then select '3 Degrees' as the permissible draft angle. Then, under 'Direction' we will choose the icon with the symbol of the compass on it which stands for 'Use the Compass to define the new current draft direction'.
Creation of Class B Surface:
- For creating the class-B surface offset the class-A surface to the given thickness of 3 mm.
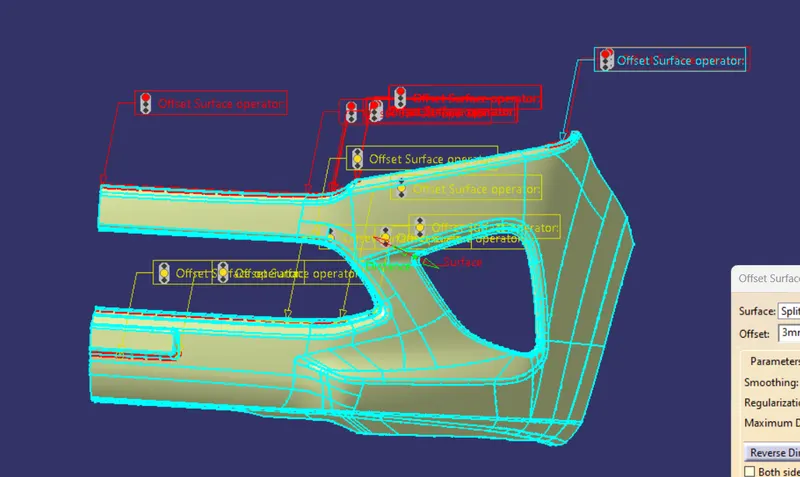
In the above image, CATIA is showing us the filleted regions where these sub-elements are located that are going to be removed after the offset operation.
Now, we're going to fix these patches by recreating these sub-elements using various tools such as Extract, Untrim, Extrapolate, Multi-Sections Surface, Trim, etc.
Then all the surfaces have been extrapolated to get intersections between them.
Creation of class c:
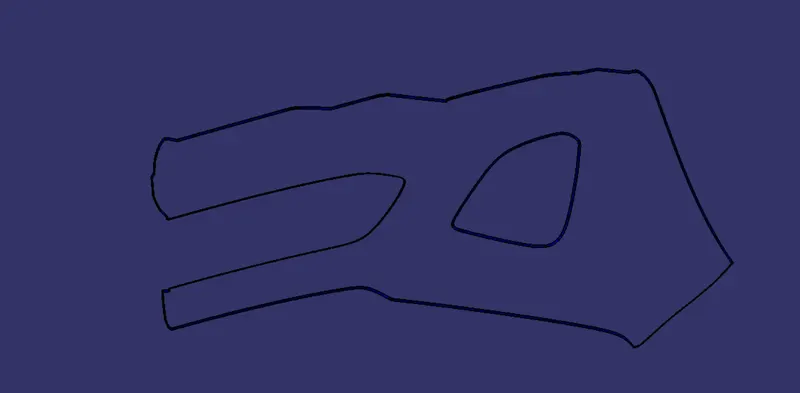
- Class C surface for this component is created using the sweep command. All the ends of the component surface were facing downwards, so the C surface will create a perpendicular to the B surface.
- To create a C surface boundary of Class A surface and surfaces adjacent to the boundary are extracted. Then sweep with reference surface commands is used and the surface is created at 90 degrees.
Final Trims:
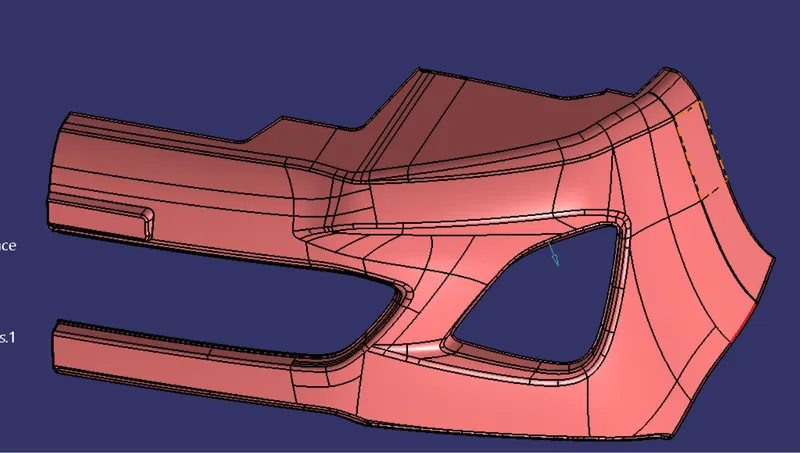
Class A + Class C
To make sure that there is not any open boundary between class A and Class c, we have used the join option to create the single body. This is done to make sure that the parting line doesn't lie between these two surfaces.
Class A + Class B + Class C
For this, we have trimmed the join of the class A and class C Surfaces With Class B.
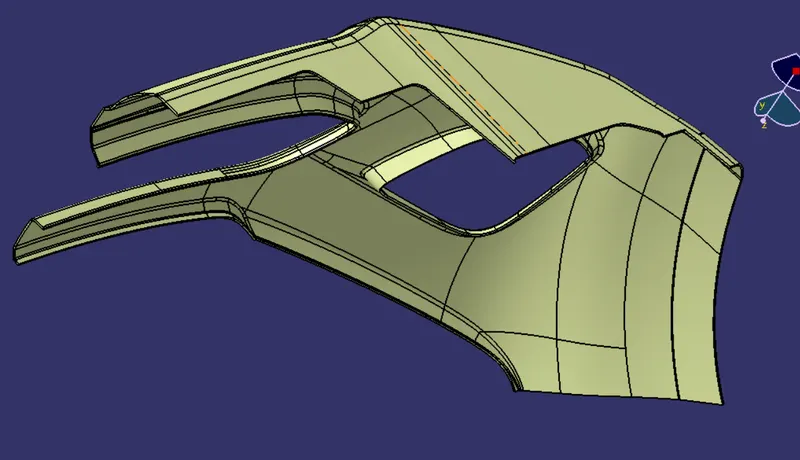
Then, by defining the part body by using the Closed Surface command in Part Design, the component's solid body is created.
DRAFT ANALYSIS FOR THE FINAL PART USING THE MAIN TOOLING AXIS:
We'll click on the 'Draft Analysis' under the 'Analysis' Toolbar in the Part Workbench.
Then, we’ll click on the Compass Symbol under 'Direction' which stands for 'Use the Compass to define the new current draft direction'.
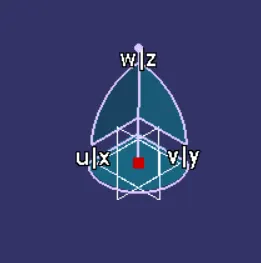
We'll drag the compass and place the compass on the Main Tooling-Axis.
Then, we'll select 'Show or Hide the Color Scale' under 'Display' and define our Draft-Angle as 3-Degrees.
After that, we'll click the surface of the Final Part the results of which are shown below:
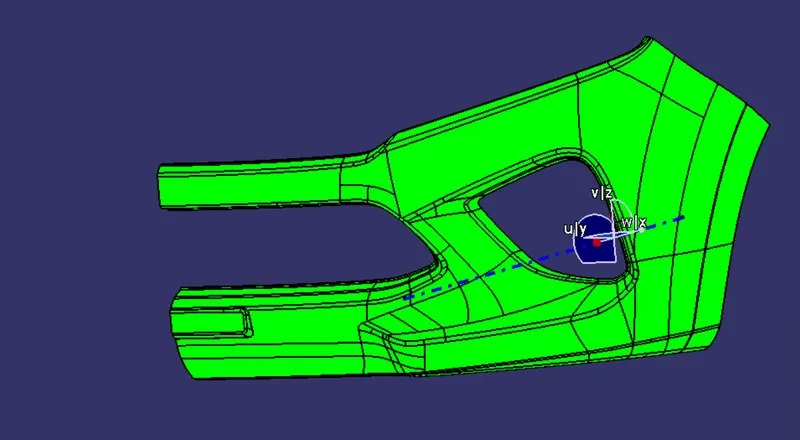
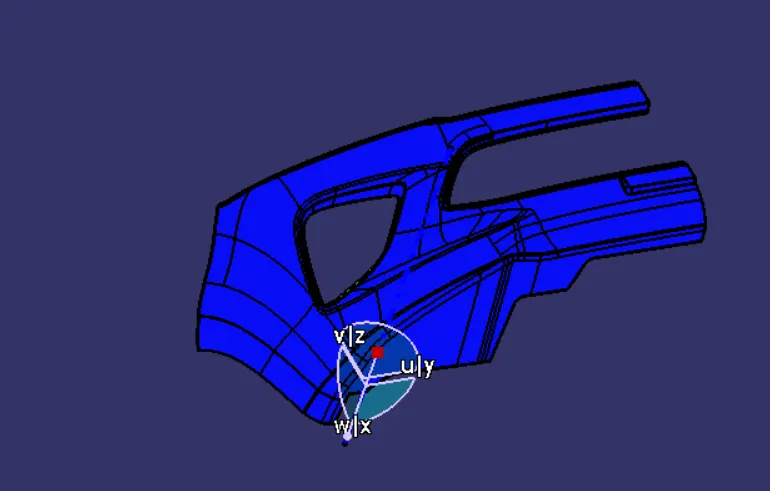
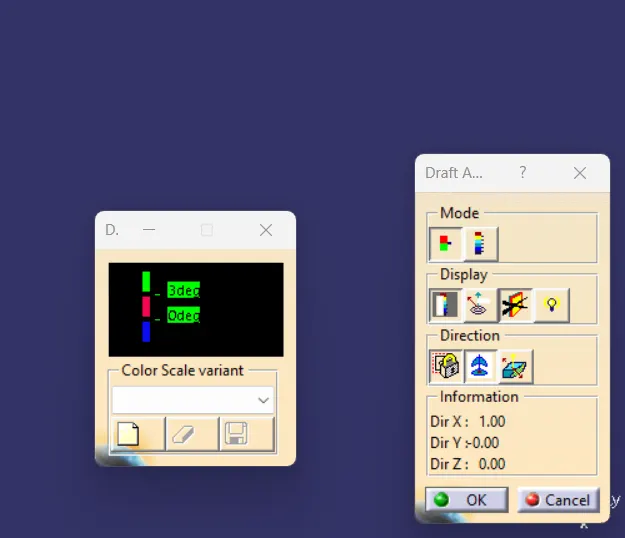
In the Draft-Analysis,
Green Colour stands for regions where the Draft Angle is 3 degrees or more than 3 degrees,
The red Colour stands for regions where the Draft-Angle is between 0-3 degrees, &
Blue Colour stands for regions where the Draft-Angle is lower than 0 degrees
It is evident from the above images that the Draft Analysis is successful and the Final Solid Part is feasible to manufacture.
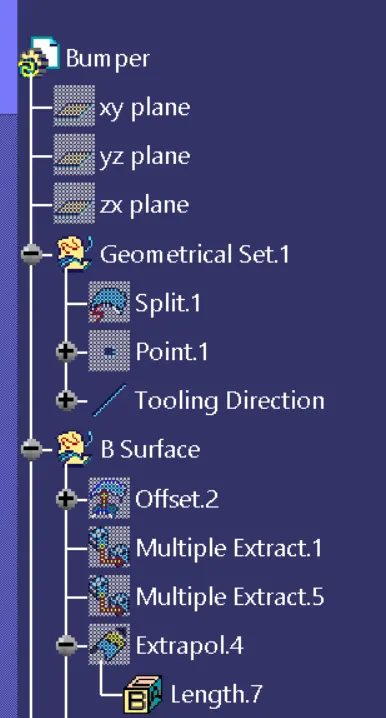
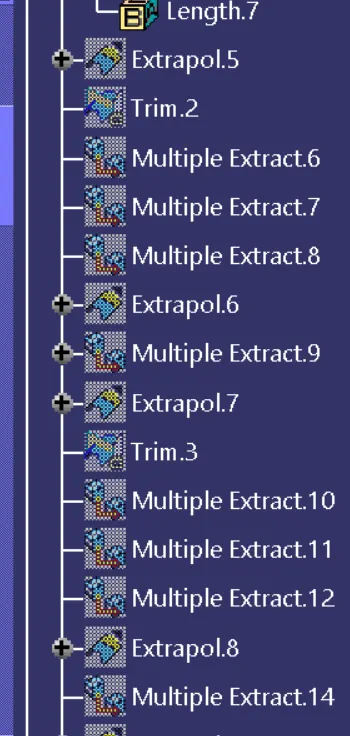
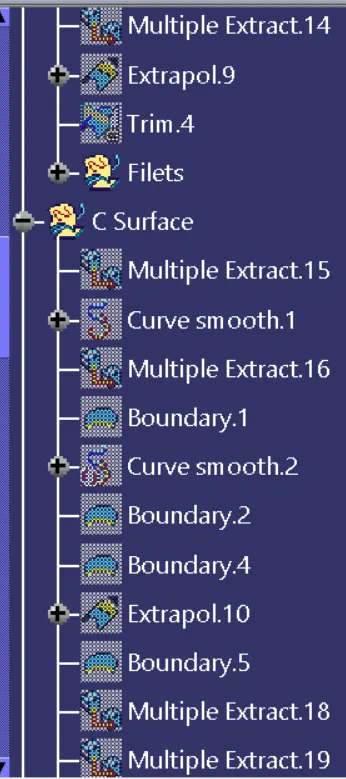
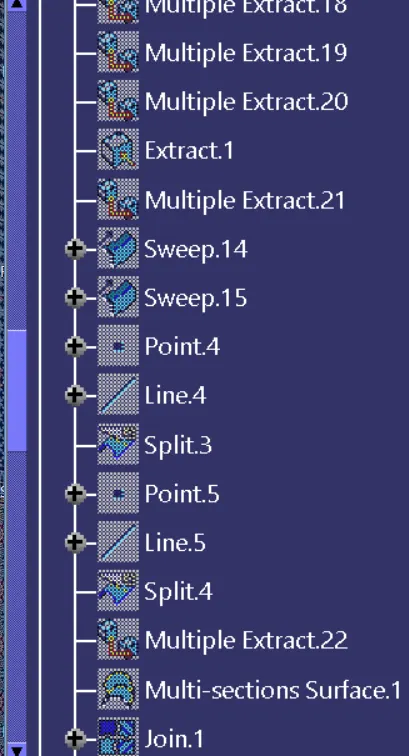
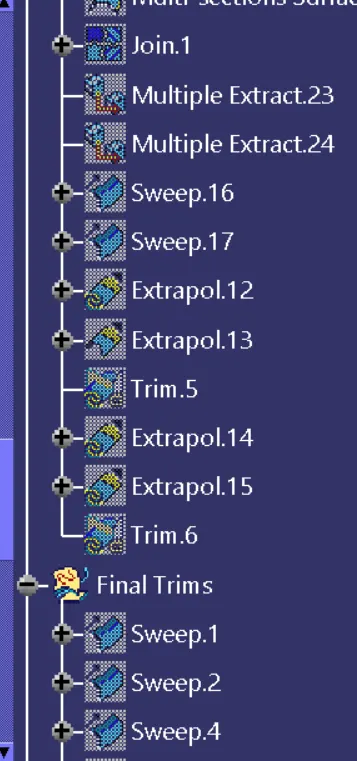
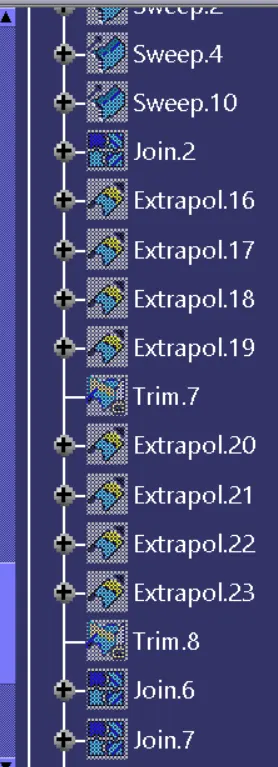
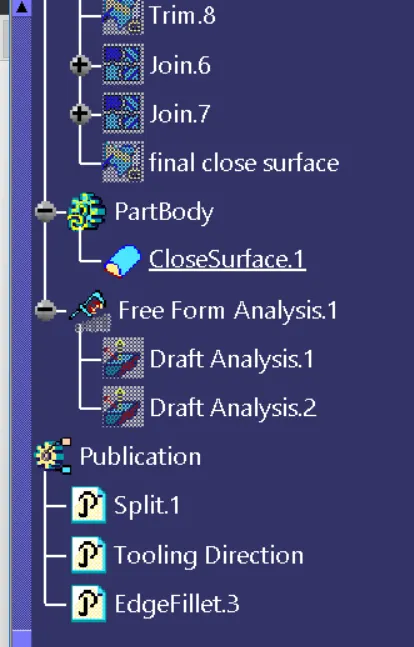
TREE STRUCTURES: