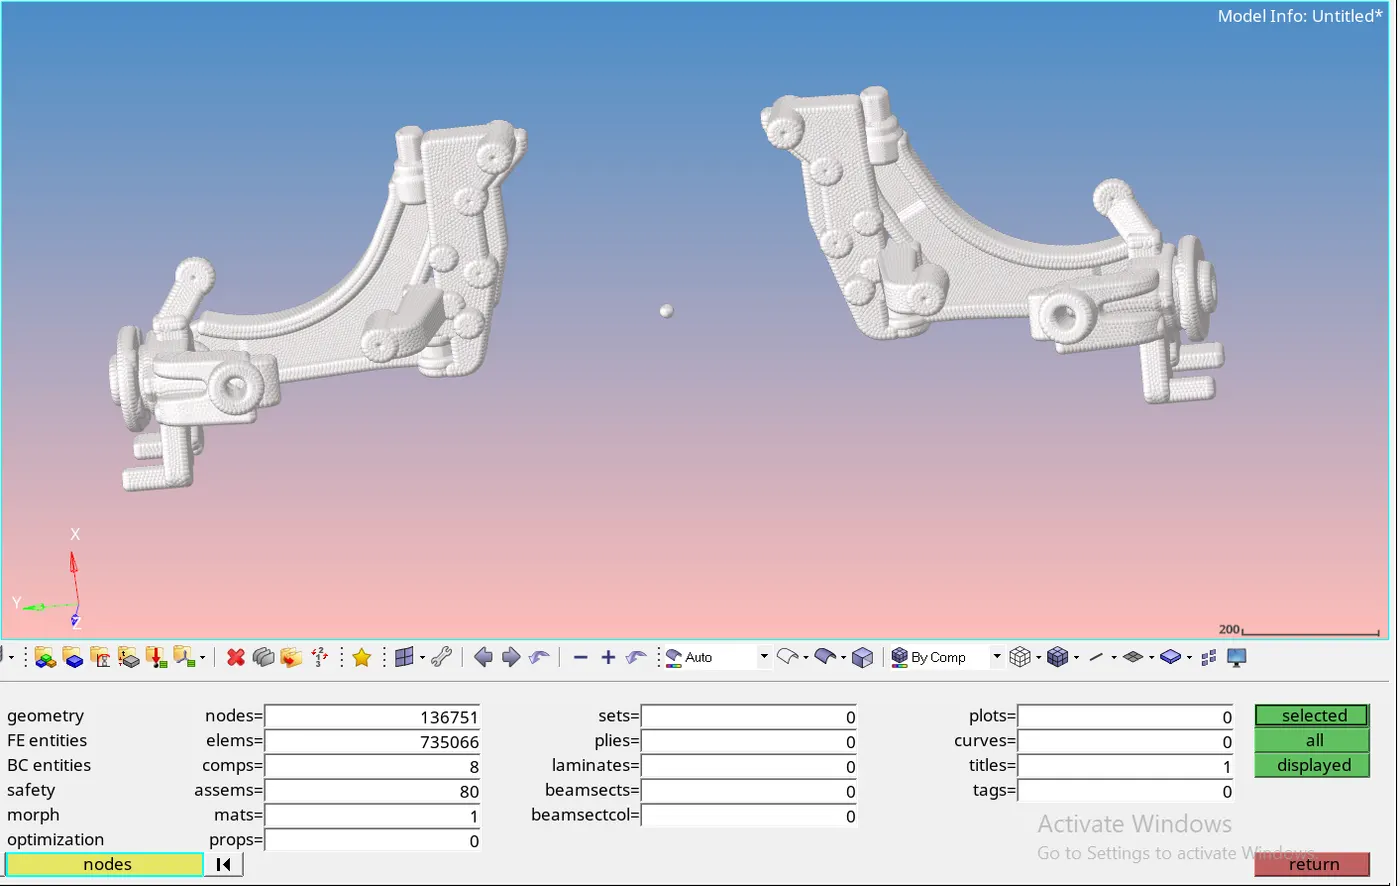
3D Tetramesh generation of Crank Housing , wheel hub and chassis
Objective:
I) To Create a 3D mesh with elements sizes: Min- 2mm, Target- 5mm,Max- 7mm, Tet collapse: 0.15 for Housing CAD geometry
II) To create a 3D mesh with elements sizes: Min- 2mm, Target- 6mm,Max- 7mm, Tet collapse: 0.15 for
a) Crank Housing
b) Chassis model.
Procedure:
I) Creating 3D mesh on given Housing CAD Geometry
1. Import the Housing geometry in Hyperworks.
2. Delete all the solids and perform geometry cleanup to the housing model.
3. Change the criteria file settings and provide the min and max size as 2 and 7 respectively.
Change the viewing option as 'By element Quality.
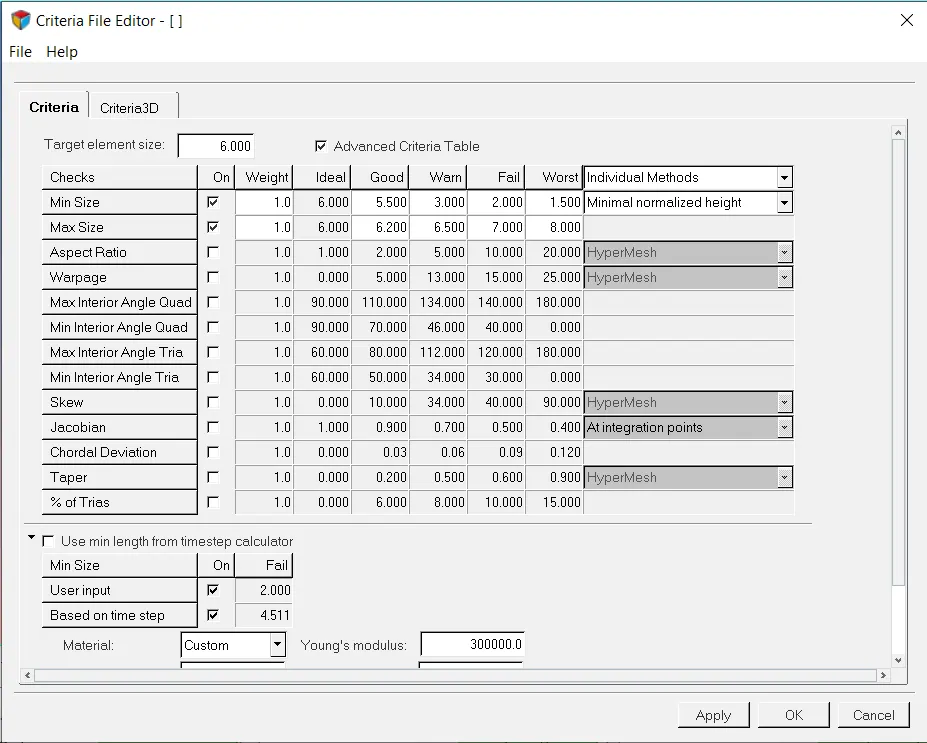
4. Create a 2D mesh on the surfaces of model using trias only as the mesh style.
Provide the element size while meshing as 5.
Mesh all the surfaces and make sure no element fails for min and maximum mesh size.
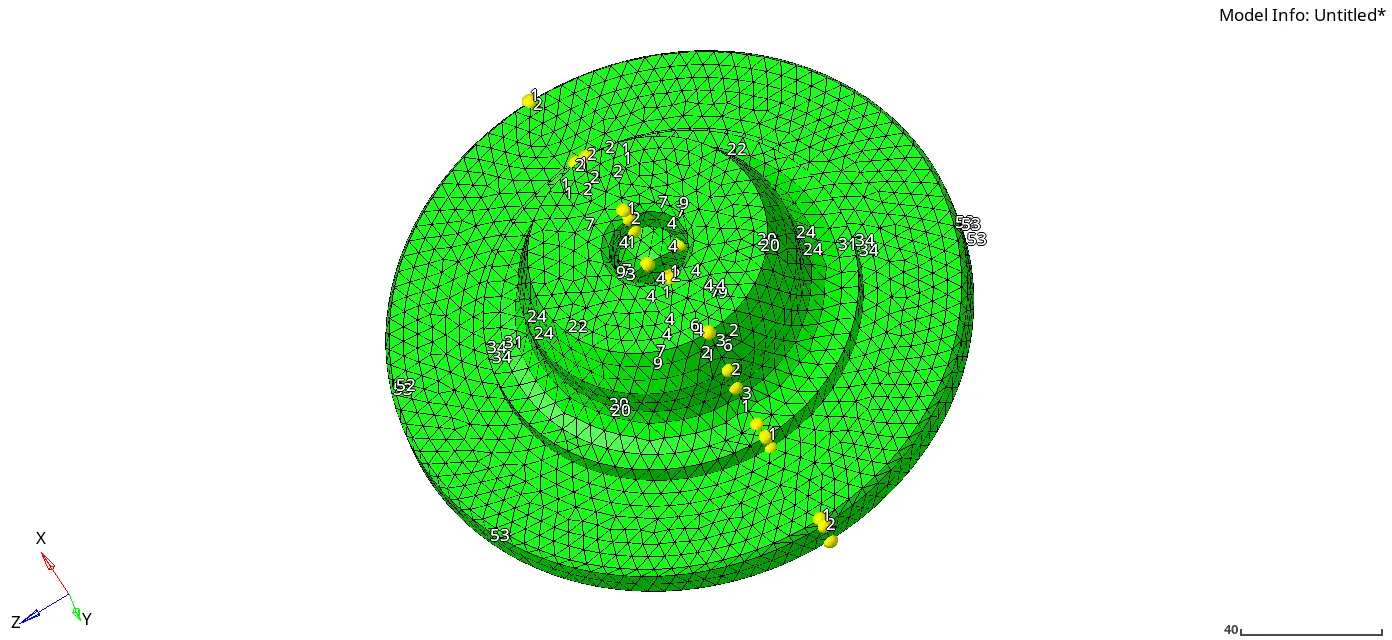
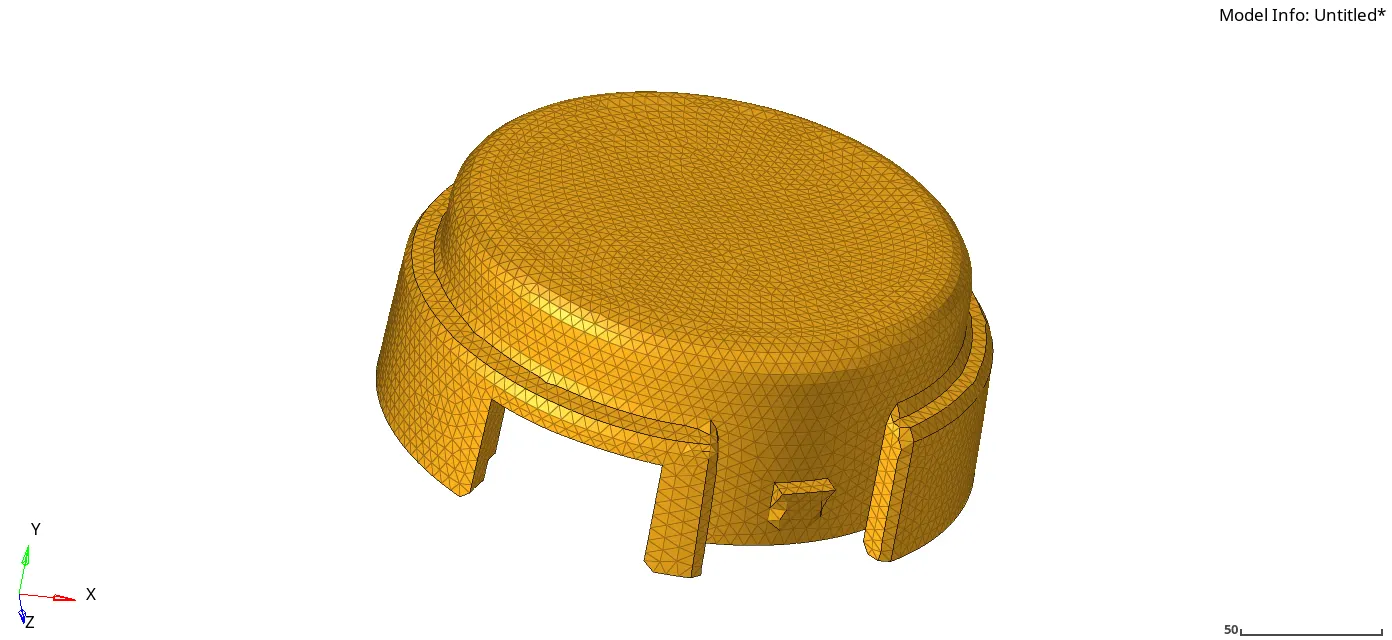
5. To convert the 2D tria elements to 3D Tetra mesh using tetramesh option, following steps were taken.
3D > Tetramesh (Fixed Tria to tetramesh, Tetcollapse: 0.15) > Mesh
Check by masking a few elements.() Proceed if 3D elements are created.
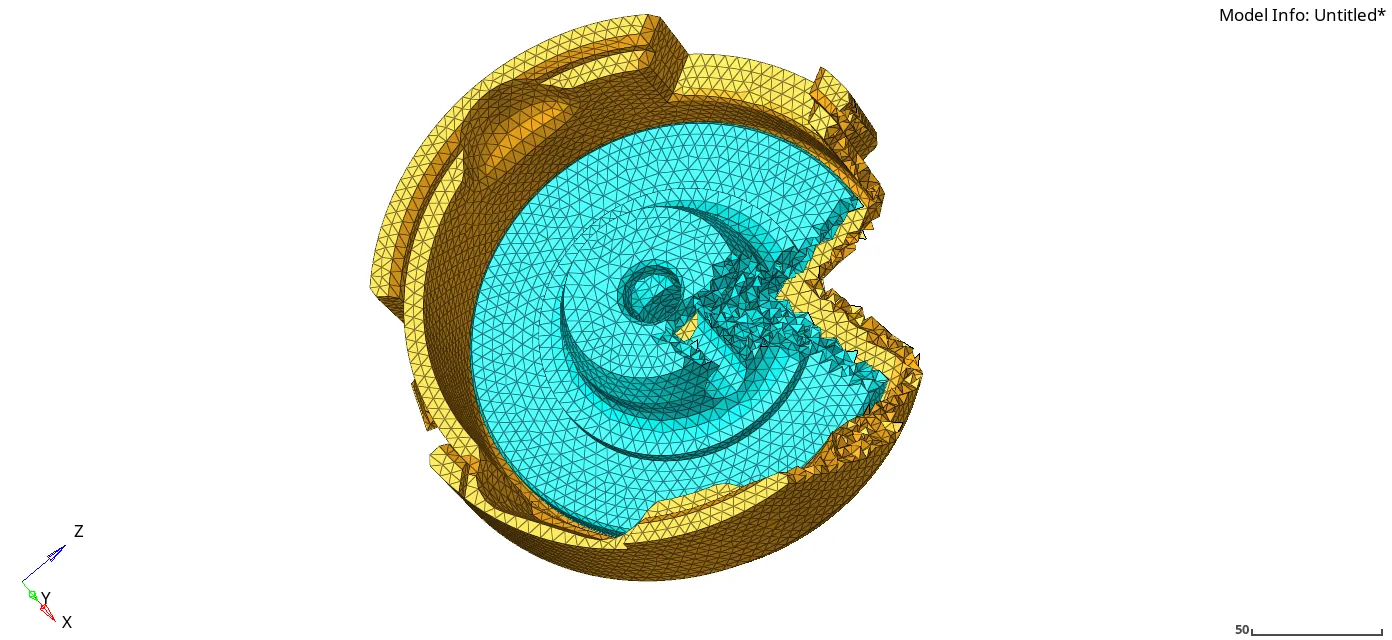
6. Check for min length and maximum length in 2D in check elements and Tetcollapse in 3D in check elements. (Shortcut key F10)
7. Reverse Mask the failed elements by Save Failed(from check elements) > Mask Menu > Elements > Retrieve > Mask > Reverse.
Tetcollapse can be resolved by extending the length usng length command(F4) or by translating node. A number of methods can be used to resolve the TetCollapse.
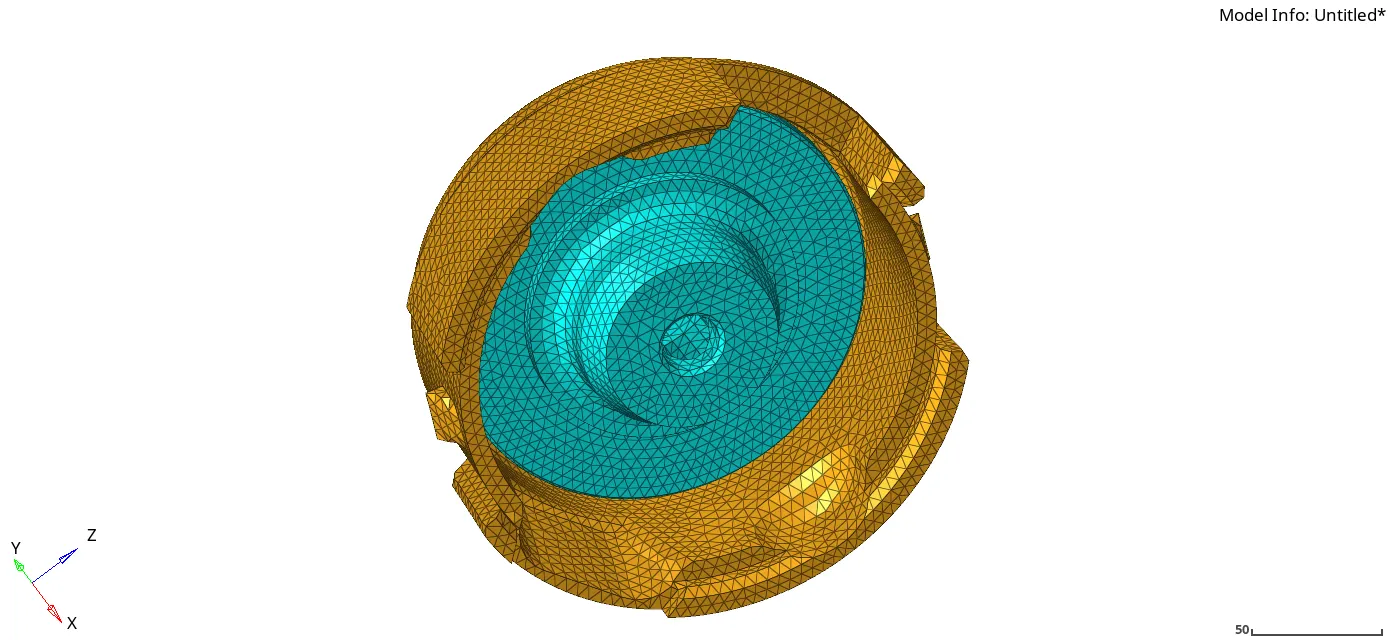
8. Final 3D model looks as below.
II.a) Creating a 3D mesh on Crank Housing Model
1. Import the Model in hyperworks.
2. Perform necessary geometry cleanup and defeaturing to the model where the surface fillet is less than the min element size: 2mm. Perform the Cleanup for all the surfaces such that no surface has min length below 2mm.
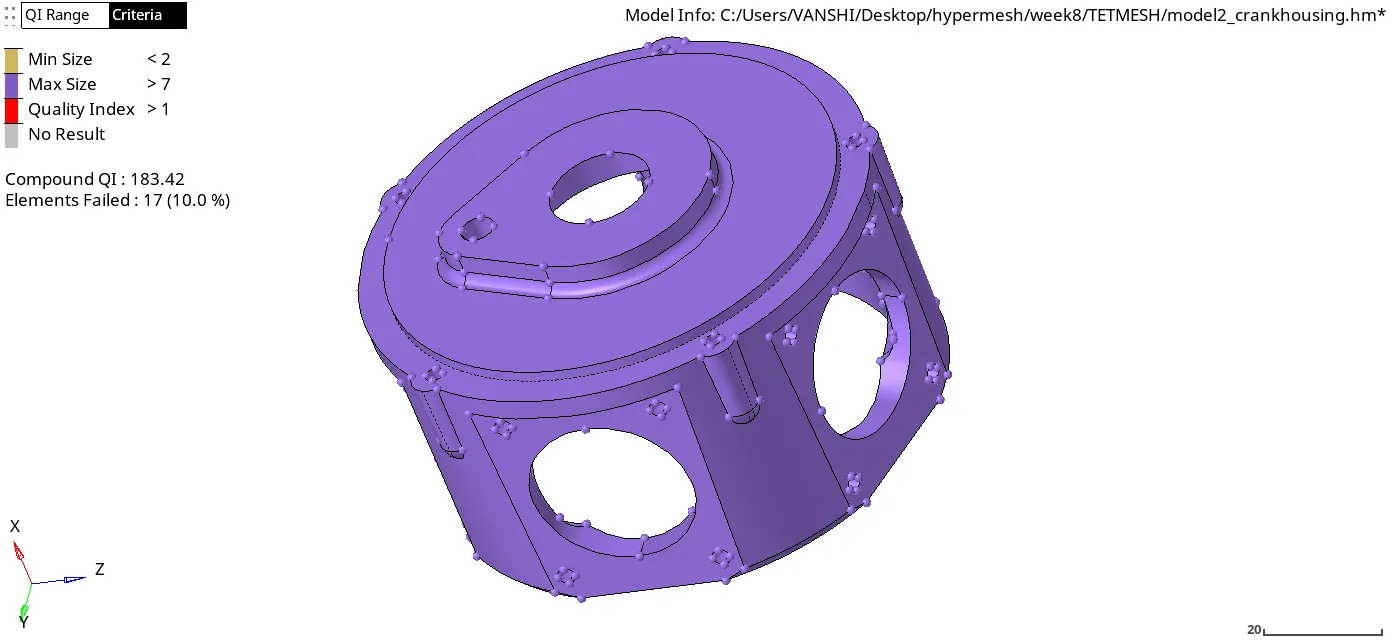
Model after geometry cleanup looks as above.
3. Go to automesh and Go to batch mesh and select all the surfaces. Give the min and max element length as 2 and 7 respectively and element size as 6. Check for criteria settings and change the viewing as by element quality.
(*17 elements are failing for minium length for better feature capturing near noles*)
4. To convert the 2D tria elements to 3D Tetra mesh using tetramesh option, following steps were taken.
3D > Tetramesh (Fixed Tria to tetramesh, Tetcollapse: 0.15) > Mesh
5. Check by masking a few elements. Proceed if 3D elements are created.
6. Check for min length and maximum length in 2D in check elements and Tetcollapse in 3D in check elements. (Shortcut key F10)
7. Reverse Mask the failed elements by Save Failed(from check elements) > Mask Menu > Elements > Retrieve > Mask > Reverse.
Tetcollapse can be resolved by extending the length using length command(F4) or by translating node. A number of methods can be used to resolve the TetCollapse.

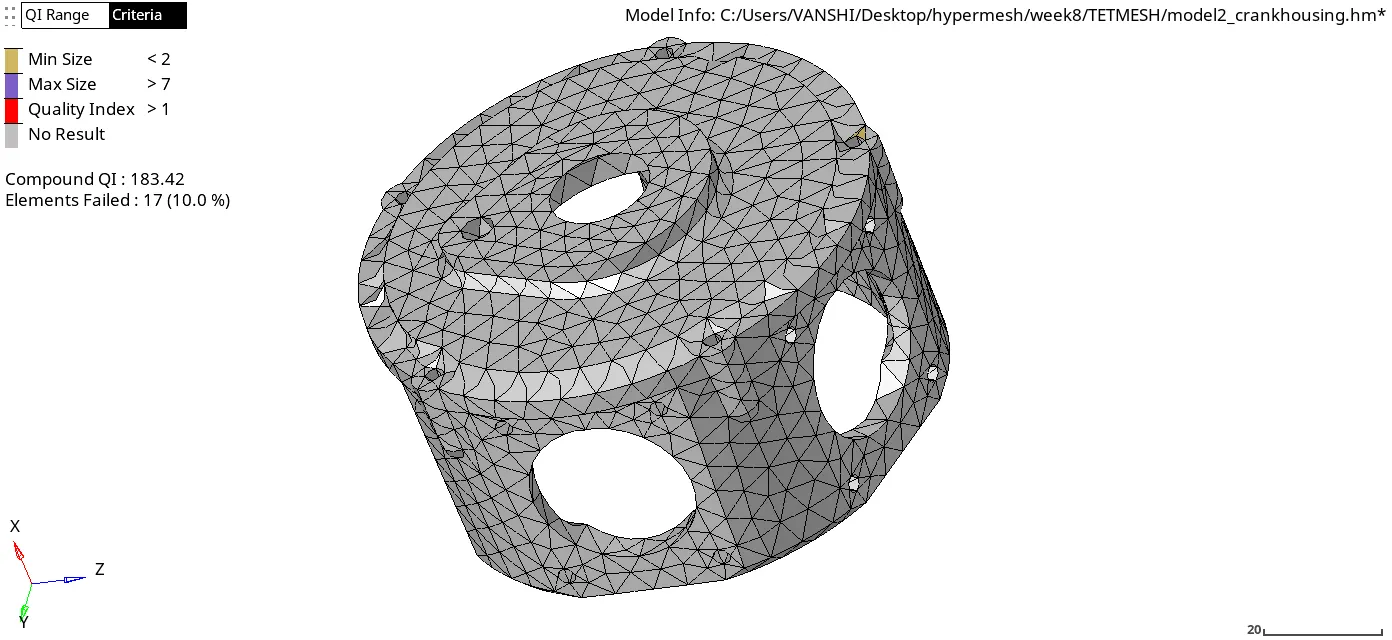
8. Final 3D model looks as below.
II.b) Creating a 3D mesh on Chassis Model
1. Import the Model in hyperworks. The model has 8 components: 2Chassis, 2Wheel Hub, 2Knuckle, 2A-Arm.
2. Perform necessary geometry cleanup and defeaturing to the one half of the model where the surface fillet is less than the min element size: 2mm since the model is symmetric. Perform the Cleanup for all the surfaces such that no surface has min length below 2mm.
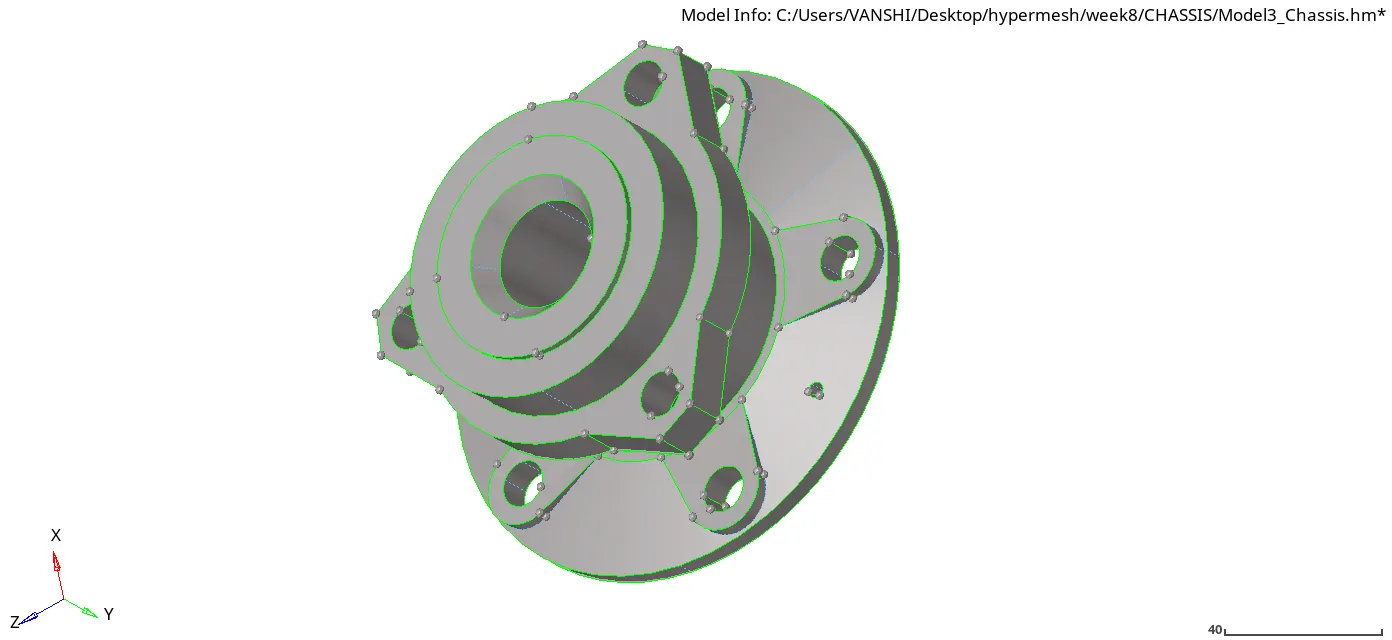
Wheel_Hub component after geometry cleanup looks as above.
3. Go to automesh and Go to batch mesh and select all the surfaces. Give the min and max element length as 2 and 7 respectively and element size as 6. Check for criteria settings and change the viewing as by element quality.

4. To convert the 2D tria elements to 3D Tetra mesh using tetramesh option, following steps were taken.
3D > Tetramesh (Fixed Tria to tetramesh, Tetcollapse: 0.15) > Mesh
5. Check by masking a few elements. Proceed if 3D elements are created. For A-Arm component 3D elements were not created evently so volume tetramesh was used.
6. For A-Arm tetramesh was created using Volume tetra mesh by th following steps. The mesh element size has been kept as 5 for 3 D mesh generation.
3D > Tetramesh > Volume Tetra (select enclosed volume to solid and select A-Arm solid) > Tick mark Use Proximity > Specify max and min size as 7 and 2 mm respectively > Tick-Cleanup elements > Mesh.
Again check for 3D elements creation by Masking a few elements.
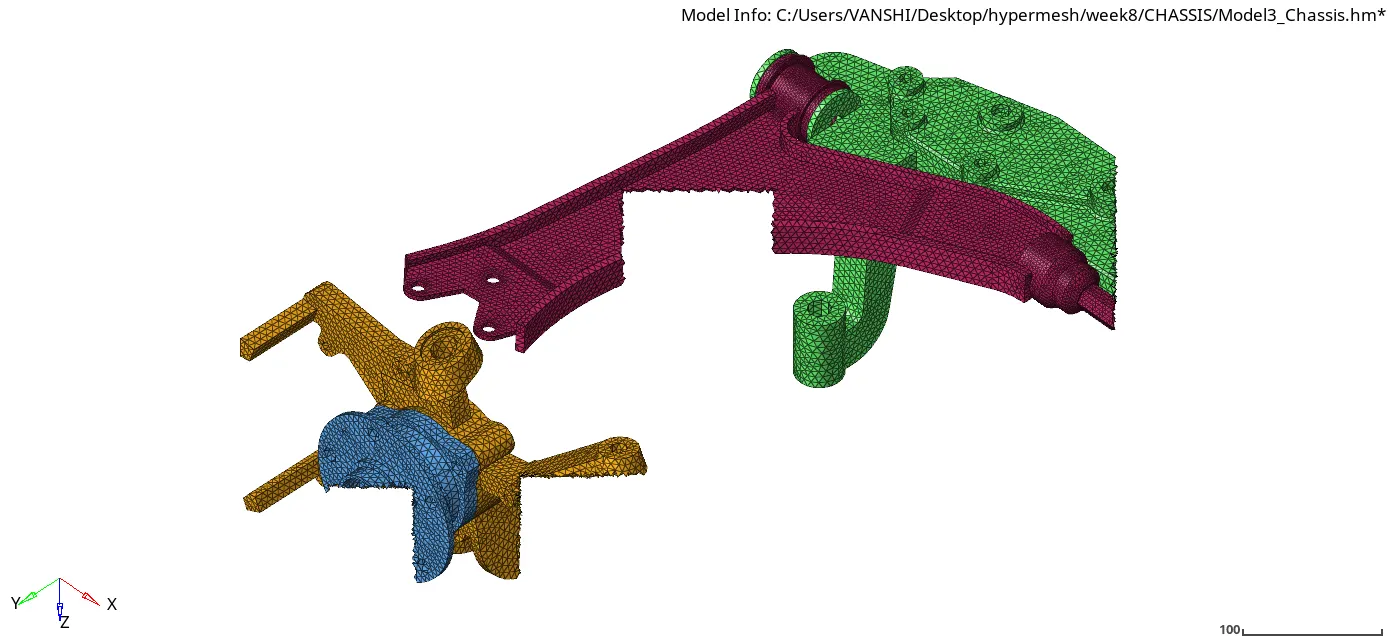
7. Check for min length and maximum length in 2D in check elements and Tetcollapse in 3D in check elements. (Shortcut key F10)
8. Reverse Mask the failed elements by: Save Failed(from check elements) > Mask Menu > Elements > Retrieve > Mask > Reverse.
Tetcollapse can be resolved by extending the length using length command(F4) or by translating node. A number of methods can be used to resolve the TetCollapse.
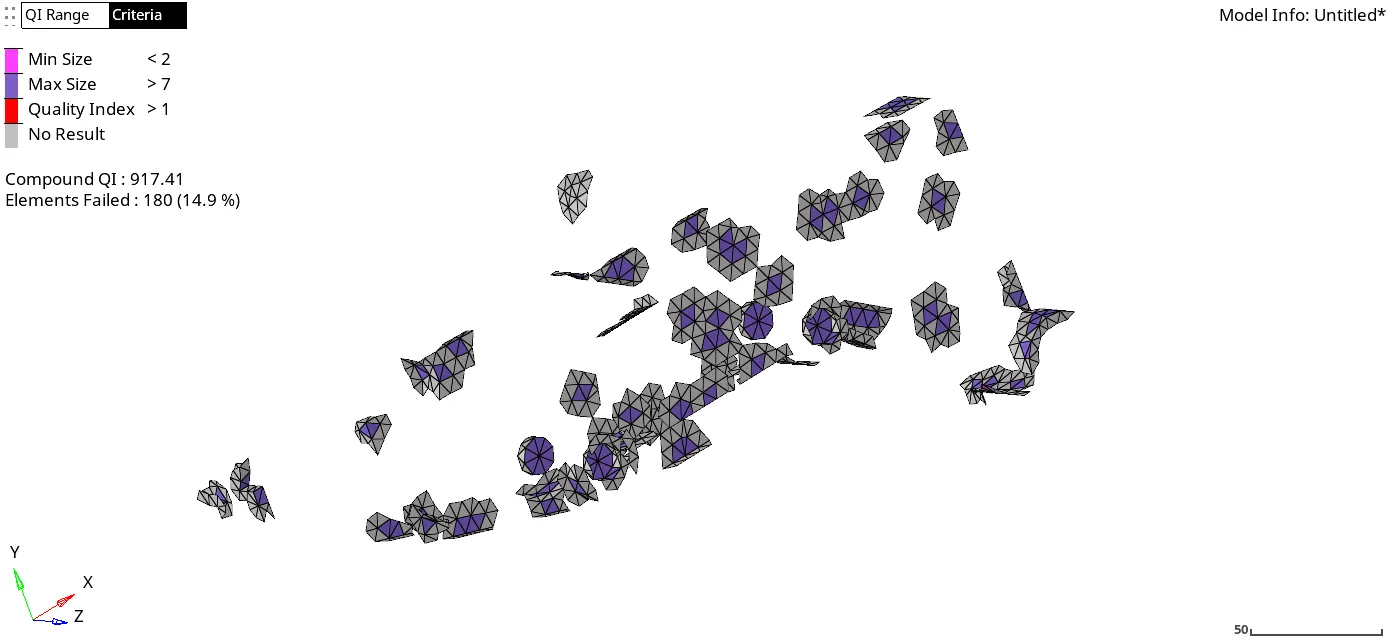
9. Reflect the elements to the symmetric side of the chassis using reflect option from tool. A mid-note has to be created for reflecting as a base point.
(*The surfaces and solids of symmetric half can be deleted too and later reflected all-together. Reflecting all surfaces/elements will create one reflected component only.*)
10. Final 3D model looks as below. (No elements should fail for min length, Max length , TetCollapse).
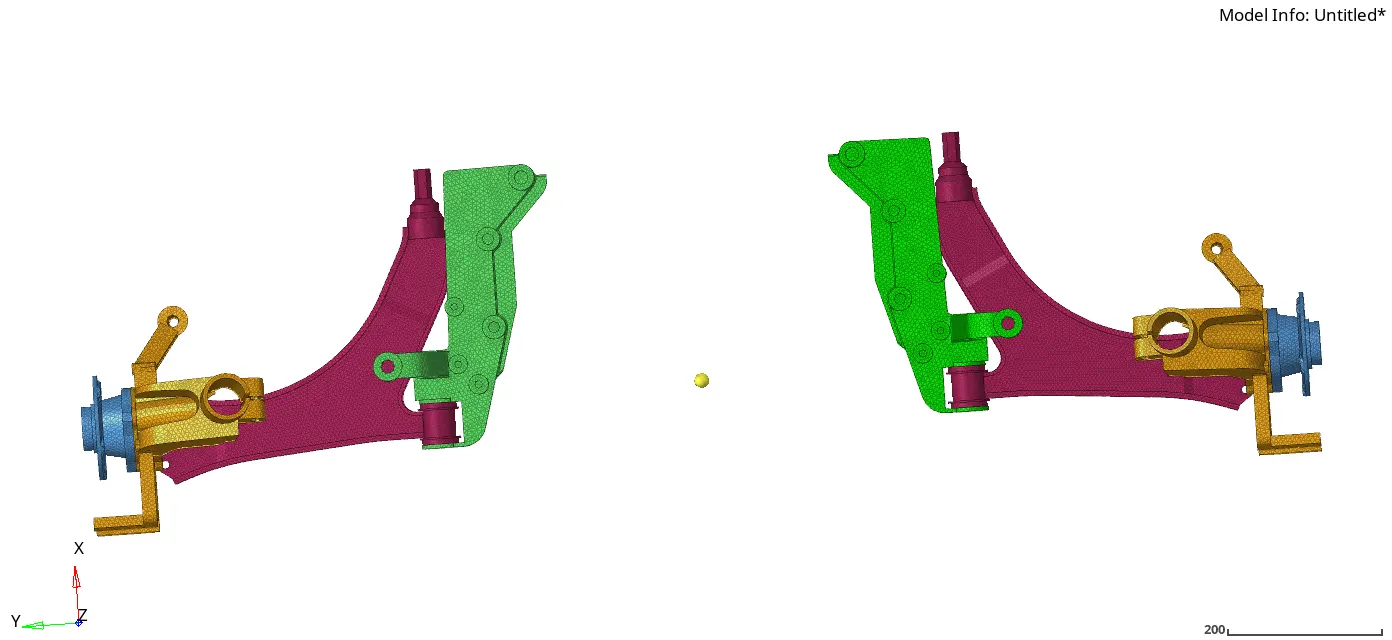
[Note: Since the number of nodes exceded 1 Lakh to 1.36L, the model could not be saved. Kindly do consider the model without reflecting the elements]