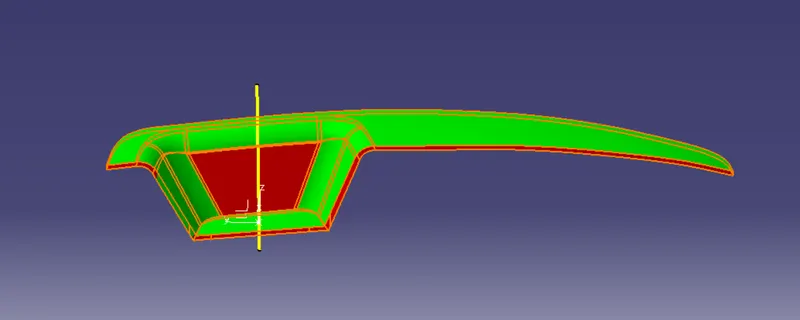
Week 8 - Challenge 3 - Switch Bezel Design
AIM:
Create the switch bezel plastic component through the given Class-A surface.
Workbench and its toolbar used:
Generative shape besign workbench
- surface toolbar
- wireframe toolbar
- operation toolbar
Part workbench
- Surface based feature toolbar
Theory :
Tooling axis: Tooling axis is the direction in which the component will be ejecting after the moulding process is completed . The rules of selecting an optimum direction of tooling axis for any particular component is as follows:-
1.The direction of the tooling axis should be clearing the maximum number of portions of the component once the moulding process is completed.
2. The direction of the tooling axis should be selected such that the number of side cores required should be minimum , as inserting side cores causes a rise in production cost.
DRAFTING - Draft is the inclination given to any particular plastic component cavity wall in order to achive easy ejection, once the process is completed.
- Consider that the draft angle between the plastic component and the core is zero .
- When the molten plastic inside the cavity cools, it stick to the walls of the core.
- During such zero draft condition,the ejection of the plastic component causes friction between them which might bring damage to both the core and the component.
- This damage further leads to ineffiency in the producton & also affects the products surface finish.
- Hence a minimum of 1/2 to 1 deg is widly accepted as a norm in the industry.
Prerequistics before creating the tooling axis and preforming draft analysis:
1. Ensure that the Class A surface imported should be a single surface.
2. This can be checked using the boundary tool in the operation toolbar.
3. If the surfaces are disassembled , join them using command which is also found in the operation toolbar.
Creating any component from Class A surface (overview)
1 .Decide a suitable tooling axis direction and create the tooling axis
2. Performing draft analysis for analysising whether the draft on the component follow the industry standards.
3.Create another surface (B surface ) offset to the Class A surface . The offset distance should be equal to the thickness of the component.
4. Create a C surface " sweeping " the boundary of Class A surface along the tooling axis.
5. Trim class A surface with B surface and C surface to create a closed surface .
6. Finally create the solid part from this surface to obtain the desired component.
Procedure:
1)Trobleshooting the problem in the imported class A surface :
* The class A surface was disassembled whwn imported which violates the rule for proceeding further.
* Use join command from the operation toolbar to join these surfaces together.
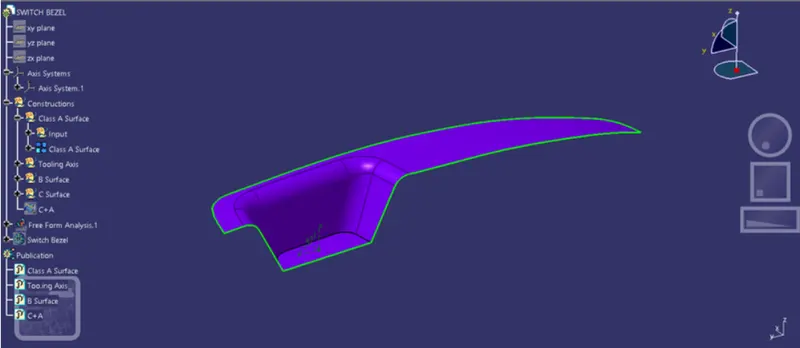
2) Creation of tooling axis:
* The tooling axis was decided alomg z direction considering its selection rules mentioned above.
* Next we craeted an axis system along a suitable point accordung to the boundary and design of the componrnt ensuring the rules of selection of tooling axis direction are not violated.
* Here we have an unclosed pocket which has to be cleared along the tooling direction.
* Hence we created a sketch line bisecting two opposite faces of the pocket and another sketch line at a certain angle to the one remaining face ( sat 3 deg) which can be changed according tio the draft analysis report.
* Bisect the two lines in order to create the tolling axis.
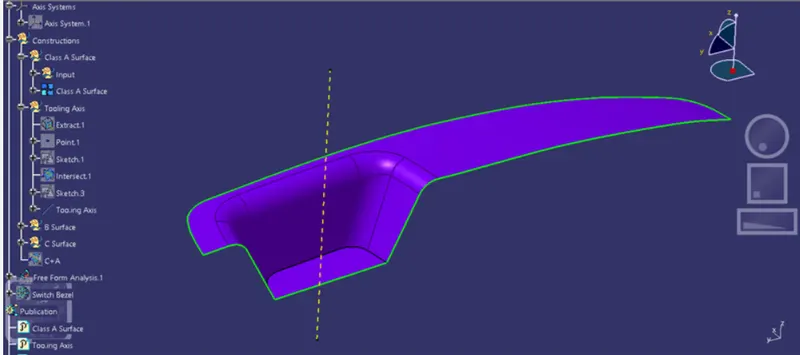
3) Draft analysis of class A surface:
* Draft analysis is performed on the componenr on the component in order to che5ck whether the component can be manufactured or not.
*This draft analysis tool in catia allows us to analyse the drafts on the surface.
* We can check whether they follow industry standard and if not we can modify it accordingly.
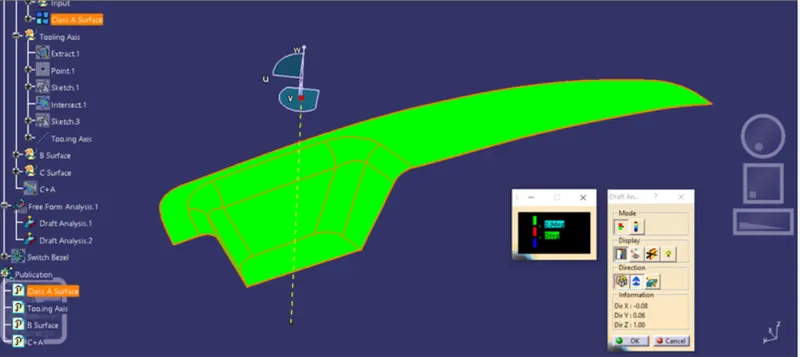
The procedure of the draft analysis is as follows:
1.Before starting the draft analysis ensure the " materials " option is selected under customize view parameters in order to view the results of the analysis.
2. Click on insert > Analysis > Feature draft analysis.
3. Draft analysus window will be opened having three section - Mode, display and direction.
4. In the display section select the compass and drag it onto your component .Place it along the tooling axis.
5. Lock the direction of the draft.
6.Another window will be displaying ranges of draft on the component. The ranges are - Green for more than zero and blue for negative draft value .
7. Assign the lower limit as 3 deg to the green range from the value edition dailog box.
8. Once you do it.click on the component to see the results.
9. You can also check the draft calue at any point using the " Analayisi under running point" option in the display section.
4)Creation of B surface:
*To simplify the proces , we extracted the simpler using the extract tool in operation toolbar.
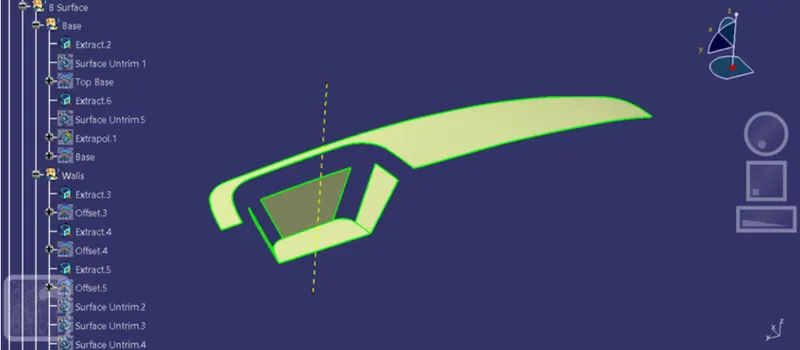
* The extracted surface offset is created with offset distance equal to the thickness of the component .
* Further we untrim the offset the offset surfaces using untrim tool and extend them to a certain suitable value using extraplate tol so that ther interface each other.
*Using the teim tool we trim them to a singke contionous surface.
* Finally we provide necessary fillets and the B surface is created.
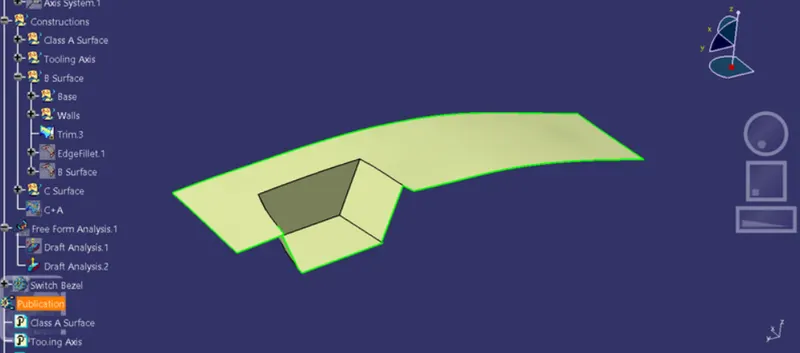
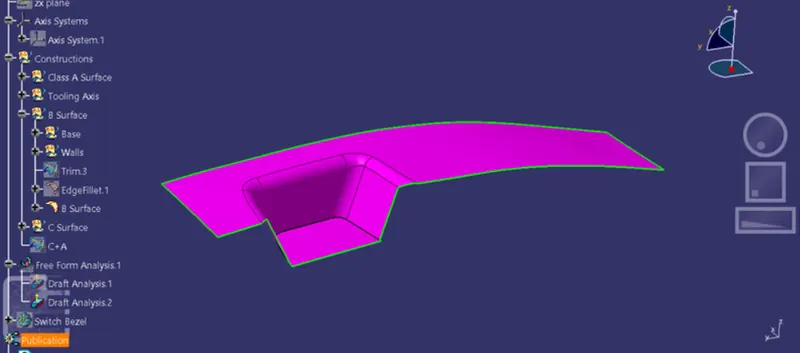
5) Creation of C Surface:
*We create the boundary of the class A surface using the boundary tool.
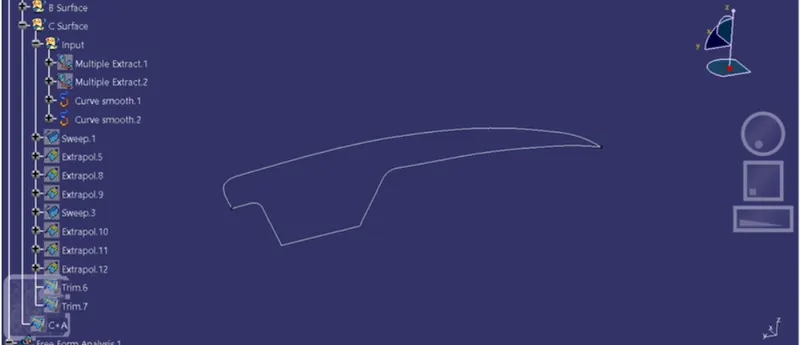
* Using the sweep command we sweep the boundary along the tooling axis as the draft direction
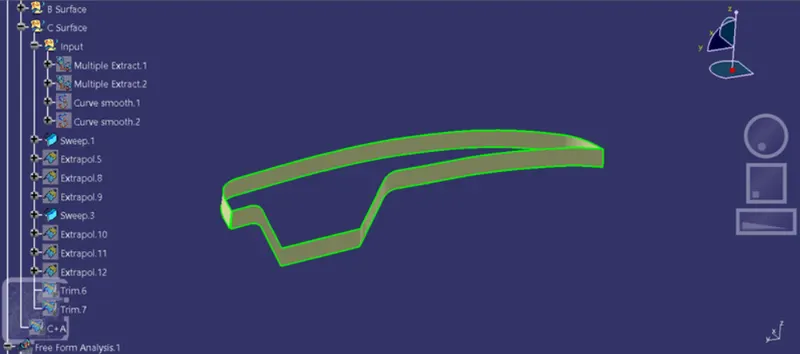
* Then we extraplate the faces using the extrapolate tool.
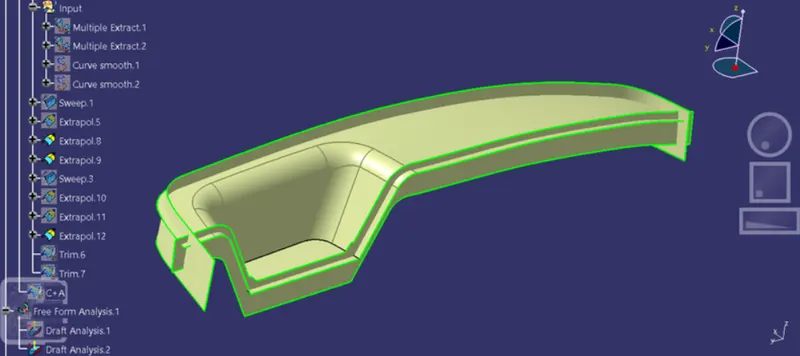
* Lastly we trim the class A surface and the sweeped surfaces with the holes using trim coammand from the C+A surface.
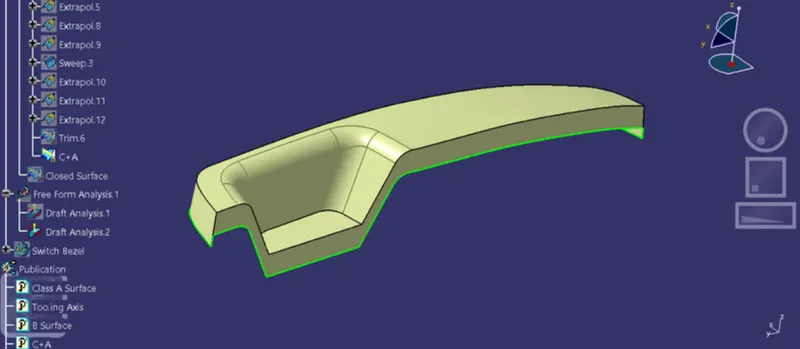
6) Creating a closed surface and forming a solid part from it:
*Use the trim tool from a closed surface from B surface and C surface.
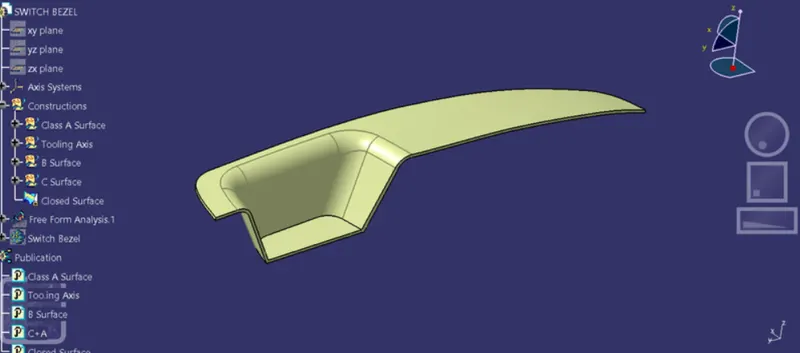
*Create a solid part from this closed using the surface based feature in part workbench
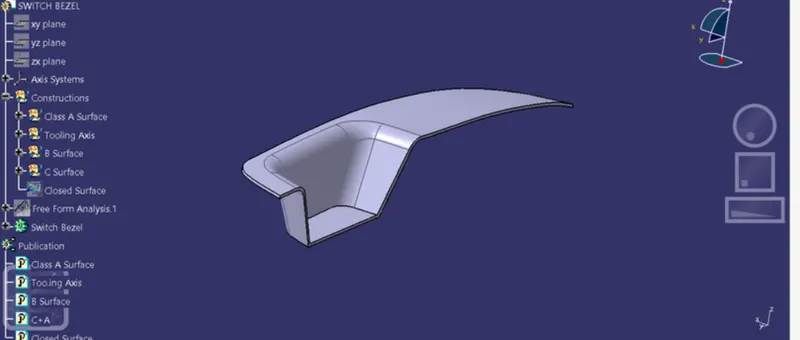
7) Draft analysis of solid part:
Following the similar steps performed for draft analysis of class A surface we obtained the following result.