Week 8 - Challenge 2 - Base Bracket Design
This challenge regarding modelling of class A to a solid body.
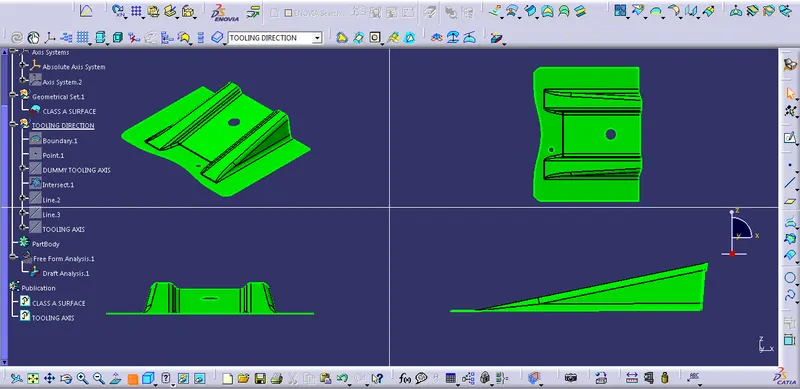
As usual first step is to create the tooling direction for the Class A.
Extract all the boundries create a point in a appropriate circle in the surface.
From that created point extent the line with help of point & direction option.
Assume the line as a dummy tooling axis.
to fix appropriate tooling direction checking X-axis in which leading to side core due to holes then checking Y-axis that also leading to side core.
Finally check at Z-axis which clears the tooling direction.
After that intersect the surface with help of axis system where axis created at the point(Insert-->axis system).
Check the line major perpendicular line clears but two taper lines checked by extending at the two vertex then bisect two lines with the help with reference to the point the come to finallize the tooling direction.
Draft analysis:
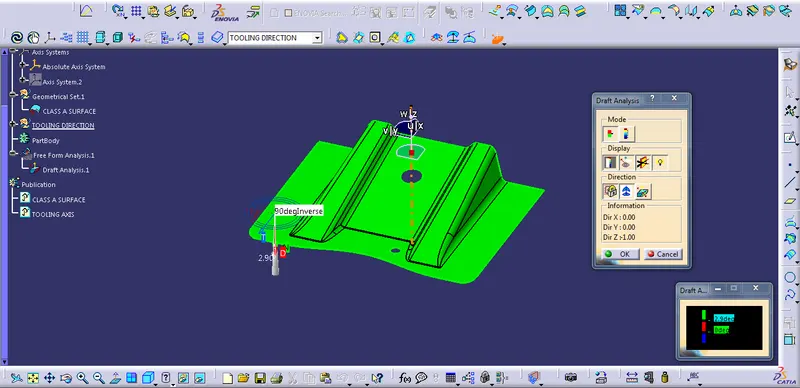
1.In quick analysis mode open in in green color option fix the value as 2.9 deg to find taper angle value.
2.Pick the compass then drag & place the compass at tooling axis if surface appears blue color invert the compass direction or else by using inverses the direction option.
3.Run the analysis under running point to check draft angle at specific point.
Create a Geometic set as base bracket where which contains B-surface & C-surface
A-surface is a surface create by surface creation engineer which is called as asthetic suface or skin which has no thickness.
B-surface is a surface which is created from the class A surface tent to create a suface thickness of 2.5 mm along appropriate fillet to it.
Class A surface is extacted, untrimed extrapolated & then trimmed to form a Class B surface.
C-surface is created with help of sweep option where extract outer boundary use the sweep comment in that use with draft direction option.
choose guide curve as extract & draft direction as tooling axis in angle give it as 3 degree then click Ok to form a sweeped surface.
Do the same two circle also the join all the sweeped surface.
Finally trim all unwanted surface to create a complete closed surface.
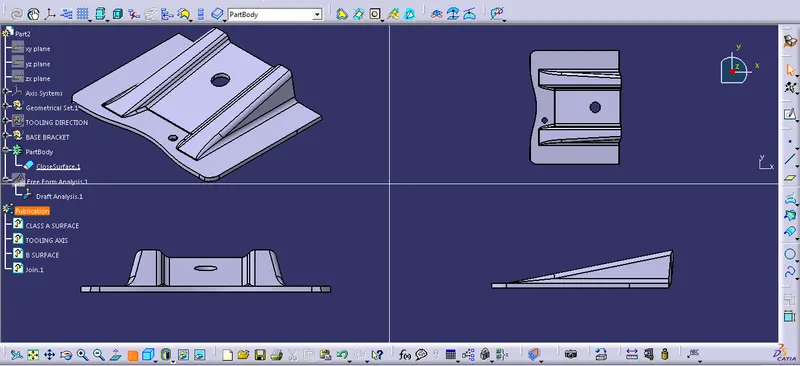
Open the part design option & define the part body & click on closed suface option to form a solid part.
Publication the Class A, Class B, Class C & Tooling axis for easy access to surface