Week 8-3D Tetra Meshing Challenge
AIM -
1. Create a Teramesh for Housing component with the following quality criteria. (Model 1)
TetraMesh Generation Method: 2D to 3D Conversion
Elements sizes: Min- 2 Units, Target- 5 Units, Max- 7 Units
Tet collapse: 0.15
2. For the given model, Create a 3D Tetramesh with the following quality criteria. (Model 2)
TetraMesh Generation Method: Quick Tetra Mesh/ Volume Tetra Mesh
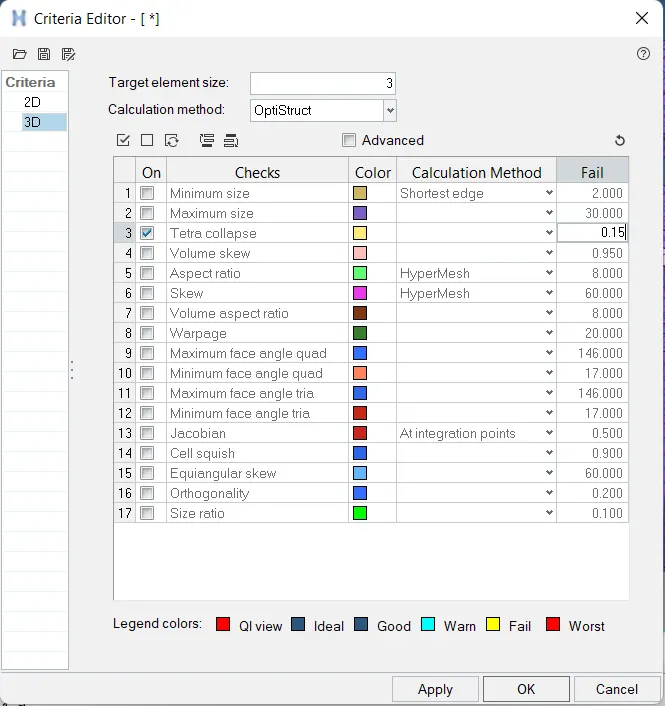
Target Element size: 3 Units.
Tet Collapse: 0.15
3. For the given assembly model, Create a 3D Tetramesh with the following quality criteria. (Model 3)
TetraMesh Generation Method: Quick Tetra Mesh/ Volume Tetra Mesh
Target Element size: 4 Units.
Tet Collapse: 0.15
PROCEDURE -
#Model 1 -
1. After importing the model, following is the graphics area visible -
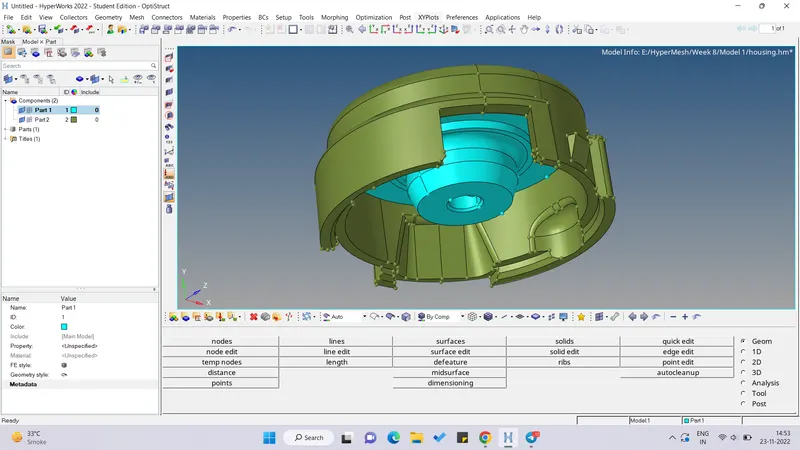
2. Now there are 2 parts in the model, so we will work on the indvidual part one by one.
Part 1 -
- Before starting the mesh, we will input the quality parameters and criteria. Below is the snippet of the same -
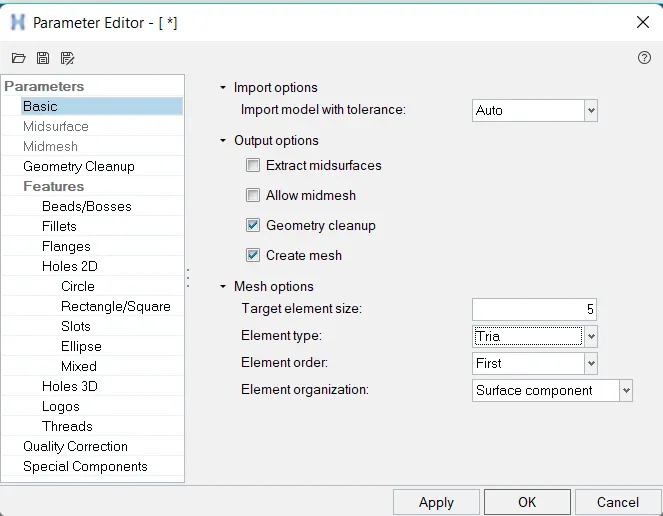
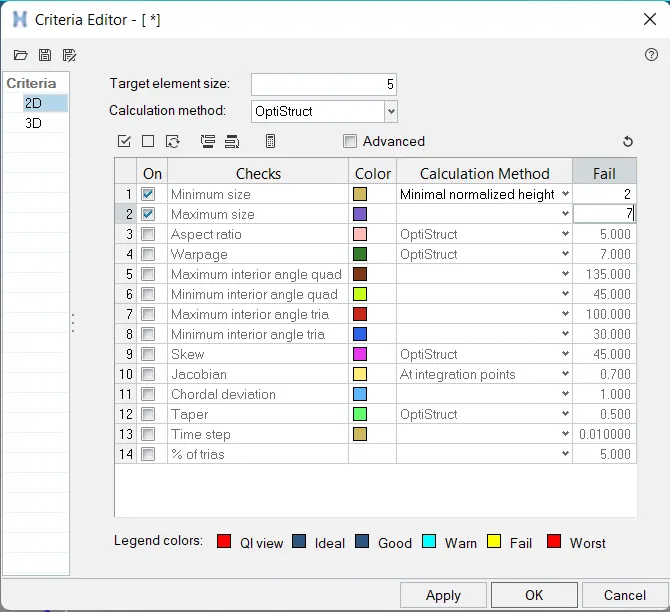
- Now we will perform 2D surface meshing on the surface of the component.
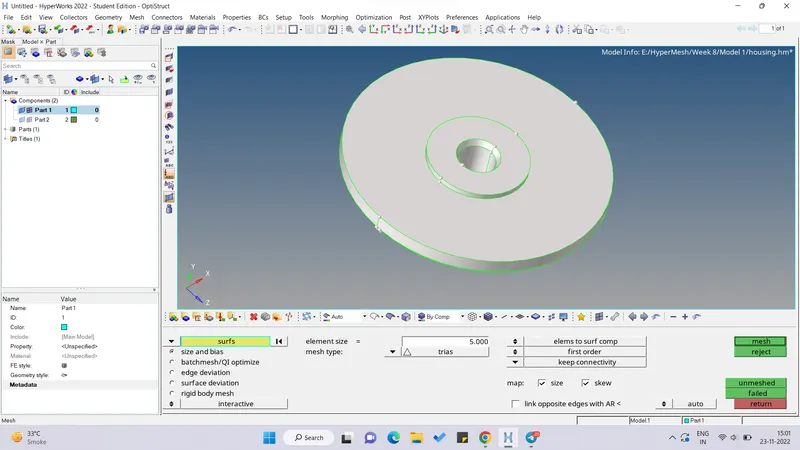
- Below is the 2D mesh obtained after giving the input of element size and the mesh type tria -
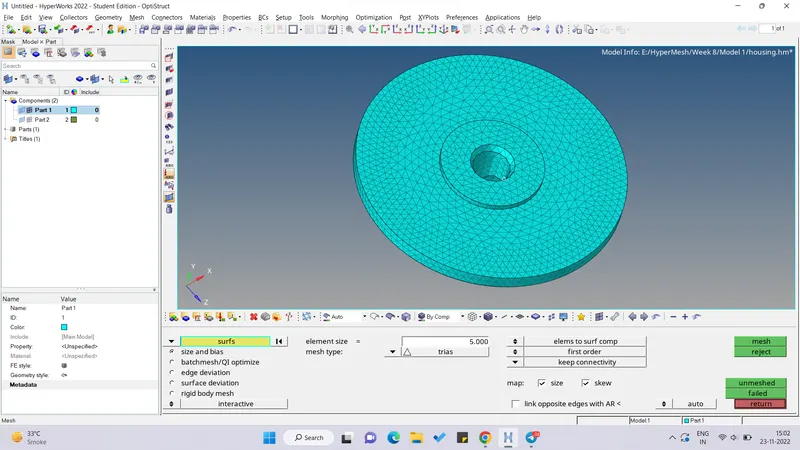
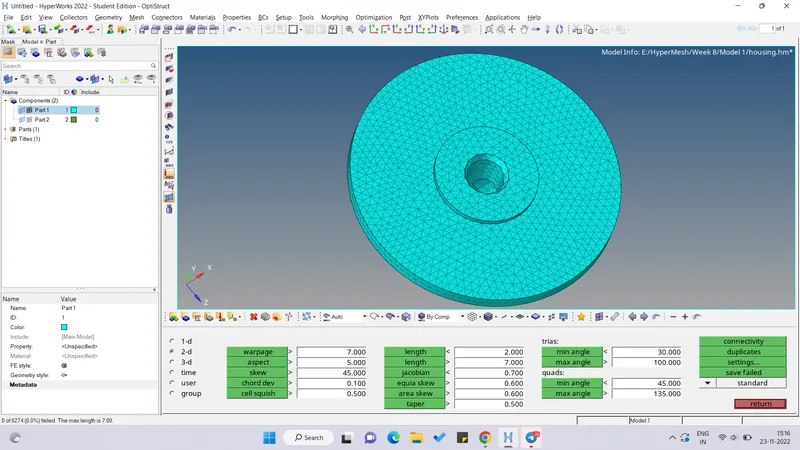
- Now we check for the minimum and maximum length failure through check elements tab. There were zero failure as seen below -
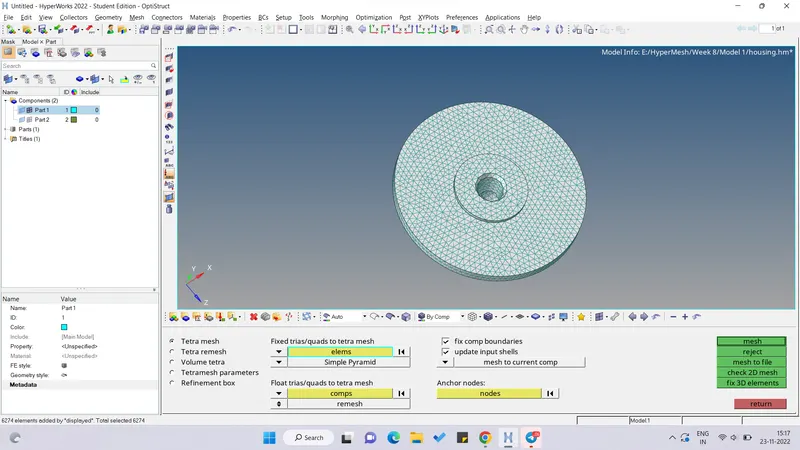
- Now we convert the 2D mesh to 3D mesh by going into 3D tab and then selecting the elements.
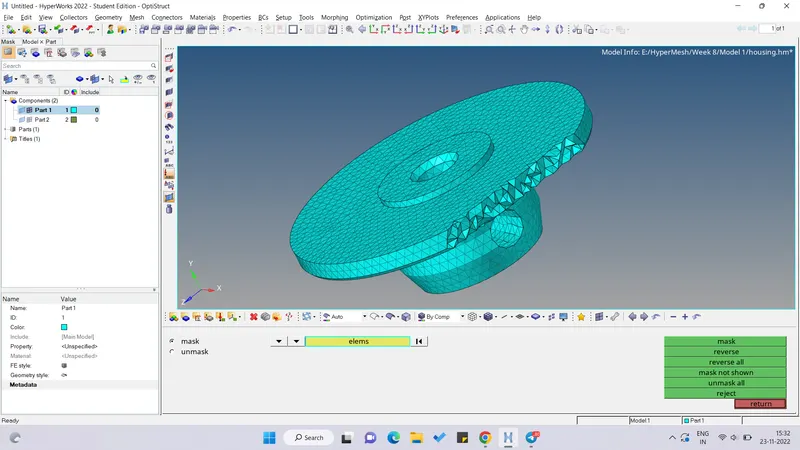
- The 3D mesh obtained can be seen below if some part of the component is masked as shown below -
- Now we will check for the tet collapse for the 3D elements and we input the quality criteria in the 3D section of the criteria file as shown below -
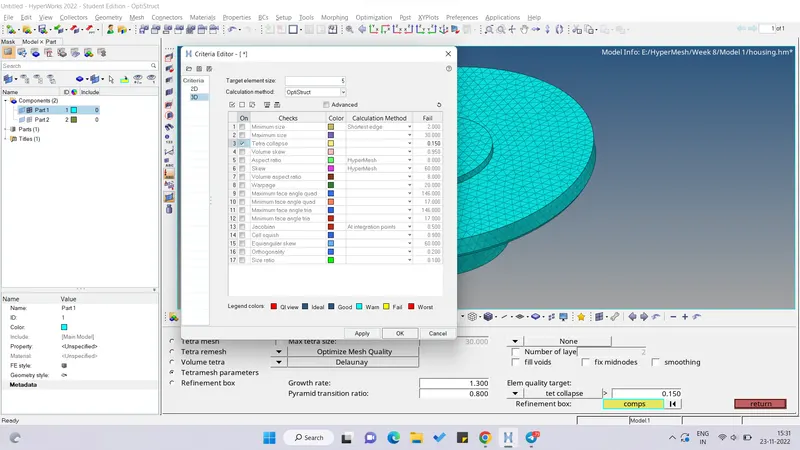
- On checking for the tet collapse, there were zero elements failing.
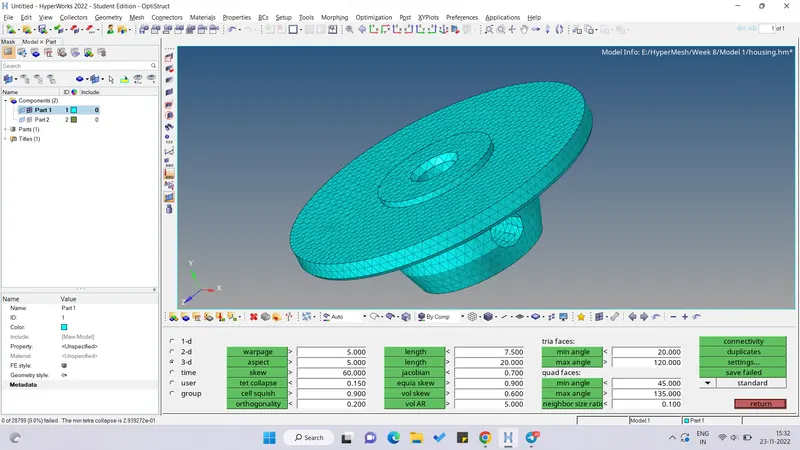
Part 2 -
- Now we will work on the part 2 of the Model 1 as shown below -
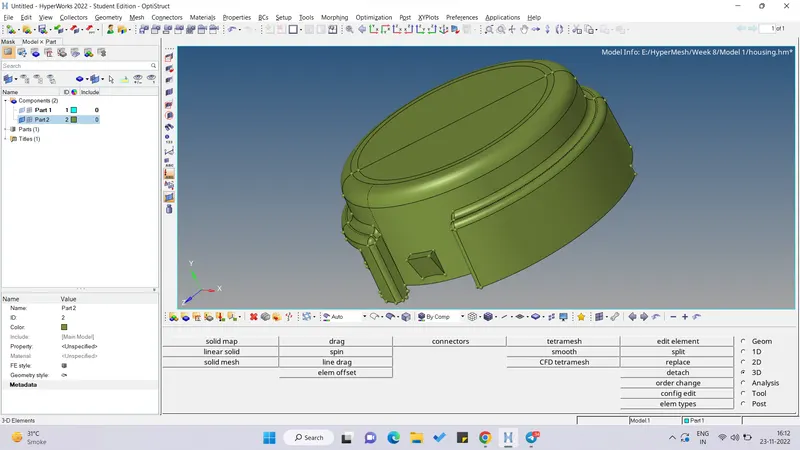
- We perform the 2D surface meshing and below is the result -
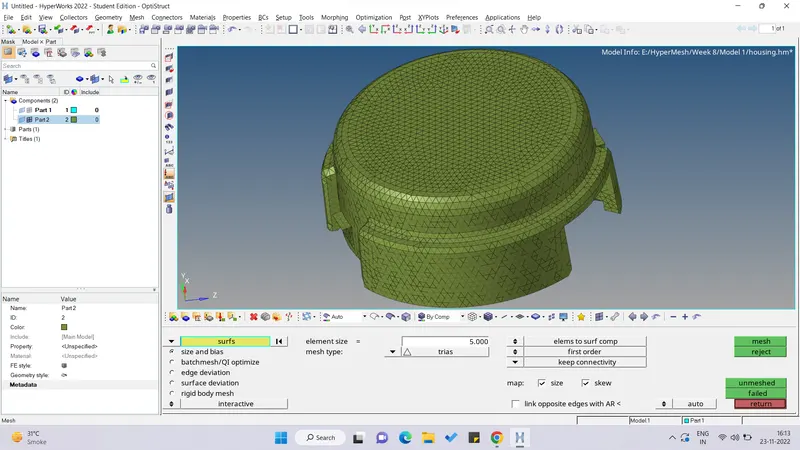
- We check for the 2D elements failing and the number of elements failing are zero.
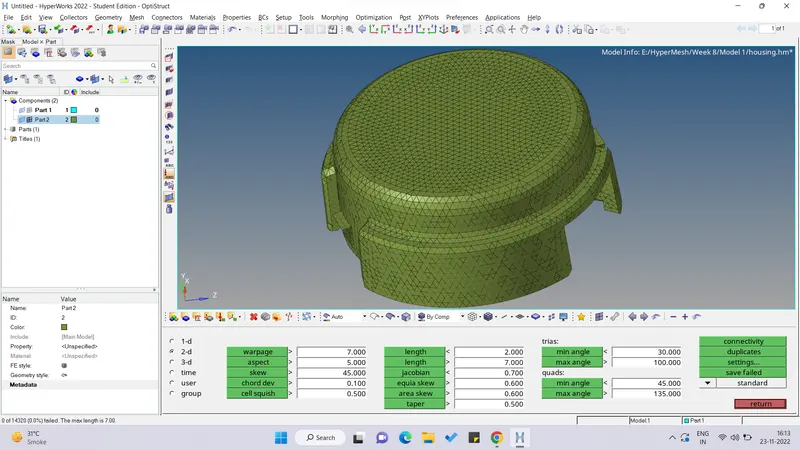
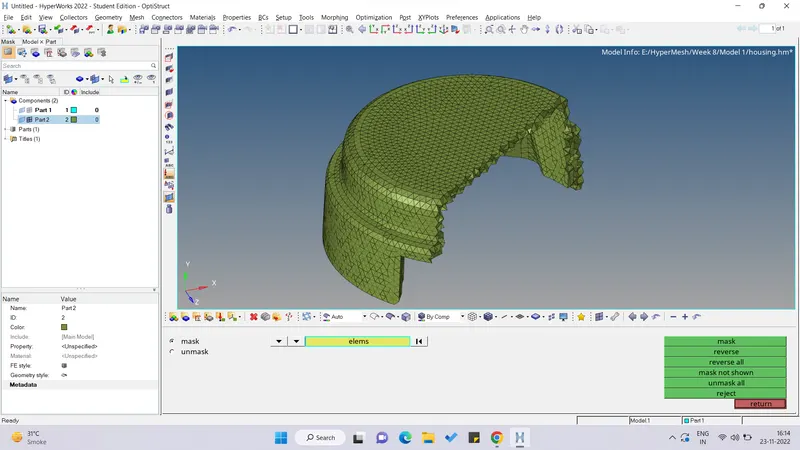
- Now we perform the 3D meshing by selecting the 2D surface elements and to visualize the 3D elements we mask a part as seen below -
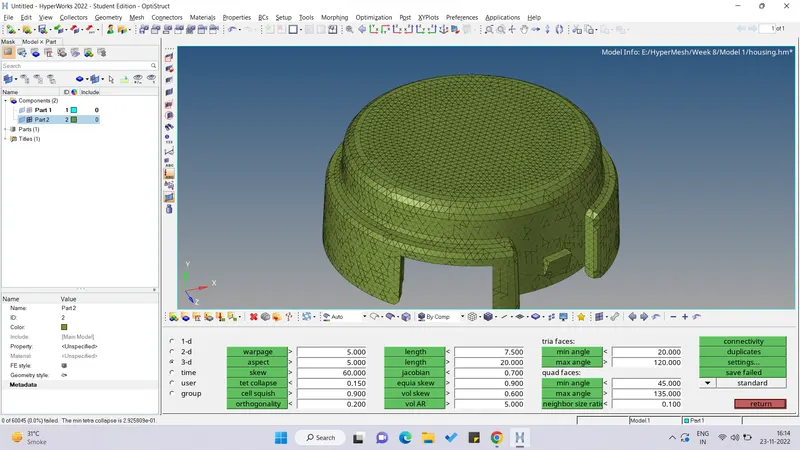
- We check for the tet collapse failure and no element is failing.
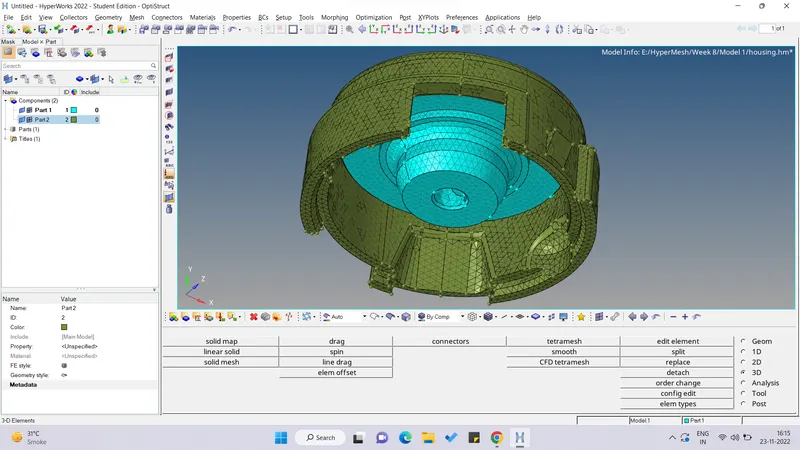
- Hence the model is successfully solid meshed as per the qulaity criteria and the snippet of the final model is as seen below -
# Model 2 -
- The aim in this model is to just volume mesh the model. We have imported the model and the graphics area is as seen below -
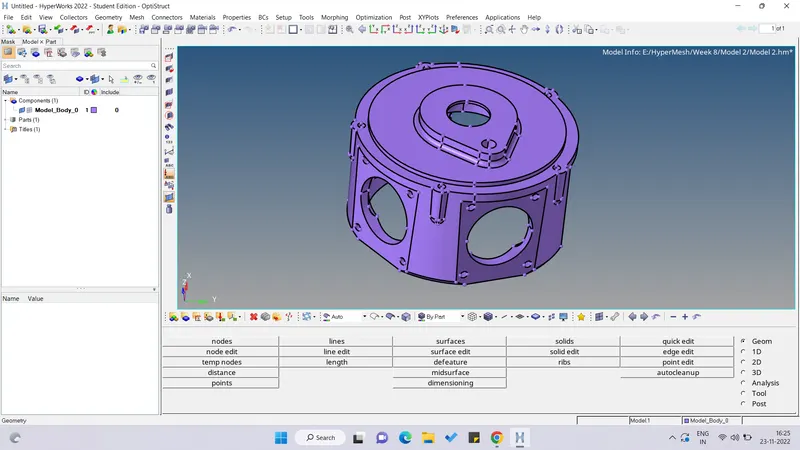
- Now we input the target element size and the tet collapse criteria as seen below -
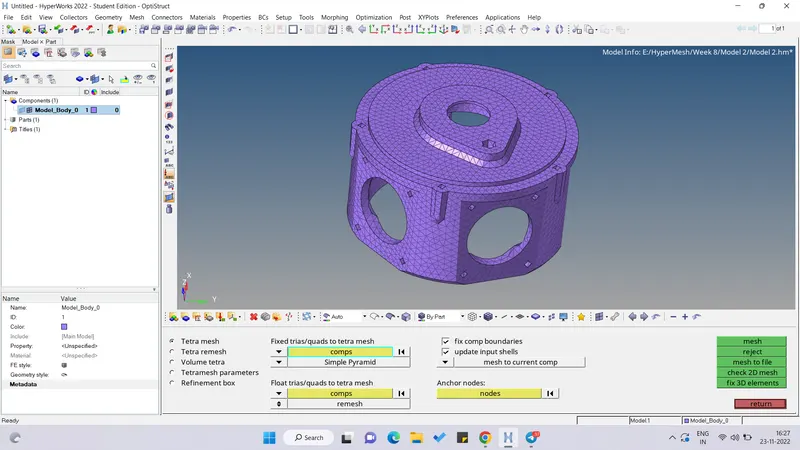
- We go in 3D panel, we select the displayed components and then just mesh the model.
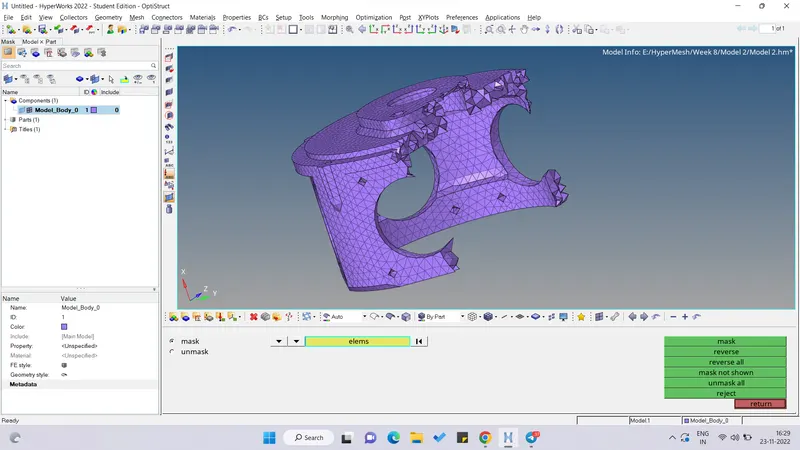
- The 3D mesh can be visualized after we mask some part of the model as seen below -
- Now we check for the tet collapse and zero elements were failing as seen in the left bottom corner of the window below -
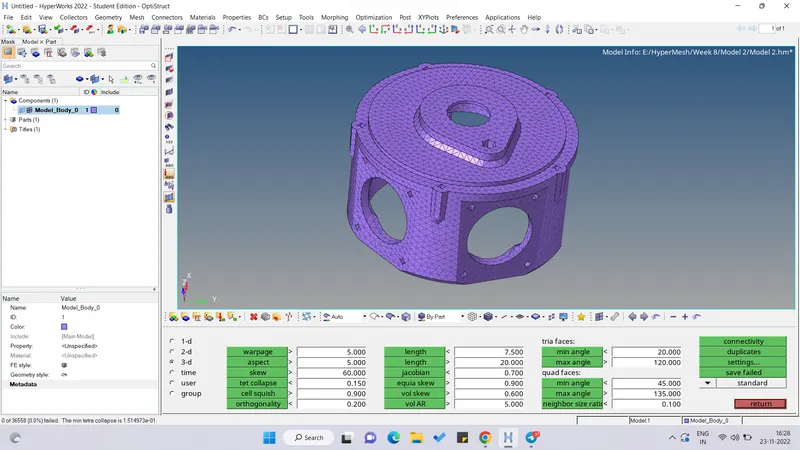
- The final model is as seen in above image. Hence we have meshed the model 2 as per the given criteria.
#Model 3 -
- We first import the model and following is the graphics window as seen below -
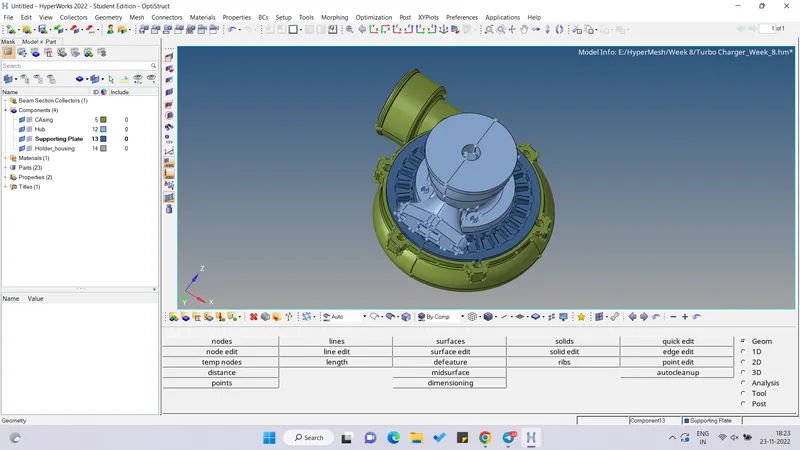
- There are 4 parts in the model. So we will work on the individual part one by one
a.Casing -
- As seen below, we have to volume mesh the component. But before proceeding with the volume mesh, we need to delete the surface which is at the centre of the component which has divided the component into 2 parts. We want the component to be a single part.
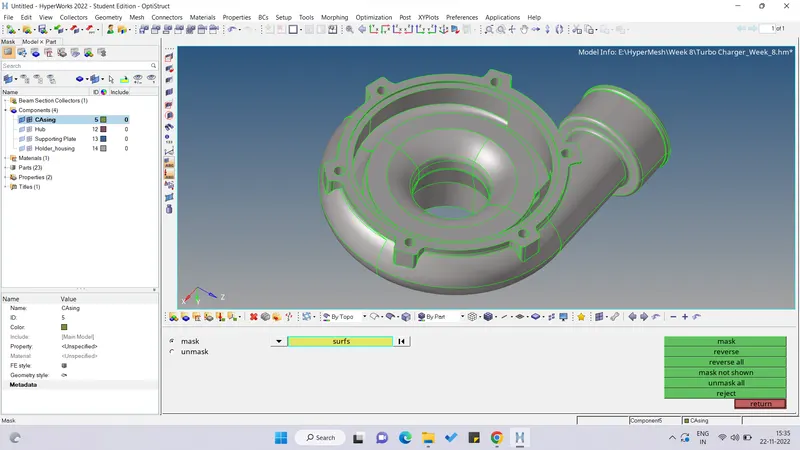
- On masking the one half of the component, we can see that there is a surface which needs to be deleted as seen below -
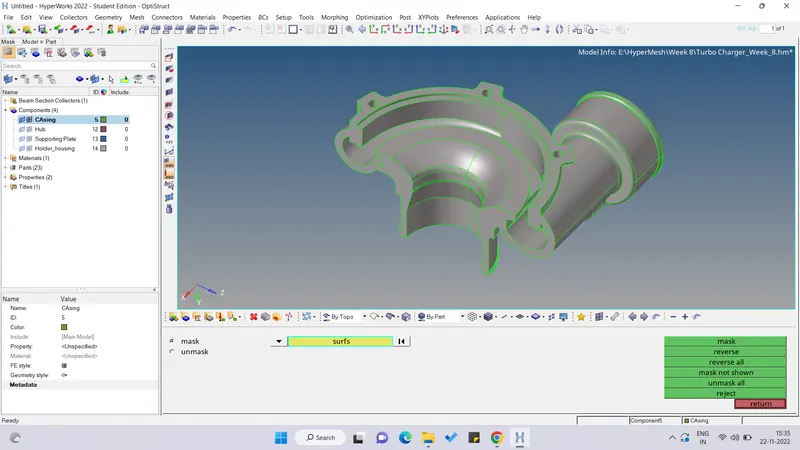
- After deleting the surfaces, the free edges can be seen below. The same deleting process is also repeated for the other half of the component.
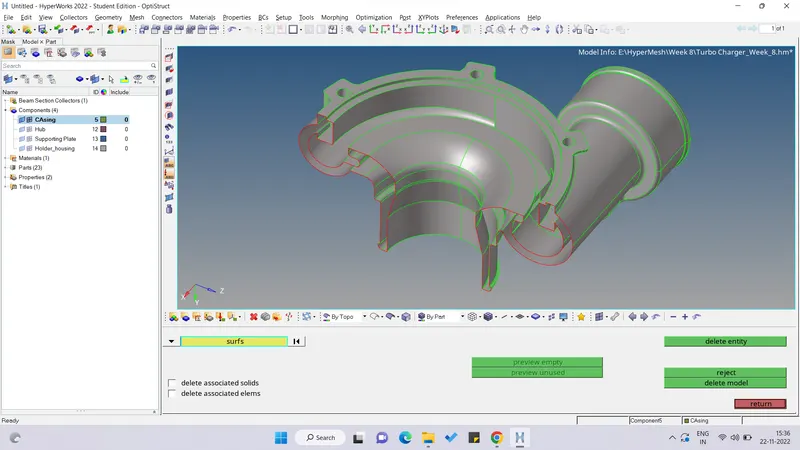
- Now we need to toggle the free edge which is visible in the below snippet -
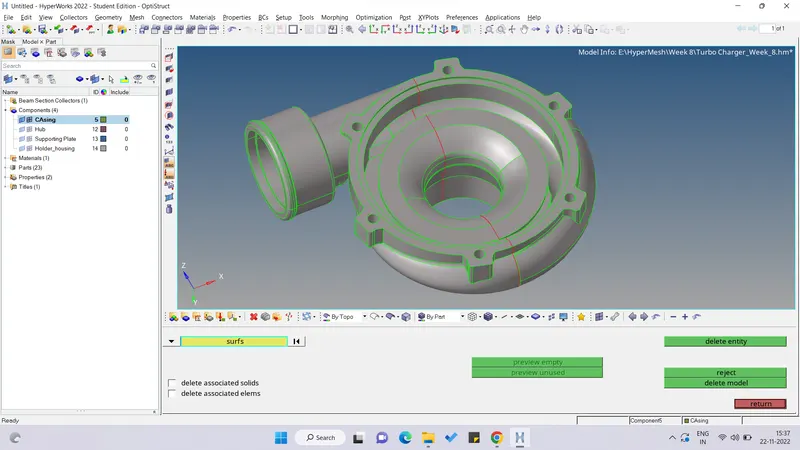
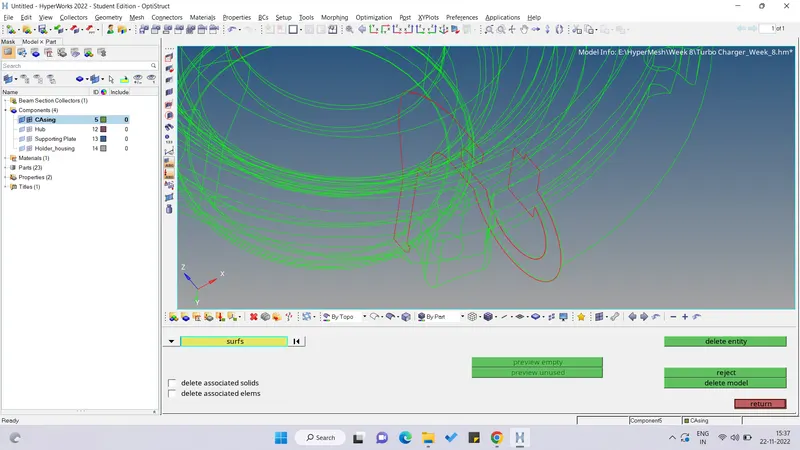
- After toggling the free edge, the connection is established and we get a single part component for the volume meshing.
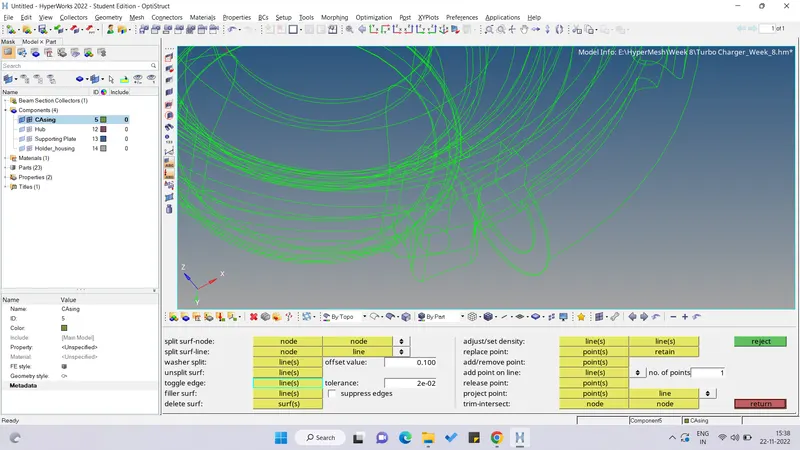
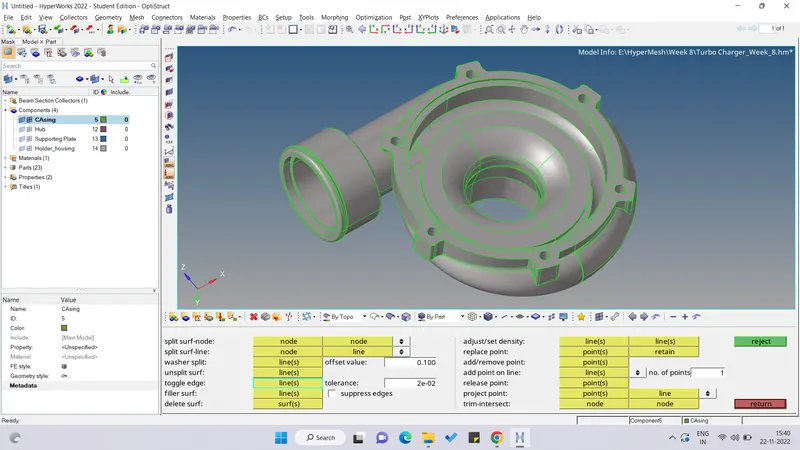
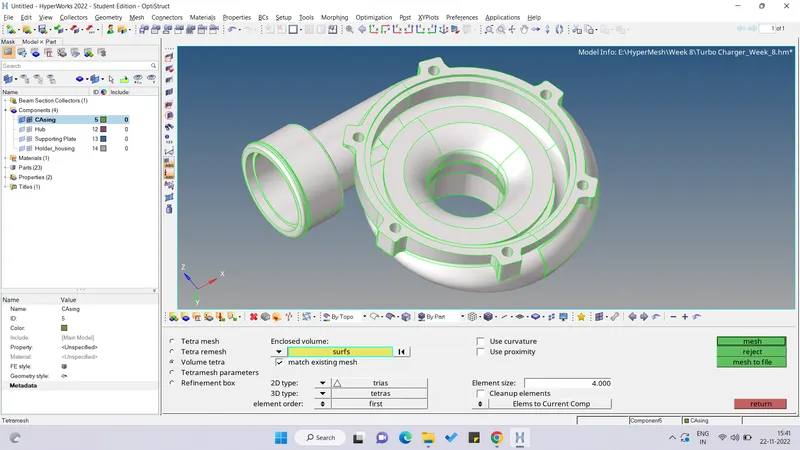
- Now we go in the 3D panel , input the element size and select the surfaces for the volume meshing as seen below -
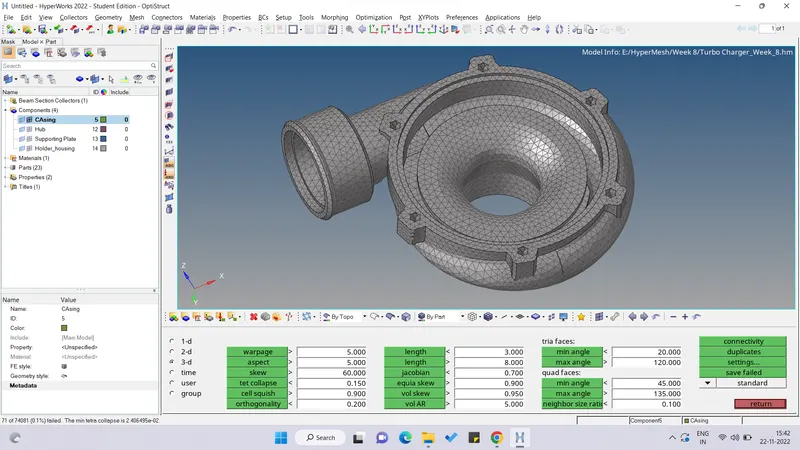
- After getting the volume mesh, we check for the tet collapse and here we are getting 71 failed elements as seen below -
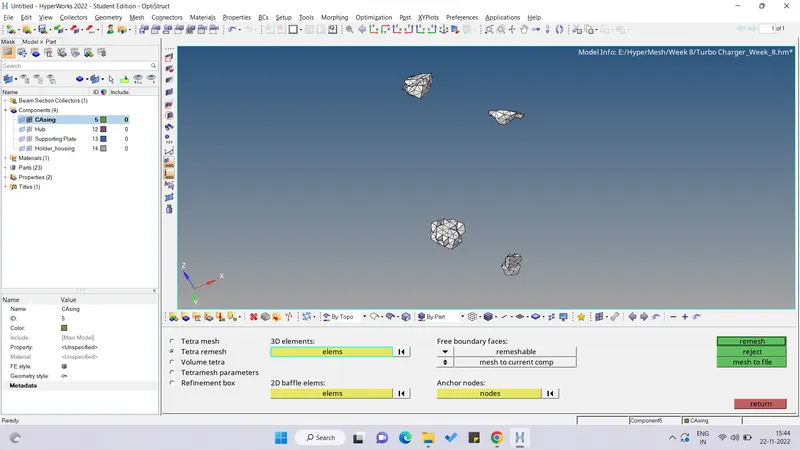
- Thus we again go in the 3D > Tetramesh > Tetra Remesh and then selecting the elements and then remeshing the elements.
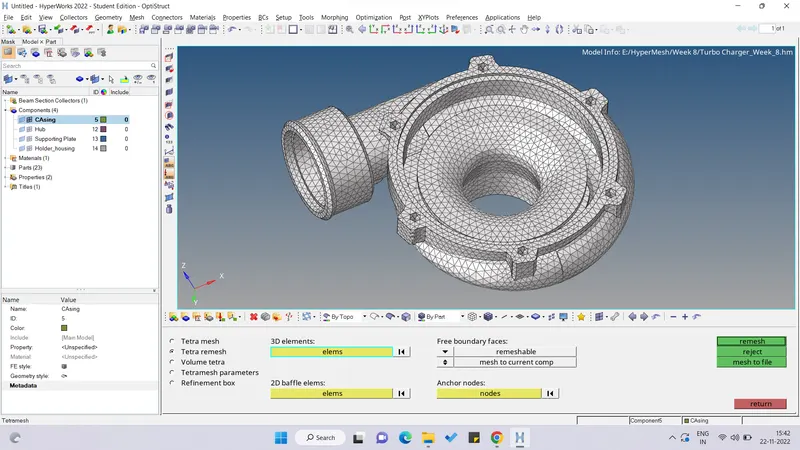
- We can also segregate the failed elements and unmasking the adjacent elements of the failed elements and only remeshing them as seen below -
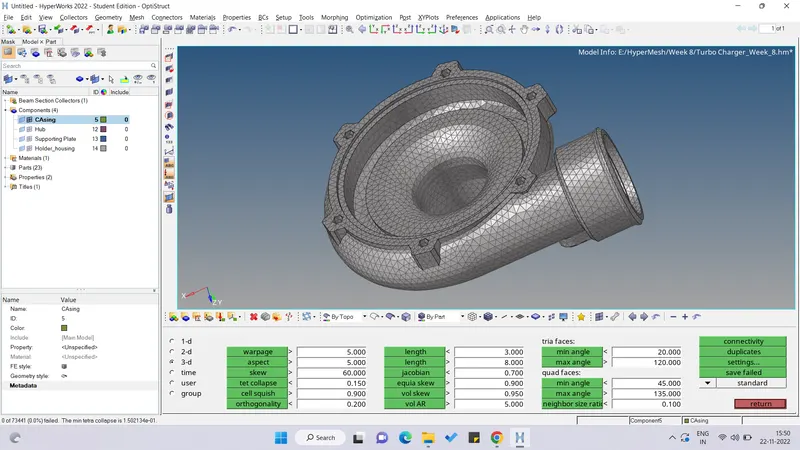
- After remeshing, the failing elements for tet collapse is zero as seen below -
b.Hub -
- Now before starting the process with hub, we will make sure that the we make hub as the current component. So repeating the same process as above of deleting the surface in the middle.
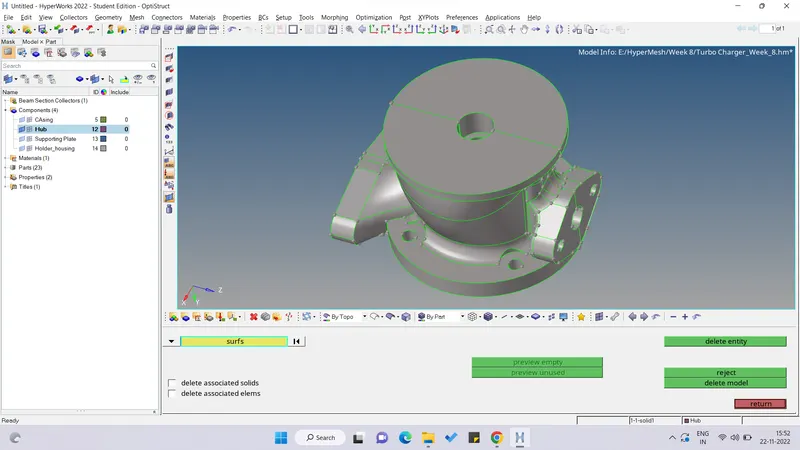
- Free edges can be seen below after deleting the surface in the middle -
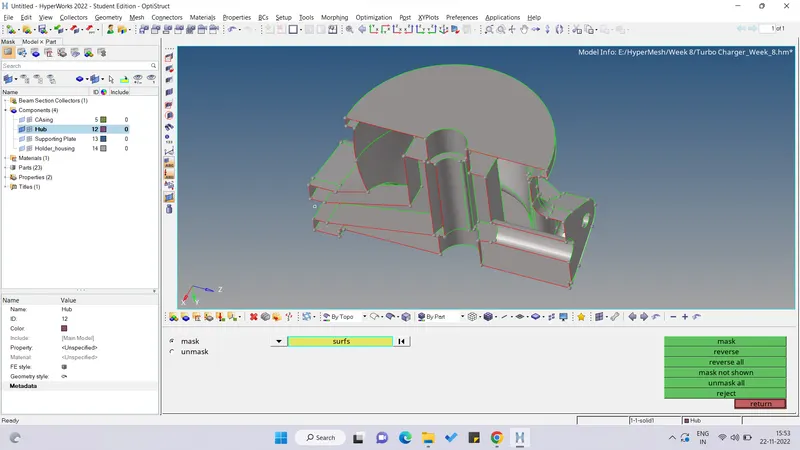
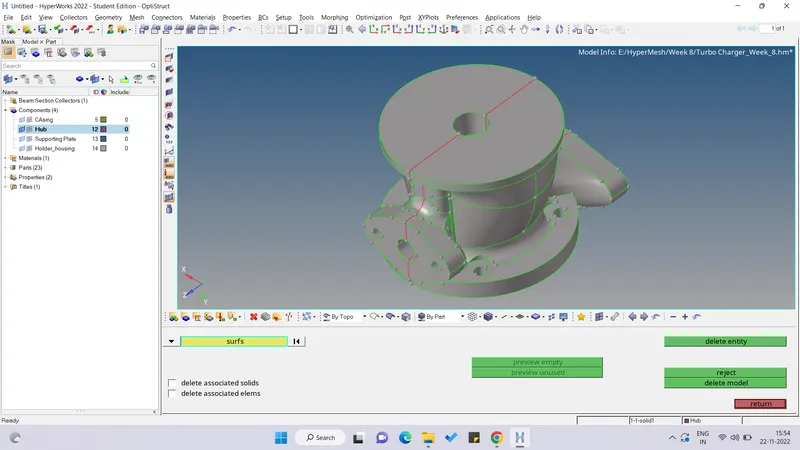
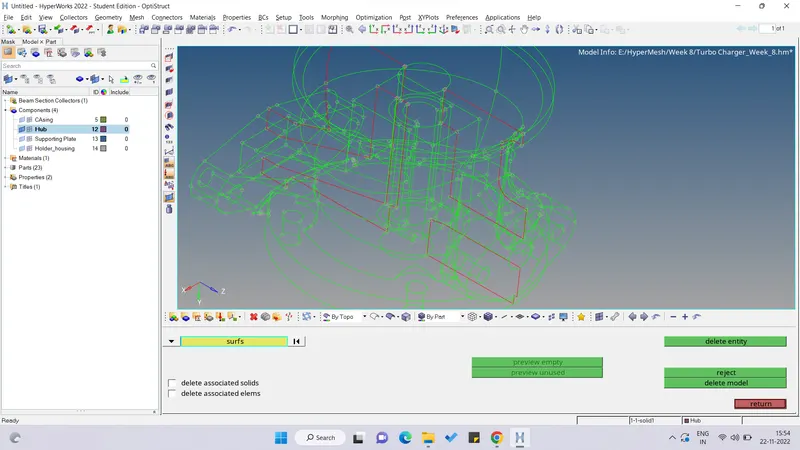
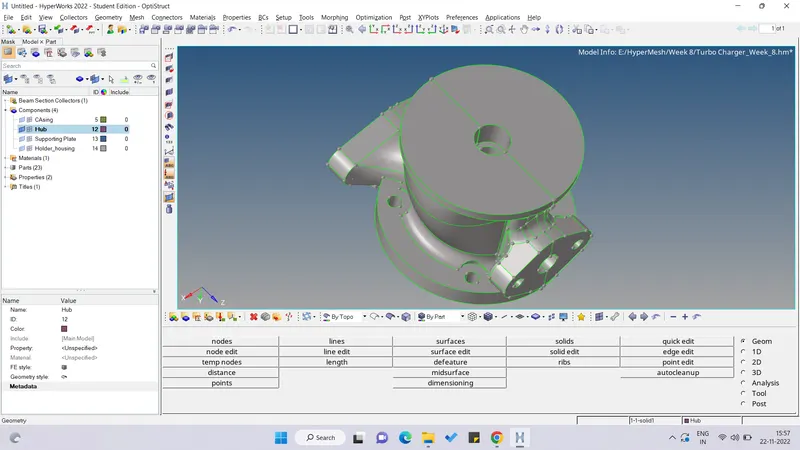
- After toggling the free edges -
- Now selecting the surface for the volume meshing -
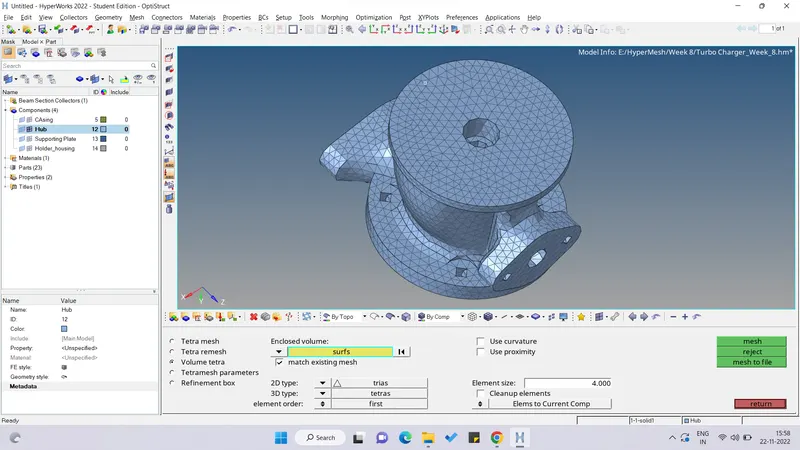
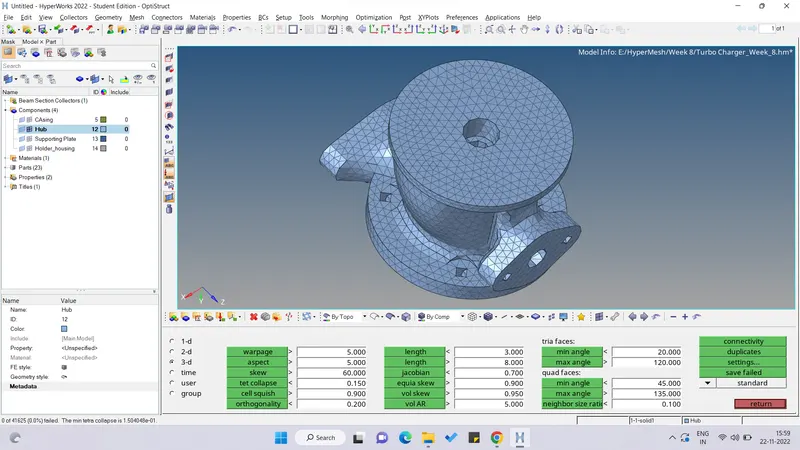
- There are some elements which are failing for the tet collapse which can be eliminated by just remeshing the elements as done for casing part -
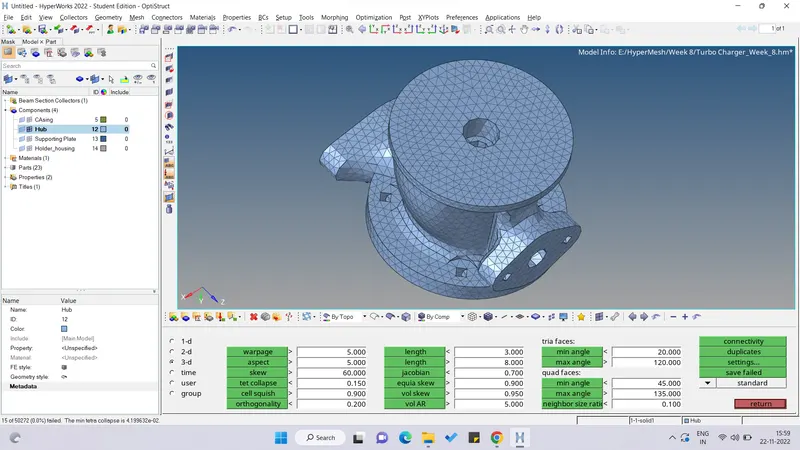
- After remeshing, zero elements are failing for tet collapse.
c.Supporting Plate -
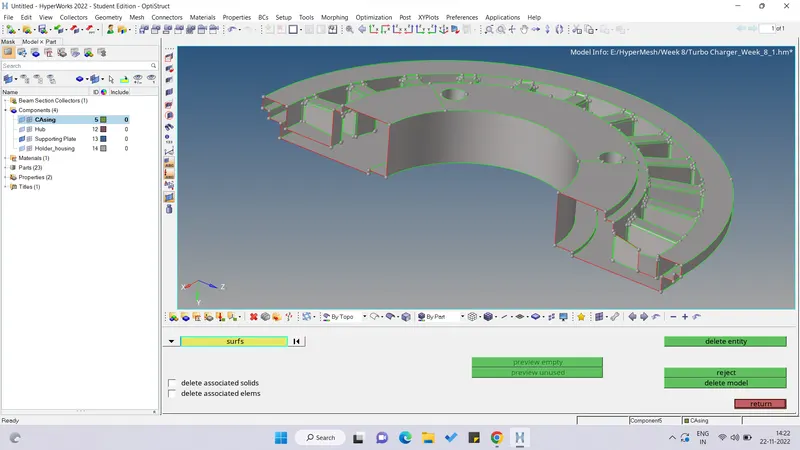
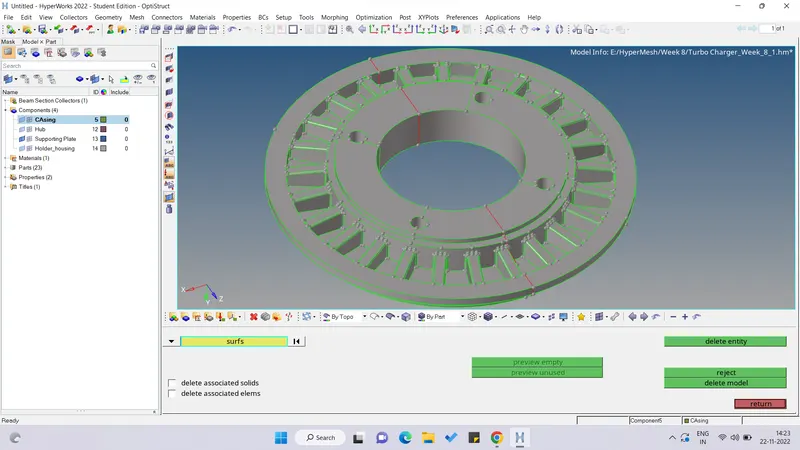
- Now we move to the supporting plate where we first delete the surface in the middle as seen below -
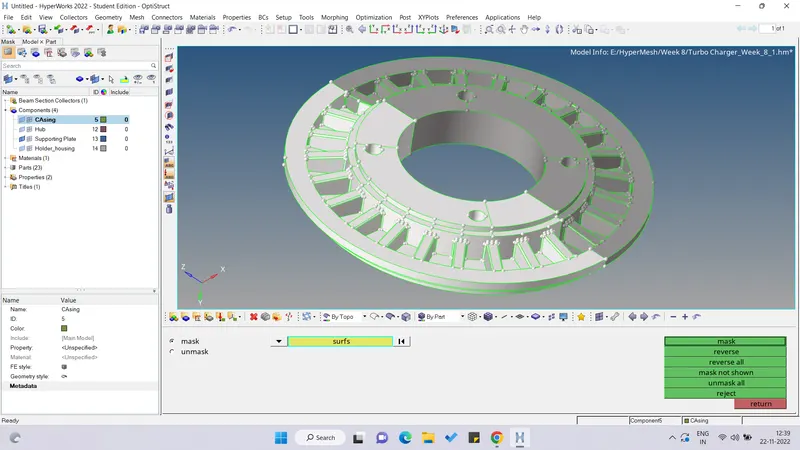
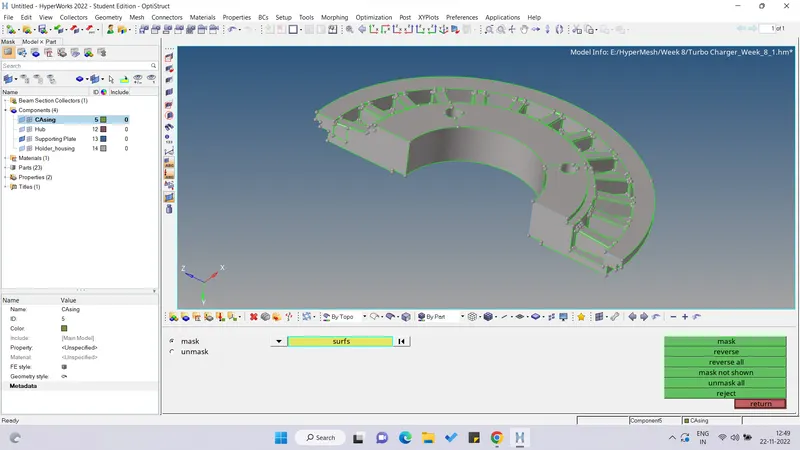
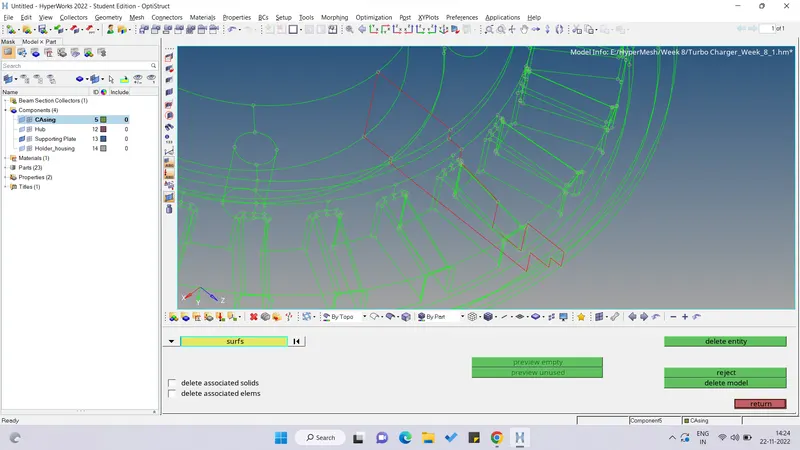
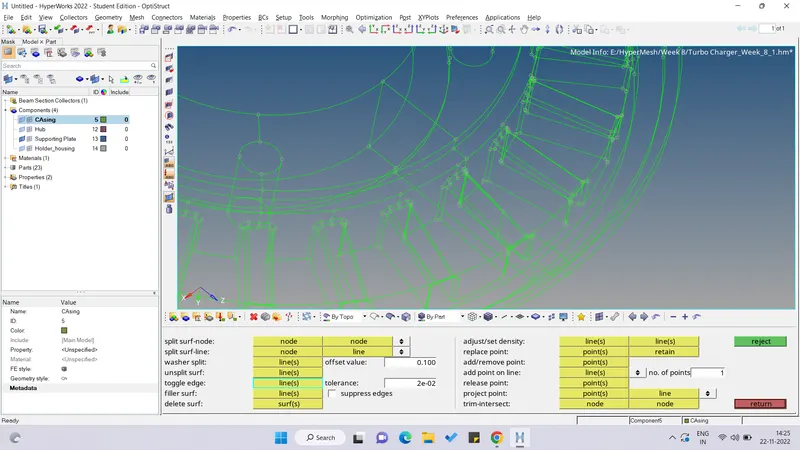
- Now we toggle the free edge and establish the connection as seen below -
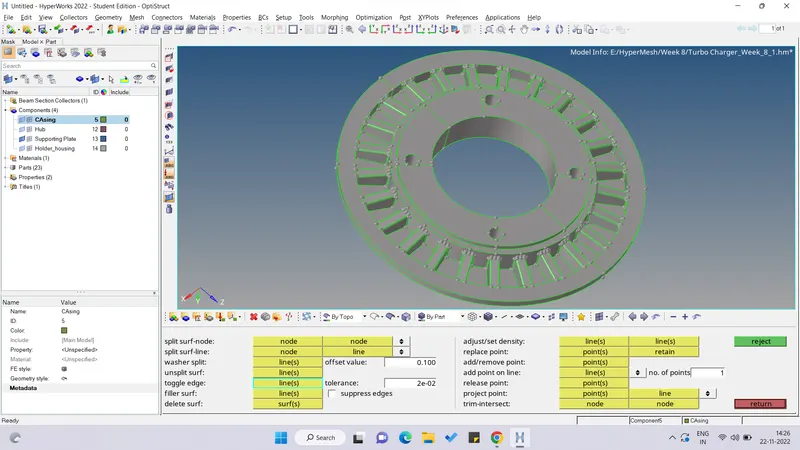
- Now we volume mesh the model by selecting the surfaces as shown below -
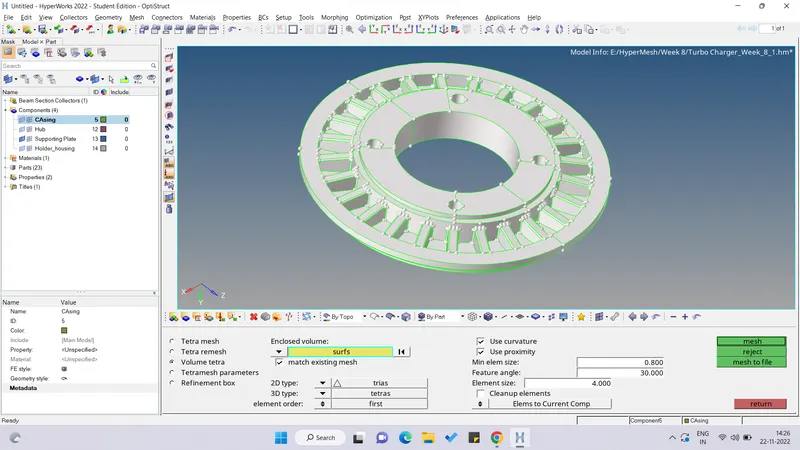
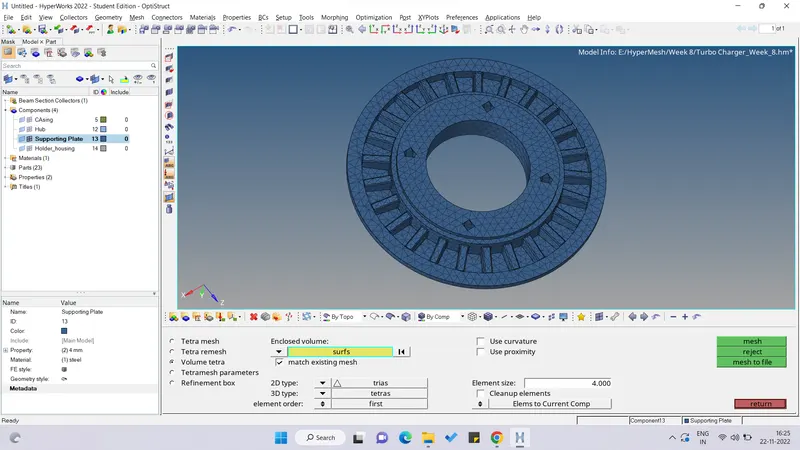
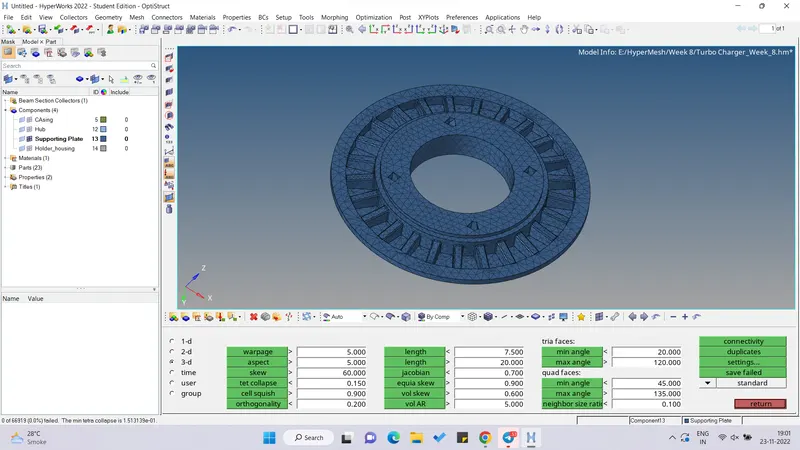
- On checking for tet collapse, there were some elements failing for the tet collapse but on remeshing the elements failing reduced to zero as seen below -
d.Holder housing -
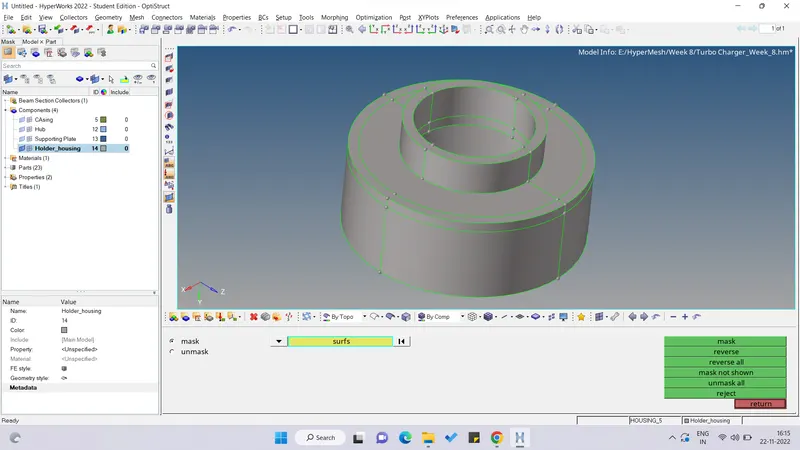
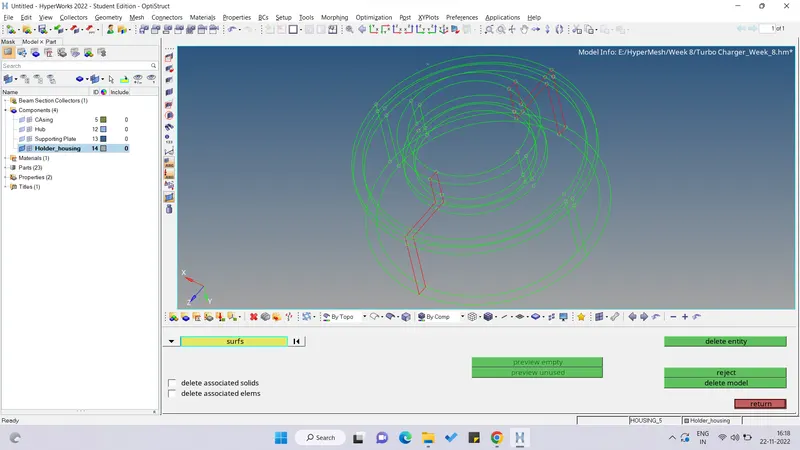
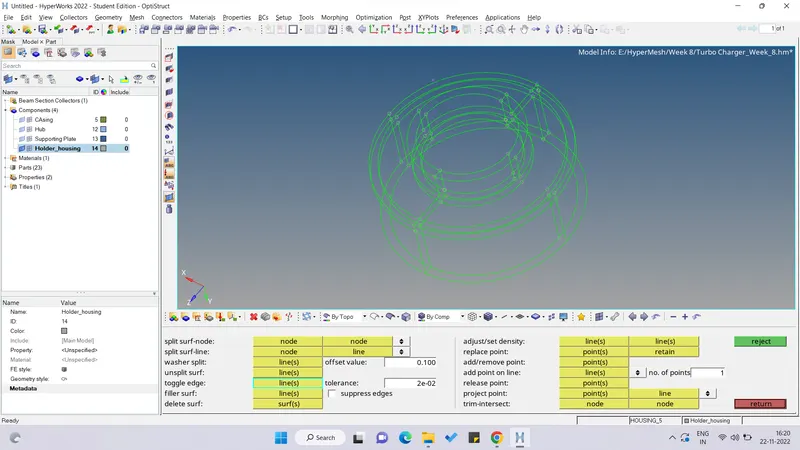
- Now we proceed for volume meshing of the final part of the model and perform the same sequence of operations as done for the above parts. Below are the snippets mentioned in the sequence of process performed -
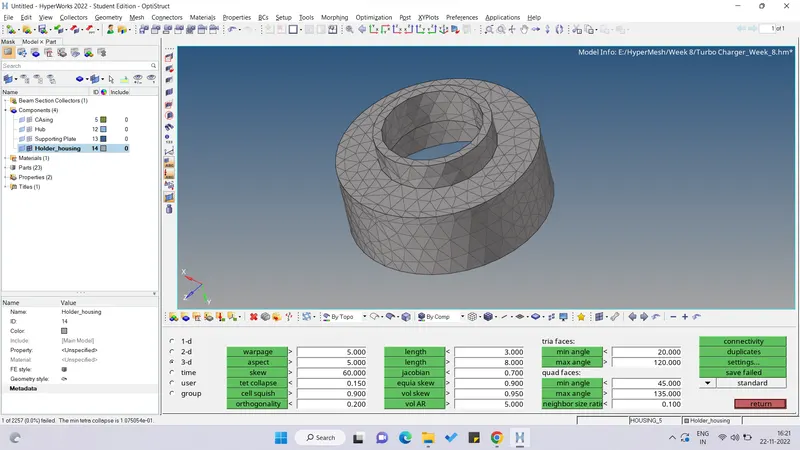
- Now we perform the volume meshing and check for tet collapse and resolve the failed elements by remeshing and below is the snippet -
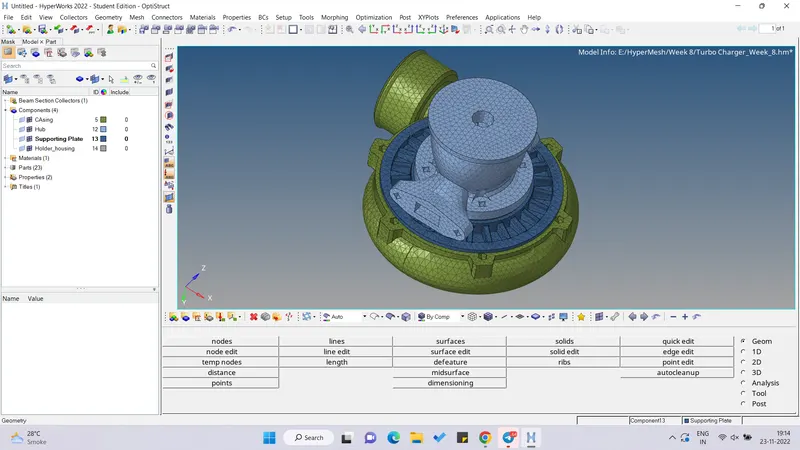
- Thus we have successfully volume meshed the model 3 as per given quality criteria and below is the snippet of the entire model -
LEARNINGS -
- In this challenge we learned both the techniques -
- First 2D meshing and then converting the 2D mesh to 3D mesh which gives better control over the mesh.
- Direct 3D meshing the model which can also be done in time crunch situation.