3D Tetra Meshing Challenge in Hypermesh.
Objective :
1. Create a Teramesh for Housing component with the following quality criteria.
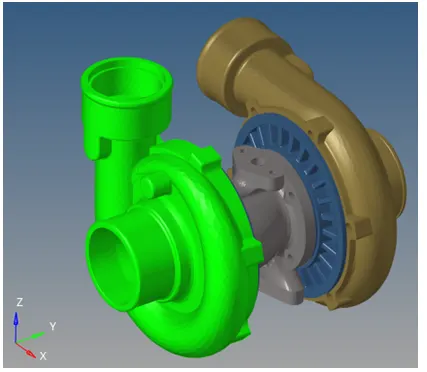
TetraMesh Generation Method: 2D to 3D Conversion
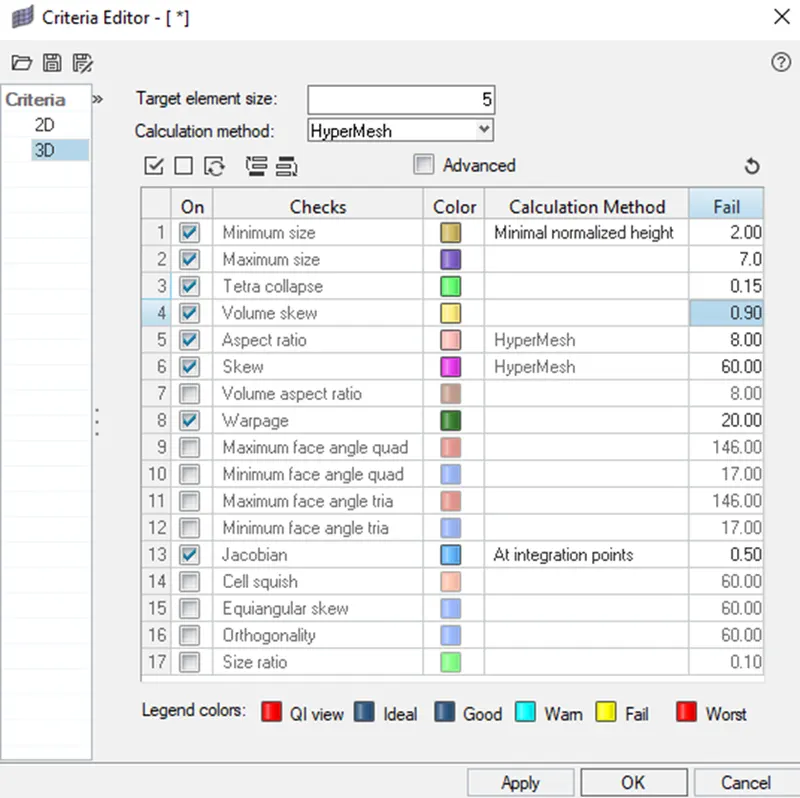
Elements sizes: Min- 2 Units, Target- 5 Units, Max- 7 Units
Tet collapse: 0.15
2. For the given model, Create a 3D Tetramesh with the following quality criteria.
TetraMesh Generation Method: Quick Tetra Mesh/ Volume Tetra Mesh
Target Element size: 3 Units.
Tet Collapse: 0.15
3. For the given assembly model, Create a 3D Tetramesh with the following quality criteria.
TetraMesh Generation Method: Quick Tetra Mesh/ Volume Tetra Mesh
Target Element size: 4 Units.
Tet Collapse: 0.15
Model 1:
Following steps are taken to mesh Model 1.
- Import model.
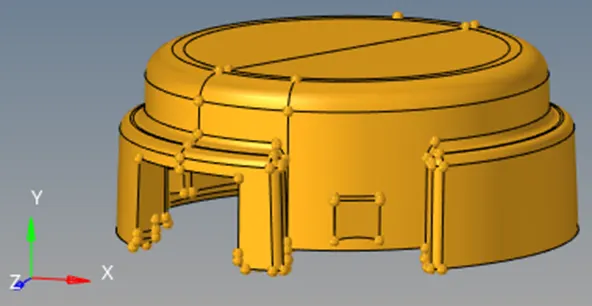
- Topology view.
‘Topo view’ shows a part of the geometry consists of solid.
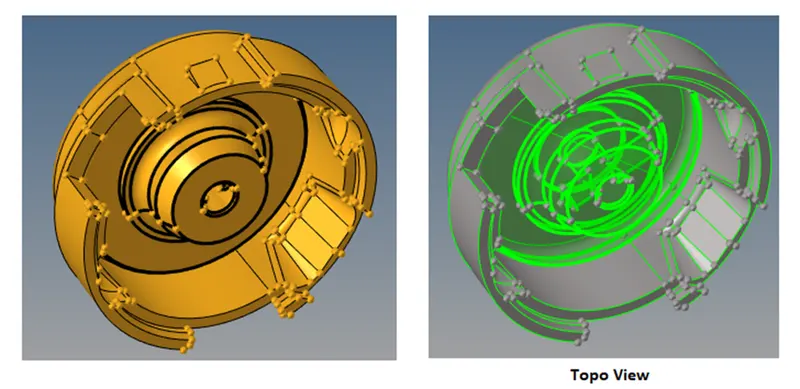
- Delete Solids.
Press ‘F2’, select all the displayed solids and then delete the solids.
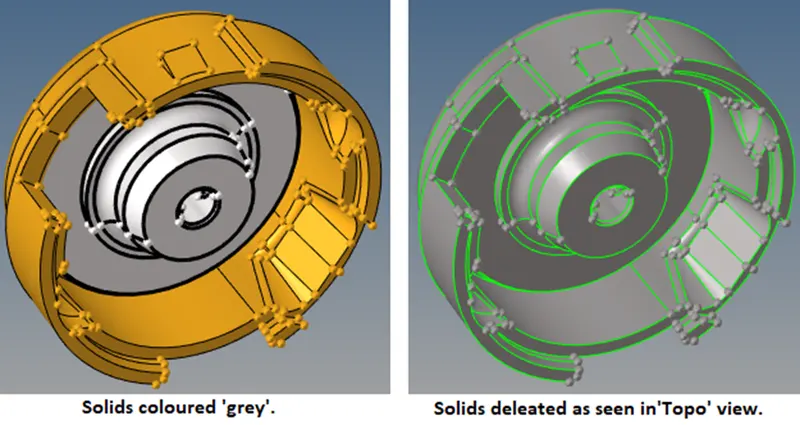
Now we have got only surfaces.
- Insert quality criterion as per objective.
- Remove fillets.
Since, our min element length is 2, so we need to check and see if we have any surface with length lower than 2mm.
Go to Geom - > Defeature ->surf fillet

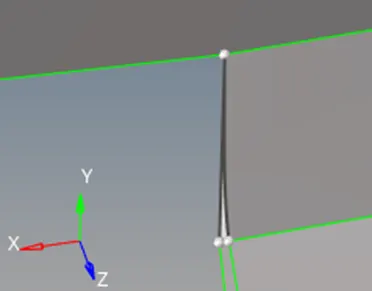
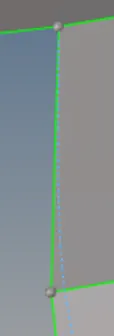
Remove or toggle the line
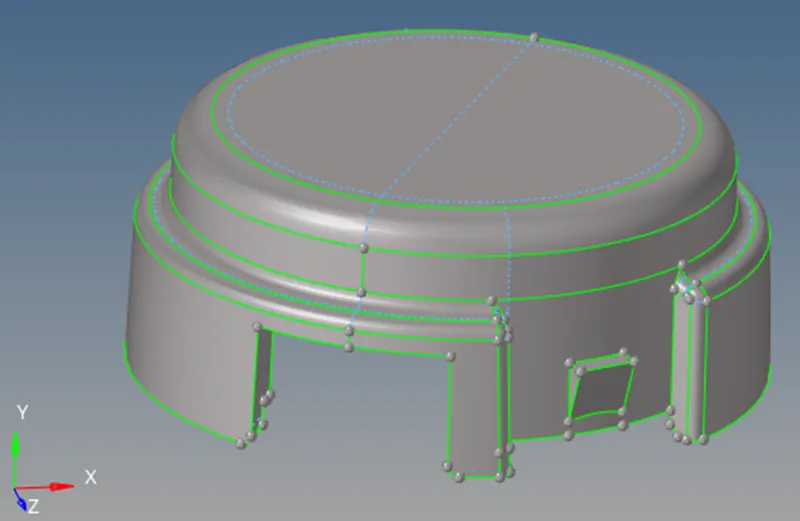
- Topology clean up (Auto clean-up and Manual clean up).
- Mesh with tria elements.
Go to, 2D -> Automesh

Target element length =5
Mesh type = Trias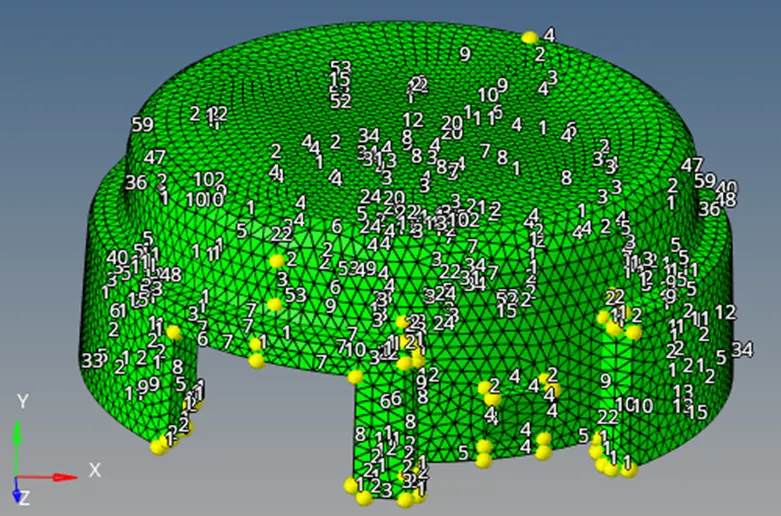
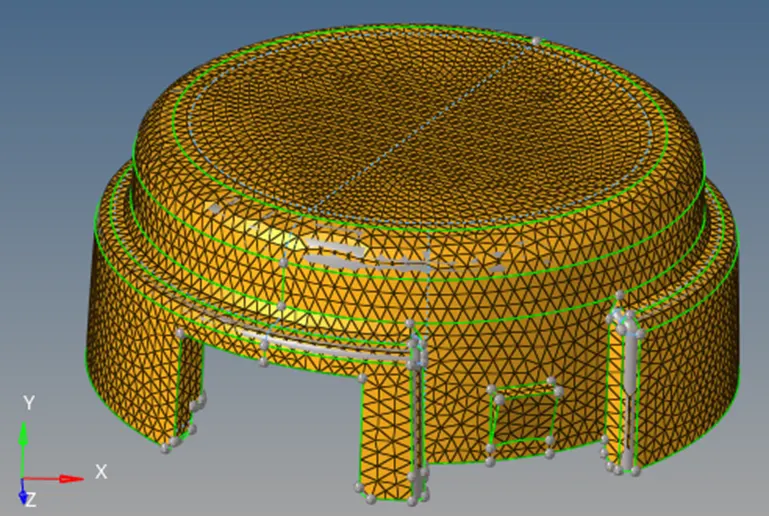
- Check Quality of the mesh.
To check quality press f10 or go to, tools -> check elems

Changing min length to 2 and maximum length to 7, as per our objective.

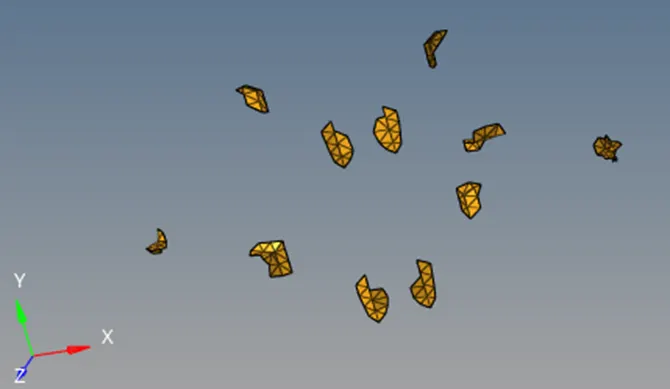
On clicking min length, we found,


- Rectify the failed elements.
To correct the failed elements, we can utilise the following options, under ‘quality index’ in ‘2D’ page.
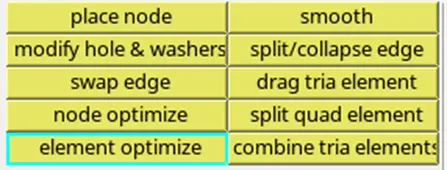
OR, we can also use ‘Replace’ node option, which is as shown below:-
Save the failed elements, then go to mask menu, elems-> retrieve -> mask-> reverse
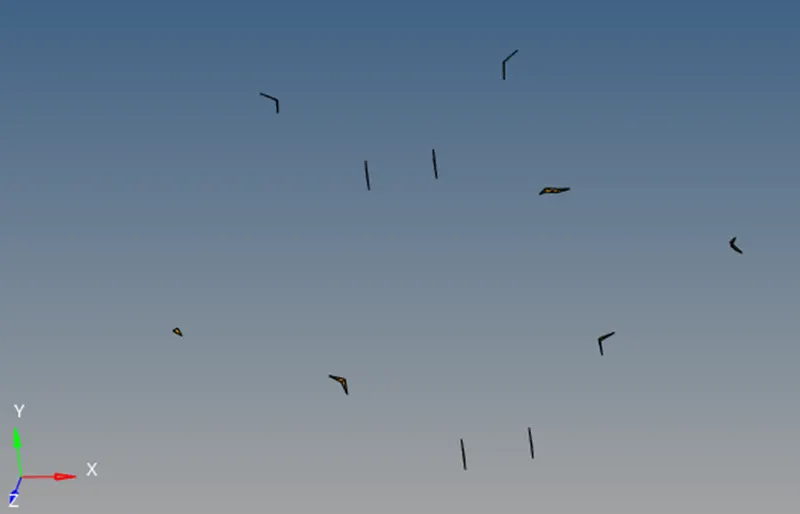
Unmasking adjacent elements,
Press f3 to paste nodes
For example,
Replacing nodes and checking quality criteria,
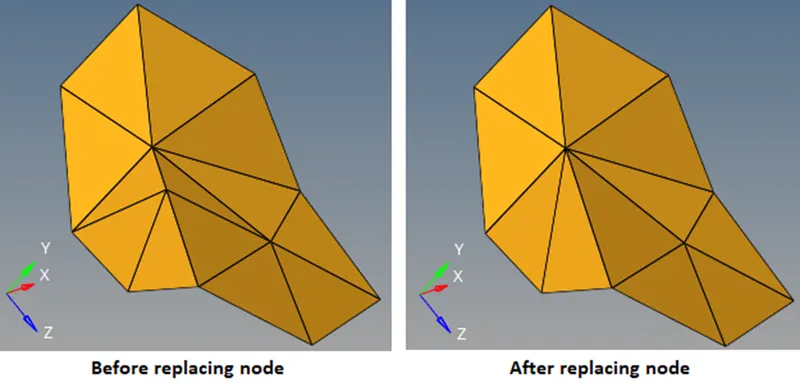

By making correction to the failed elements, following results have been achieved.


10. Convert 2D tria elements into 3D tetra elements
The reason we convert 2D tria elements into 3D tetra elements is because by doing this we have control over the quality of the elements.
Go to, 3D -> tetra mesh -> (select displayed elements) -> mesh

Checking the 3D elements by masking some elements,
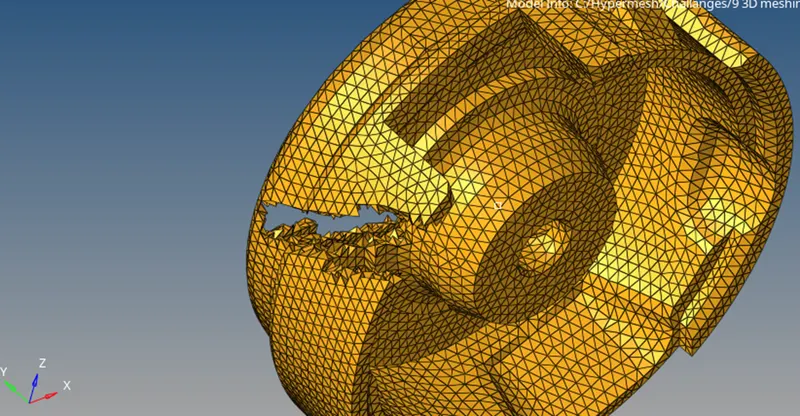
11. Check 3D quality criteria i.e., Tet collapse.
Tet collapse is basically the height of the tetra elements. Since the height of the tetra elements are less the height required for this challenge, hence we need to improve the height of the failed elements.
Go to, Tools -> check elements -> 3D tet collapse
or press f10


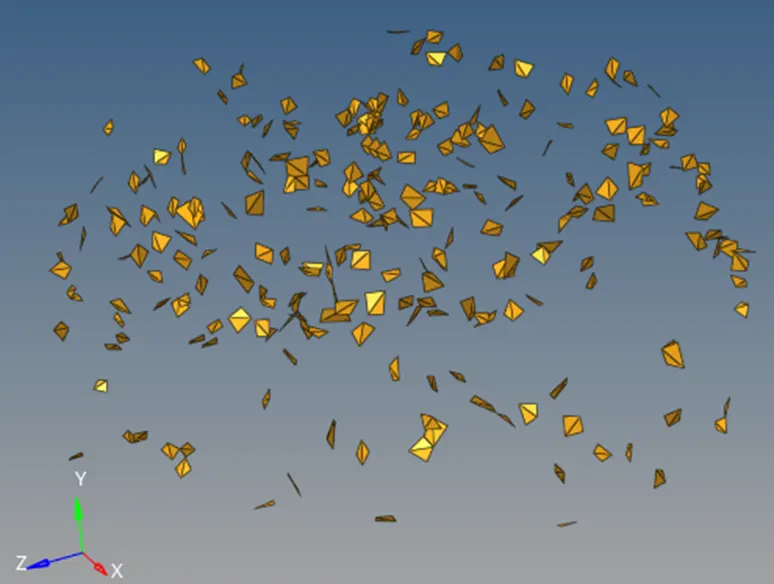
Now, we have to solve the failed elements.
For that we need to mask all the elements except failed elements, by first saving the failed elements, then masking all the elements that passes the quality criteria.
Failed elements are shown below:
12. Rectifying the failed elements using - manual method.
Manually fixing the failed elements.
Press f4, for distance option. And select two nodes option.
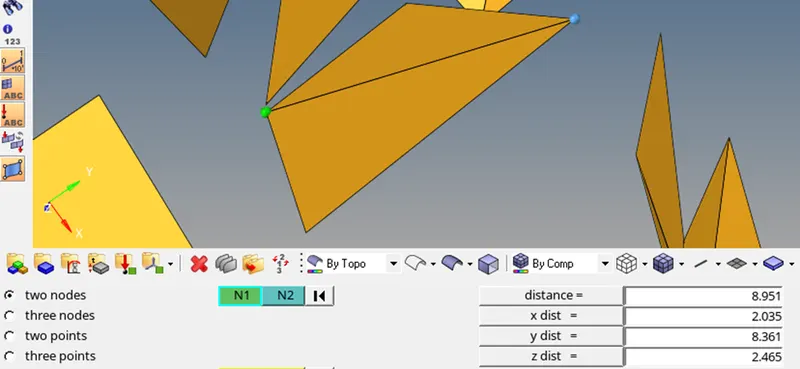
Reducing the distance b/w nodes,
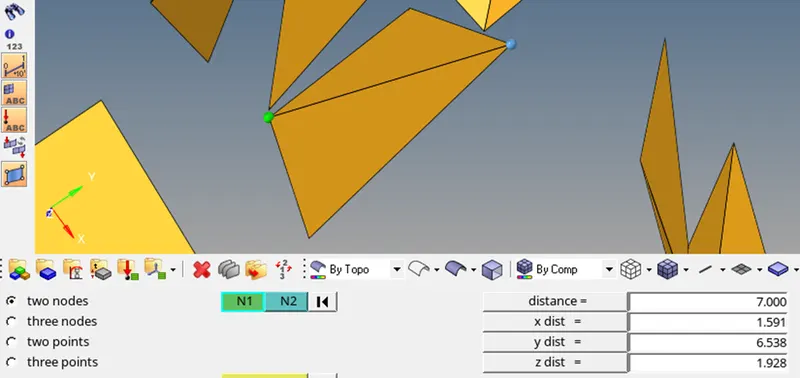
Checking ‘tet collapse’,
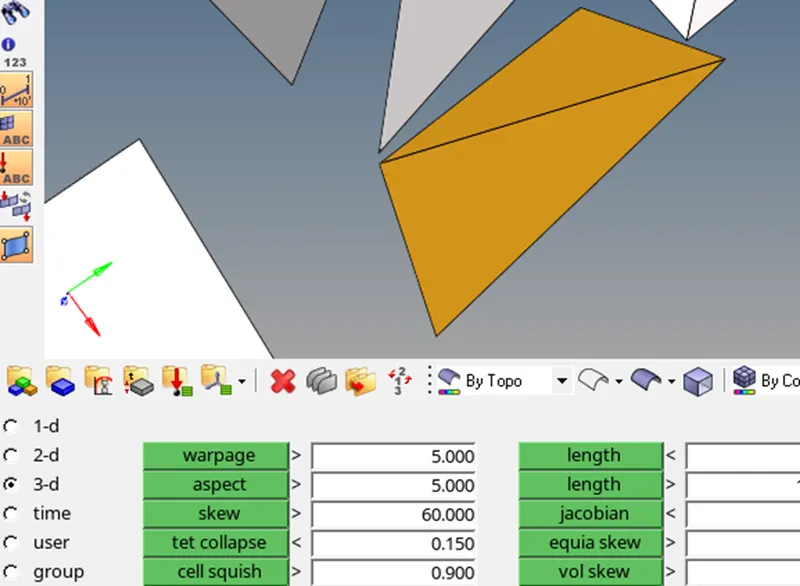
Now, two elements are corrected,

Again, we found that we have 250 failed elements.
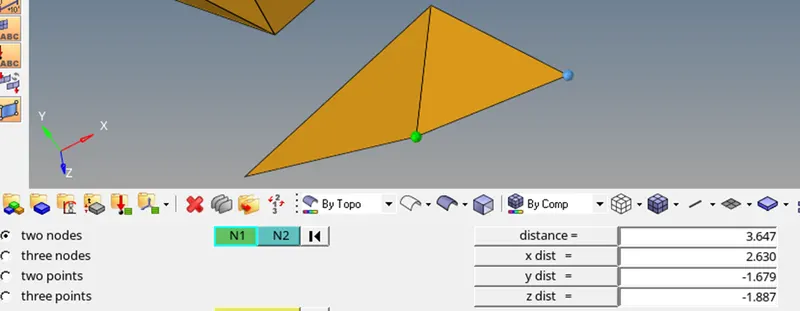
Now, by setting min side length to target length i.e., 5, we can also resolve our failed elements.
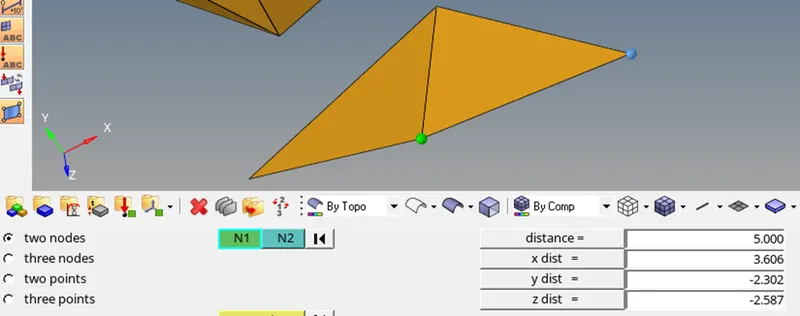

Again,

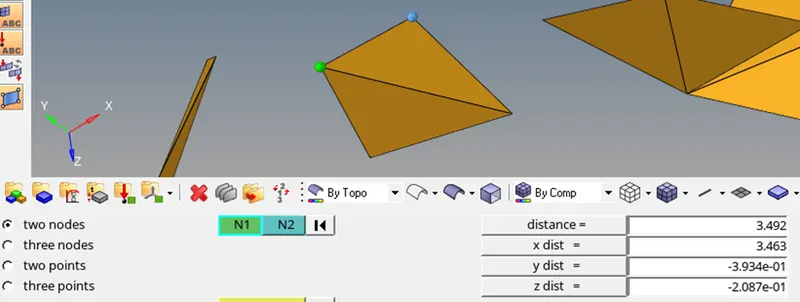
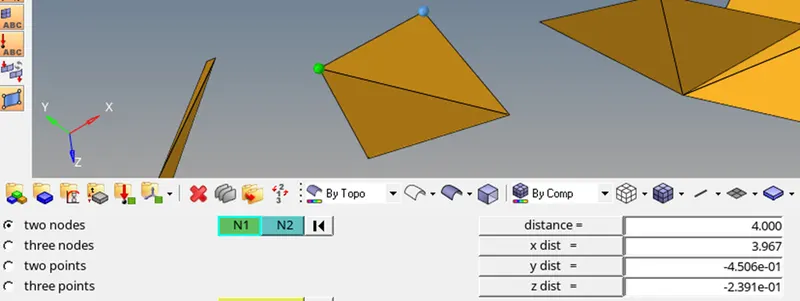
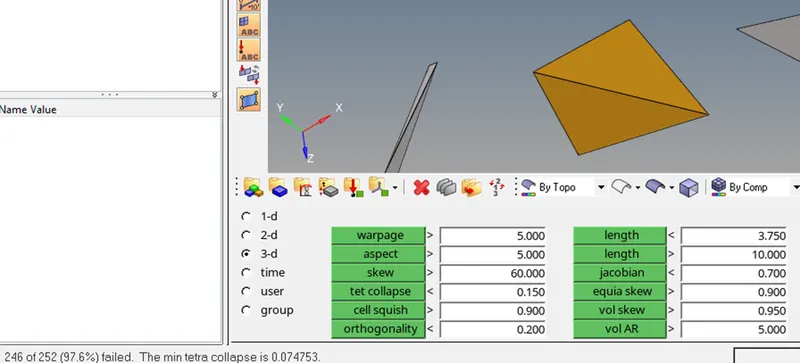
Again,
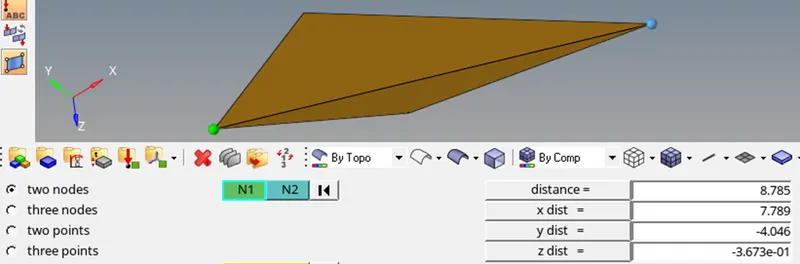
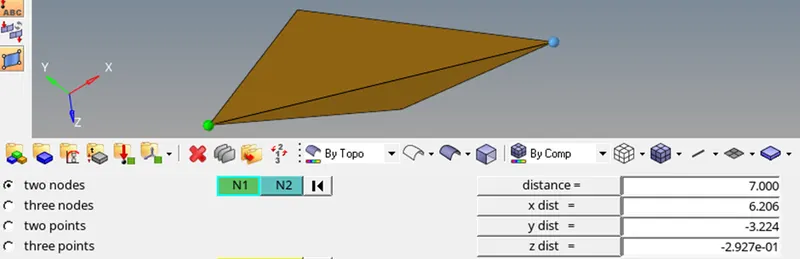
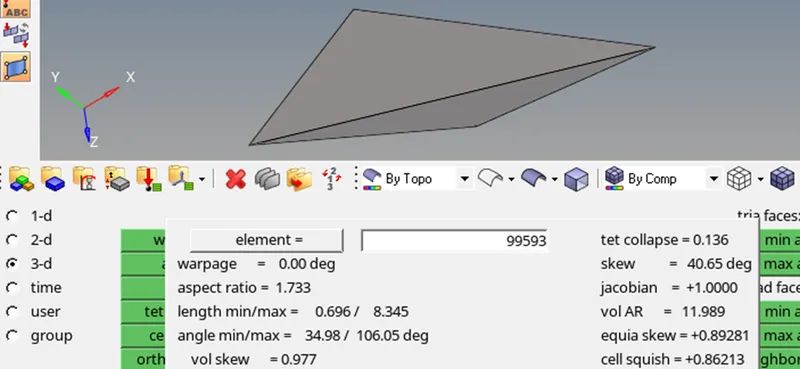
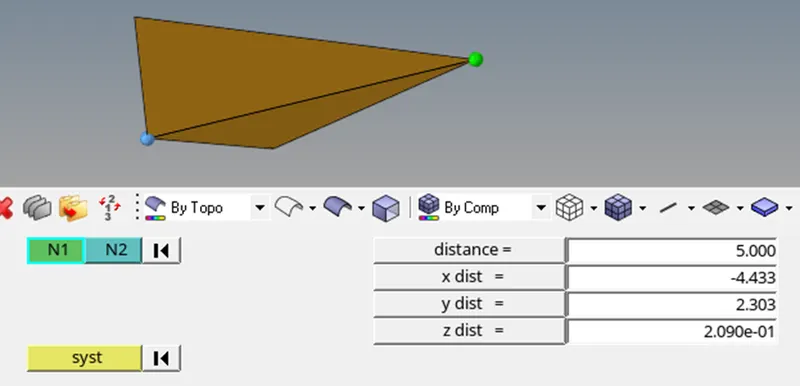
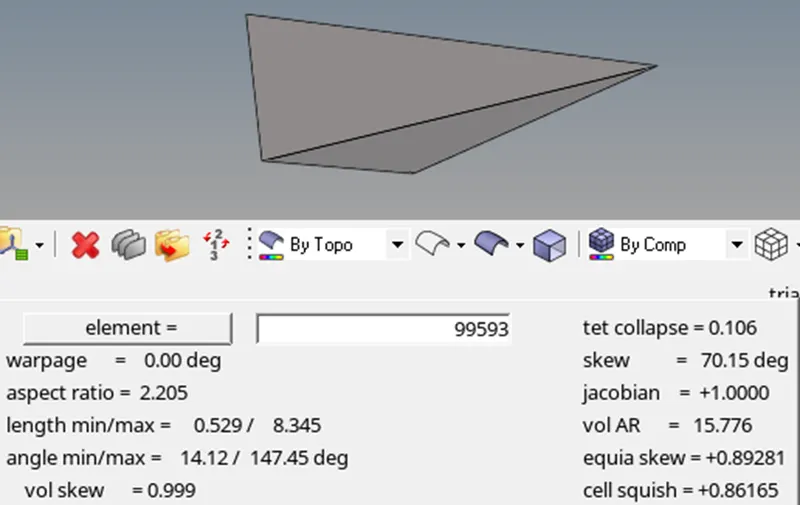
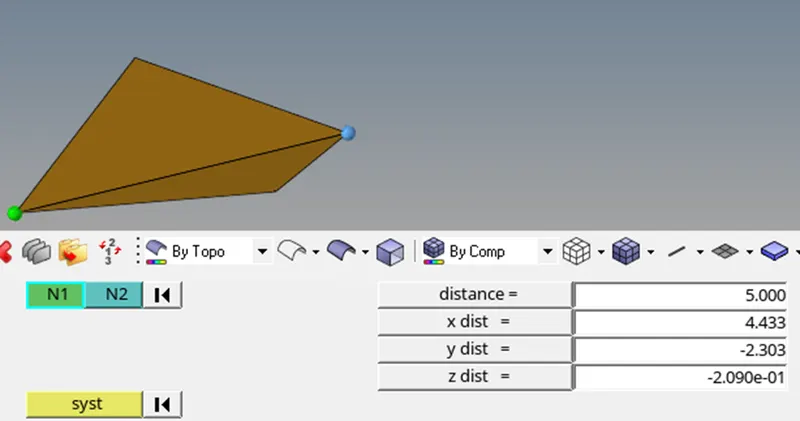
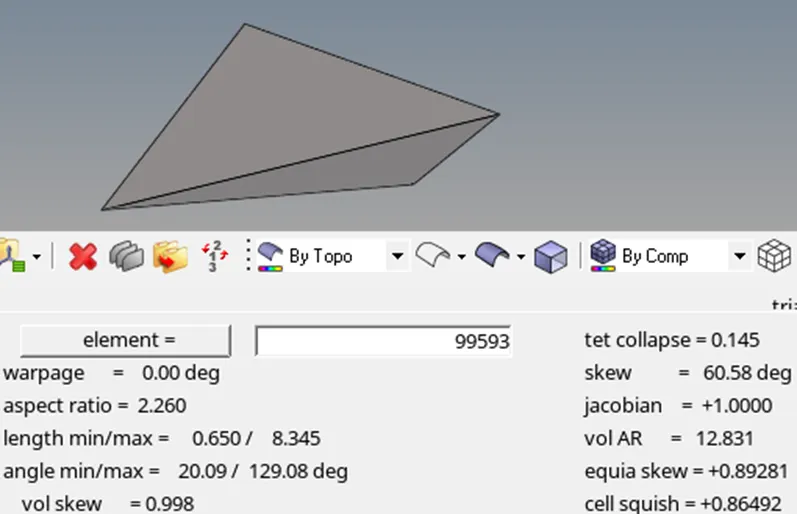
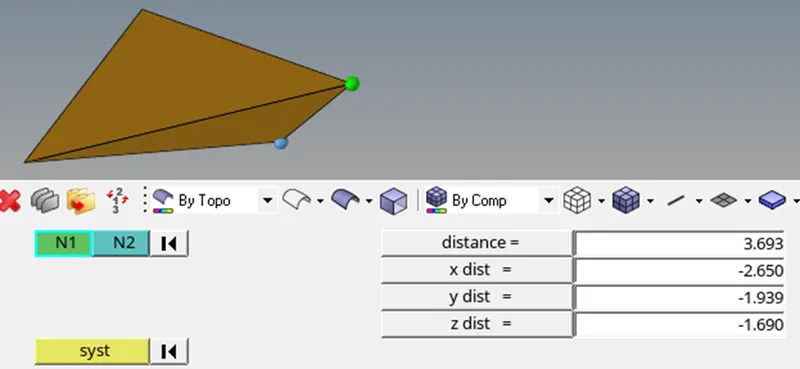
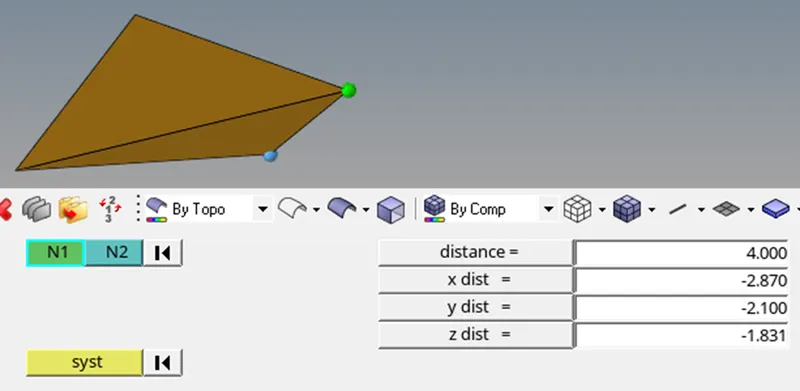
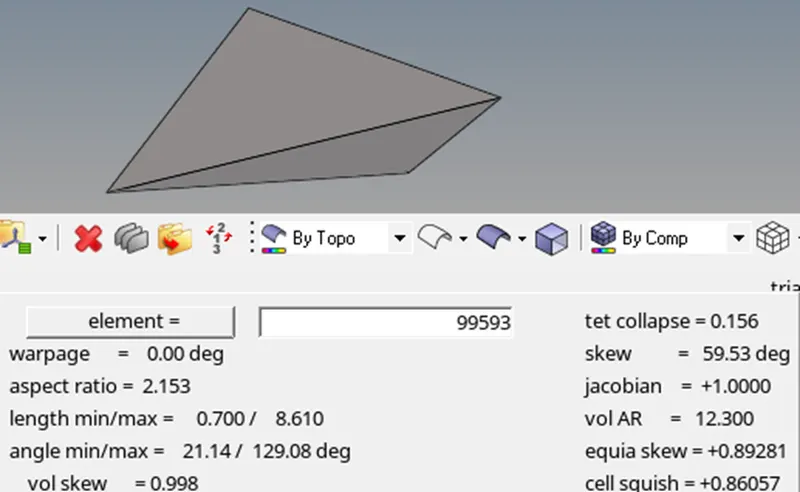

By continuing doing this manual rectification we can solve the failed elements. But this method will take long time.
13. Rectifying the failed elements using - ‘Tetra remesh’ option:
Display the failed elements.
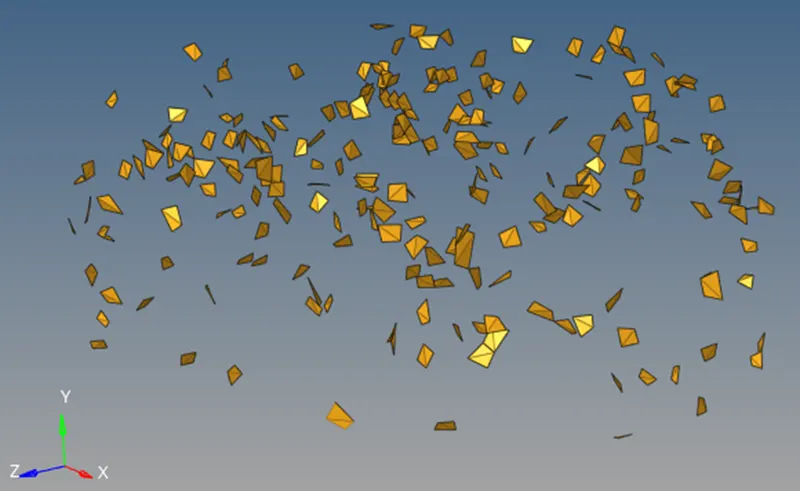
Unmask the adjacent elements.
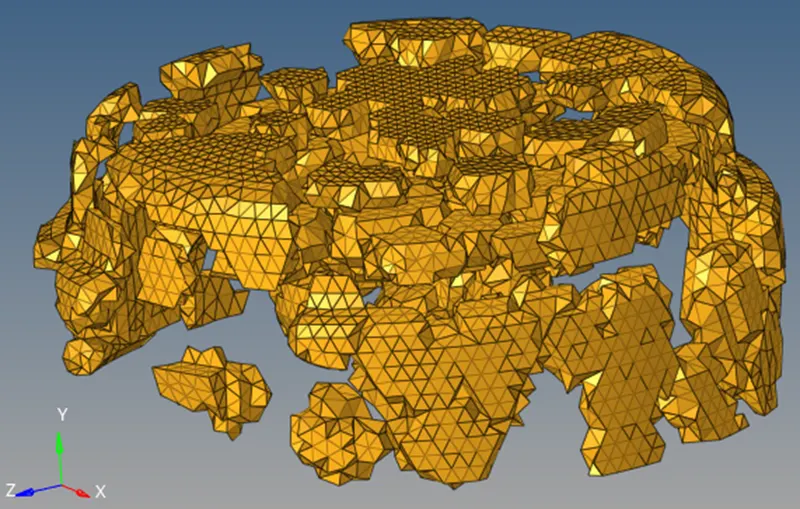
To remesh all the tetra elements
Go to, 3D -> Tetra mesh -> Tetra remesh

Select the displayed elements and click on remesh.

Again, check for ‘tet collapse’,

Now, the model conforms required quality criteria.
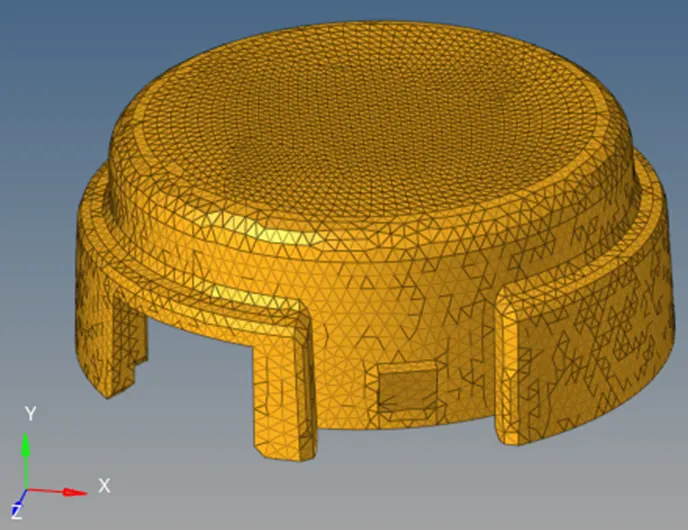
14. Final model.
The final model is as shown below:
Model 2:
Following steps are taken to mesh Model 2.
- Import model.
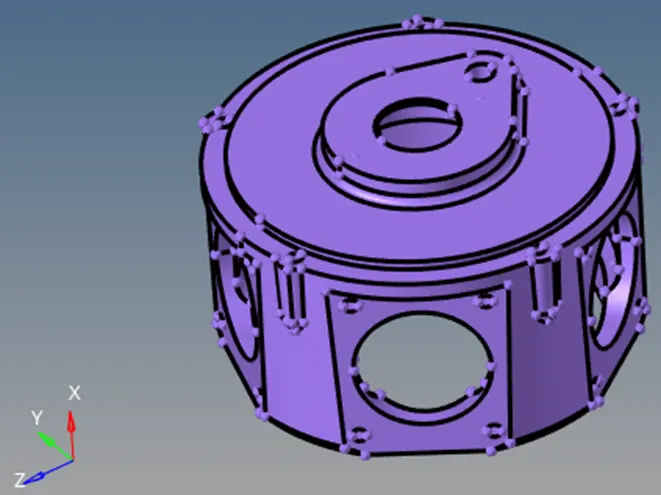
- Topology view.
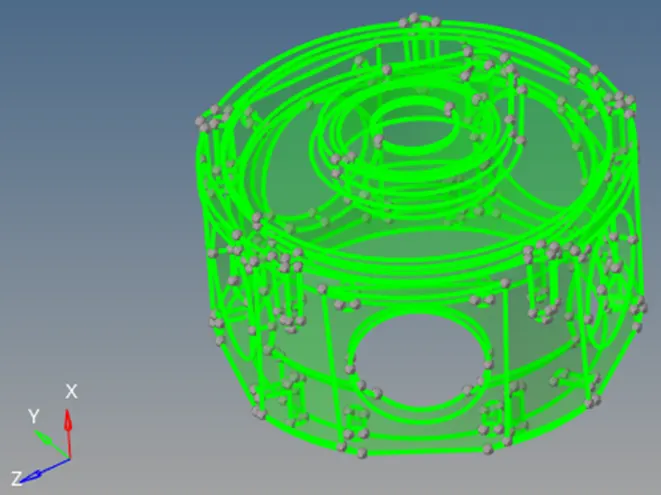
‘Topo’ view shows that the geometry consists of solid.
- Delete Solids
Press ‘F2’, select all the displayed solids and then delete the solids.
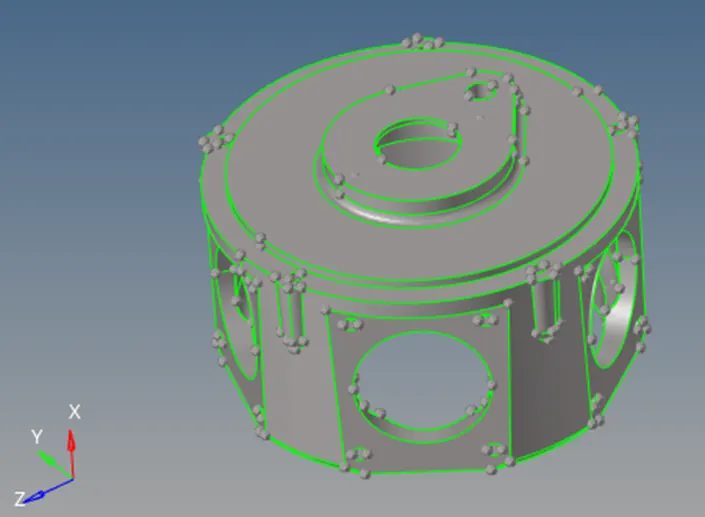
Now we have got only surfaces.
- Insert quality criterion as per objective.
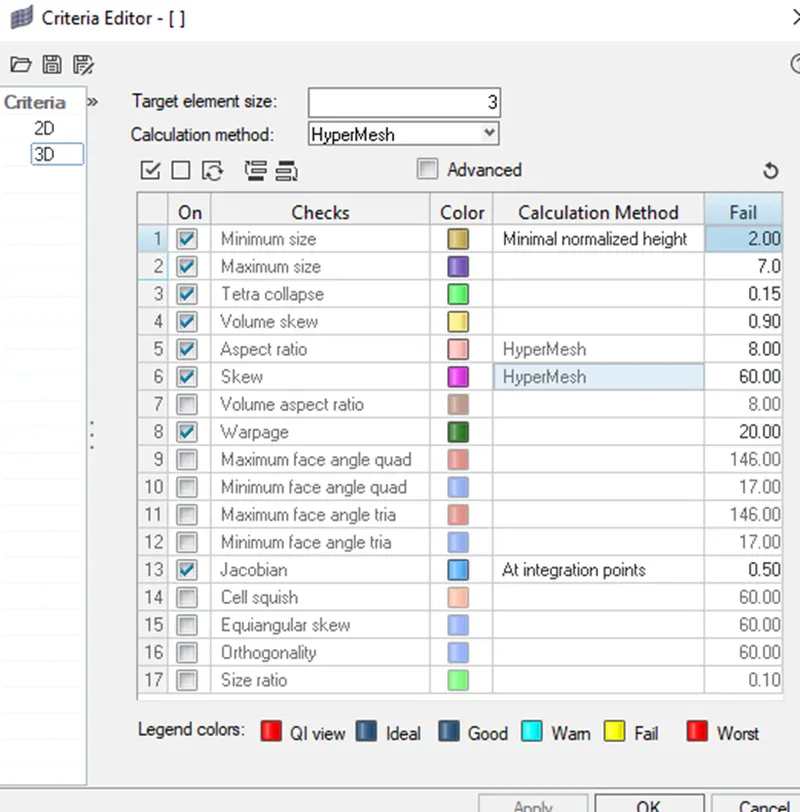
- Remove fillets.
Since, our min element length is 2, so we need to check and see if we have any surface with length lower than 2mm.
Go to Geom - > Defeature ->surf fillet
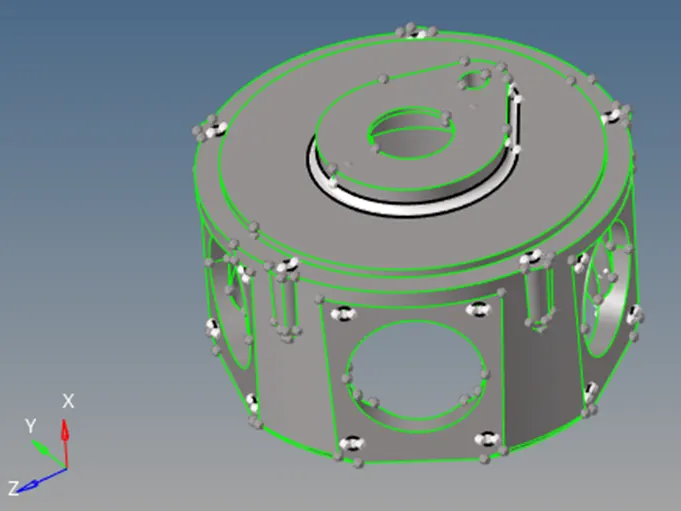
Click on ‘remove’ to remove selected fillets.
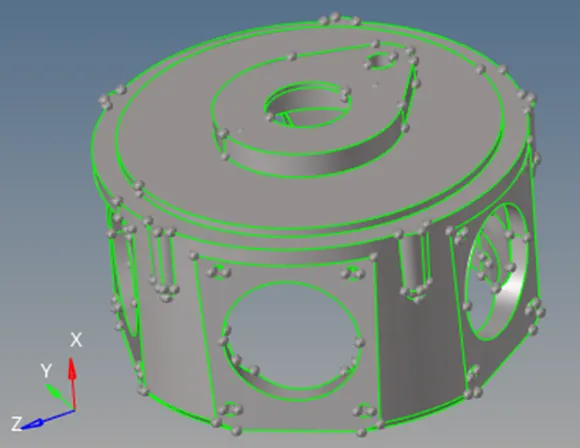
Removed fillets are as shown.
- Topology clean up (Auto clean-up and Manual clean up).
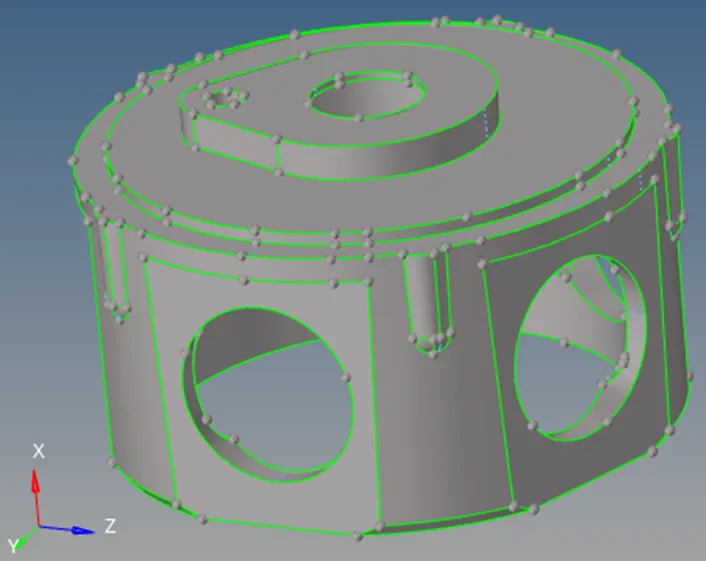
After, Auto clean up, manually removing some unwanted feature lines and removing some fillets using ‘replace’ option under ‘quick edit’ in ‘geom’ page. The final simplified geometry is as shown.
- Mesh with tria elements.
Go to, 2D -> Automesh

Target element length = 3
Mesh type = Trias
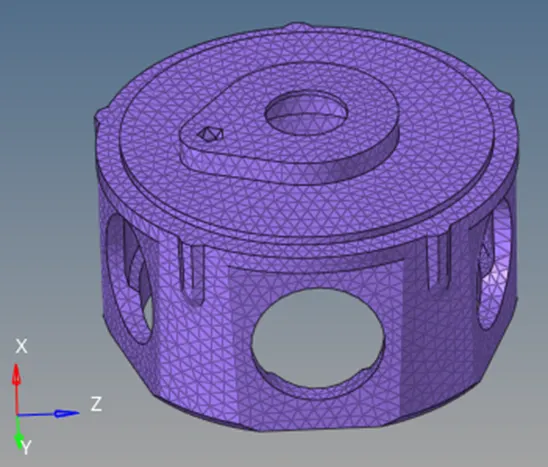
- Check Quality of the mesh.
To check quality press f10 or go to, tools -> check elems
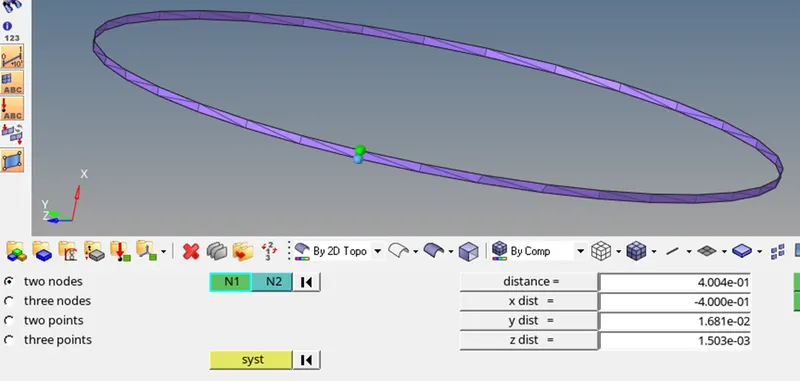
Changing min length to 1 which is deviation from our objective, since there are elements having length far below 2.

On clicking min length, to check how many elements failed min element length criteria. we found,


Now, by doing tweaking some elements by element optimisation, pasting nodes, deleting and then recreating elements etc. we have improved minimum length quality criteria.

These failed elements (for min length criteria) can’t be improved without distorting the original geometry, as shown below. So, this should remain as it is.
- Convert 2D tria elements into 3D tetra elements.
The reason we convert 2D tria elements into 3D tetra elements is because by doing this we have control over the quality of the elements.
Go to, 3D -> tetra mesh -> (select displayed elements) -> mesh
Checking the 3D elements by masking some elements,
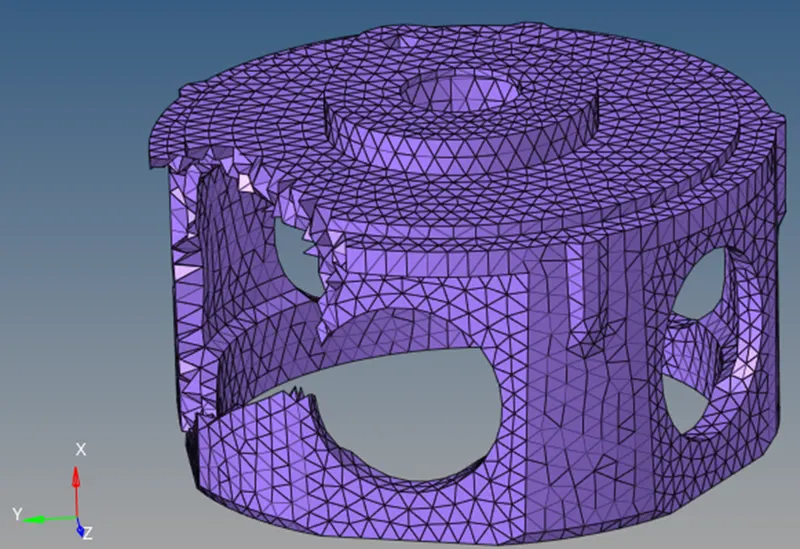
10. Check 3D mesh quality criteria i.e., Tet collapse.
go to, Tools -> check elements -> 3D tet collapse
or press f10

Now, we have to manually solve the failed elements.
For that we need to mask all the elements except failed elements, by first saving the failed elements, then masking all the elements that passes the quality criteria.
Failed elements are shown below:
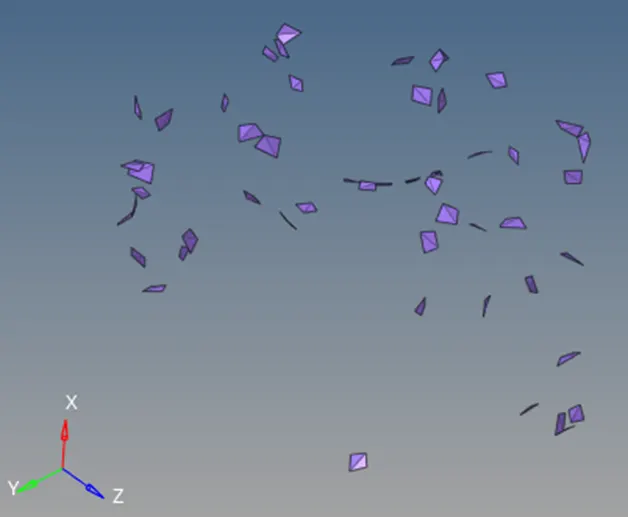
Resolving the failed elements using manual method.
Now, we are manually fixing the failed elements, by altering the length of the sides or by changing their angle of bend.

Eg.
Sometime even after changing the length of the size there is no significant effect on the tet collapse value. So, in that case we need to change the bending angle of the tetra element.
Below example shows how bend angle of element 2 is changed with the help of element 1.
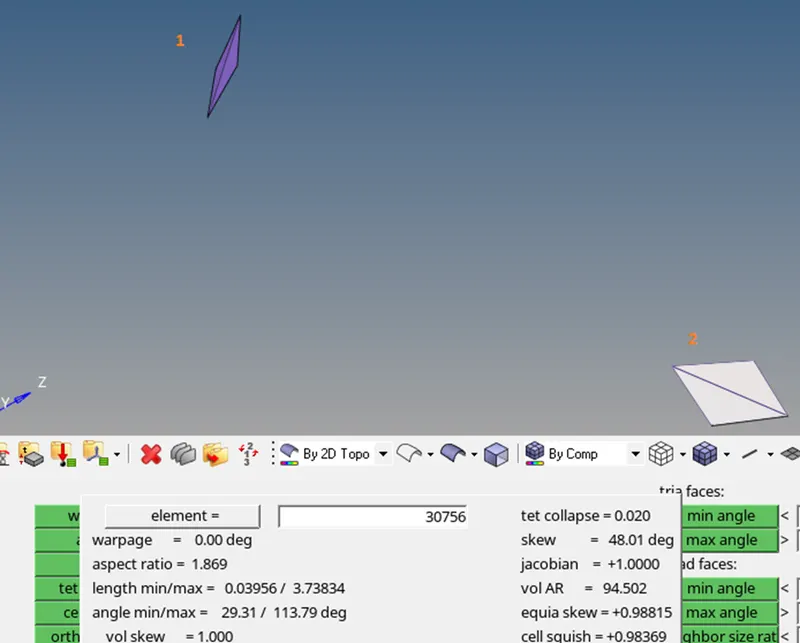
We can see that the element 2, has a tet-collaps of 0.020.
Now we will alter its angle, using element 2 and by using distance option by pressing ‘f4’.
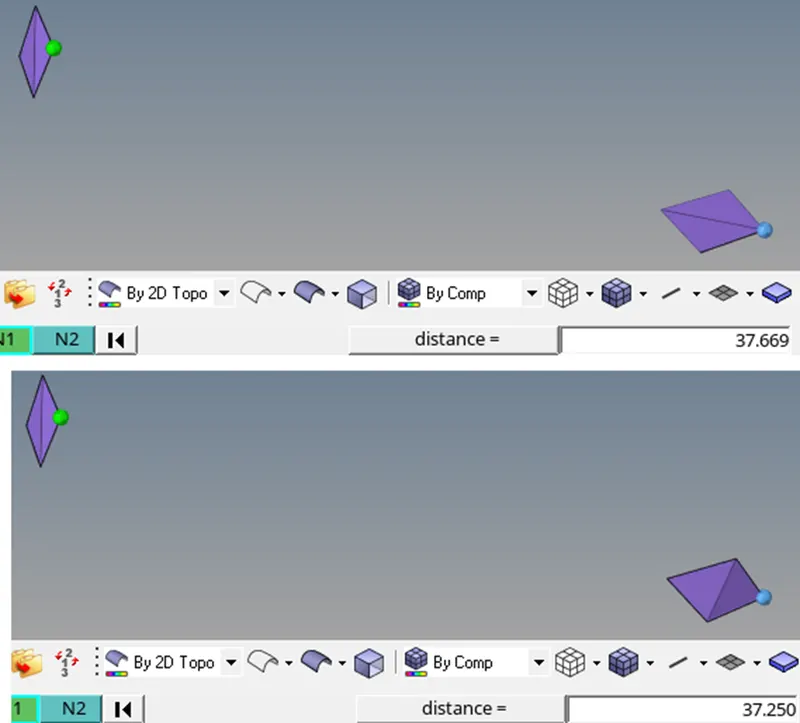
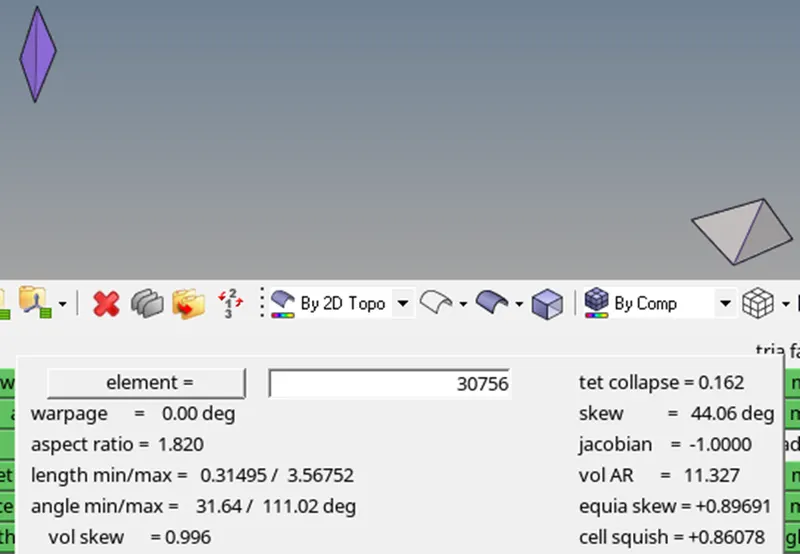
Finally after making some adjustments we have brought ‘Tet-collapse’ faild elemet to zero.

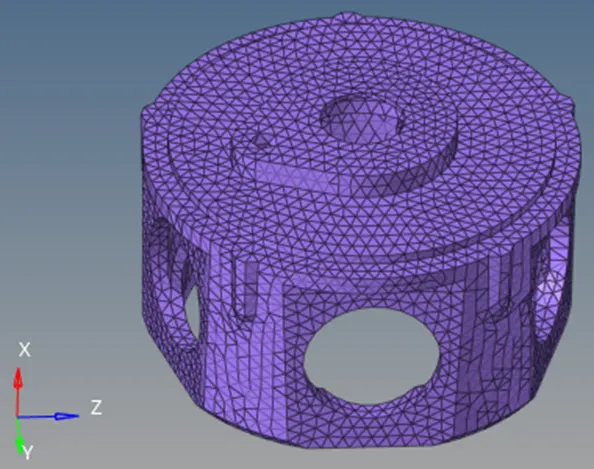
12. The final Model with 3D tetra elements is as shown below:
Model 3:
Tetramesh Generation method: Quick/ Volume Tetramesh
In Quick/ Volume tetramesh, we can directly create 3D mesh of a model without first creating 2D elements. This method is Quick and convenient when we do not emphasis much on the quality of the mesh.
There can be two ways by which we can create 3D mesh, first, we can create shell model or model with only surfaces into 3D by using ‘Tetra mesh’ option in ‘Tetra mesh’ tab in ‘3D’ page. Or we can also convert 3D solid model directly into 3D tetra mesh by using ‘Volume tetra’ in ‘Tetra mesh’ tab in ‘3D’ page.
For this assignment ‘Volume tetramesh’ method is used.
- Imported model.
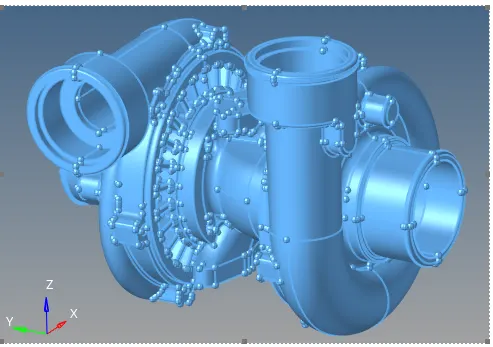
- Topology view.
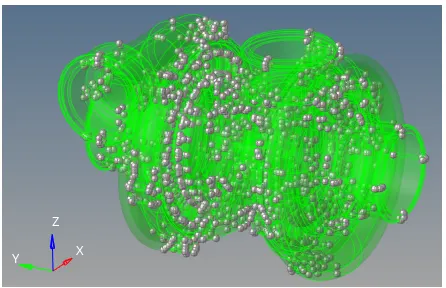
‘Topo view’ shows the geometry consists of solid.
- Deleting Solids.
Press ‘F2’, select all the displayed solids and then delete the solids.
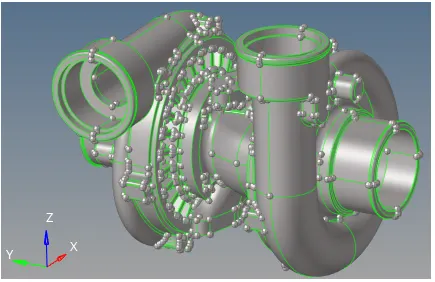
Now we have got only surfaces.
- Inserting quality criterion as per objective.
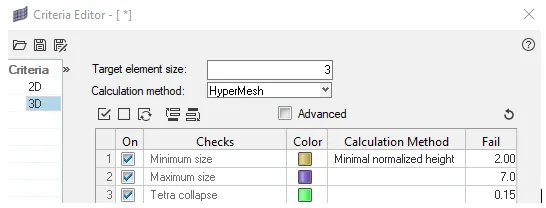
- Isolating the component to mesh them one by one.
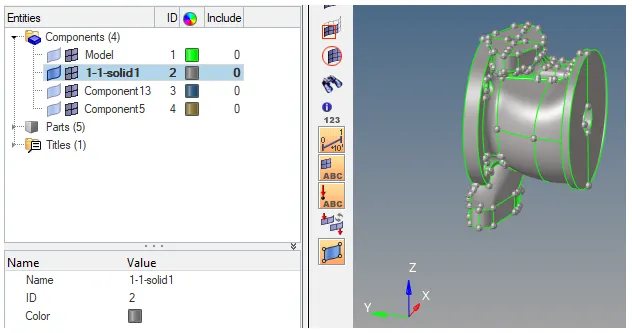
Meshing the component:
Go to, 3D -> tetramesh
Check the tetramesh parameters

Now, go to ‘volume tetra’, select the surfaces and click on ‘mesh’

Meshing is completed. We can see near to the feature line mesh is more refined.
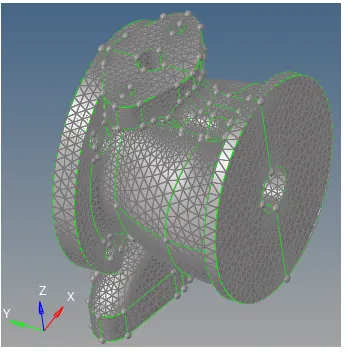
Upon masking we can see the 3D tetra mesh.
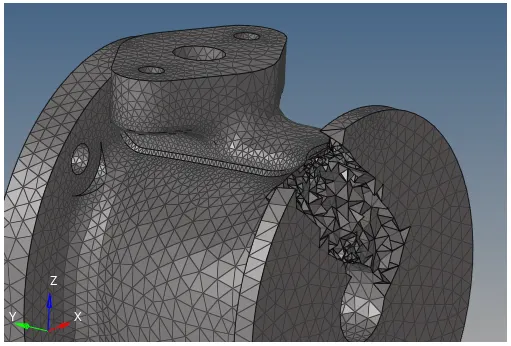
- Checking for any failed elements.
Go to, tools -> check elements -> tet collapse
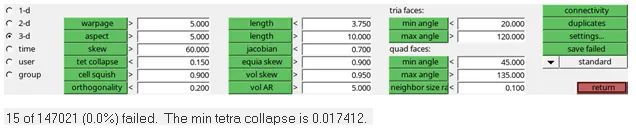
Click on ‘save failed’
Then retrieve the failed elements from the ‘mask’ tab.
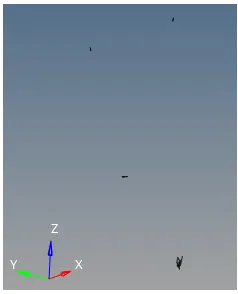
Unmasking the adjacent elements
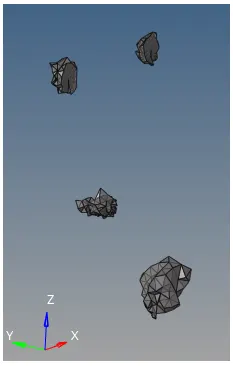
Go to, 3D -> tetra mesh -> ‘tetra remesh’

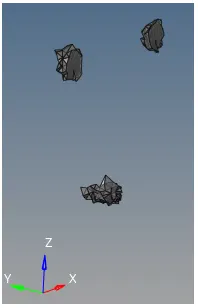
Unmask all and check for ‘tet collapse’

Now, we have zero failed elements.
- Similarly, we can mesh other parts of the model.
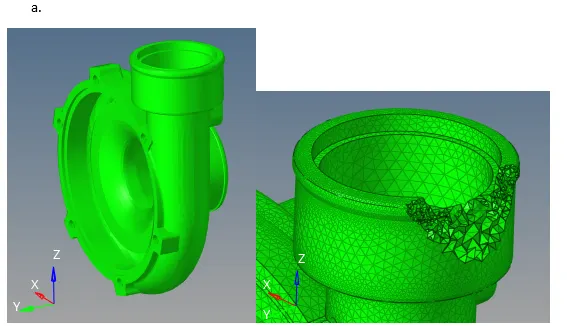
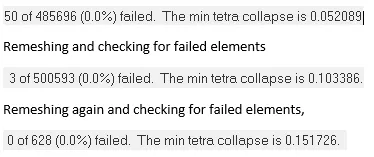
Checking failed elements,

Upon remeshing

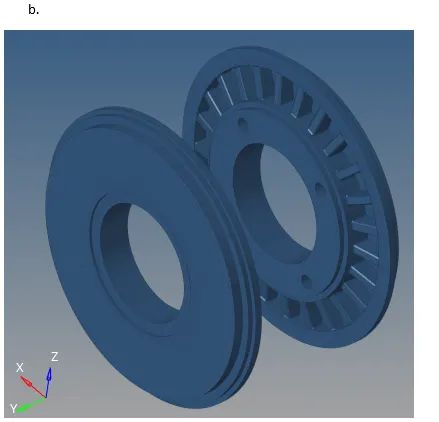
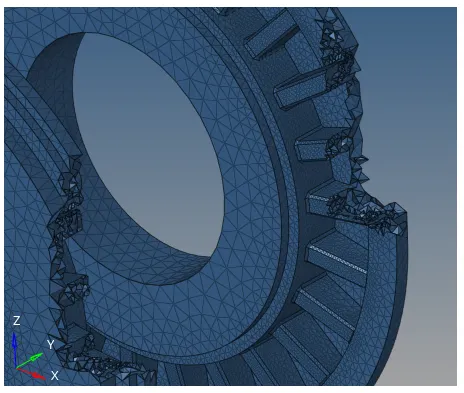
Checking for failed elements,
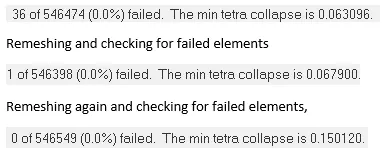
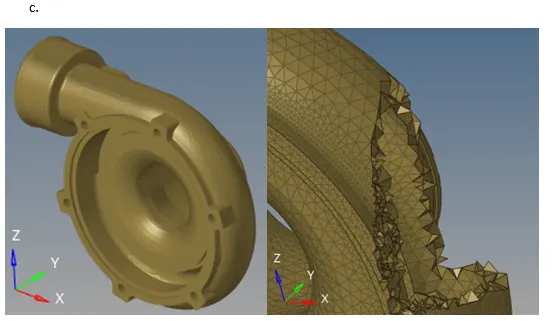
Checking for failed elements,
- Finally, 3D meshed model is as shown: