Week 7 Challenge
WEEK 7 CHALLENGE SOLUTIONS
1) AIM:
1. Modelling of a structure exercise
Model a structure with following details
- Bay spacing 5 m
- Span of Truss 30 m
- Shape of Truss – Pratt Truss
- Slope of truss 20 degree
- Height of the column 15 m
- Floor Beams at 5 m from base
- Secondary beams at 1.5 c/c
- Length of the building 50 m
- Column Supporting Floor Beam @ 6 m c/c Along the frame
Solution:
Launch Staad.pro Connect
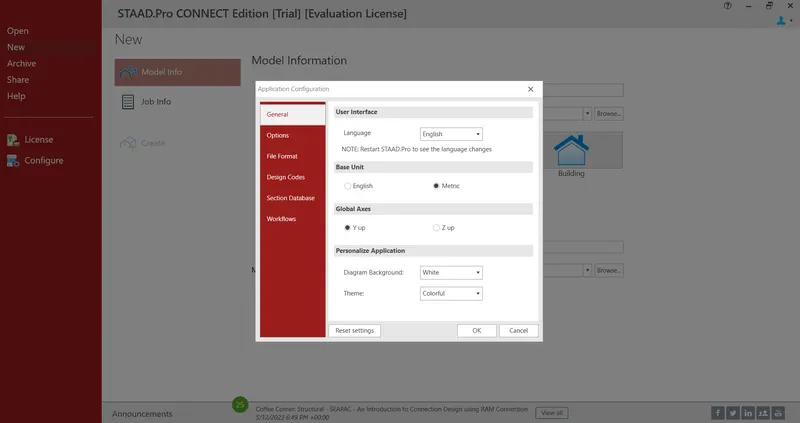
Click on Configure. Choose base unit as Metric and Global axes as Y up
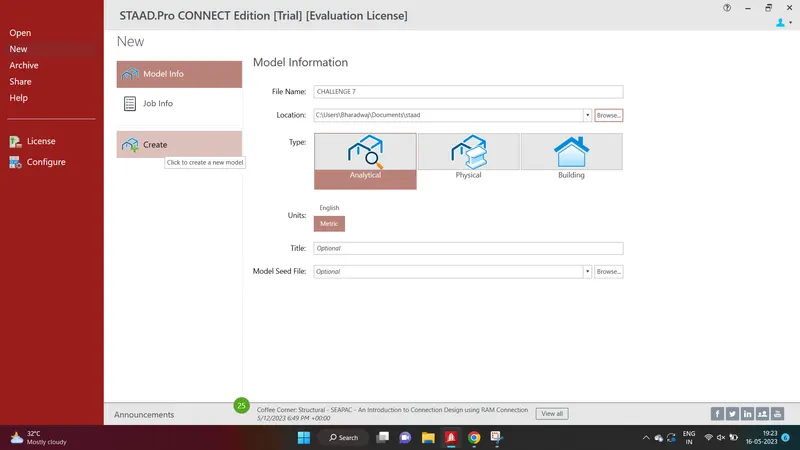
Enter the File name and click on Create
Create a node at (0,0,0)
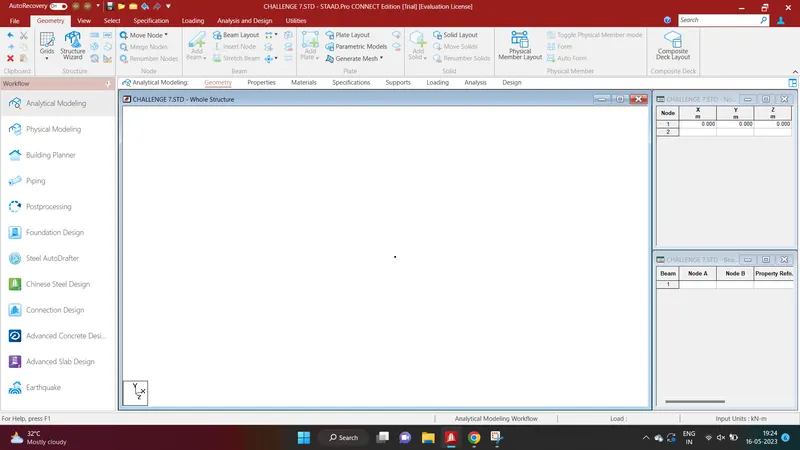
Create another node at (15,0,0)
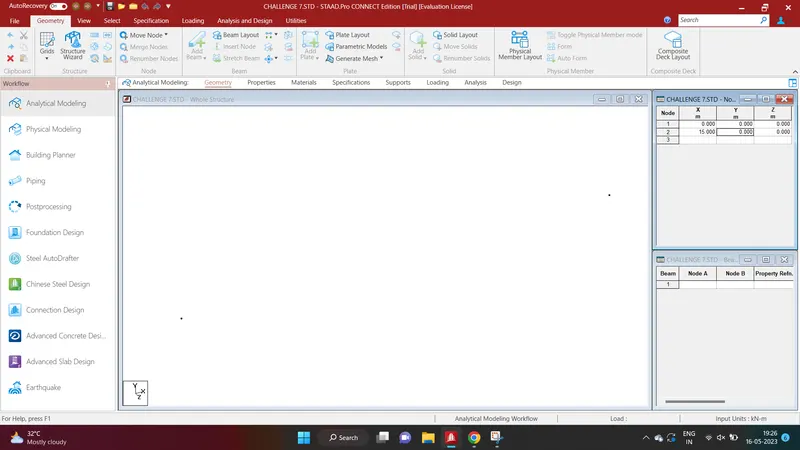
Geometry - Add beam
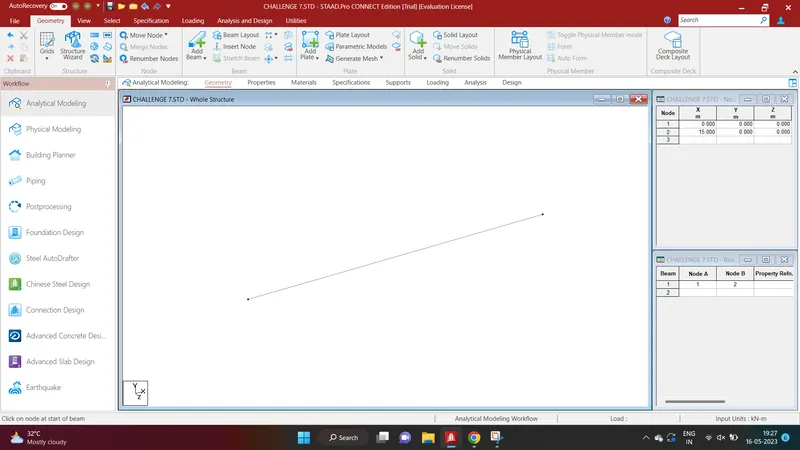
- For given slope 20°, height of Truss arrived as 5.45955m.
- Then insert node at height 5.45955 (15,5.45955,0)
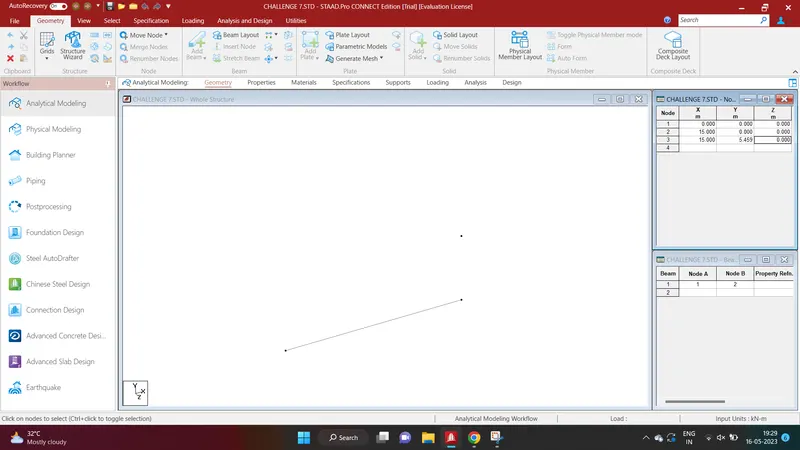
Connect the nodes by beams
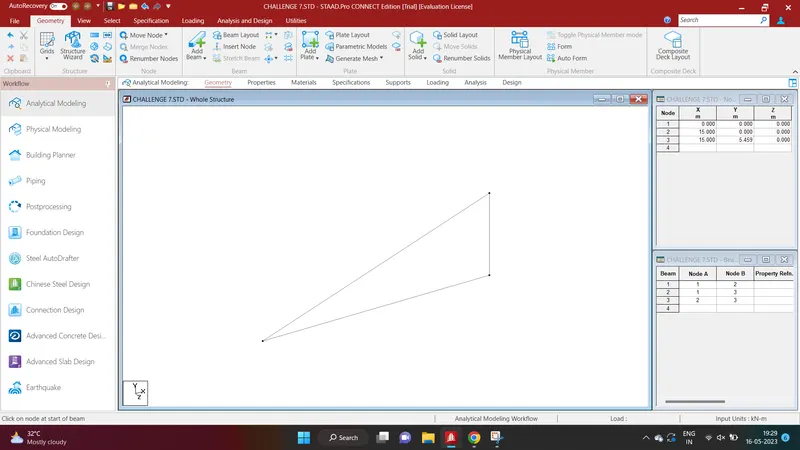
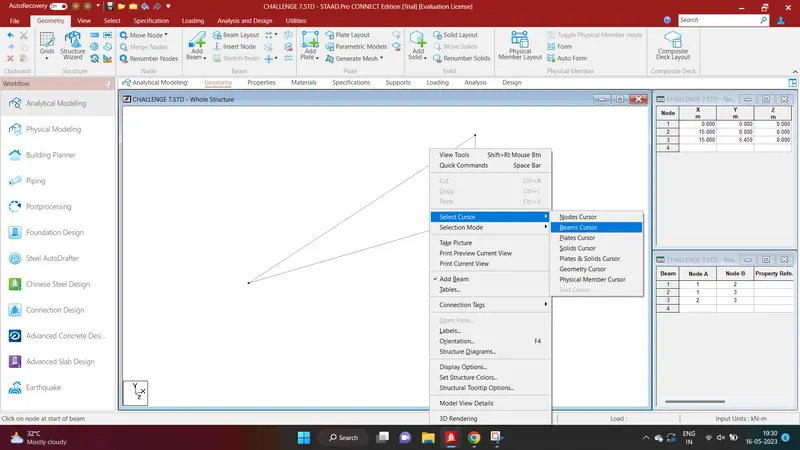
Right click - Select cursor - Beam cursor
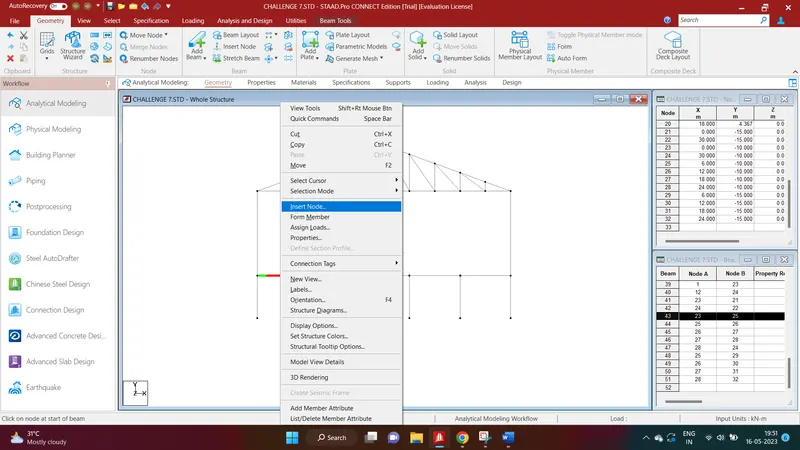
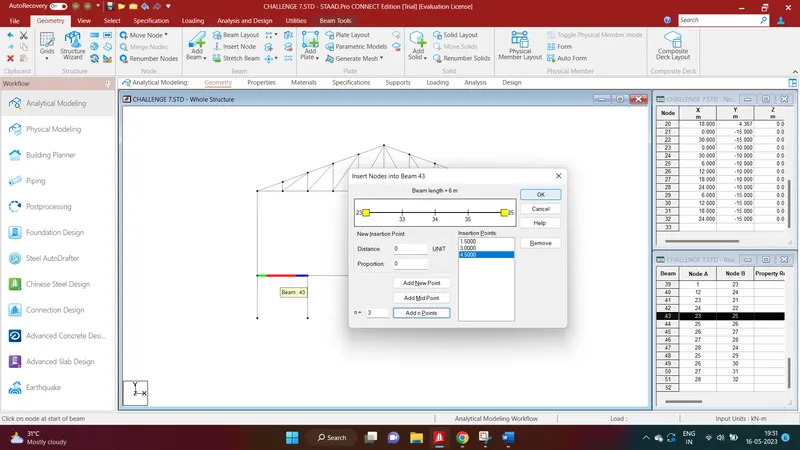
Click on Insert Node
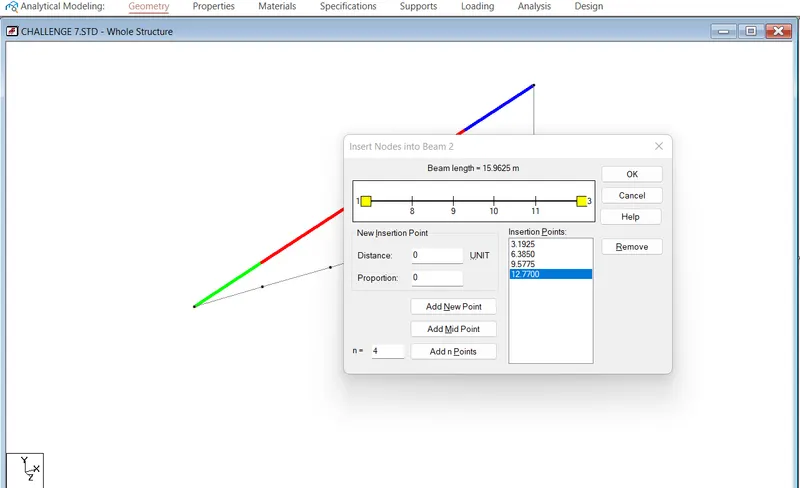
0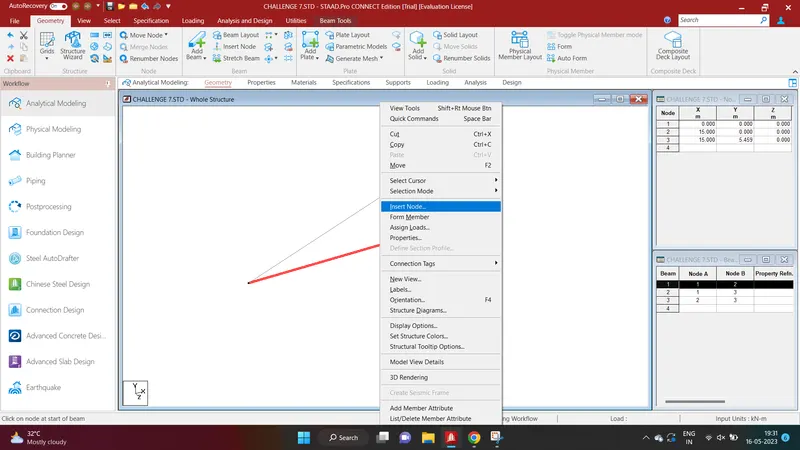
Enter 4 and click Add n points to add 4 points to the beam
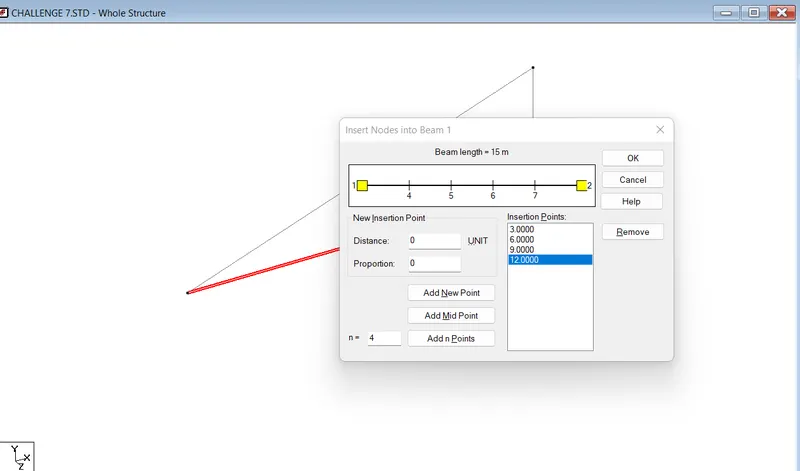
Repeat the same for top chord also
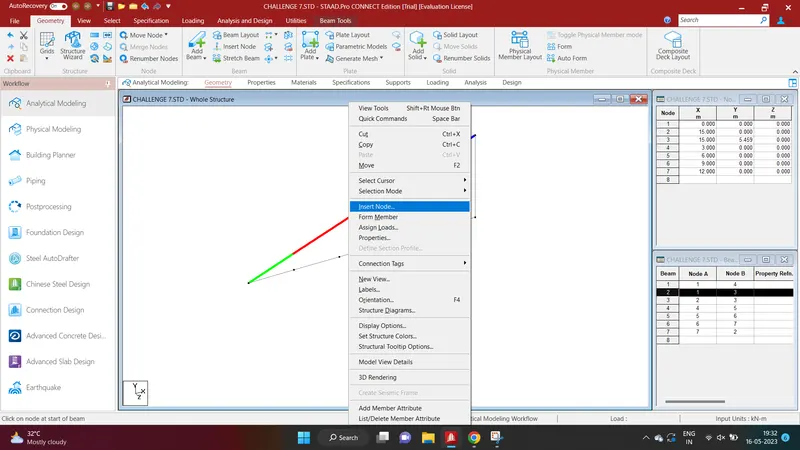
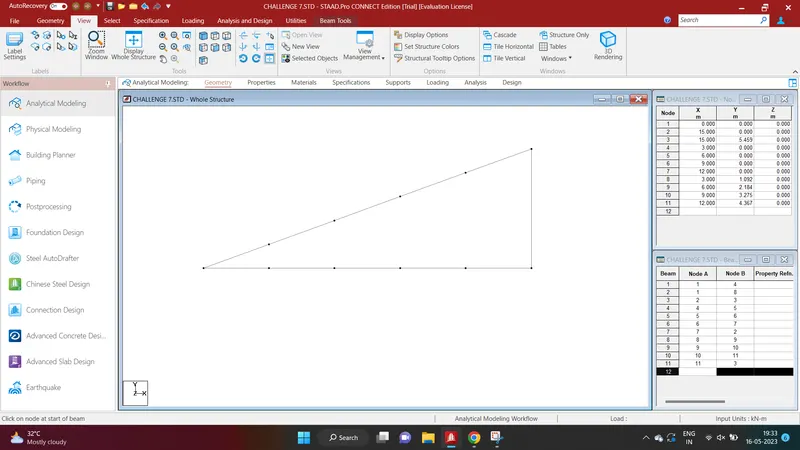
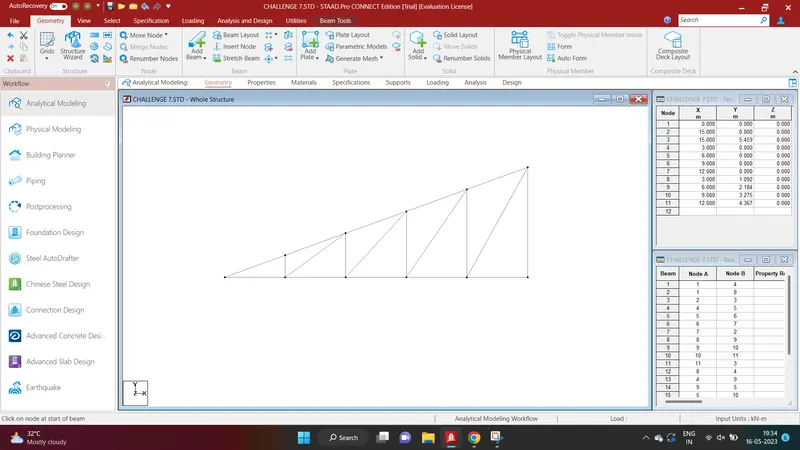
Connect the nodes by beams appropriately
Select the truss . Geometry - Mirror
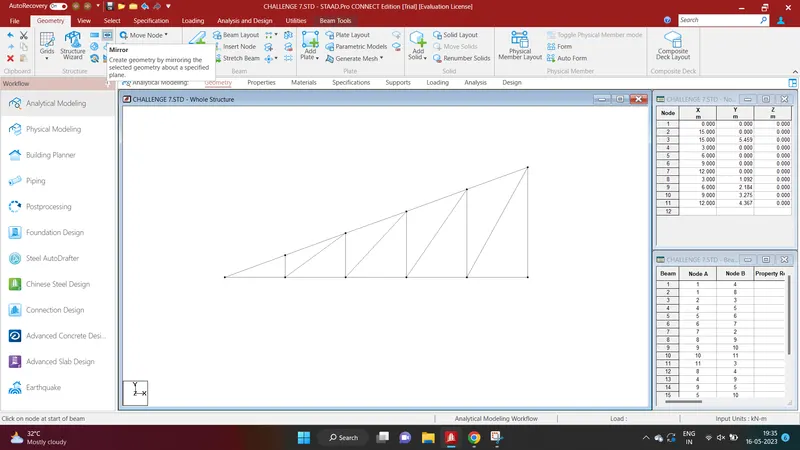
Click on Node on Plane - Pick the bottom most node
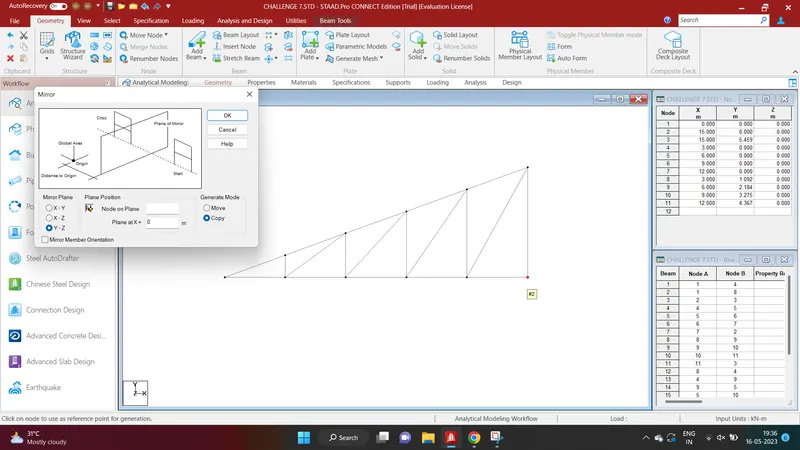
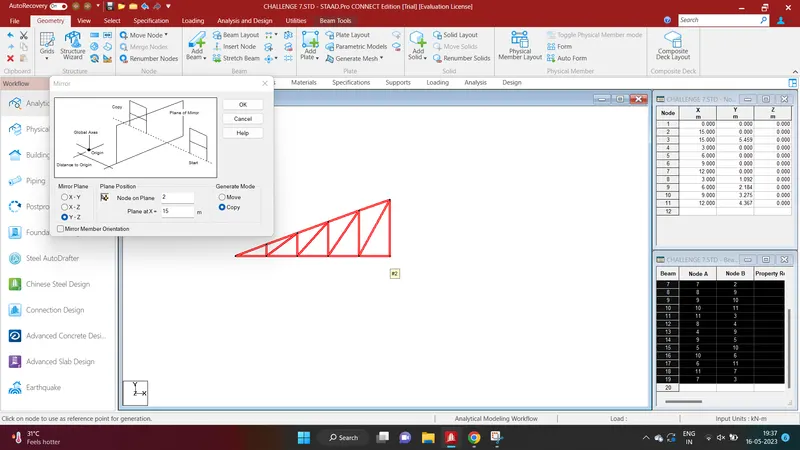
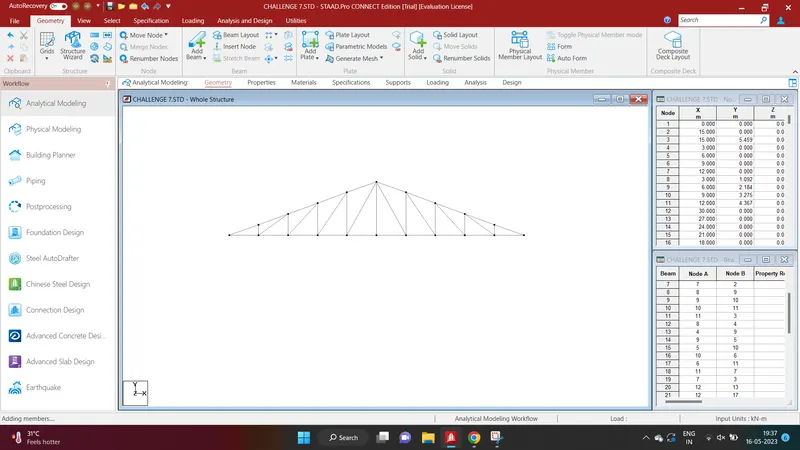
Select the bottom corner nodes
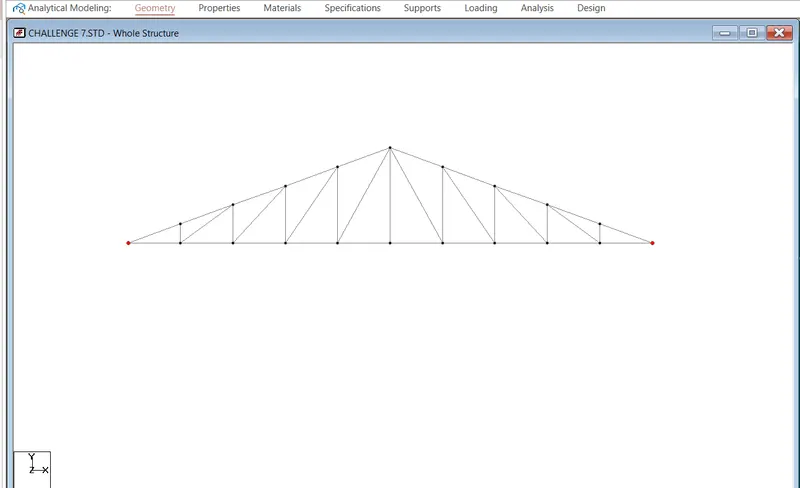
Copy - Paste
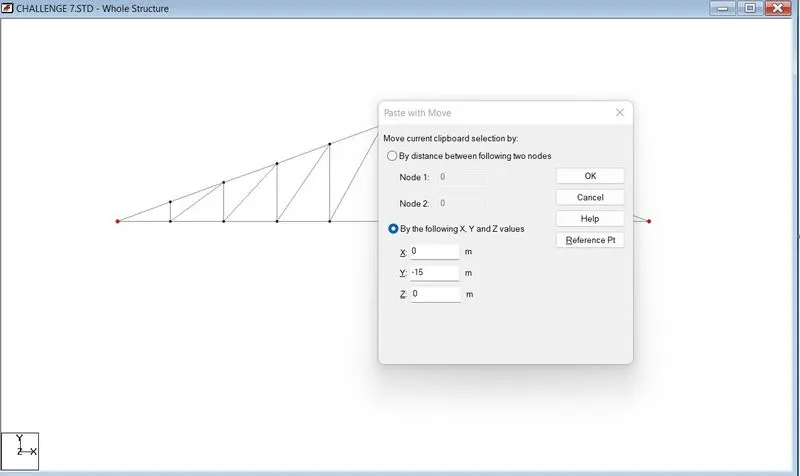
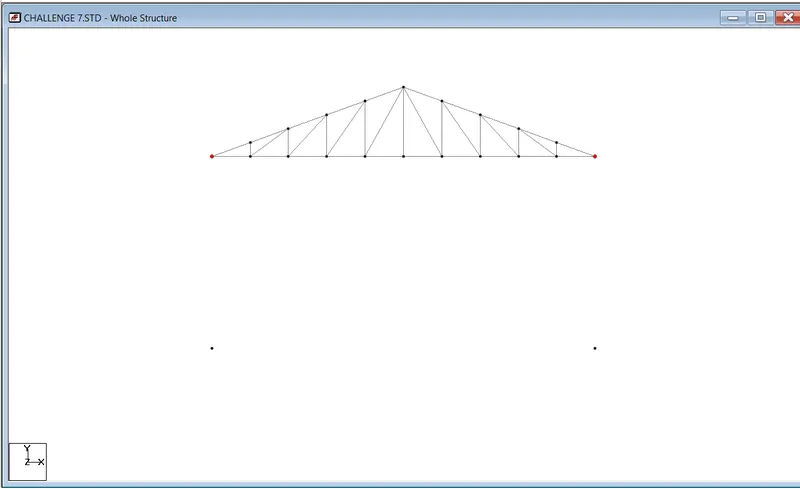
Connect the nodes to form exterior columns
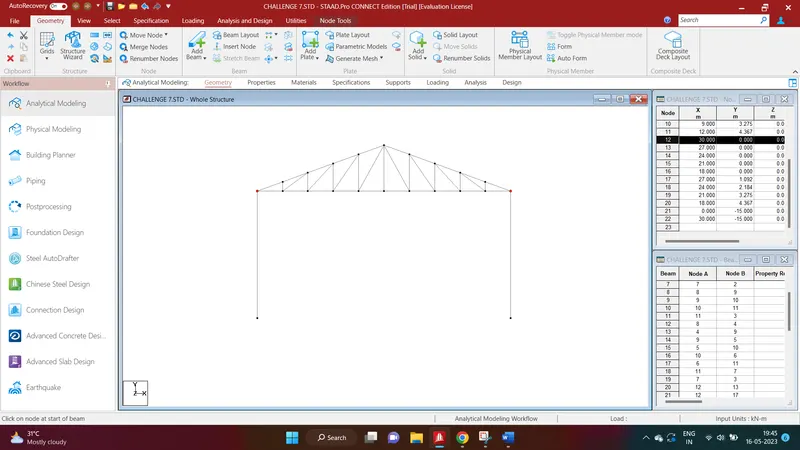
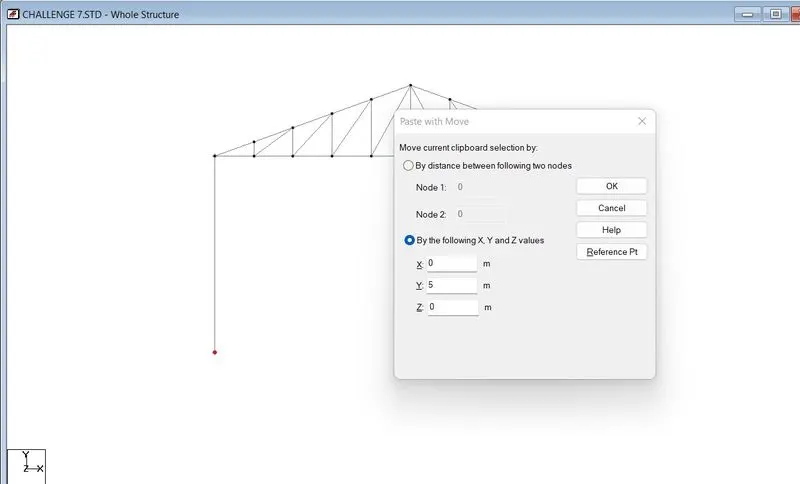
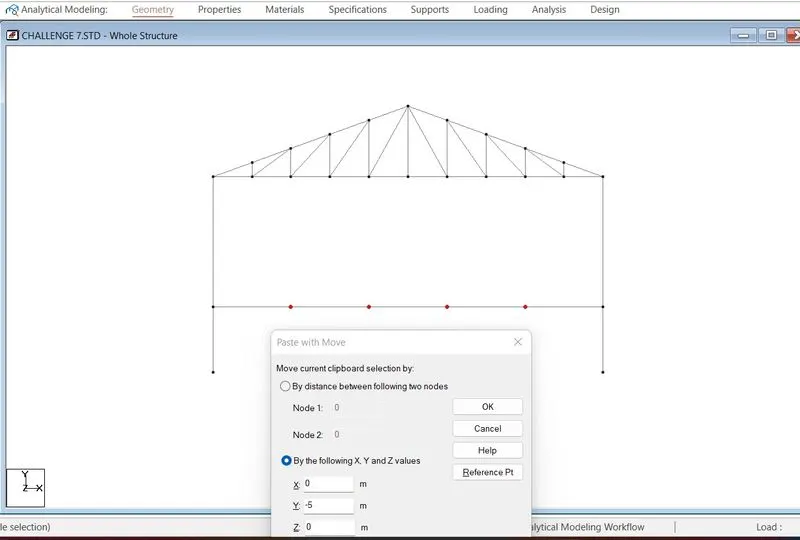
Copy the bottom nodes and paste it at 5m above in the Y direction
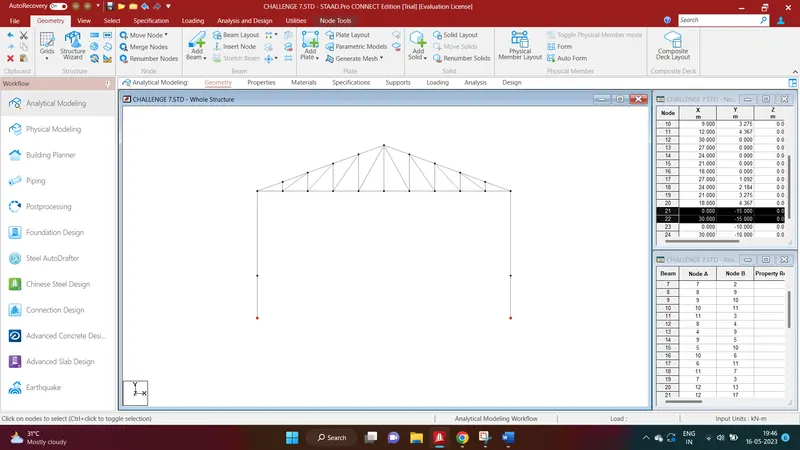
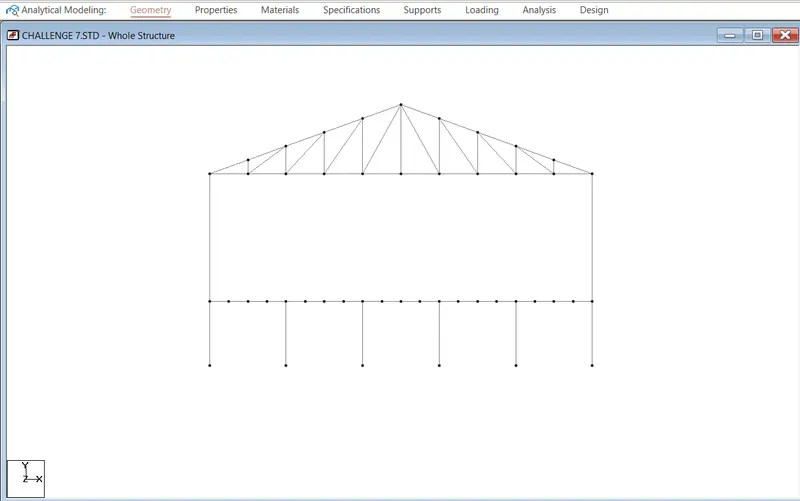
Connect it with beams
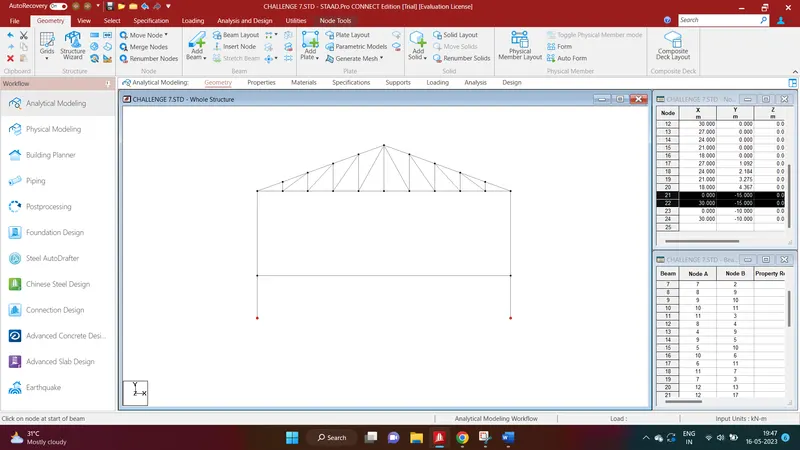
Beam cursor - Insert node
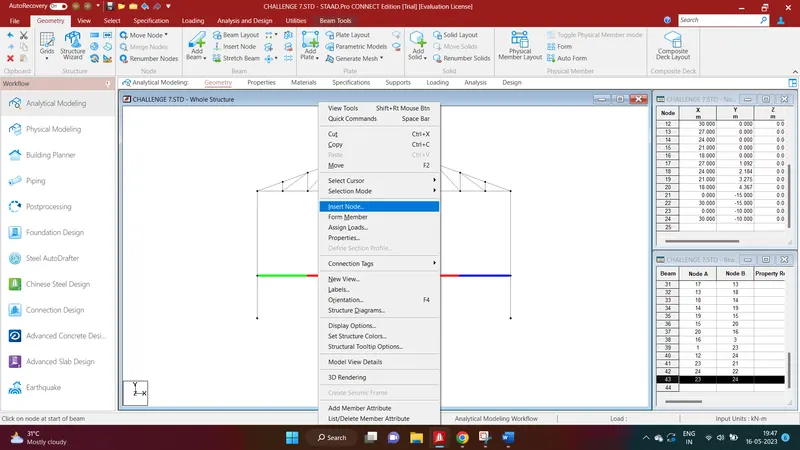
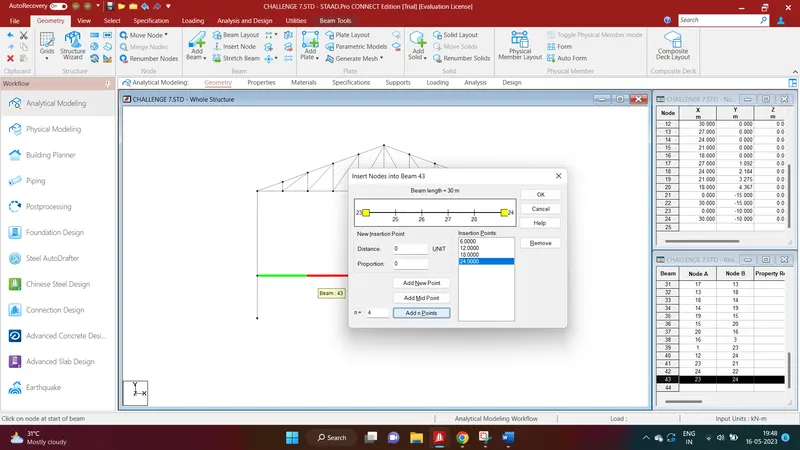
Select the interior 4 nodes and copy paste at -5m below
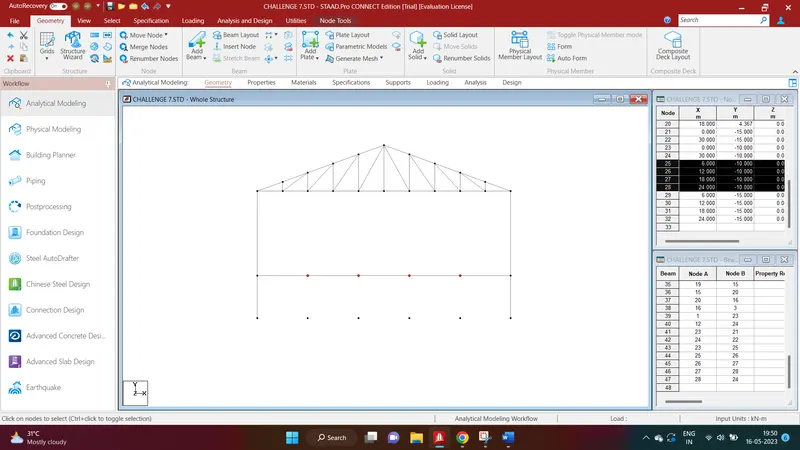
Connect it with columns
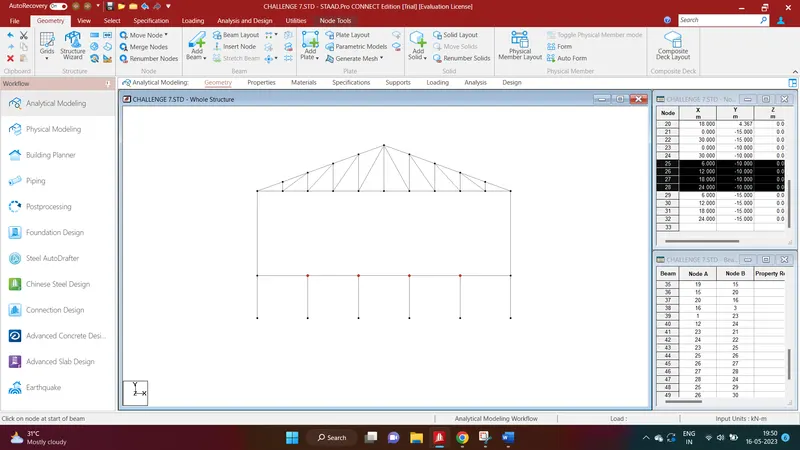
Select each beam and insert 3 nodes in it
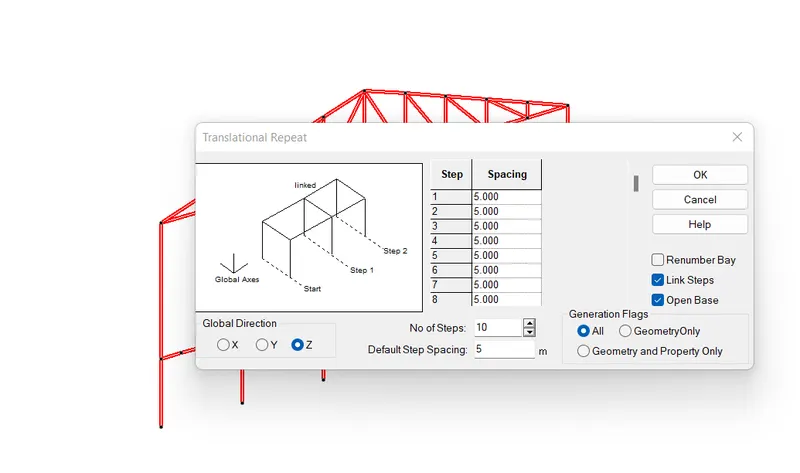
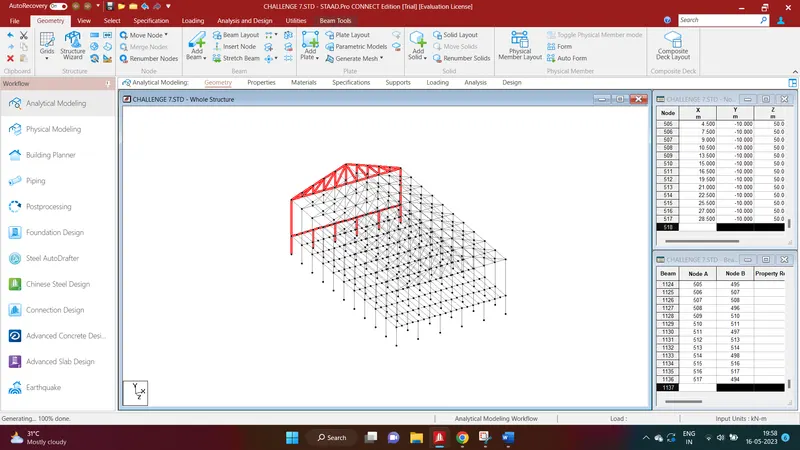
Geometry - Translational repeat
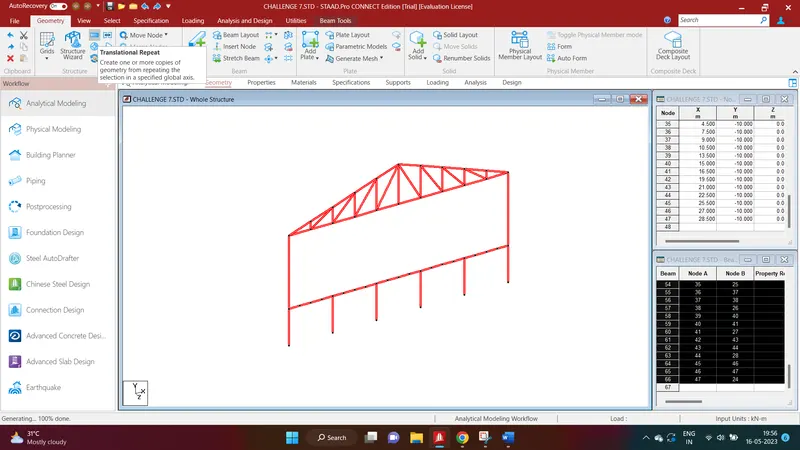
Along Z with spacing as 5m. Click on Link steps and Open Base
2) AIM: Applying Specification and member property for modelled structure
Apply beam steel specification as mentioned below.
- Columns - ISMB 500
- Truss -Top & Bottom chord – ISA 110x110x12, Diagonal member – ISA 75x75x8
- Purlins – ISMC 150
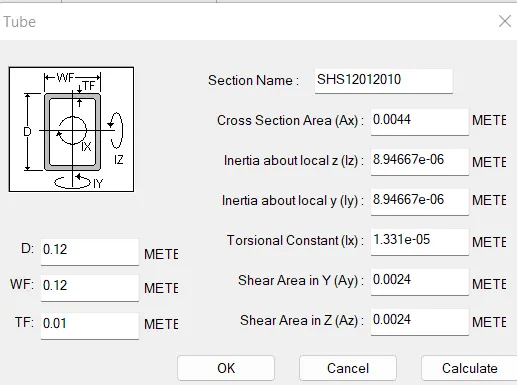
- Tie Beam – SHS – 120x120x10
- Floor Primary beams – ISMB 300
- Secondary beams - ISMC 150
- Floor beam supporting columns – ISMB 300
- Assume bottom of the main column as Fixed support & intermediate floor beam supporting column as pinned
- Orient the Angle sections by applying Beta angle.
Solution:
Go to Properties workflow - Section database
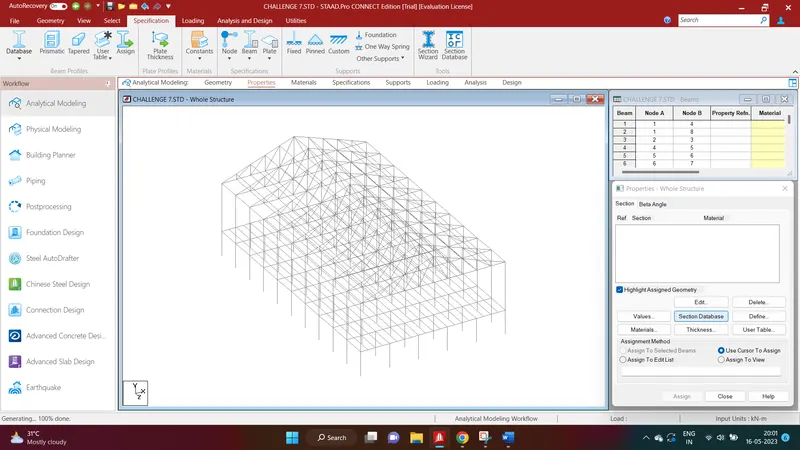
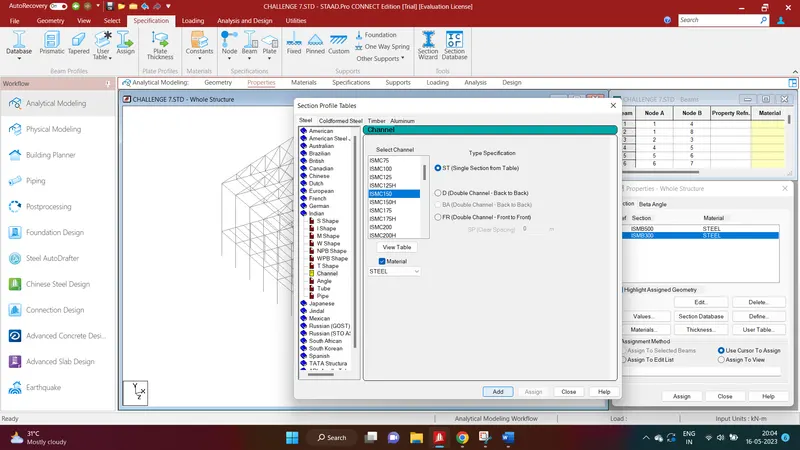
Choose Indian - ISMB 300 and ISMB 500. Click on Add.
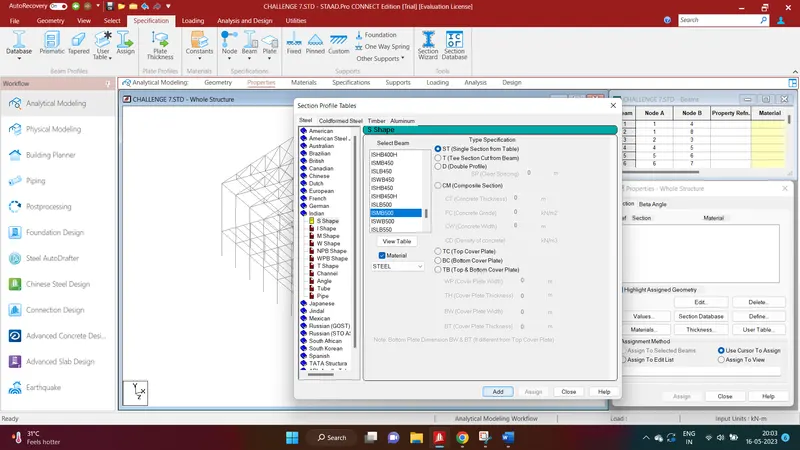
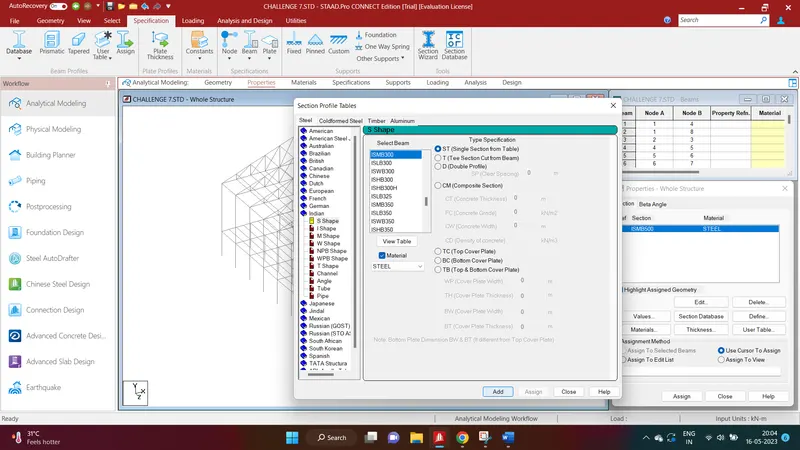
Similarly add other required sections
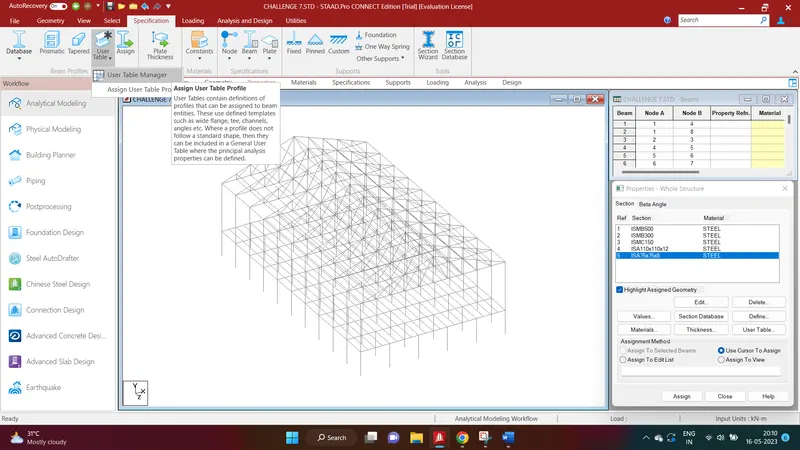
For adding SHS section, go to User table - User Table Manager
Add the details
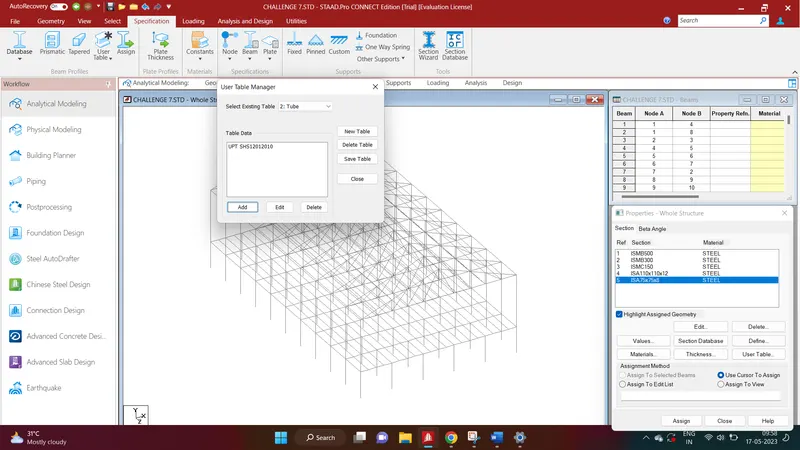
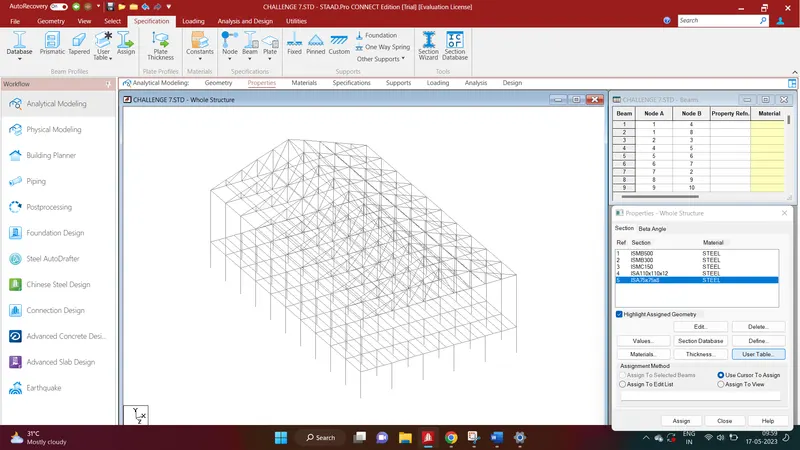
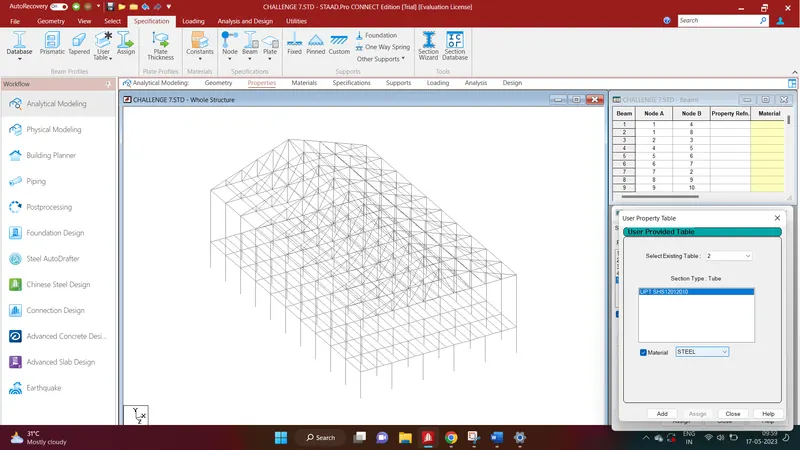
Click on User Table in the properties window and add the tube section created
View - Front view.Click on the exterior columns.
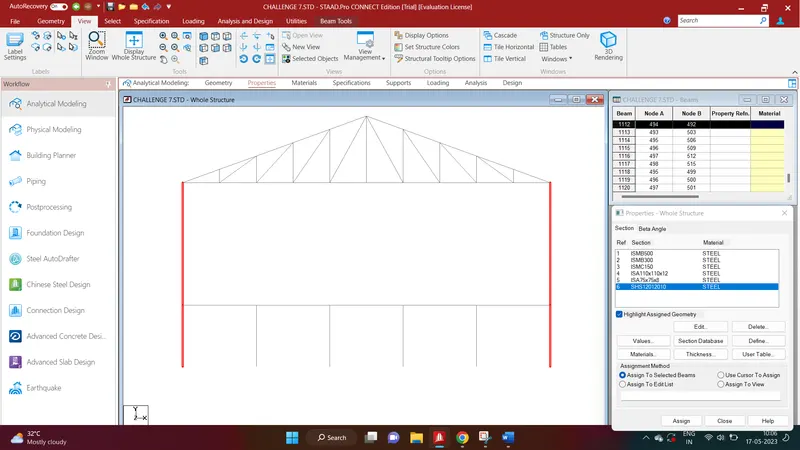
Check in 3D
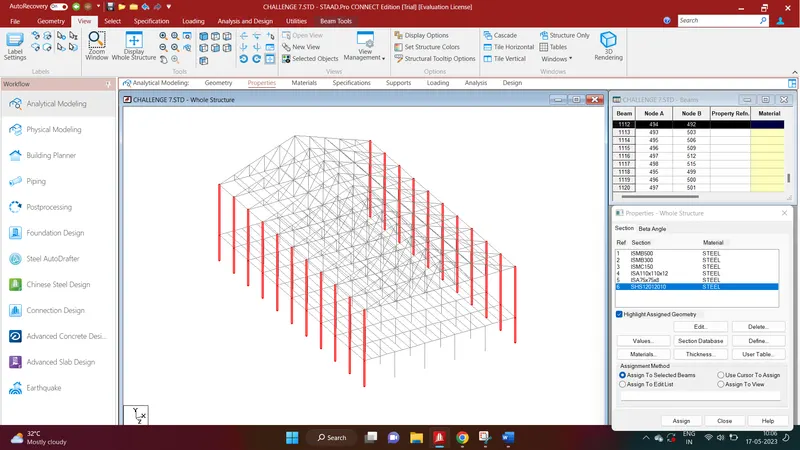
Right click - New View
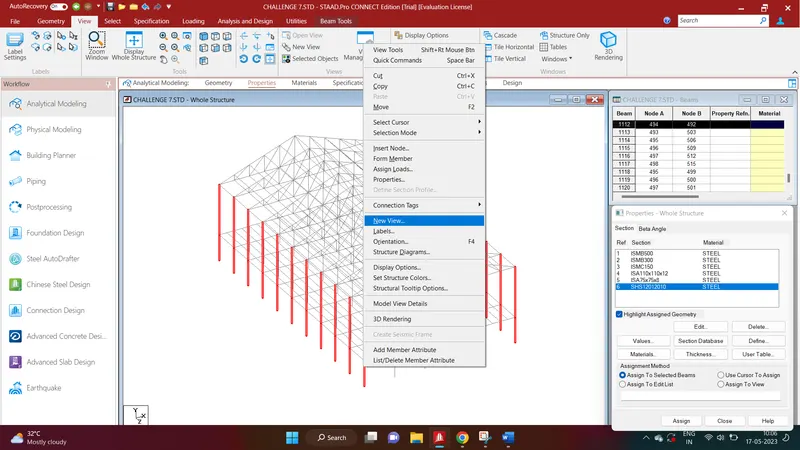
Click on the required section - Assign to selected beams- Assign.
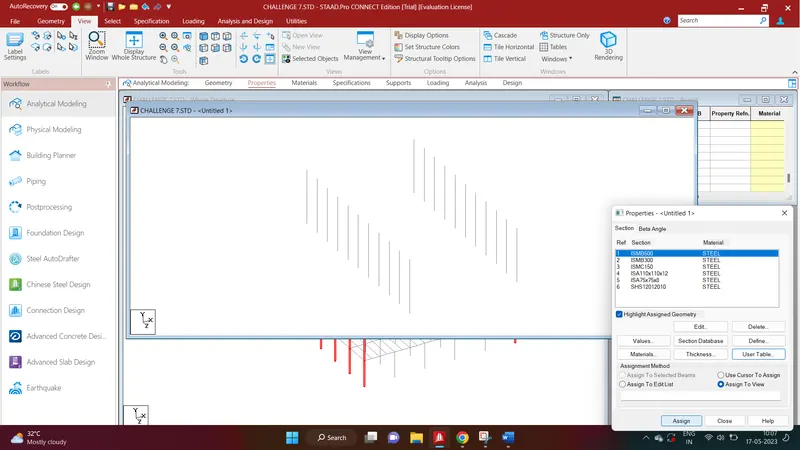
Select the top chord and bottom chord from the front view and assign the members
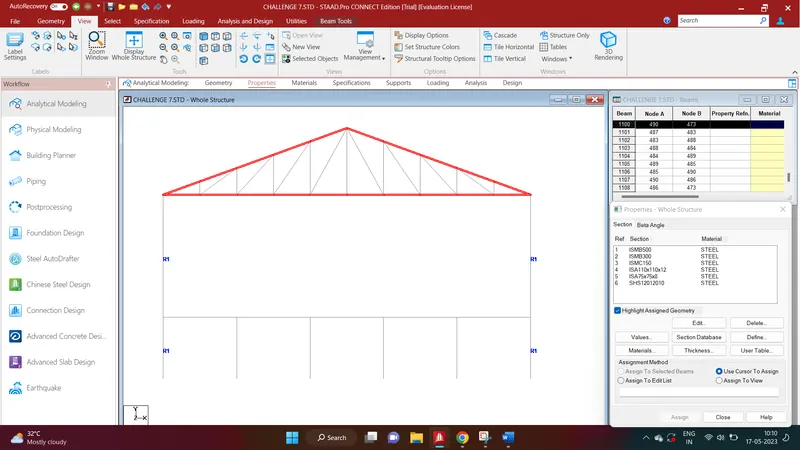
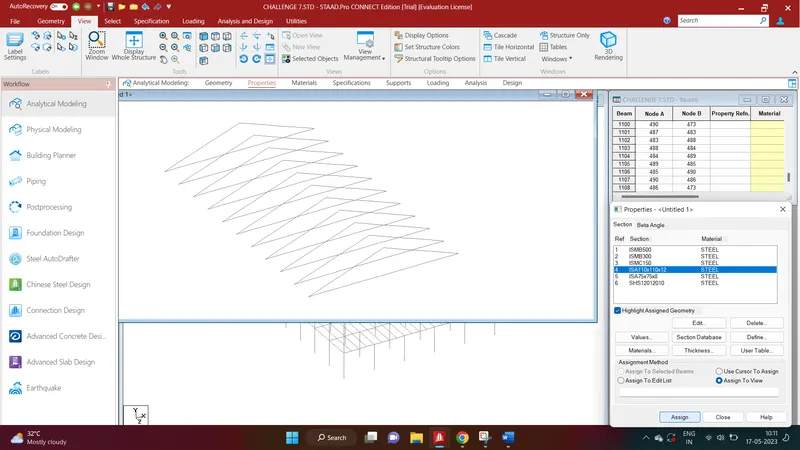
Select the diagonal members and assign the property
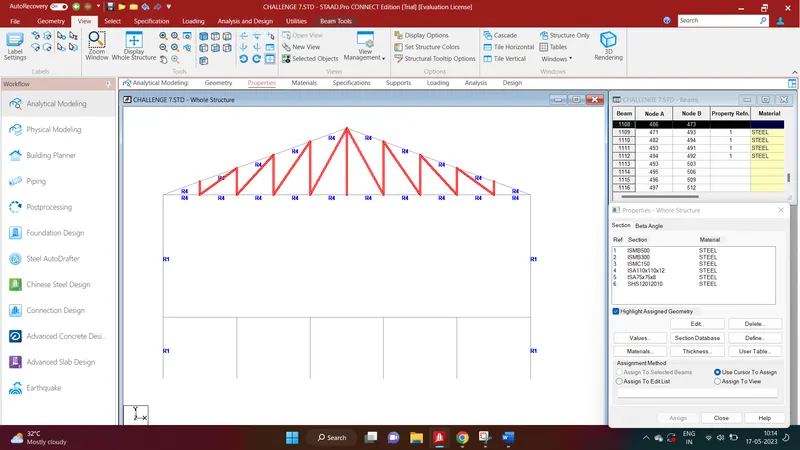
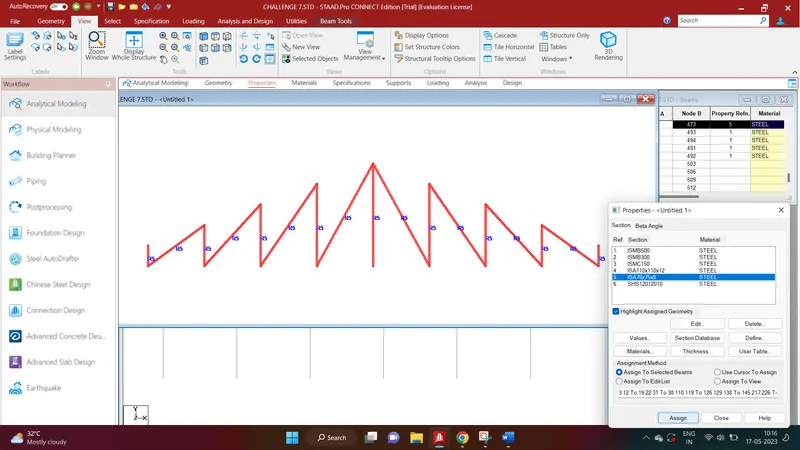
To select purlins, go to front view, select the top portion. Right click to New view
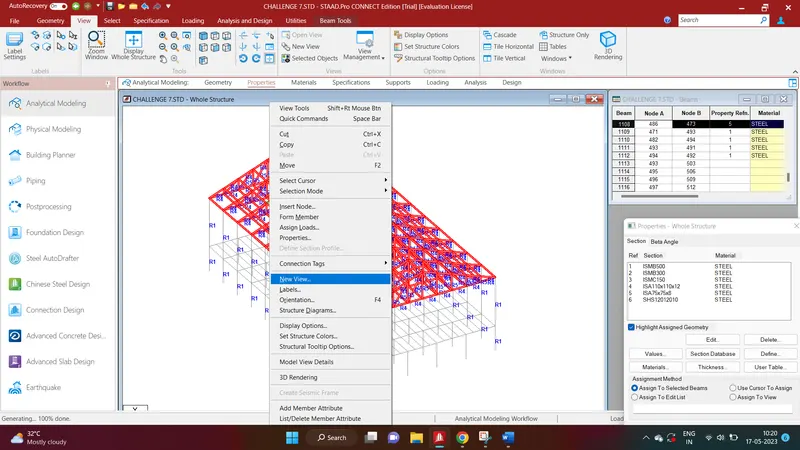
Select - Beams - Parallel to Z axis. Then assign the property
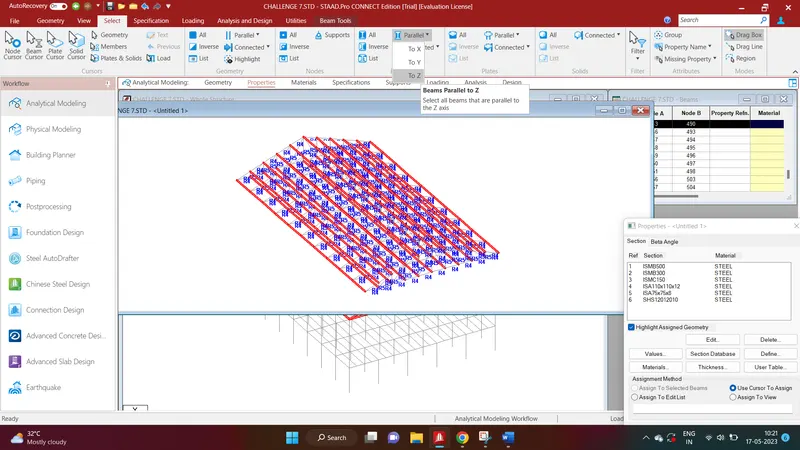
Now select the bottom chord alone from the front view. Check in 3D. Open in New view
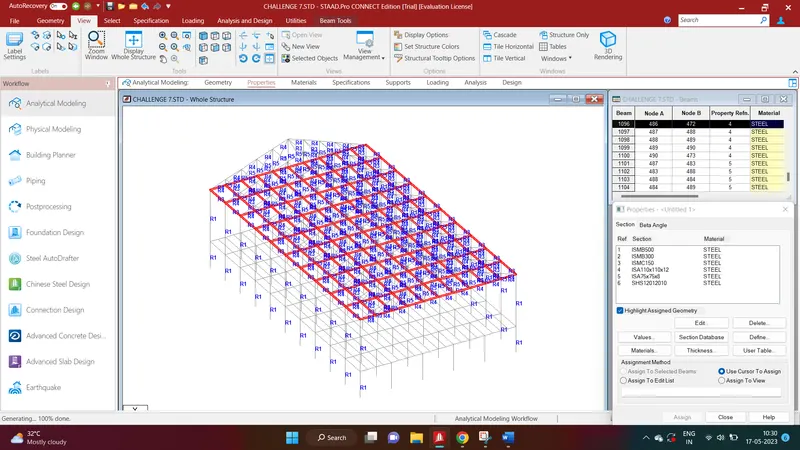
Select - Beams - Parallel to Z and assign
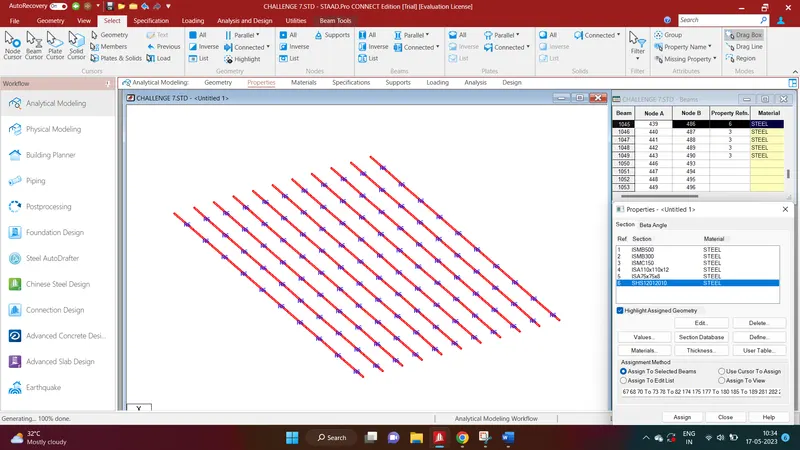
Select the floor beam
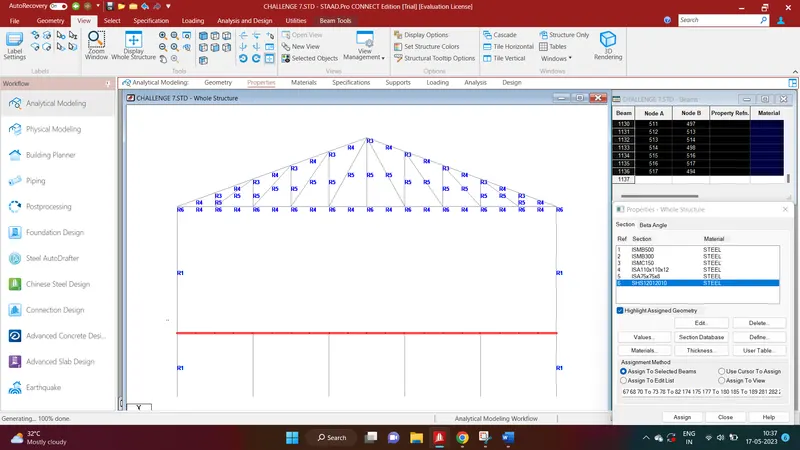
New View. Select Beams parallel to X and assign
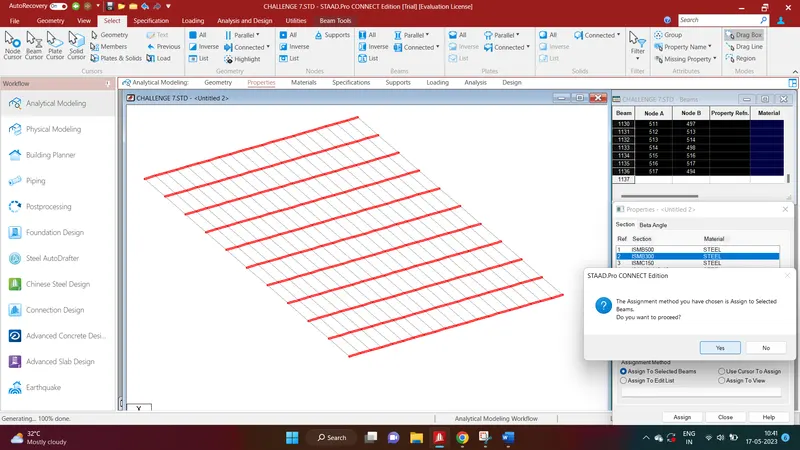
Go to View - Top view and select only the primary beams one by one
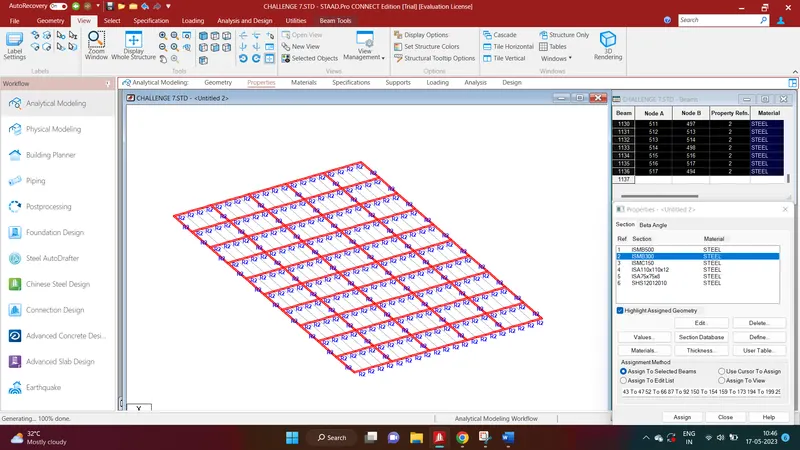
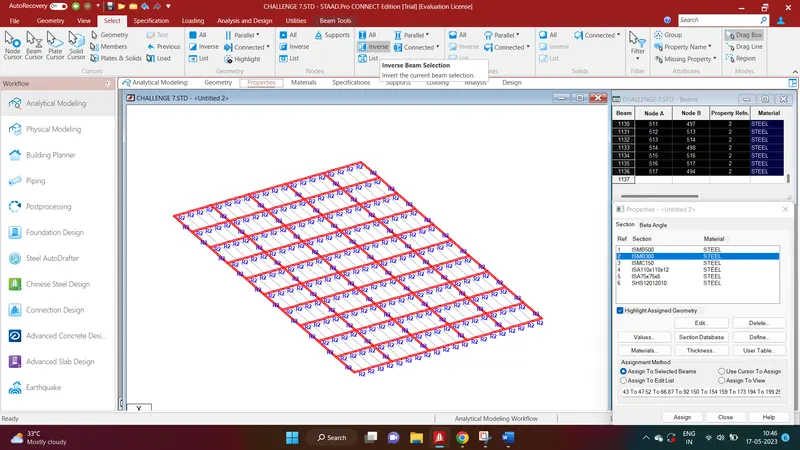
View - Top view - Select beams parallel to Z. Select secondary beams carefully and assign
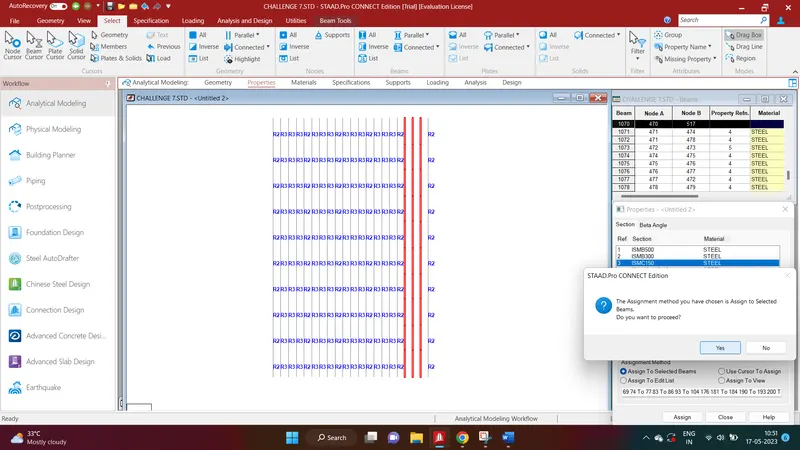
Select the floor beam supporting columns from the front view
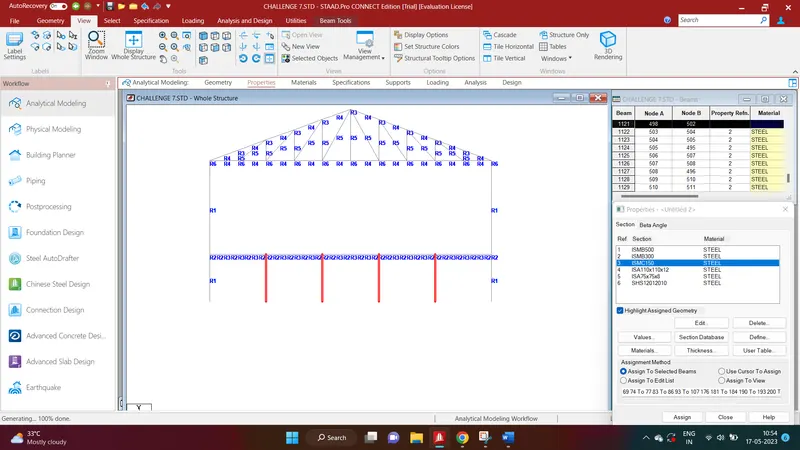
Assign the property
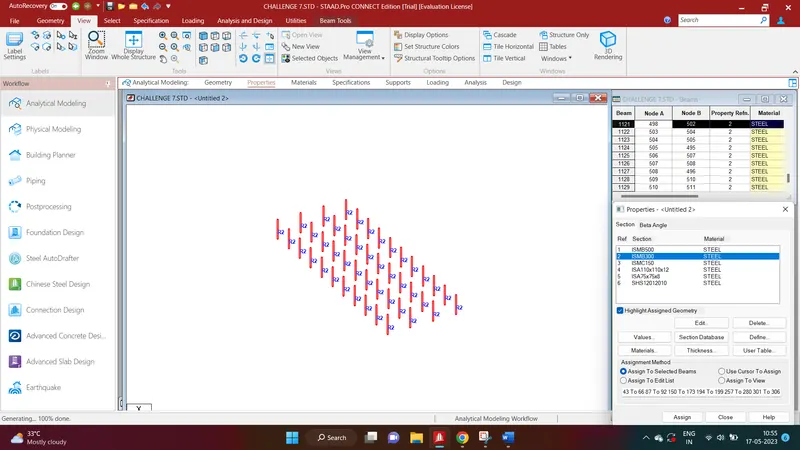
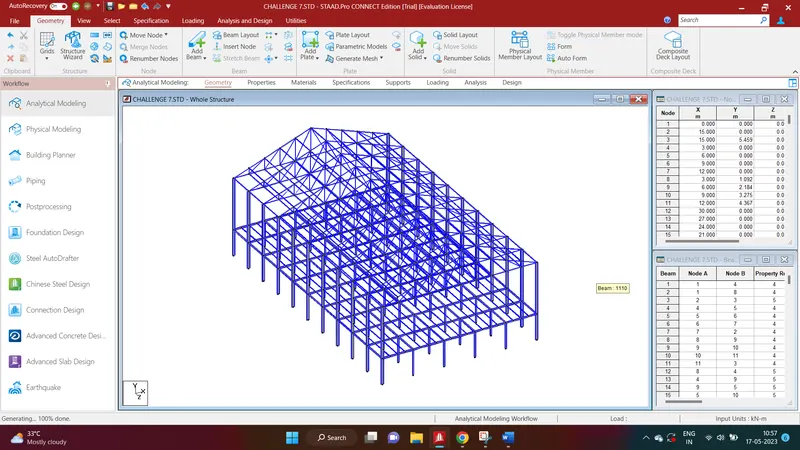
Ctrl + 3 to see the rendered view
Beta angle - Create Beta angle
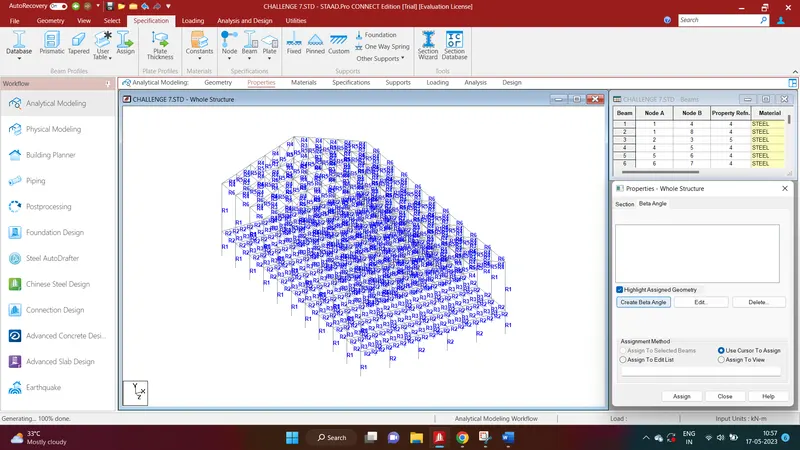
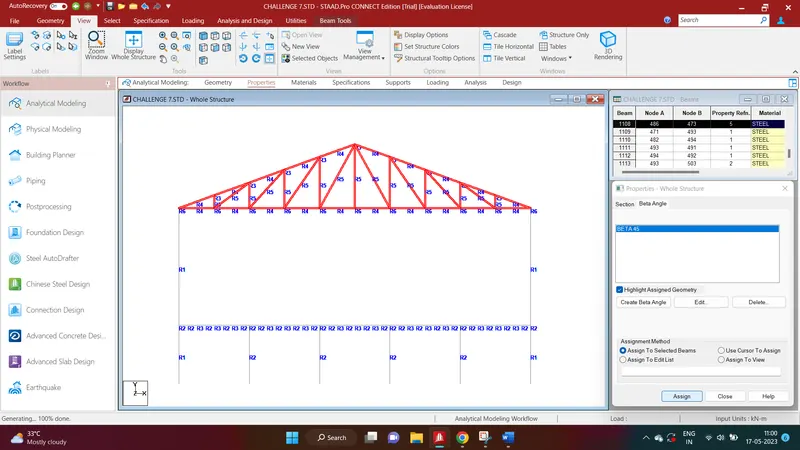
Angle 45. Select all the angle sections
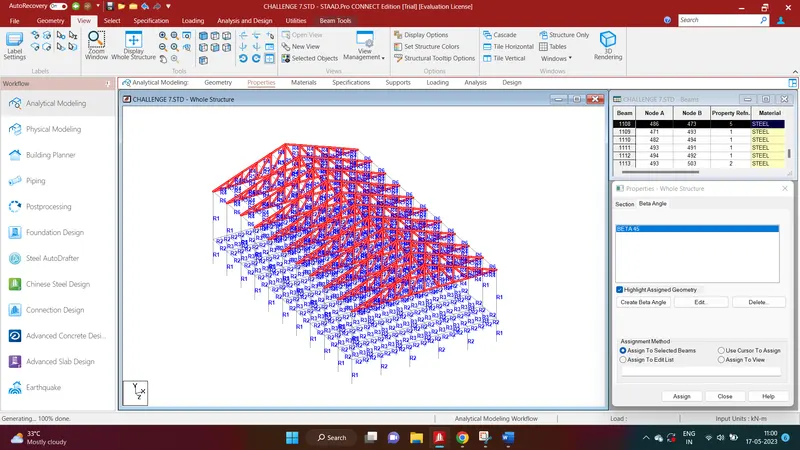
Assign the property
Go to Supports workflow. Add fixed and pinned supports
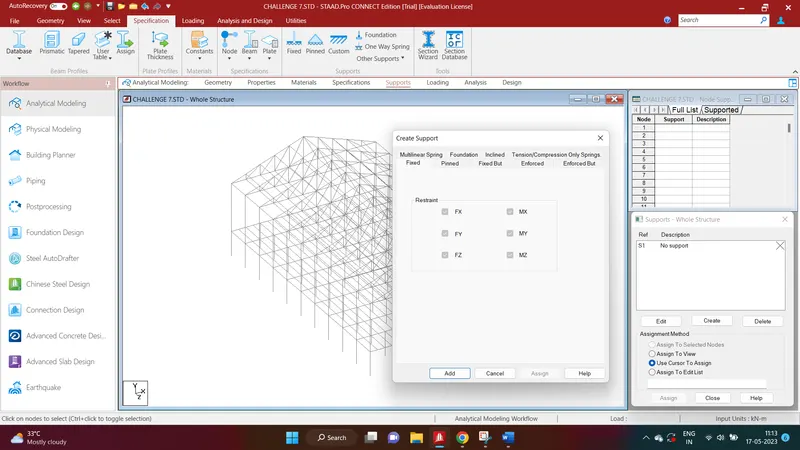
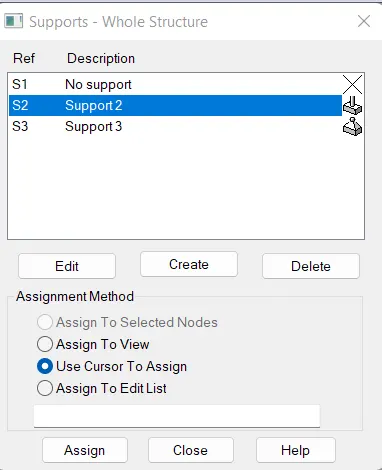
Nodes cursor - Select exterior nodes and assign fixed support and interior nodes to assign pinned support
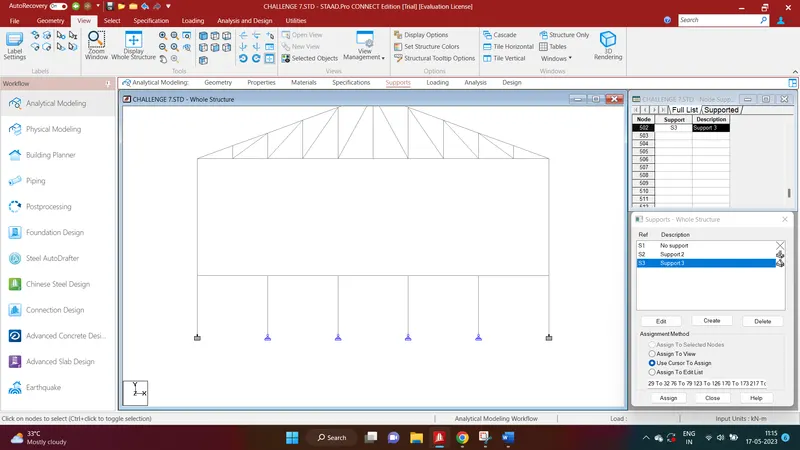
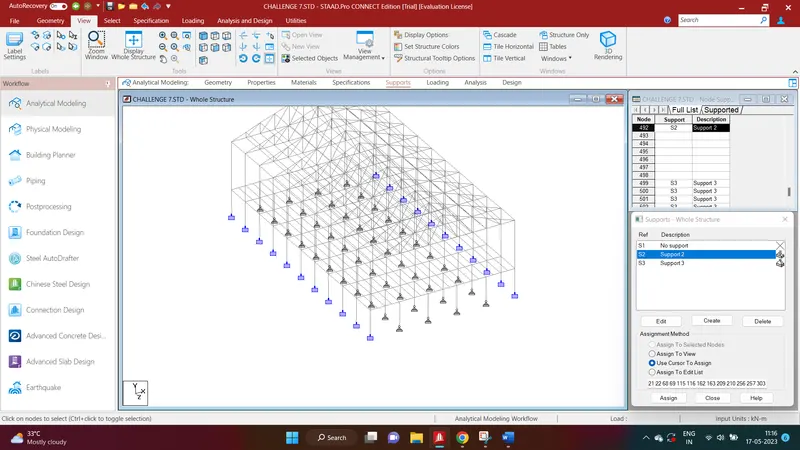
3) AIM: Creating a group exercise.
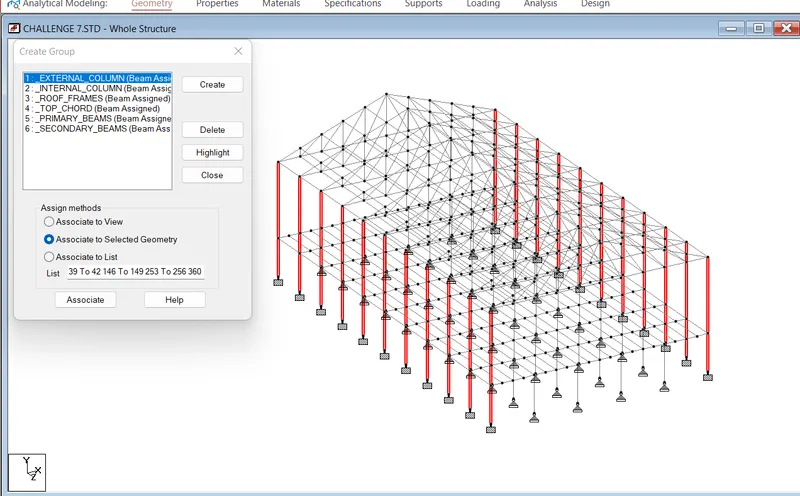
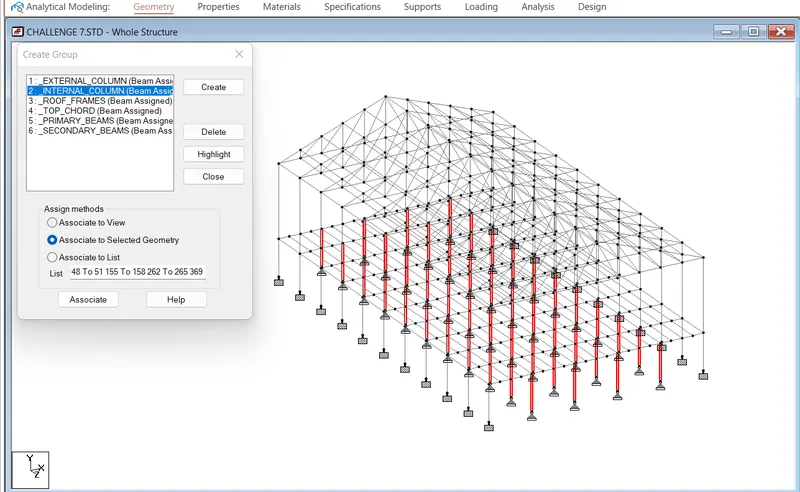
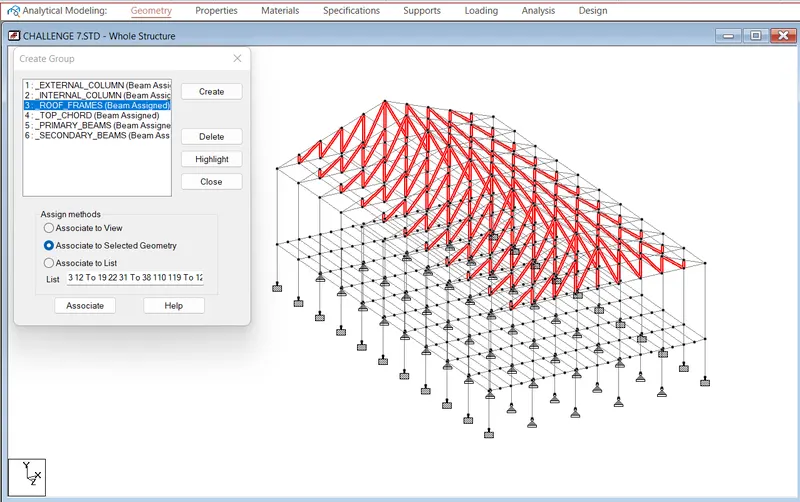
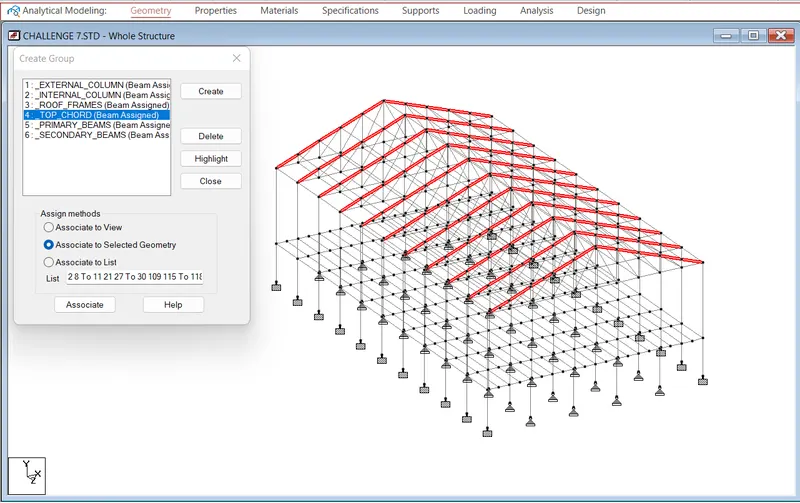
Form group for following members
- External column
- Internal columns
- Roof Frames
- Top chord of the Truss
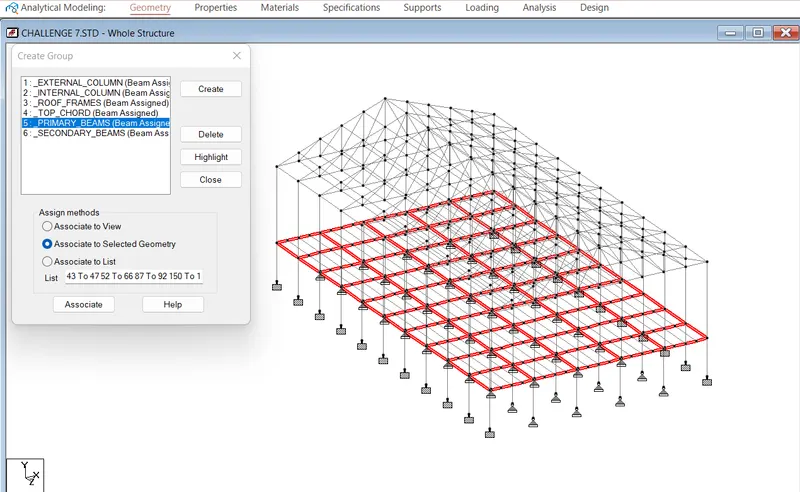
- Primary Beams
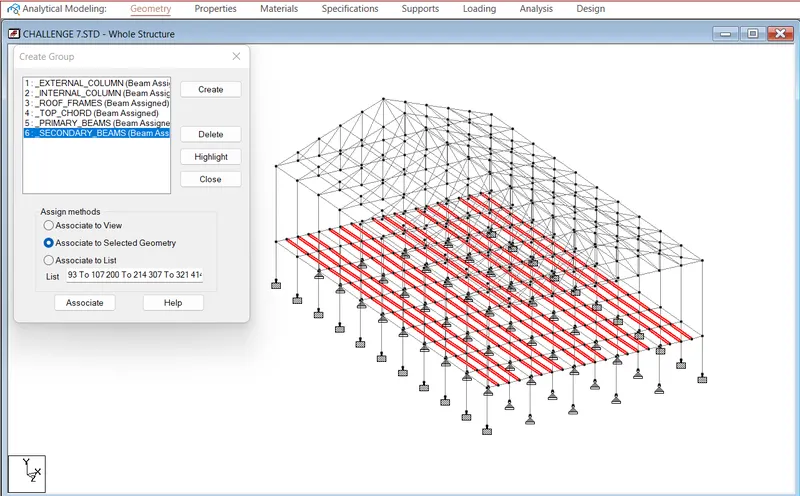
- Secondary Beams
Solution:
Utilities - Groups
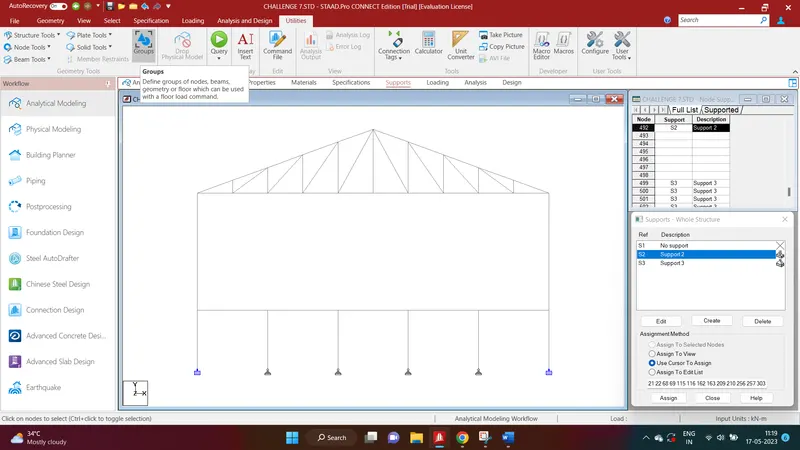
Enter the group name as External column and type as Beam
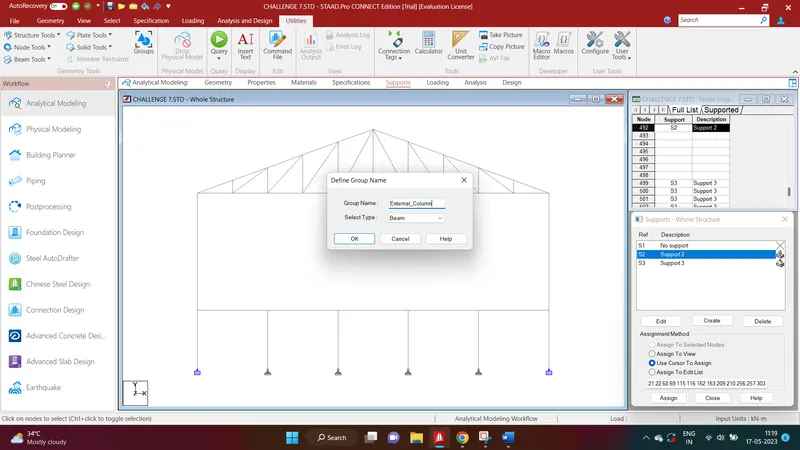
Select the exterior columns from the front view and Associate to selected geometry- Associate
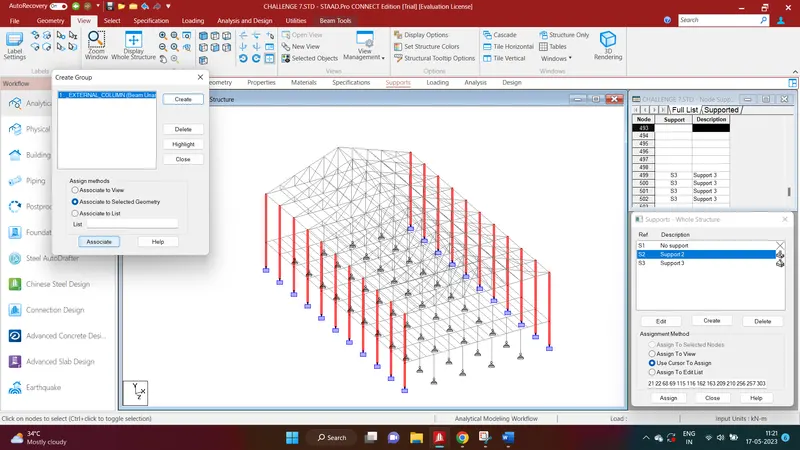
Similarly create other groups
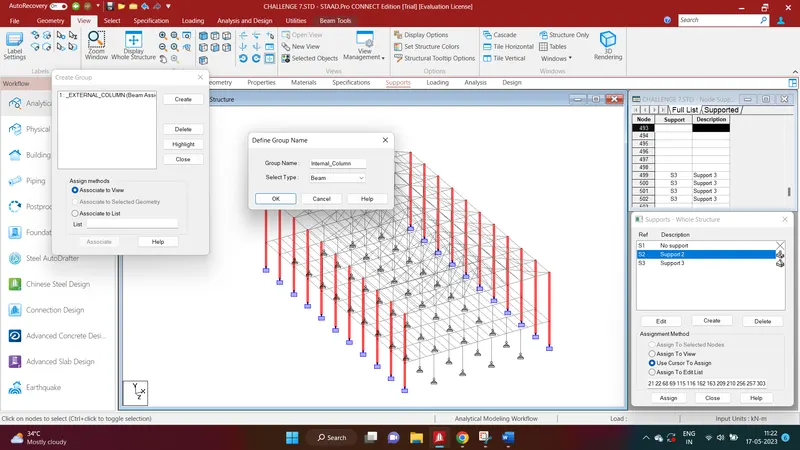
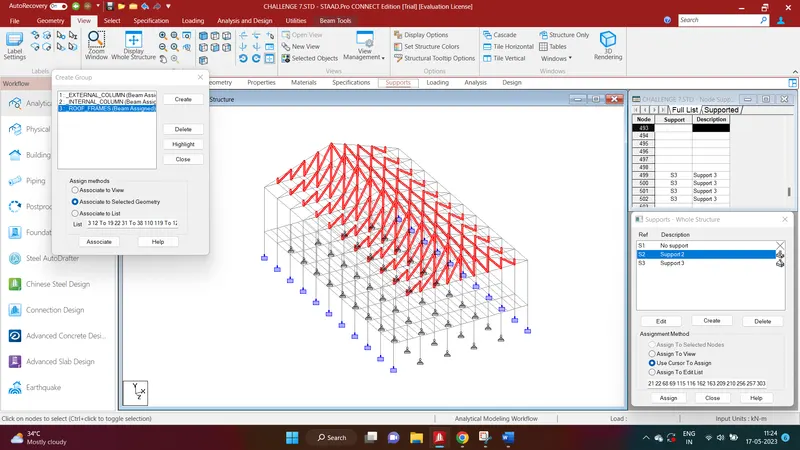
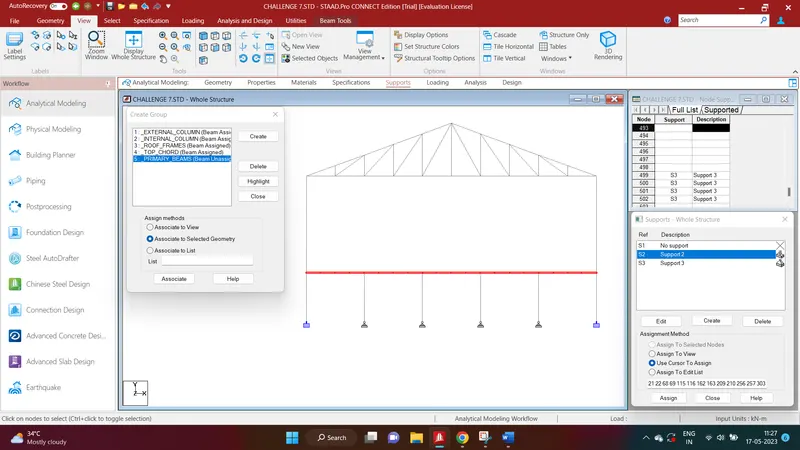
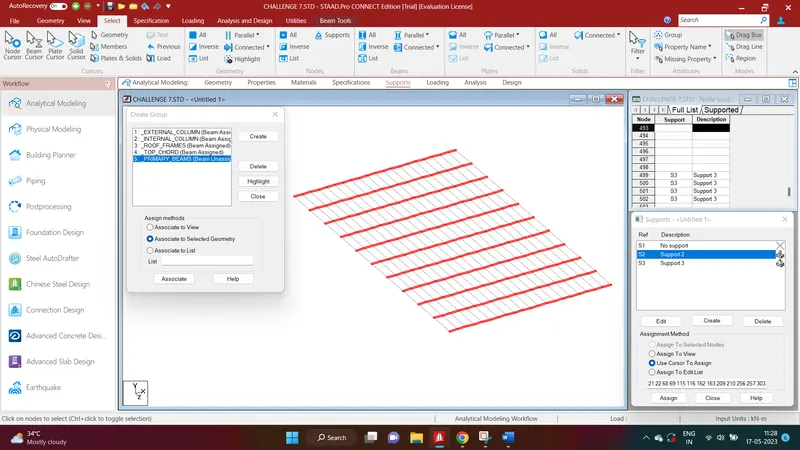
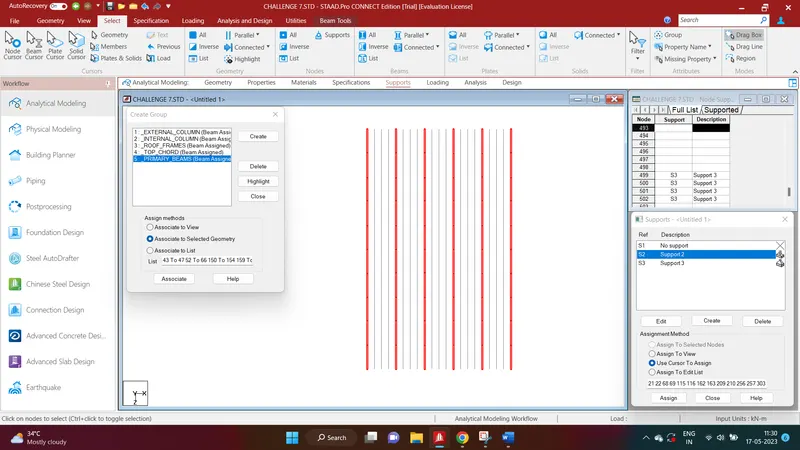
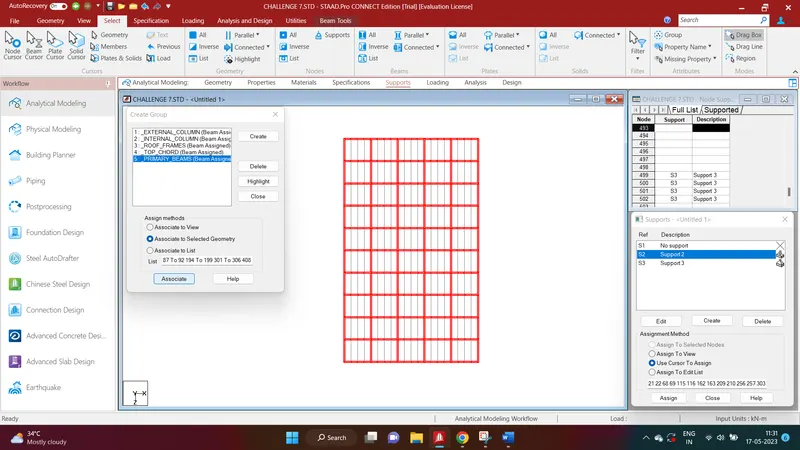
Inverse selection to select secondary beams
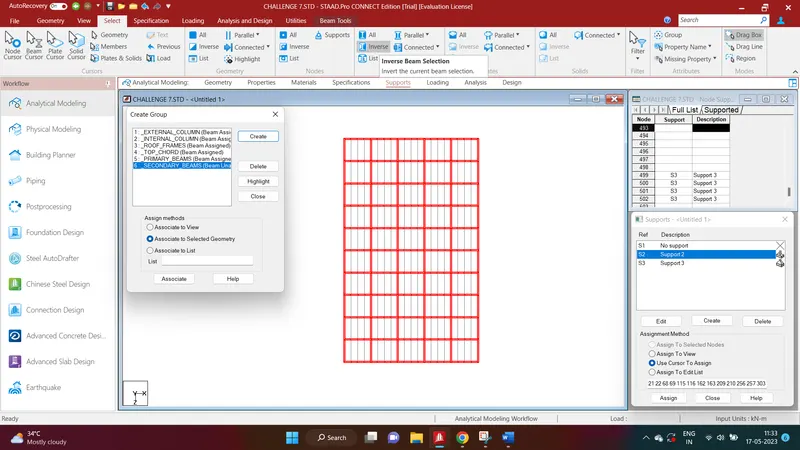
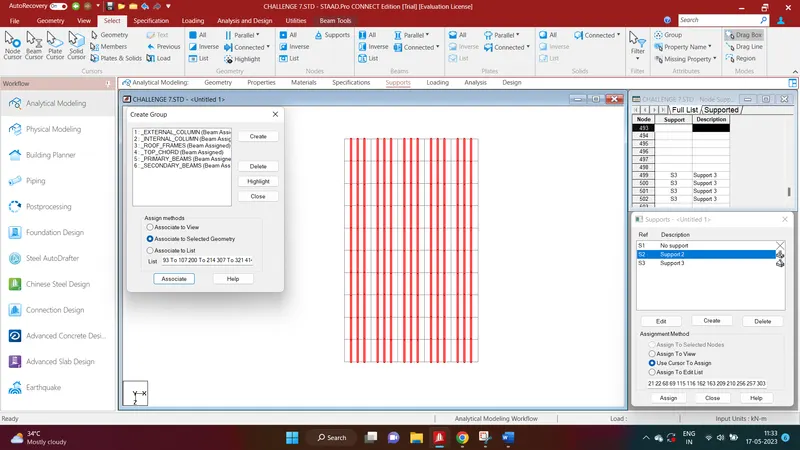
Highlight and check each group one by one