Week 7 Challenge
Aim:
To create 2 sliders and 2 undercuts for the door bezel mold block.
Procedure:
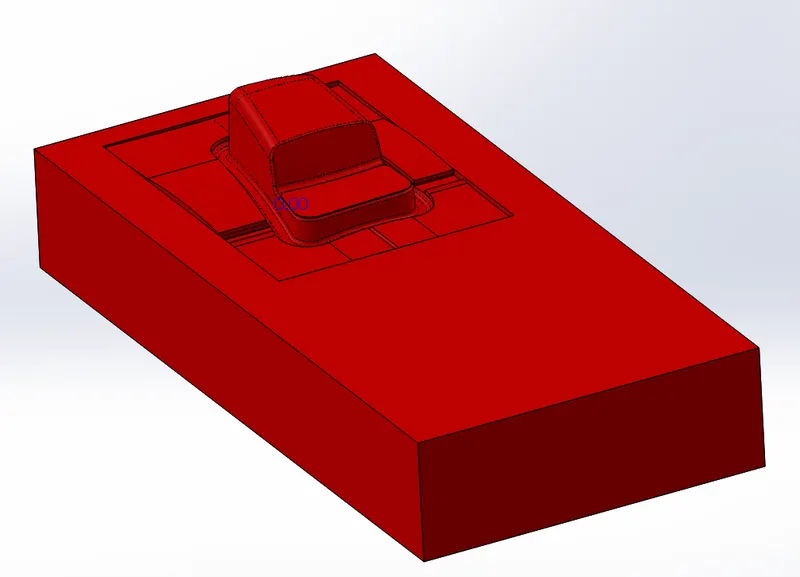
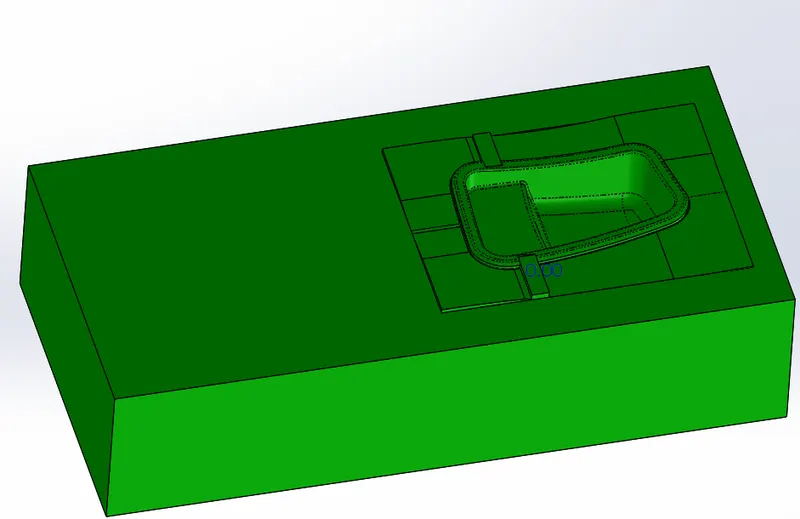
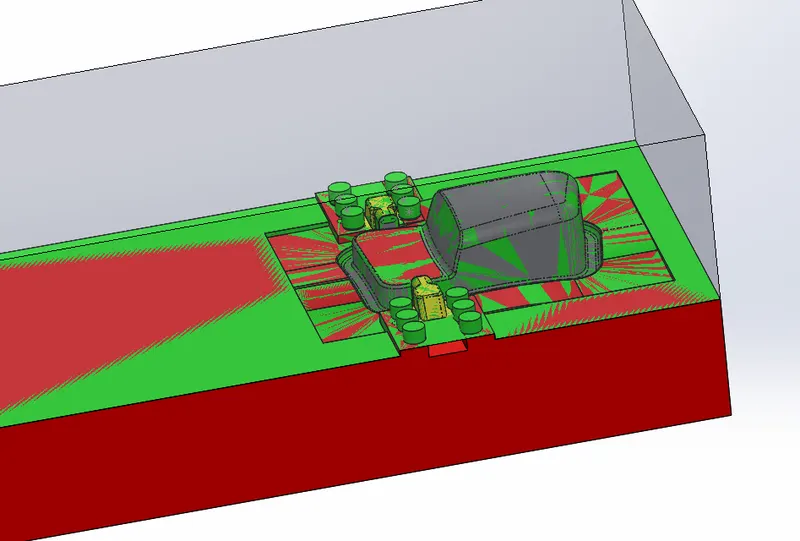
In previous challenges we have created the mold blocks for the door bezel as shown below:
Plan to create the sliders:
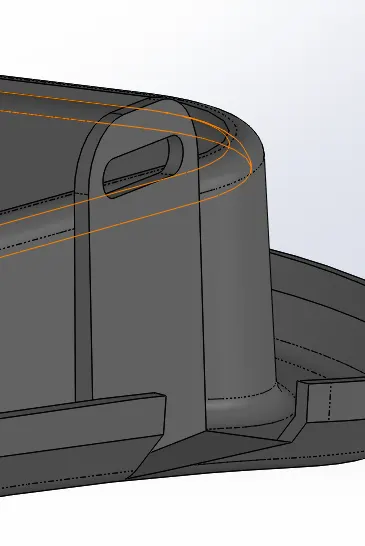
- When we use only core and cavity block and the material solidifies, it will be impossible to seperate the cavity bloch because of the uncut region as shown above.
- Here sliders should be created for this undercut section.
- We can see that ghe undercut region is on the cavity block.
- In the below sectional image the region within the yellow line will be the slider location / crossection.
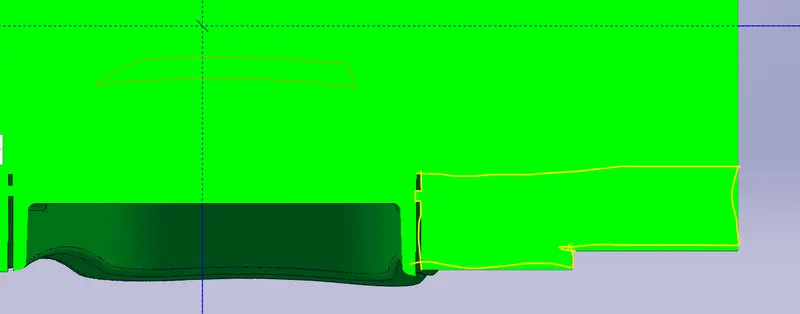
The movement of the slider will in horizontal direction in right to left direction once the material is solidified. First the core block is seperated anf then the slider block will be removed.
- Activate the cavity block first, then create a reference plane with edges to choose as reference as shown below,
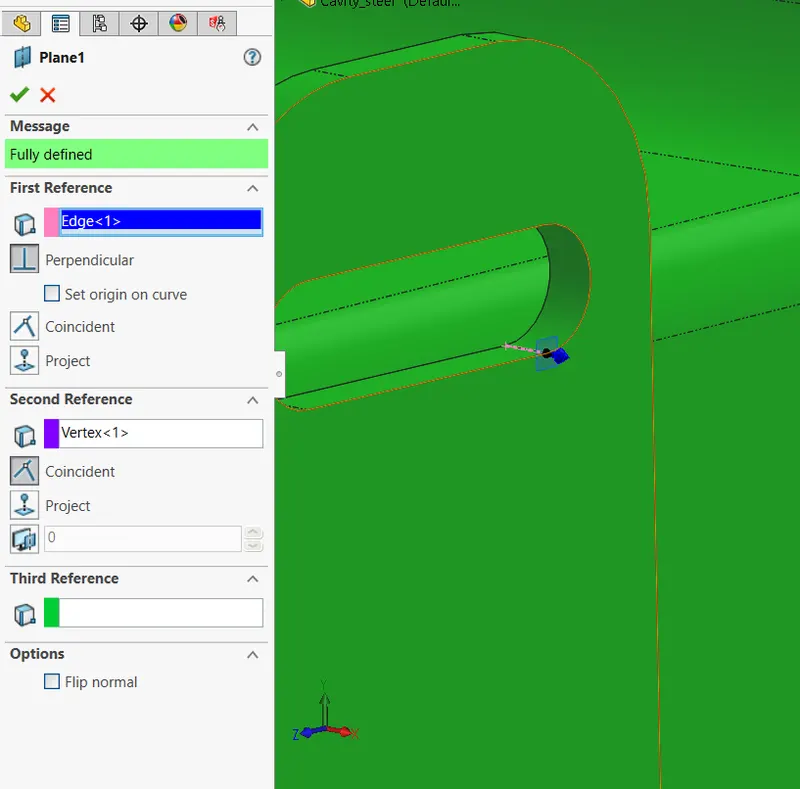
- One the reference plane draw a sketch using convert entities option.
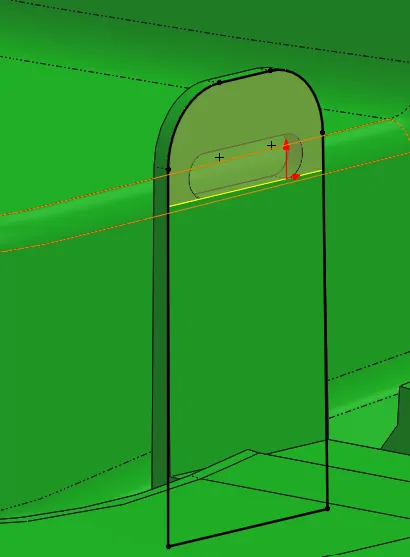
- Click split command and select the reference plane and the sketch created as the trim / split tool and the for the body select the cavity block and click cut bodies.
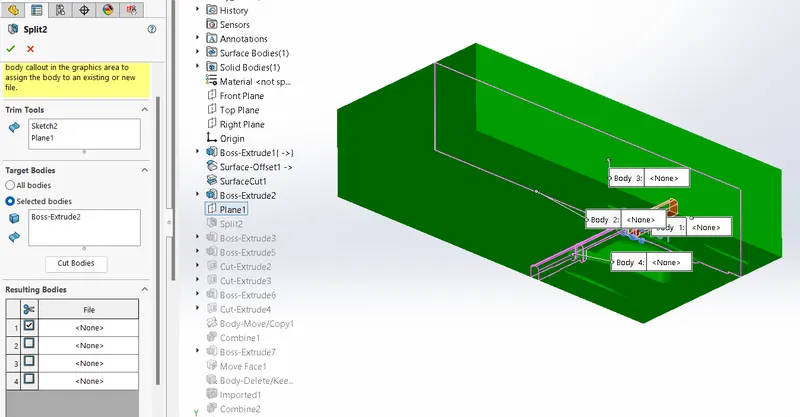
- Now from the list of resulting bodies select the body needed to be split up and deselect consume cut bodies option and click 'OK'.
- Create another sketch on the face of the split body ans extruce as shwon below,
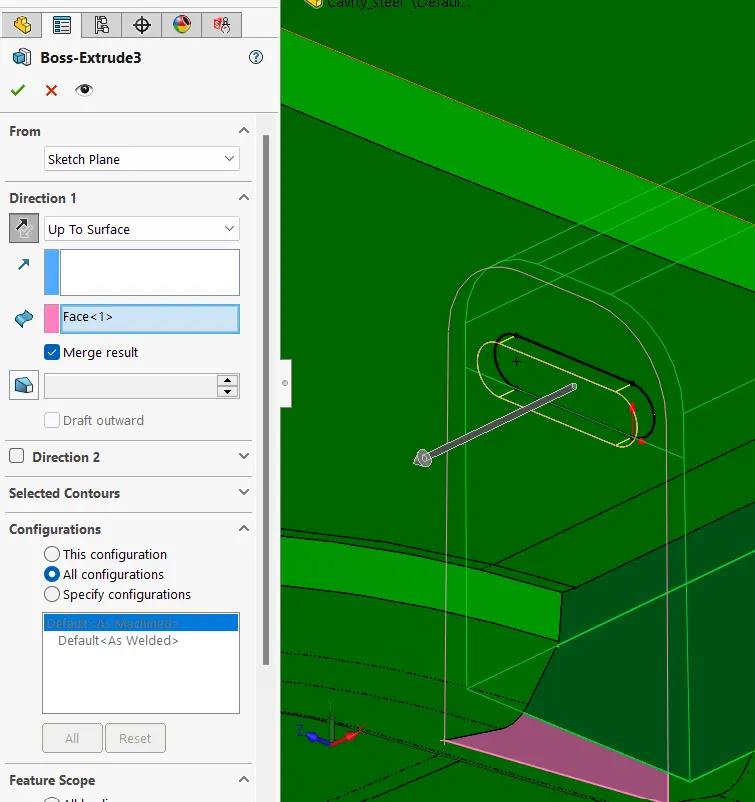
- Now here 2 seperate bodies are created. So in every step show take care about choosing the feature scope as necessary.
- Again with the help of cut extrude command using above same sketch, cut the region from the cavity block.
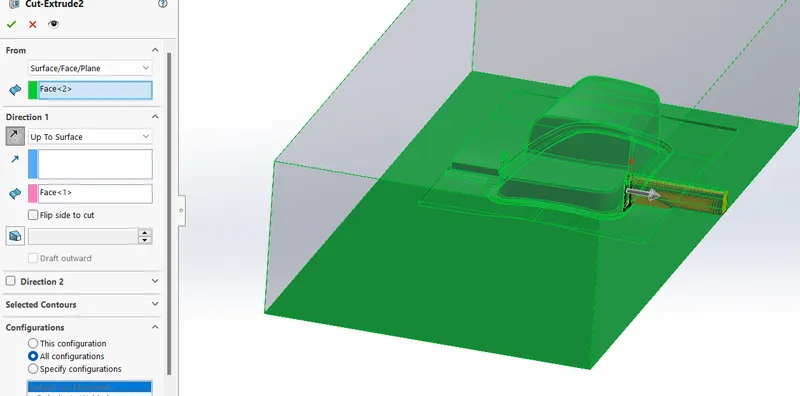
Create another rectangle on the botton plane and remove using cut extrude as shown.
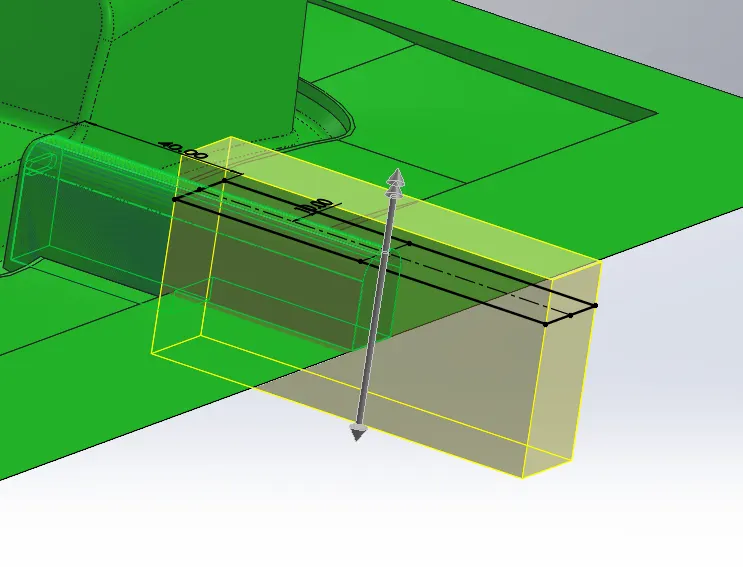
Similary create a rectangle sketch on the top surface of the slider body ans extrude till bottom surface.
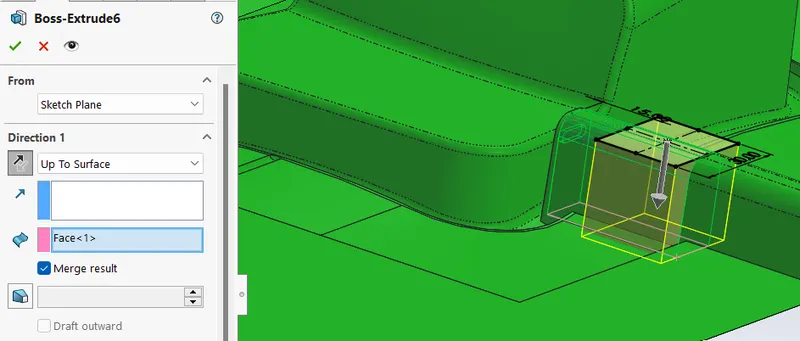
Create a chamfer of the edge of the slider solid for the easy removal of the cavity block.
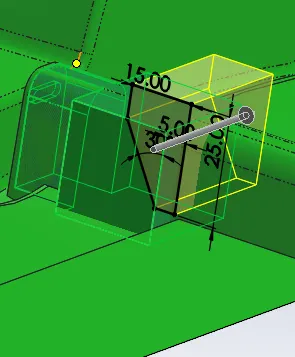
Create a copy of the slider block and then using combine command subtract the region from the cavity block.
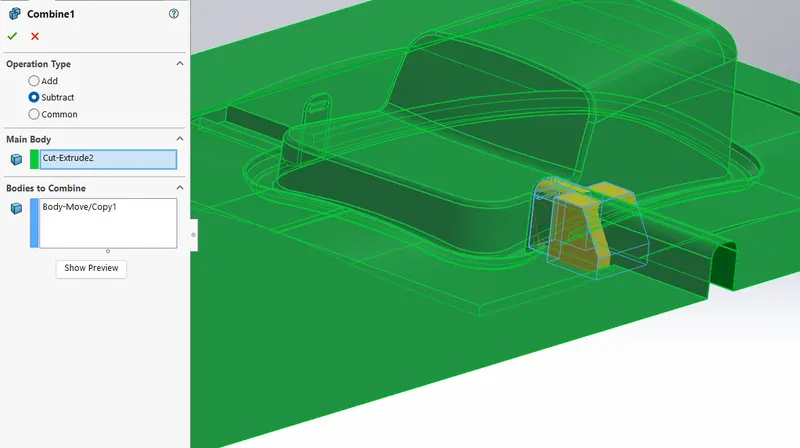
Right click the slider block from the feature tree, click insert in new part file and save it as a parasolid file for further steps.
Now create new part in the assemble and name it as slider.
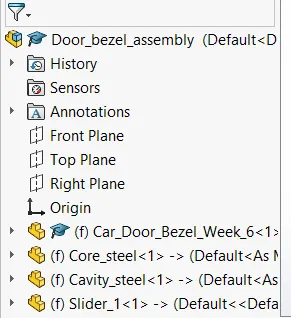
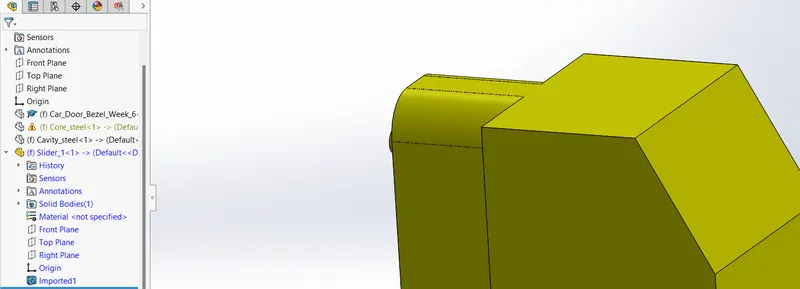
Import the parasolid part created and save the file.
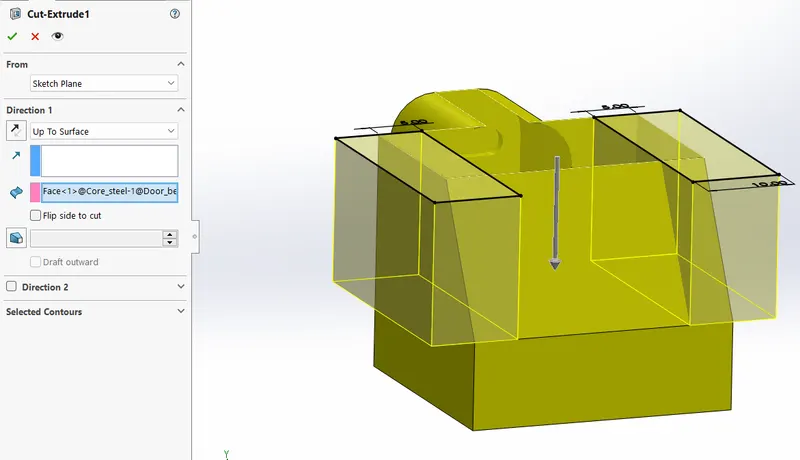
Now create a sketch on the top surface and cut the region leaving 10mm from the bottom surface.
Create the fillet on the sharp edges which meets the cavity block of sizes, 2mm and 5mm.
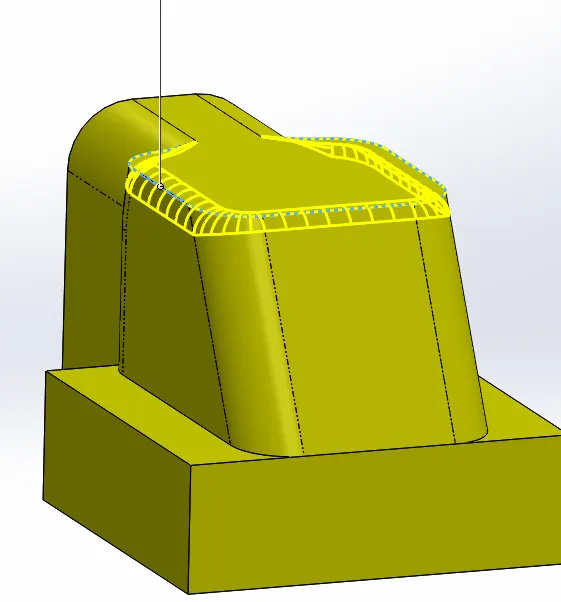
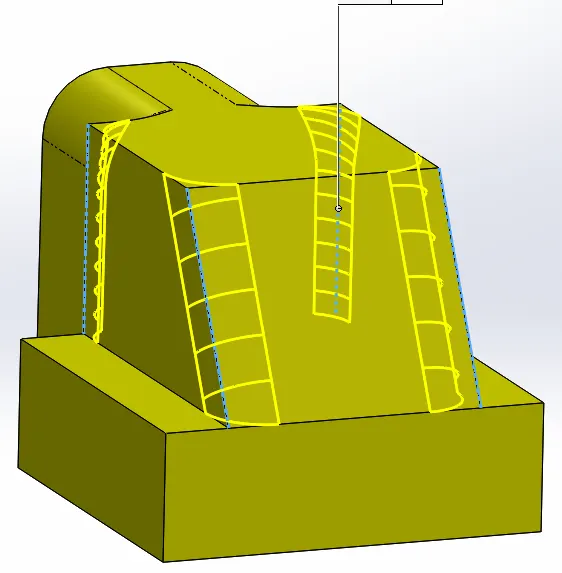
Again create a parasolid file of the slider block and save it.
Activate the core block for editing draw 2 rectangles and extrude them to 10mm.
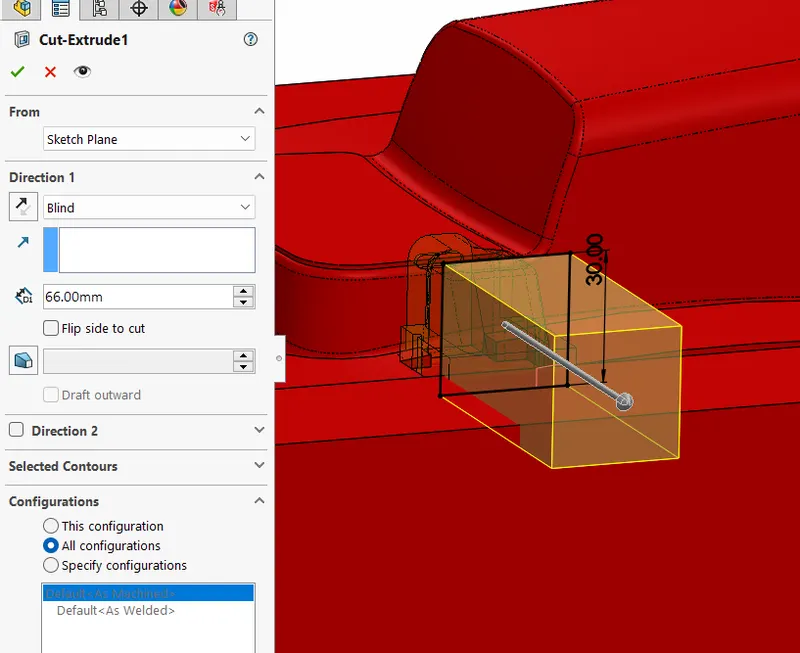
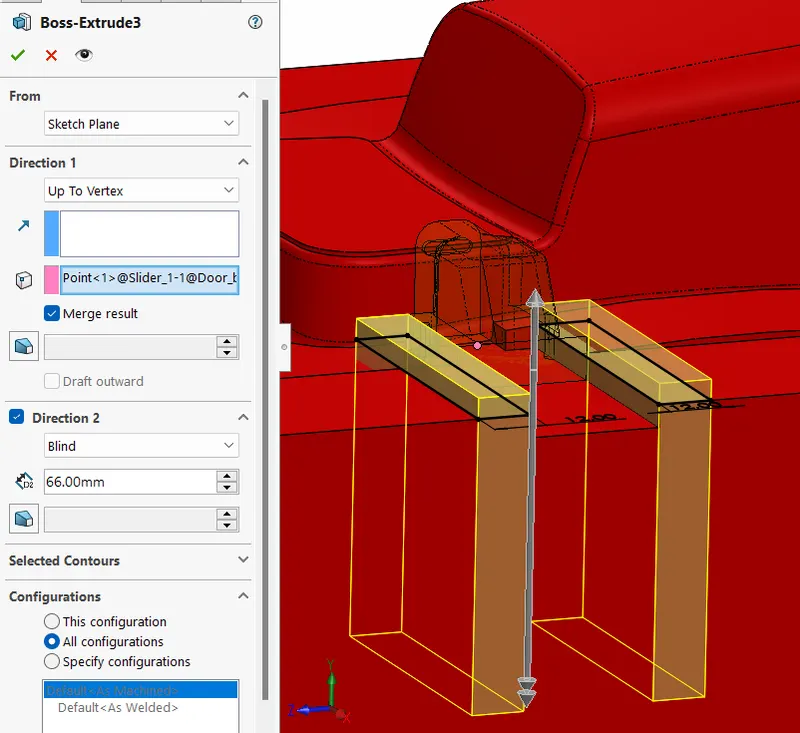
The region will act as a guide for the movement of slider block.
Make a cut as shown below on the core block and slider block such it acts as a locking mechanism for the slider block.
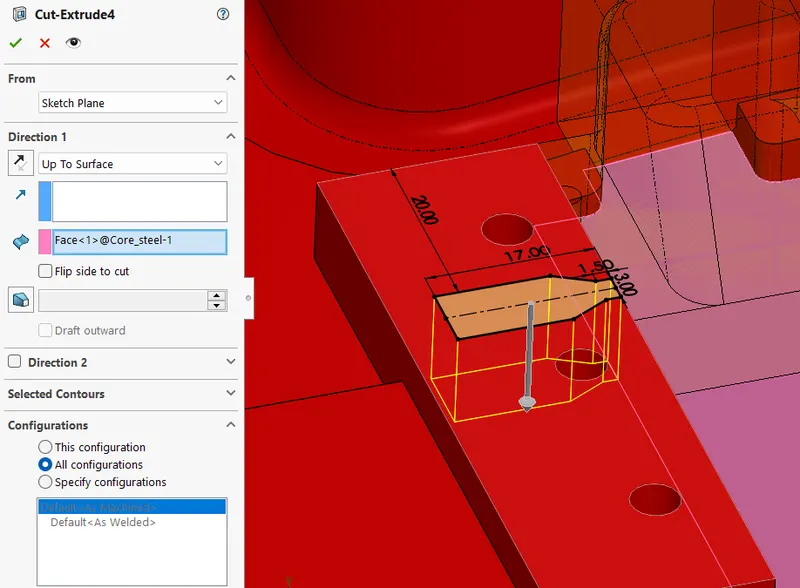
Next we have to create washers and bolts for the fixment of the slider.
Create new part file and draw a circular sketch as shwon below and extrude to 3mm.
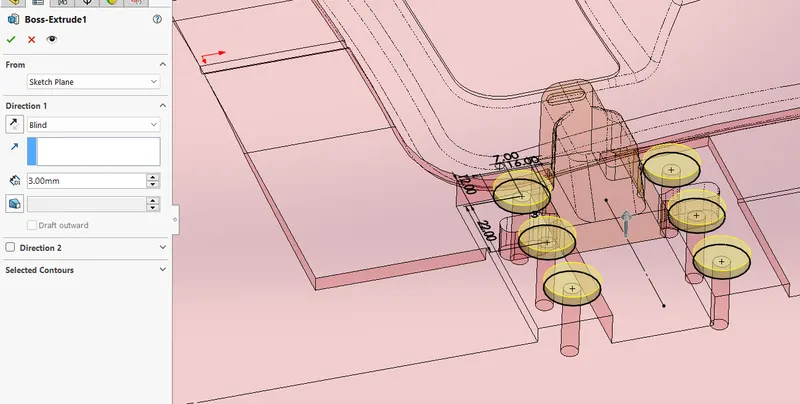
These is the washers and change the colour to grey to distinguisd between the washer and bolts.
Similarly create the bolts and make sure that the merge entites is deselect.
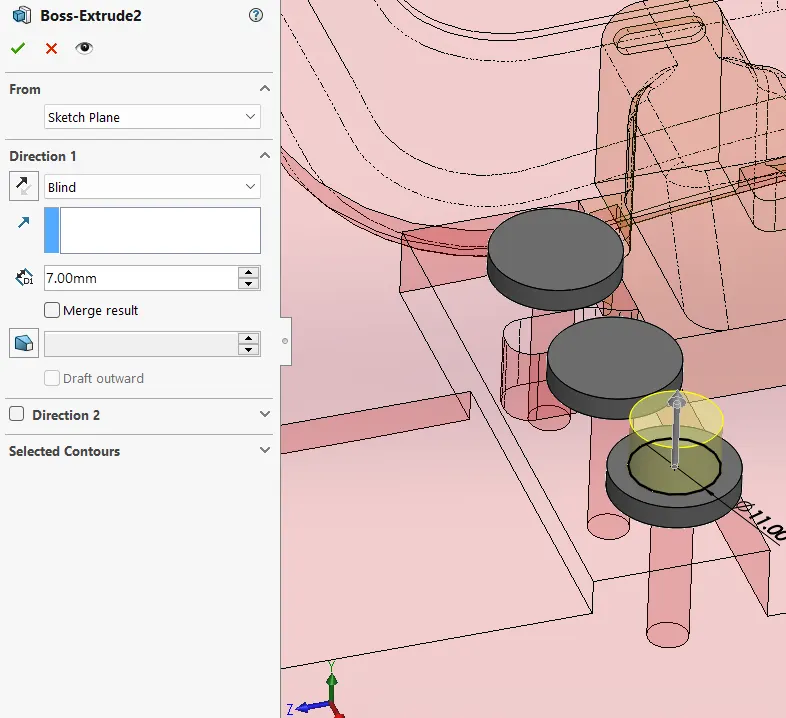
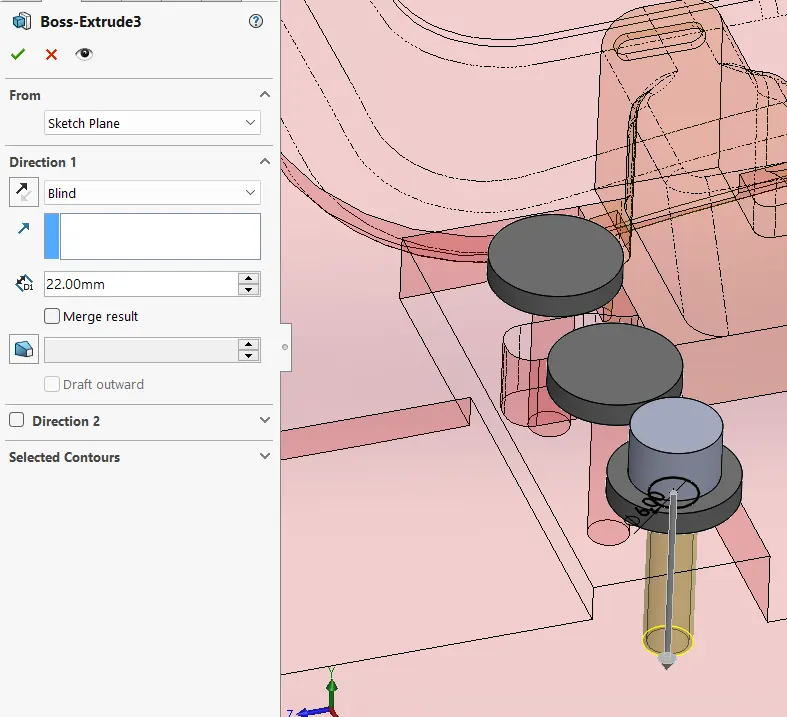
Create a sketch of point at appropriate locations. Using sketch driven feature create the remaning bolts.
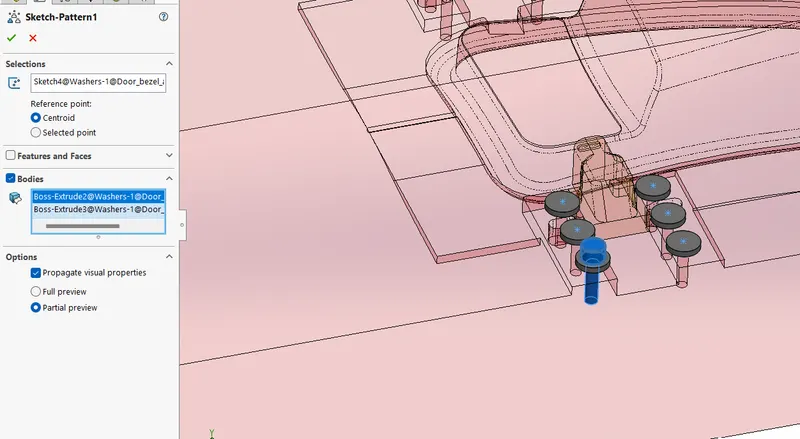
Now we have to create the tap hole on the core block for the bolts.
Click hole wizard, seletch the tap hole option and select the types as M6x1 hole and click position tab.
Click 3d sketch, and select the point of the bolt for the creation of the threaded hole. Next pattern ans mirror the hole at respective places.
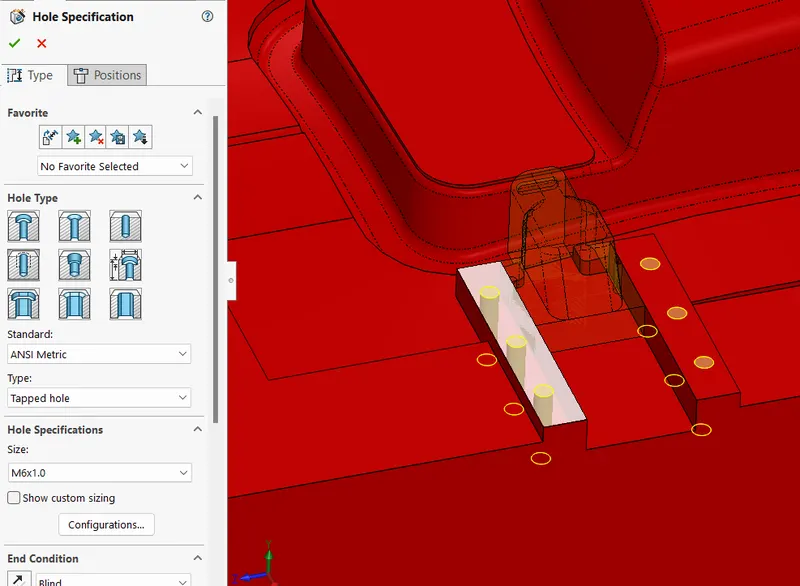
Activate the cavity block file for editing.
Draw a rectangle on the blottom plane and extrude cut upto vertex option and select the edge of the core block.
Import the newly saved parasolid file and using combine option subtract the region from the cavity block.
Create fillets at siimilar edges as created in slider block. Fill the unwanted region using extrude command.
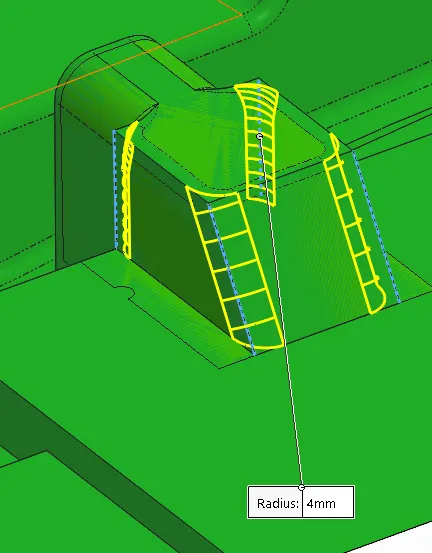
Now we have to create a relief for the bolt head as shown in below image.
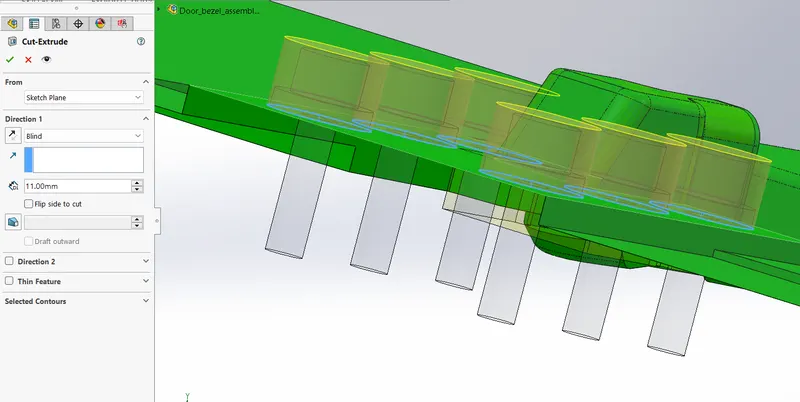
Simlarly create another slider block and various entities for the other side of the cavity block using the above procedure.
Conclusion:
The sliders along with the undercuts and washers are created for the door bezel.