Week 6-Meshing of Hood Challenge
The objective of this challenge is to extract the mid surface of the given component and mest it according to the iven quality criteria.
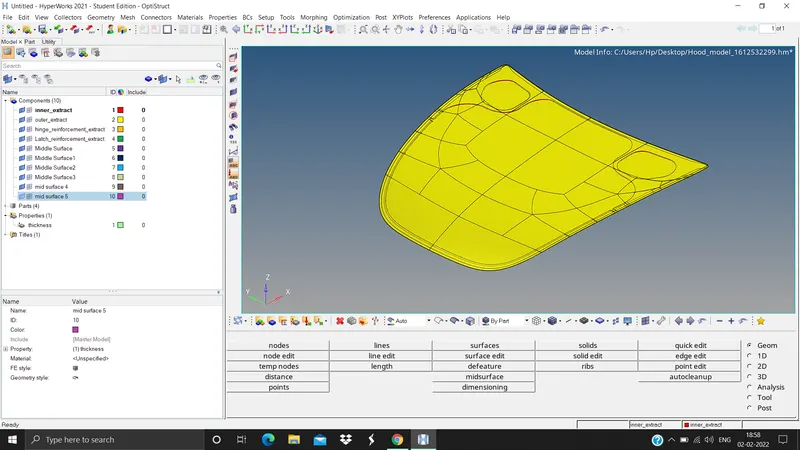
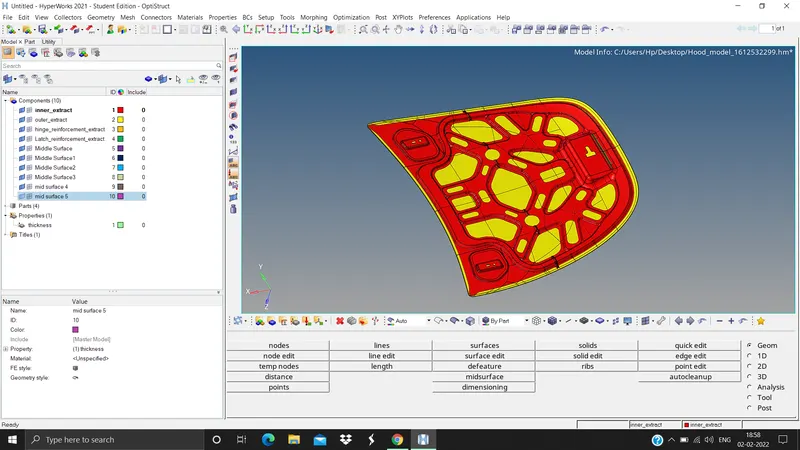
1. First we need to import the model (File > import > geometry > file type iges > import)
2. We need to do geometry cleanup (Geometry panel > auto cleanup > surfs > dispalyed > autocleanup)
3. We need to clear the free edged highlighted in red whereever required by toggling them or by filler surfs (Geometry panel > quick edit > toggle edge or > filler surface)
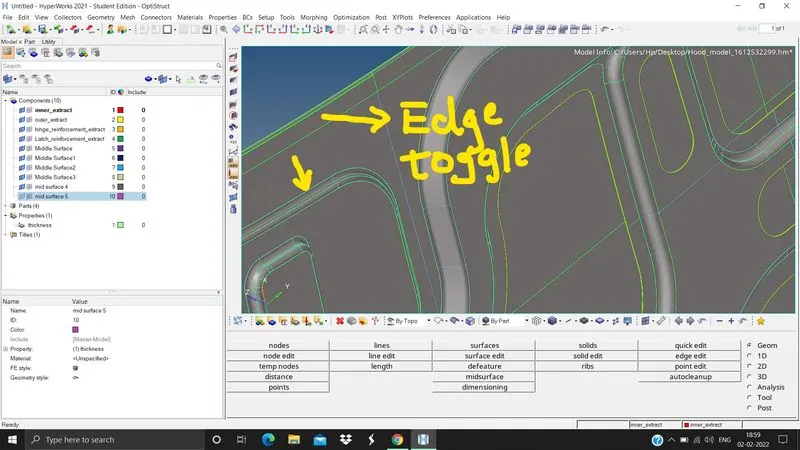
4. We need to delete if any solids are present (F2 > solids > displayed > delete entity)
5. We need to extract the mid surface of the model (Geometry panel > mid surface > surfs > diaplayed > extract). Do this to all the parts seperately.
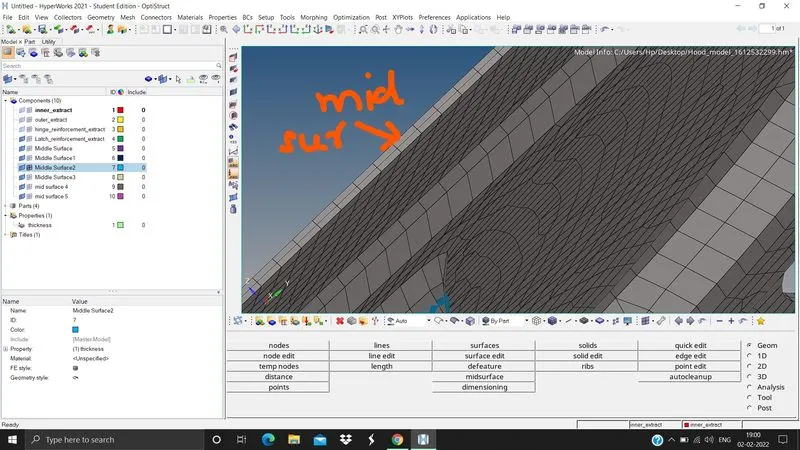
6. We need to mesh the present surface with the element size of 5 units (2D panel > automesh > elem size 5 > elem type mixed > surfs > displayed > mesh). Do this to all the parts seperately.
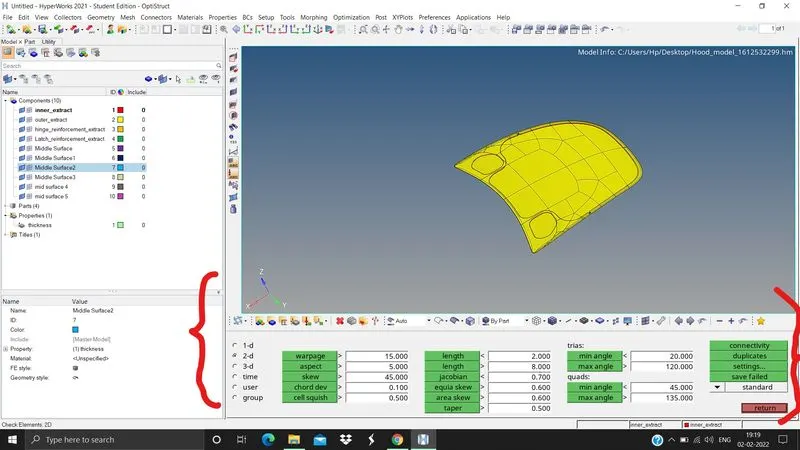
7. After meshing the surface we need to check the quality of the mesh (Tools panel > check the elements > input all the quality criteria > check the elements for failure). Do this step untill all the elements satisfy the given quality criteria. Do this step seperately to all the parts.
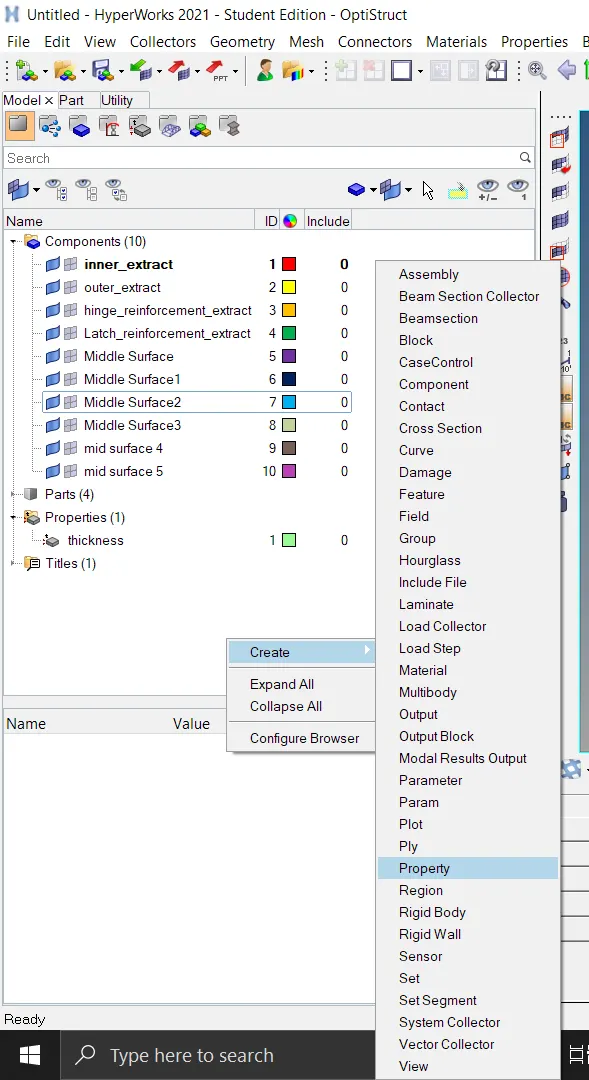
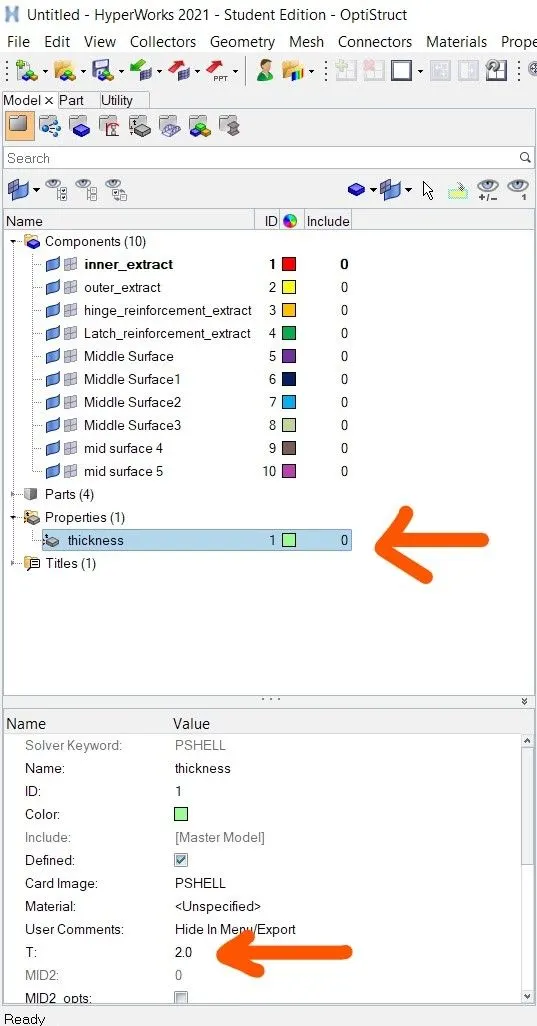
8. Create the property called THICKNESS so that we can assign the thickness to the model (Right click > create > property > right click on the property > rename as thickness). Click on the thickness to open its property under that assign the thickness of 2 units.
9. Assign the created property to all the elements seperately.