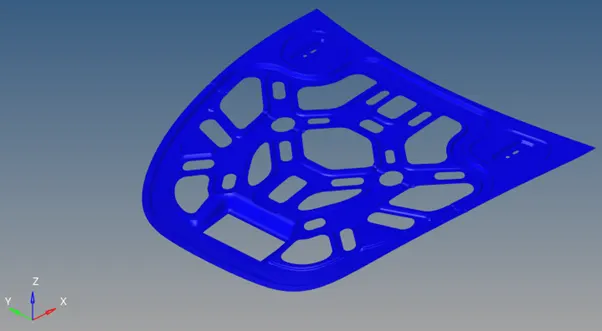
Meshing of a Car Hood.
Follow the below-mentioned quality criteria, mesh the component given below and assign thickness:
Target Element Length = 5 Units
|
S.N |
Quality Criteria |
Value |
|
1 |
Aspect Ratio |
5 |
|
2 |
Skewness |
45 |
|
3 |
Warping |
15 |
|
4 |
Taper |
0.5 |
|
5 |
Min. Length |
2 Units |
|
6 |
Max. Length |
8 Units |
|
7 |
Min angle Quad |
45 |
|
8 |
Max angle Quad |
135 |
|
9 |
Min angle Tria |
20 |
|
10 |
Max angle Tria |
120 |
|
10 |
Tria % |
10 |
Steps Taken:
Importing the Geometry
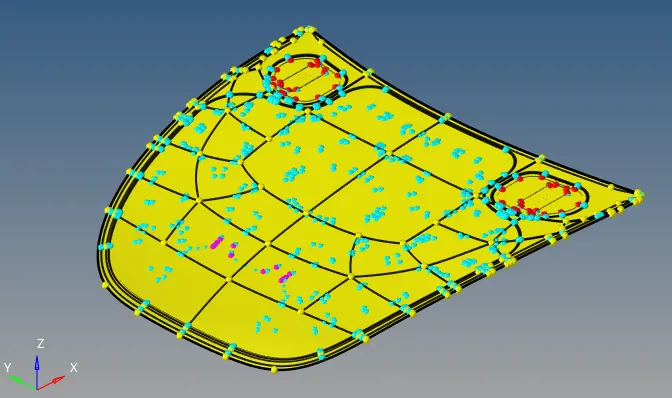
Imported geometry contained following components
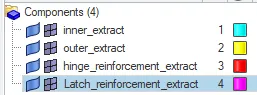
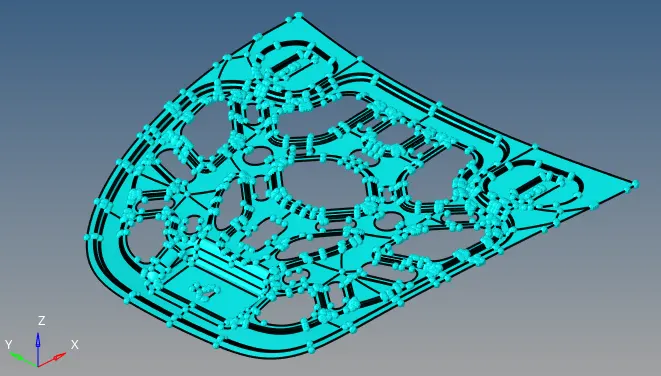
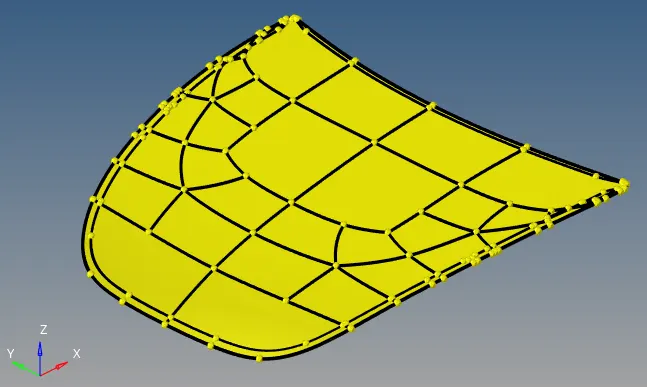
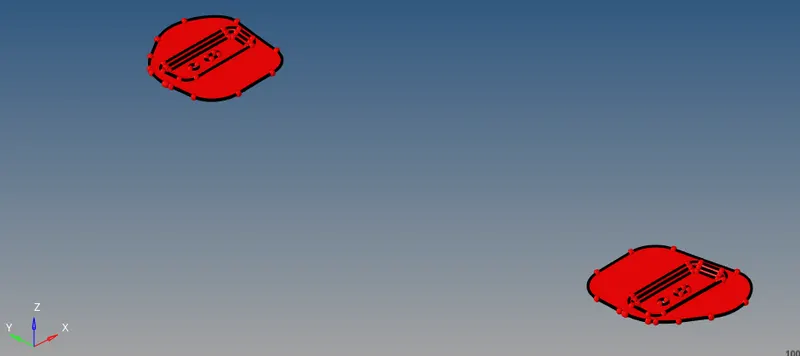
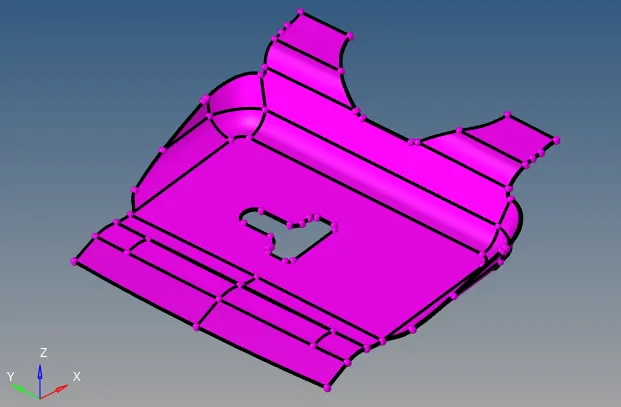
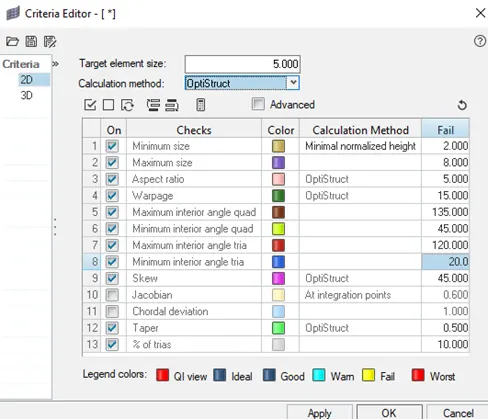
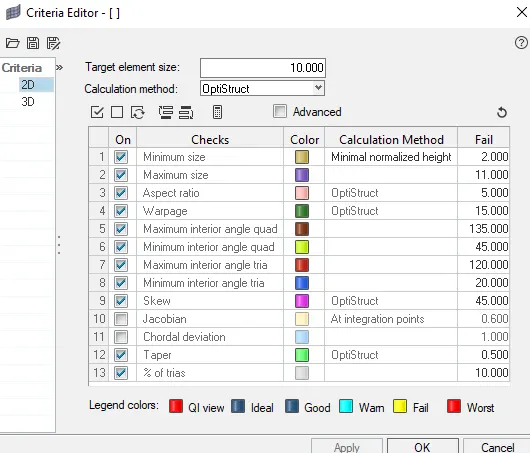
Choosing mentioned quality and mesh criteria:
Go to, Preferences -> Criteria file settings
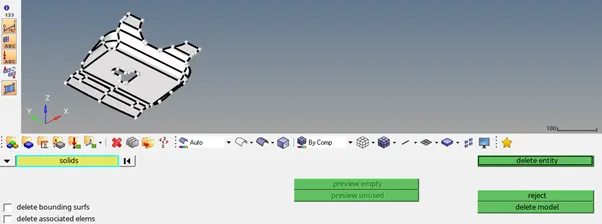
Deleting Solids:
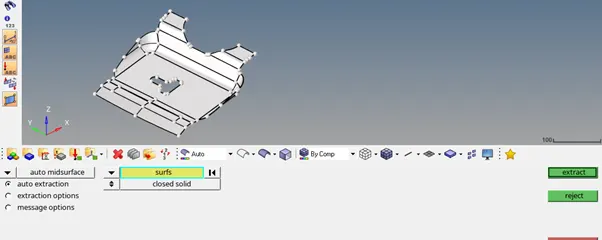
Extracting mid surface:
Go to, Geom -> midsurface -> auto extraction
Then select the surface and click on extract.
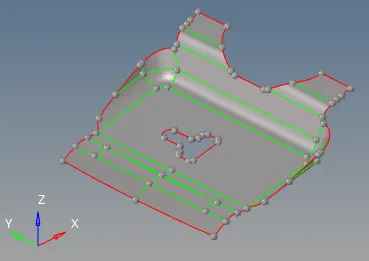
Geometric Clean-up / Auto Clean-up:
Go to the auto clean up option and select all the displayed faces of the mid surface.
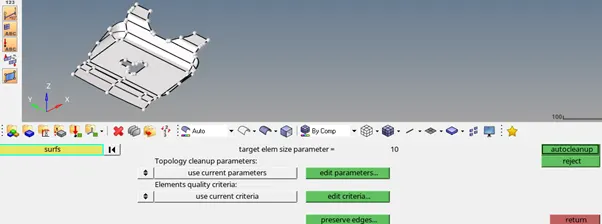
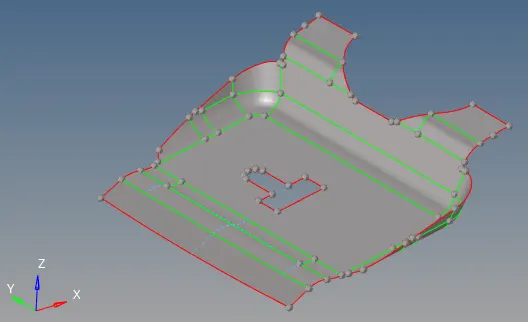
We can see the unnecessary edges have been toggled and edge fillets are also removed.
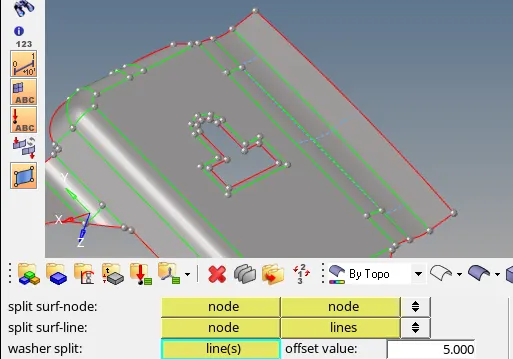
Making a washer split for the cut-out section.
Go to quick edit -> washer split
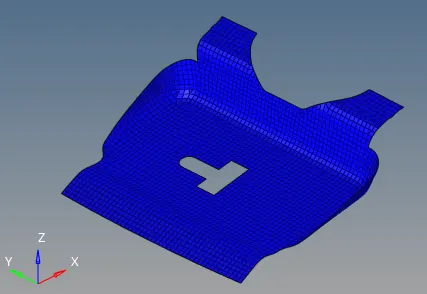
Meshing the mid-surface:
Go to
2D -> auto mesh -> select all the surfaces and select element size = 5 -> click mesh
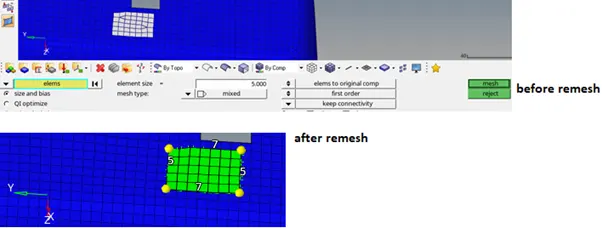
- Opposite trias can be remeshed:
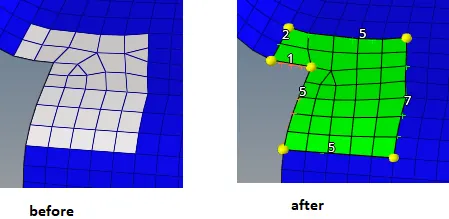
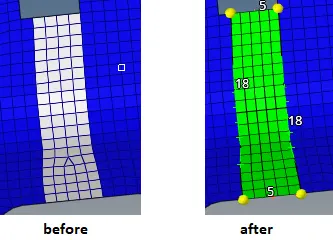
- Re-mesh to remove rotating quads:
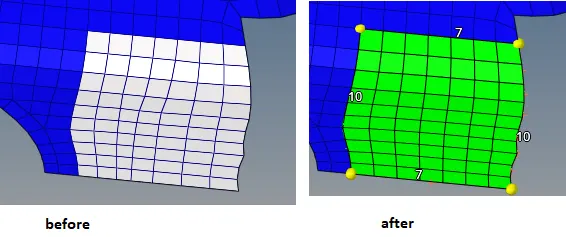
- Smoothing the mesh:
Use shift + f12 to smooth the elements.
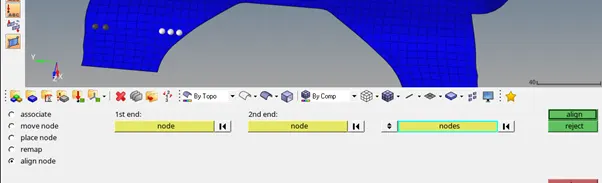
- Aligning corner elements:
Press f7, for node edit
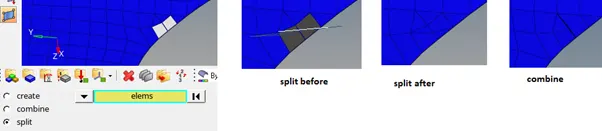
- Split and combine elements:
Go to 2D -> element edit
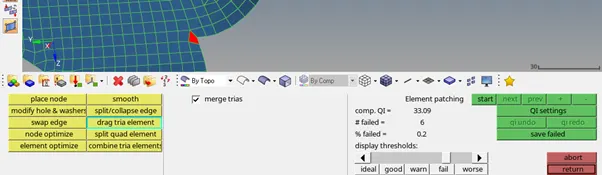
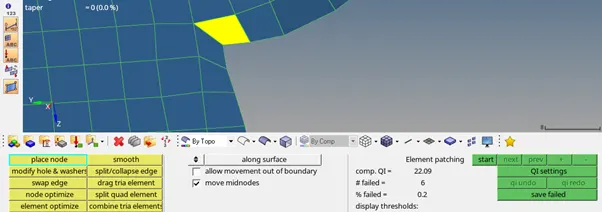
- Go to Quality index in 2D page
And click on place nodes. Then move the nodes to reduce the deviation.
- Checking quality measures:
Tools -> check elements or press f10
Check for wasrpage
Change the warpage to 15. By default it will be 5, which is used for coarse mesh.
On Checking max length, we get 6 failed elements. To rectify them, click on ‘save failed’.
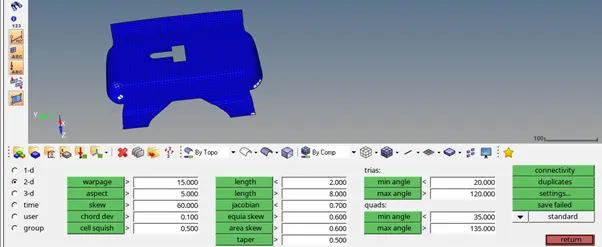
Press f5. Then click on elements -> retrieve. Then click on mask.
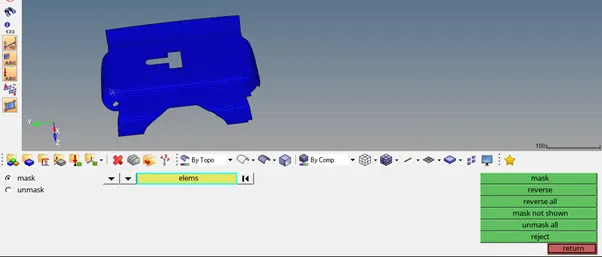
Click on reverse mask.
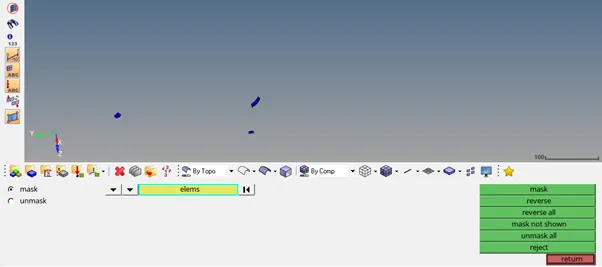
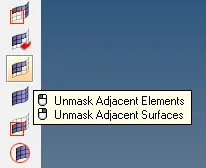
Select the unmask adjacent element.
Then go to Quality index in 2d page. Use the place node options to tweak the nodes to get correct length.
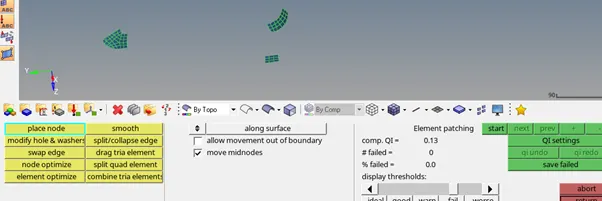
Recheck the ‘max length’ criteria by going to “tools” -> “check elements”. Now, we can see no element failed.
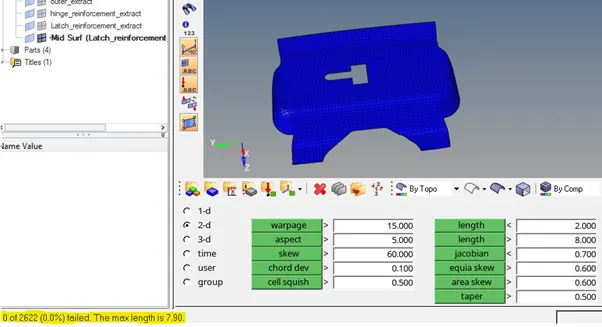
Checking if the model is perfect (Performing model check):
- Free edges check:
Tool -> edges
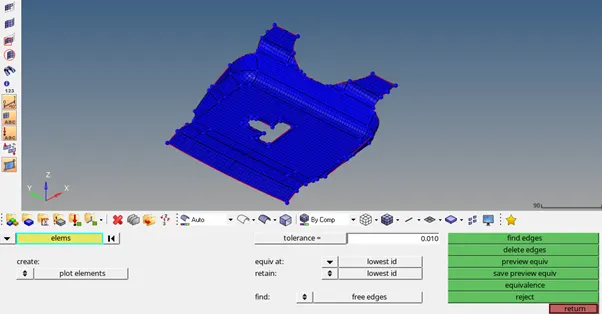

So there are no edges in between.
- If an element is not attached to another element, then click on equivalence.
- Element to surface check:
It is used to figure out, how well the elements have captured the entire geometry.
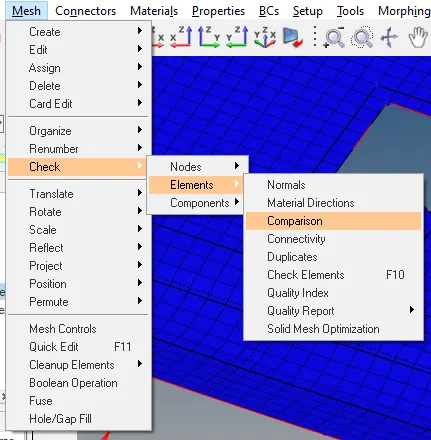
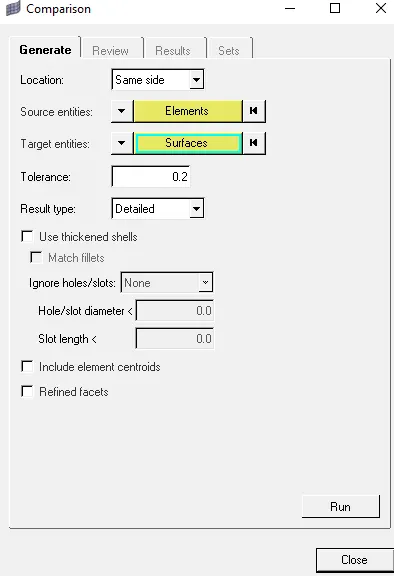
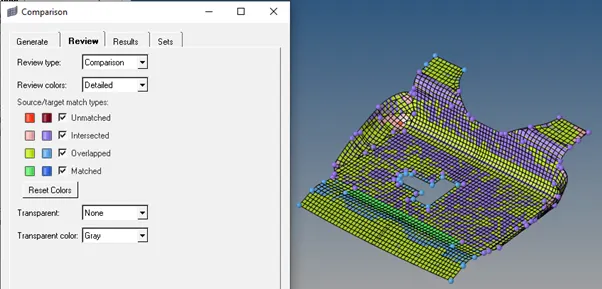
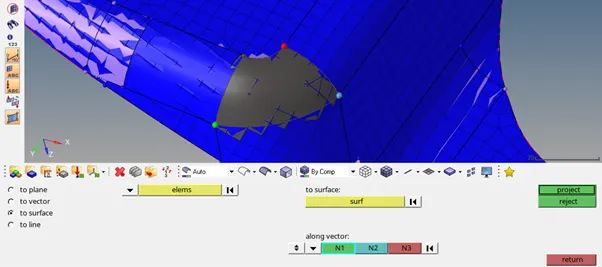
To resolve unmatched elements “marked red”, we can project the entire surface.
Projecting to surface:

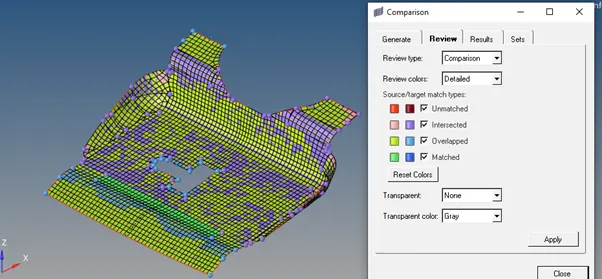
After running the ‘Comparison’ again we can see the surface has improved.
- Checking element normal:
Go to Tools -> normal
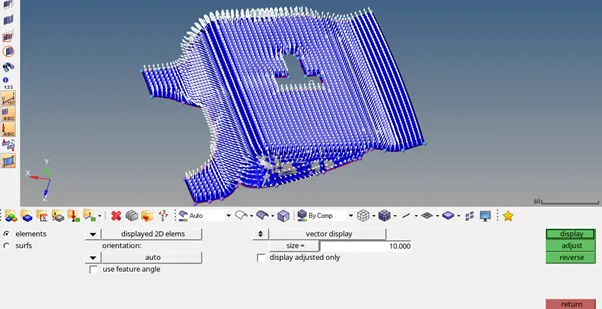
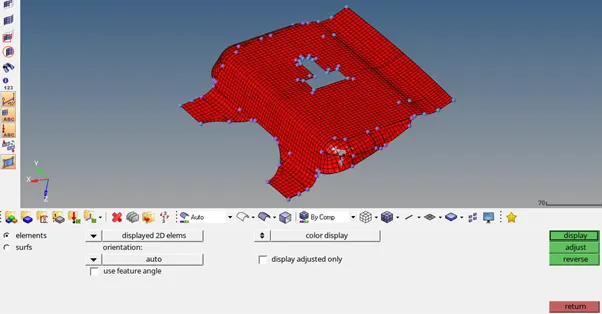
We can see all the elements are in normal direction. If the any force applied to it all we act in normal way. If elements are not normal we can select them and reverse their orientation.
- Checking dependency:
Go to Tools -> dependency.


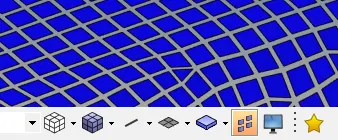
- Finding duplicate elements:
Click on shrink elements to check duplicate elements.
Final Mesh components:
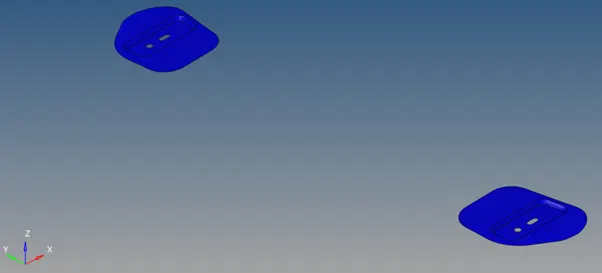
- Latch Reinforcement:
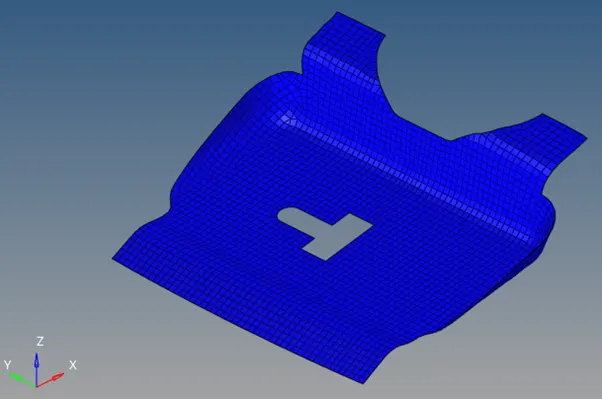
Hinge Reinforcement:
After meshing one of the hinge reinforcements, we can reflect and duplicate its mesh element along y- axis to get other hinge reinforcement.
Go to, tools -> reflect

Select the elements, axis and base node.

Then select ‘duplicate’ element option. Finally click on ‘reflect’.
Outer Extract:
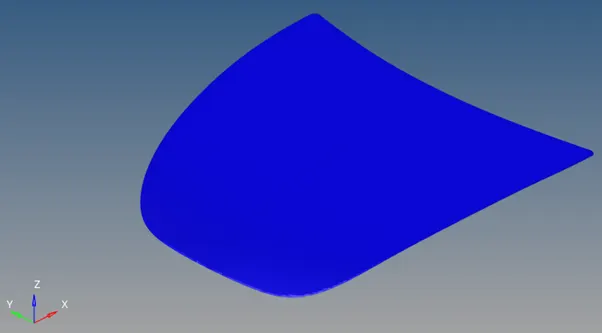
Again, we can mesh half of the geometry and then reflect and duplicate the elements.
Inner Extract: