Week 6 - Creating connection for Rear door
AIM:--
The given Rear door FE model, Create and Apply different PIDs for different components and perform suitable connections.
PROCEDURE:--
1) Import the model in a suitable format.
2) The imported model is already meshed.
3) Now we have to segregate the model into different PID.
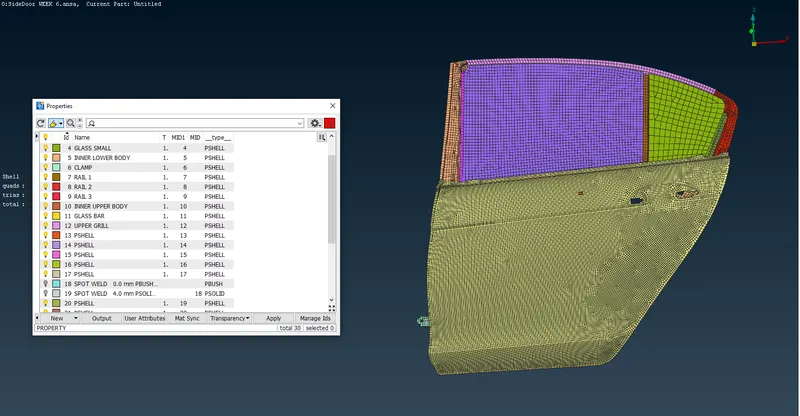
4) Now we have to deploy the connection.
5) There are 3 main regions which are very essentials.
- CAR HANDLE
- DOOR GLASS
- CAR DOOR MOUNTING TO MAIN BODY
6) First, we will deploy a connection in CAR HANDLE region.
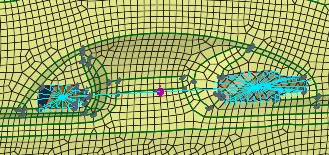
First, we have to deploy RBE2 elements on the handle holes to make it rigid, as it will be used for pulling the door.
Go to NASTRAN deck--ELEMENTS--RBE2--MANY NODES
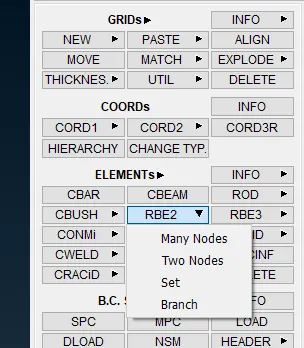
After this choose the node and middle click to deploy the RBE2 connection.
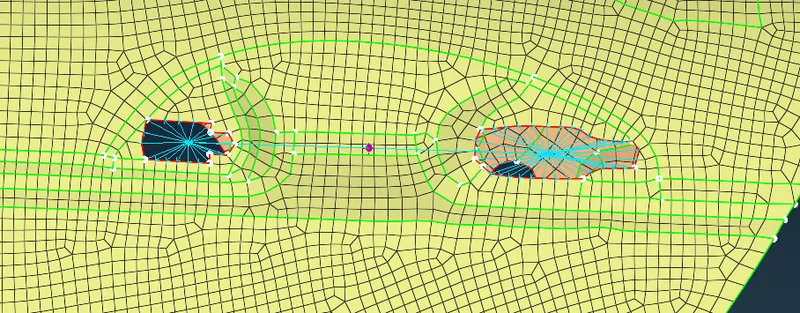
Now, connect the two master node (which are the in the centre) of the hole by using RBE2--MANY NODES
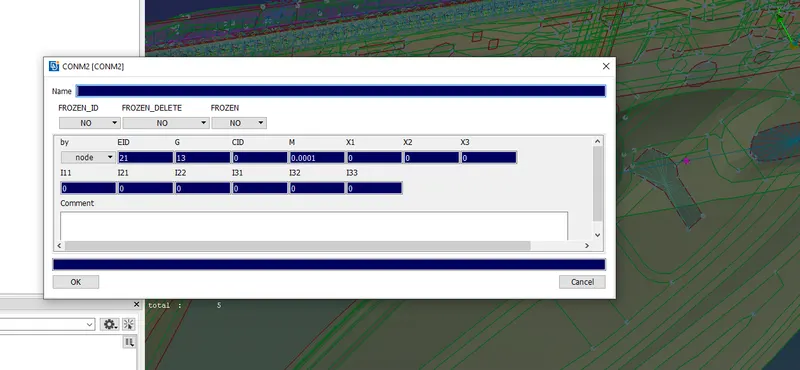
After this, we have add MASS to the handle for this by CONMi--CONM2--NODES
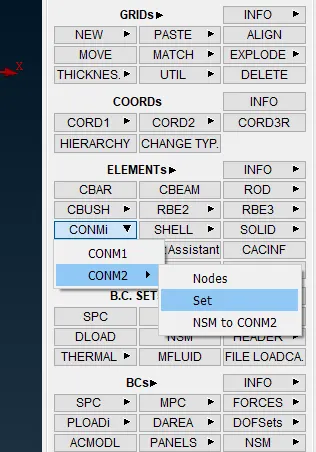
NOTES:-- IN ANSA, THE DEFAULT MASS UNIT IS TONE SO CHANGE THE MASS TO TONES.
7) Next, deploy the connection in the DOOR GLASS
First, we have extend the Rail which is responsible for the movement of glass up/down.
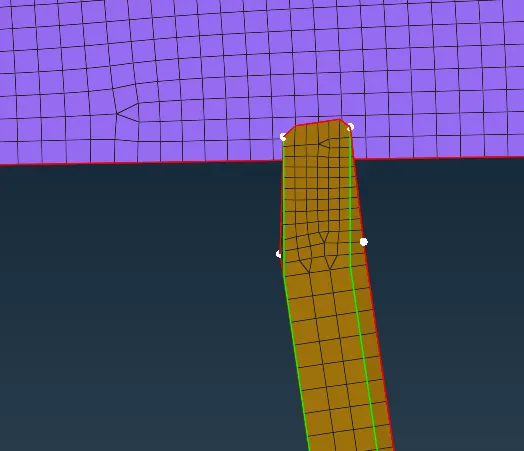
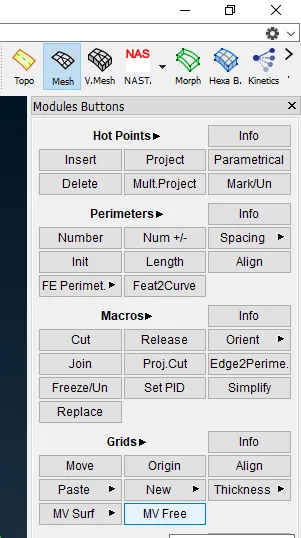
For this, we have to use MESH Deck--GRIDS--MVFREE
After extending reconstruct the mesh for proper connection
Now deploy RBE2 CLUSTER elements to connect the RAIL and GLASS.
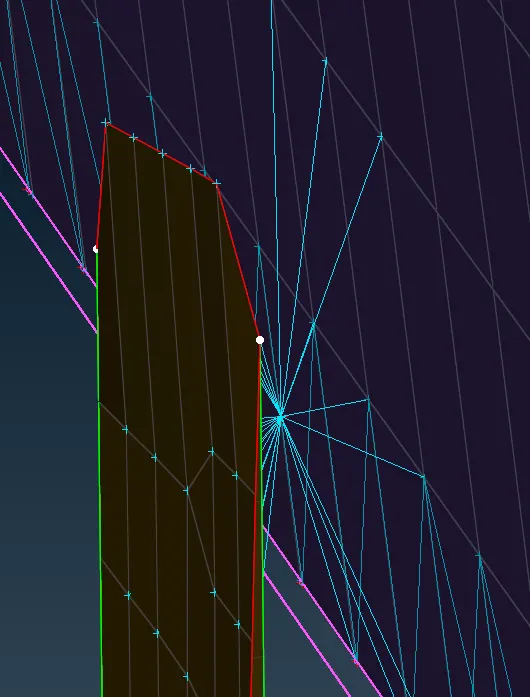
7) Now we have to deploy connection in GLASS DOOR.
In glass door we have damping elements in lower side to guide the movement of glass.
But in ANSA, we don't have damping elements so we will be using spring elements i.e CBUSH
For that first we have creat the FEA line to curve from the MESH deck--PERIMETER--fea2tcurve
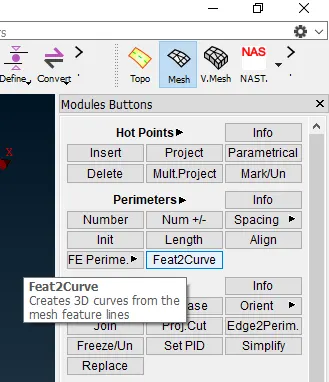
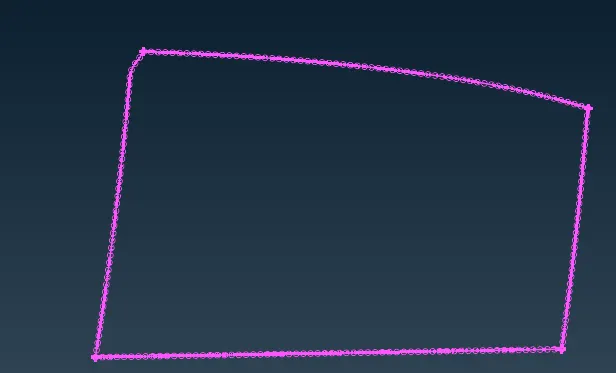
After creating curve then convert that CURVE to spot line from ASSEMBLY TAB--CONVERT
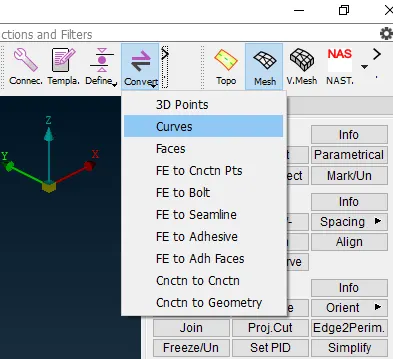
Now we have to go to connect from the ASSEMBLY tab and select the curve and choose the FEA type.
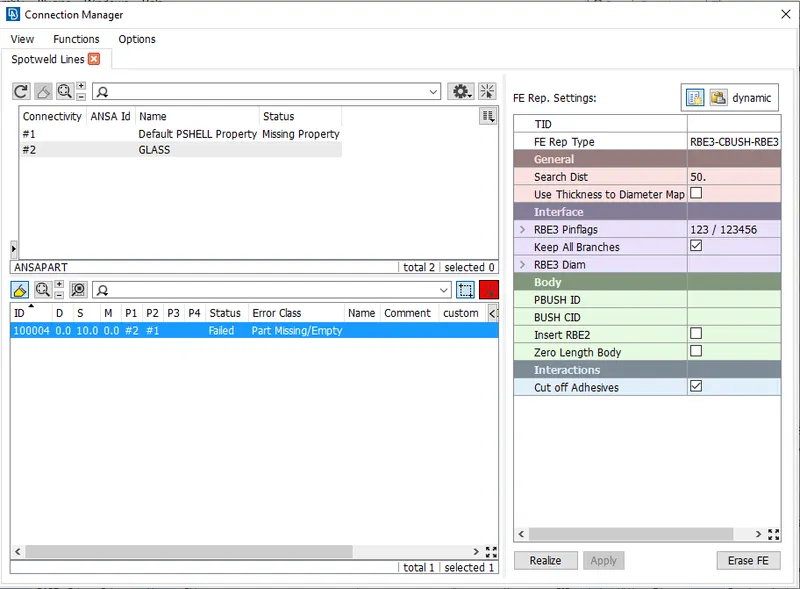
choose FEA type as RBE3-CBUSH-RBE3, It is spring elements as it as also damping coefficient.
And choose the PART1, PART2, CHECK KEEP BRANCH
Then APPLY and REALIZE.
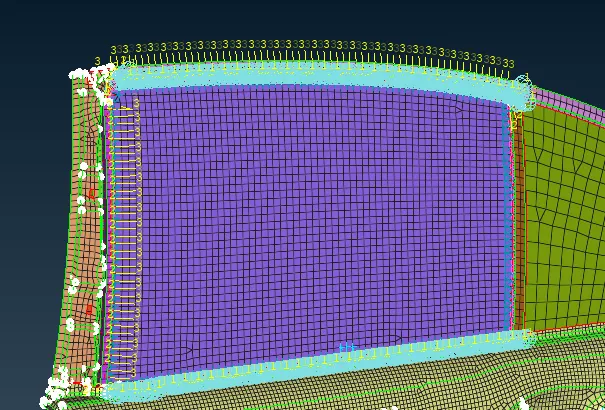
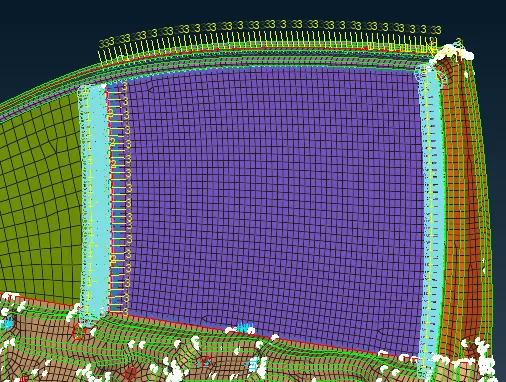
8) Now deploy connection in CAR DOOR MOUNTING TO MAIN BODY.
For the HINGE section we have to deploy RBE2--MANY NODES and CLUSTER RBE2
Now connect the TWO master node with RBE2--TWO NODES so that it will be BEAM element
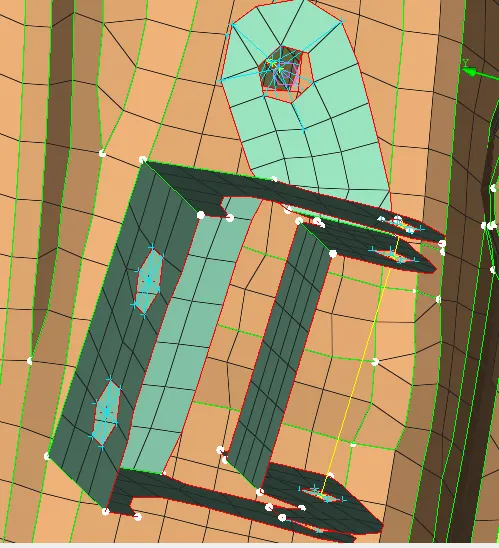
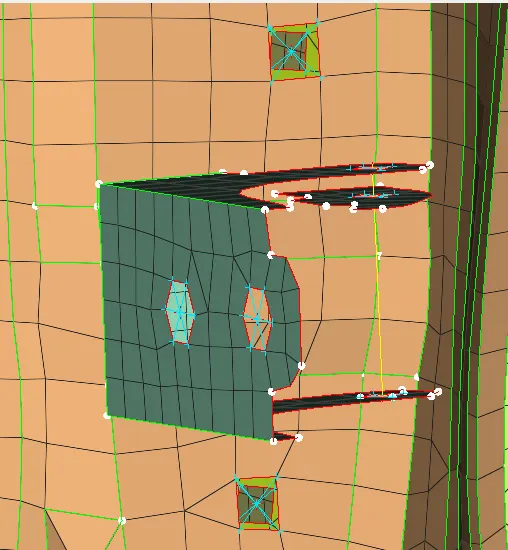
And for HOLES nearby the HINGE all those should also be connected with RBE2 to RIGIDIZE the HOLES
9) In some area we have to use SPOT WELD to connect two parts as there difference in both the parts are very small so we can connect it with spot weld.
First, we have to creat 3D point and convert it to SPOT WELD.
After creating spot weld, connect that spot weld
FEA element type is RBE3-HEXA REB3 for spot weld.
And assign two P1, P2
APPLY & REALIZE
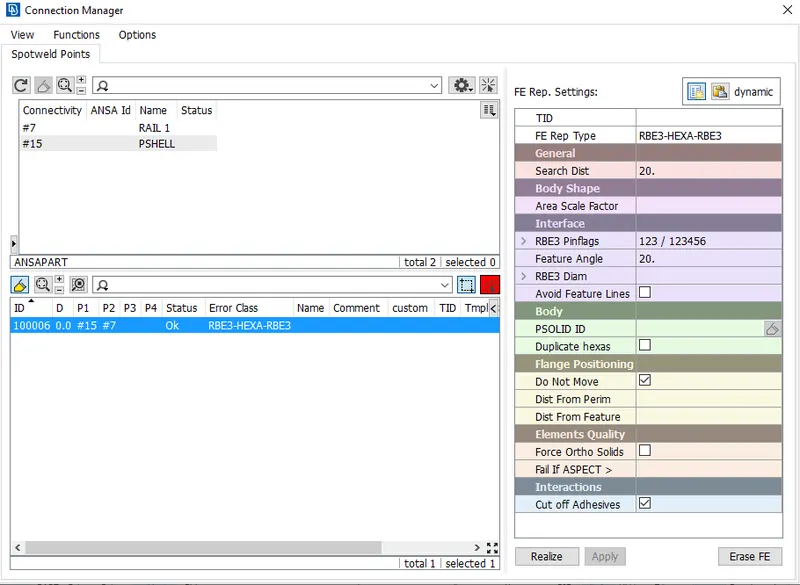
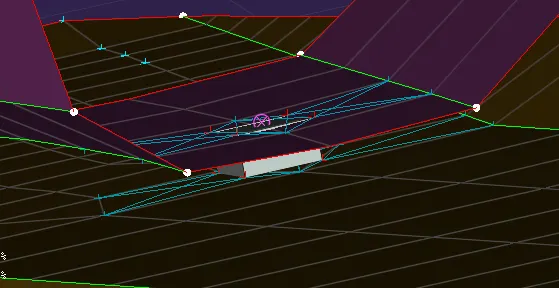
10) Connect the door LATCH portion with RBE2--MANY NODES.
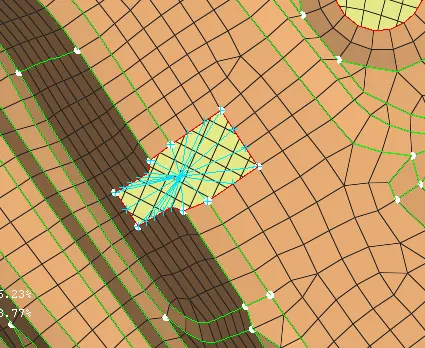
11) Connected all the HOLES by RBE2 elements where two or more parts are joining.
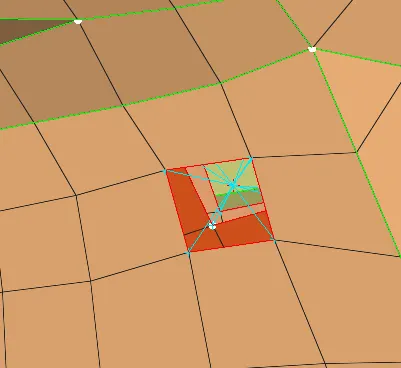
11) As we can see that CBUSH elements are not in other coordinate as compared to GLOBAL coordinate
so we have to assign them into GLOBAL coordinate.
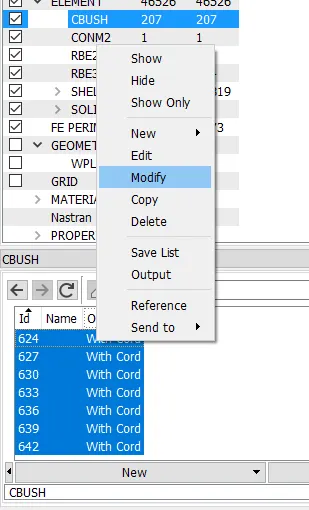
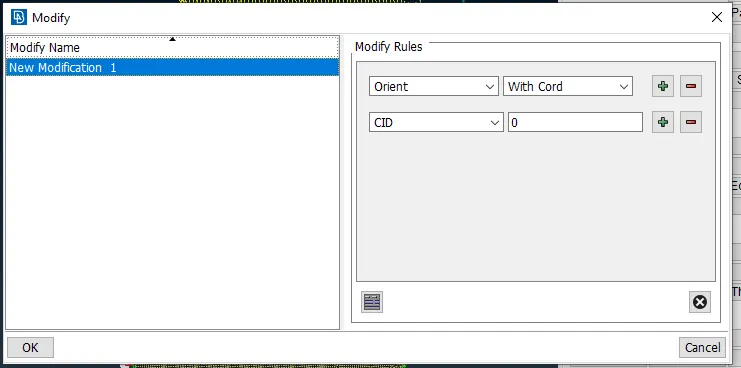
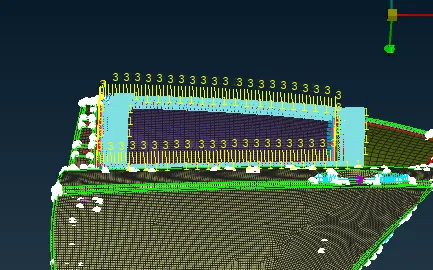
Now all the CBUSH are in GLOBAL coordinate
CONCLUSION:--
1) Learnt how to deploy BOLT
2) Learnt how to deploy SPOT WELD
3) Learnt how to deploy CBUSH
4) Characteristics of RBE2 elements
5) How to assign vector according to GLOBAL coordinate.