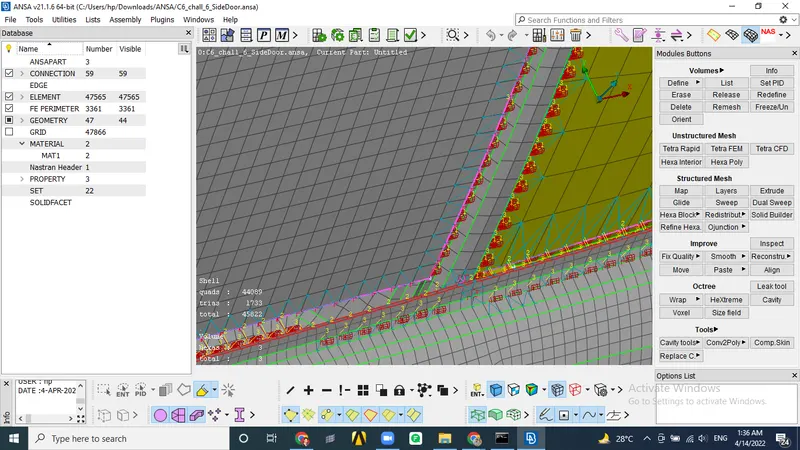
Week 6 - Creating connection for Rear door
Aim - To learn to set pids and perform all necessary connection in rear door.
Procedure-
1. we first import the model and look around to analyze where to what type of connections needs to be given.
2. from poiint we create point with dia less than 10 dor evry hole present in the model in one shot.
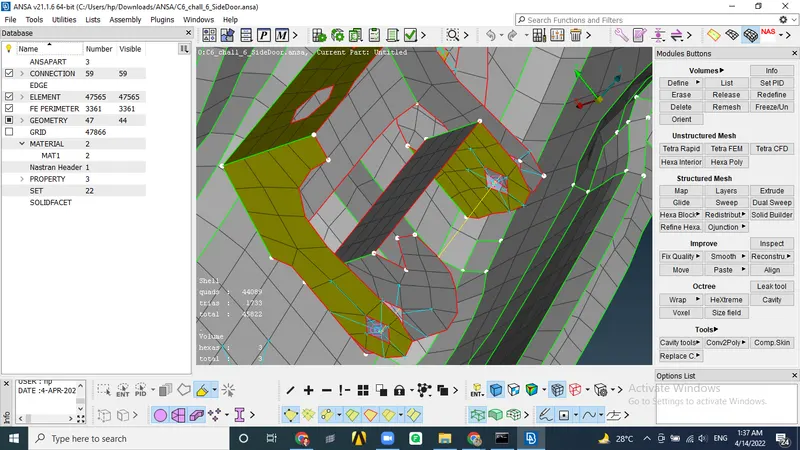
3. Next we covert those point into bolted points.
4. Now we go in connection manager and selectg necessary surfaces for bolt connections and in the dialog box we select fe representation type as bolt and give tolerance value to it. Then we click on apply and realize to create bolted connections at hiven locations.
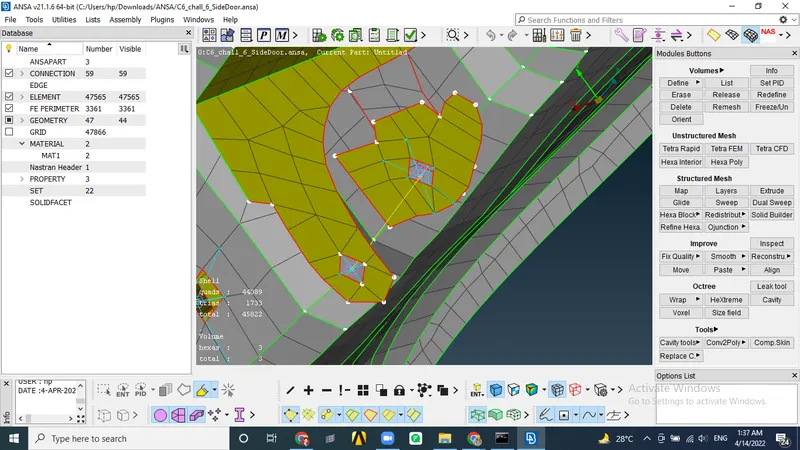
5. fOR SPOT WELD CONNECTIONS WE create points at the element cog where we want to give the bolted connections. Then we convert the points to spot weld points. Now from connection manger we select the fe representation type as RBE3-HEXA-RBE3, GIVE TOLERANCE and create PSOLID id for it. Then we hit on apply and realize.
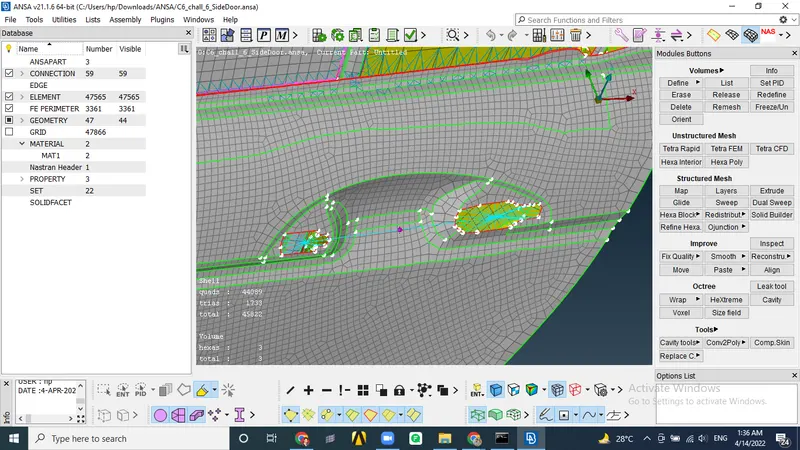
6. All other holes rbe2 connections has to be given and if needed we give cluster RBE2. Bolts can all be rpresented by a two node rbe2 element.
7. For door handle rbe2 connection was given and con mass at the cog of handle was applied
8. For C bush connection, we select the glass edge and convert it to curve ffrom fe2curve optionnow when we select the curve and covert it to spot line.
9. Now in connection manager, we swelect the parts and select fe type as RBE3-CBUSH-RBE, give tolerance and create Pbush ID. Then we hit apply and realize.
10. Then we orient the cbush property card with cordinate CID as 0 in order to orient it towards global axis.