Week 6- Challenge
1 )
Answer :
Objective : Meshing of given HOOD component with following given quality criteria and assigning the thickness .
step by step procedure : First import the geometry from the given source. After importing geometry keep the Geometry colour mode as BY 2D TOPO for clear view .
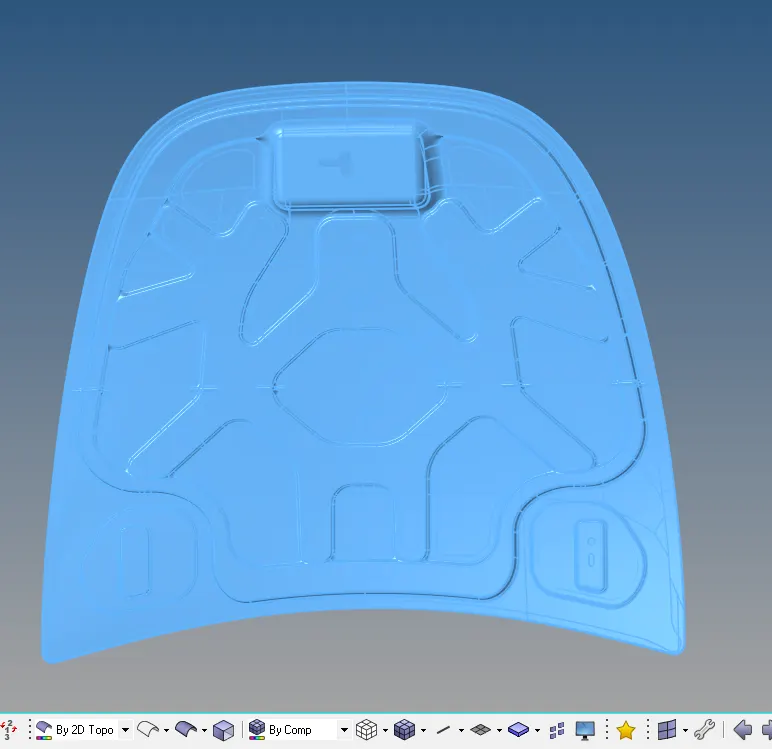
Fig 1 : Imported geometry
Solid Deleting : we are doing 2D shell mesh for that we need to delete the solid entity in the component for that go to F2 > change the option as solid > select the total solid body > then DELETE .
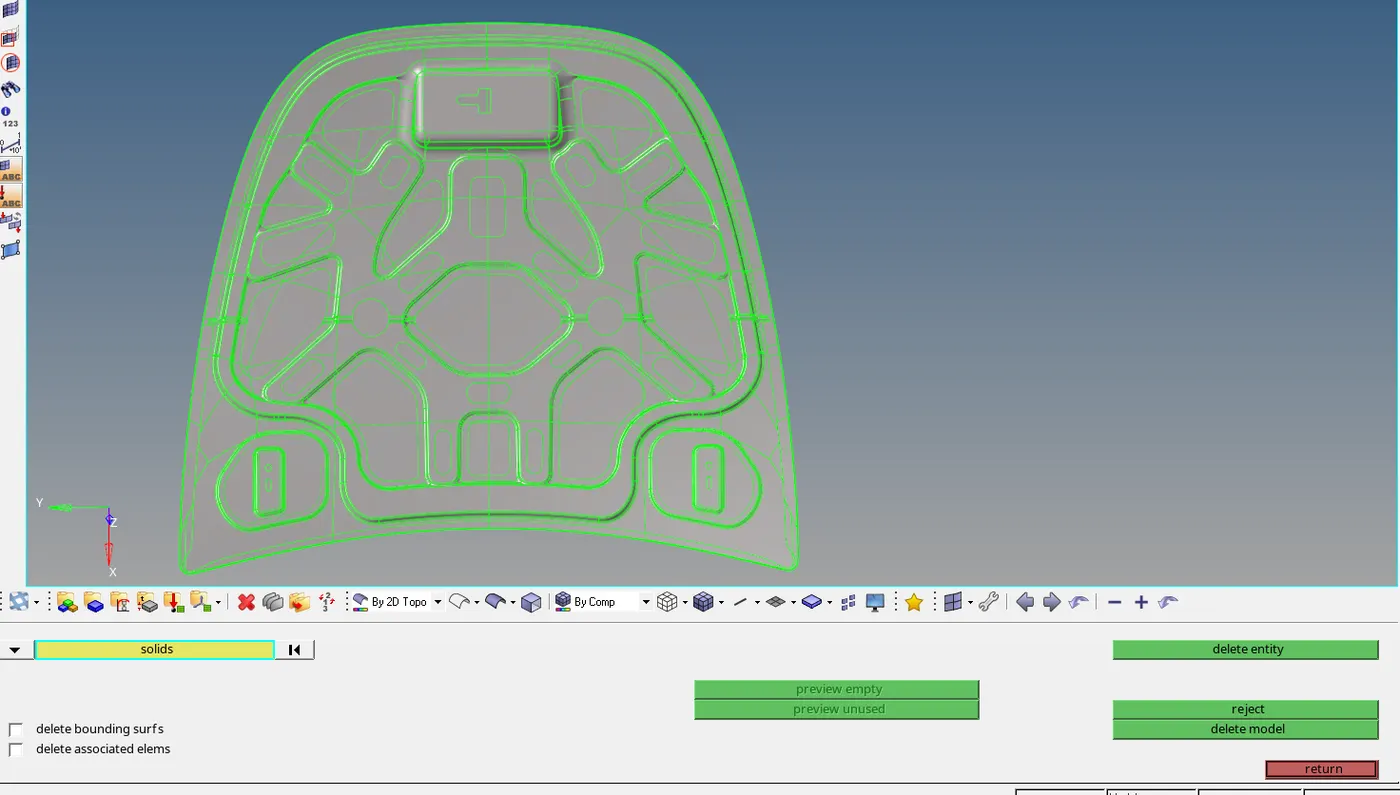
Fig 2 : Deleted solid entity
Midsurface Extraction : In this Hood component there are 5 parts those are
- INNER BODY
- OUTER BODY
- HING 1
- HING 2
- LATCH
Take one by one parts make it current and extract the midsurface individually . For midsurface go to GEOMETRY > MIDSURFACE > EXTRACTION OPTIONS > SKIN OFFSET >AUTO EXTRACTION > Select the DISPLAY surface > extract .
.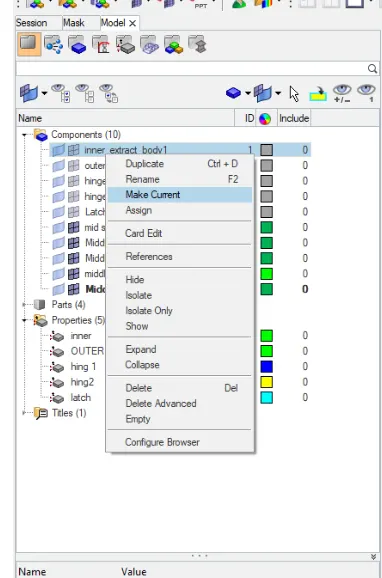
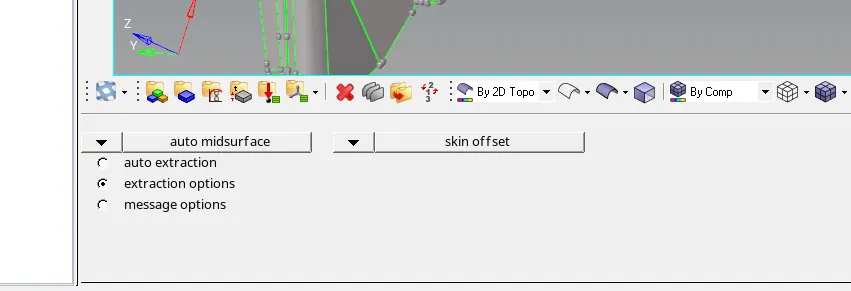
Fig 3 : making current component Fig 4 : Mid surface Extraction
Like that Extract the components individually and make the midsurface rename as the component part for easily identification.
First make it as current component aas which component work .then
surface edit : Inner surface is looks like a Symetry in Y-direction so make the component as half part trim for our easily convinent . For trim Geometry > Surface edit > Trim with surface /plane . After trimming Delete the one of the half part of compoent for that go to F2 > select Surface > Delete surface .
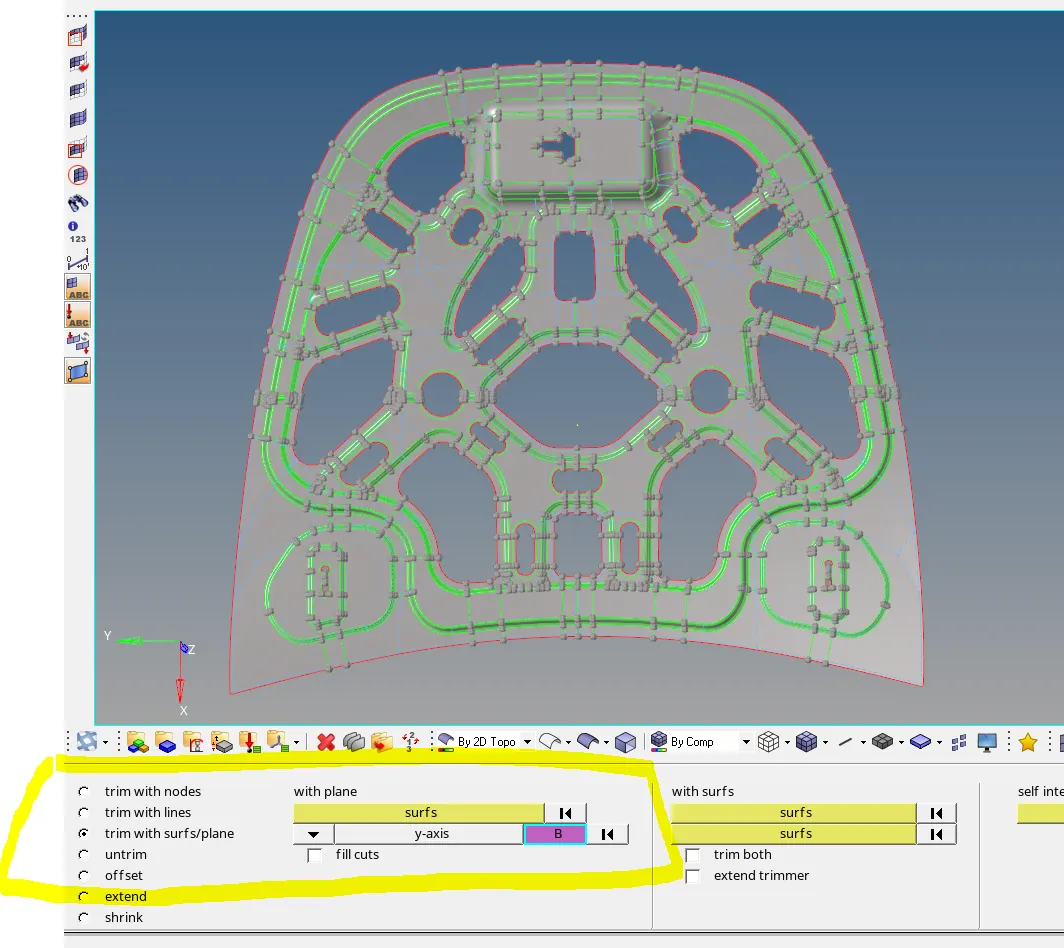
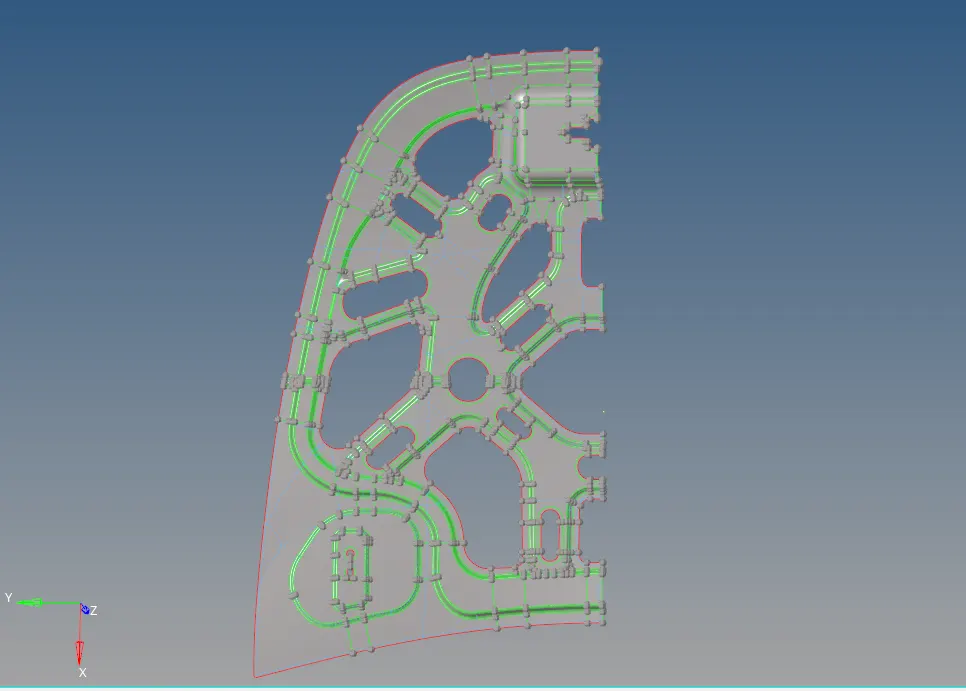
Fig 5 : Before Trimming . Fig 6 : After Deleting half surface .
QUICK EDIT : For Quick edit goto Geometry > Quick Edit .
toggle the unnecessary lines and make the splits for our convinent with out disturbing the feature lines . Make the Washer split of 5mm for holes .
MESHING : For meshing 2D > Auto mesh > select the surface > Mesh
Before meshing keep the mesh settings as element size as 5 mm for that press O > Mesh > element size as 5 > Graphics > Level as 4
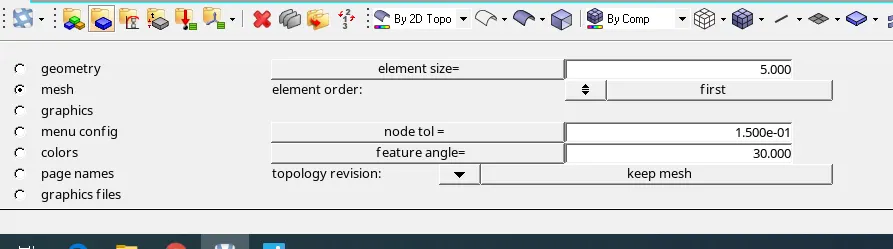
Fig 7 : Mesh settings
Then we proceed for Auto mesh (F 12 .) start the mesh from one corner side one by one surfaces in inner mid surfaces .
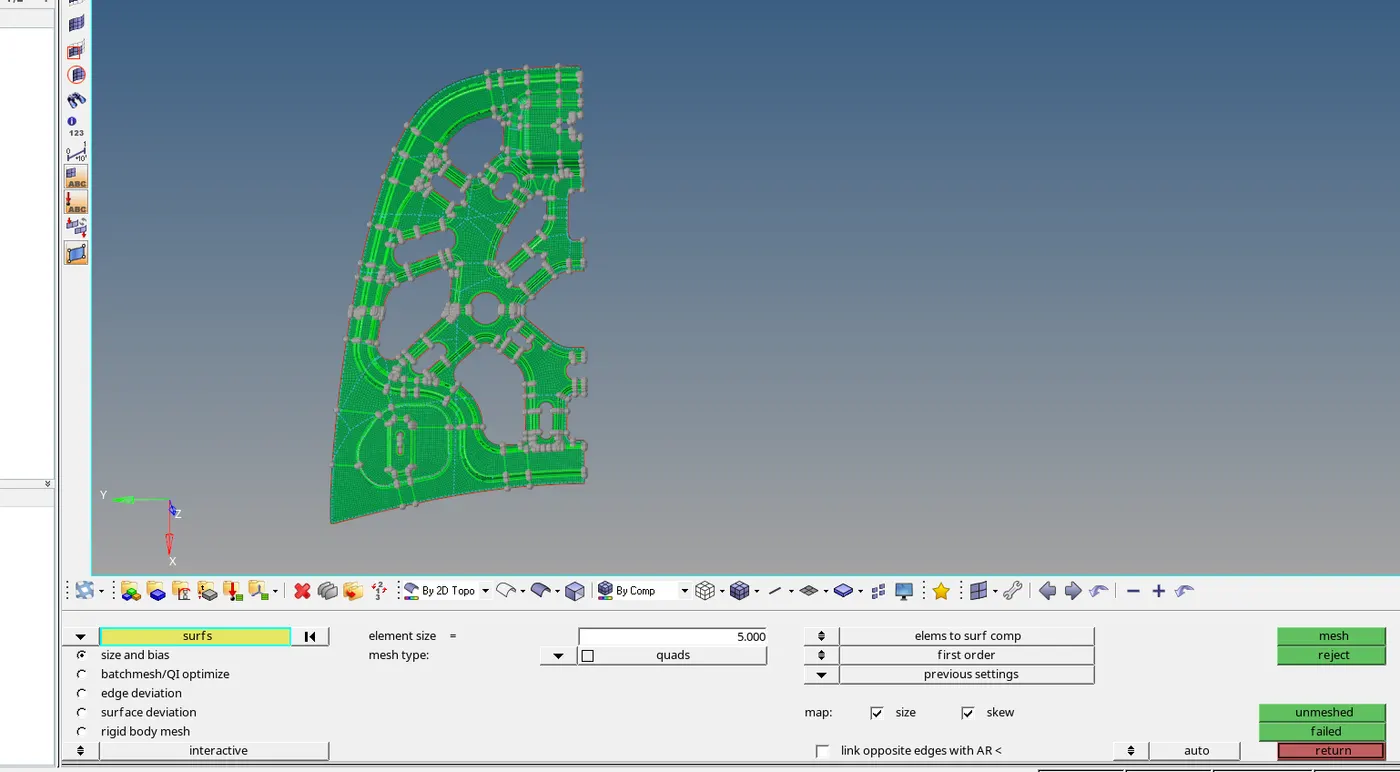
Fig 8 : Meshing of Inner surface
Check the Free edges : For checking any missed conections for node to node press the shift + f3 or go to Tools > Edges >Elements > Select Elements > Preview Equivilence >Equivilance > Again selecet elements >Find Edges .Then we find the any connection missed elements in the meshing .
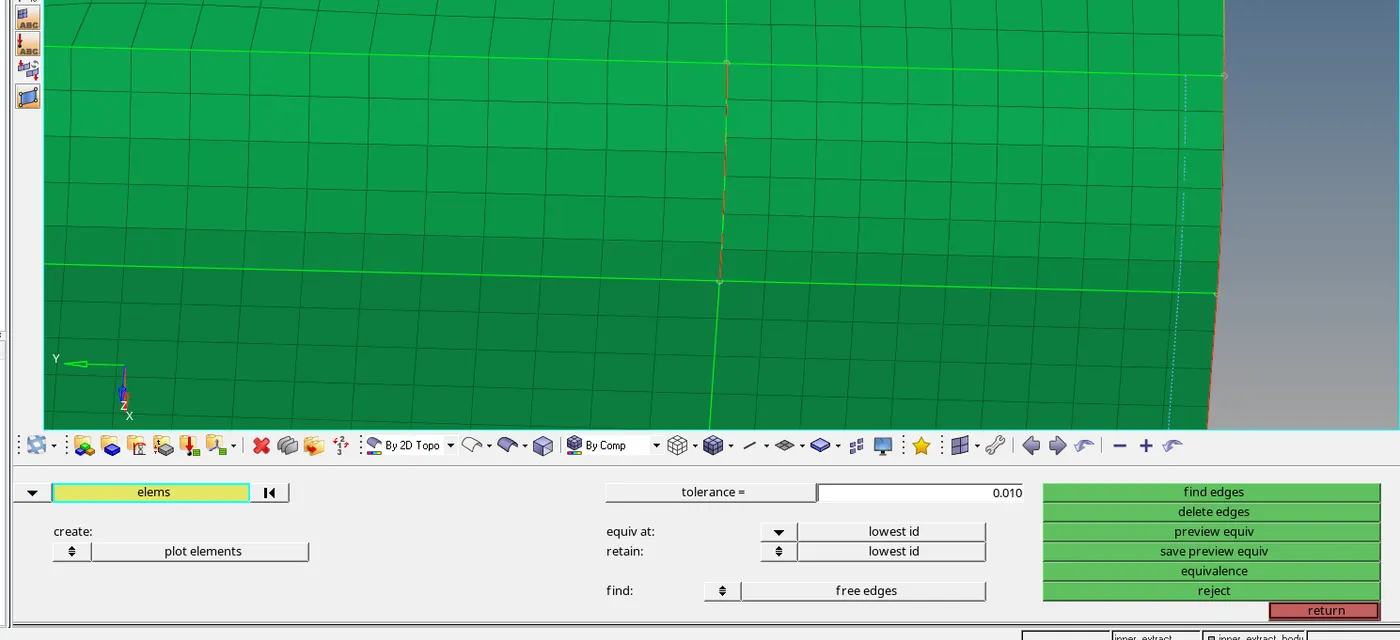
Fig 9 : Connectivity missed Elements
Replace : For giving the Elements connections press F3 or go to 1D > Replace > select the Nodes missed two Nodes then it will be connected
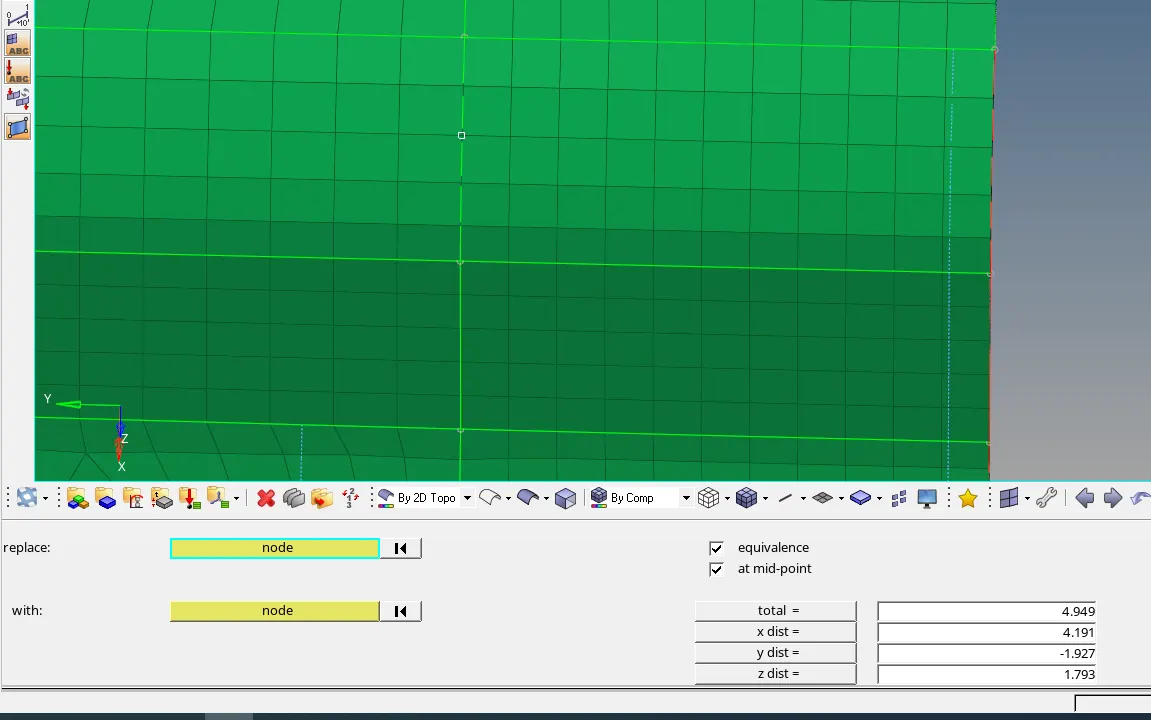
Fig 10 : After Replace Nodes
Quality Checking : For checking the Quality press F10 or go to Tools > Check Elements for the qualith parameters of meshing guidelines
Quality Index : It is also used for quality checking how many elements are failed . Before checking the quality change the quality setting Minimum size as Shortest Edge. In quality Index there are a Geometry Cleanup options here we can use Place Nodes ,Swap Edge ,Node optimise , Element optimize , Split or collapse edge ...etc . All options are used for Element cleanup for Quality Passing the elements .
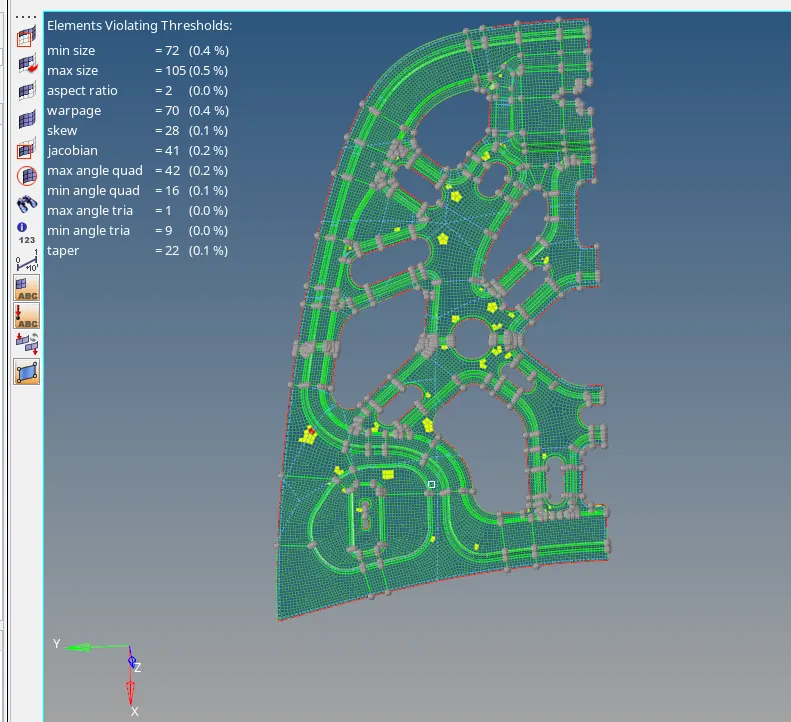
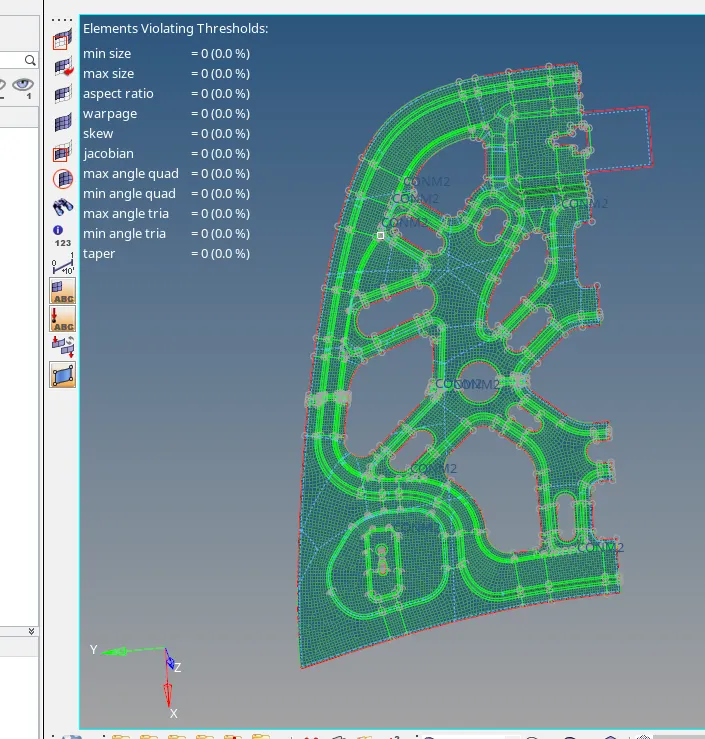
Fig 10 : Quality Checking Fig 11 : After Quality passes
To make the Failed elements as Zero we perform some other tools are like Aline ,Remap ,Smooth of elements ,Split elements ,Translate...etc
Reflect : After quality checking perform the Reflect the Elements For that goto Tools >Reflect > Select elements >make it Duplicates > Reflect about Y-Axis .
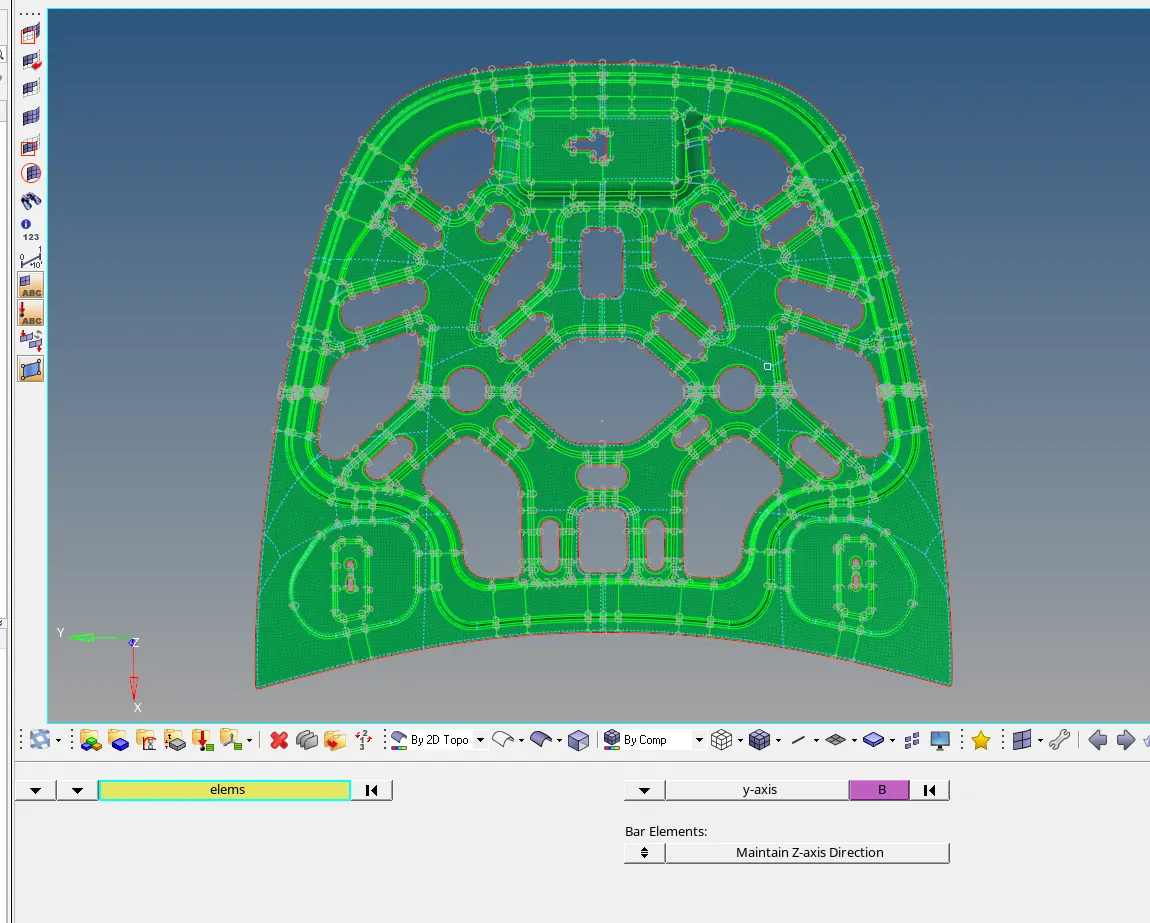
Fig 12 : Reflecting of Inner part
Conmass is added for some nodes to intensionally disturbing the lines like with out align ,or above surface for only to pass the Quality purpose only..
Thickness assigning : For thickness assigning go to left side of display create > Property > Rename for easily identification >Assign a thickness > then goto Mid surface meshed part > then Assign the property to that part.
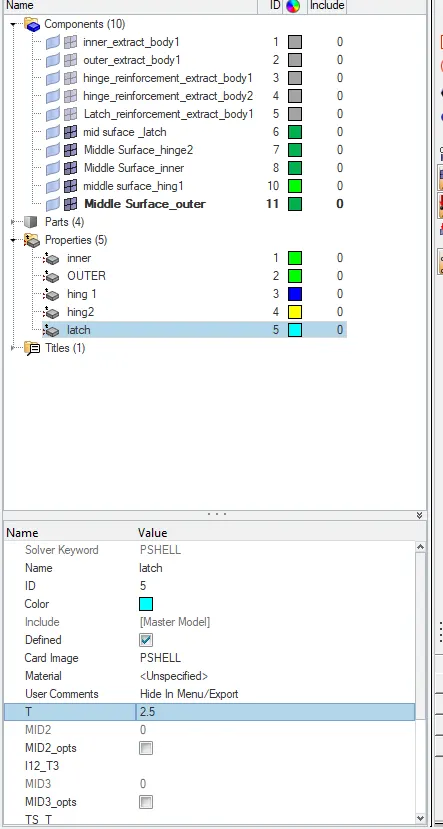
Fig 13 : Thickness assigning
After perform for all parts like the similarlly for Outer ,Hing ,Latch also ..
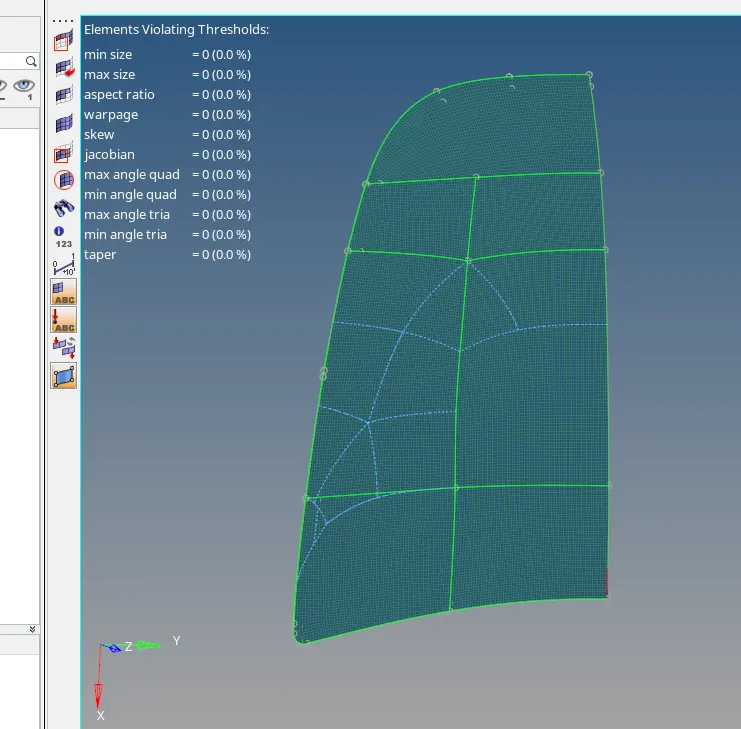
fig 13 : Quality of Outer part of component.
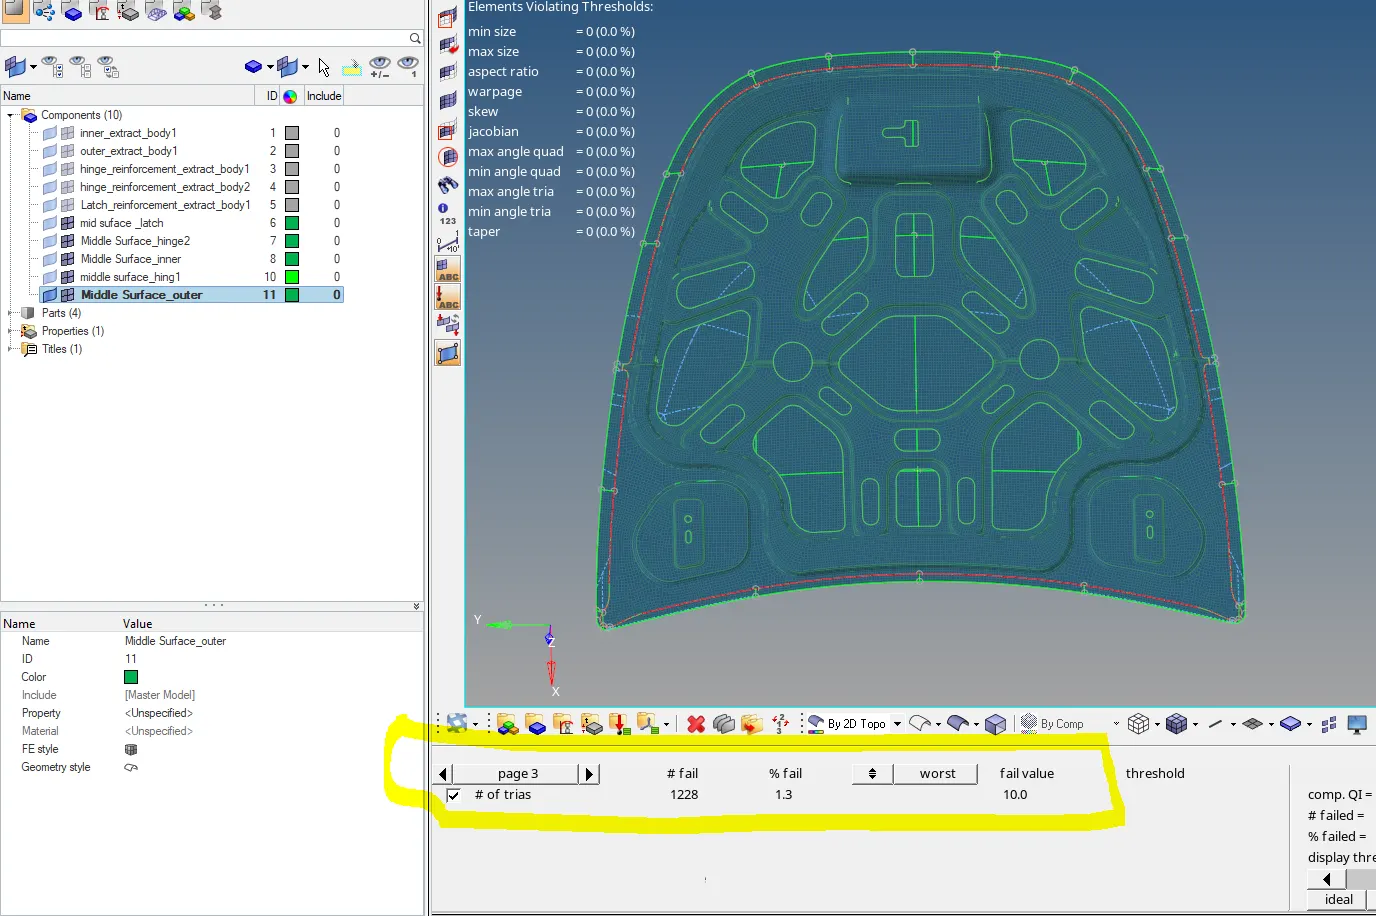
Fig 14 :Final Image
As shown in the above picture clearly thequality passes every element and getting the no.of trias as 1.3% after so many iiterations of performing the element cleanup tools .
Conclusion : Finally completed the chalenge with given conditions sucessfully . In this challenge i learned the Reflect ,Qualith index , Aline ,Remap ,Split , Translate , projection , Clearing the Warpage ,Skew , like quality parameters.