Rear View Mirror Solid meshing
AIM -
- For the given Rear view mirror component, check for the geometrical errors and mesh the Surfaces with the given 2D element Quality criterias given below.
|
S.No |
Quality Criteria |
Value |
|
1 |
Target/Average length |
1 |
|
2 |
Minimum Length |
0.5 |
|
3 |
Maximum Length |
2 |
- Use tetra elements to mesh the Volumes defined in the model and check for the below quality after Volume meshing.
|
S.No |
Quality Criteria |
Value |
|
1 |
Tet collapse |
0.2 |
PROCEDURE -
1. Importing CAD Model -
- First step is to import/open the CAD model in ANSA and after opening the CAD model following was the GUI of ANSA -
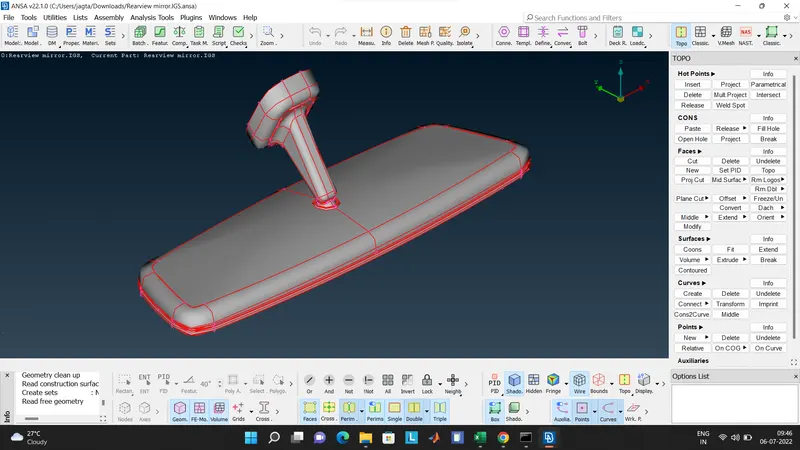
Figure 1 - CONS and Hotpoints are visible in the model
- After opening the model, Faces >Topo was performed to stitch all the cons on the surfaces. After topo, below is the snippet -
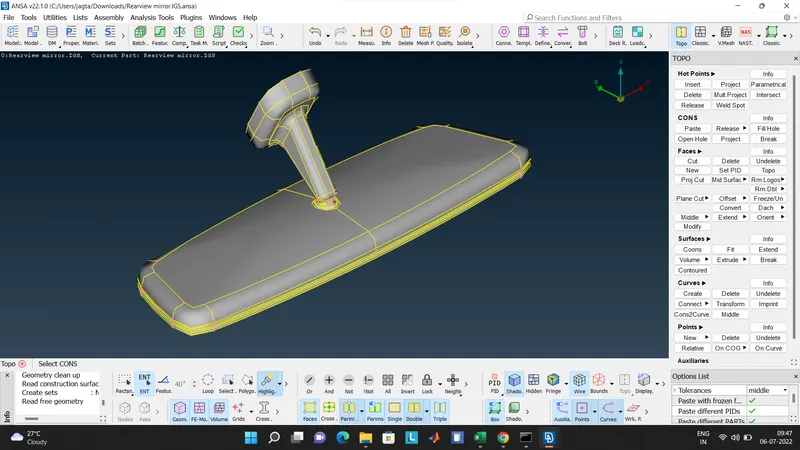
- After topo, all the single cons got converted to double cons.
- The model consists of 4 parts -
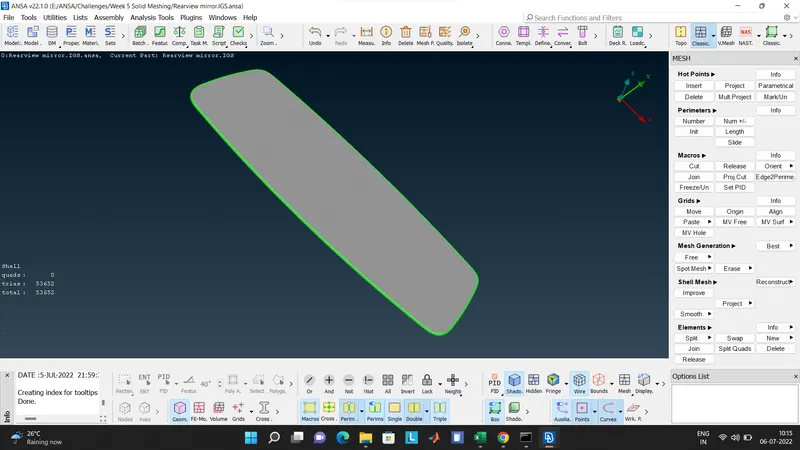
- Glass
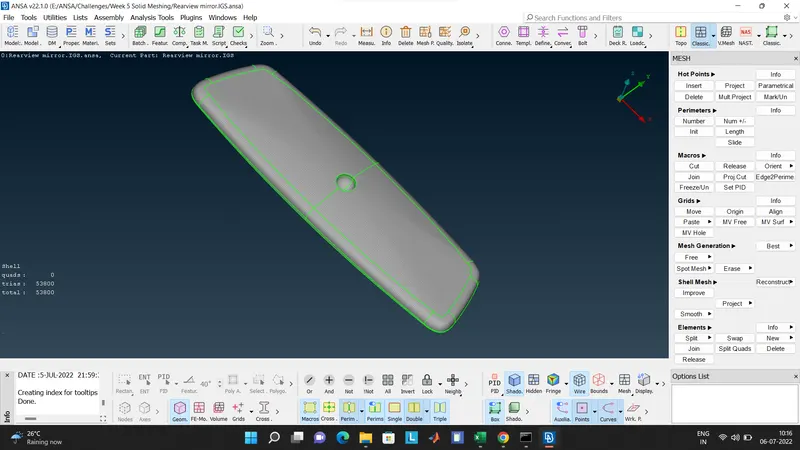
- Glass Holder
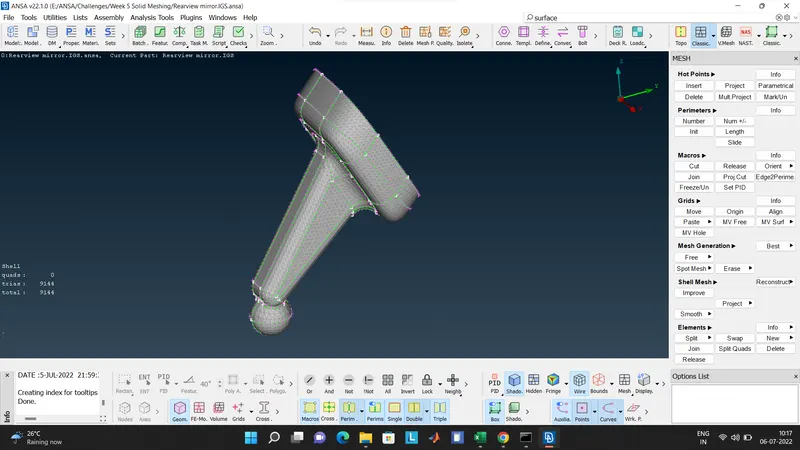
- Spherical Ball Holder (Spherical Pair)
- Base portion
- The PID for the parent geometry were created by default.The part snippets are as shown below -
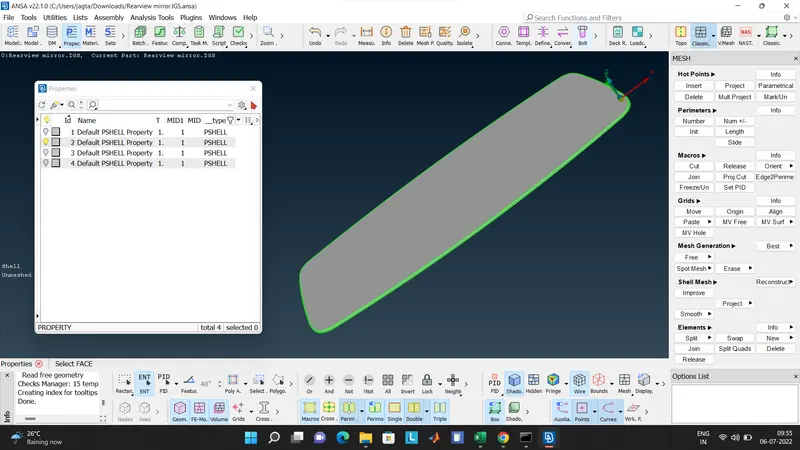
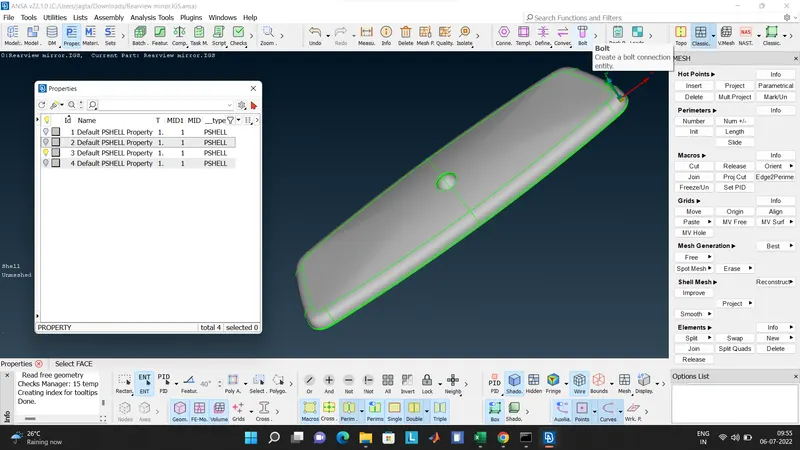
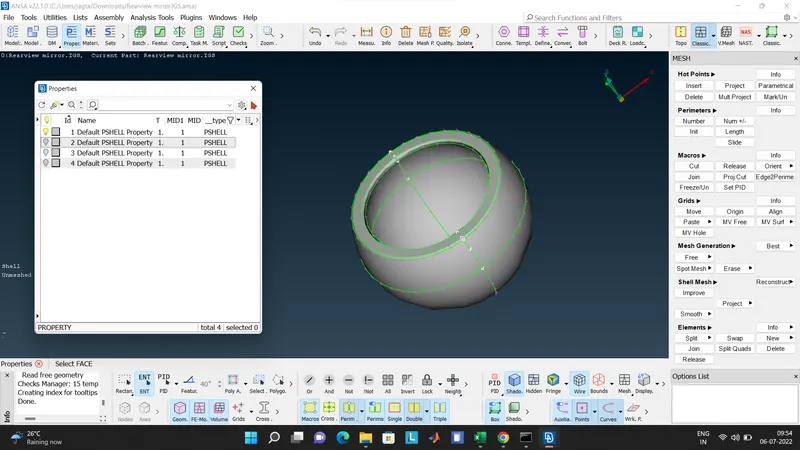
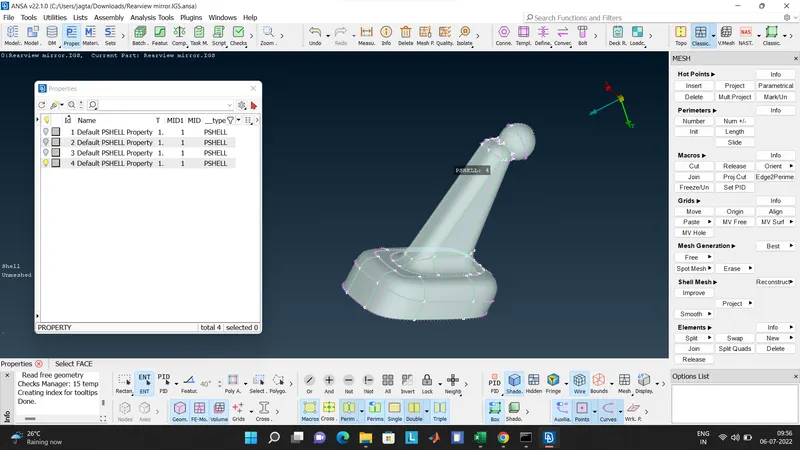
- After opening the CAD model, Faces > Orient option was selected to modify the orientation of the faces.
- Then we switched to the PID mode.
- Geometry checks - Using Checks > Geometry in the Tools tab we found some geometry errors after selecting the entire model which were autofixed using FIX option. Below is the snippet -
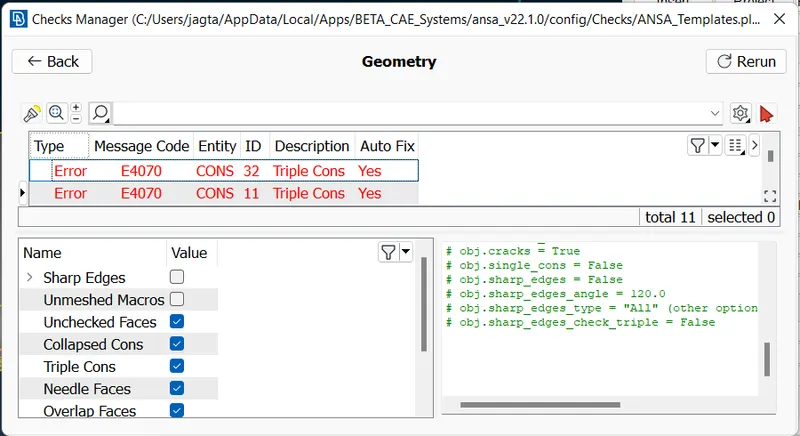
- After fixing errors -
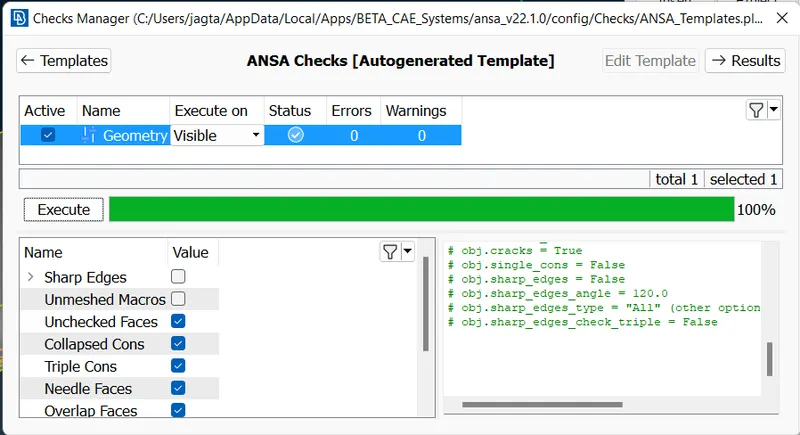
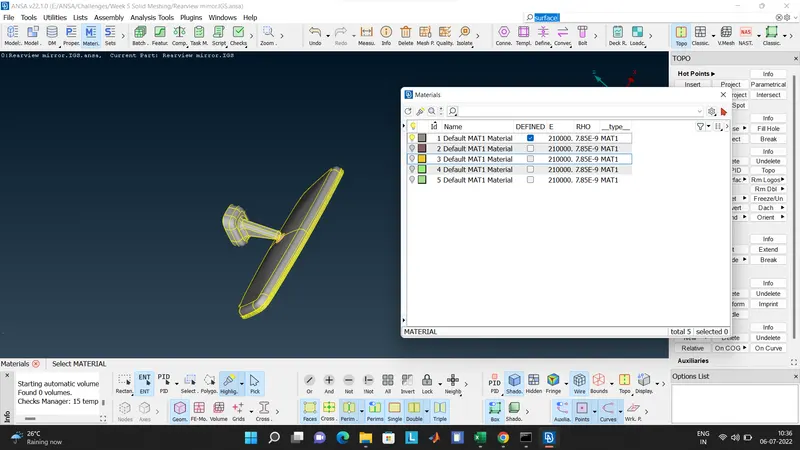
- After geometry errors free model, we go the Material tab (Ctrl + M) and do checks on in the materials tab.
2.Before Surface Meshing
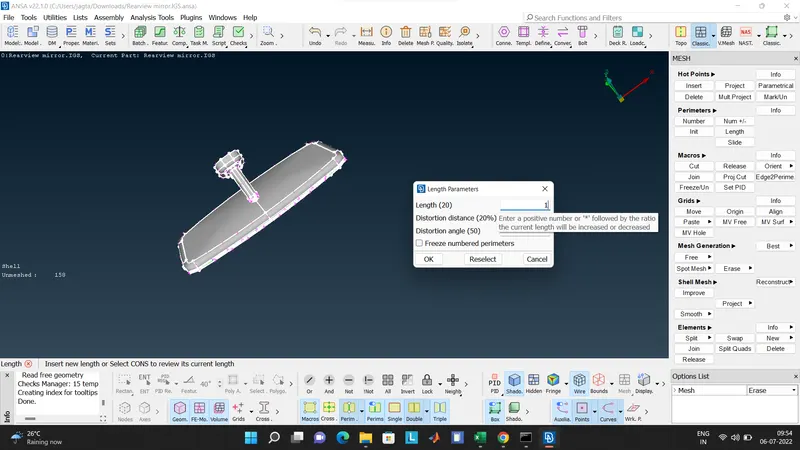
- Before starting the surface meshing, we increase the fineness of the model by specifying element length to 1 mm using Perimeters > Length
- Now need to perform some geometry clean up and defeaturing in which the parts are prepared for the meshing operation by deleting unnecessary fillets, curves and edges and also creating proper compartments structure (Division of part in various section) for proper meshing.
- For example,
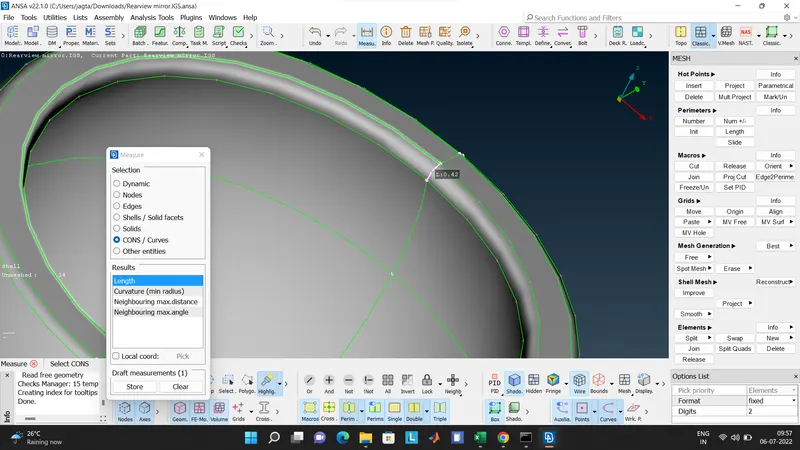
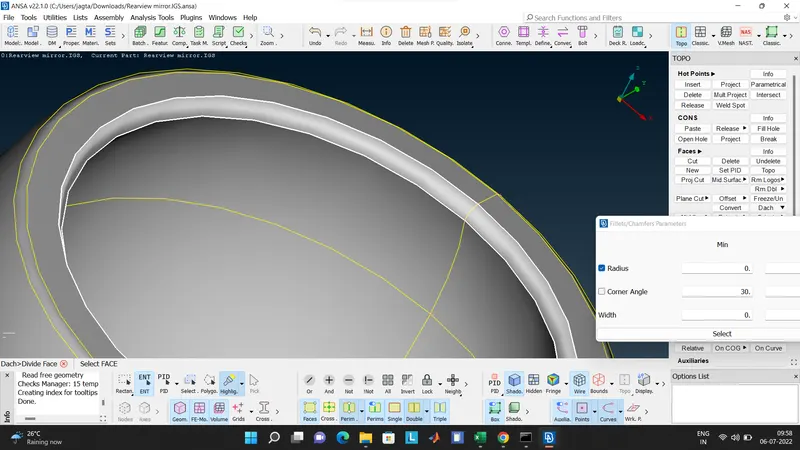
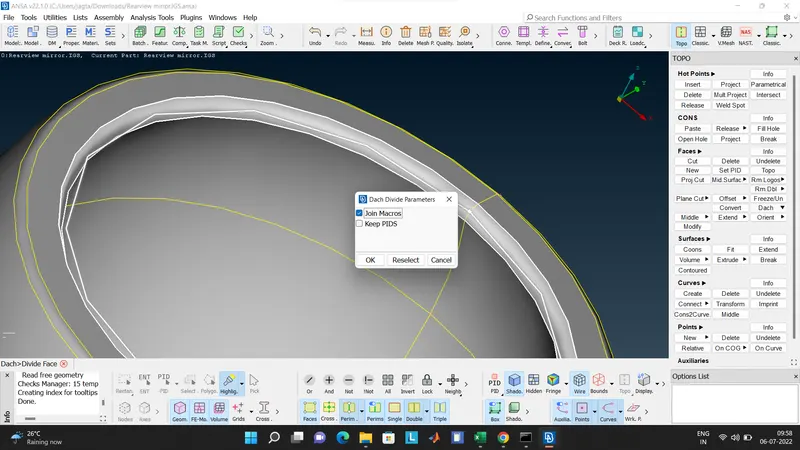
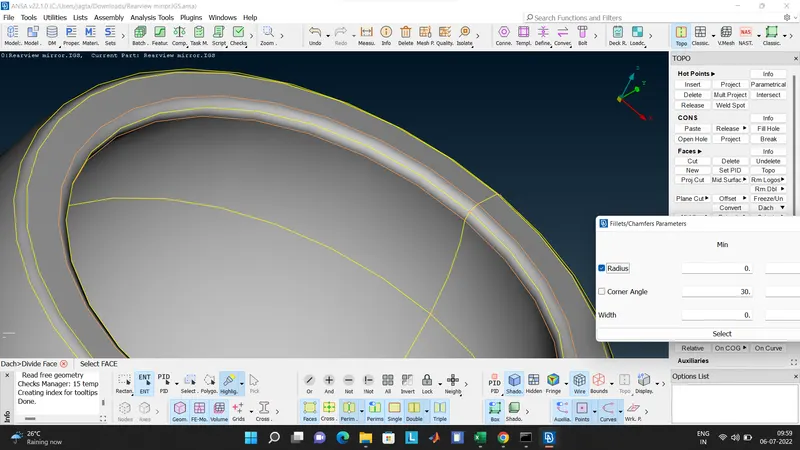
- Case I - The region in the spherical ball holder will fail for minimum length if meshed without defeaturing. So using Faces > Dach > Divide Face we divided the face where the quality criteria will be met.Below is the snippet -
Defeaturing Process below -
1. Selecting the face after selecting Dach option -
2. Join Macros -
3. Defeatured portion -
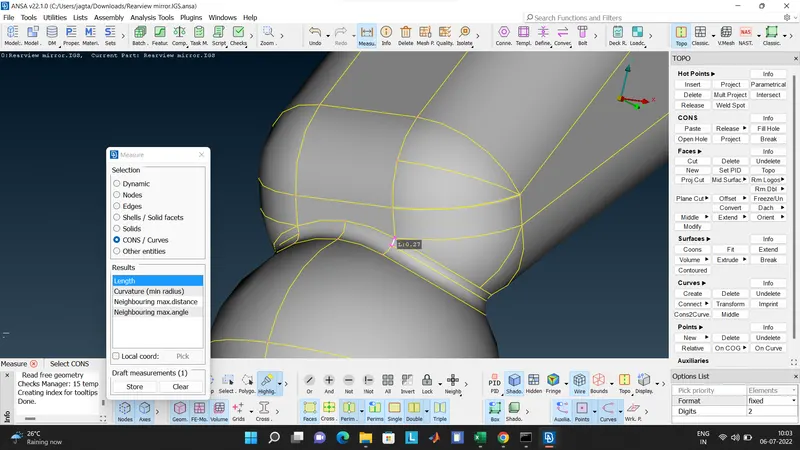
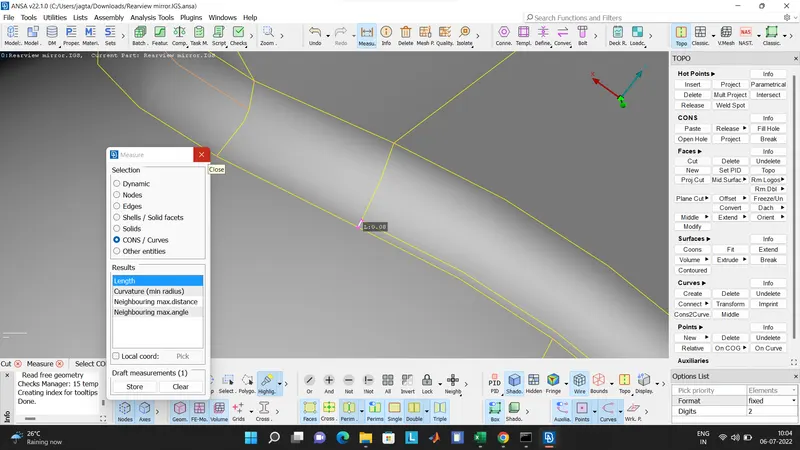
Case II - In the base portion also, some defeaturing was done which might had failed for minimum length criteria. So below are the snippets -
After Defeaturing and Cleanup,
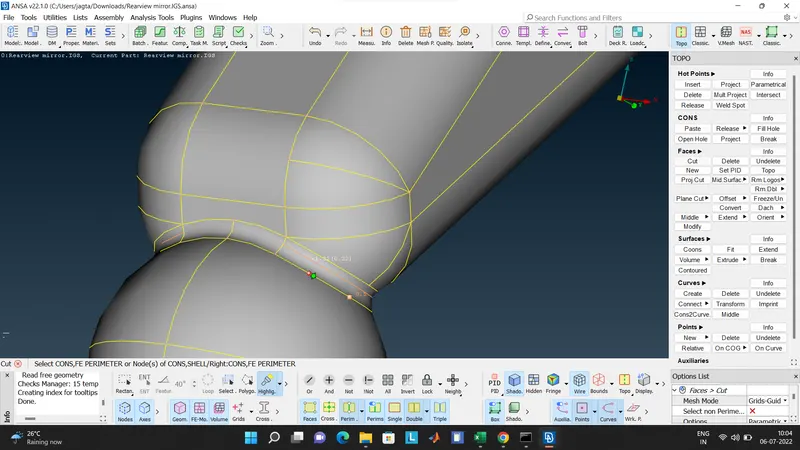
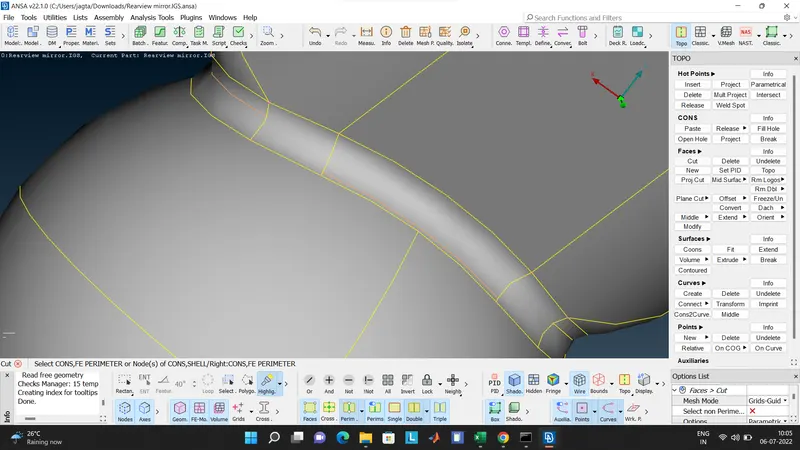
- Box type creation using Macros > Cut option were created for proper mesh flow.
3.Surface Meshing
- We now feed Quality Criteria as per the requirement in the Quality Criteria tab which can be easily accessed with F11 function key.We also input the mesh parameters. Below is the snippet -
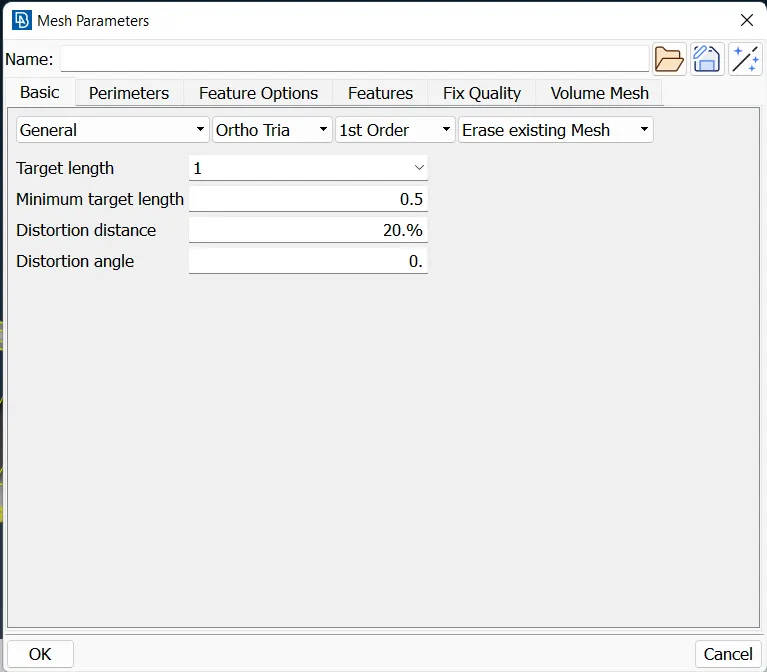
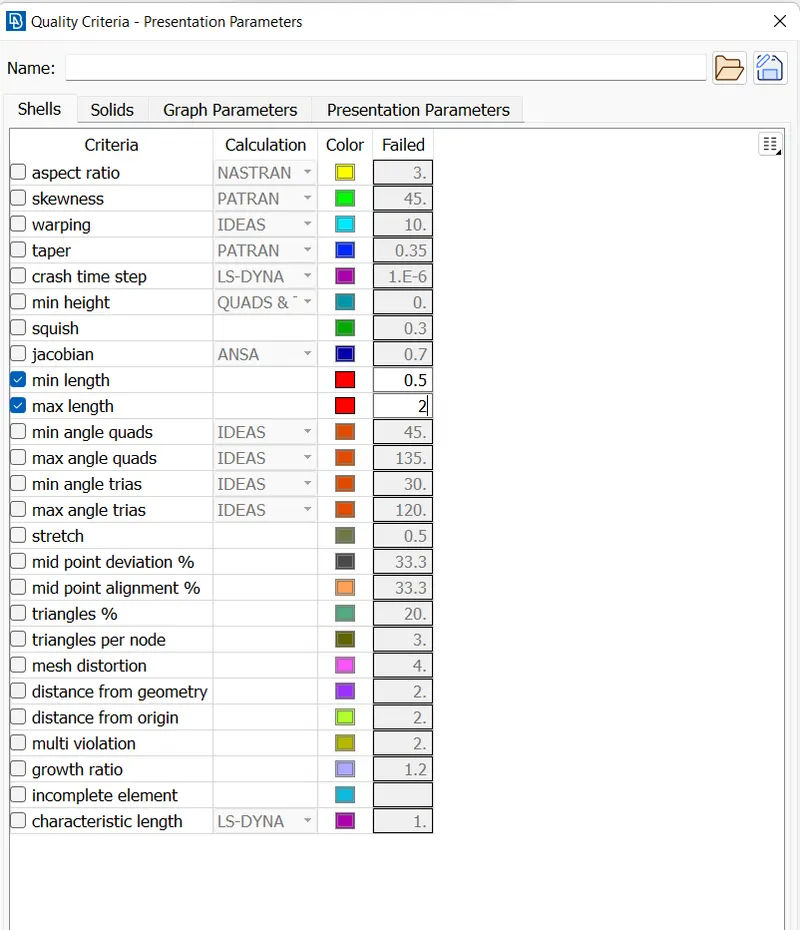
- We start with the surface meshing by selecting Mesh Generation > Spot Mesh for all the parts.
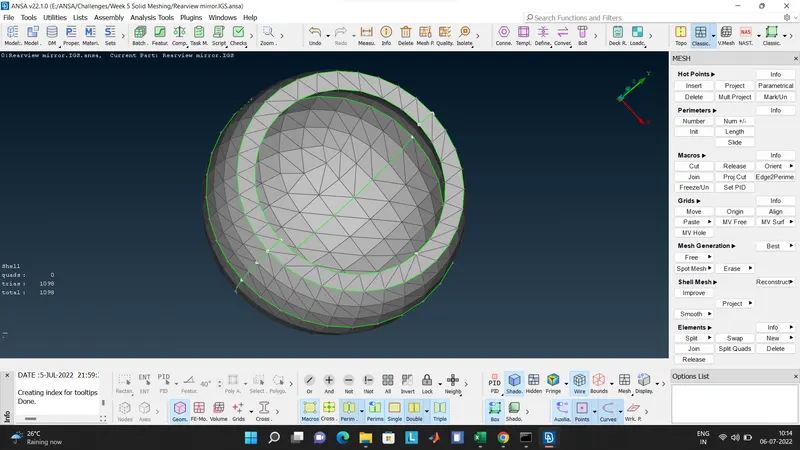
- While meshing the curved surfaces we select the Element type > Ortho Tria and for flat surfaces we select Element type > Tria.
- Below are the snippets of the meshed parts -
4.Meshing Improvement -
- In this step we try to improve the mesh flow and try to satisfy the quality criteria.
- First we tried Reconstruction mesh option to improve the mesh. When not resolved then we opted for different approach.
- We used Grids > Paste option to paste the nodes which were forming a bulge outside the surface.
- Below are some snippets -
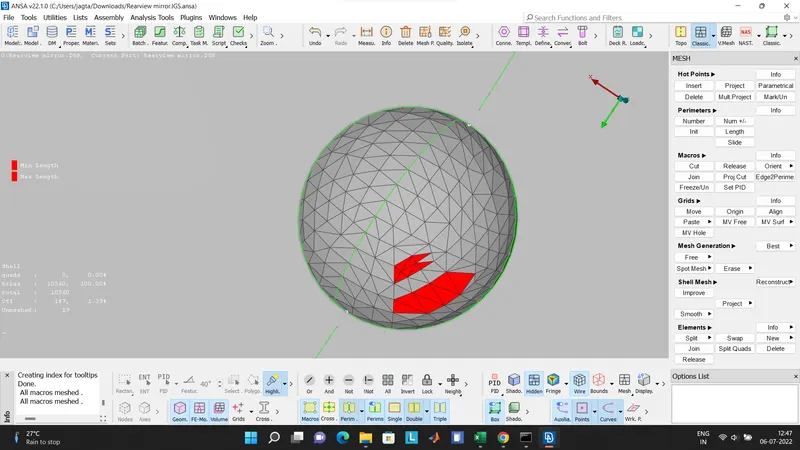
By Using Reconstruction option we resolved the quality failure -
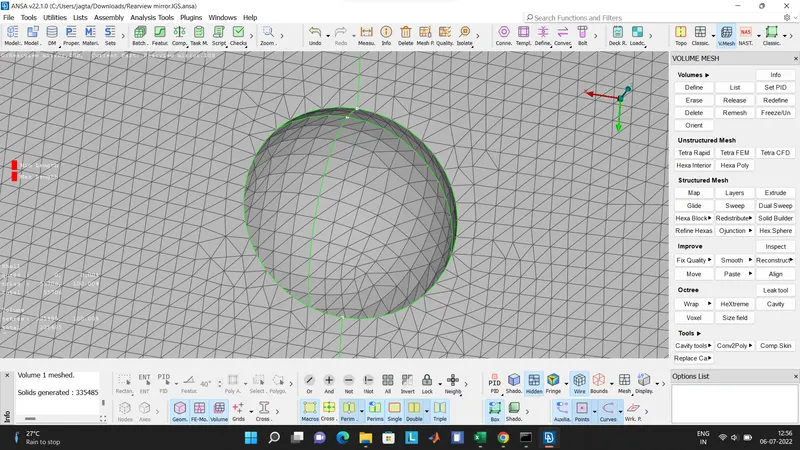
- OFF elements are zero after satisfying the quality criteria
5.Volume Meshing -
- In this step, we need to define the volume before volume meshing.
- We define by using Volumes > Define and then select the PID one by one and save it as a different volumes.
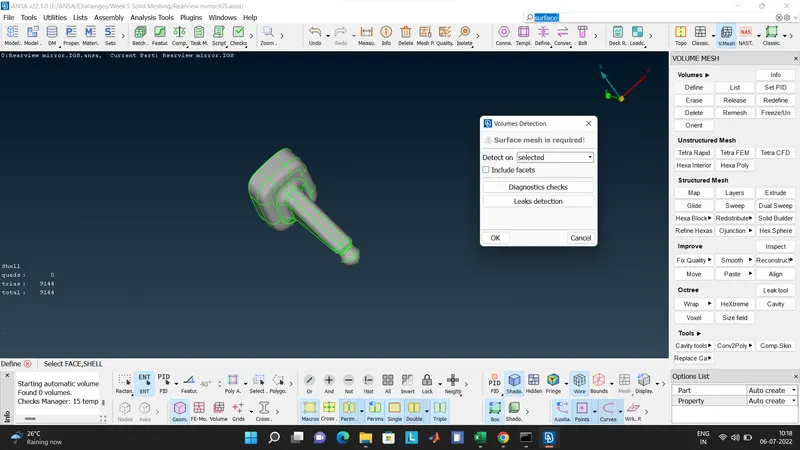
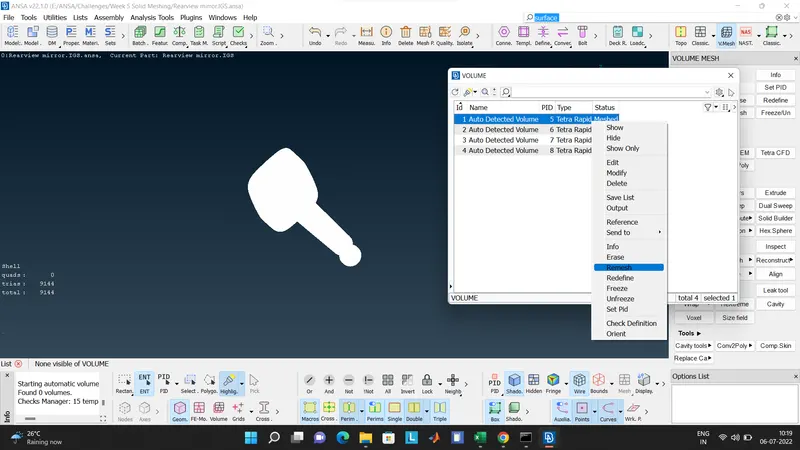
- After saving the volume it shows the status in the Volumes > List as unmeshed. So we select Remesh option and we get meshed volume and the status is updated as Meshed. Here we have used Tetra Rapid for the volume meshing as our aim is to do a Tetra mesh (Unstructured). Below are the snippets -
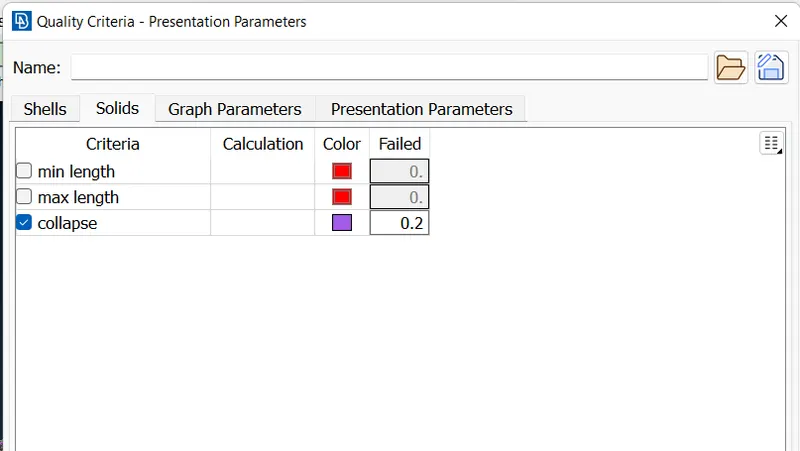
- We now input the Tet collapse quality in quality criteria for the check. Below is the snippet -
- To visualize the volume mesh (Unstructured), below are the cross section of few parts -
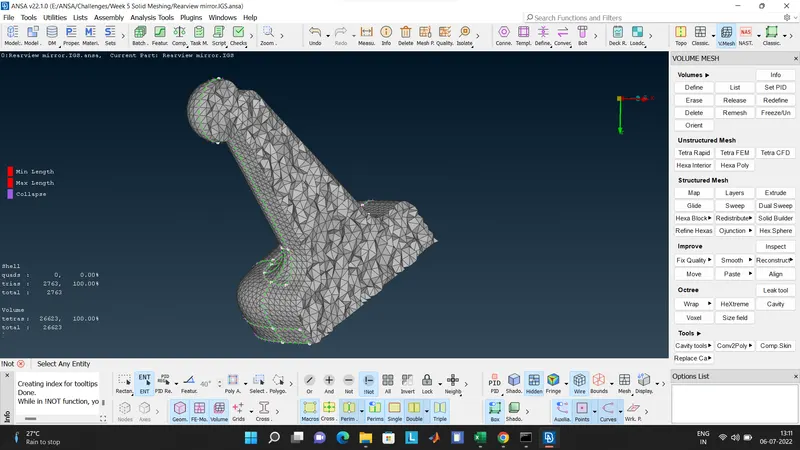
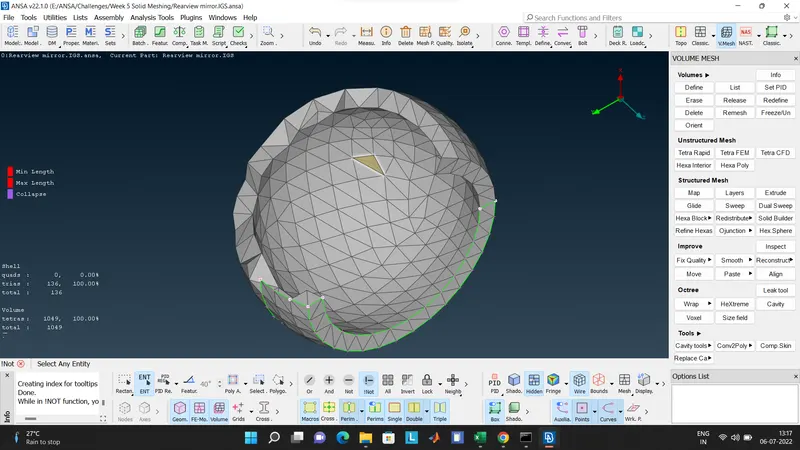
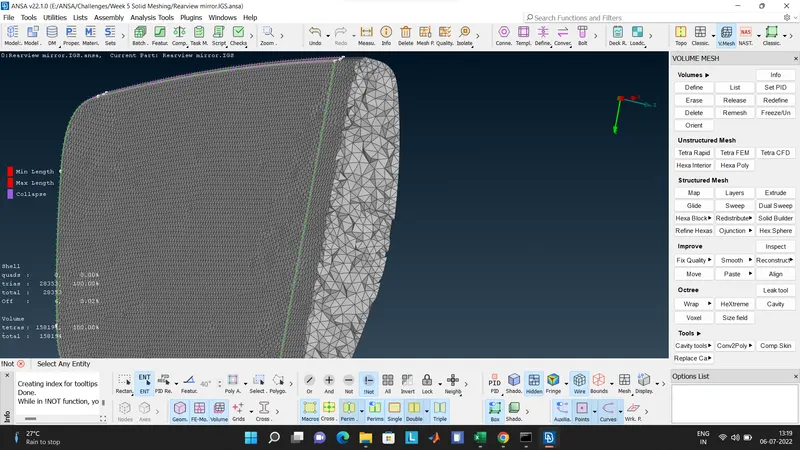
- There were no Tet collapse failure observed for the volume meshed.
LEARNINGS -
These are some of my learnings after completing this challenge -
- Can successfully create Volume mesh (Tetra mesh) for the object
- Can mesh the component and also improve the mesh taking into consideration the quality criteria recommended.
- Learnt some new options like defining volume and then meshing it.
CONCLUSION -
- We have successfully Tetra meshed the model and also satisfied the quality criteria required.