Week 5 Challenge : Surface wrap on Automotive Assembly
Aim :
To do surface wrapping over the given model.
Objective:
The given model should not have ant single CONS on the outer surface. The Surface wrapping should be done to all the component after merging with the element length of 3 mm.
Surface Wrapping:
It is a type of meshing done only on the surface of the given model. It is different from the usual surafce meshing as it is only suggested for complex geometries where the number of errors is large in numbers and requires days to correct them all. And it is only used on model which are used for external simulation. The surface wrapper can be used when parts are overlapping, have duplicate surfaces or when your input has to high level of detail.
Procedures :
First we import the indivudal parts and do geometry cleanup only on the visible surfaces. Before to begin the cleanup we delete the excess hot points. And view the entire solid model in wire frame mode, this helps us to get the idea abot the number of errors and to arrive at conclusion to use surface wrapping.
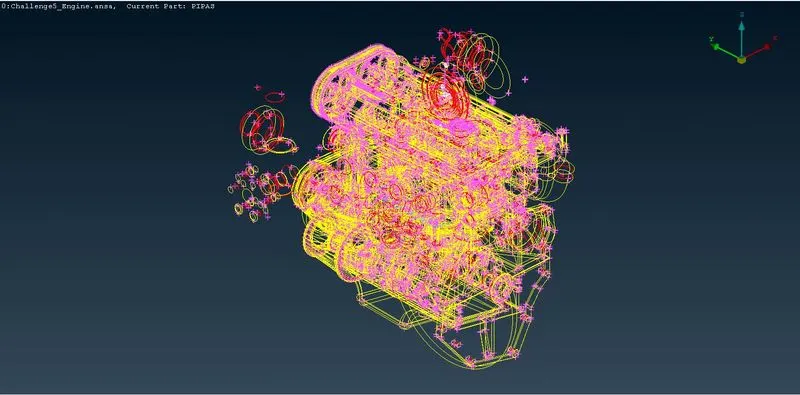
As we look the PIDs there are more unwanter solid models taht is not in contact with the main model, overlapping surfaces, and spheres whaic are need to be deleted expicially the ones that are visible on the outside.
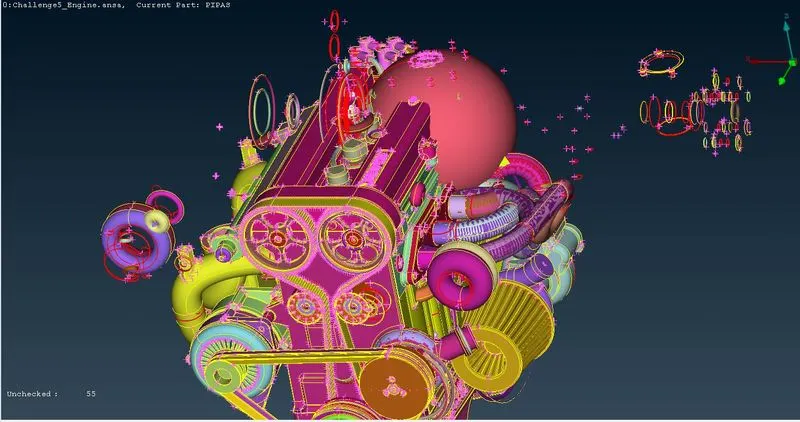
Since the entire model is tightly packed first we deleted the individual parts hanging outside and the we worked from one side of the model to the other side. this time we isolatedeach components before deleting to see the exact surface that is causing the problem and the we deleted the part , the major parts are the solid donought shaped spheres whicg runs through the main model we use the wireframe view to identify them and delete using universal delete option. We use AND , OR option to isolate our target geometry this helps in proper elimination of the surfaces and solids.
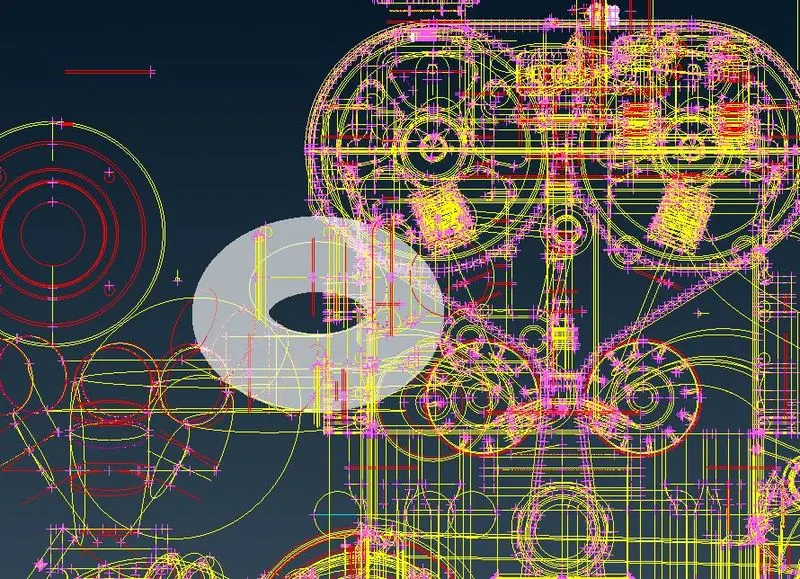
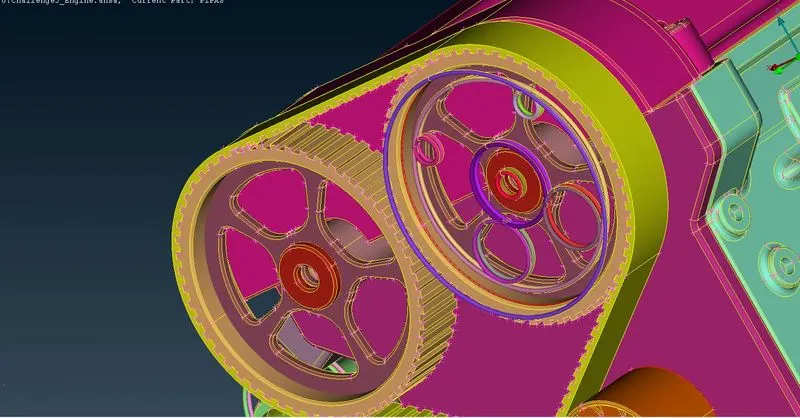
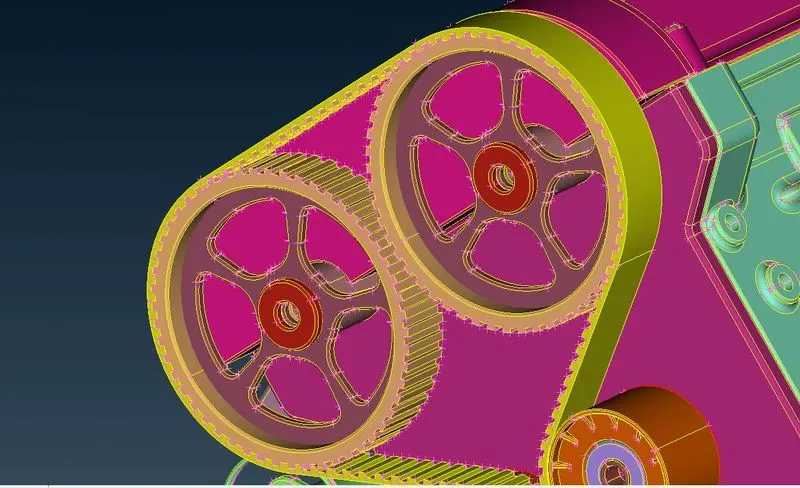
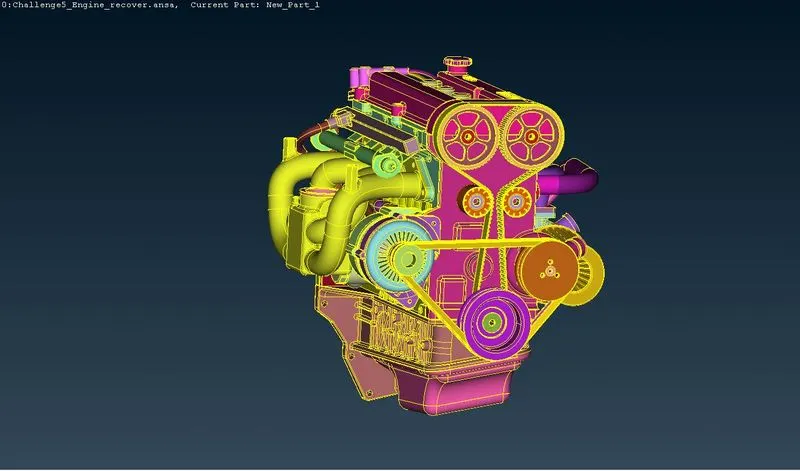
The geometry cleanup is done on the engine.
Next we do the geometry cleanup in similar way for Transmission box and gear box
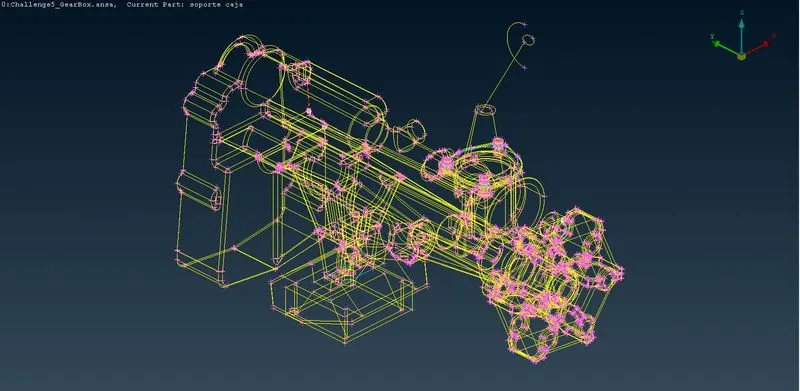
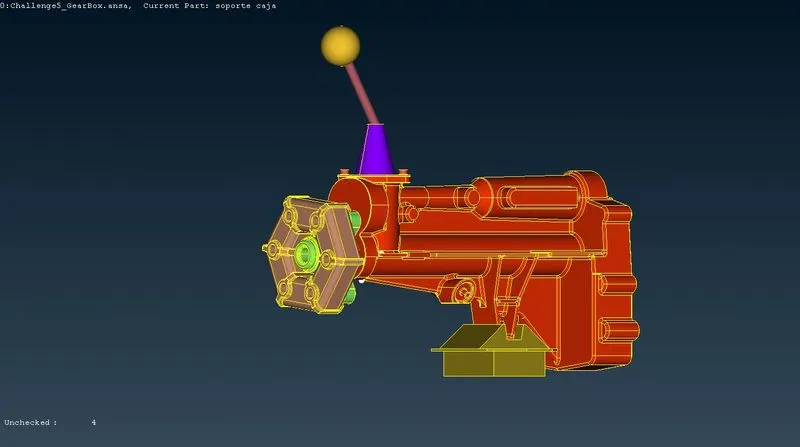
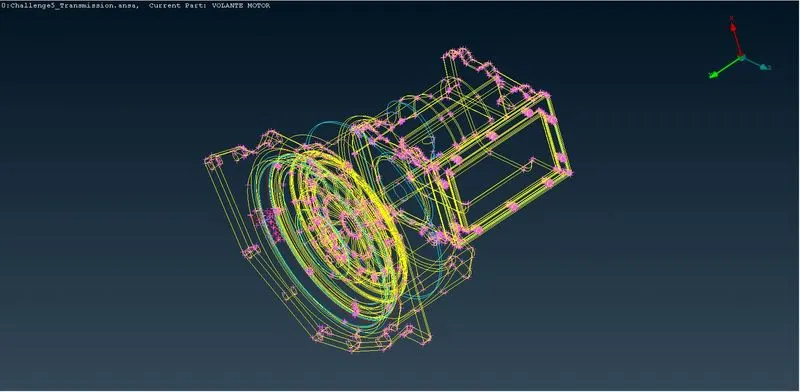
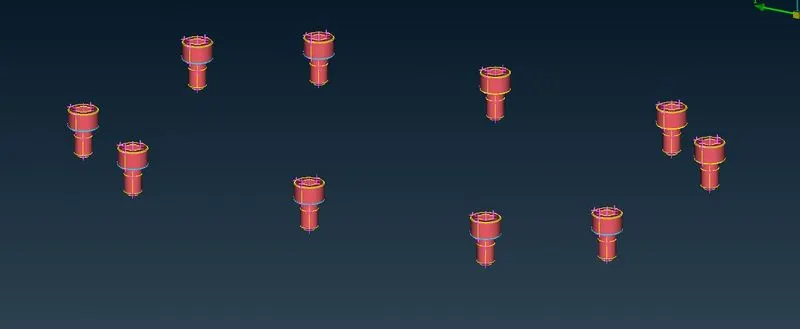
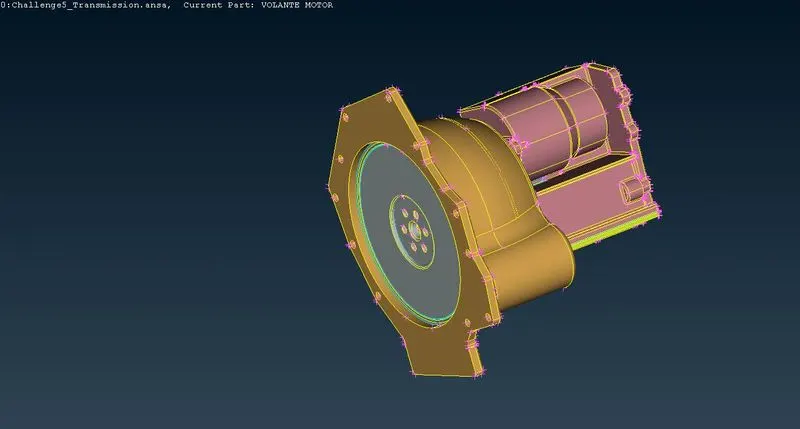
Now we merge all the three model into one single part using merge option. then we close all the openings just like we did for surafce meshong to avoid any complex curves to generate un-equal mesh.
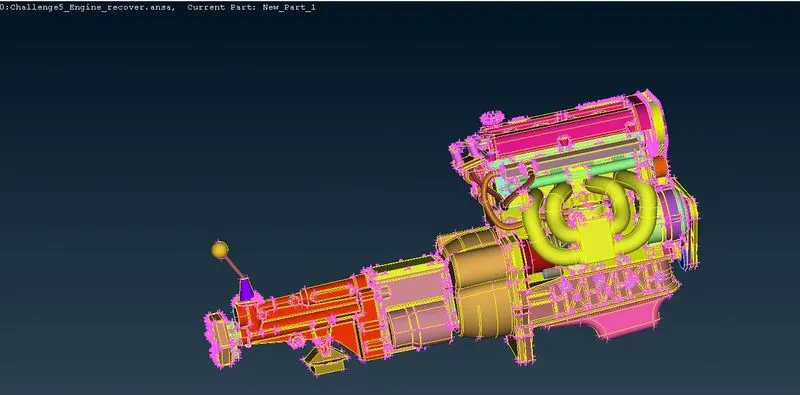
We delete the belt over the pully as it is thin and surface wrapping does not capture it. And then we go on to close th holes.
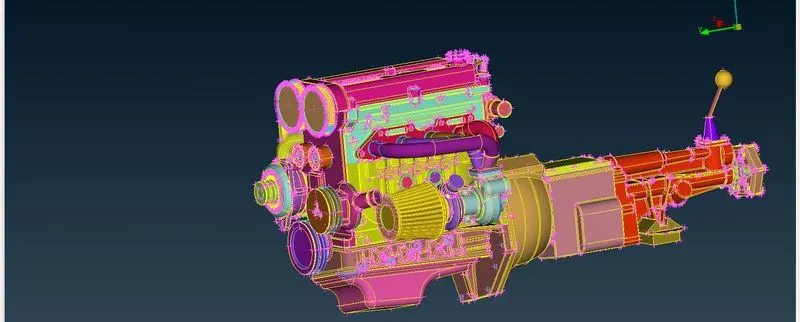
We delete extra PIDs as it would complex the process and increase computational time. For surafce wrapping we choose wrapping option under elements, where we give the target length as 3 mm.
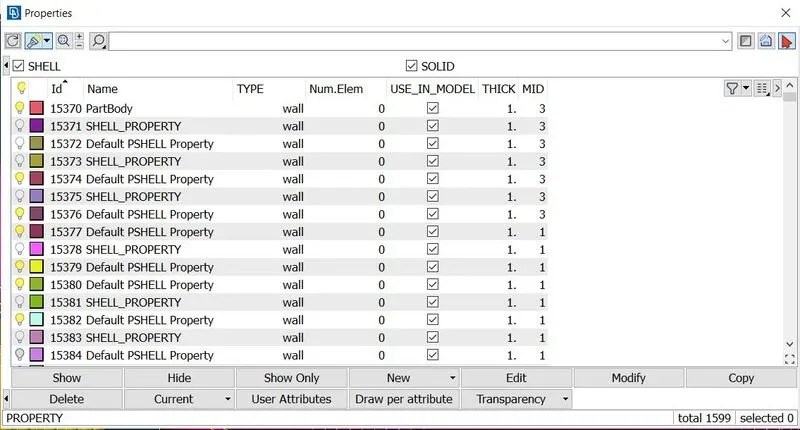
We use compress option to delete extar PIDs.
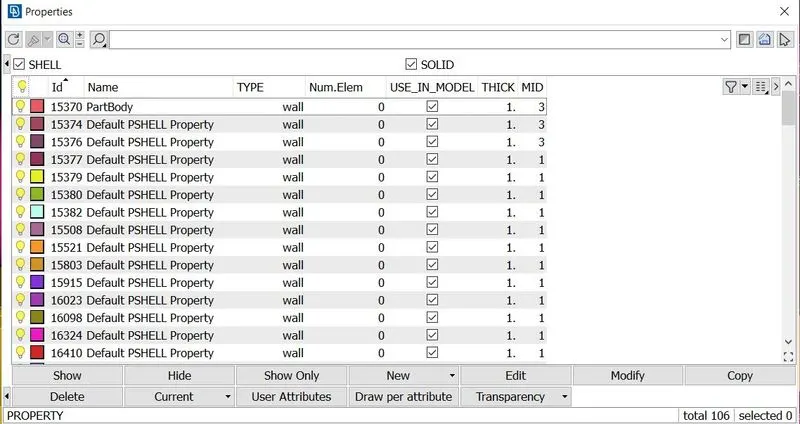
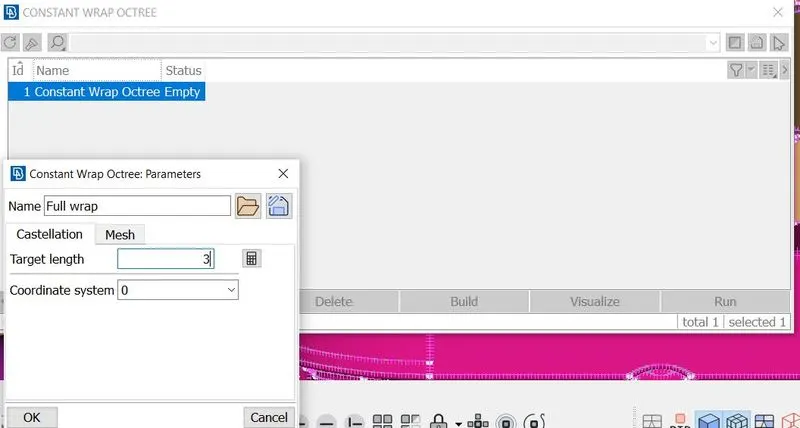
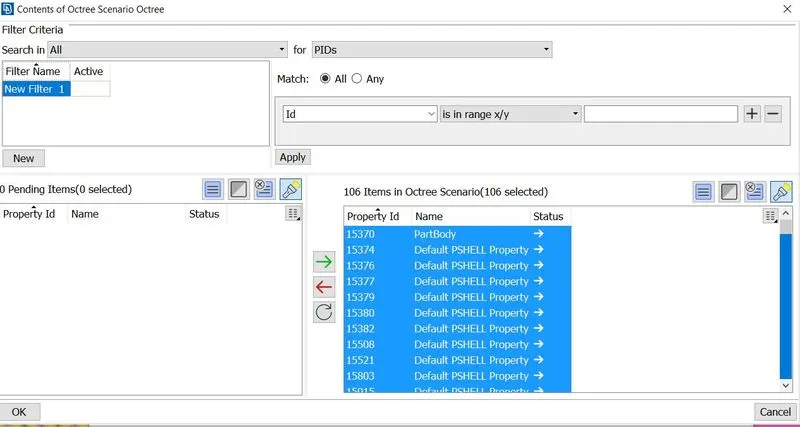
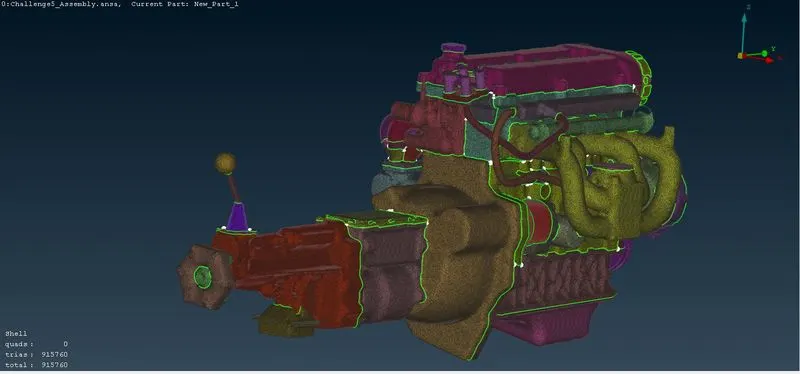
Then we click run command and generate the surface wrap over the entire assembly.
Conclusion:
The different geometry are cleanded individually. The models are then assembled using merge option and the e=surface wrapping for the whole geometry is done sucessfully.
Model : https://drive.google.com/file/d/1wwpADf3qtNH4PmgEnVPvYzJxLvGx0syi/view?usp=sharing