Week 5 Challenge : Surface wrap on Automotive Assembly
Objective
Hear the surface wrap has to generate with the given model with a target length of 3mm. the surface wrap is used to create a mesh of a complex shape or closed and manifold surface mesh from complex geometry.
We get a total of three models of geometry.
Mesh has been created by following the steps.
step1:Initially, all three models are imported into ansa and checked for geometric clearance and cones present in the given model in this case we did not consider all the internal errors present in the model only the model that shows outside is majorly concentrated.
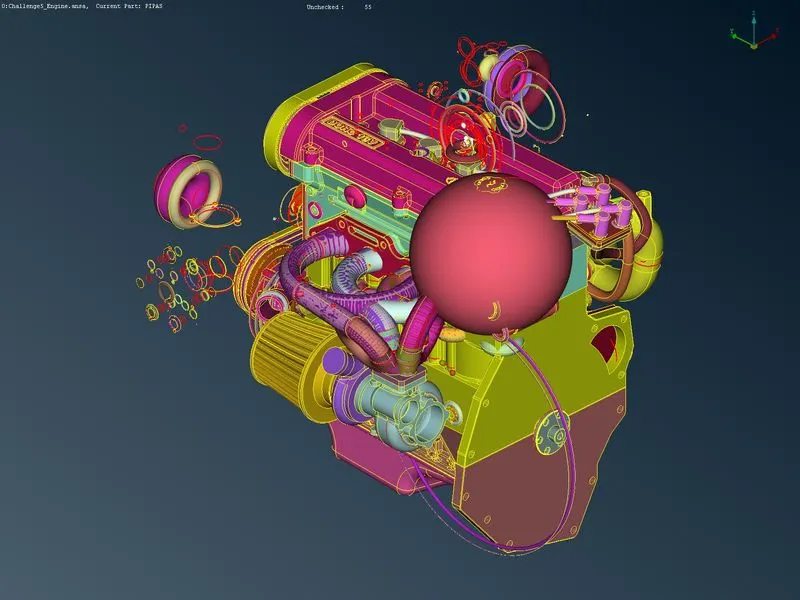
The model of the engine has a lot of unwanted surfaces present in it and the geometry is completely hidden in some places.
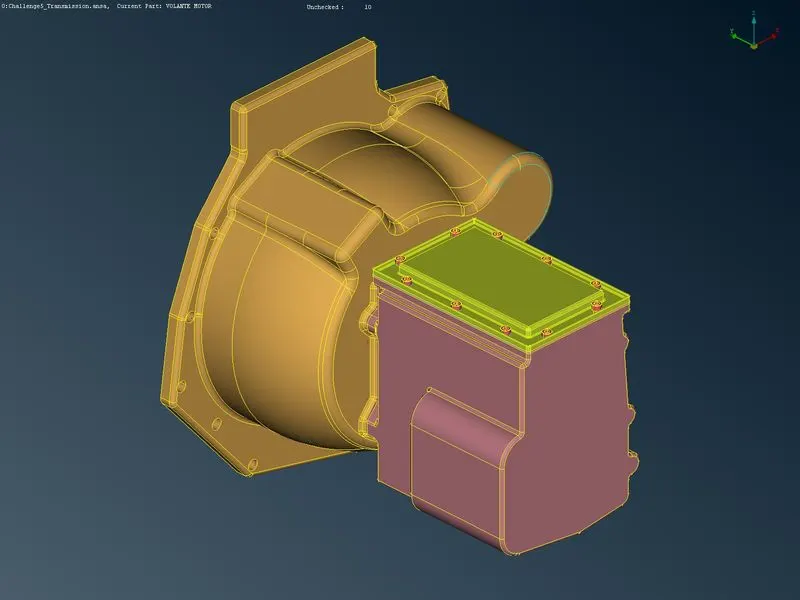
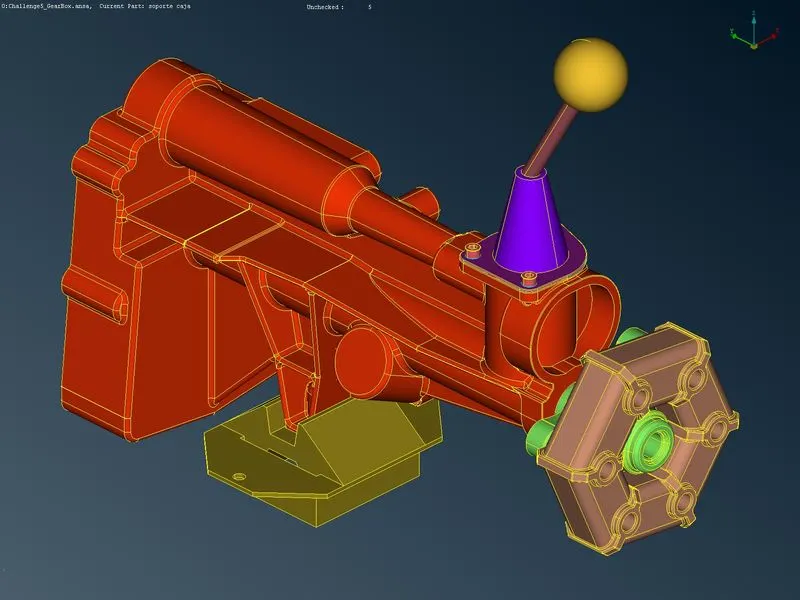
These two geometries are clear externally but with some of the triple cones showing outside.
step2:From the imported file, it will be apparent that the model has some overlapping surfaces, rings and unwanted surfaces present in the engine part. to clear, I used to hide required parts in the engine and looked at the window and completely deleted the unwanted objects present in the window completely.
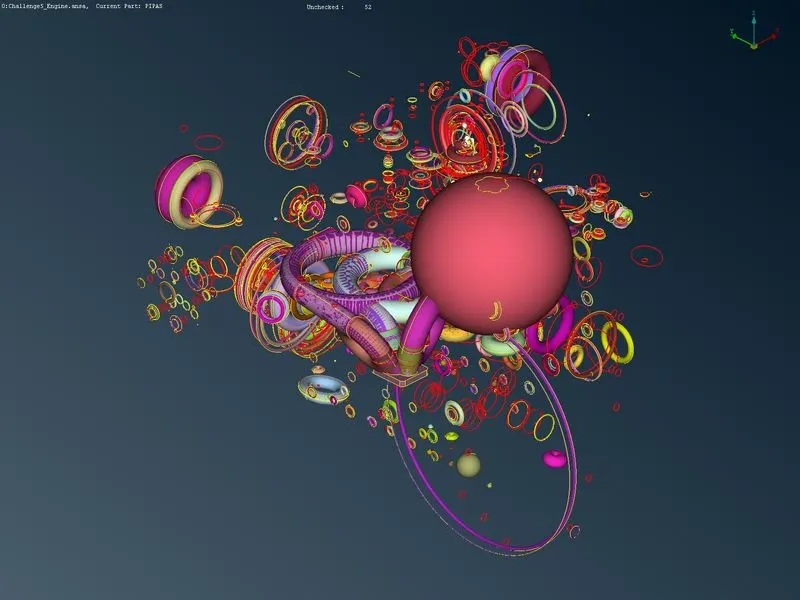
The window is having completely rings and unwanted surfaces so I used universal delete to delete all the parts showing in the window.
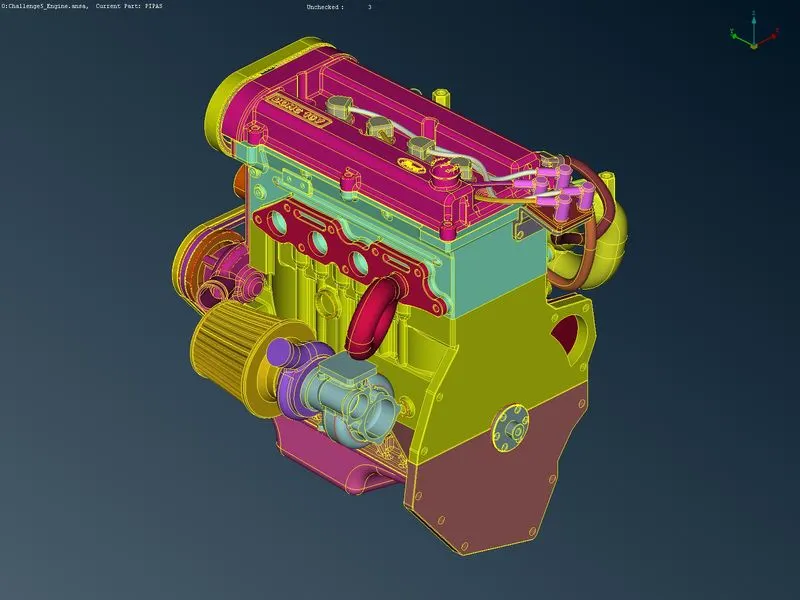
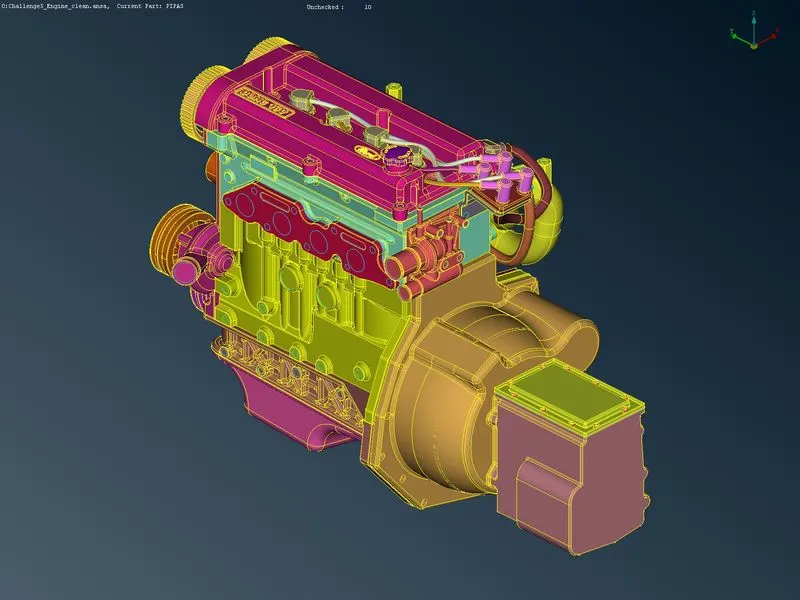
The above image shows the geometry of the engine clearly after removing all the unwanted rings and surfaces, and the other two geometry does not have any surface presented in them, so we move to the next step.
step3:After cleaning all the unwanted surfaces we need to find the present cons that are shown outside so we need to clear those cons and not create any errors on the outside of the model. Here we don't need to assign any of the PID for the parts so we can leave it as it is and need to create surfaces to close the open parts to create a surface wrap.
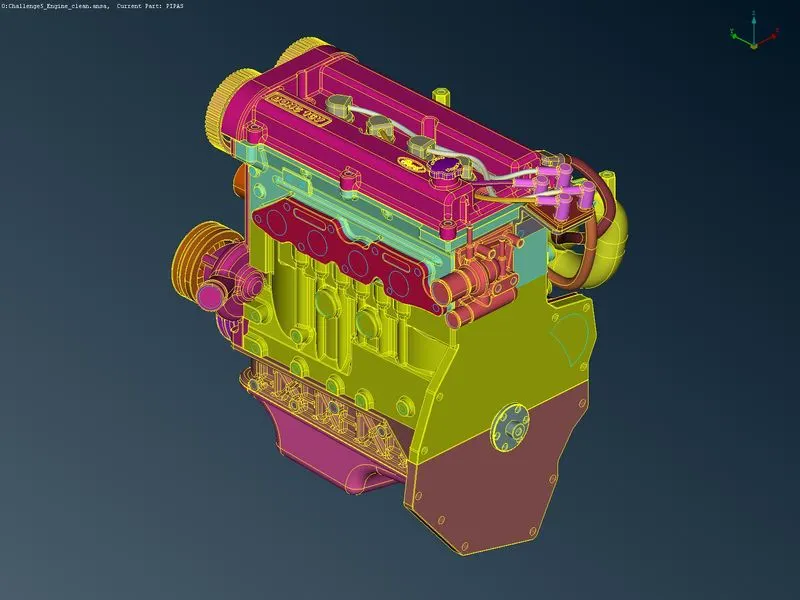
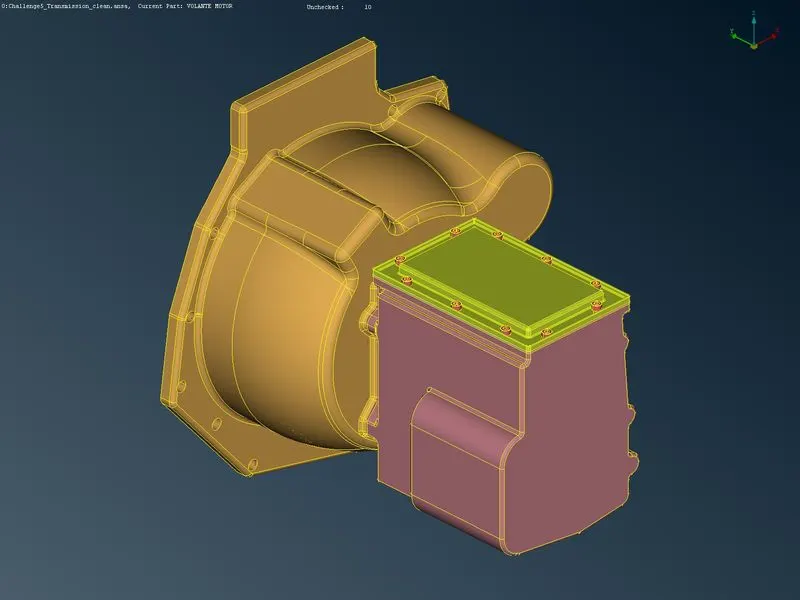
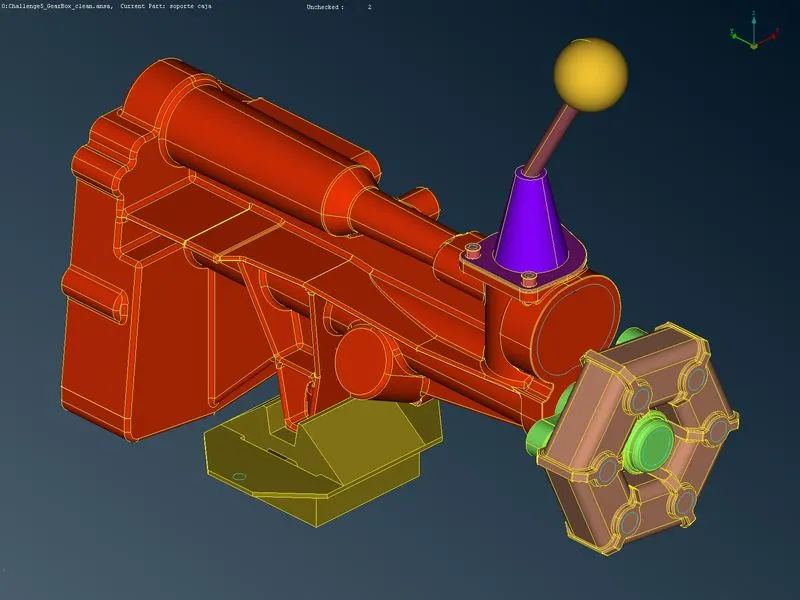
step 4:Assembly
In this step, we mesh all three parts together and make sure there is no open surface present in it.to do a mesh go to file`->` mesh it will show a dialogue box with mesh criteria.
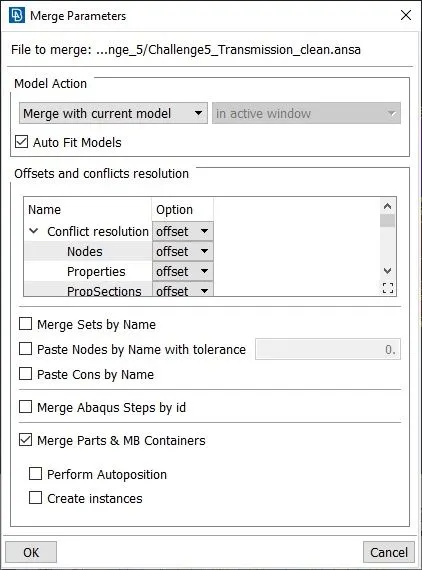
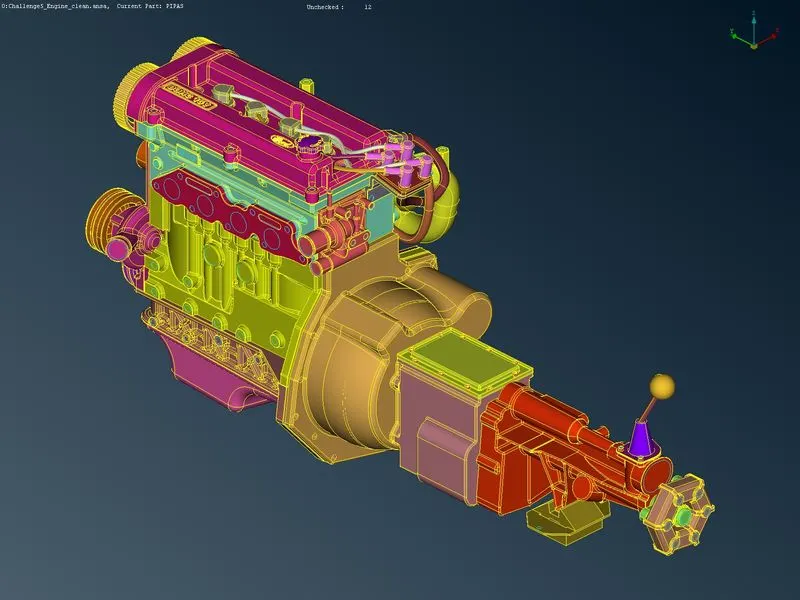
In this dialogue box, we chose auto mesh to mesh the parts one by one and mesh images are shown below.
step 5:wrap
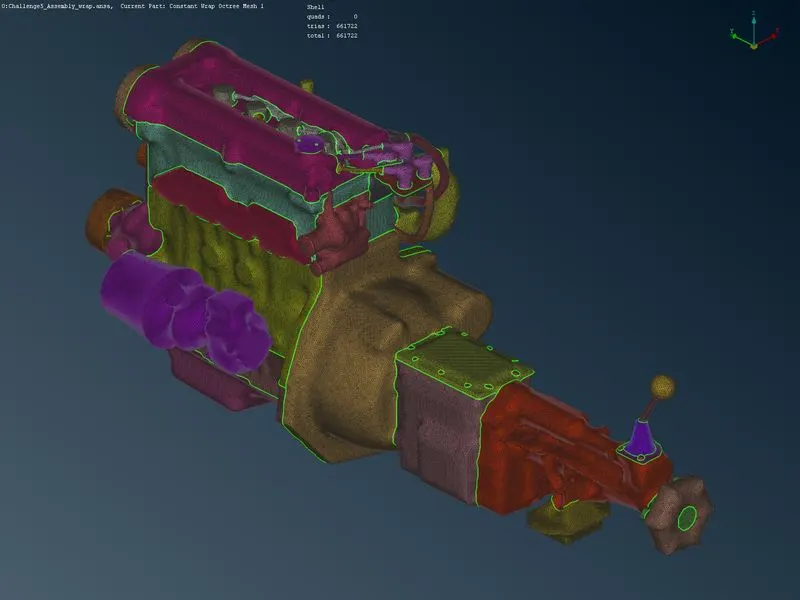
The surface wrap is directly created after completing this step by clicking classic mesh-element wrap it opens a dialogue box .by deblocking the unassigned wrap opens it to apply parametric length into 3 mm.
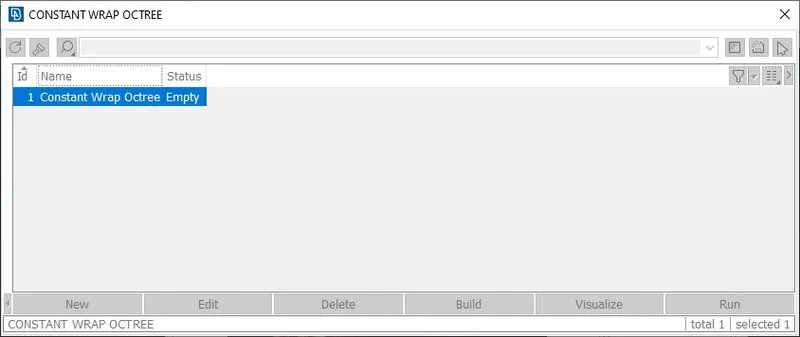
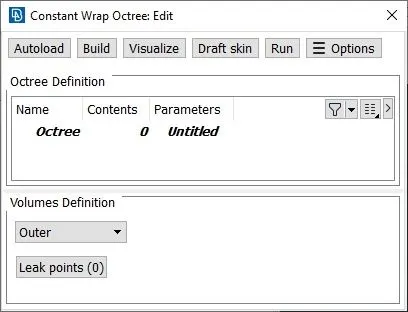
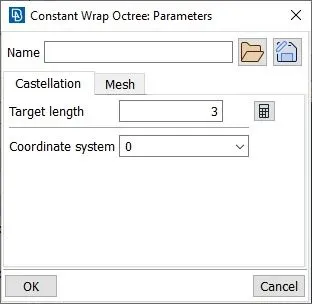
After applying the target length we need to select content so double click the content and move the PID we want to create a surface wrap.
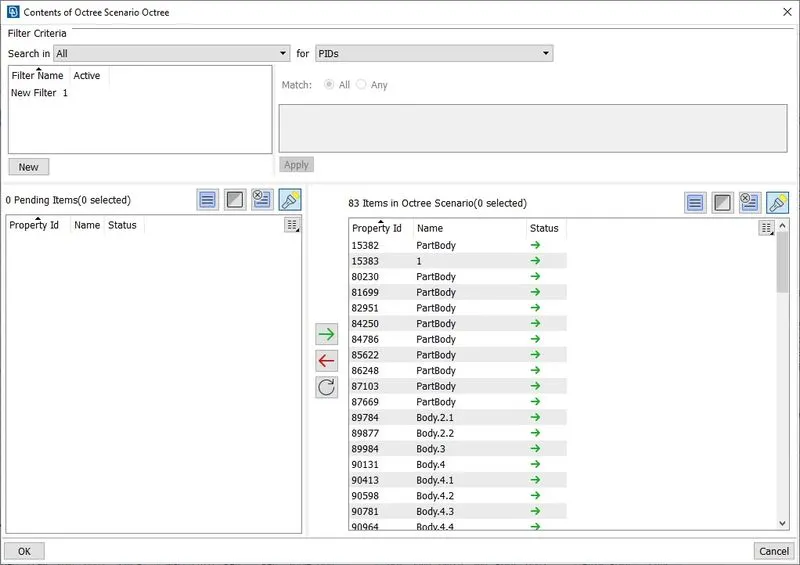
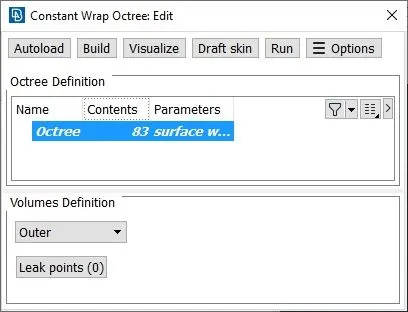
After adding the item click ok and do run to create a wrap in the constant wrap octree dialogue box.
output
conclusion
The assembly of the given model and surface wrap has been developed with a target length of 3 mm tetra elements and it contains a total of 661722 elements present in the obtained mesh.
link for the uploaded google drive ansa file.
file:https://drive.google.com/file/d/197MUbP274NyjOtLeIreWlUGvWOKBznnu/view?usp=sharing