Week 4 Challenge : CFD Meshing for BMW car
- Aim : For the given model, check and solve all geometrical errors on half portion and Assign appropriate PIDs. Perform meshing with the given Target length and element Quality criteria. After meshing the half model, Do symmetry to the other side.
- Objective : To pr\erfrom all the required step to achive the above aim using given requirments.
- Target lengths for the different parts of a model are as follow:
- Body - 3 mm
- Lights - 4 mm
- Grills - 1 mm
- Rims and Tyres - 2 mm
- Optical Rear view mirror - 2 mm
- Window - 2 mm
- Silencer - 3 mm
- Logo - 1 mm
- Procedure :
- First thing is to get the model on work space, it may be in ENT draw mode,If you are convient to procced with tht mode than you can proceed with that mode or you can change it to PID draw mode & procced.
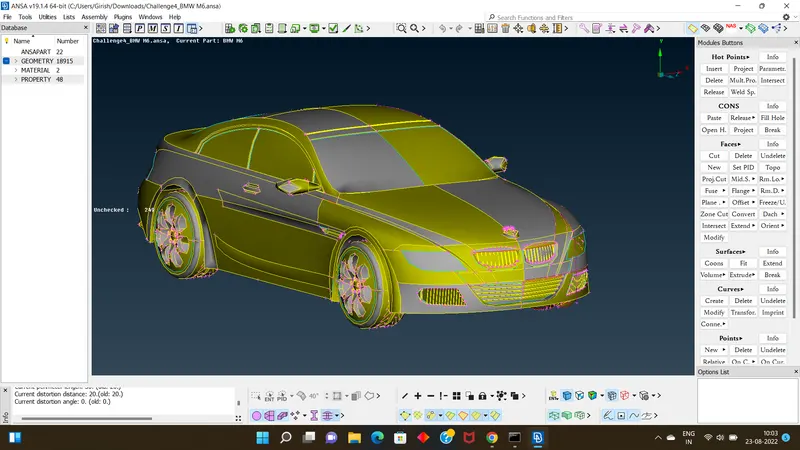
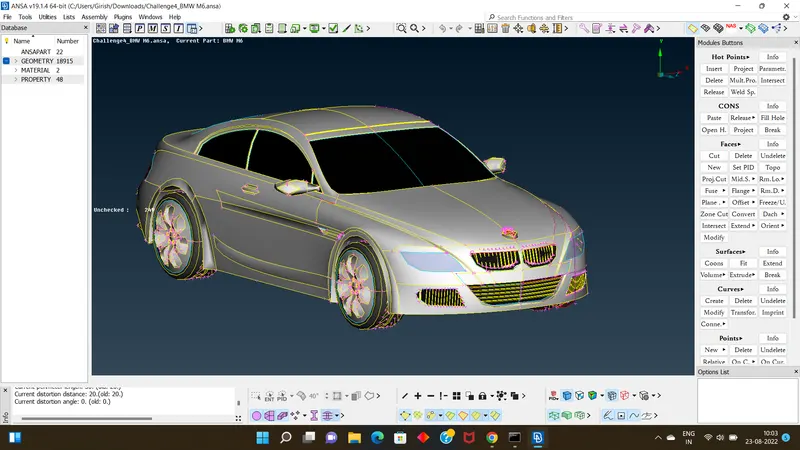
- If we look into the model the surfacing is not so good,so we can tune the surfacing of the model by using various tools like Fine > from axuillary or go to meshing from tool length we can tune the surfacing a whole model at a single shot.
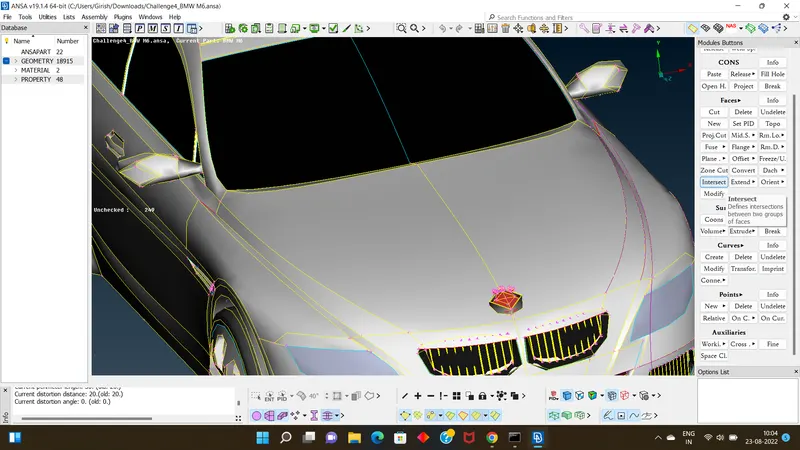
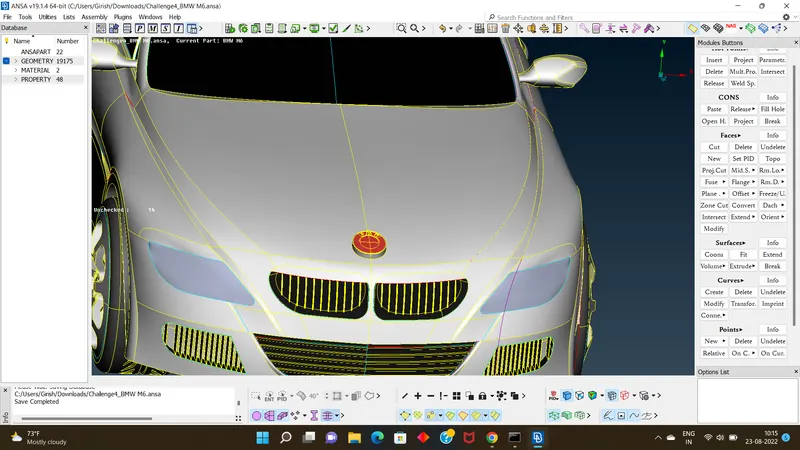
- After fine or varing length the surface of a model will be fined ,now we have to do topo clean up.
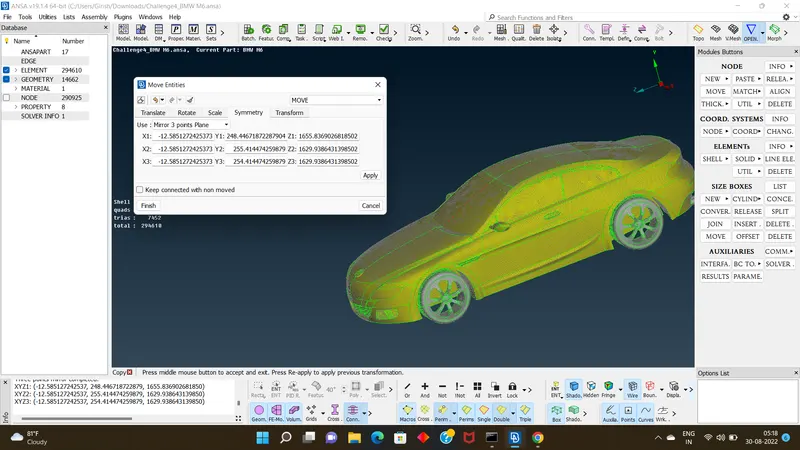
- for this type of model Ansa software helps us to do things easy by option symmetry.so now we can do the cleanup ,meshing to half part of the model and by applying symmetry it can be obtained on the other side also.
- So Now select half part of the model & delete it so we can procced with half part only.
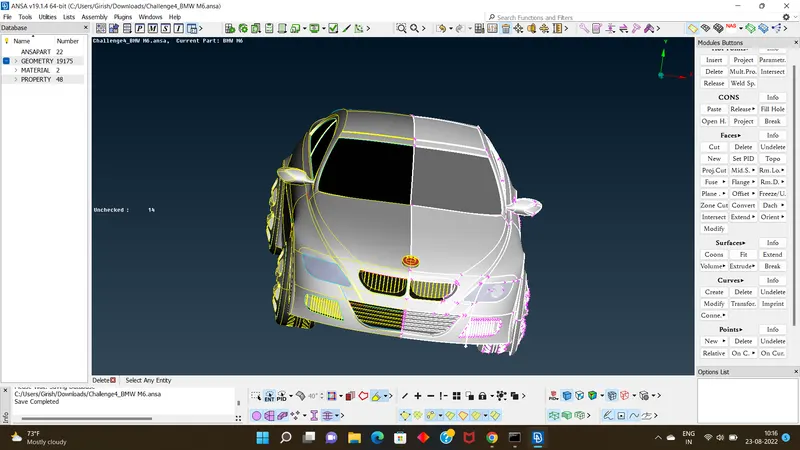
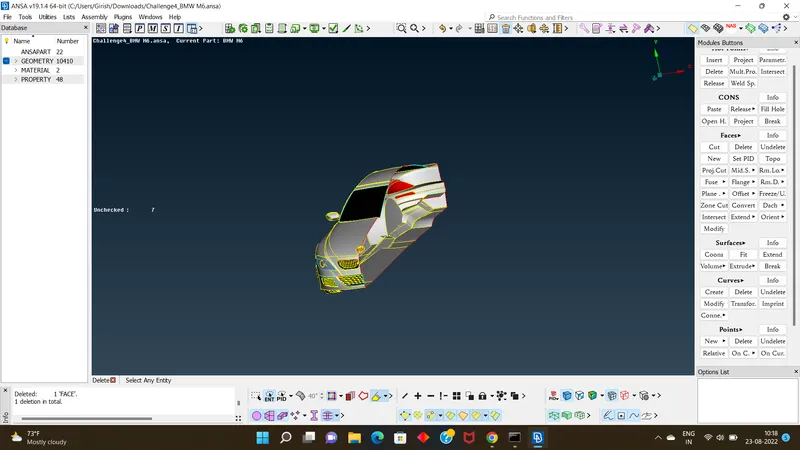
- next we will do part wise cleanups & delete unwanted cons or surface & makes the inside volume of car so approprite for volume meshing.
- For doing part wise clean up, first using tool NOT or !NOT select the perfect part of a model,which is needed to cleanup so it becomes easy to check all the dimensions of particular part for perfect cleanup.
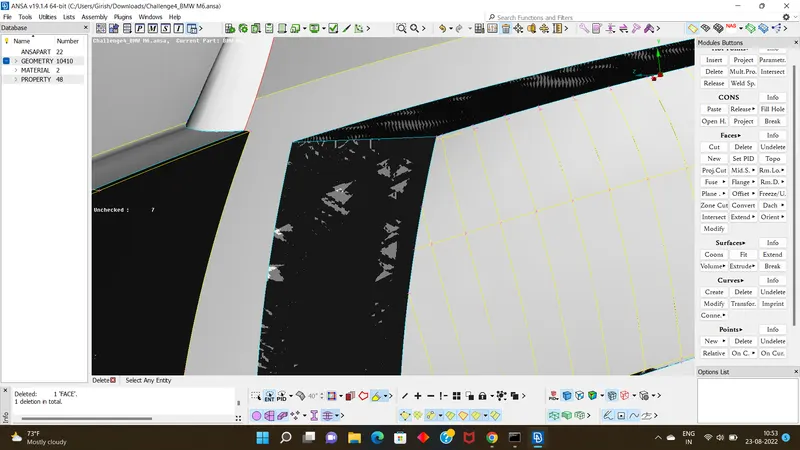
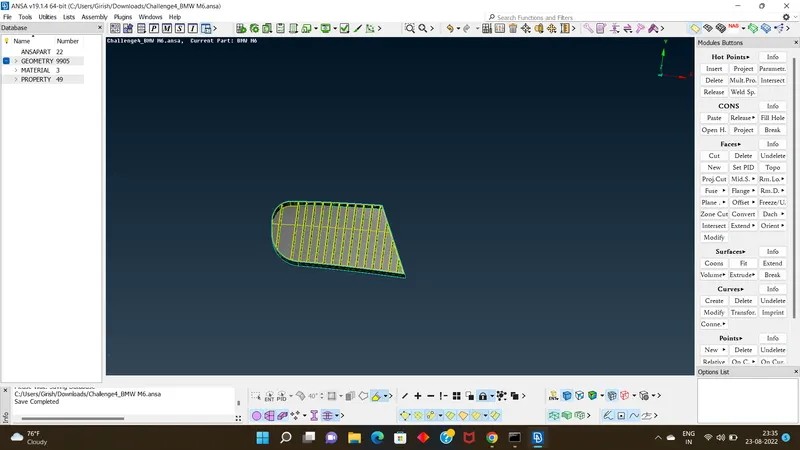
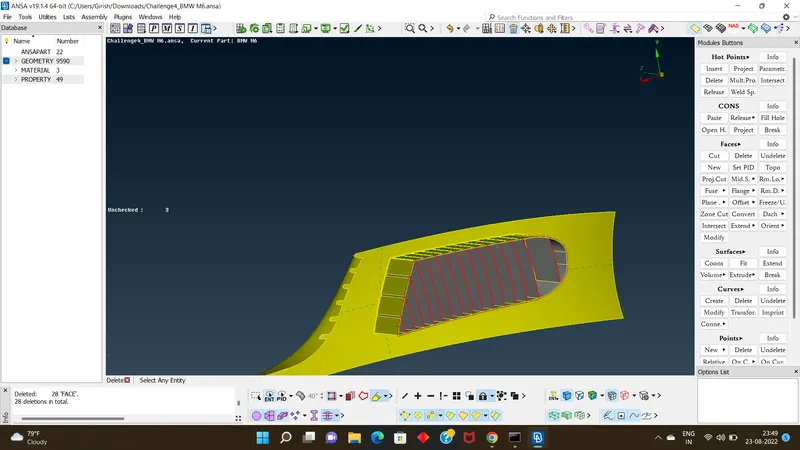
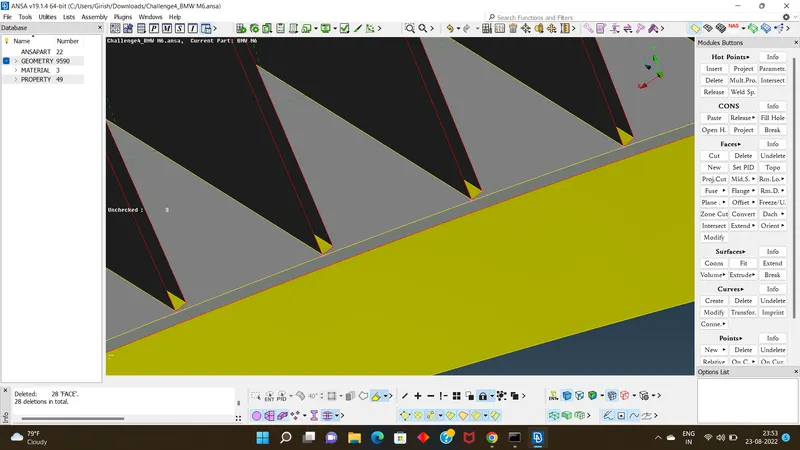
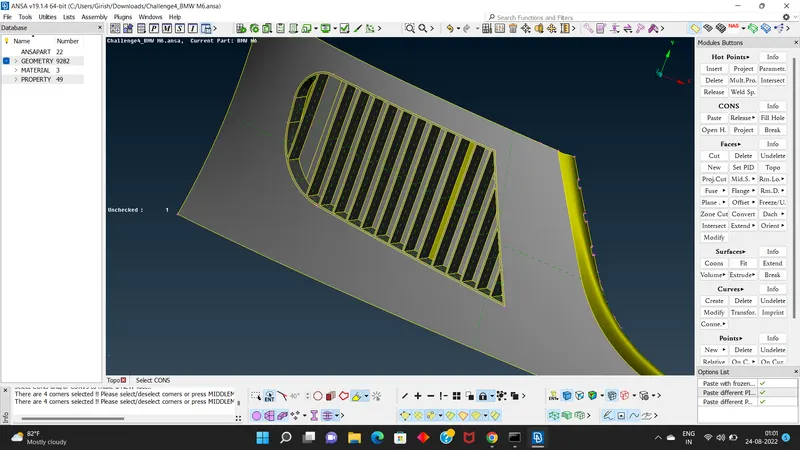
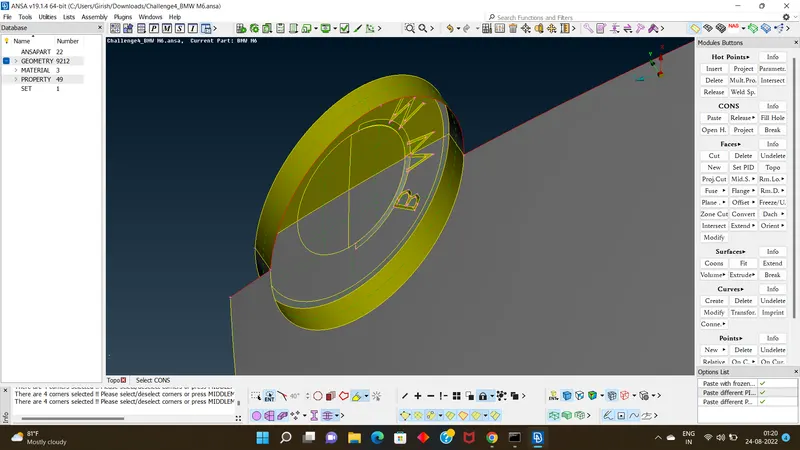
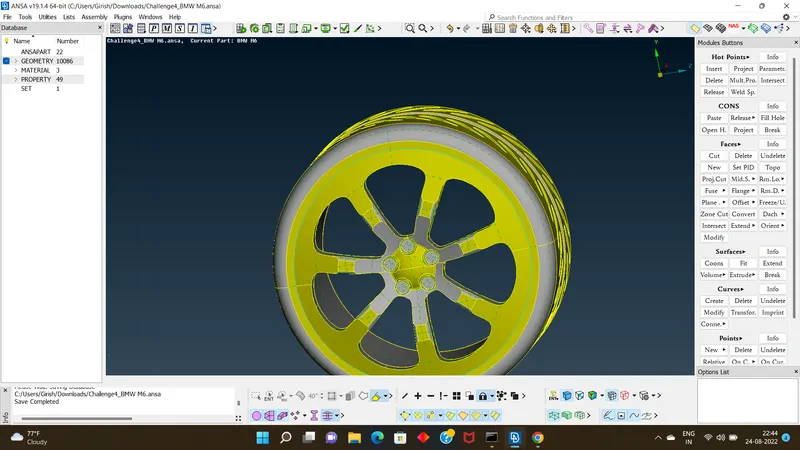
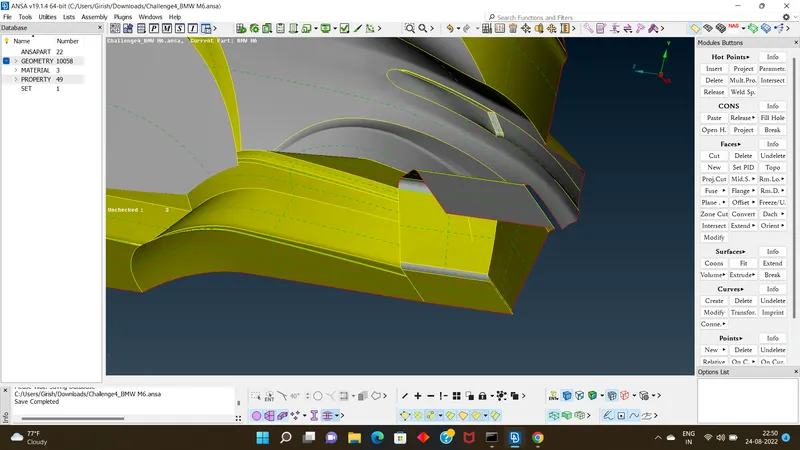
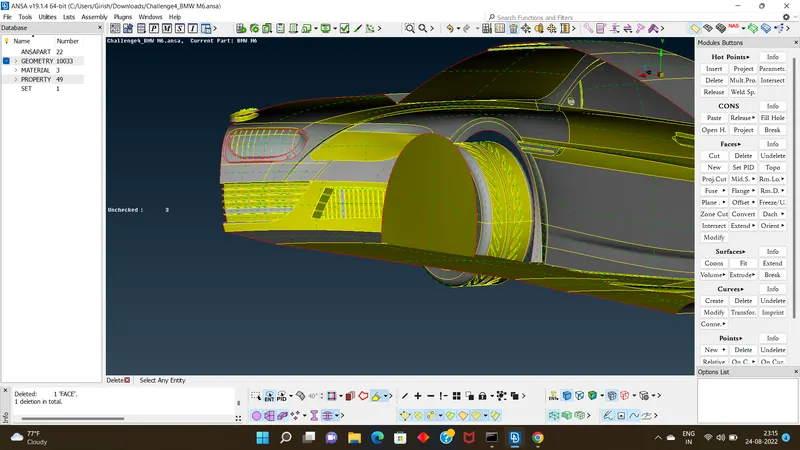
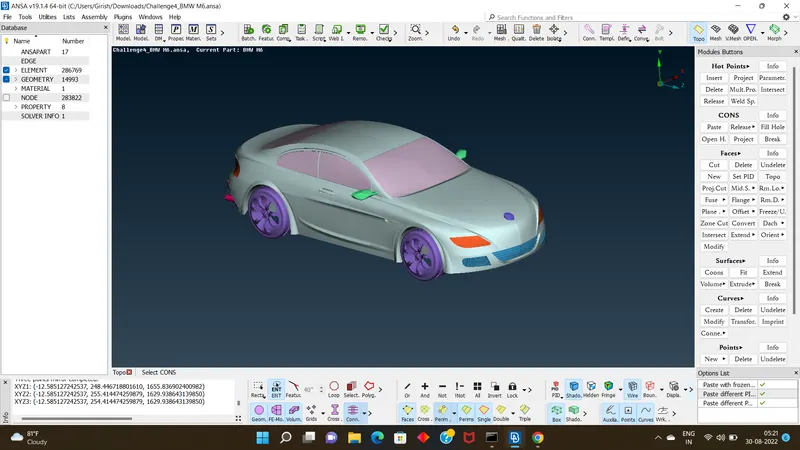
- her ae some snaps of parts which are under cleanup process.
- And even we should keep in mind of maintaing a common volume with in the car, so keeping in tht mind we have to proceed with clean up or adding of new surfaces.
- once the all clean up done for a model go for multiple ways to check any erros left out ,if Zero errors found than only move for Assigning PIDS.
- When You move to assigningPID's First create new PID's & name them after each parts name.
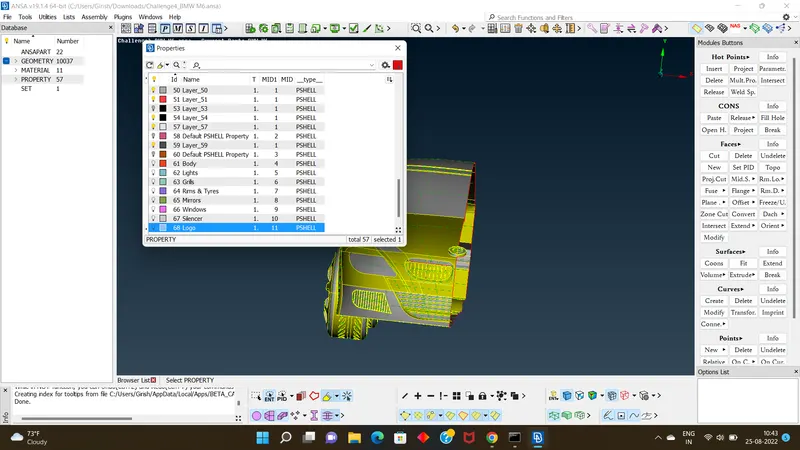
- Assign different colours as u required to each PID's.
- Start assigning each Parts to their each particular PID's by using !NOT make the part isolaate so assigning becomes easier to each part.
- after assigning to all parts once check any parts are remaining.
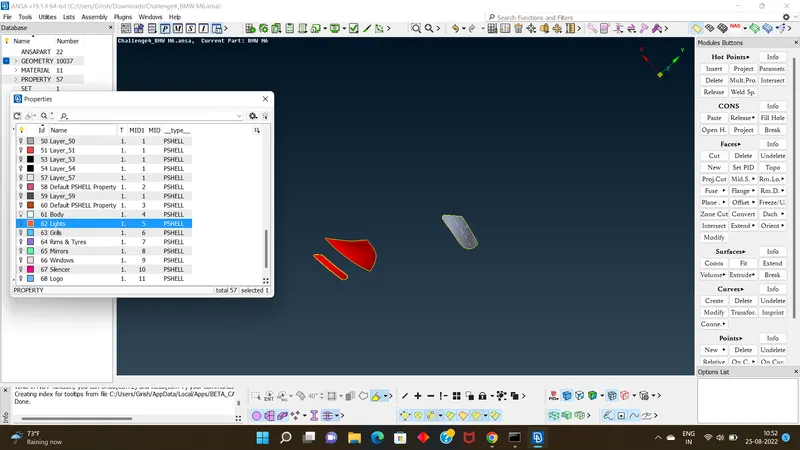
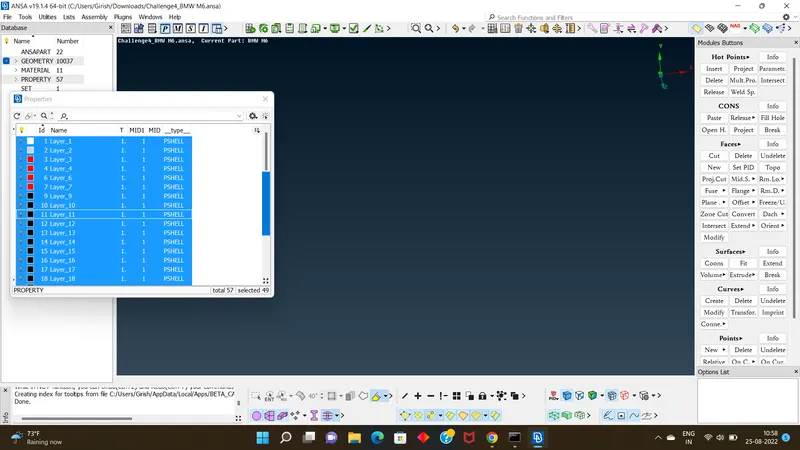
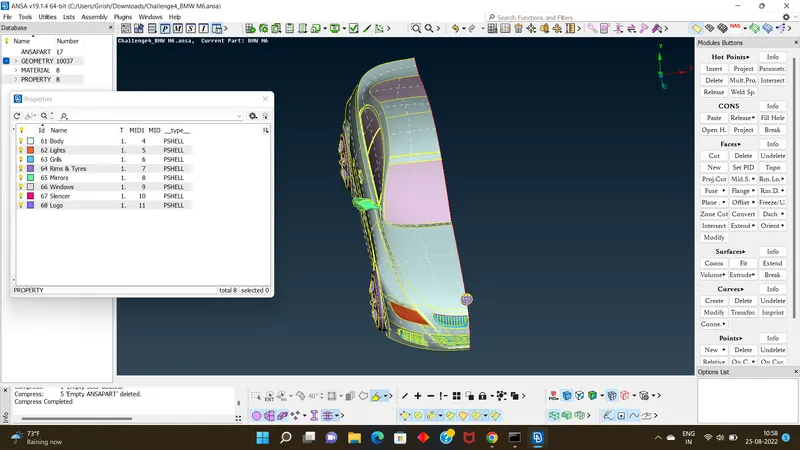
- at last open PID's dilouge box & compress all unwanted PIDs.
- after assigning all pids before going to meshing of a surface,cut the cons which are near to each other or which are in shorter distance.
- now go for meshing of surface for given target lengths for each particular PID's.
- follow the same steps for meshing as we used in before challanges.
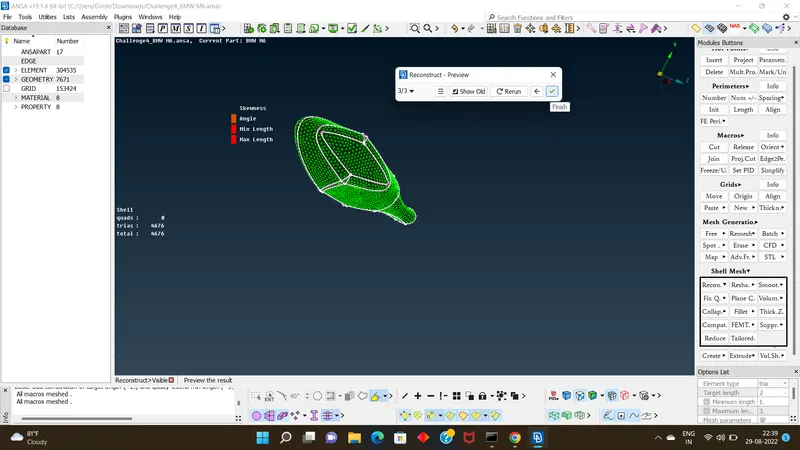
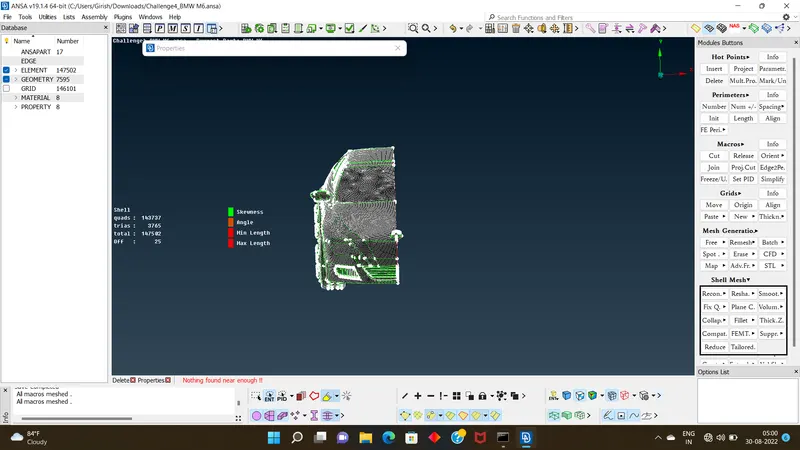
- And a new thing we learnt here is to assign the quality cretria for each PID's based on target lengths.
- if there are any Quality crietria errors thn please do clear them using tools such as split,move ,reconstruction,smooth.
- after meshing all the pids go for doing symmetry of half part of car. using tool transform > copy. thn proceed with the further steps by selecting points for proper symmetry.
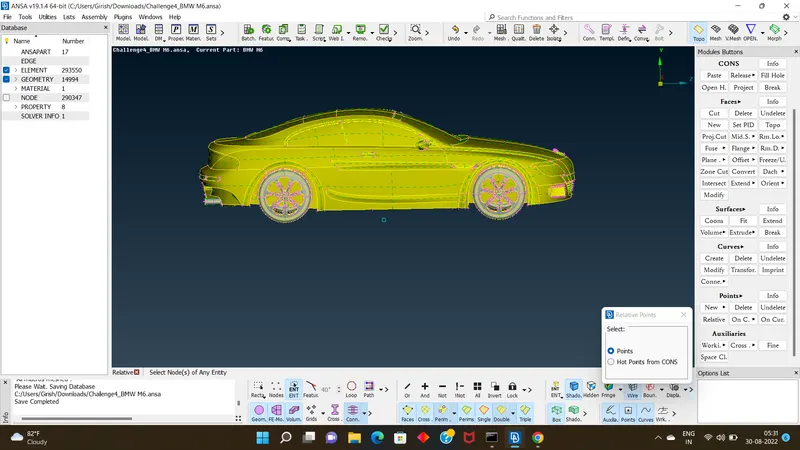
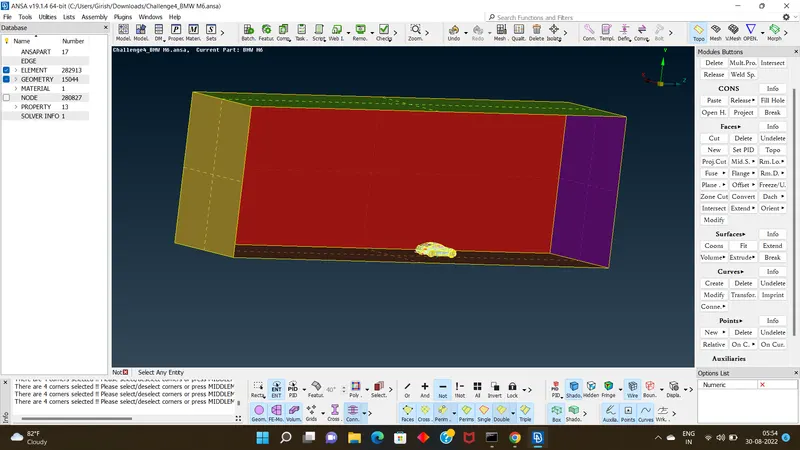
- after doing symmetry now we go for doing wind tunnel so for tht we need to create a point at reference thn we need to create front point at a distance of 2xdistance of car + half the distance of car,at rear 4x+half the distance of car,& at sides it should be 1x distance .
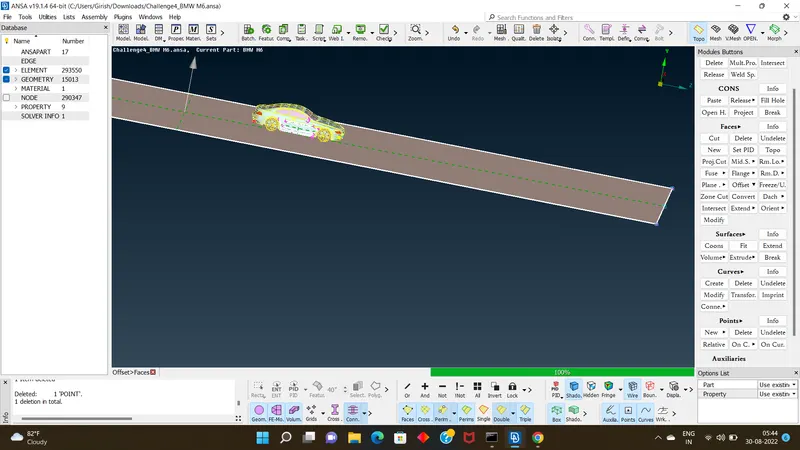
- after creating points connect them with a curves thn make a surface over it.
- than for a top surface using tool offset create a surface at 3x distance from a reference point.
- Than complete creating a new surface over sides alsp, after creating the new surfaces all around the car assign them with each pid
- & go for meshing mesh the top surface with 100 targetlength, bottom surface with 20 target length.
- side surface shd be meshed using a tool spacing n proceed with it
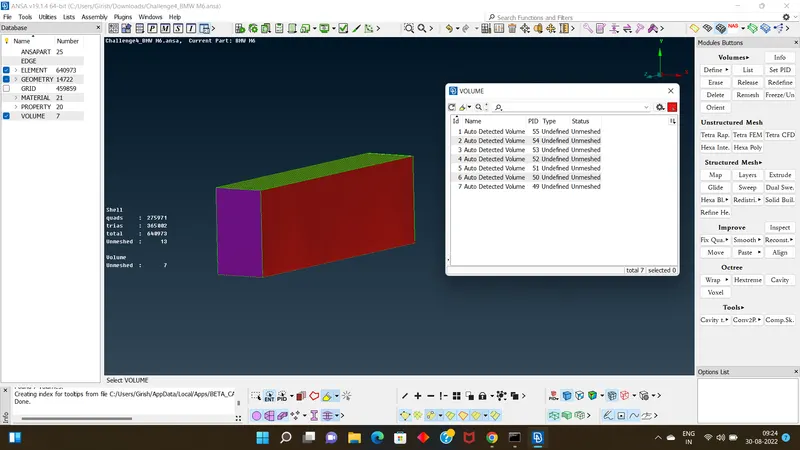
- after doing this finally go for volumetric meshing.