Week 3 Challenge : CFD meshing on Turbocharger
- Aim : To check an geometrical errors & Cleanup the geometery,to make apporiate volumes & Deploying surface meshing at given target lengths.
- Objective : to follows to step by step procedure to achive the main aim,steps involved
- Geometrical Cleanup
- Creating apporiate volumes
- assigning PIDS
- Procedure :
- Get the model from the File>open>downloads>challange-2 pressure valve.
- After getting the model on screen turn on the cross hatches tool.
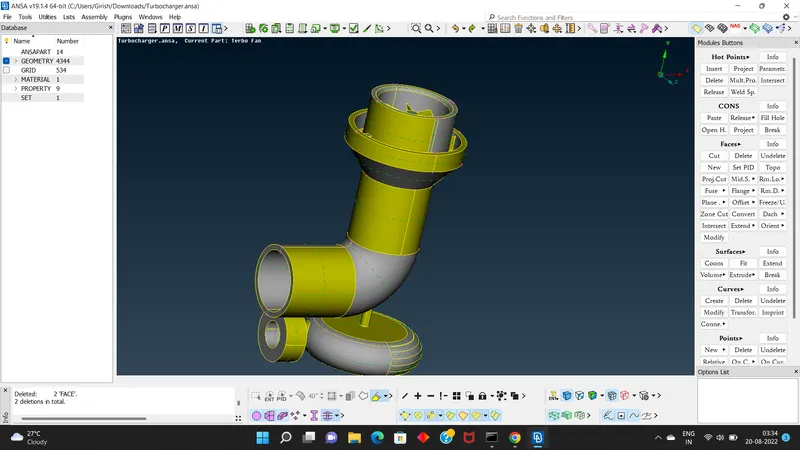
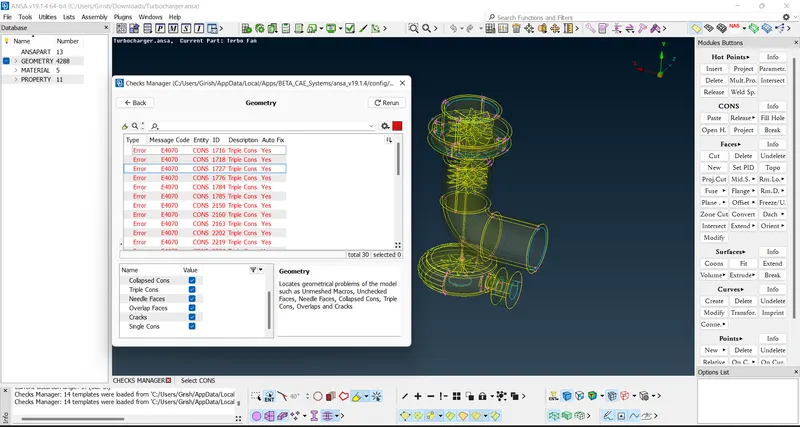
- Next we have to check the geometric errors,so go to check tool >check for geometry>A check manager dialouge occurs >select the required options to be checked & click on execute & some errors will be displayed & our task is to clear all the errors.
- Convert the draw mode tool from ENT to PID.
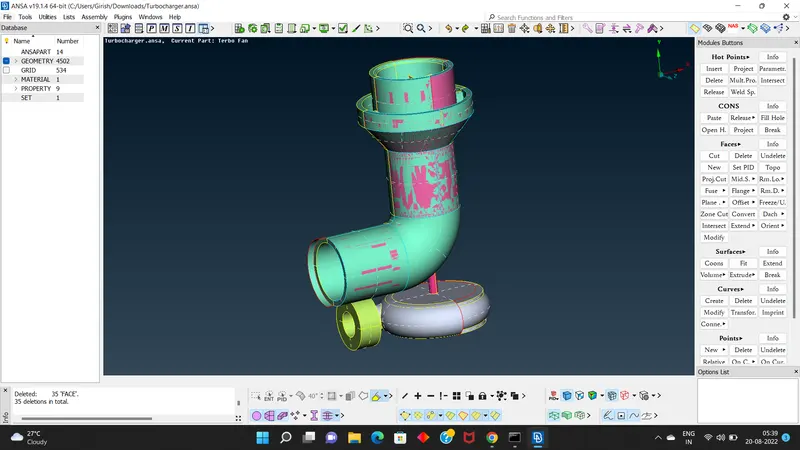
- After converting to PID Mode the model colour changes into its particular assigned part colour of the model.
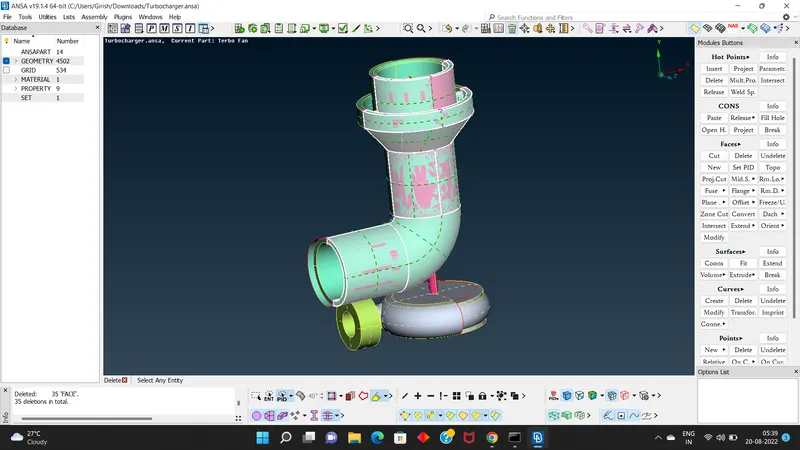
- Next go to TOPO Clean up tool,We get to know what geometrical cleanups we have to do.like removing single cons,tripple cons,overlaped surface,adding new surface etc.
- Do the geomertical cleanup & try to fix all the errors using suitable tools.(Insert,project,parametric,fill in hole,new, fine ,etc).
- IF glitches are visible than it means that overlaping of 2 surface,so delete the overlaped surface carefully by using delete tool.
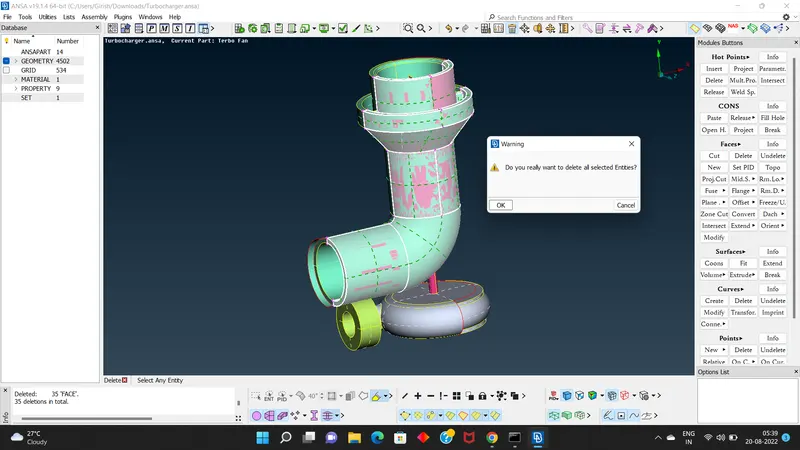
- After deleting overlapped surfaces, now try to remove single cons which will be visible in red colour, by using tool NEW or Fill Hole.
- At one point using Itersection tool clear the error which causes the single cons element in the model. for tht u arrange the model in best suitable dimensions,using Not tool make the clear visible of part which need to be intersected & follow the steps need to be done for intersection tool.
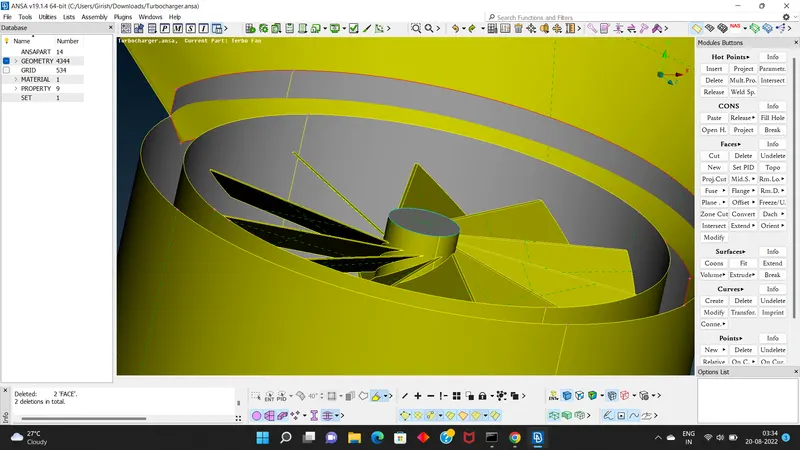
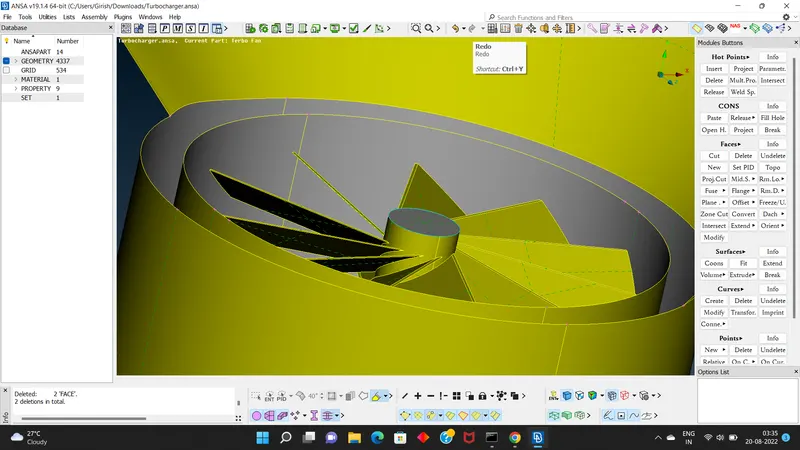
- To fill the surface of bottom casing of a model, first we need to create Hot points using paramertical tool on both ends of the single cons & now Fill the surface by using new tool & fill hole tool to get the clear surface finish of the Bottom Casing.
- Now go to the cleanup part of inner parts & make the changes & reduce errors,and make changes to create apporiate volumes of model.
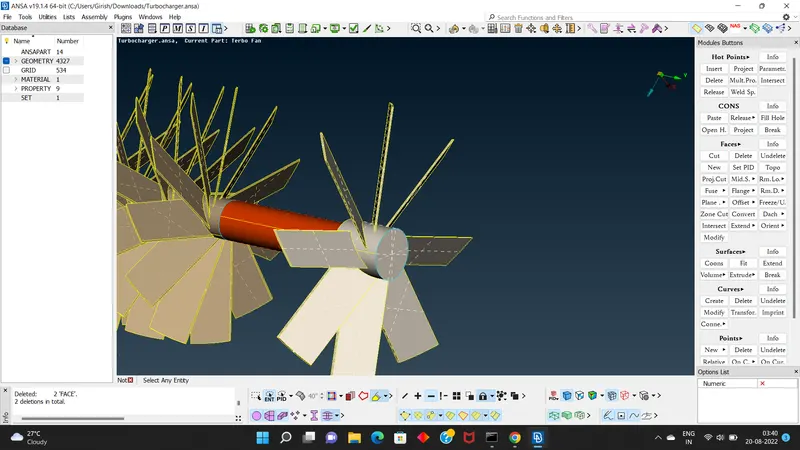
- Using tools NOT or PID's hide the outer parts of the model so it will be easy to clear the errors, repeat the same procedure to clear all the errors.
- Again we found a over lapping of shaft over middle blade slots so to remove tht glitches, first the project the cons over shaft so it will be easy to delete the part ,after projection delete unwanted part of the shaft & delete the tripple cons,& retrive back the blade part.
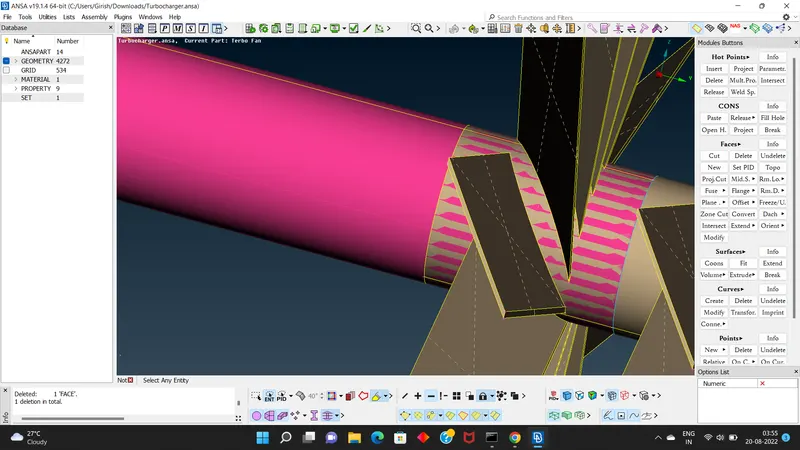
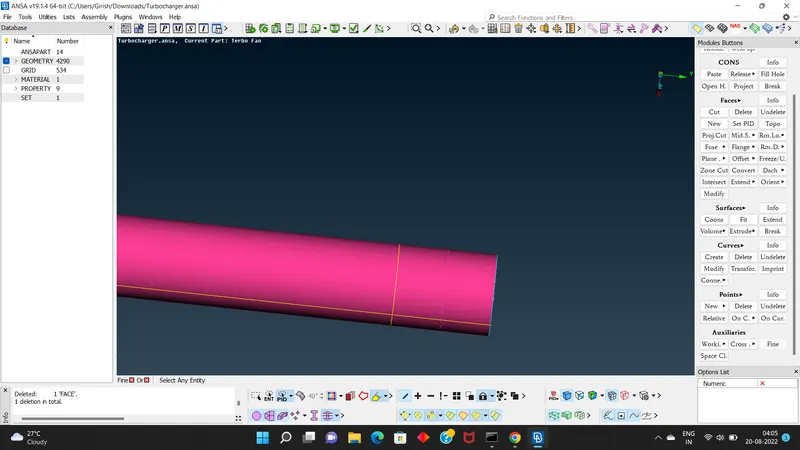
- similay clear the error at the bottom of shft where it joins the bottom blades.
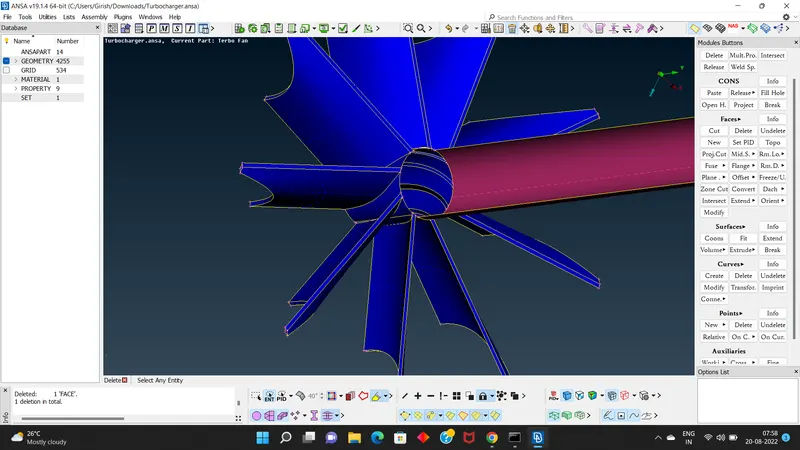
- After clearing all the errors,again go for check option and check for errors ,if there is no errors than its satisfied to procced to futher stage of assigning pids.
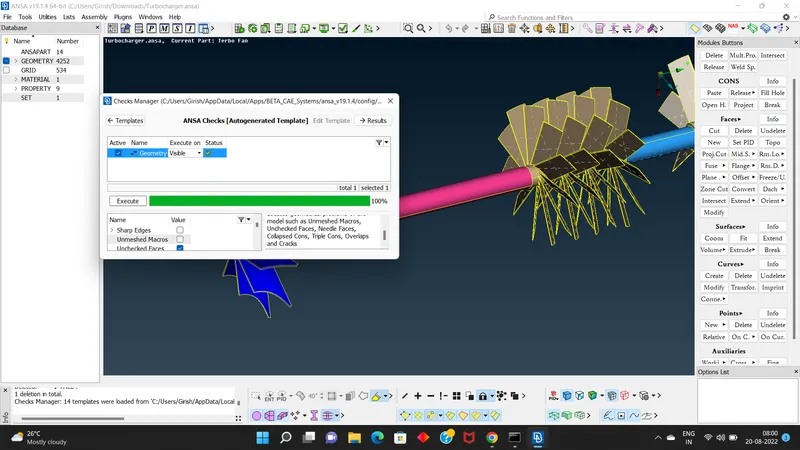
- Now its time to check, the model is to be closed one for further steps &then assigning Pids to the parts.
- fill the surface which are open like CasingInlet,Casing Outlet, Bottom Casing Inlet Outlet,& some portion of the middle part of Main Casing is open ,so try to fill it carefully using required tools.
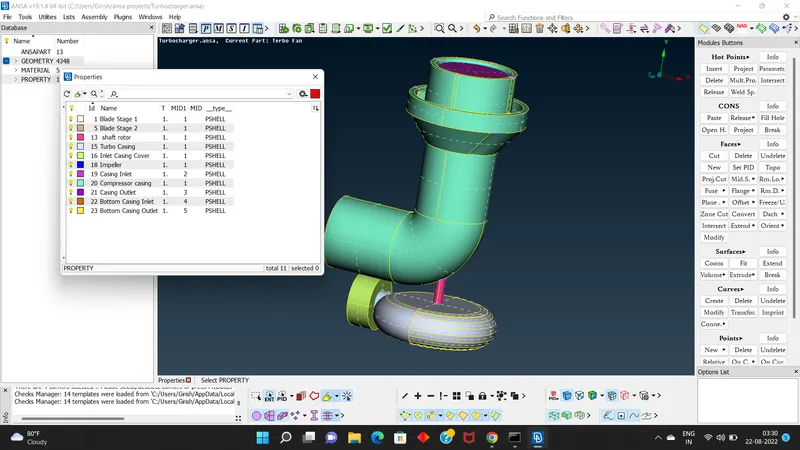
- Now Assign all the Parts to its particular PID's for further procedure.
- Again before going to next part i.e, meshing go for checking the errors.
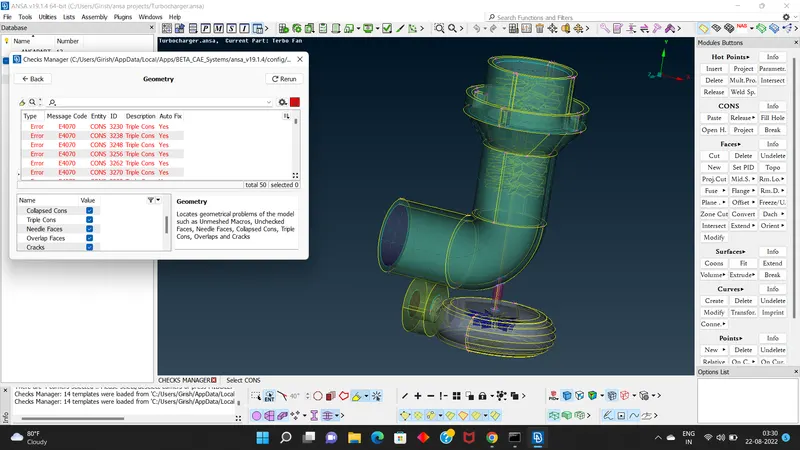
- expect tripple cone errors there should be no errors, those tripple cons errors are are expected place so.
- Nxt we jump into Meshing part & follow the same steps which are followed in last 2 challanges,But the task here is to deploy meshing to the parts with different target lengths to particular PID's.
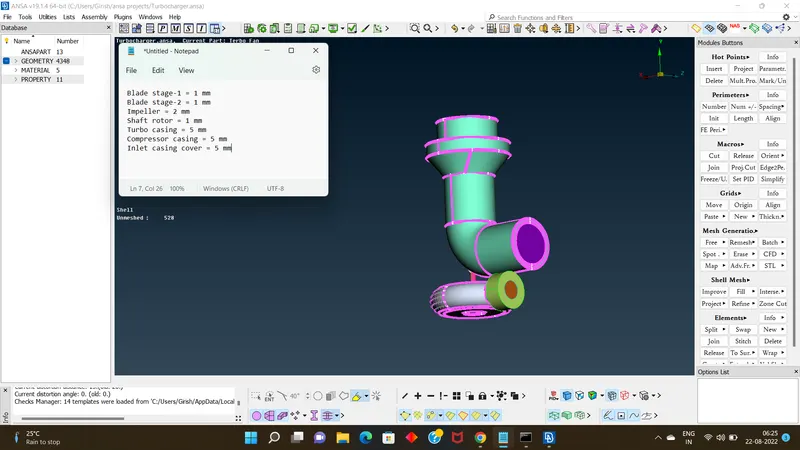
- select the PID's with same target lengths & make the particular PID's as show only,so that it will easy for us to deploy meshing to particular PID's having same target lengths.
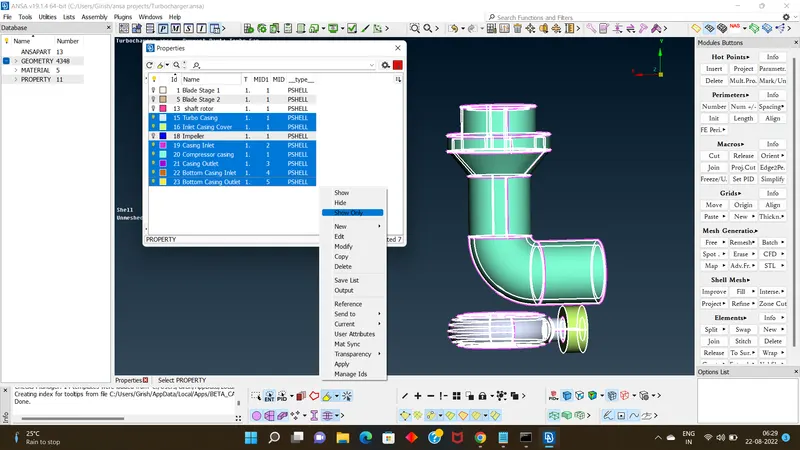
- after deploying meshing check for any unmeshed parts, it may caused because of getting assigned with 2 values, so check for it & correct the error.
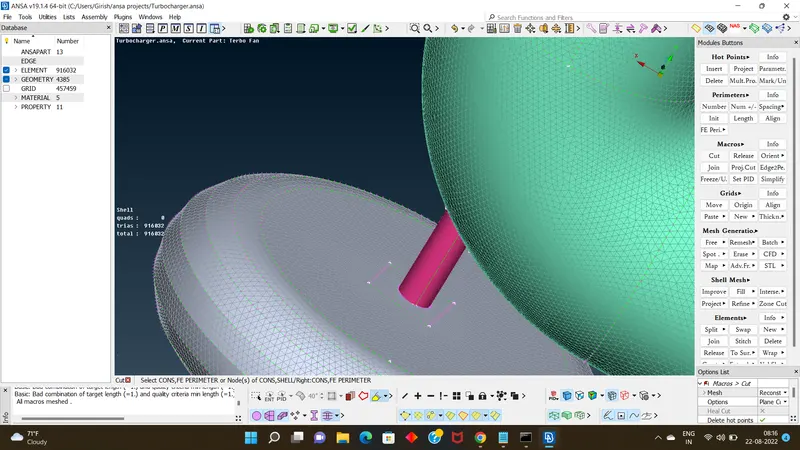
- wherever the meshing of two target lengths combines the meshing regions at point varies surrounding a point,so we can introduce a new tool cut from macros.
- hence after completing the meshing part, now we procced with volume mesh,before tht confirm that there should be no unmeshed surface leftout.
- In volume Meshing, first we have to define the volume of a given model, so select whole db option & click on ok.
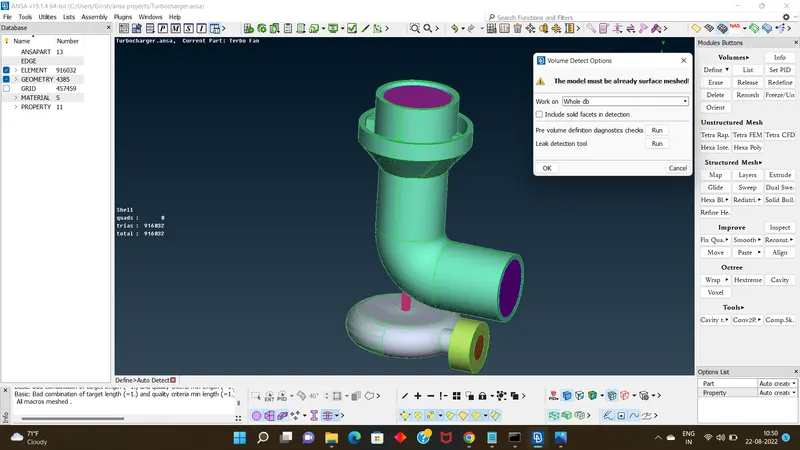
- A new dilouge box appears where it shows the volume status of the selected parts for volume meshing.
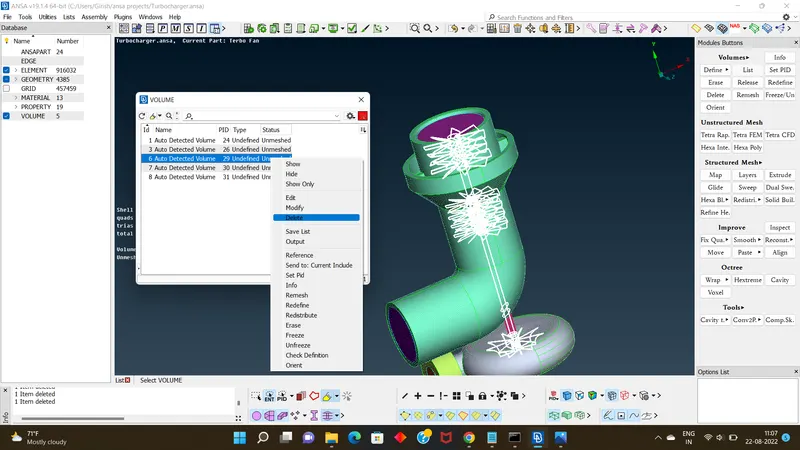
- delete the unwanted parts for volume to be meshed by right clicking on the mouse & click on delete.
- now with the remaining parts to be volume meshed are under unmeshed condition so we need press on right click on mouse ,& click on remesh, A new dilouge box appears & select tetra CFD click on ok.
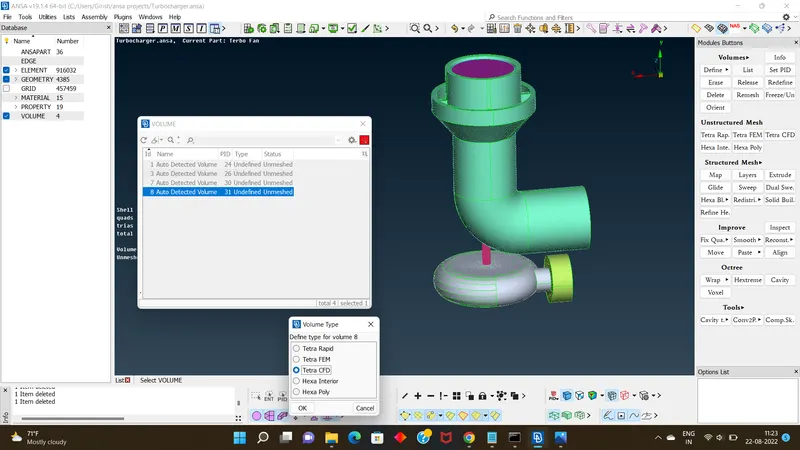
- next the volumetric mesh will be done to all the four parts,it takes time to complete it.
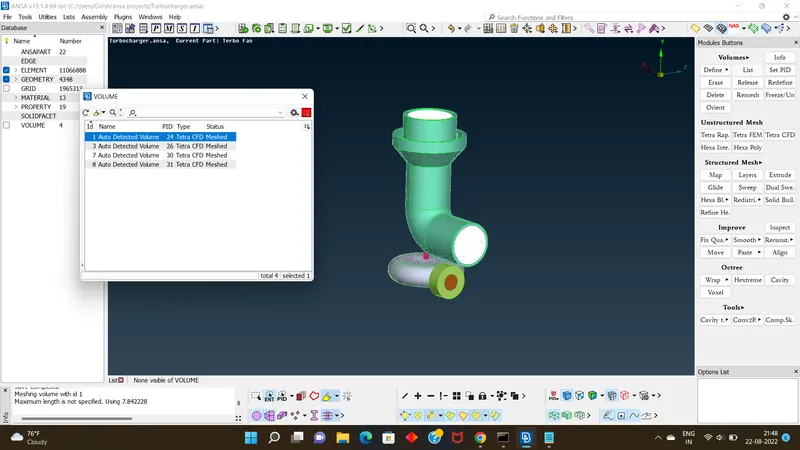
- hence volume meshing will be completed ,now we can view it using different tools.i,e; go to TOPO mode,by using tools now we can see the volumetric meshed parts by using tools.
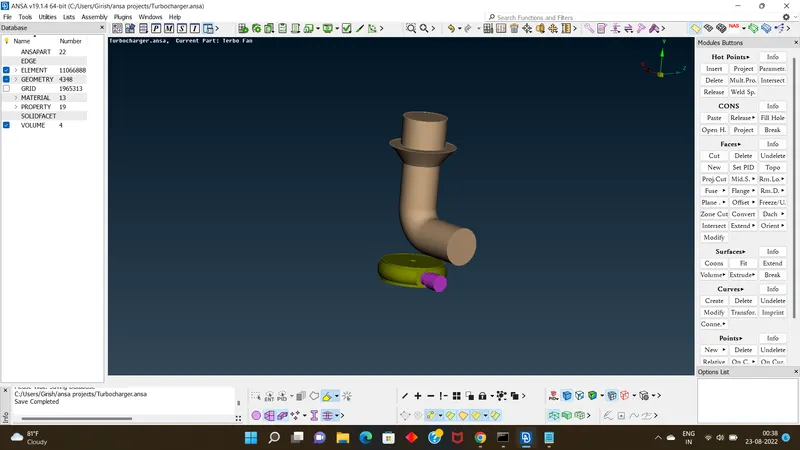
- by using not tool we can see the elements which are filled at volume,the elements are more than the surface meshing.
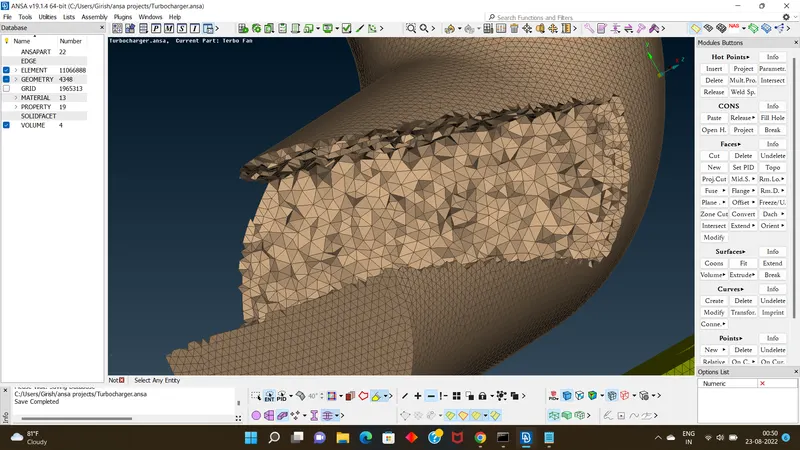
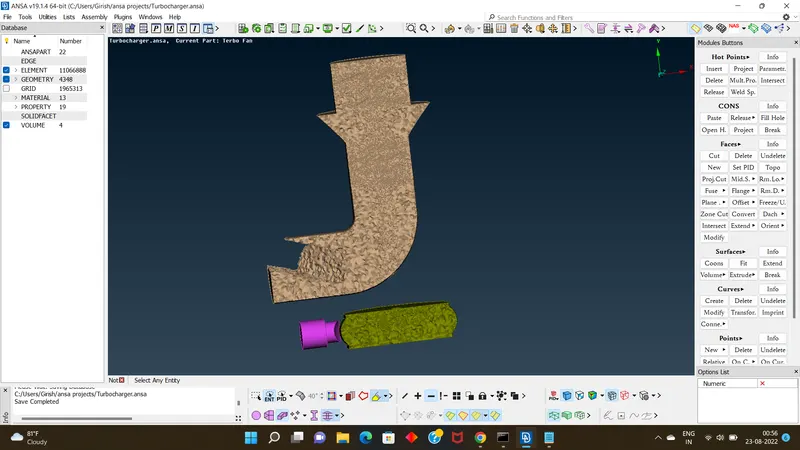
- From this step we can conclude the volume meshing.
- Learning Outcomes:
- In this challange asusal we got to know clear idea about topo clean ups using most of the tools in Topo mode.
- Than converting model into required unifrom volume.
- Deploying meshing of different target lengths to different PID's.
- deploying volume meshing.
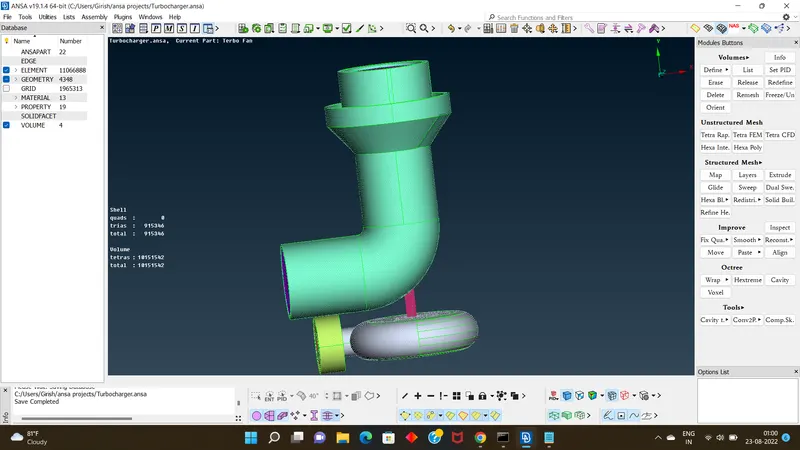
- Result : The reseult is obtained as follows
- shell > Number of trias: 915346.
- total volume of the model is : 10151542.
- Conclusion:
conclusion that can be drawn from this challange is the number of elements in volume meshing is more than the surface meshing.
And before volume meshing the model should be with 0 errors , surface meshed & than finally volume mesh can be deployed.