Week 4 Challenge : CFD Meshing for BMW car
OBJECTIVE:
For the given model, check and solve all geometrical errors on half portion and Assign appropriate PIDs. Perform meshing with the given Target length and element Quality criteria. After meshing the half model, Do symmetry to the other side.
- Target lengths for the different parts of a model are as follow:
- Body - 3 mm
- Lights - 4 mm
- Grills - 1 mm
- Rims and Tyres - 2 mm
- Optical Rear view mirror - 2 mm
- Window - 2 mm
- Silencer - 3 mm
- Logo - 1 mm
PROCEDURE:
In this challenge, we have been provided with a BMW model:
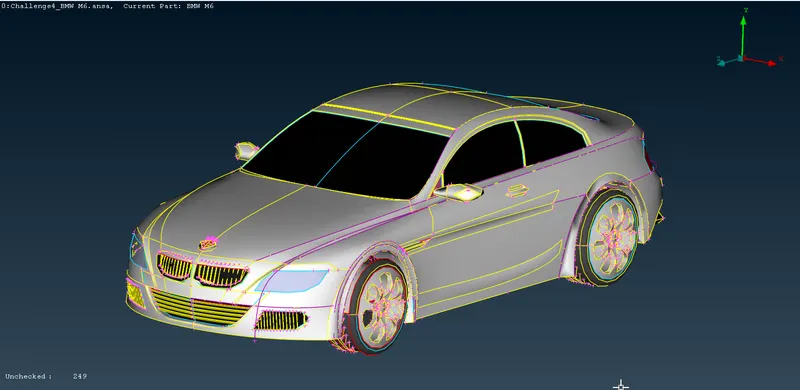
First, we will do a topological cleanup before proceeding further. The resolution of cons looks bad as the curvatures have not been captured properly:
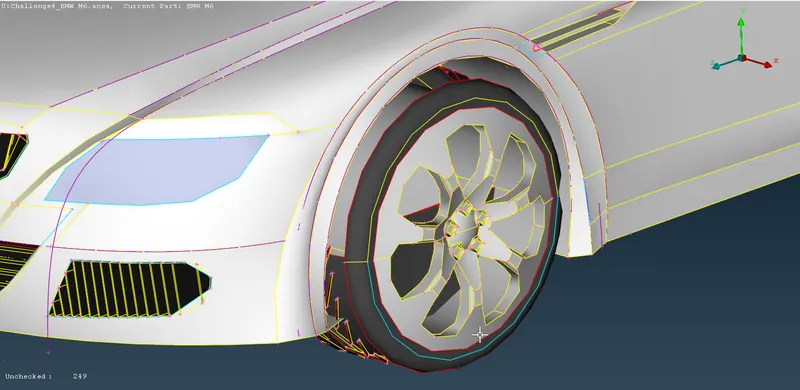
We will go to the MESH menu and give 1mm in the length option. This should be sufficient to capture the curvature accurately:
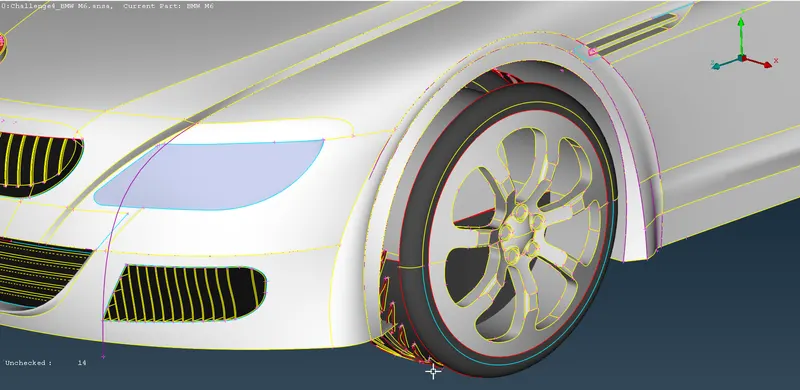
This looks much better. Next, we will resolve all the single and triple cons. But before that, we will split the model in half as the design is symmetric. This will reduce the amount of work to be done on clean-up and also make it simpler:
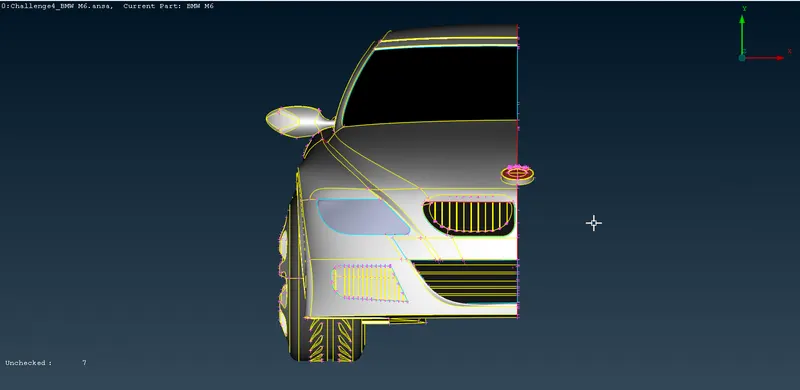
Since we only care about the wind tunnel aerodynamic performance as a CFD problem, we will eliminate any possible surfaces inside the car so that it creates a single volume inside it. We will start with the bottom grill:
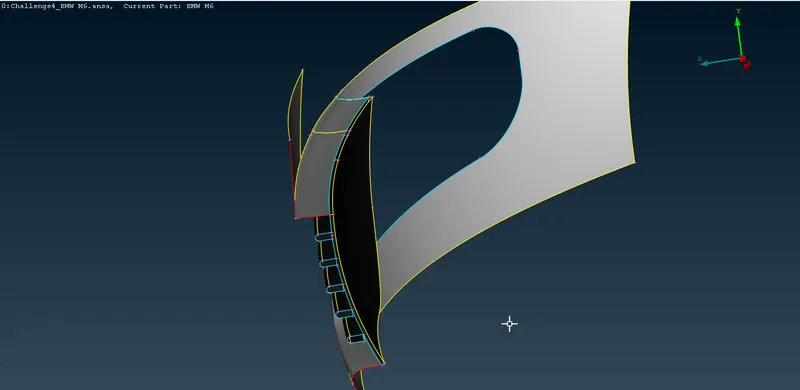
These triple cons indicate that there are at least three surfaces present, this will create unrequited volume in our model hence we will eliminate them one by one using various tools as required. After we are done cleaning, it looks like this:
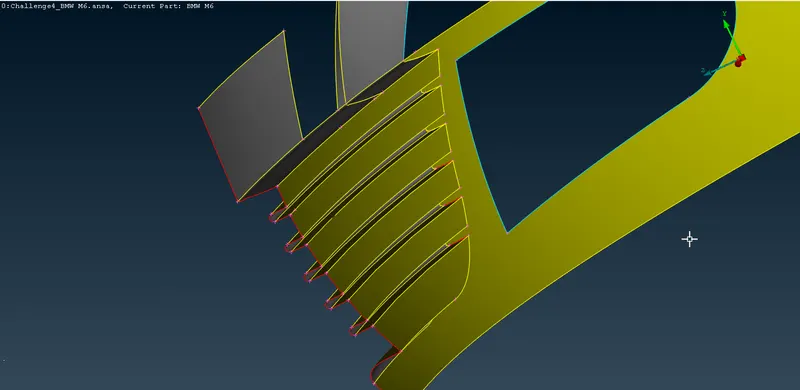
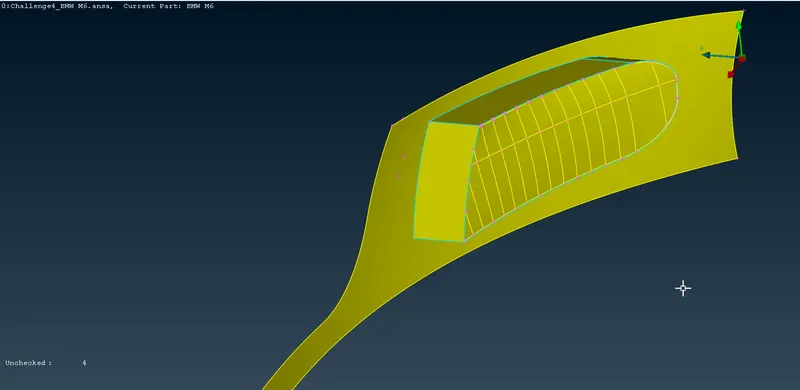
Next, we work on the fog lamp casing:
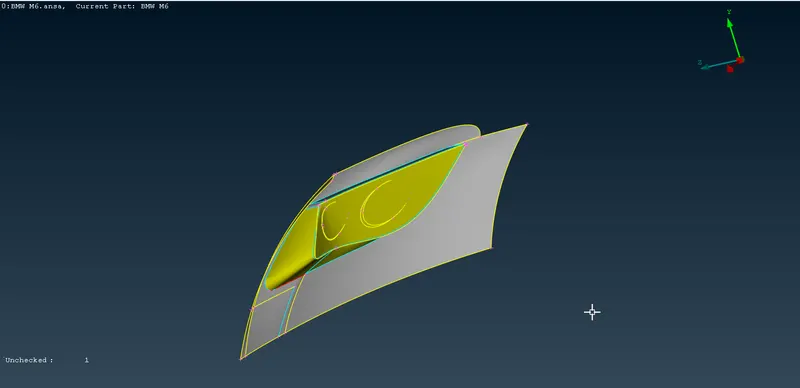
Next, We work on the headlight, we some blue cons and some red cons as well, we will delete some faces and create a uniform surface:
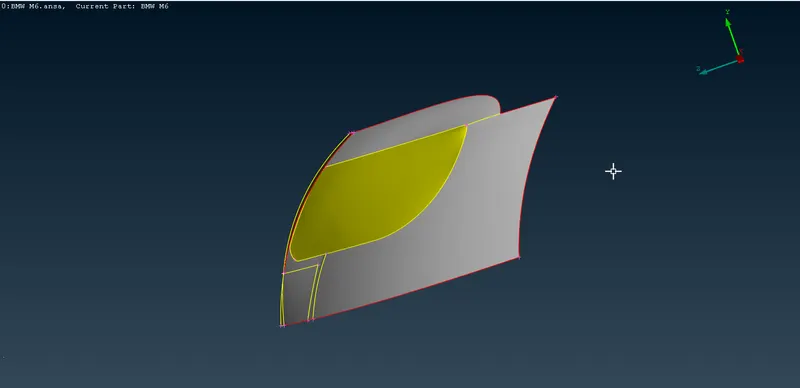
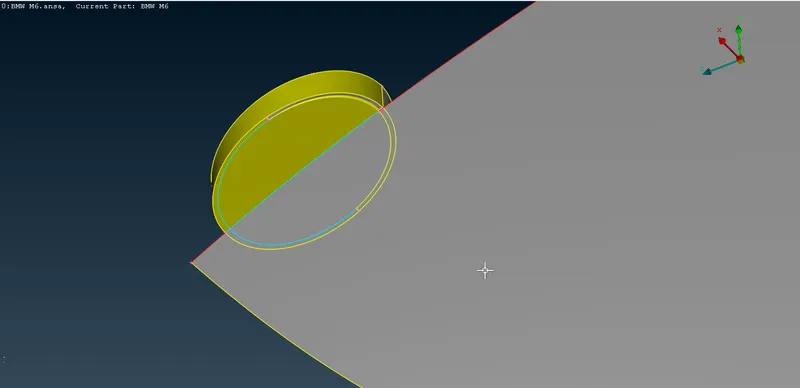
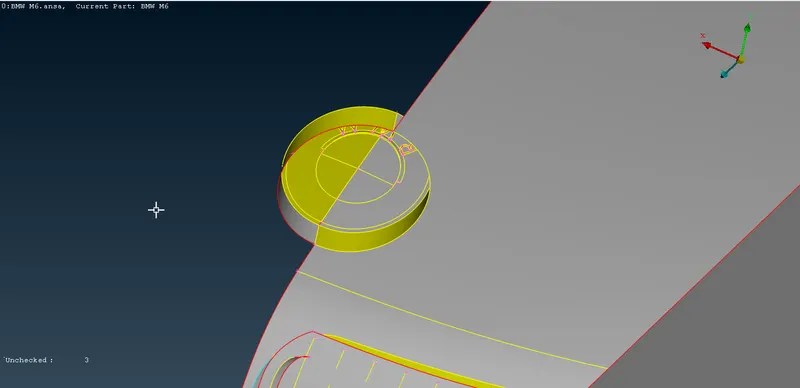
Next, we work on the logo. A part of the hood is mixed in with the logo so we remove it and fix the other patches:
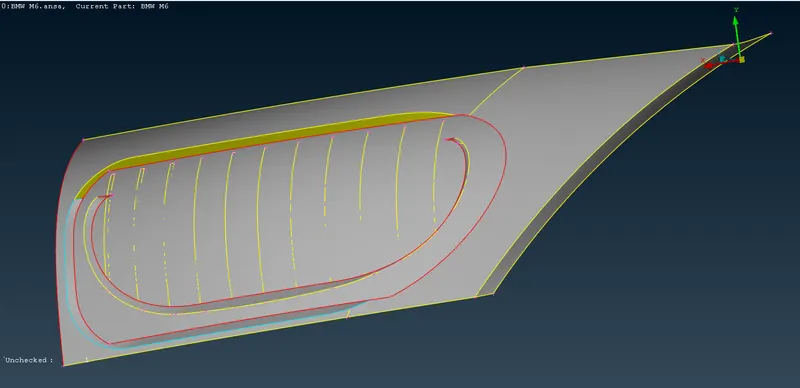
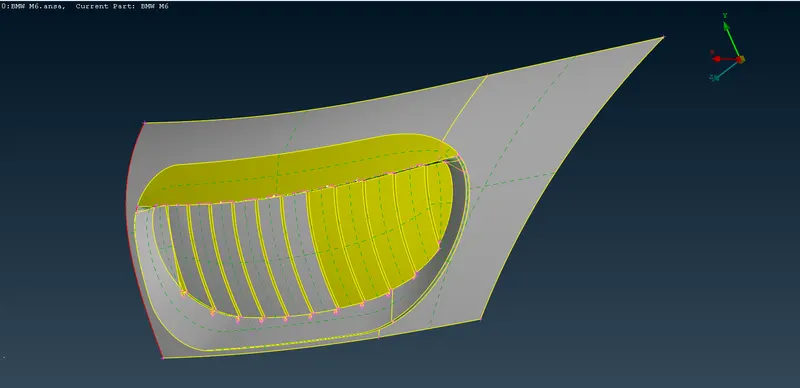
The front grill has a surface open to the environment we will patch it and connect it with the rest of the body while removing the other single and triple cons:
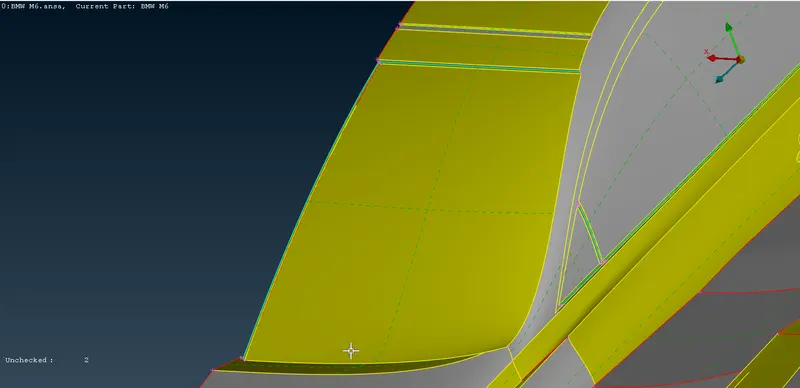
Next, we remove the extra surfaces from the windshield and rear window and the regions where they meet:
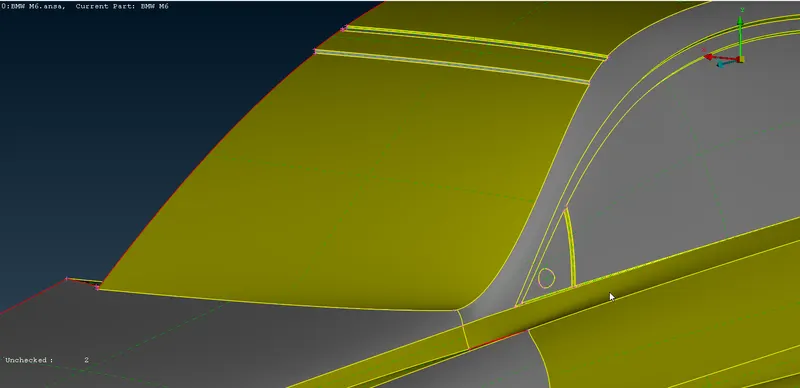
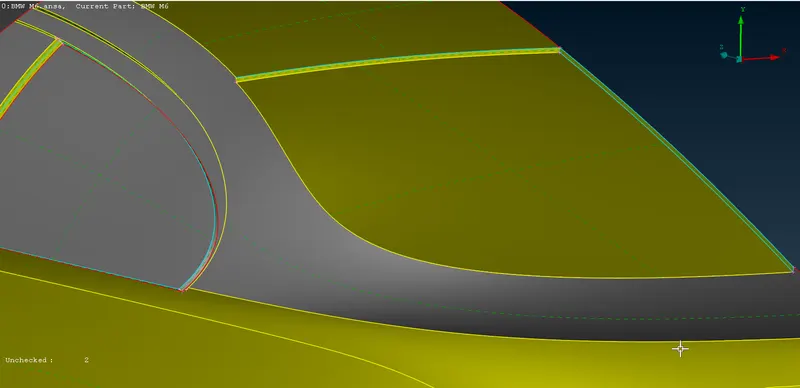
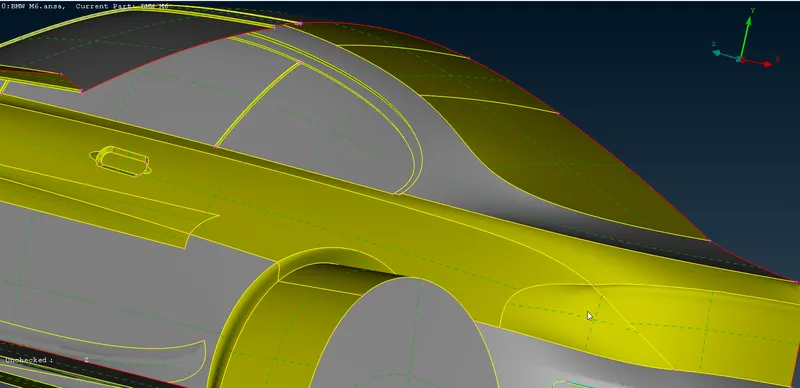
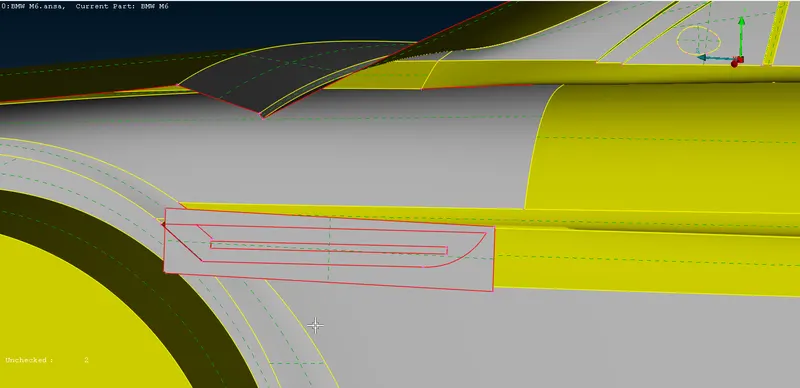
This side decal had some intersecting surfaces, we will remove them and form it into a solid block:
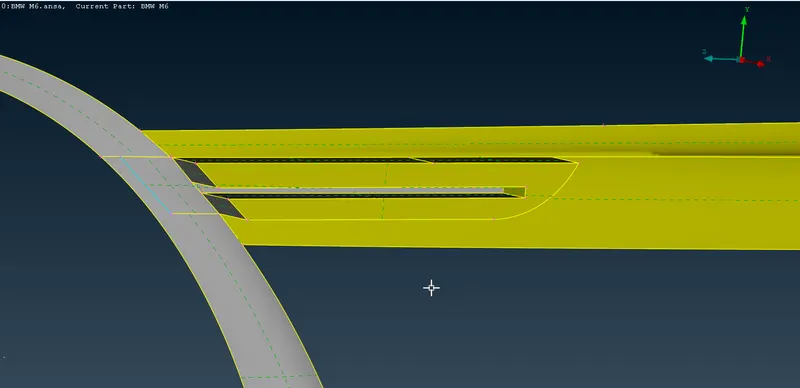
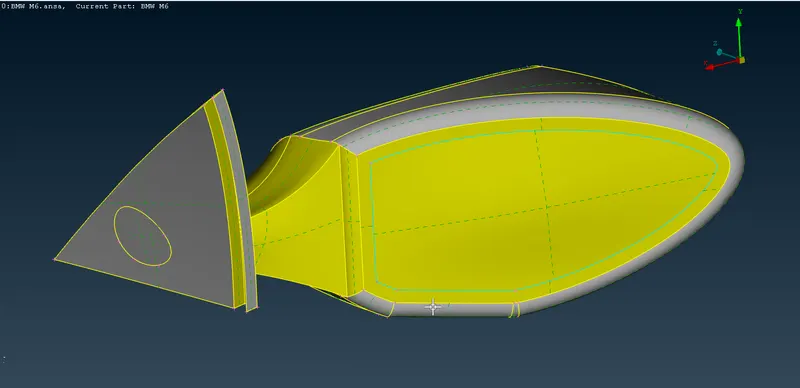
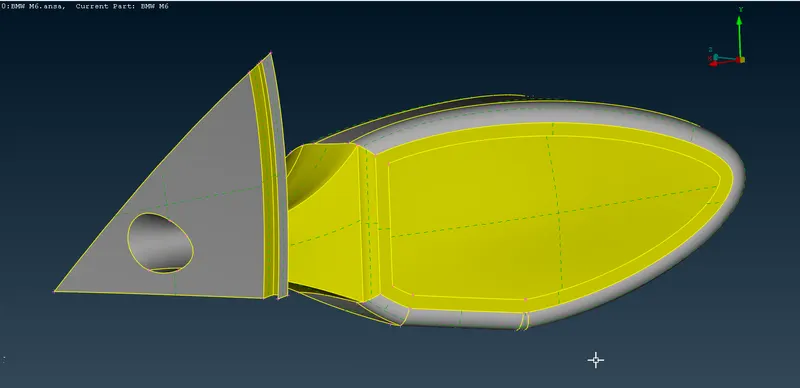
The mirror had a double face forming blue con, we remove it and also open it to the body to form a single unified volume:
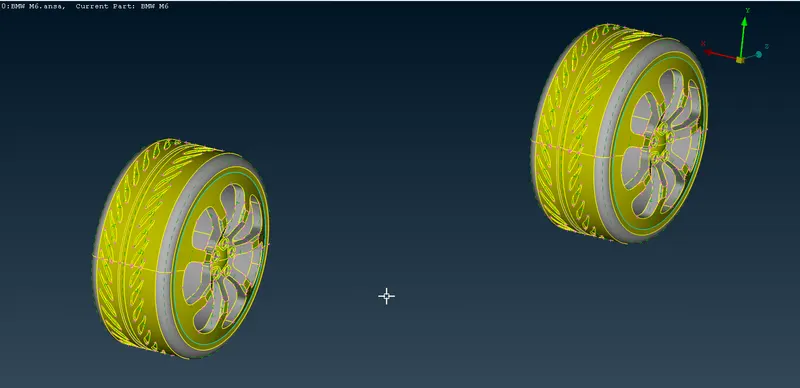
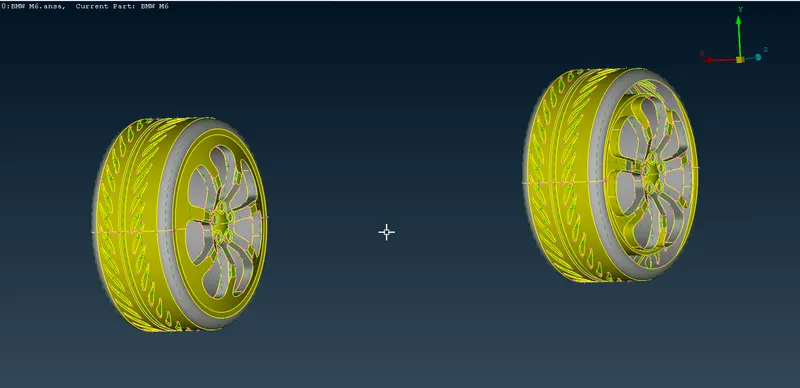
The tires also had some double surfaces inside them, we remove them to troubleshoot the single cons:
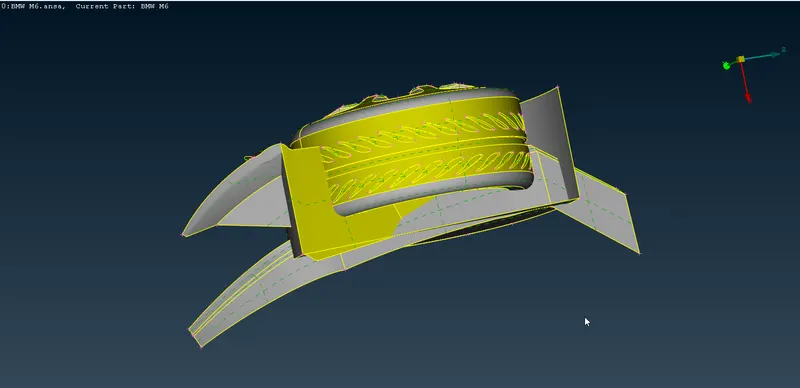
The base of the car had extra surfaces intersecting with each other and also interfering with the tires, we will remove all of them and form a continuous smooth surface:
ASSIGNING PIDs:
Once we are done with the topological cleanup, we assign the corresponding PIDs to the various components:
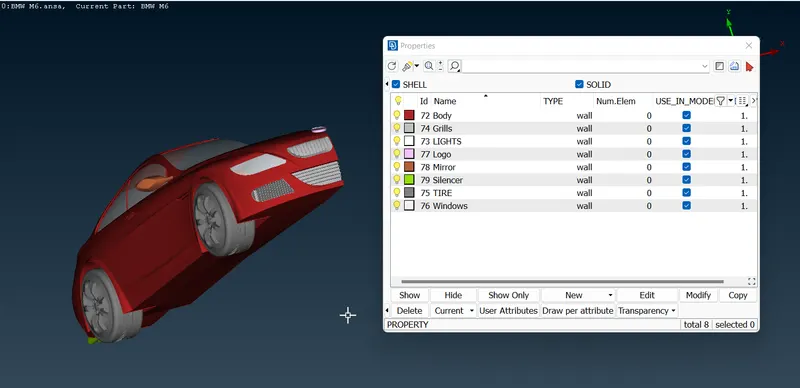
MESHING:
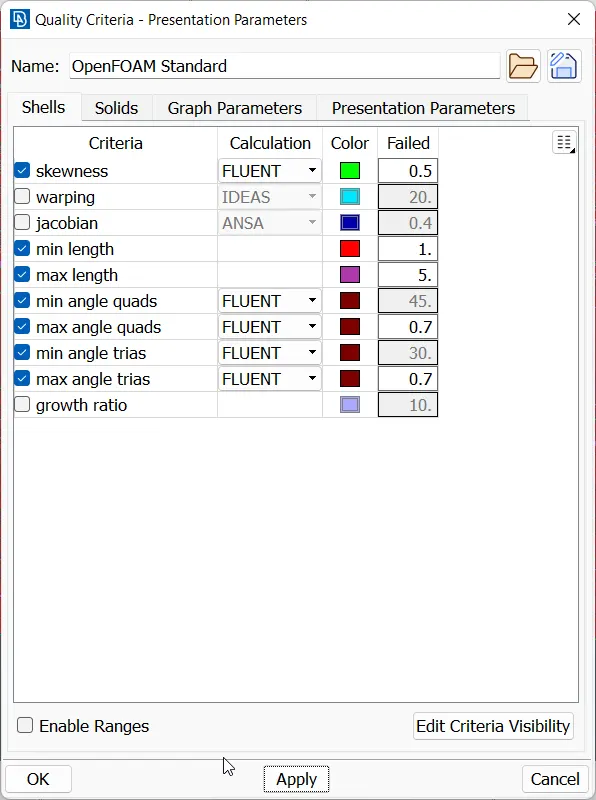
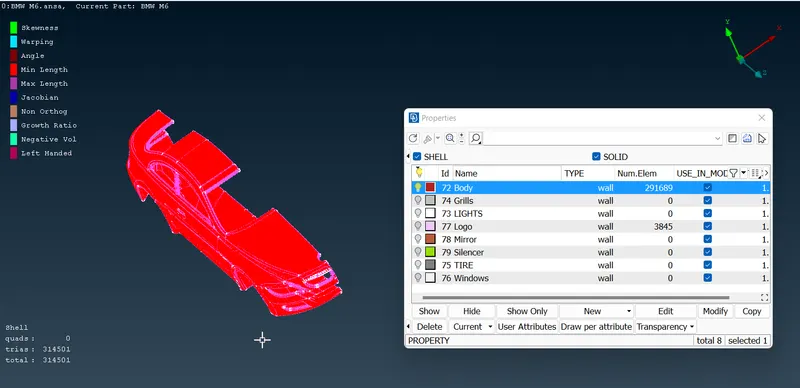
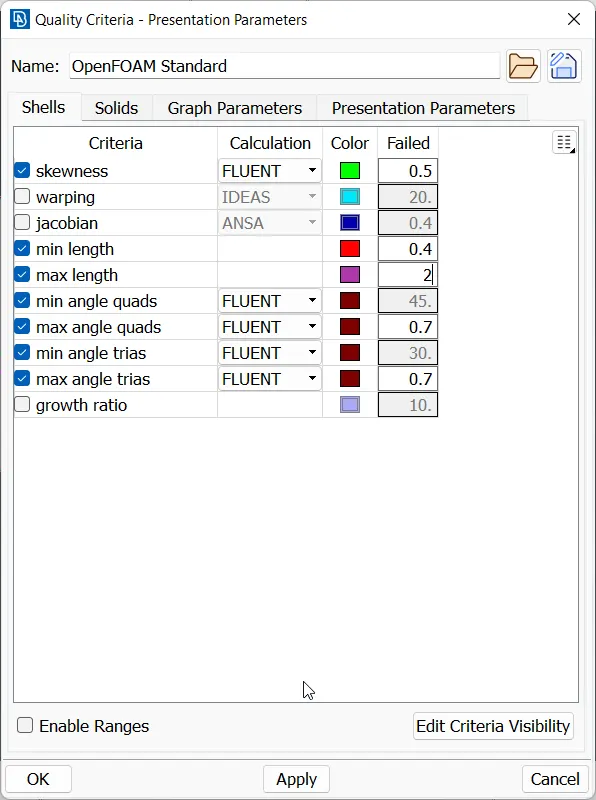
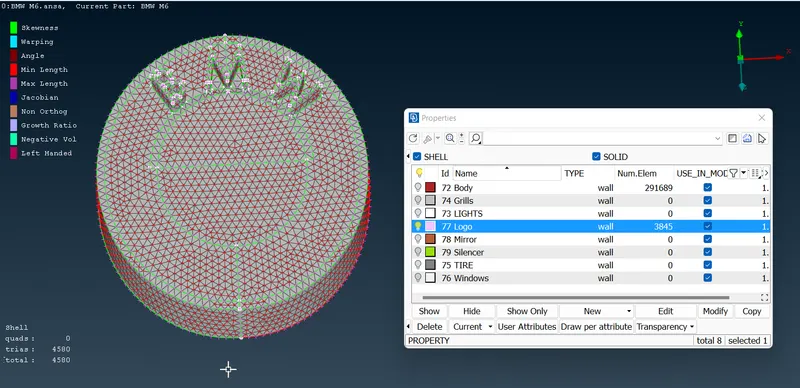
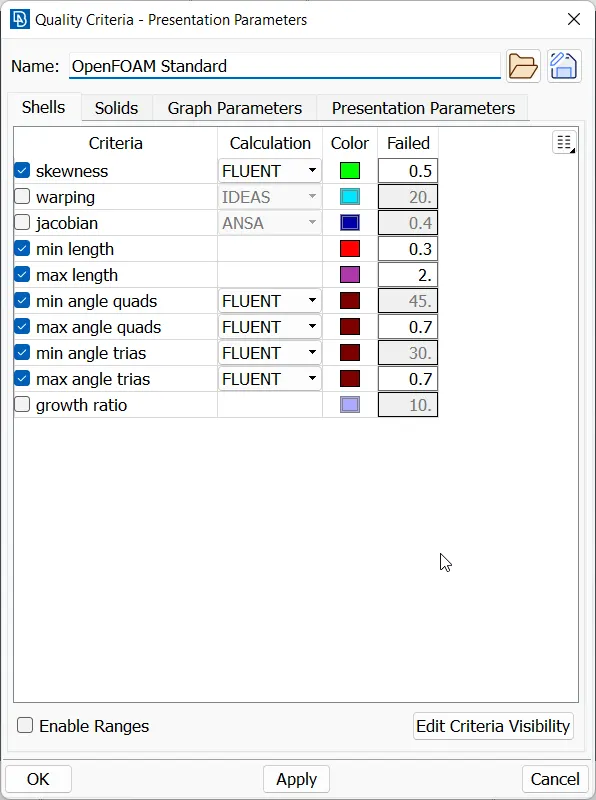
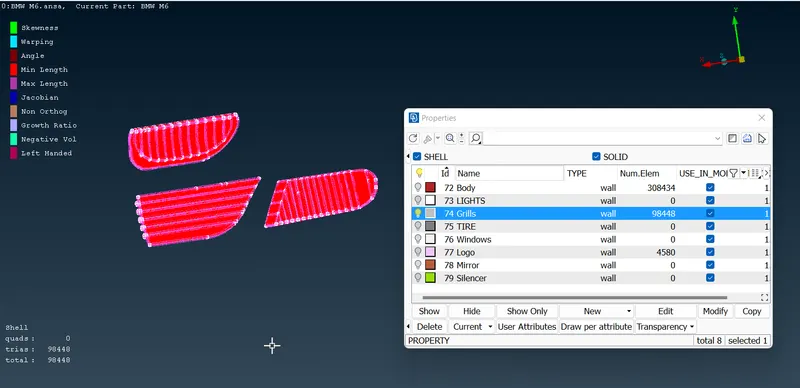
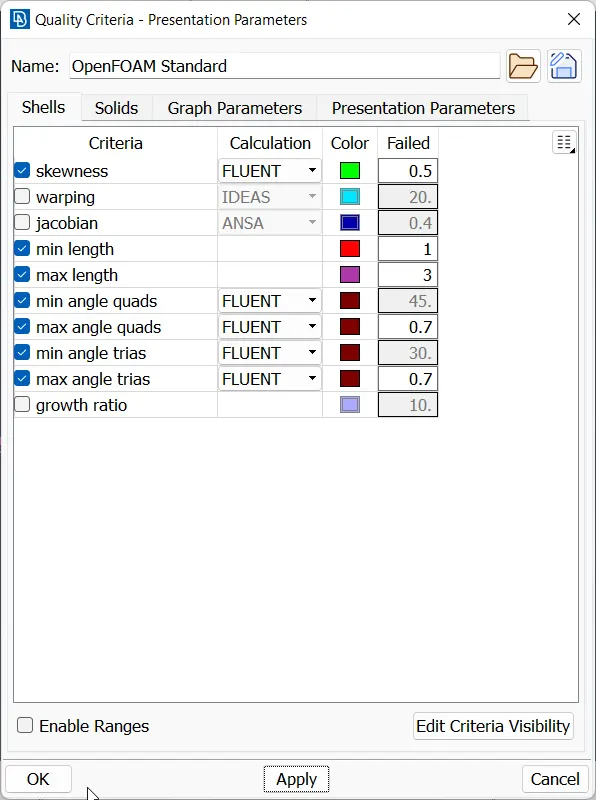
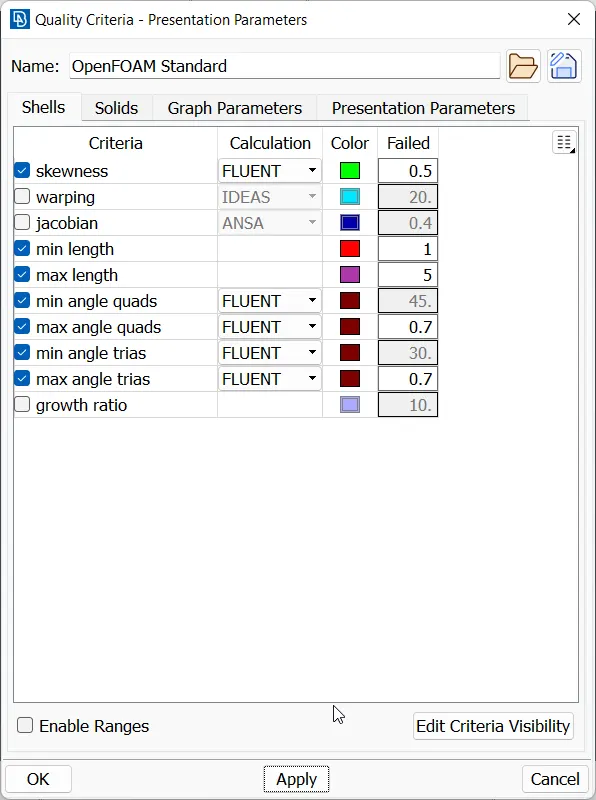
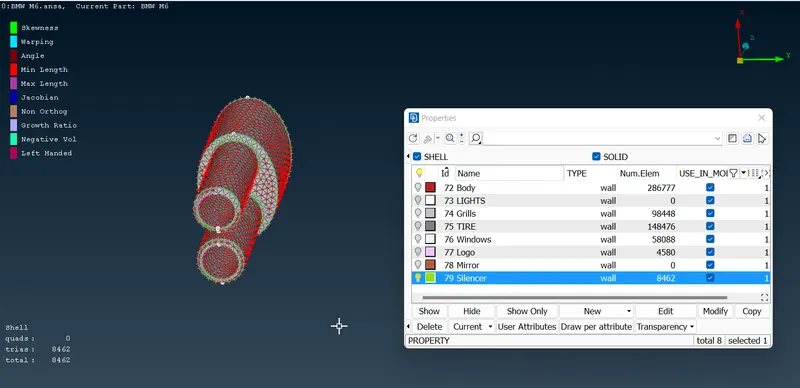
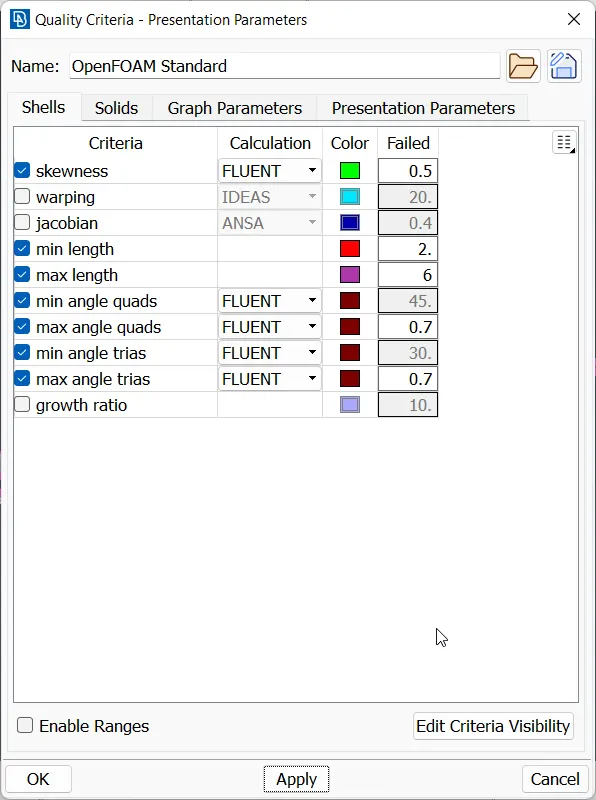
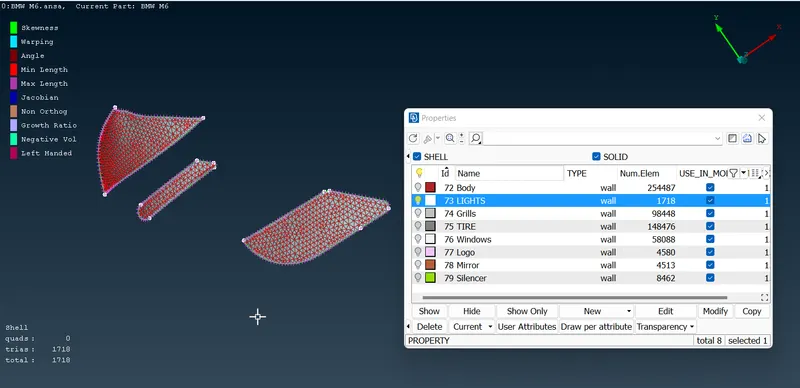
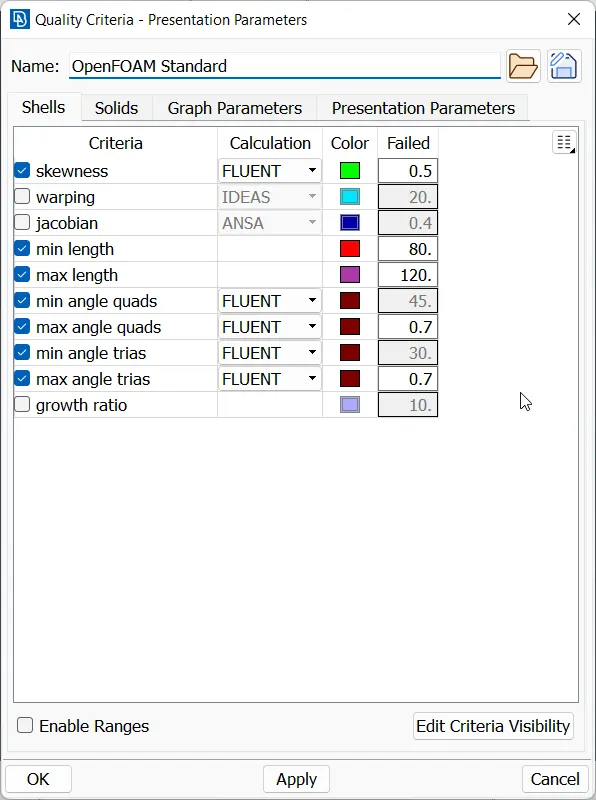
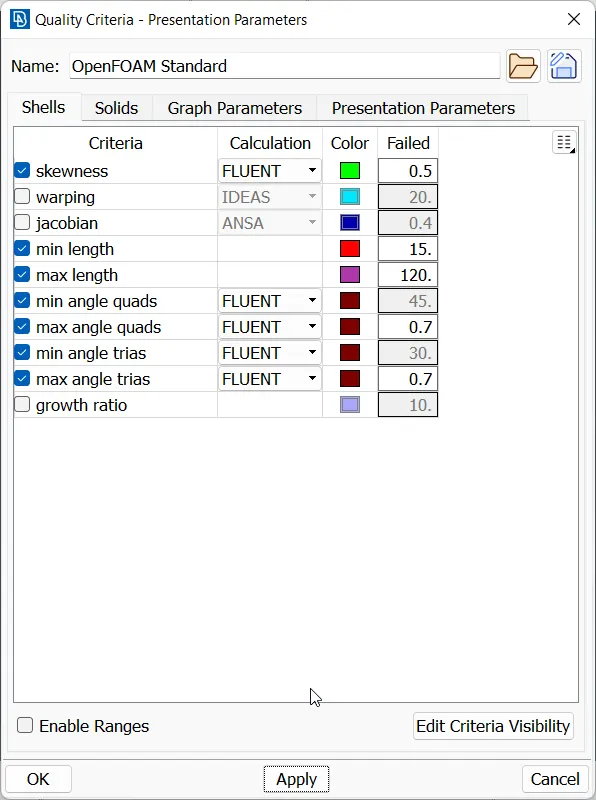
We are using Quality Criteria for meshing the surfaces, the skewness and angles are constant at 0.5 and 0.7 respectively for all PIDs. We will be changing the maximum and minimum lengths for corresponding PIDs.
BODY:
LOGO:
GRILLS:
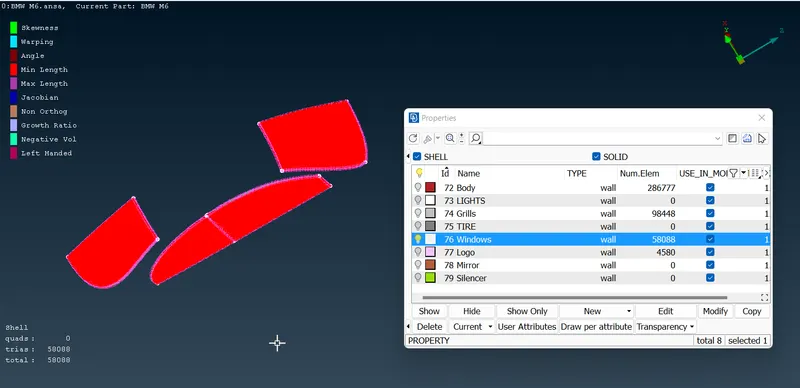
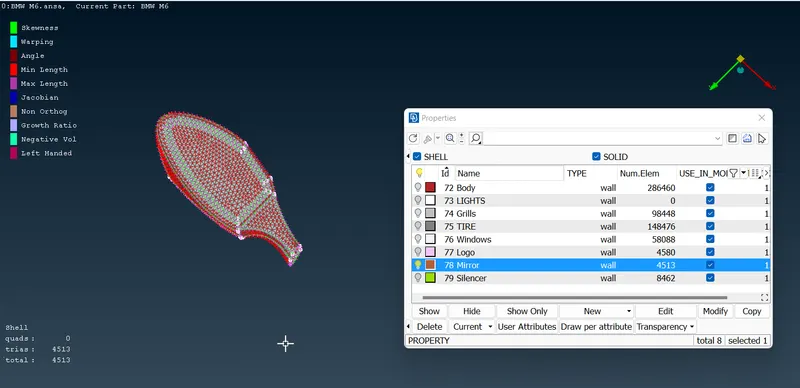
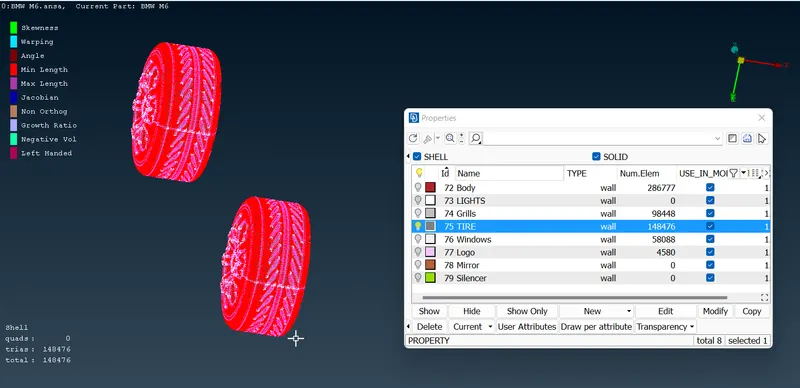
WINDOWS, MIRRORS and TIRES:
These three that similar quality criteria:
SILENCER:
LIGHTS:
SYMMETRIC COPY:
Since we are done with the work on this half of the model, we will copy the model symmetrically to obtain a finished other half. For this we use the Transform tool with copy option:
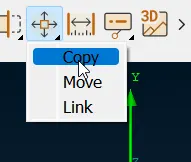
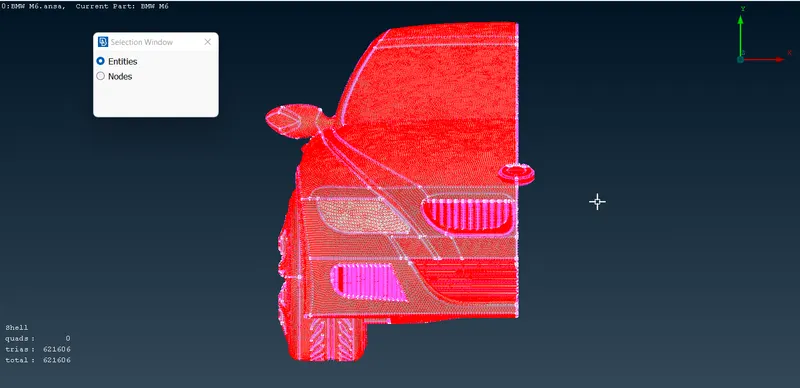
We will copy the Entities, and use 3 points plane symmetry and provide the 3 points along the plane we want to replicate:
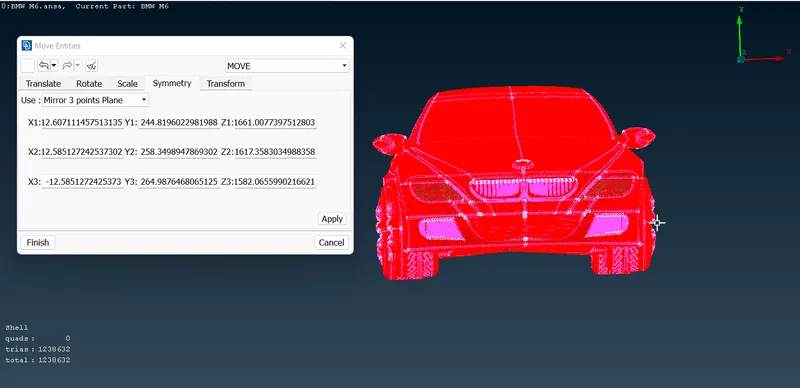
WIND TUNNEL:
We will now create a wind tunnel, for reference we will create points using the Relative option from the Point toolbar:
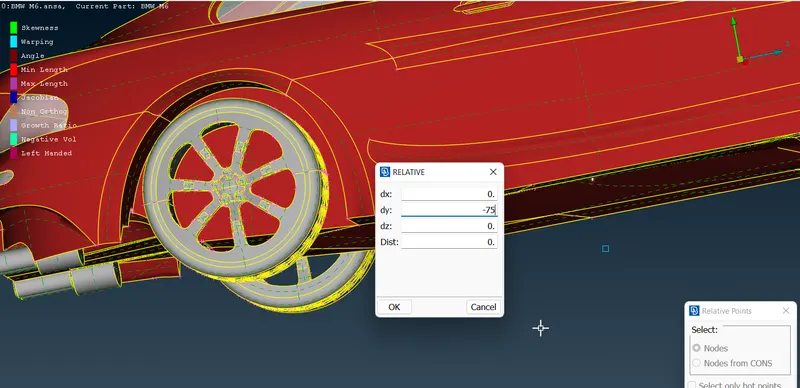
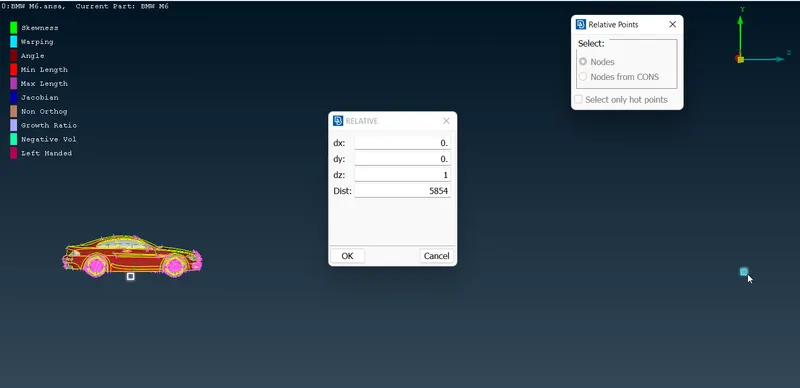
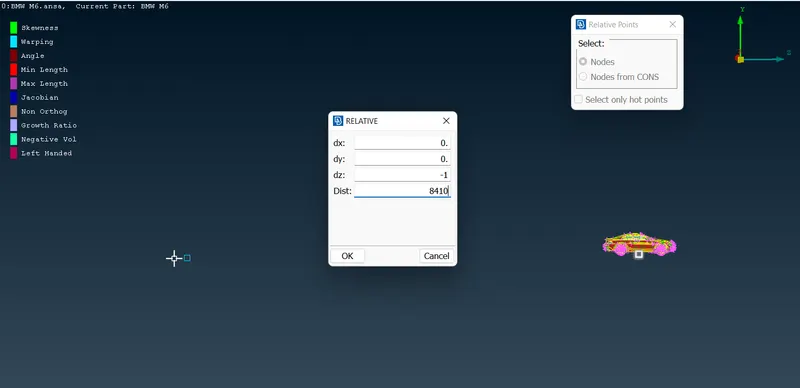
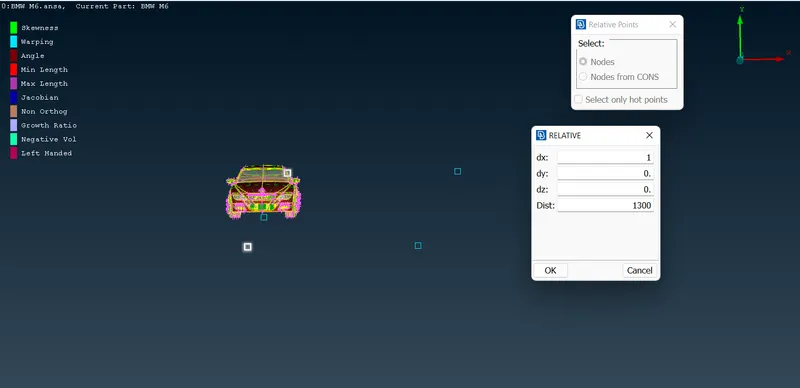
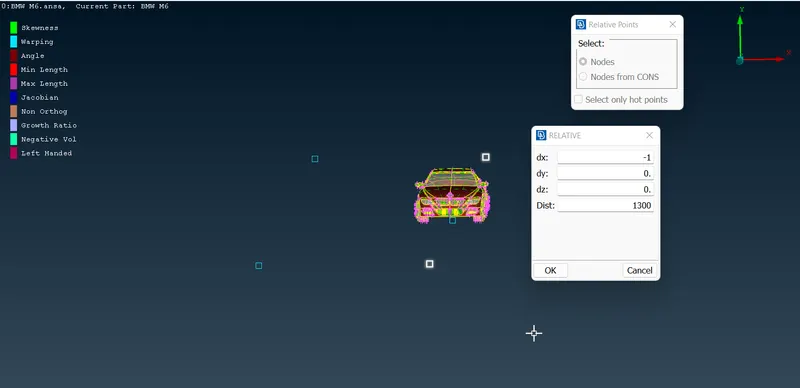
Once we have created all the points necessary for the plane, we will use the line option from the Create Curves tool to create the bottom surface of the wind tunnel, we will then use the curves to create a new surface there:
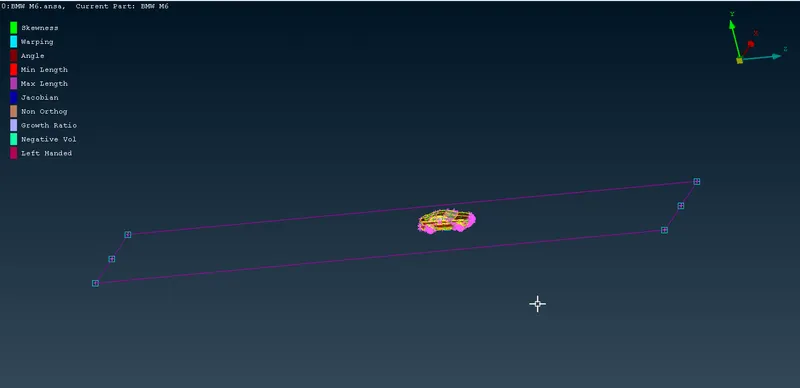
Once we have created the bottom surface, we use the Offset option to create a replica of the plane as the top surface of the wind tunnel:
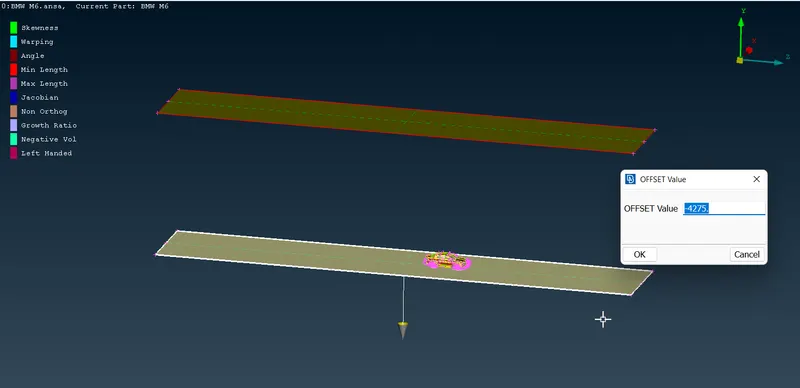
Once we have these two surfaces in place, we can use the new face option to create the remaining surfaces and assign PIDs to them:
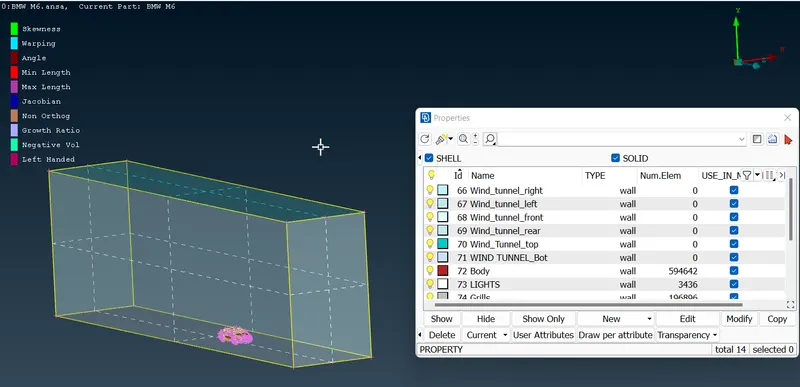
MESHING WIND TUNNEL SURFACE:
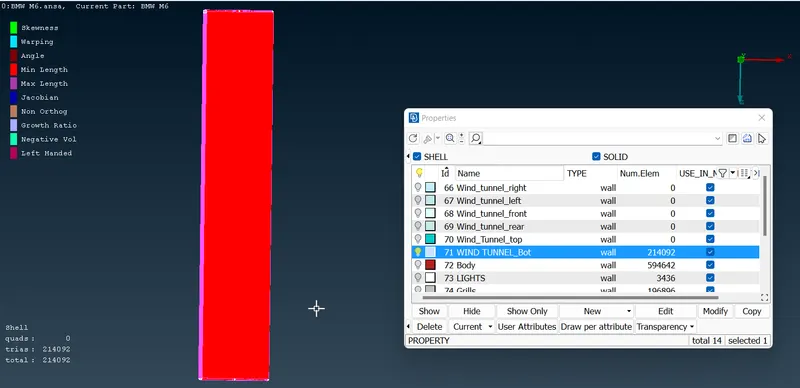
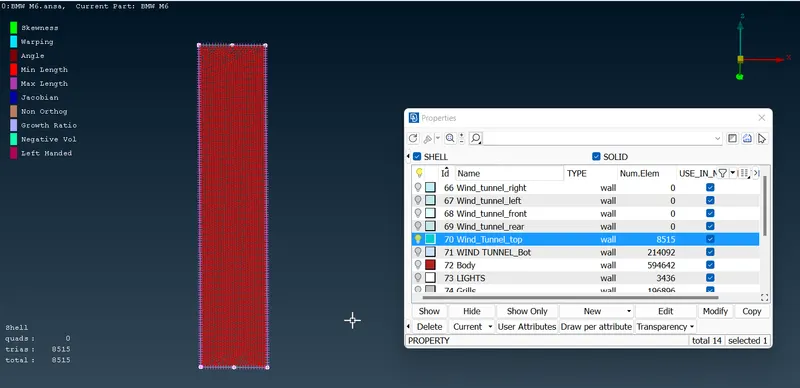
We mesh the top surface with an element length of 100 mm and the bottom surface with that of 20 mm. Due to this, the mesh on side surfaces will be changing from 20-100, hence we use Spacing tool:
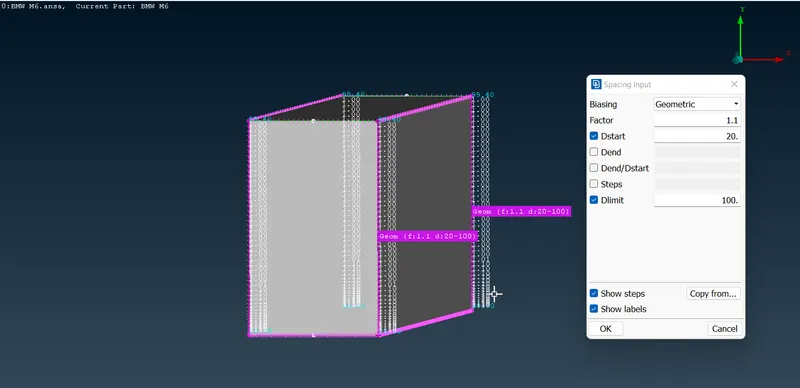
Bottom Surface:
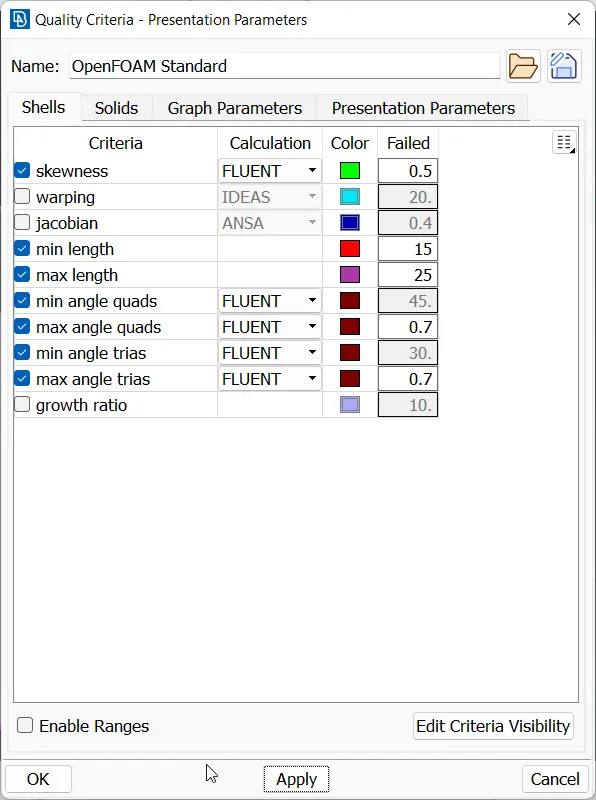
Top Surface:
Side Surfaces:
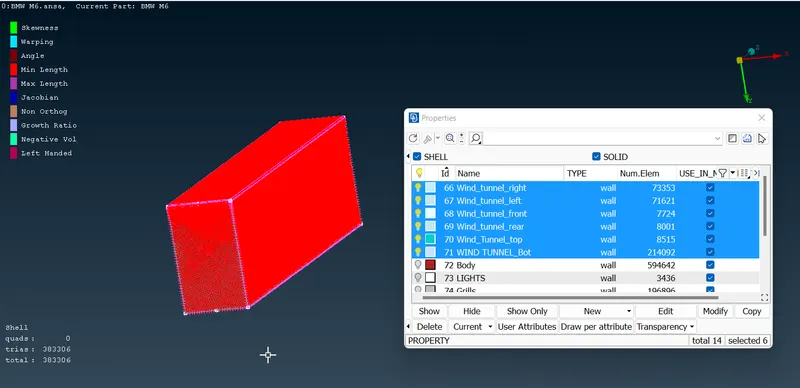
VOLUME MESHING:
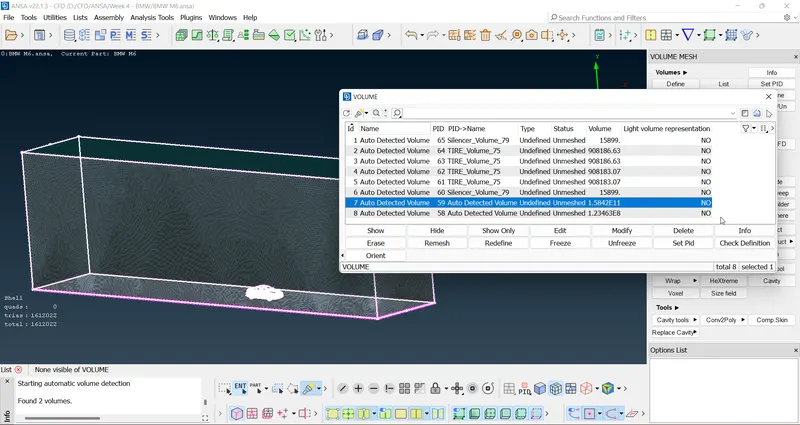
Once we are done with all the corresponding faces, we can head on to volumetric meshing. We will use autodetect volume and then delete all the other volumes except the one for wind tunnel:
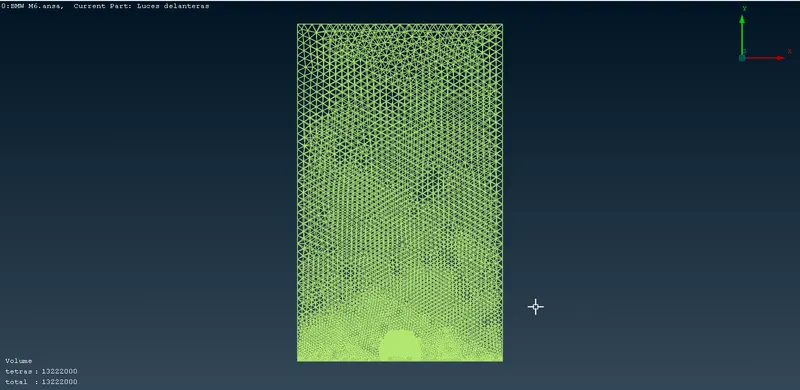
Now, we can go ahead and mesh the volume using TETRA CFD:
CONCLUSION:
- We have successfully meshed the BMW M6 model symmetrically.
- When meshing with quality parameters, we can use Reconstruct, Improve and Grid Move tools to fix the off faces.