Week 4 Challenge : CFD Meshing for BMW car
Challenge 4
Aim:-
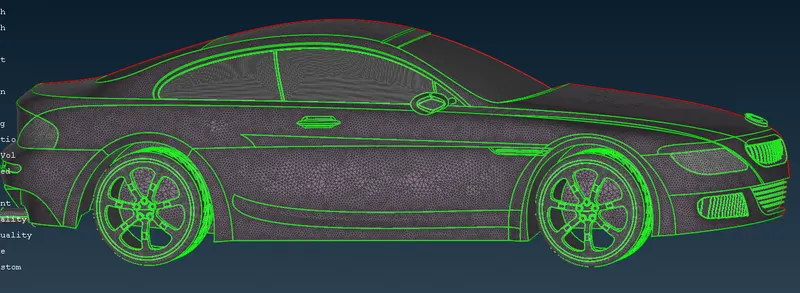
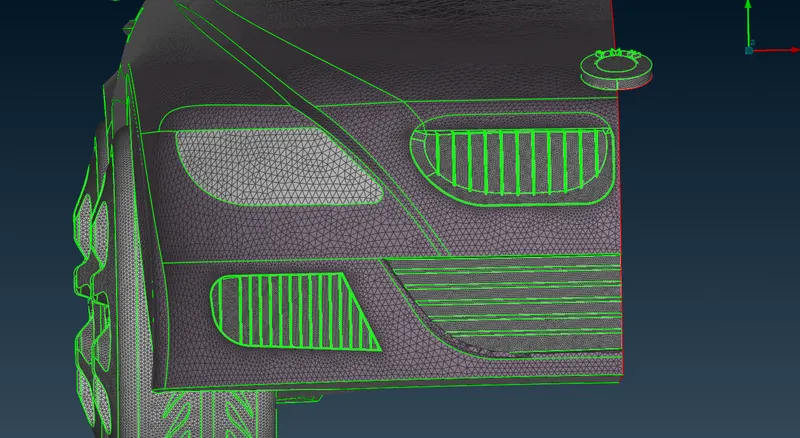
For the given model, check and solve all geometrical errors on half portion and Assign appropriate PIDs. Perform meshing with the given Target length and element Quality criteria. After meshing the half model, Do symmetry to the other side.
- Target lengths for the different parts of a model are as follow:
- Body - 3 mm
- Lights - 4 mm
- Grills - 1 mm
- Rims and Tyers - 2 mm
- Optical Rear view mirror - 2 mm
- Window - 2 mm
- Silencer - 3 mm
- Logo - 1 mm
Procedure:-
1.Import the .ANSA file from local system.
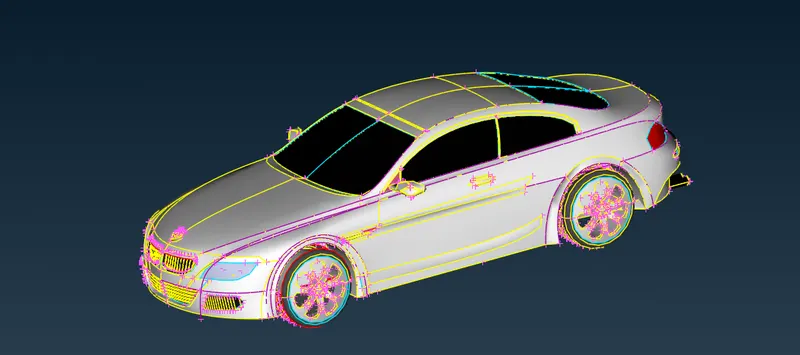
2.we have to prepare the car for CFD application for that reason by doing topo, geometry cleanup, and some changes we resolve all errors and set to 2d mesh and volumetric mesh
3.Use topo option on entire model which is imported. Noticed there are too many triple cons .we have to fix this all triple cons 4.by examine the model of BMW car we observe the car look symmetry expect the logo of the car. And all features are not smooth for that go to surface mesh .give micro and perimeter is 1 mm. by doing this we observe all curve are smooth.
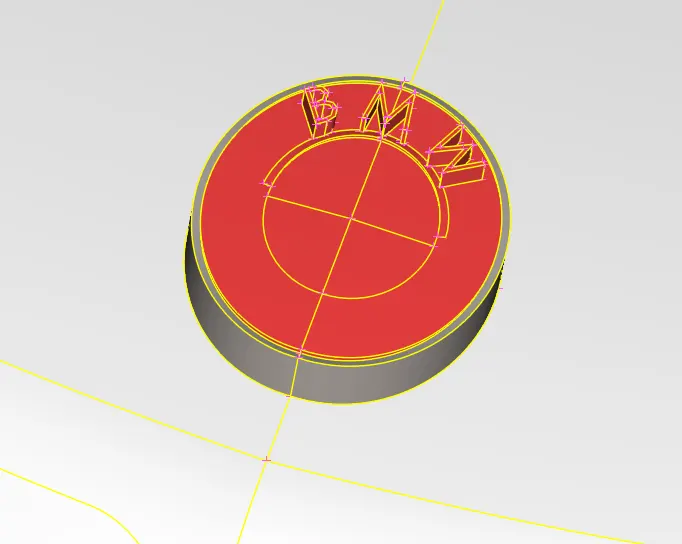
5.For delete one half potion of the car go to the view mode and select top view. By selecting half potion delete it by pressing scroll
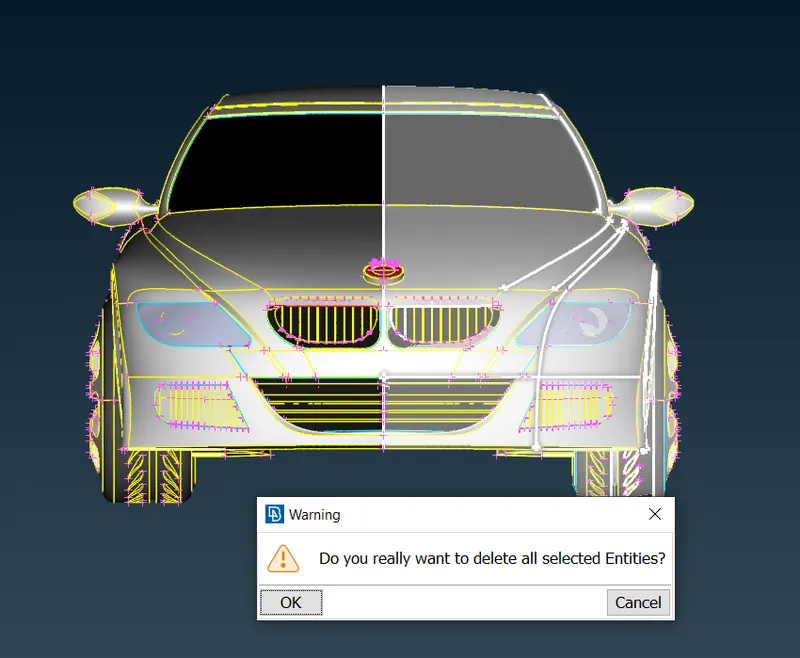
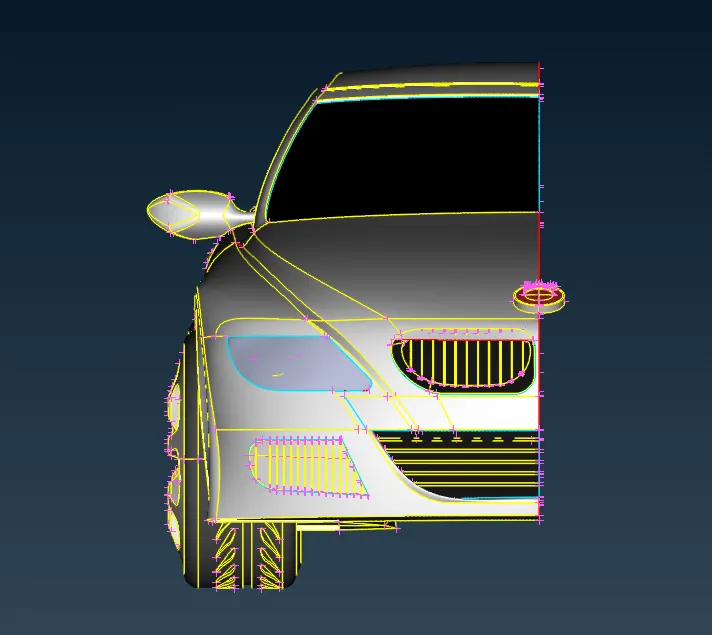
6.There are some glitches are present in model at light area ,grill area .by deleting this we get clear surface .
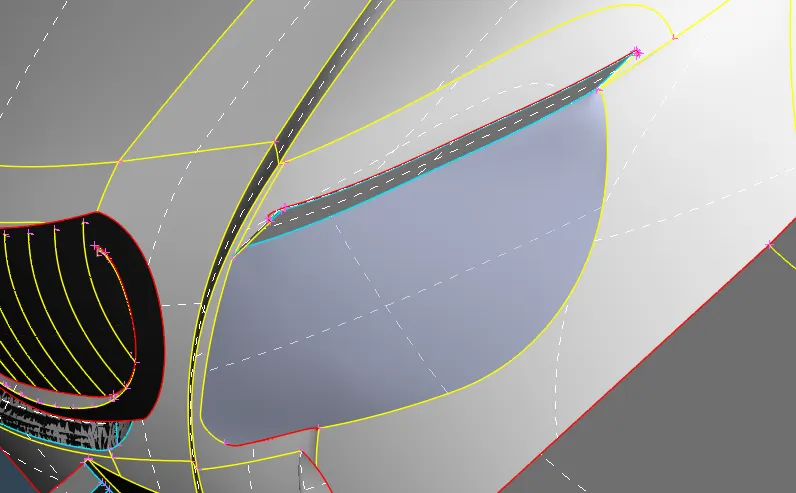
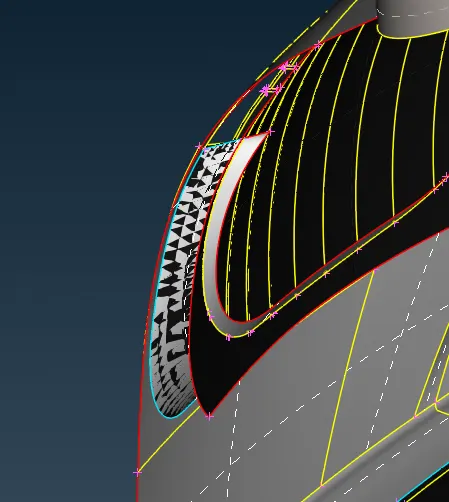
7.Now can start from grill region, we required closed volume for CFD application. Isolate required region by using Inot option, For that delete unnecessary surface which are not to meaning and unwanted . Delete those which are separate the one volume .some snaps are attached below of topo cleanup and geometry preparation . Avoid small surfaces which may reason for failing element.
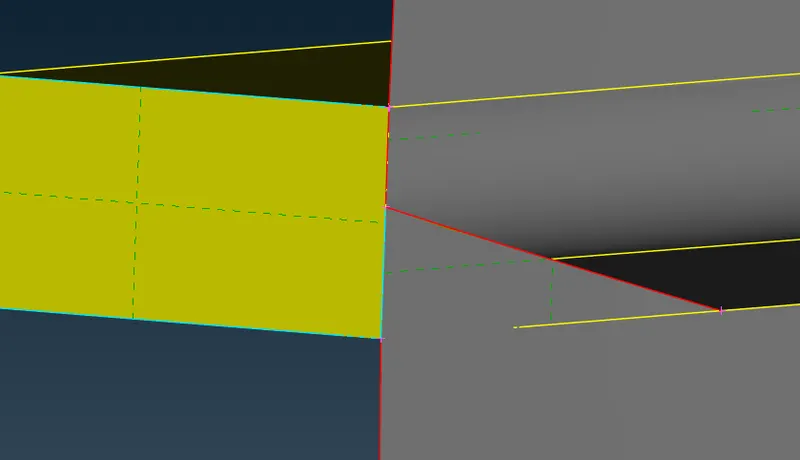
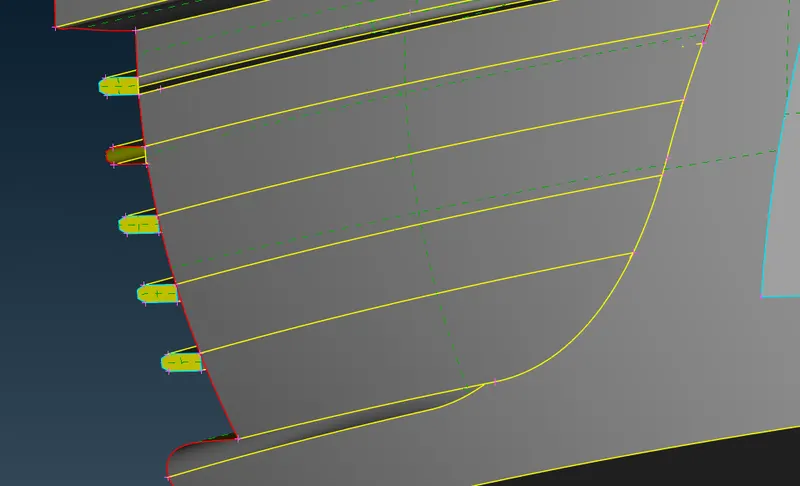
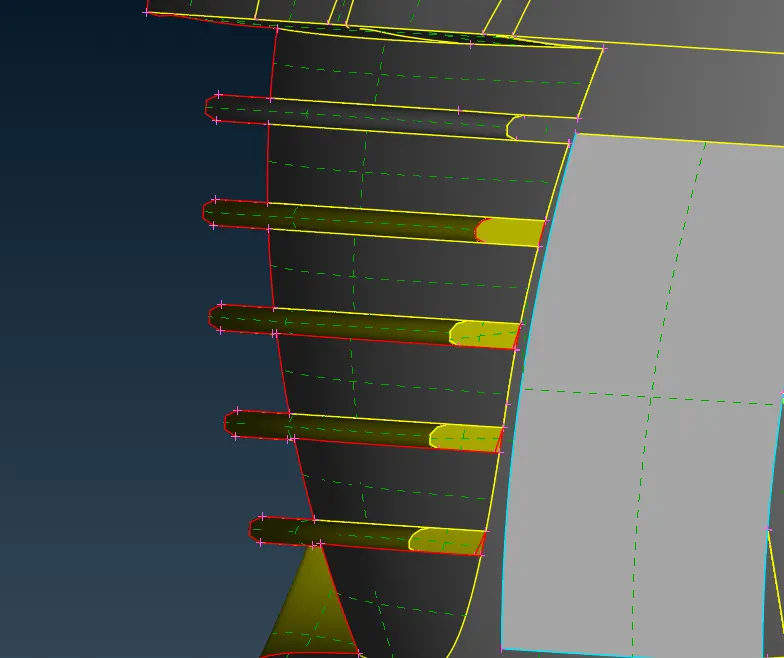
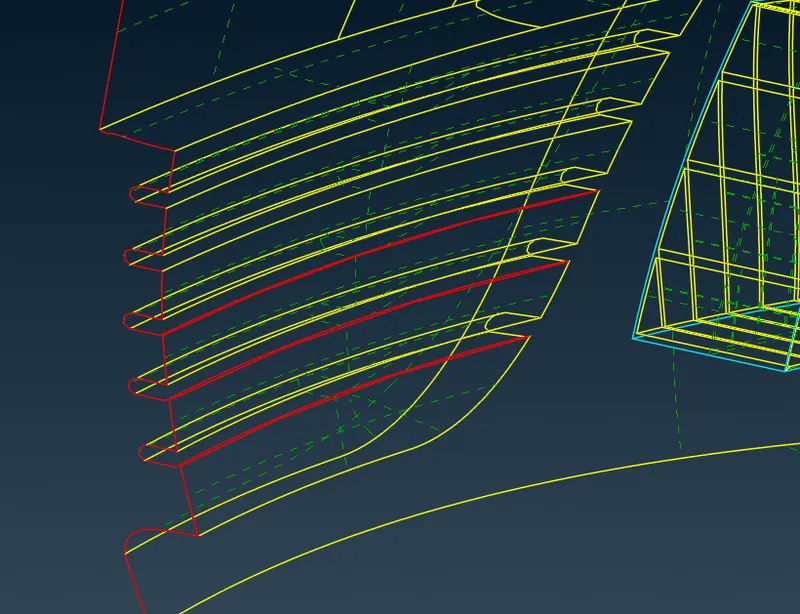
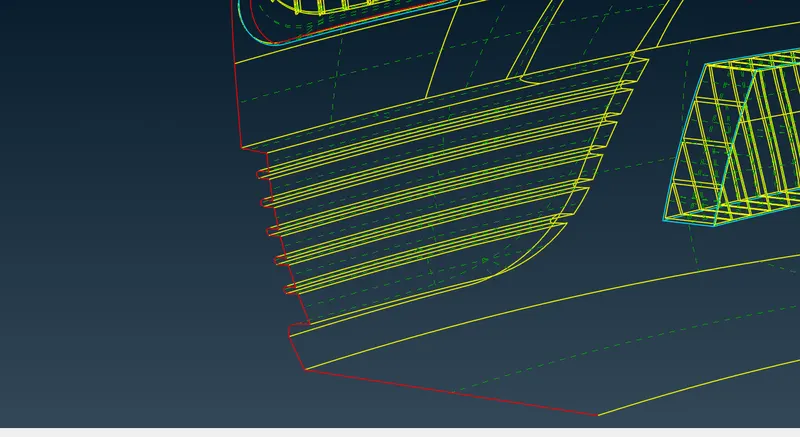
8.Move next region that is also next grill region here also we have to do some cleanup in occurring to get one volume. Use project, multi project, delete ,new surface ,option for do required one volume .
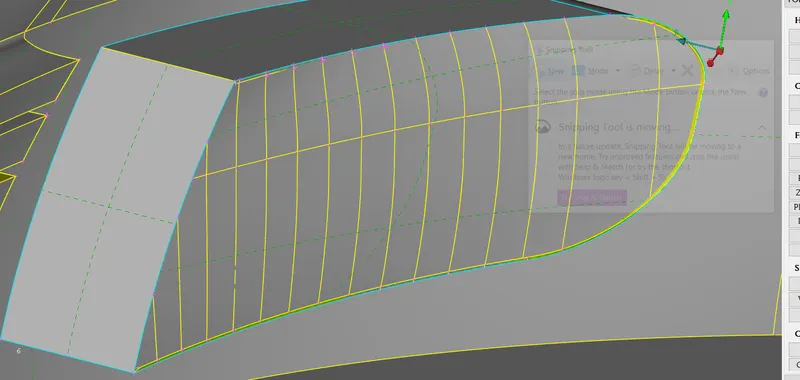
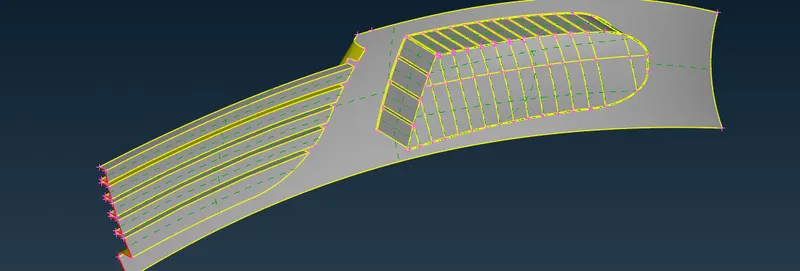
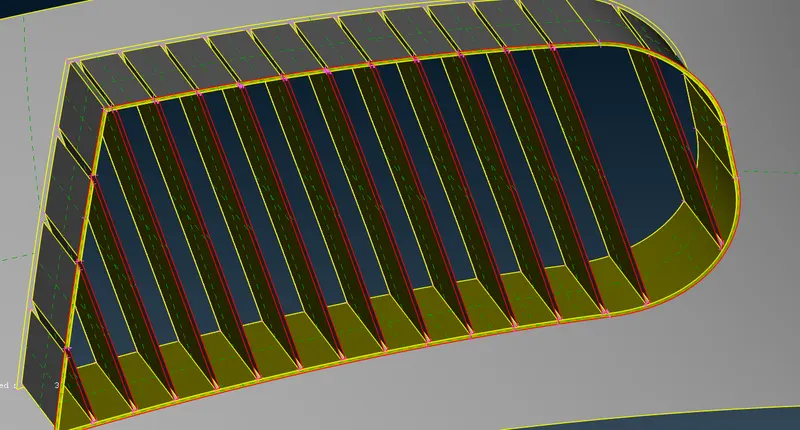
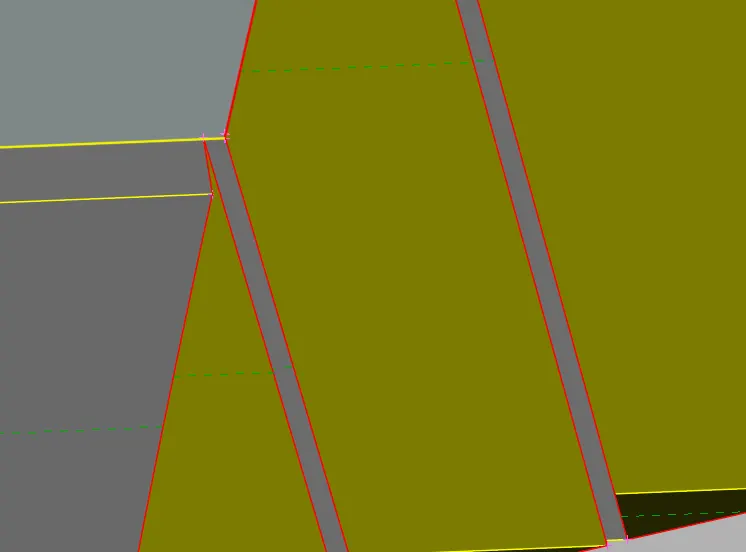
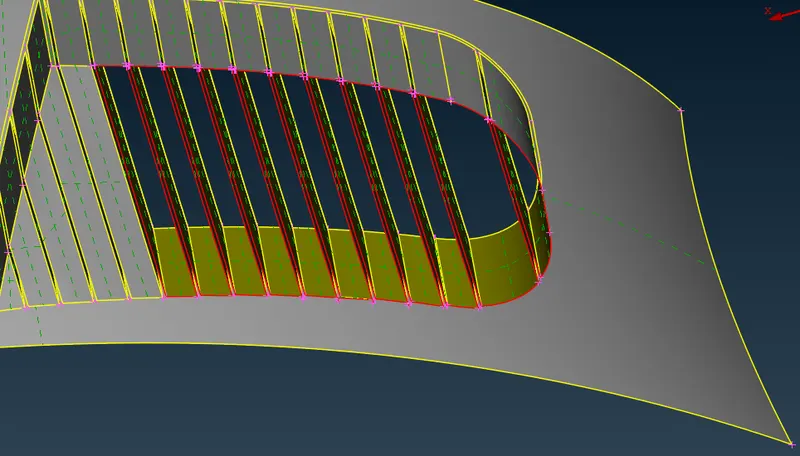
9.And also avoid smaller surface/needle surface.
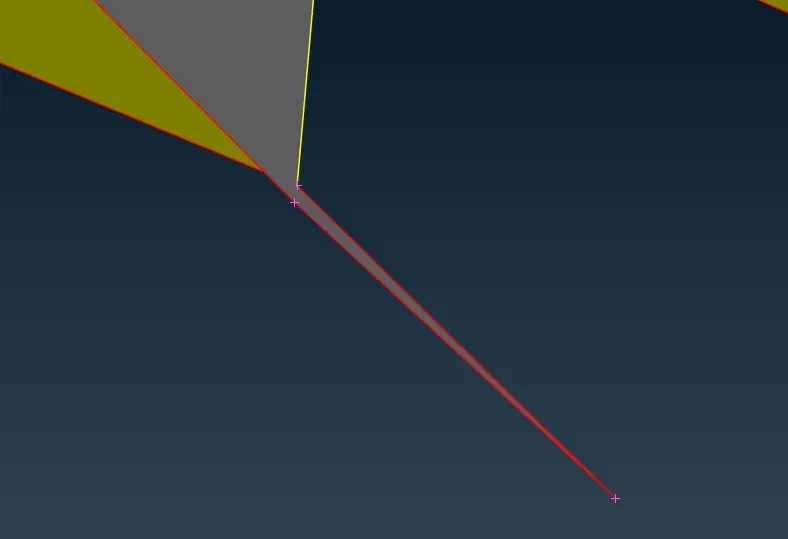
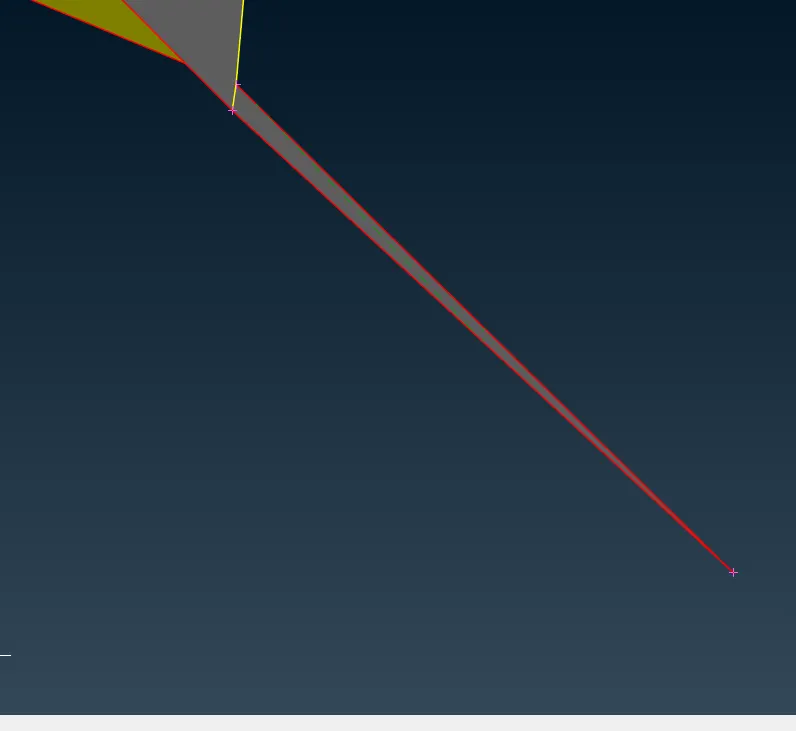
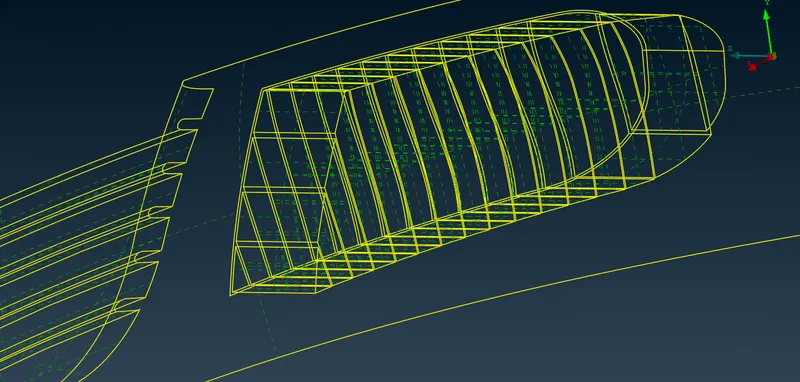
10.Going to logo region for this we have to delete overlapped surface and also we have to use project option in order to delete surface.
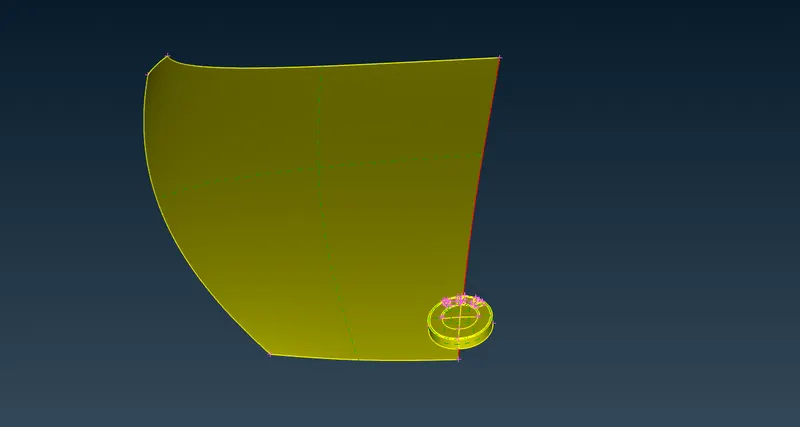
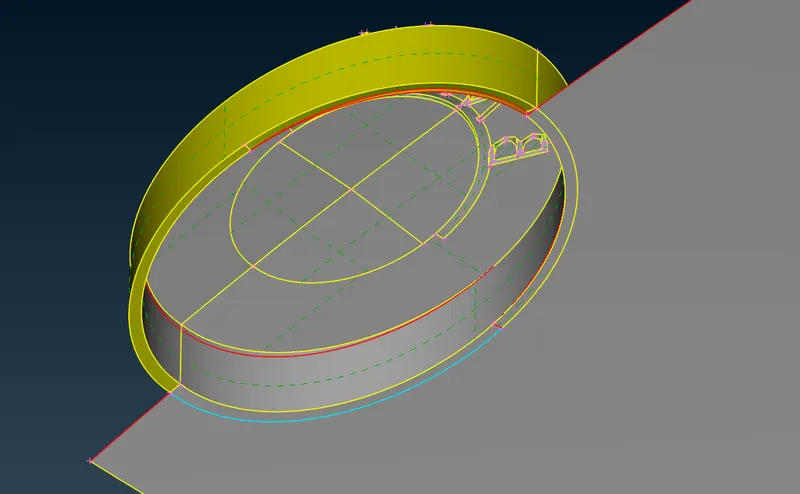
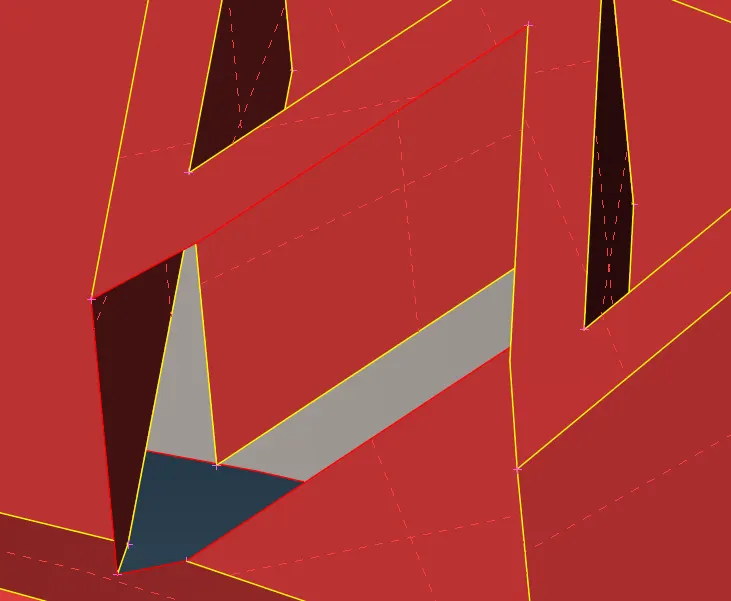
11.Now jump to the windows area, delete inner surface to get a required volume.
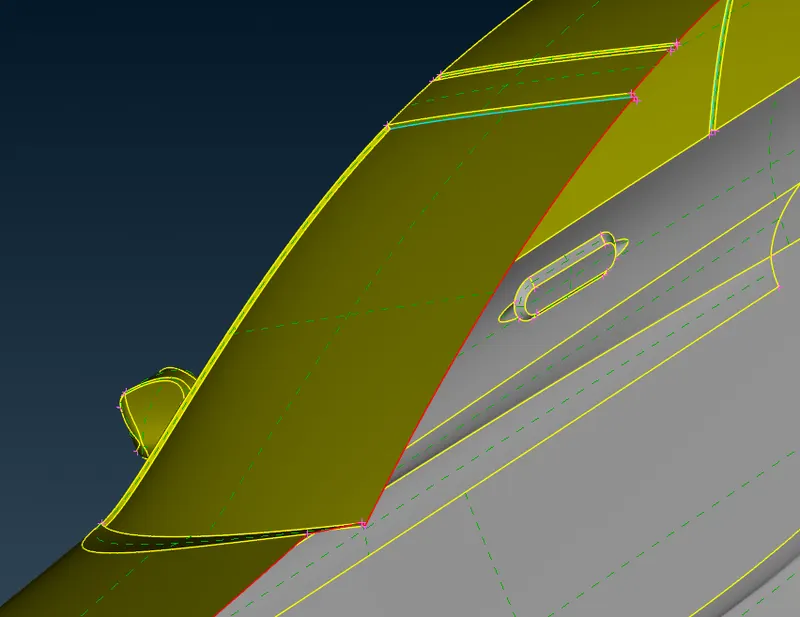
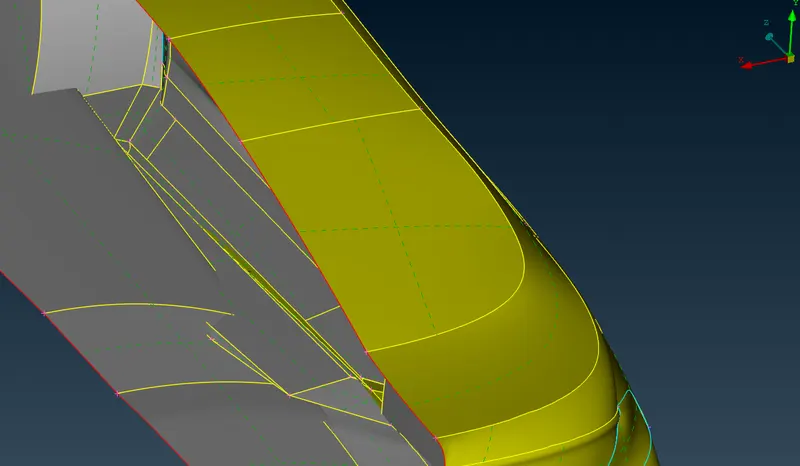
12.Now going to grill region and we have to delete surface which is not meant. Below attached snaps how we can project the con on above surface and using project cut option we doing topo we remove triple cons
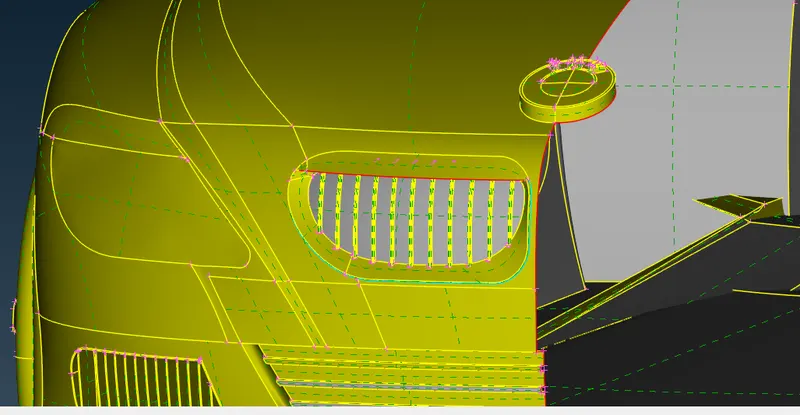
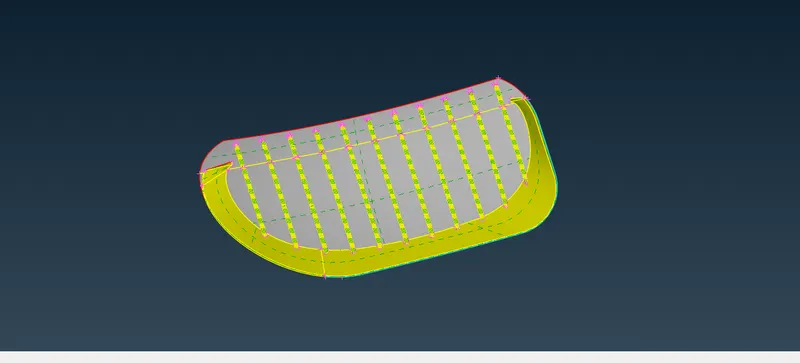
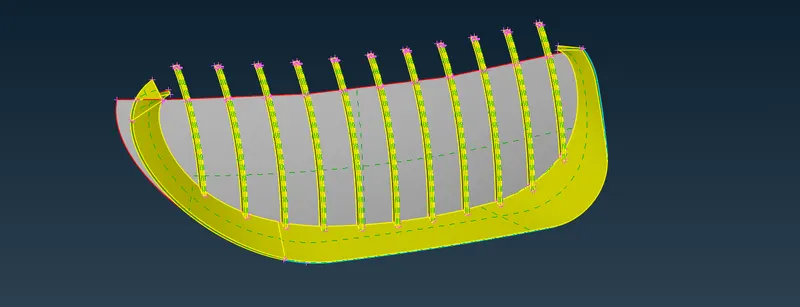
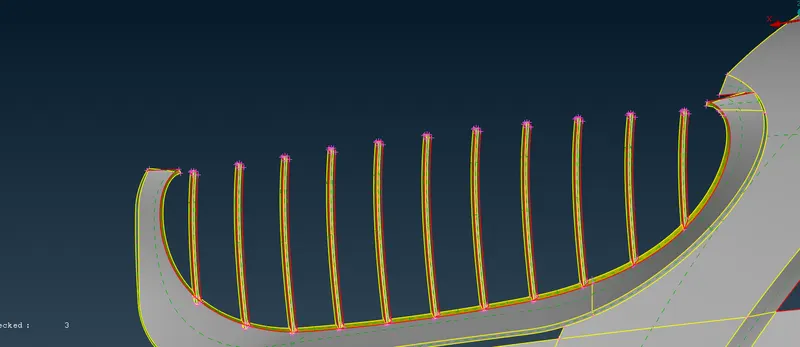
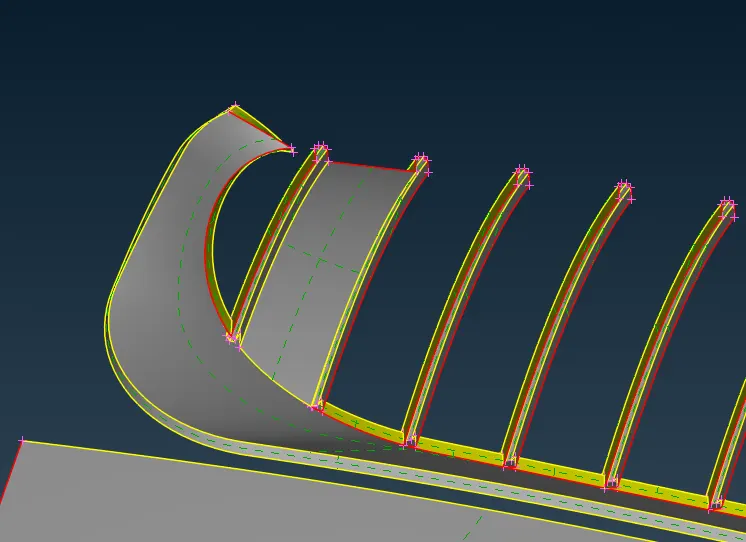
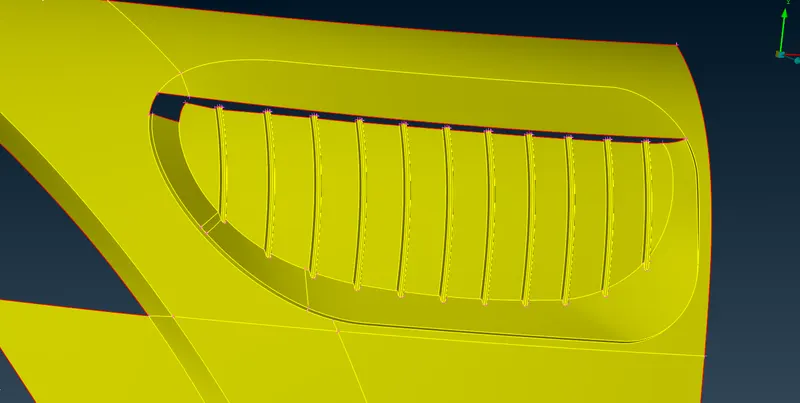
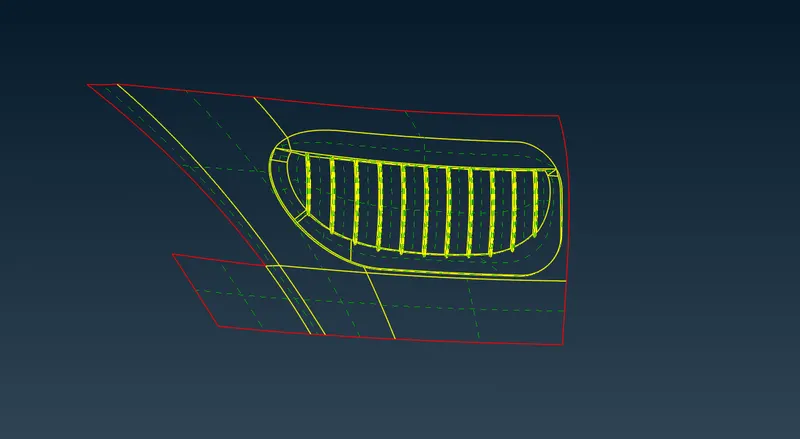
13.now one by one we remove triple cons from isolating required area.
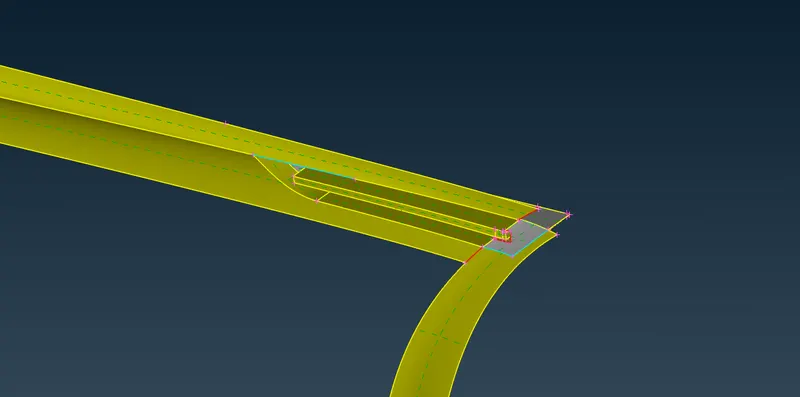
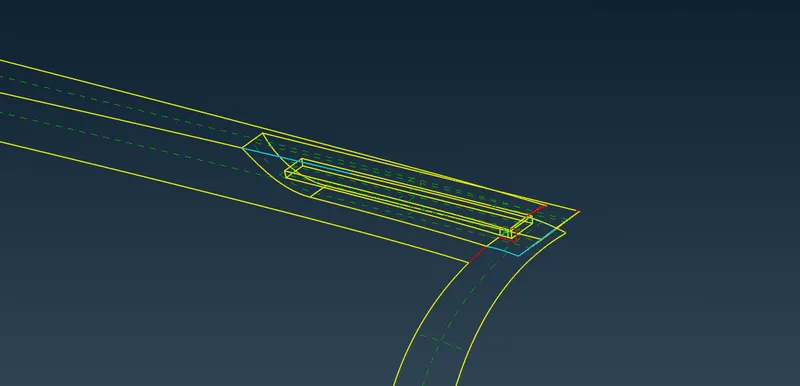
14.At tyer region we doing same as other location we are doing remove triple con and overlapped surface .avoid smaller surface which is cause to element fail. By right click from cut option we can see cut is remove.
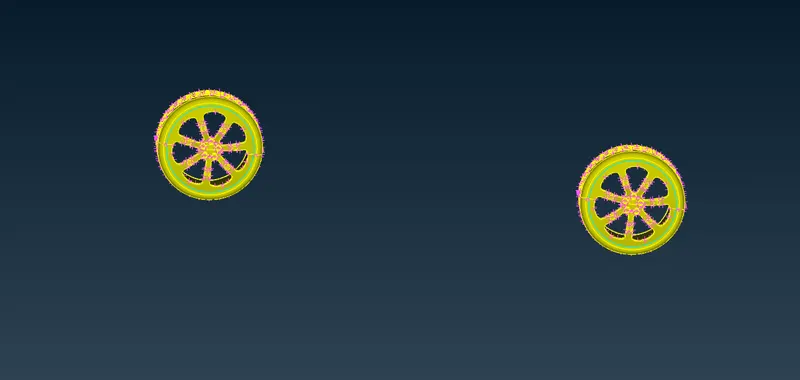
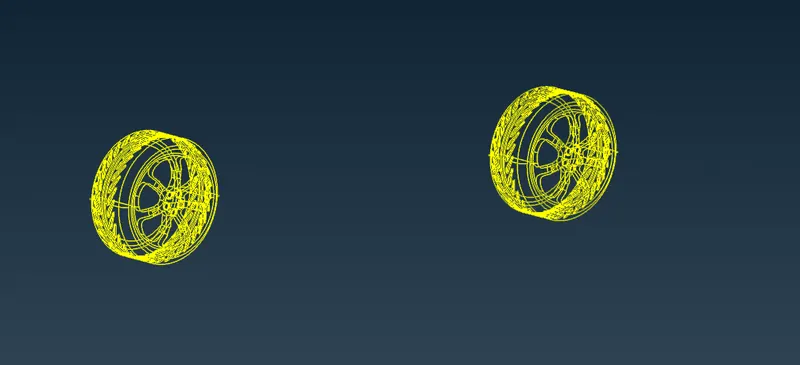
15.Now going to rear region we have to do some changes in order to remove concave cure from geometry
16.Now most tricky part is below at the lower of car, examine what to do at this region. Delete some surface but before deleting for reference purpose hit curve and mark the curve on required area which we are going to delete .
17.After creating new surface bottom part is now free from single con and triple co. We get clear volume which is also free from unwanted intersecting surfaces
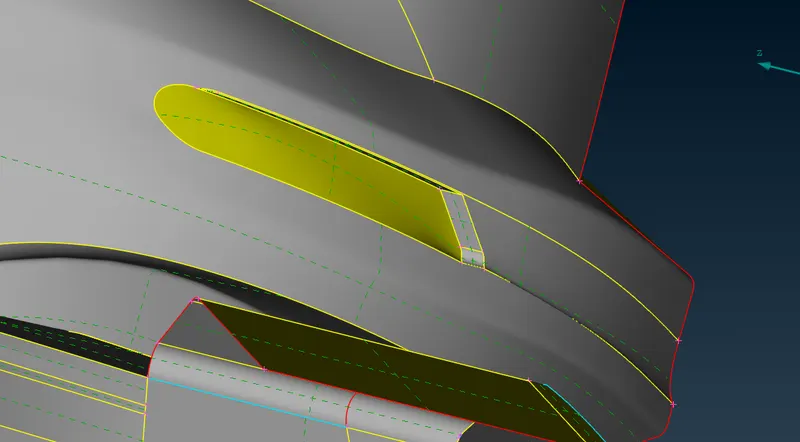
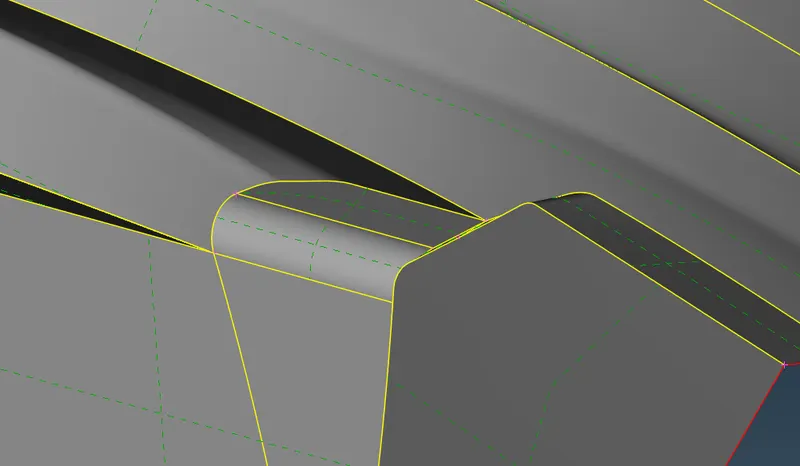
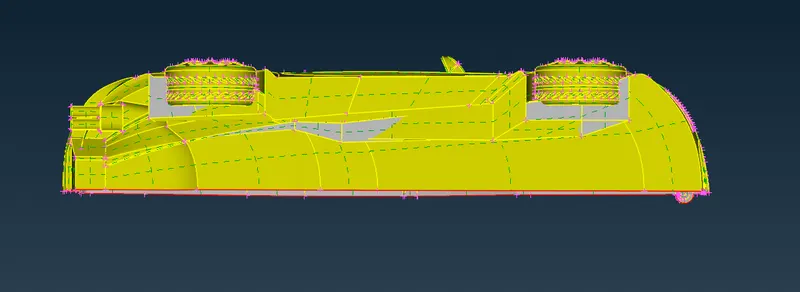
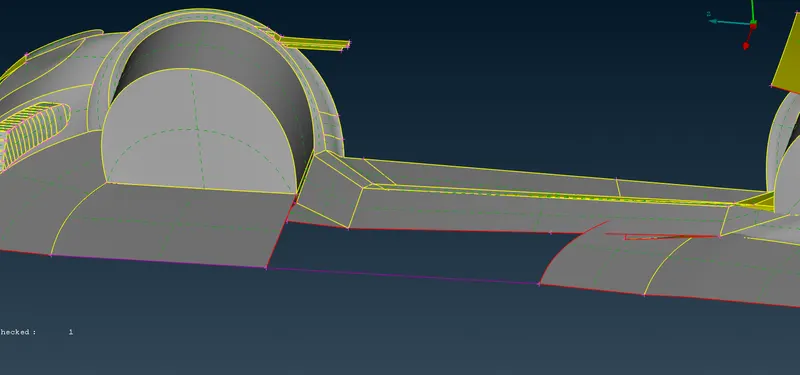
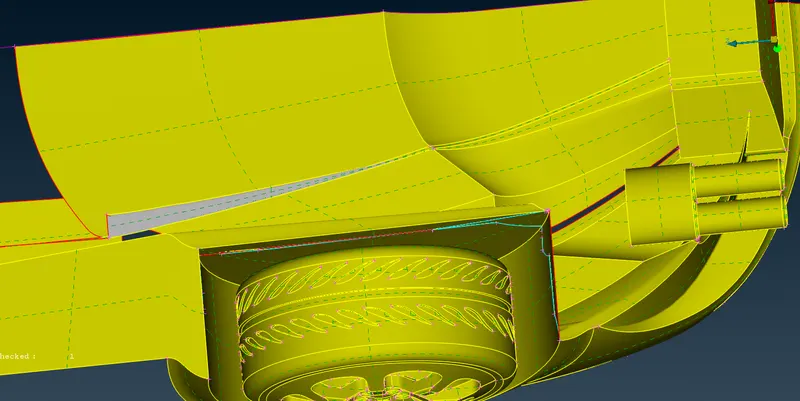
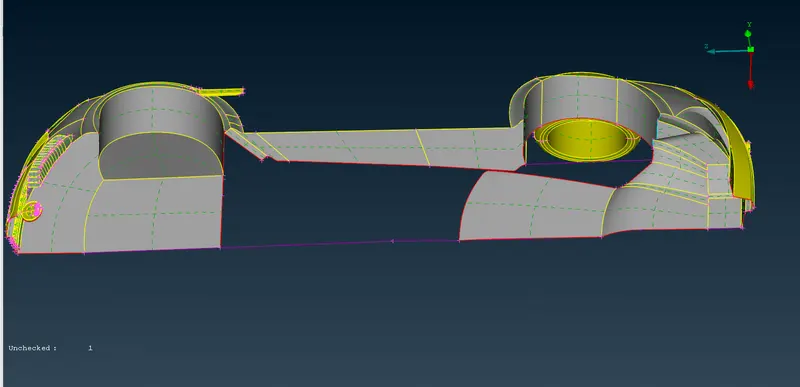
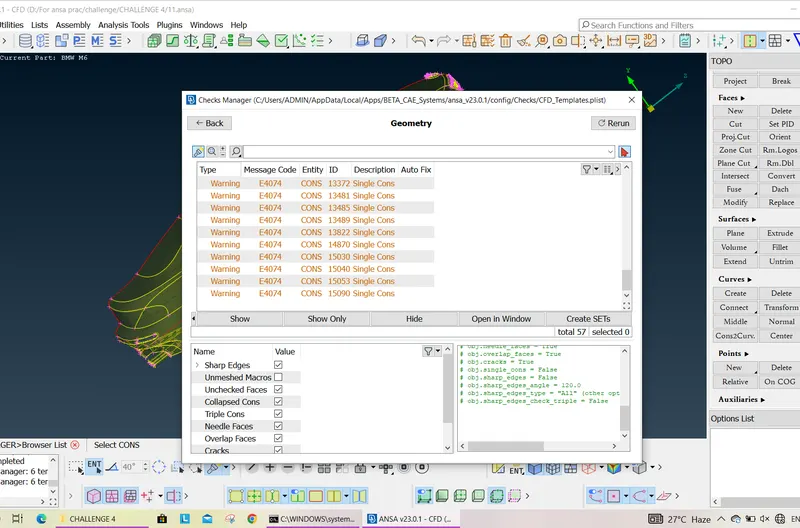
18.Now go to geometry checks and check single cons, triple cons and other parameters, single cons and acceptable where we are going to mirror
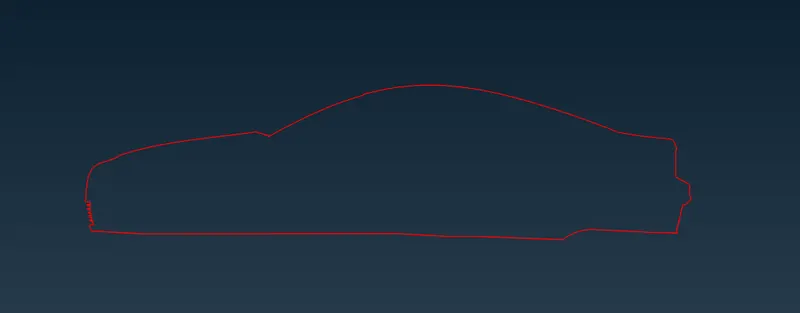
19.Now assign PID for various region as shown in below
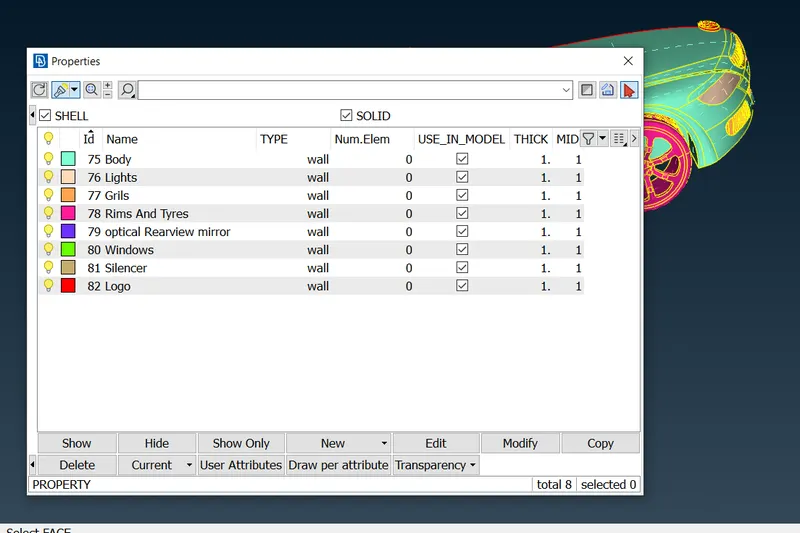
By applying mesh ,quality criteria for assigned PID as follows
Body - 3 mm
Lights - 4 mm
Grills - 1 mm
Rims and Tyers - 2 mm
Optical Rear view mirror - 2 mm
Window - 2 mm
Silencer - 3 mm
Logo - 1 mm
Give this length to parts and by doing algorithm we get mesh over surface.
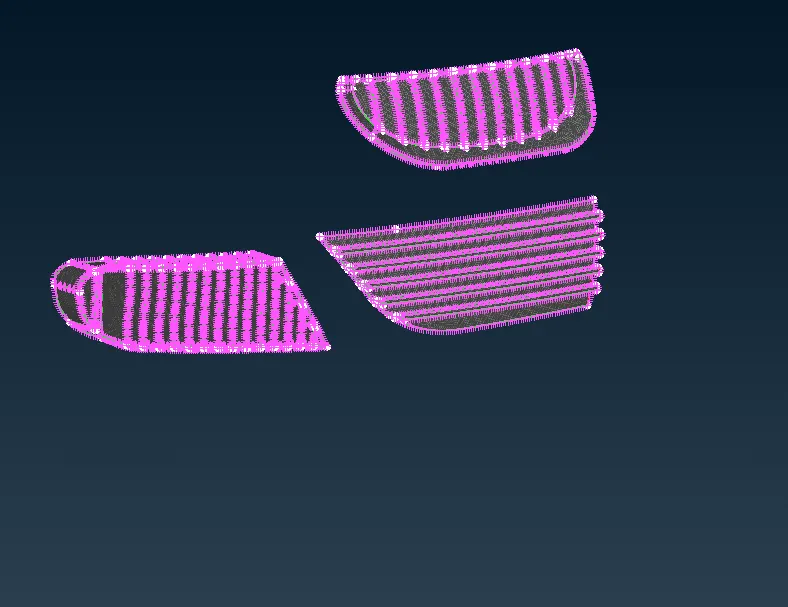
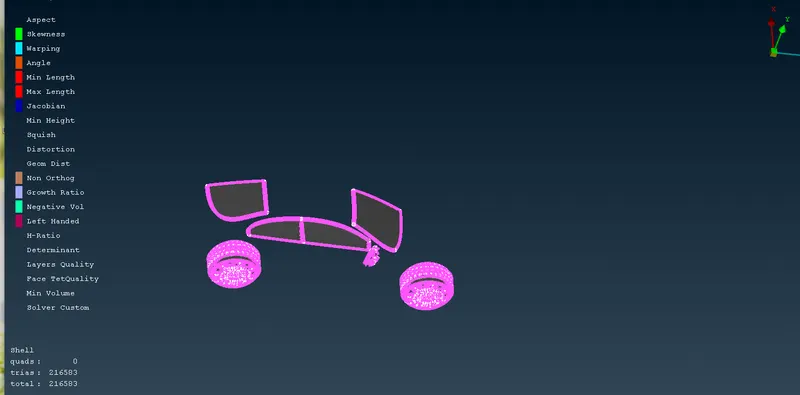
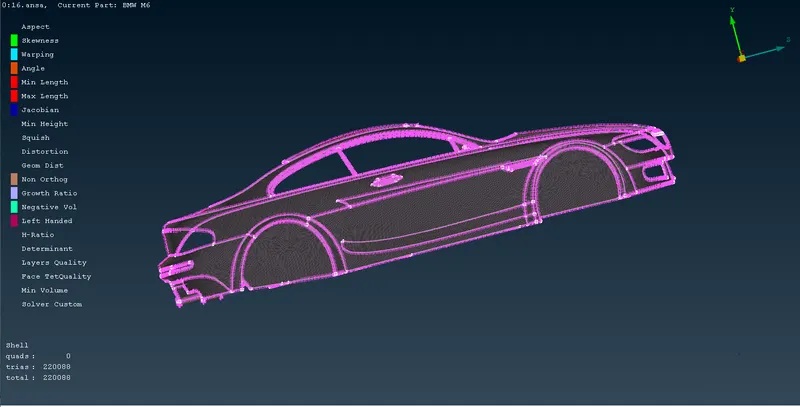
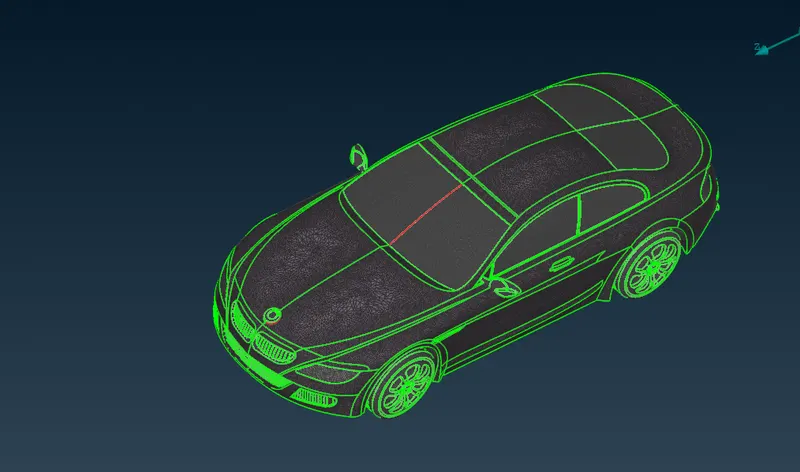
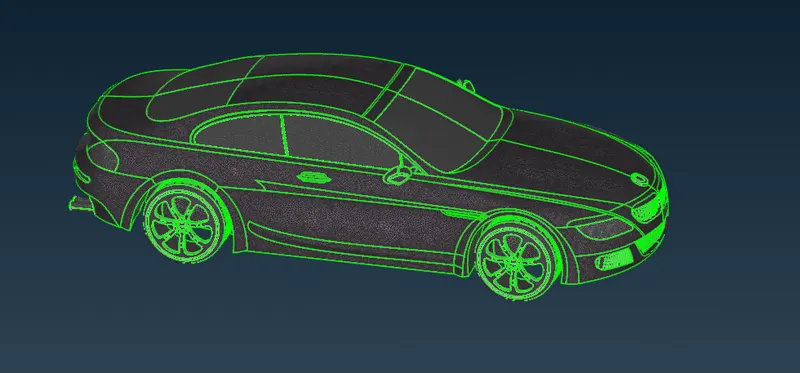
20. Now we have to mirror half portion of car ,for that go to transpose click copy click 3 point by applying we get mesh half portion at another side .
21.Now create wind tunnel foe that go topo mode go to relative and create point from bottom of car on some distance .for front side there is 4x distance, rear 6x, top 3x . X is nothing but car overall length
22.In same manner create more point for bottom surface .using new we get bottom surface
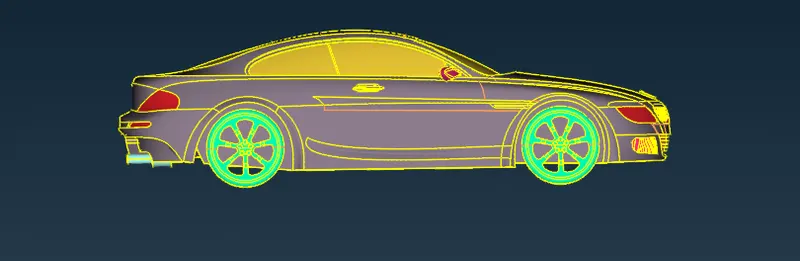
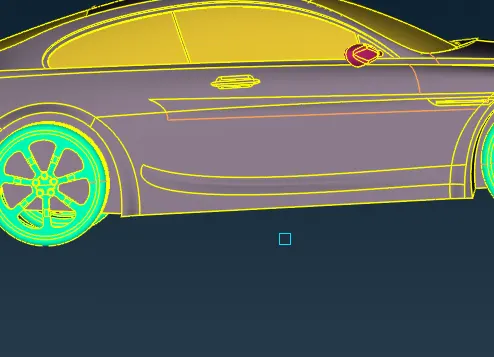
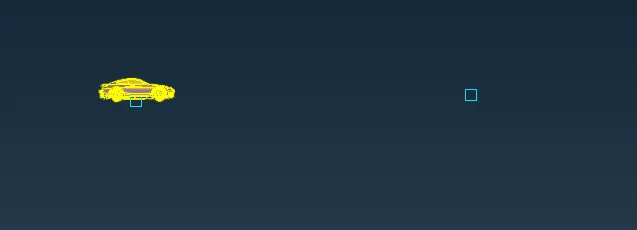

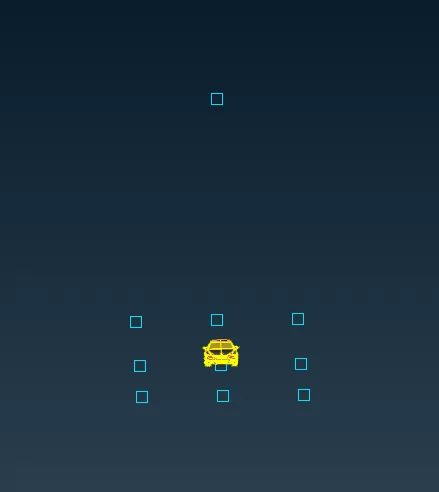
23.Press offset to get top surface. Now press new and create front rear and side surface.
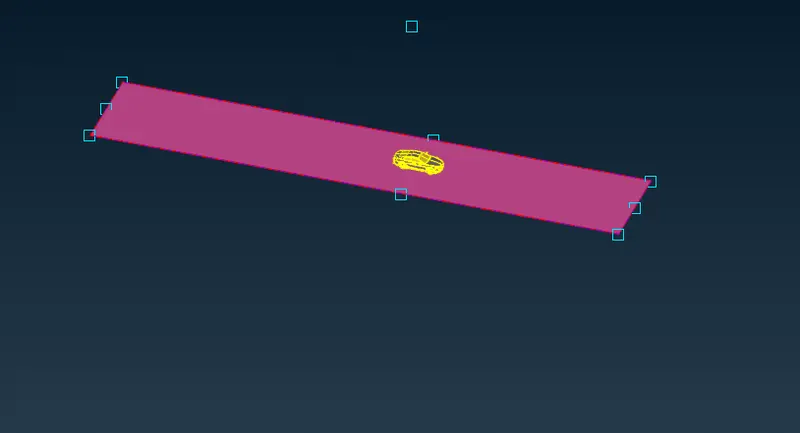
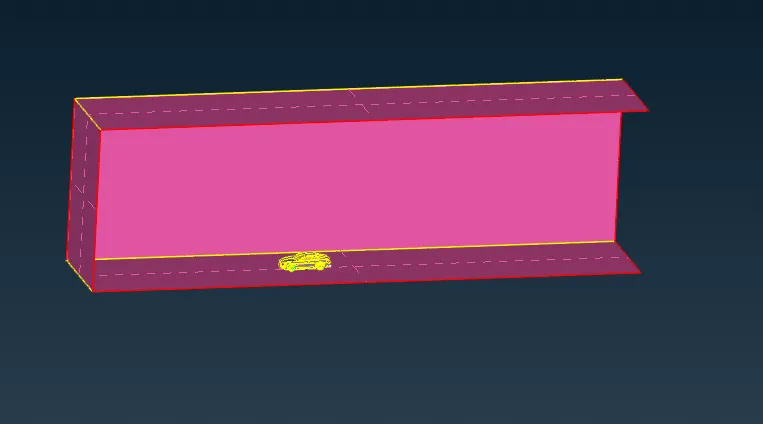
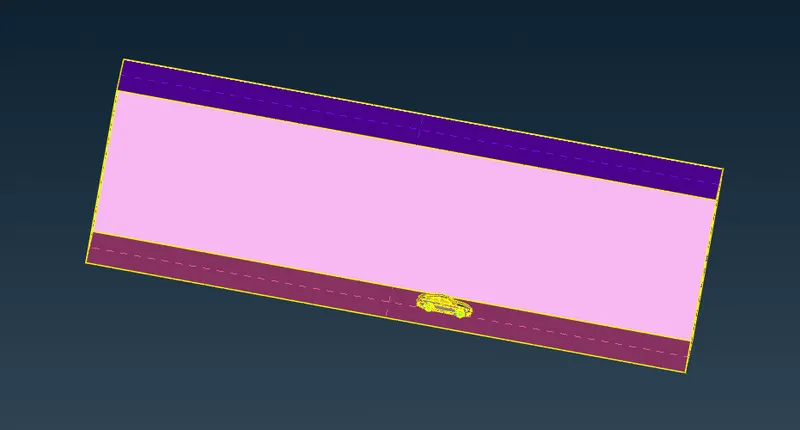
24.Now assign PID for those surface
25.Give 20 mesh length for bottom surface 100mm for top surface.
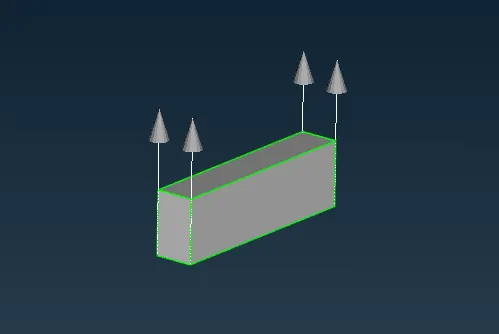
And we required variable length at side walls ,for that in parameter use spacing option give start as 20 and end at 100 ratio will be1:1
26.Now mesh this surface one by one
27.We get surface mesh
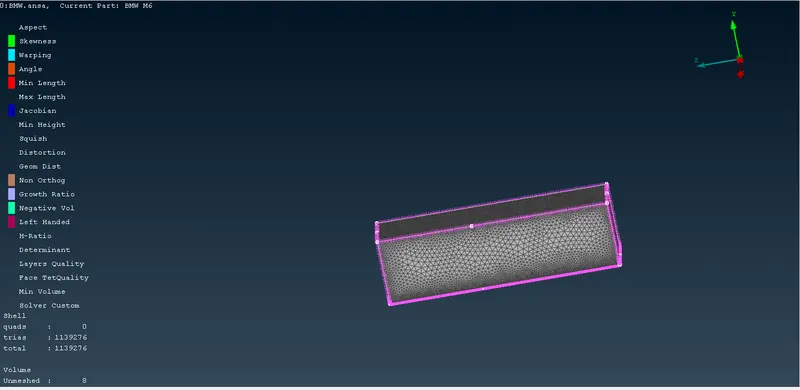
what I learn from this challenge
1.import of model
2.patch the surface
3.assign PID for diffrent region
4.set mesh parameter
5.set quality criteria
6.deploy mesh
7.various isolating options
8.hidde options
9.topo clean-up
10.surfacemesh
11.intersect
12.windtunnel
13.varialble meshlength
12.volume mesh
note: facing some issue to attach the .ansa file please refer below drive link
https://drive.google.com/file/d/1hd5kIYA6VxcLh7breJ-H5ZKuKG94HRob/view?usp=drivesdk