Project 1 : CFD Meshing for Tesla Cyber Truck
Aim :-
For the given model, check and solve all geometrical errors and Assign appropriate PIDs. Perform meshing with the suitable Target length and element Quality criteria.
Target lengths for the different parts of a model can be decided by your own. Finer mesh will give good results and will compromise with the longer processing time.
Procedure :-
1.import the model by going through file-open-.ansa file
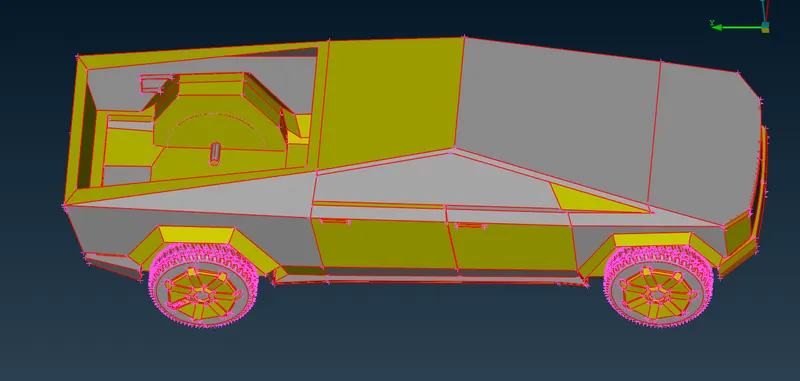
2.now we observe that all cones are red in colour so we have to doing topo here and red con turn into yellow that is double cons, and we also noticed that there are still some single cons are remain which mean there are some open surface present which are to be patch by using new surface option
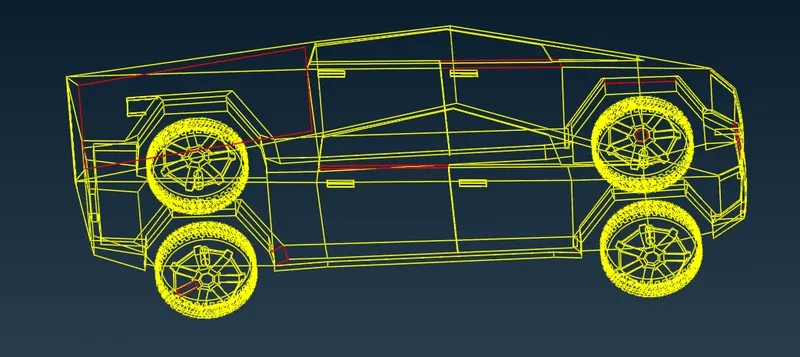
3.patch all missing surface by using new fitted option
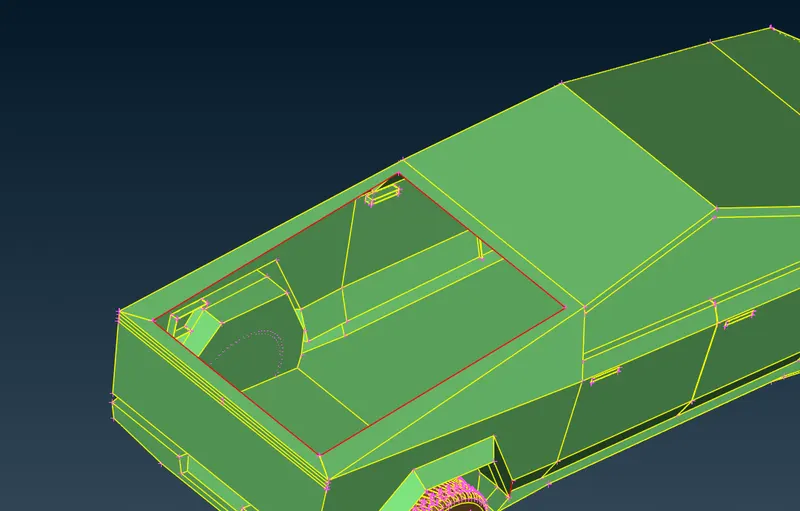
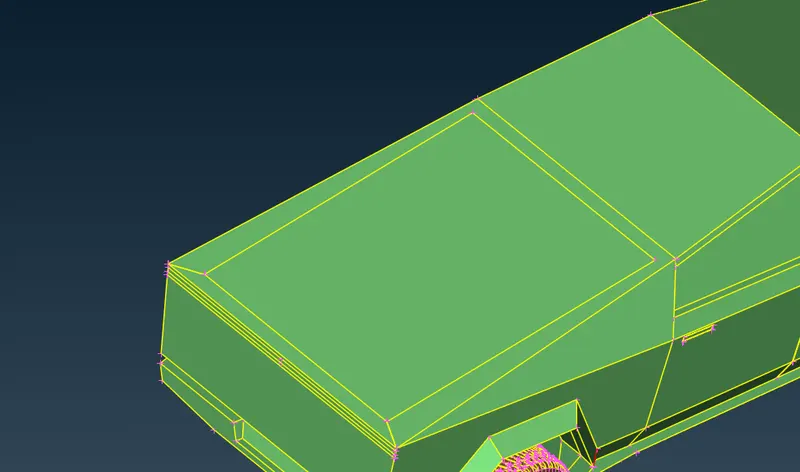
4.also avoid smaller surface which is cause to failure of element at the time of surface meshing
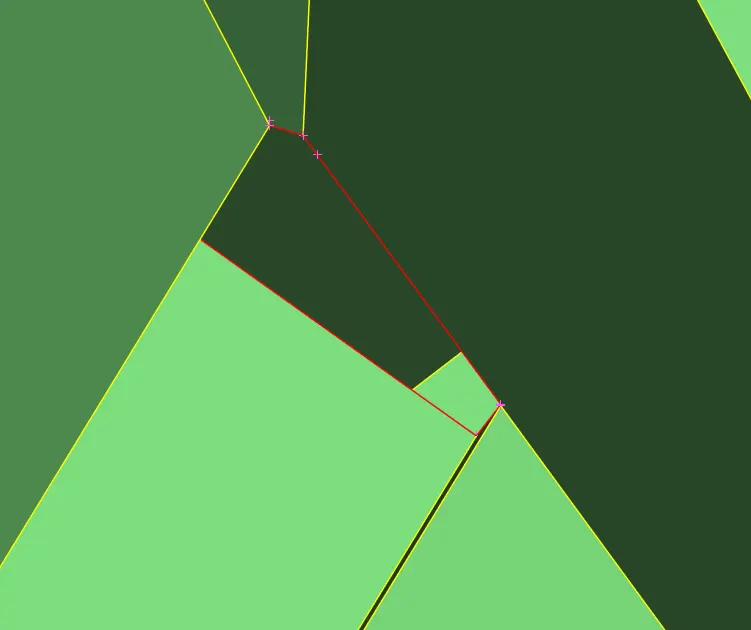
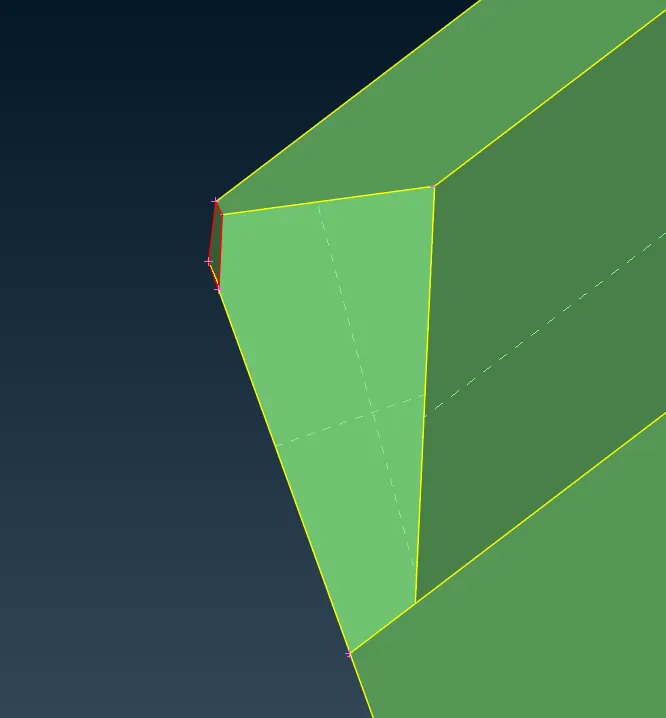
5.by using extend, project, intersect do geometry clean-up on region which is required
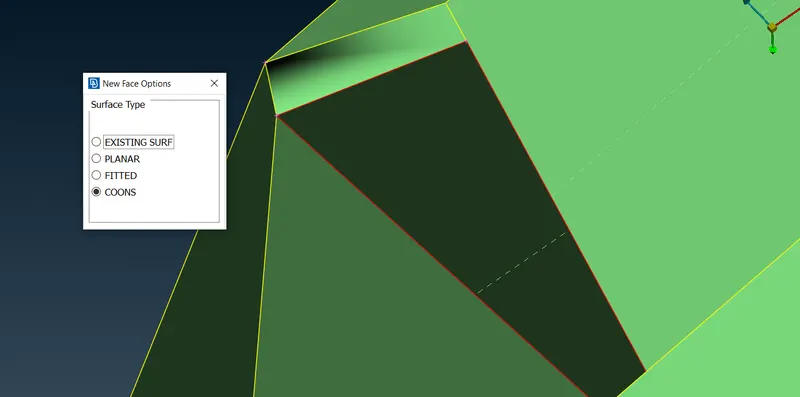
6.by run geometry checks we are identify the errors which are present at the surface.
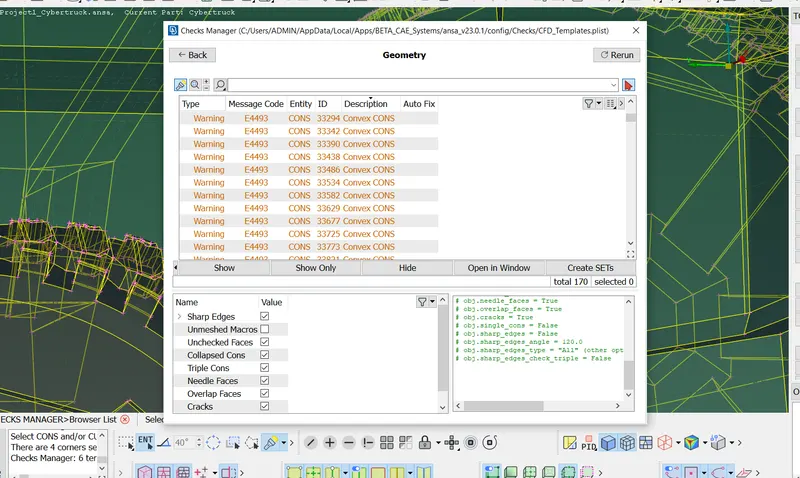
7.assign PID for region that is Windows, Body, Lights, Tyres.
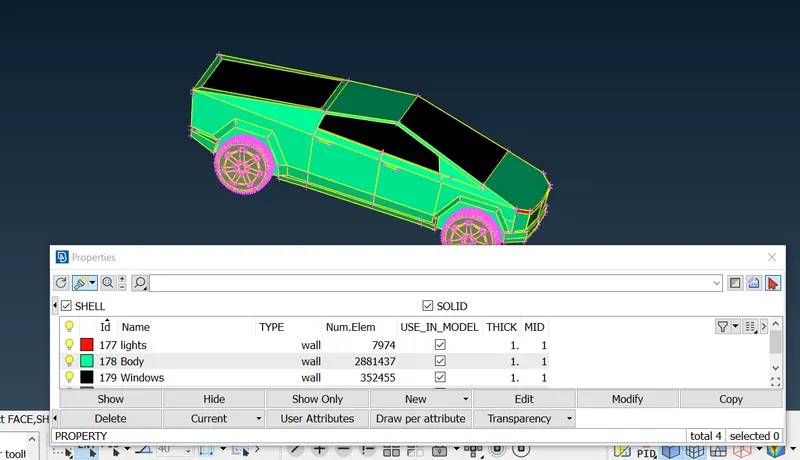
8.now isolate PID one by one and look any geometry errors detect .
9.overlapped surface we have solve by deleting unnecessary surface.
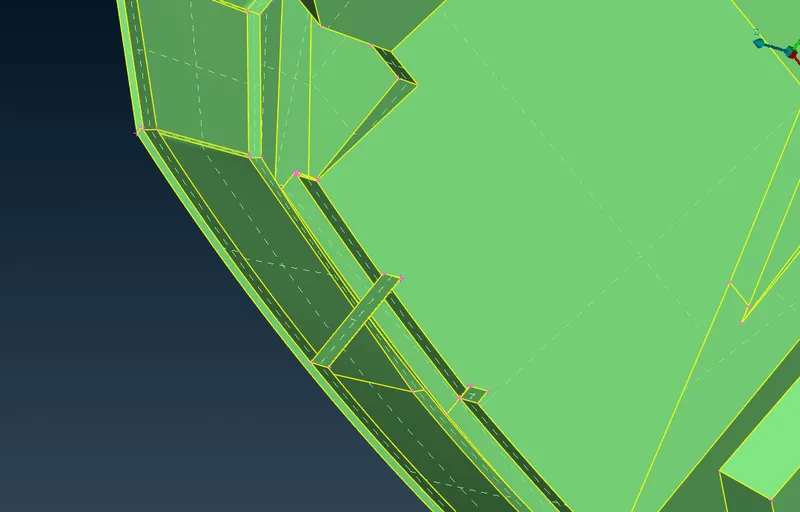
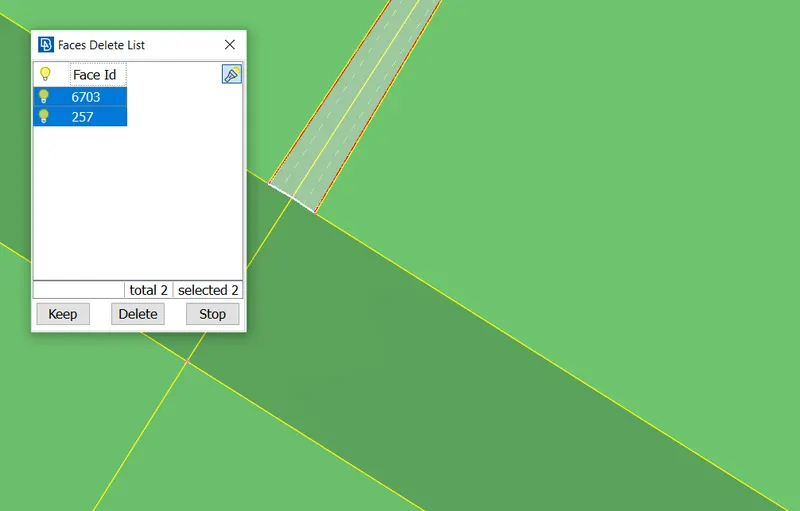
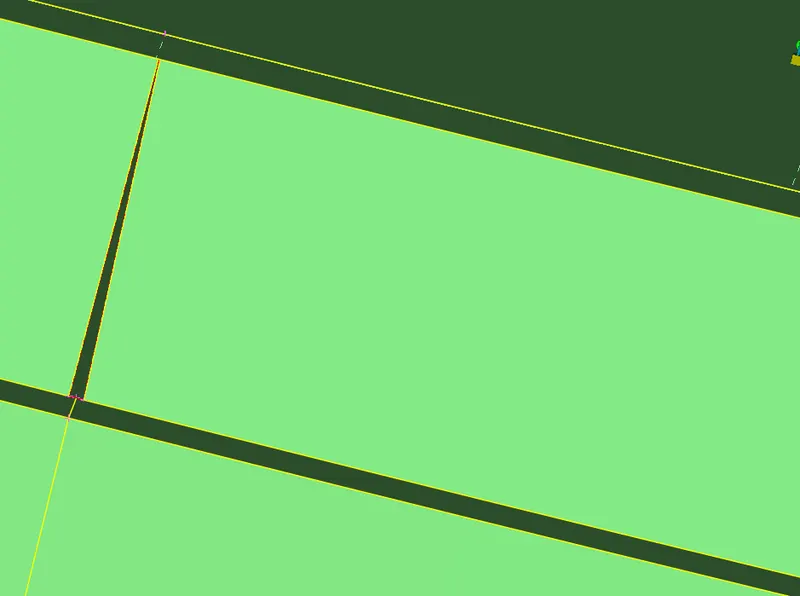
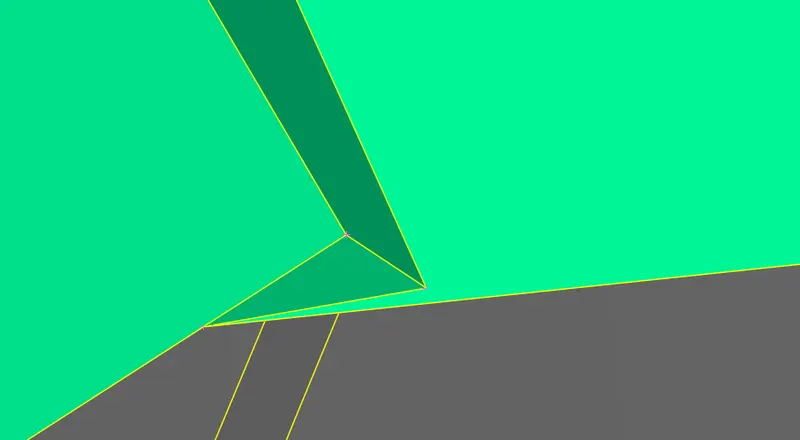
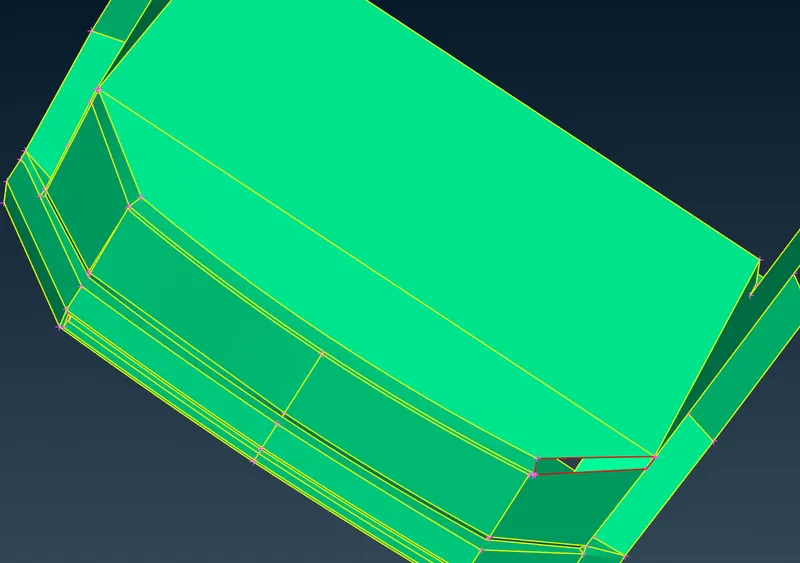
10.now have look entire model we left any small surface .and decide the mesh length for PID which we assigned earlier.
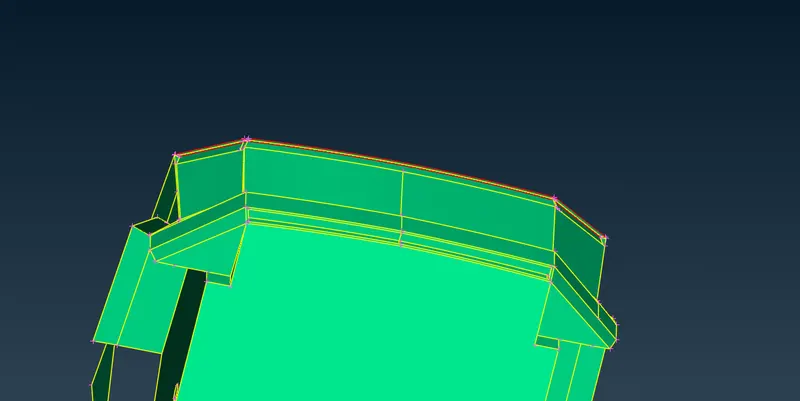
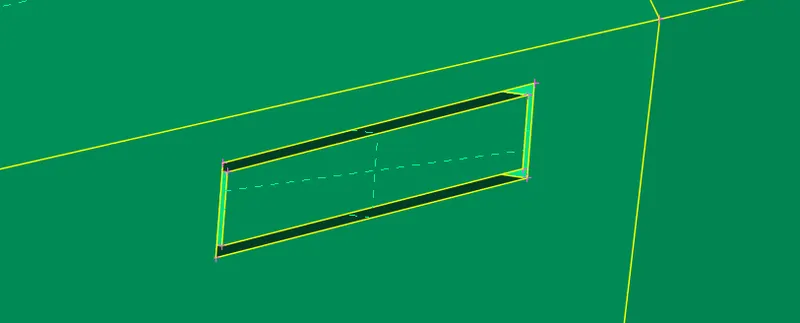
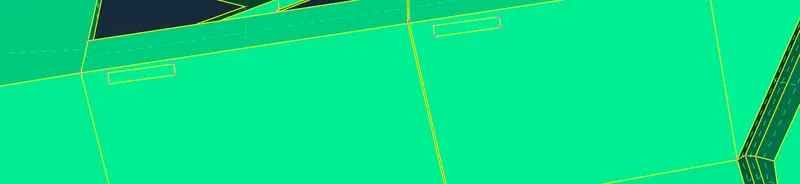
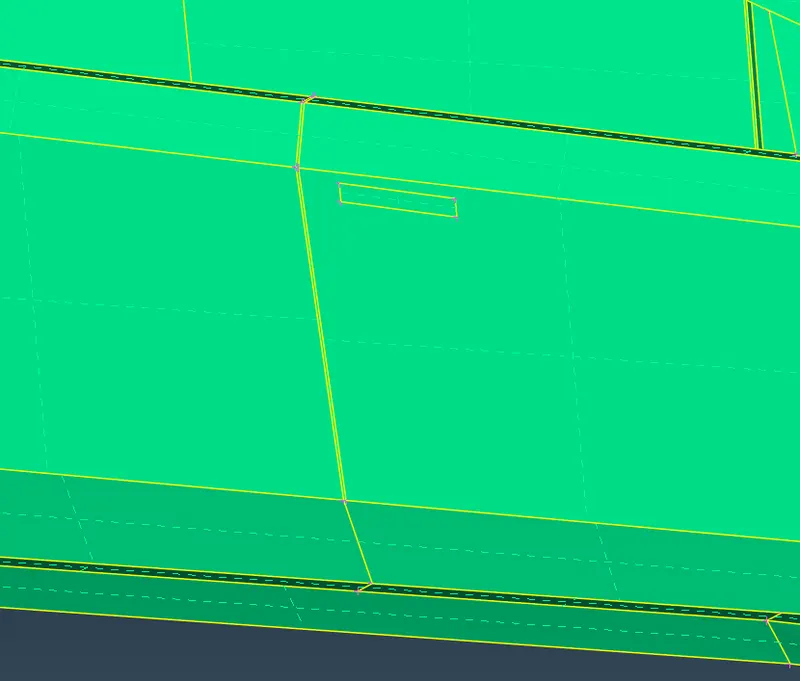
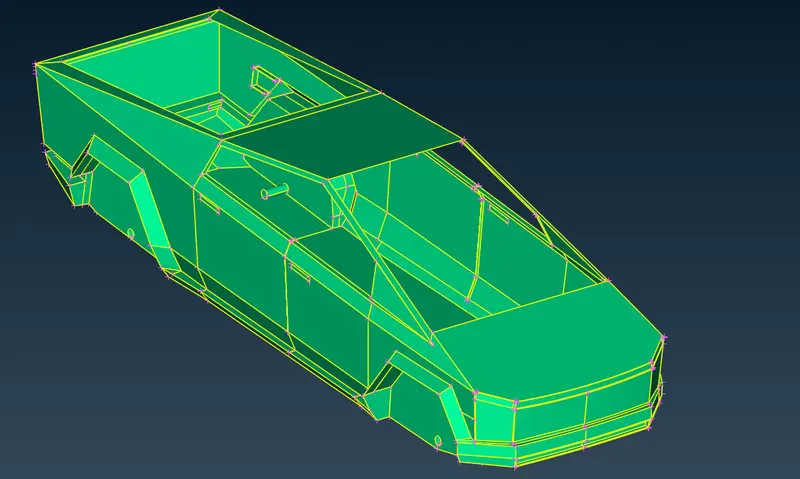
11.now start surface mesh over model by deciding mesh length
Body =5mm
Windows =7mm
Lights =7mm
Tyres =2mm
12.we got surface mesh over the model by using mesh algorithms
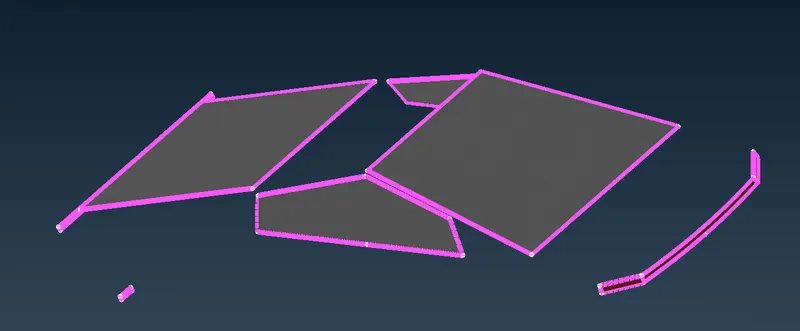
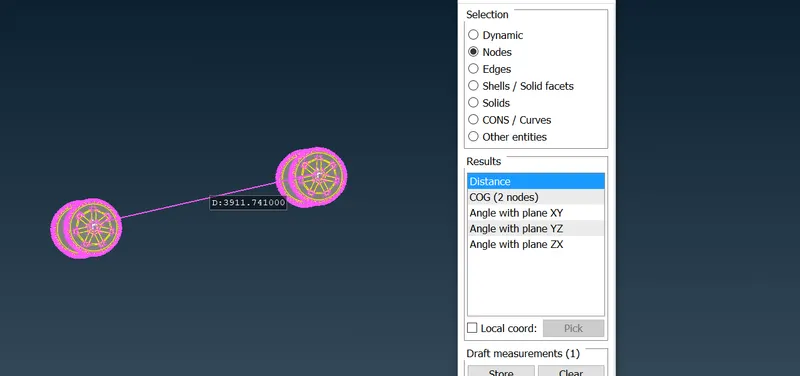
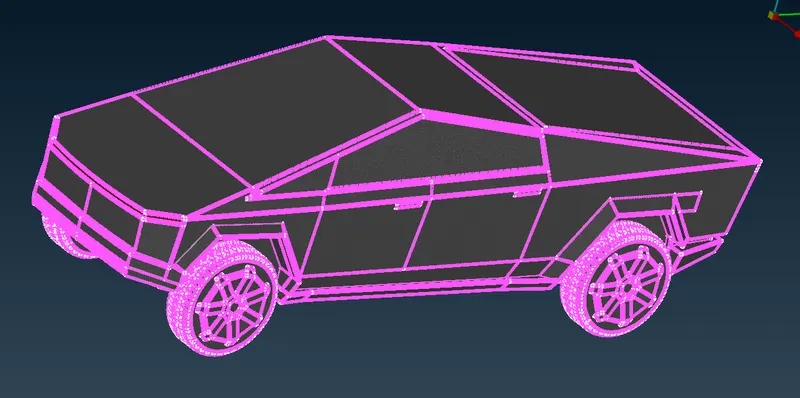
13.now create wind tunnel for that we have to create points by hitting point option and from that relative option create point at the bottom of the car at some distance which as larger from car base and 4x from front of the car and 6x rear of the car
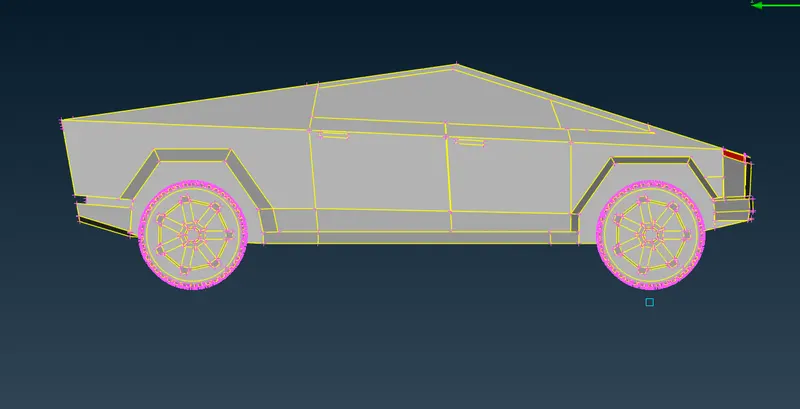
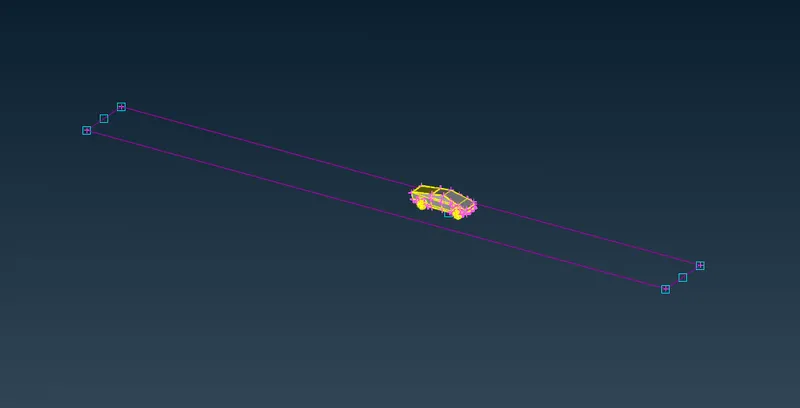
14.3x from top of the car. And x from side respectively .
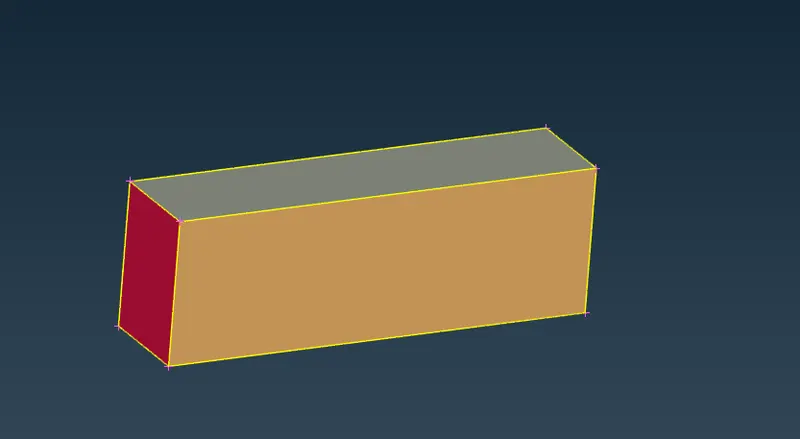
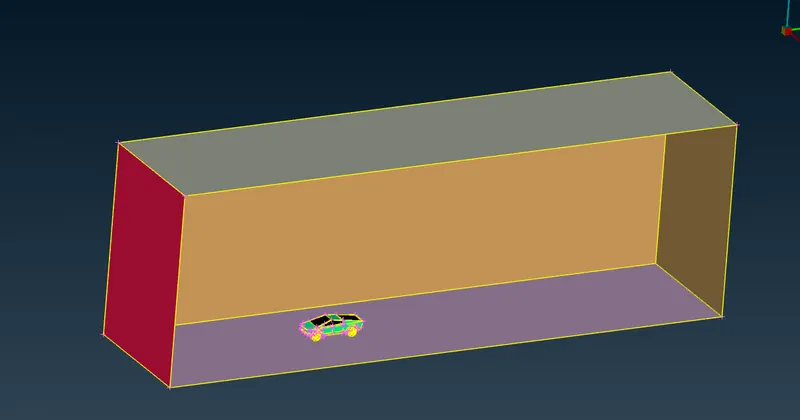
15.now by using curve option make outer surface by the goal of creating new surface at the bottom of the car. Now create new surface and offset it at the top.
16.simultenuosly create side surface
18.now we have to mesh this wind tunnel by using appropriate mesh length for top there is 500mm and for the bottom 100mm. At the side we are going to use variable mesh length
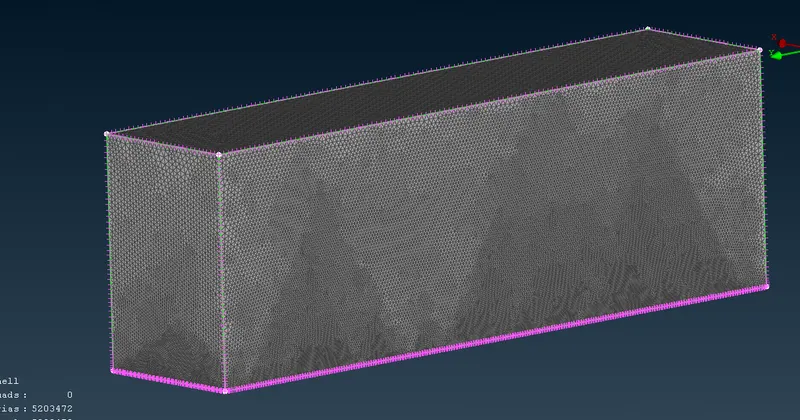
19.by using spacing option give min as 100 and max as 500 .
And mesh the reaming surface
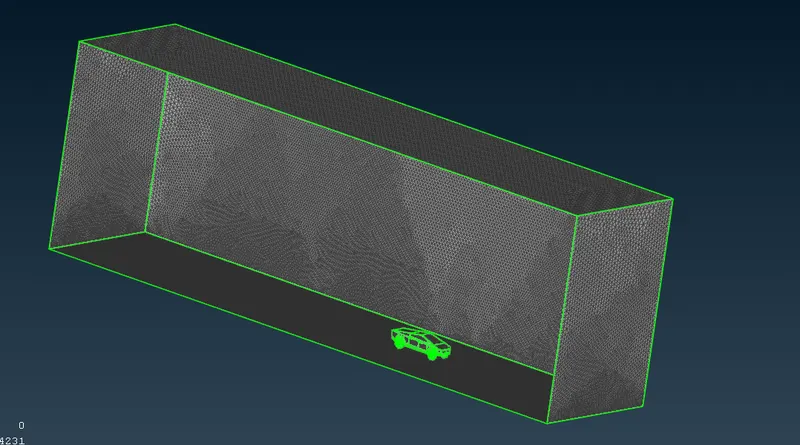
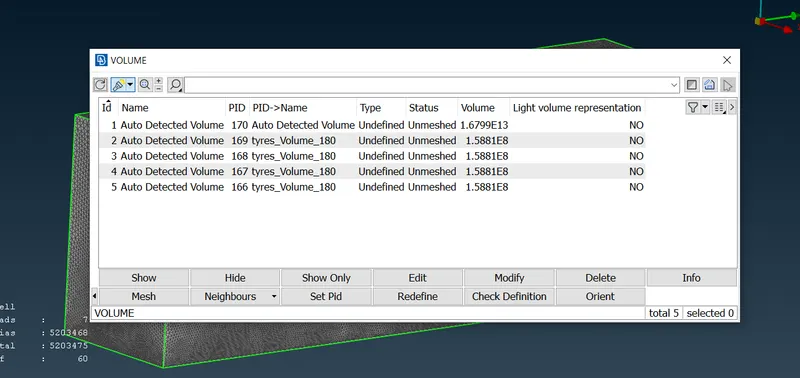
20.now go to volume mesh by using define and delete unnecessary volume.
what I learn from this challenge
1.import of model
2.patch the surface
3.assign PID for diffrent region
4.set mesh parameter
5.set quality criteria
6.deploy mesh
7.various isolating options
8.hidde options
9.topo clean-up
10.surfacemesh
11.intersect
12.windtunnel
13.varialble meshlength
12.volume mesh
https://drive.google.com/file/d/1zVhDGkU_74U9v41kreN_-lKc-mUsfOa7/view?usp=drivesdk