Week 4 Challenge : CFD Meshing for BMW car
AIM:- CFD Meshing for BMW car.
OBJECTIVE:-
- Check and Solve geometrical errors on half portion of the model.
- Create and assign appropriate PIDs.
- Perform surface meshing in the target lengths as mentioned below in the element type as tria.
- Body - 3 mm
- Lights - 4 mm
- Grills - 1 mm
- Rims and Tyres - 2 mm
- Optical Rear view mirror - 2 mm
- Window - 2 mm
- Silencer - 3 mm
- Logo - 1 mm
- Perform symmetry.
- Create and perform surface meshing on wind tunnel.
- Perform volumetric meshing on wind tunnel with element type as tetra.
PROCEDURE:-
- We run ANSA v23.0.0 software in our system.
- Next, we load BMW M6 model in ANSA by the following options File>Open>Challenge4_BMW M6.
- Then, we fix the surface lines/areas by using the Fine tool from the auxilliaries section under topo deck or by giving a target length by selecting the whole model by selecting the length option under perimeters section under mesh deck and then assigning perimeters and macros as 1 mm.
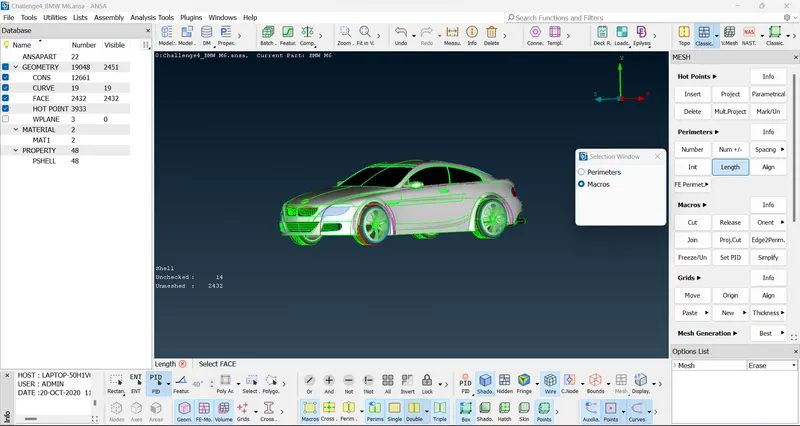
- Next, we delete the half portion of the model by using the delete option from the main menu.
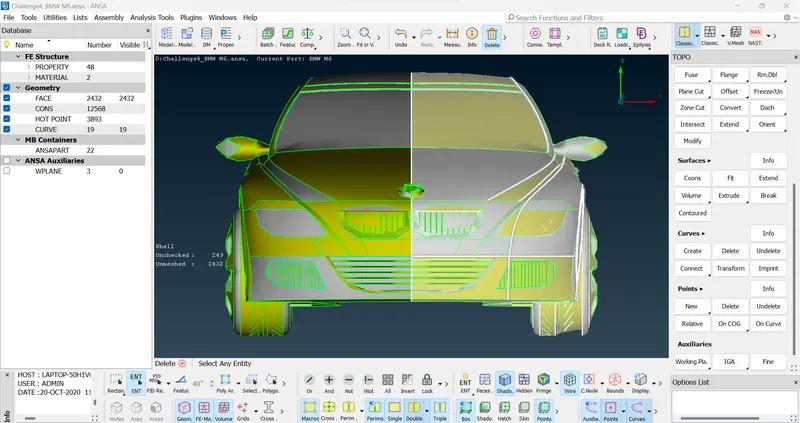
- After deleting we have to perform topology cleanup on the half portion of the model for clearing all the single and triple cons.
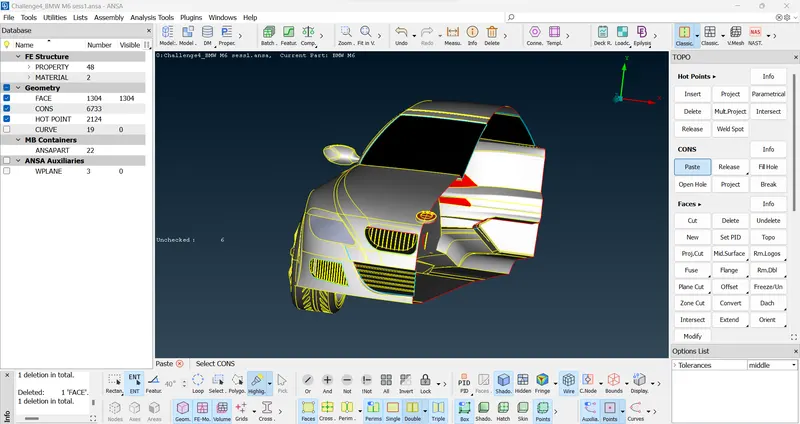
- For cleaning topology we use various tools such as cut tool, new tool, Proj. cut tool for creating perpendicular cuts, extend tool, topo tool under faces section under topo deck and paste, release,project options under cons section under topo deck and delete option under menu section by isolating the appropriate parts as convenient and then removing single and triple cons , creating and deleting new surface and also creating and deleting cuts for proper surface meshing. Few images are attached for reference.
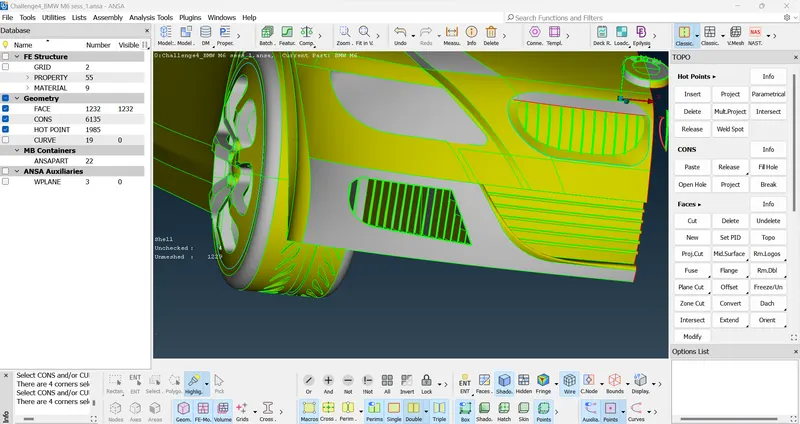
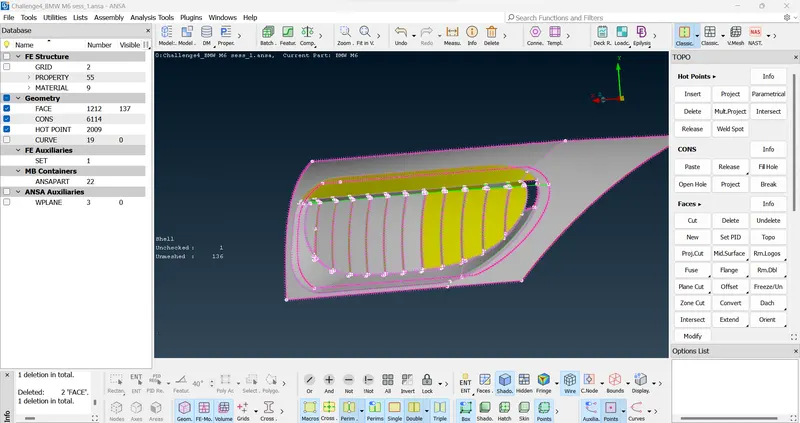
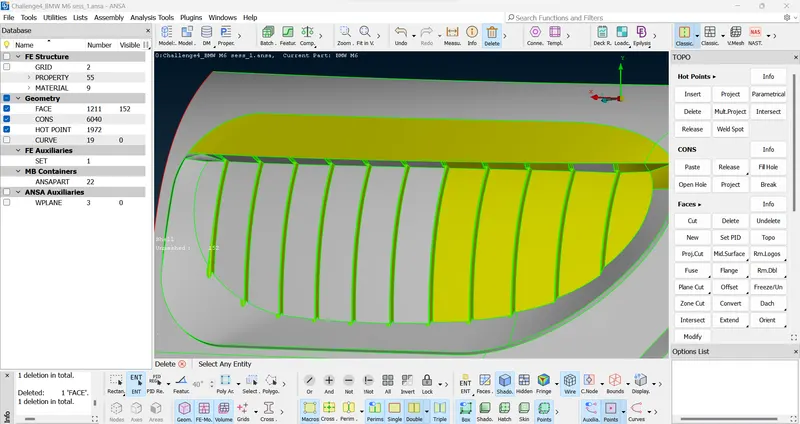
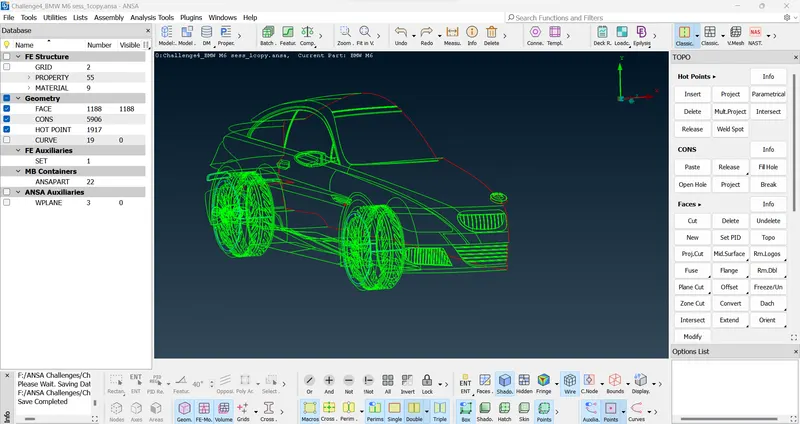
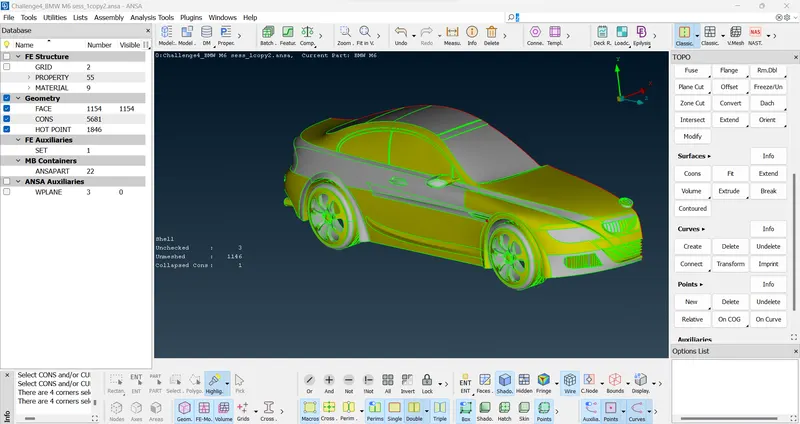
- In this following ways topology cleanup is performed. Then we check for geometrical errors by selecting the option checks>geometry and then check for errors. No errors were found except the single cons of the half portion.
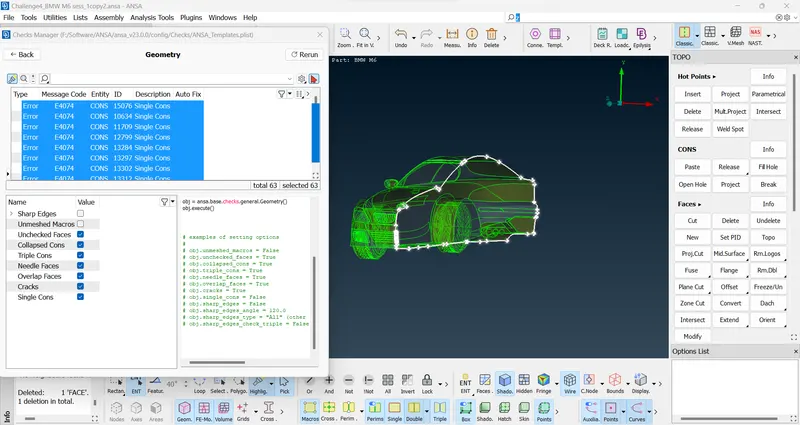
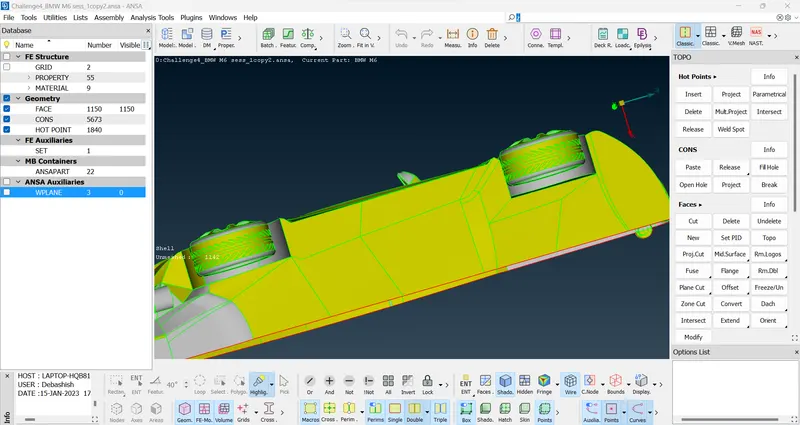
- Next, we find there are extra unwanted surfaces near the tyres so we fix then by deleting the unwanted surface and then creating surfaces as approriate to our model.
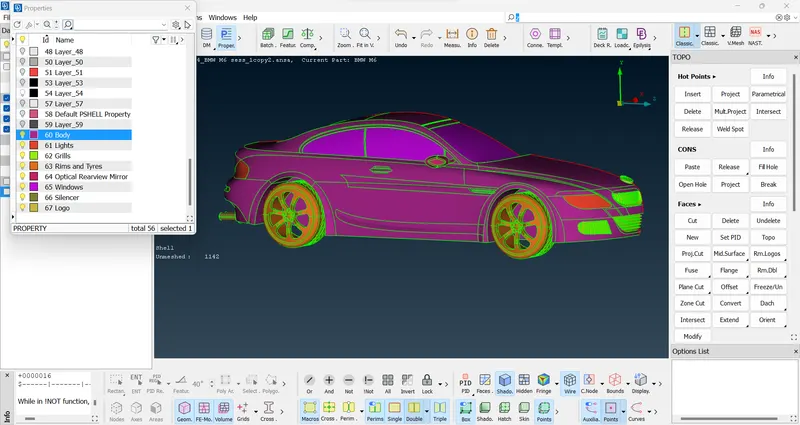
- Next we create appropriate PIDs and assign them appropraiately by going onto the PID manager.
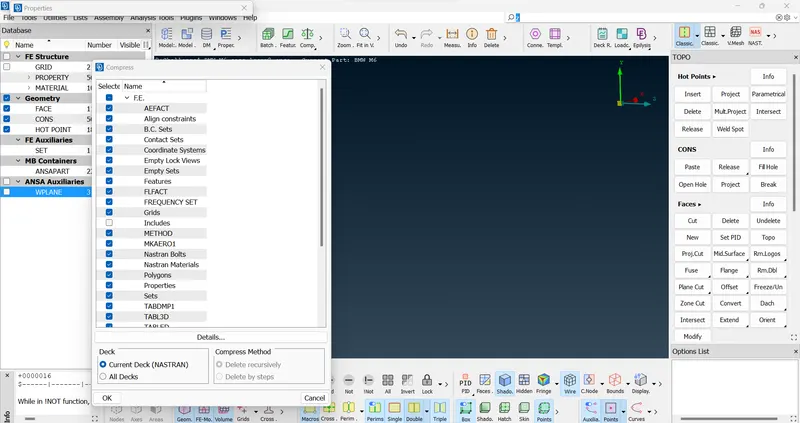
- After assigning PIDs appropriately, we compress the unwanted PIDs.
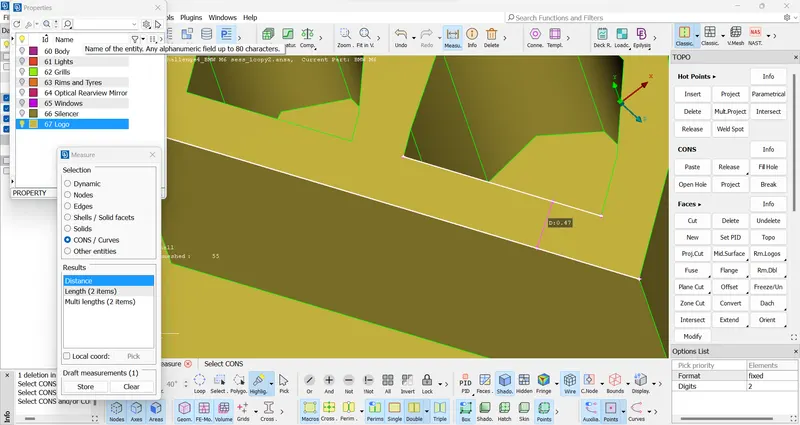
- Next, we check for distances between the cons of different PIDs to match our target lengths by using the measuring tool under menu bar and then deleting the inappropriate cons by using the cut option under faces ssection under topo deck and using the right mouse button for deleting and also creating creating new cuts as suitable as because some curve surfaces requires cons for to assume it as a curve and it helps in proper meshing. We do it very precisely on different PIDs as necessary.
- After that we perform meshing on different PIDs bt going onto the Mesh deck and using the appropriate target lengths by assigning quality parameters and mesh paramaters as tria element and target length as required and then giving the target lengths and then meshing it by using the Spot mesh option under Mesh Generation section. We find lot of off elements, we fix it by using the tools such as reconstruct, reshape, smooth and fix quality under improve section under shell mesh section.
- Surface meshing performed on half portion of the model with no off elements and element type as tria. We also check for target lengths by using measuring tool and distances between nodes of different PIDs.
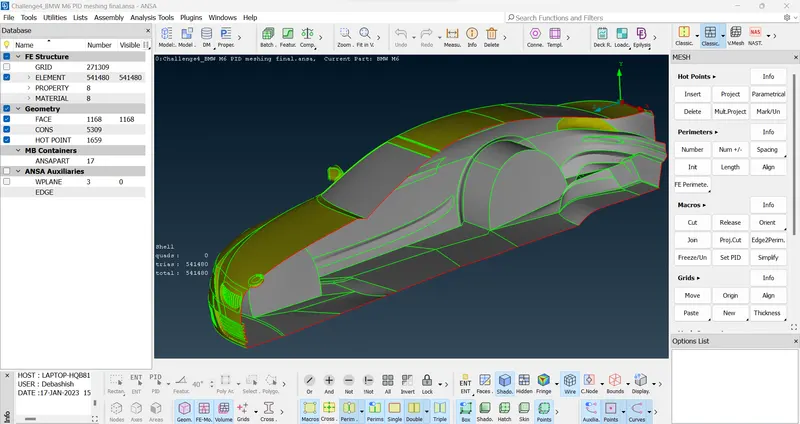
- Next, we perform symmetry on the model to bring the other portion of the model. We do it by going onto the transform>copy option and then selecting the appropriate entity and then selecting Symmetry>Mirror 3 points plane and then selecting three nodes for reference and then creating a symmetry.
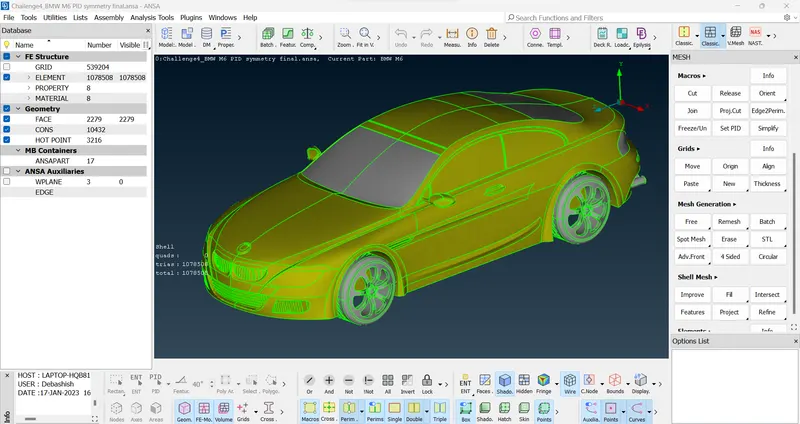
- Next, we again check for geometrical errors, we find few single cons, we fix it by using the paste option under cons section and fix it so that no errors is found.
- Next, we need to create wind tunnel for performing volumetric meshing.
- We do it by creating various points outside the model by going onto the relative option under points section under topo deck. We do it by taking references from the model such as distances of the different nodes of the model and giving points at appropriate distance along the x, y and z axis direction. After creating the points we create new curves with help of points for reference and then create a new surface at the bottom of the modelby selecting appropriate cons. After that we make another surface at the top by selecting offset option and giving appropriate distance. Then with the help of other cons we complete the wind tunnel. We then create and assign new PIDs for the wind tunnel.
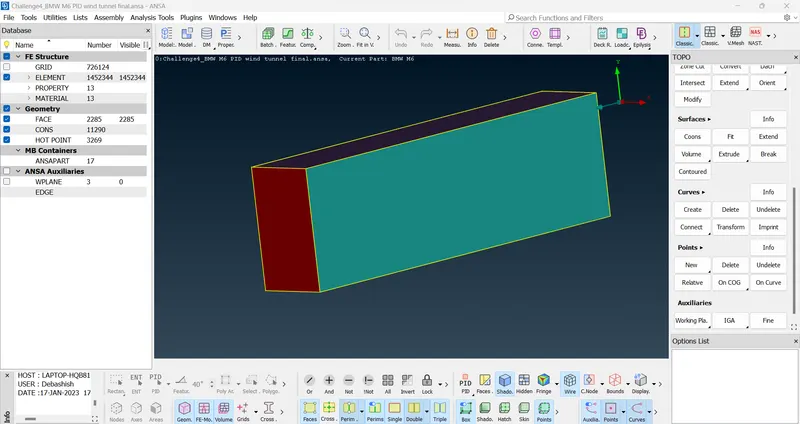
- After that we perform surface meshing on the wind tunnel by assigning appropraite mesh and quality parameters and approapriate target lengths. For top surface we assign target lengths as 100 and 20 target length for bottom surface and then meshing it by spot mesh option. For side surface we mesh it by using the Spacing option under perimeters section and then selecting geometric biasing and assigning factor as 1.1 and min length as 20 and limit length as 100 so that the mesh if fine at necessary parts and coarse in the other parts.
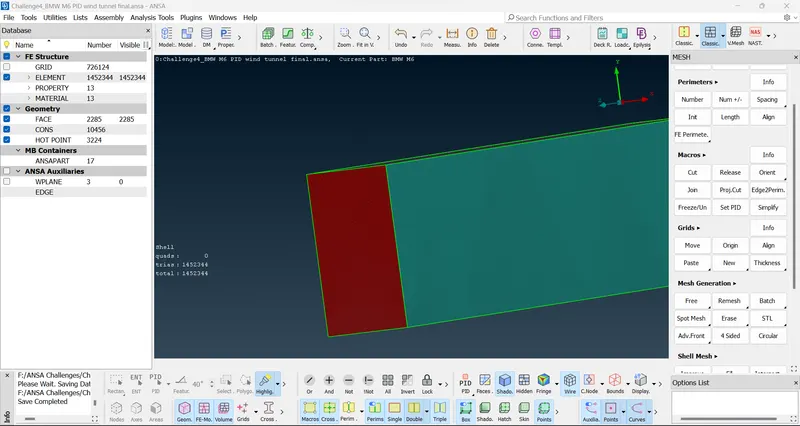
- After conmpletion of surface meshing of wind tunnel, we go onto the volumetric mesh deck for performing volumetric meshing.
- Then, We select define option under volume section to find the different volumes.
- We check for necessary volumes and delete the unnecessary volumes.
- We then mesh the volume by selecting the Tetra CFD under unstructured mesh section and then selecting the appropraite volume and then meshing it.
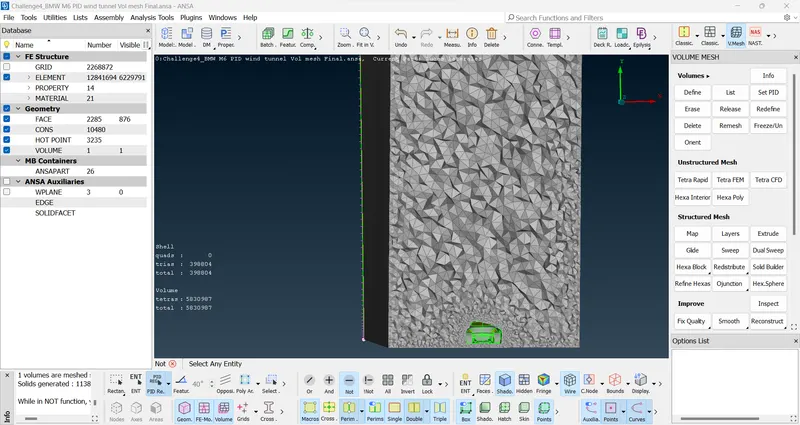
- Volumetric meshing is completed in the element type as tetra.
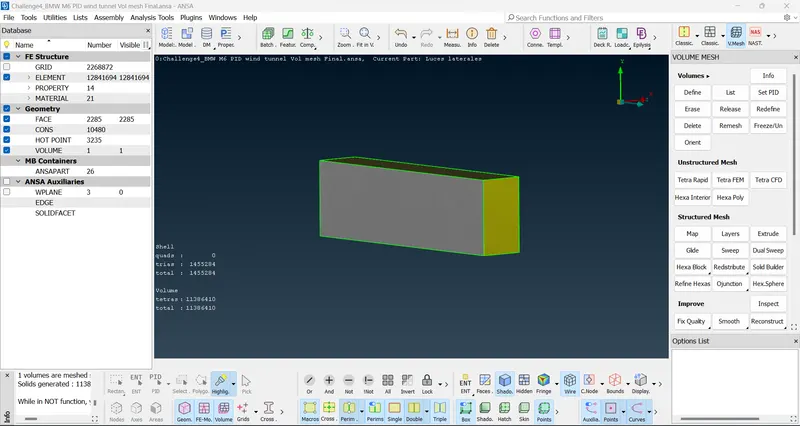
- We also check the volumetric meshing by doing a section cut in between the wind tunnel.
LEARNING OUTCOMES:-
- We learnt to perform topological cleanup in different and better ways to remove single and triple cons along with creating and deleting unnecesssary surfaces. As a result to have no geometrical errors.
- We learnt to create and assign PIDs.
- We learnt to mesh with different target lengths in the same model by slecting appropriate PIDs.
- We learnt to fix off elements after meshing.
- We learnt to perform symmetry.
- We learnt to create different points for creating a surface outside the model and to create a wind tunnel.
- We learnt to perform volumetric analysis on the external part of the model by creating wind tunnel.
RESULT:-
- Geometrical errors solved.
- Surface meshing completed on the model using appropriate target lengths and element type as tria and no off elements.
- Symmetry performed properly.
- Wind tunnel created and conmpleted surface meshing on the wind tunnel.
- Volumetric meshing performed on the wind tunnel in the element type as tetra.
CONCLUSION:-
Volumetric meshing performed and completed in the element type as tetra.
OUTPUT FILE:-
https://drive.google.com/file/d/1dihWyc_6vo1klTXjce5lz_GdPjuYLJJo/view?usp=share_link