Week 4 Challenge : CFD Meshing for BMW car
AIM: For the given model, check and solve all geometrical errors on half portion and Assign appropriate PIDs. Perform meshing with the given Target length and element Quality criteria. After meshing the half model, Do symmetry to the other side.
Given Conditions:
- Target lengths for the different parts of a model are as follow:
- Body - 3 mm
- Lights - 4 mm
- Grills - 1 mm
- Rims and Tyres - 2 mm
- Optical Rear view mirror - 2 mm
- Window - 2 mm
- Silencer - 3 mm
- Logo - 1 mm
Here, is our Given model:
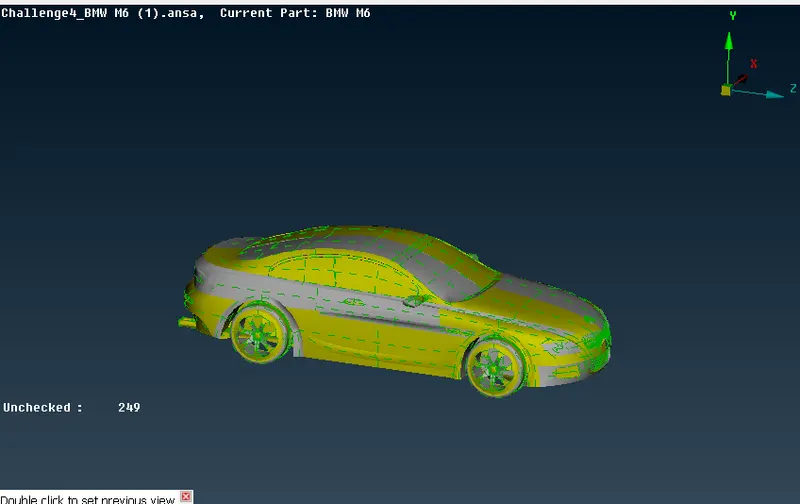
First we will Convert the Model Entity Mode to PID Region Mode.
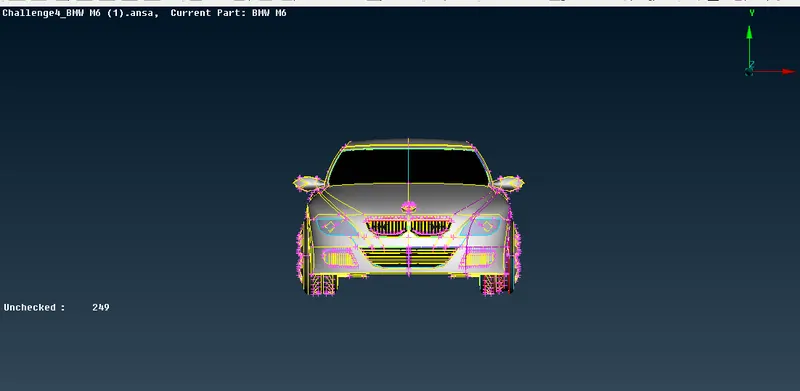
After then We will covert the all single Cons into Double Cons Then we go to Topo> Select all the Whole Body> Middle clcik for Confirmation.
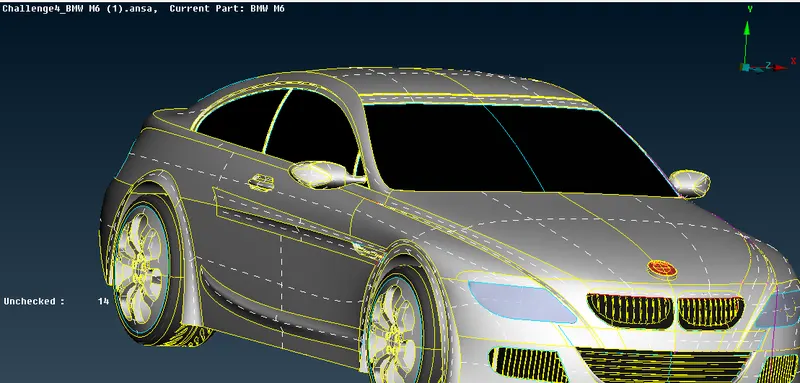
In the Above Image we can see Here the Resolution is quite bad to increase the Quality of Resolution we Can Do Fine the All body But It takes too long time For Whole Body. In this Condition we opt. second Method. Go to Mesh> Parameter Length> Macros> Select the Whole Body and give the value for Macros length as 5mm> Middle Click for Confirmation.
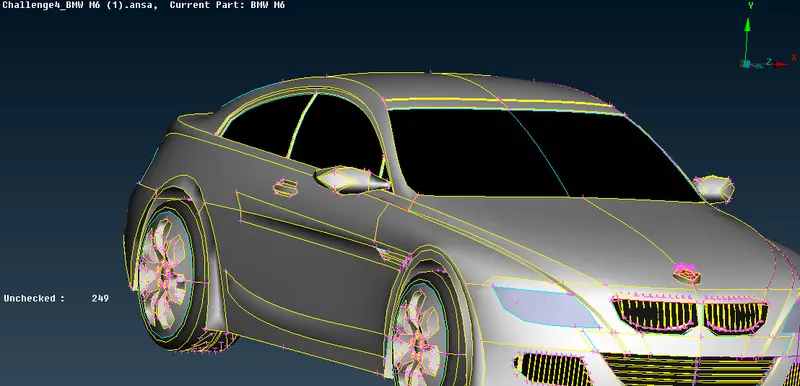
It makes Cons Resolution smooth. We use here, the Concept of Reflection we Reflect one part to the other side When our Model is Symmetric. Apart of few features like BMW Symbol. First we do Topology Cleanup and Meshing of the Half side and The Reflect it to th other side by using symmetric Option.
So, First we Delete the Half body of our Model.
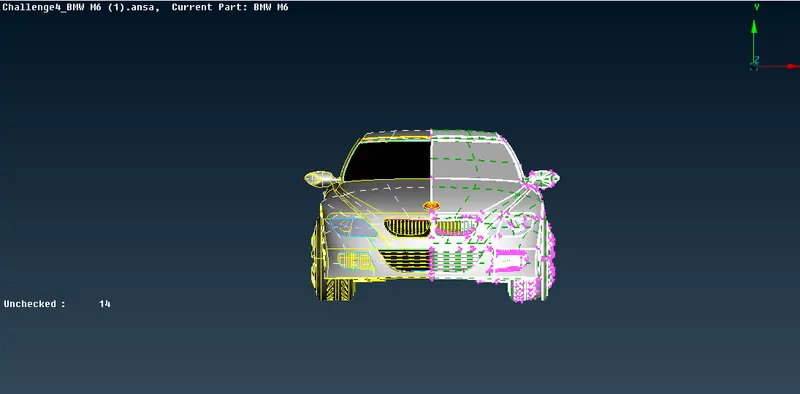
Here, is our Half Model.
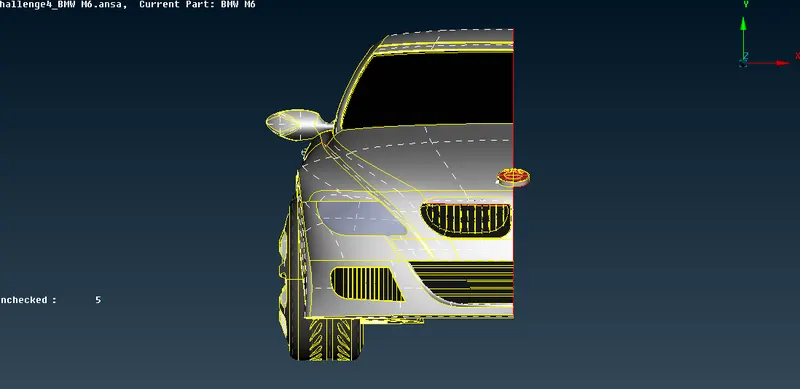
Toplogy Cleanup:
We do Topology Cleanup of the whole Body Where is the requirement one by one:
- Delete all the Extra parts to have single Volume throughout the Car.
- Remove all the Single and triple cons to maintain single Volume.
- To create a single Volume we need to have double cons everywhere, so we need to perform Different Operations like resurfacing of parts and few cuts to maintain single Volume.
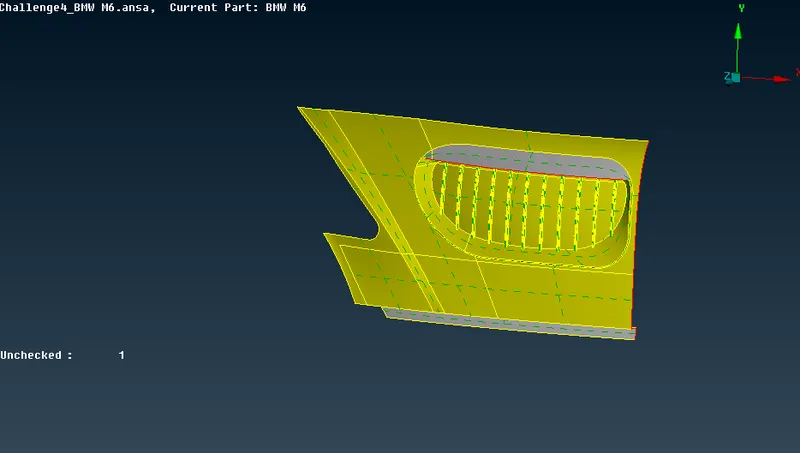
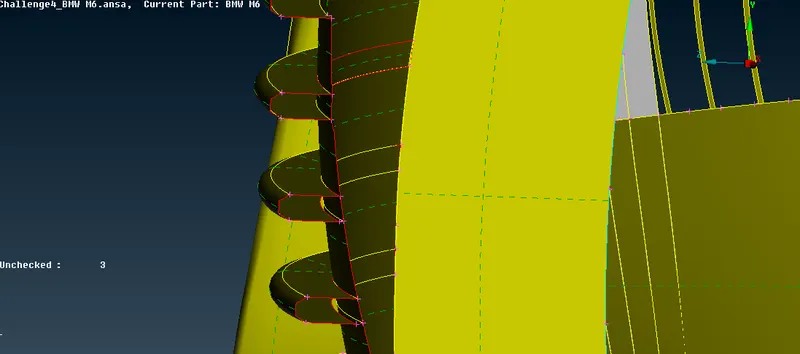
Front Grill
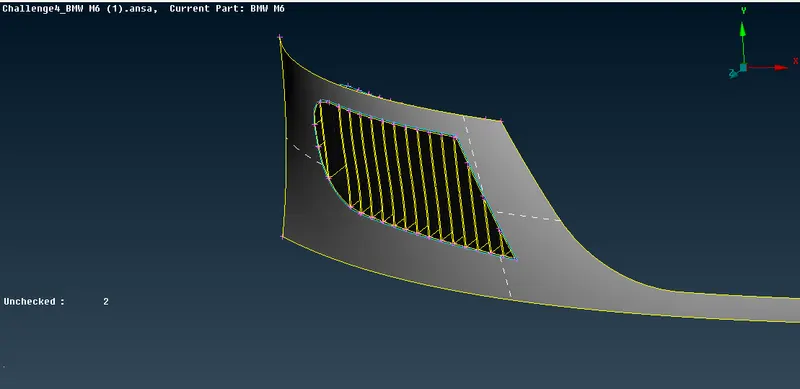
Front Grill Topology Cleanup done:
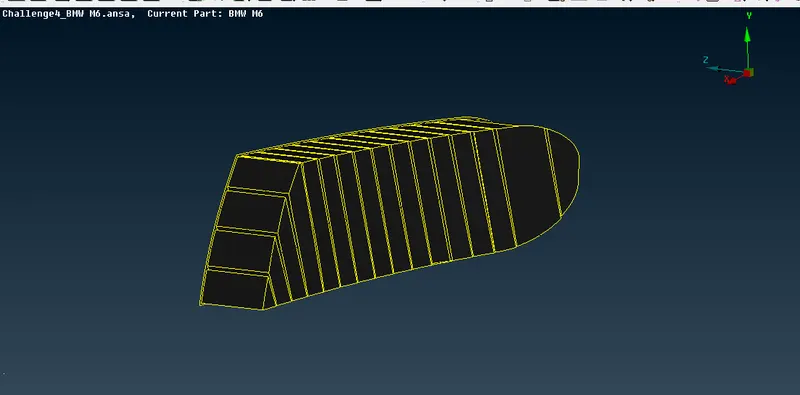
Second Front Grill:
Wheels:
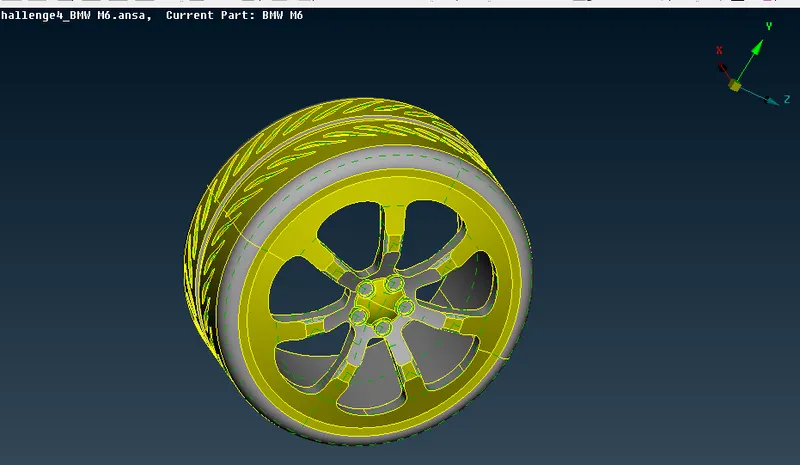
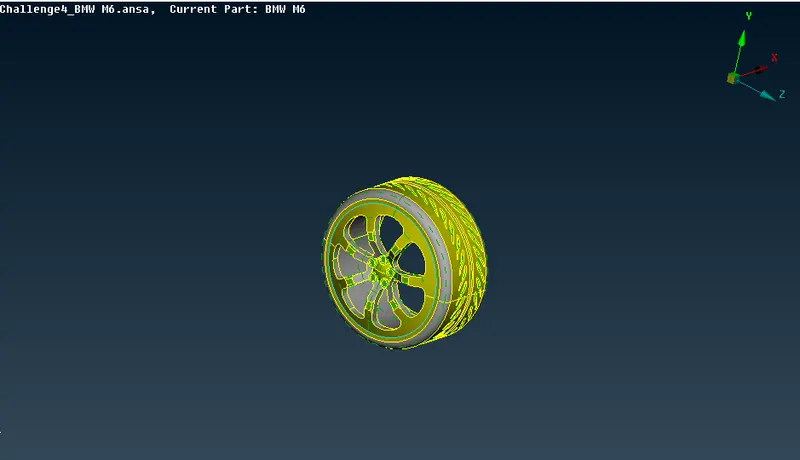
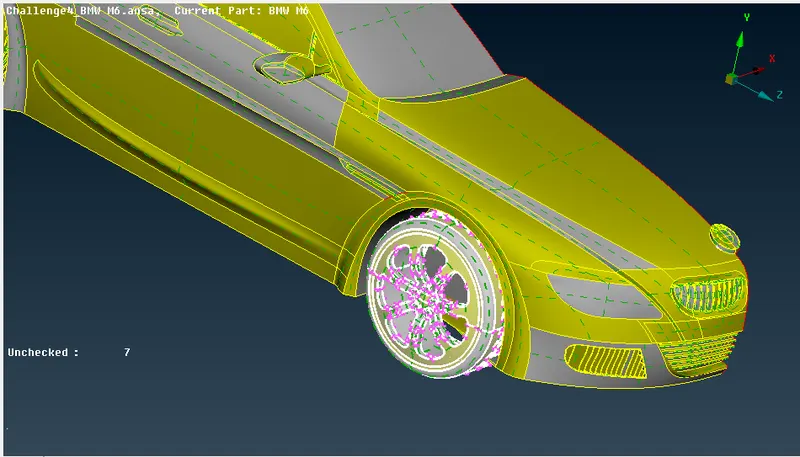
After Toplogy Cleanup Operation for the entire half of the Body We need to perform Geometry checks to find small cracks are unchecked faces extra which are not good for the Geometry, Therefore we need to perform checks and Clean the Geometry for the Next Step That is meshing.
We have to Assign the PID's for the different- different parts of the car.
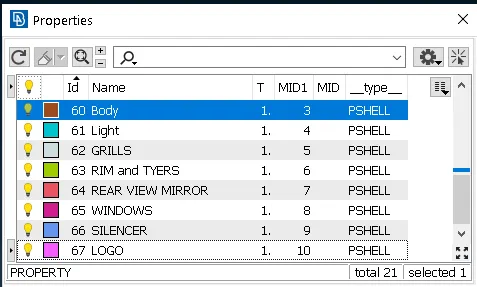
Meshing:
We need to do the Mesh for Components individually because given Mesh targets are different for each PID regions.
Assign the Mesh parameters and Quality parameters for each PID's accordingly. Here, is the given Mesh paramters given:
- Body - 3 mm
- Lights - 4 mm
- Grills - 1 mm
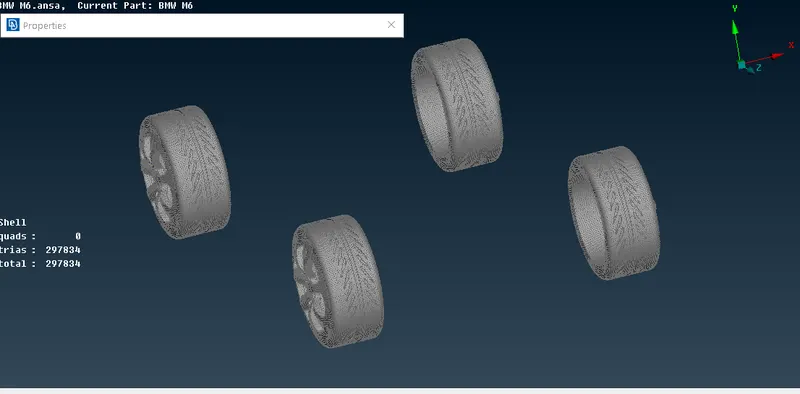
- Rims and Tyres - 2 mm
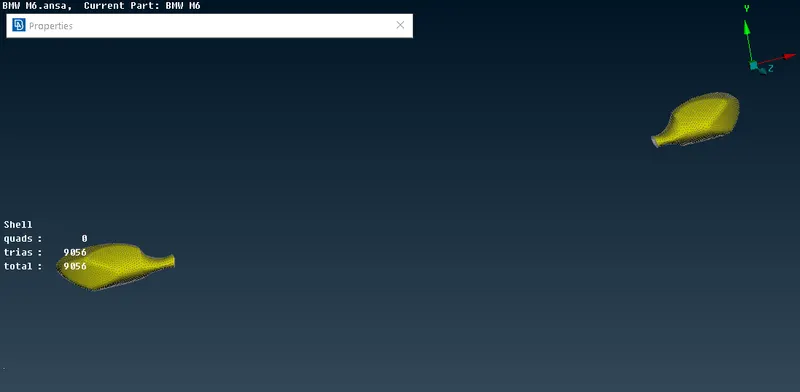
- Optical Rear view mirror - 2 mm
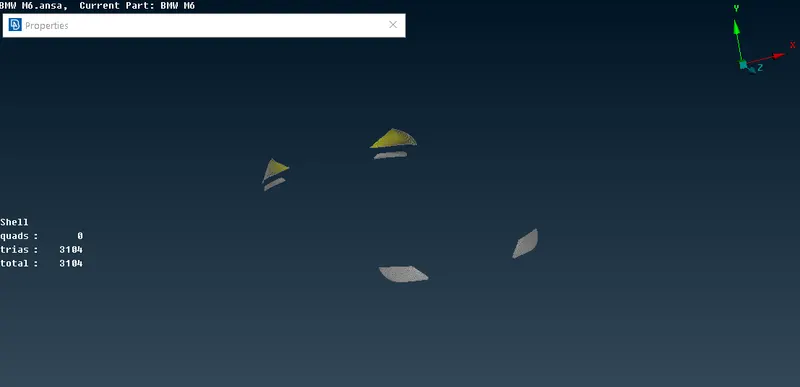
- Window - 2 mm
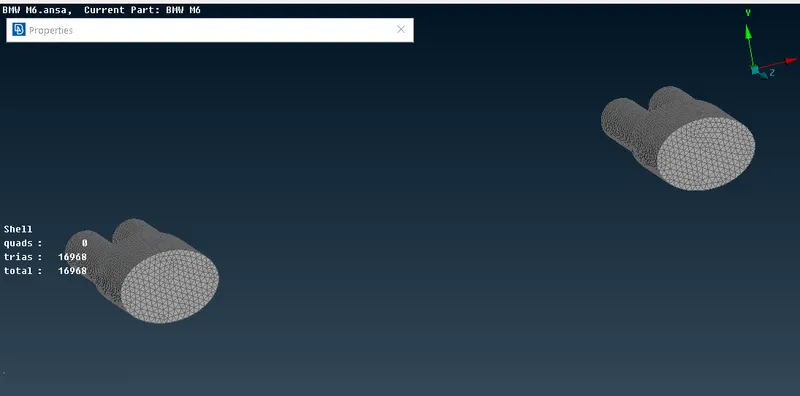
- Silencer - 3 mm
- Logo - 1 mm
During the do Meshing for the different- different parts of the parts We check the Node distance and then Assign the Minimum and Maximum Length accordingly in the Mesh parameters.
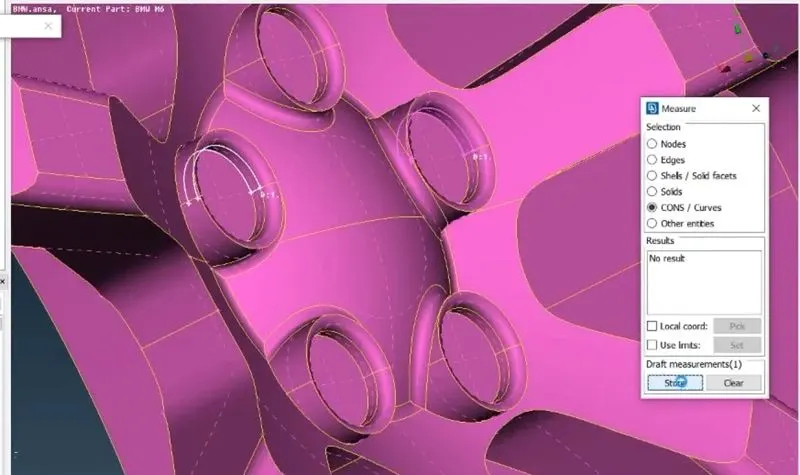
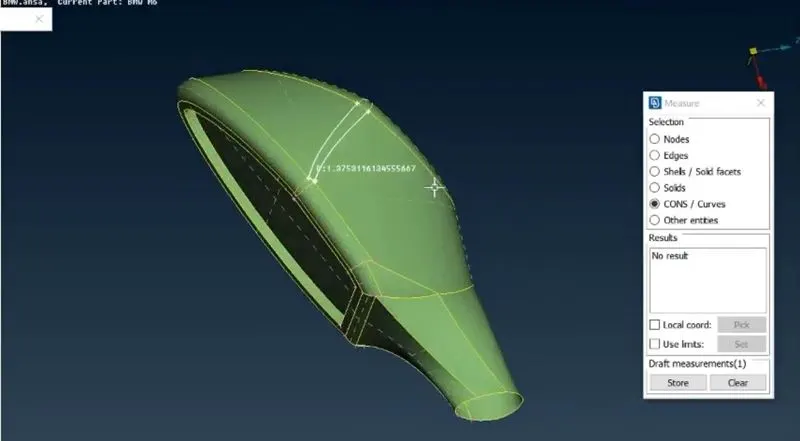
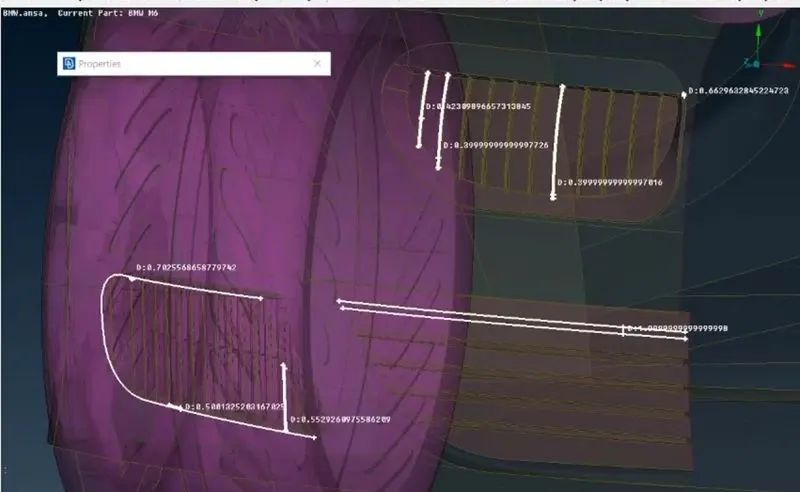
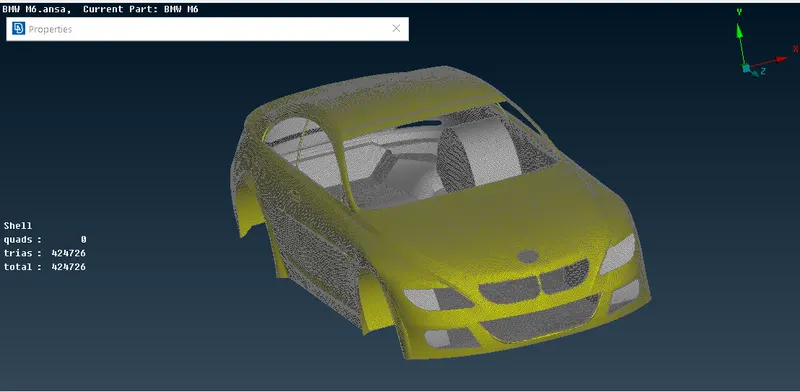
Meshing for the All the parts of the Car:
Body
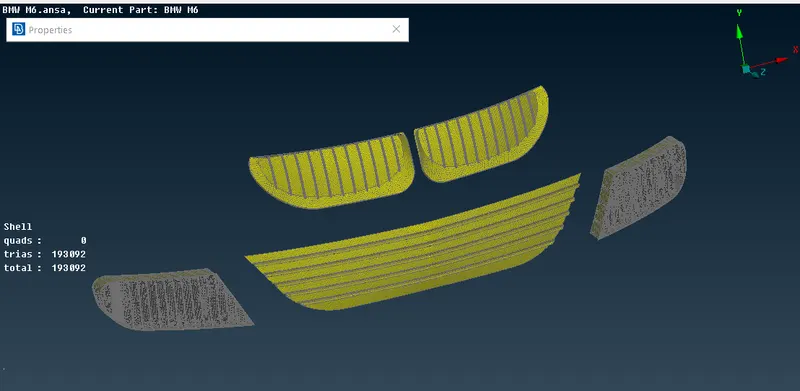
Grills
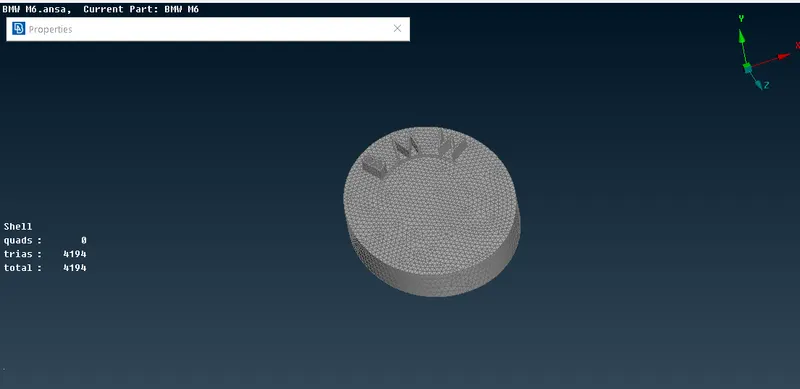
Logo
Lights
Rear view Mirrors
Rim and tyres
Silencers
Windows
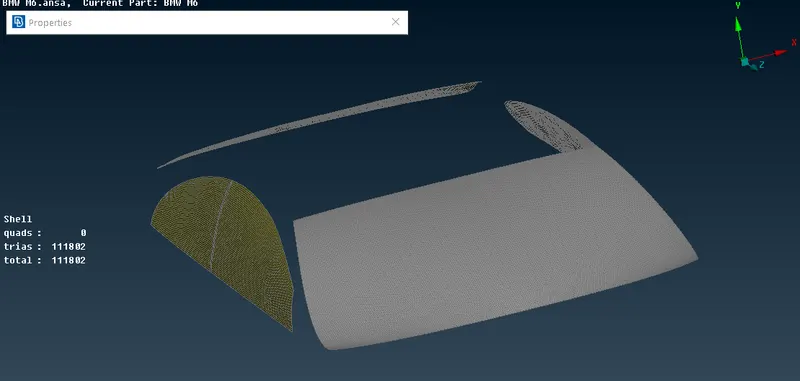
Performing Symmetry on the car Model:
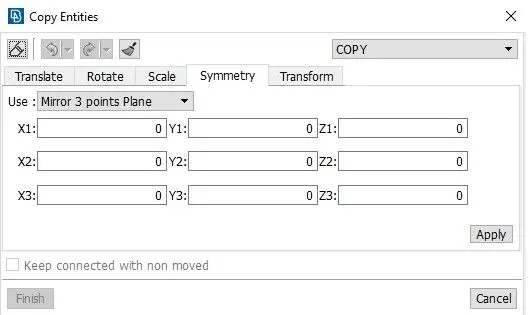
- Now, We have Perform symmetry under Transform Option to create the exact same Opposite Body of the car to create a Full Body of a Car.
- Use the Copy Option and Select the Half body of a car and then Deselect the Logo since, we dont need Logo to be copy.
- After choosing the Model, We have to choose the mirror 3 refrence points and click on the nodes and Middle Click for the Confirmation.
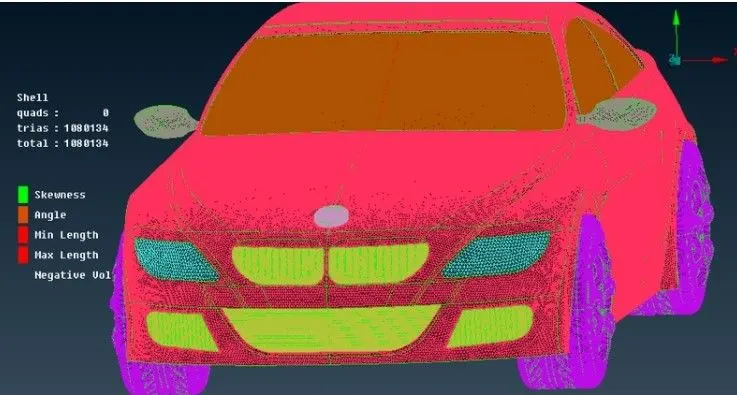
Surface Meshing after Performing symmetry
Creating Wind Tunnel
Using relative points tool:
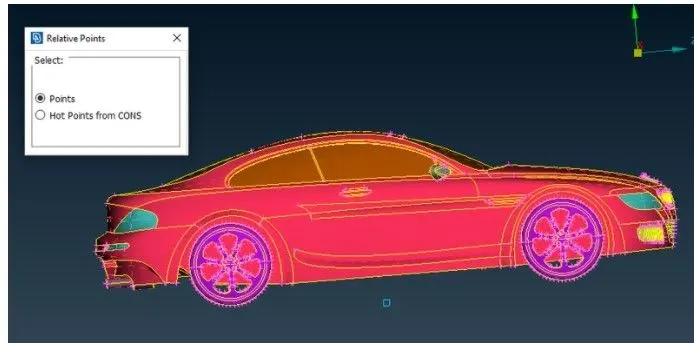
Calculating, the wind tunnel dimensions appropiately, we can create the wind tunnel accurately. The wind tunnel dimensions are (standerd Distance of the tunnel w.r.t. Car model = 1306mm asxtimes)
Front surface distance (from refrence points) = 5875mm (4x)
Back surface distance = 8480mm (6x)
To surface distance = 4323mm (3x)
After creating the bottom surface use the Curves for having the refrence of cons, We can delete all the hot points and curves and then Create wind tunnel surface using the new surface.
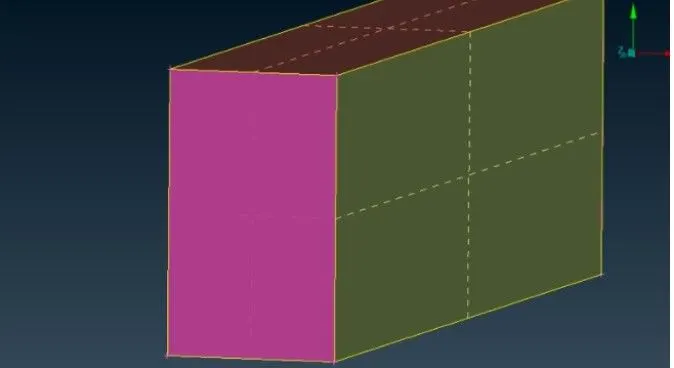
After that we do Surface Meshing for the Wind tunnel. We have applied Different Mesh lengths at the bottom and top wind tunnel surfaces.
Volumetry Meshing of Wind tunnel car Volume:
We are interested only the Volume between the car Model and Wind tunnel, We can delete the other Volumes which are not required.
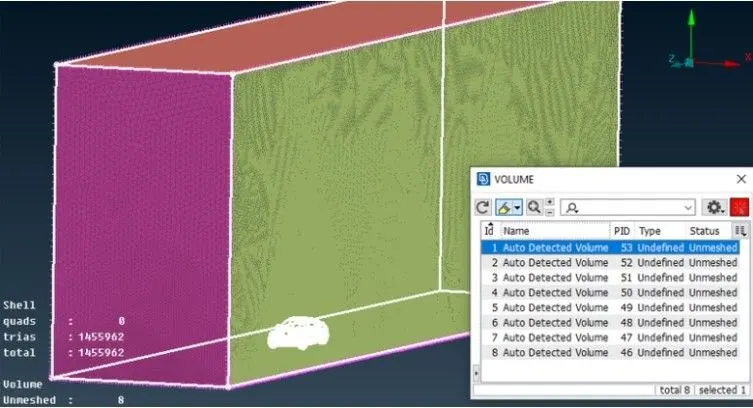
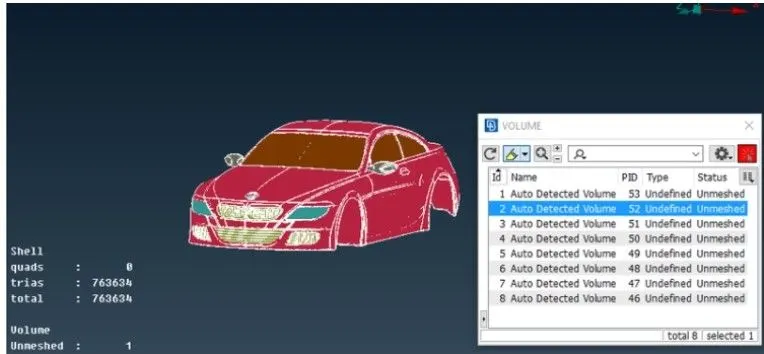
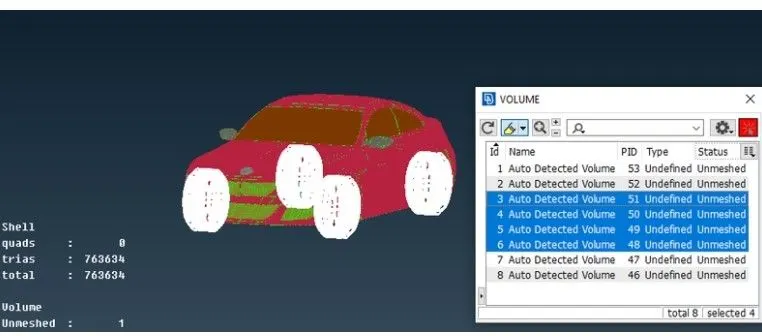
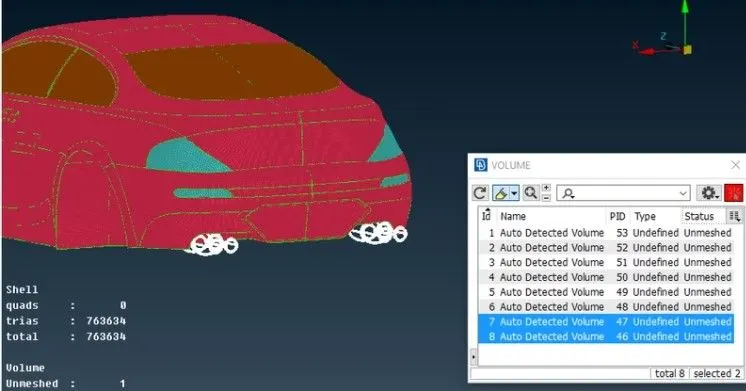
Here, is Mesh Model Link:-
https://drive.google.com/file/d/10Gp5whTmtpS9MnOjZUWwkpP4ee-4rJbk/view?usp=sharing
Conclusion:-
- I have performed Topology clean up by different- different methods of meshing on ANSA. This project basically gives us the ideas of Meshing tools on ANSA.
- I have done Surface Meshing for different- different parts of the Car by applying different Mesh parameters in one project and also I have checked for the nodes distance between two and then I applied appropiate Mesh Length.
- I have created the Wind tunnel for the External Simulations with the help of points and curves.
- I have created Volumetric Meshing too and I have created Single Volume for the Car body for Simulations.