Week 4 Challenge : CFD Meshing for BMW car
Aim :-
For the given model, check and solve all geometrical errors on half portion and Assign appropriate PIDs. Perform meshing with the given Target length and element Quality criteria. After meshing the half model, Do symmetry to the other side.
- Target lengths for the different parts of a model are as follow:
- Body - 3 mm
- Lights - 4 mm
- Grills - 1 mm
- Rims and Tyres - 2 mm
- Optical Rear view mirror - 2 mm
- Window - 2 mm
- Silencer - 3 mm
- Logo - 1 mm
(Note: Kindly take reference of videos for other Quality Criterias)
Meshing Wind tunnel volume with tetra elements may take upto 2 days of time. So that is not compulsory to perform. i.e. Model can be submitted after performing surface mesh to Wind tunnel surfaces. Write a detailed report for the same.
Note: All the 2D elements(Trias) in your model should clear the quality criteria (i.e. Off elements should be zero). Depending upon this you will be awarded marks.
Procedure:-
1. First open up the geometry downloded from the chaalnge window.
2. The window will open up with the geometry.
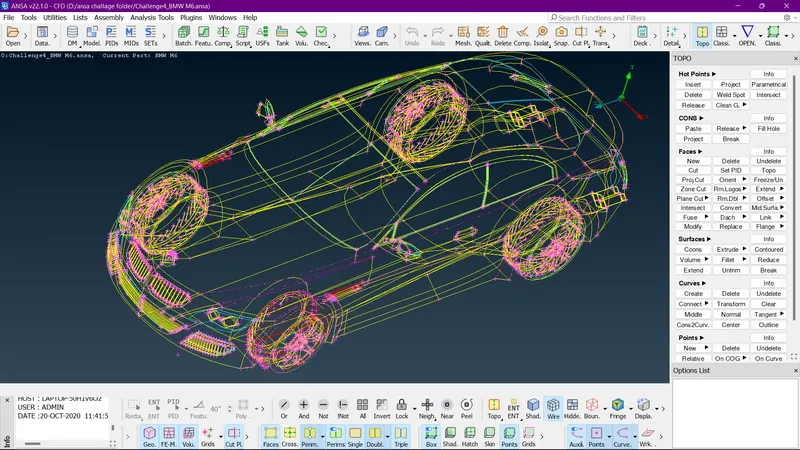
3. As we can see the model opened in wireframe mode showing red cons and blue cons in the interface.
4. We will now switch to the shadow mode.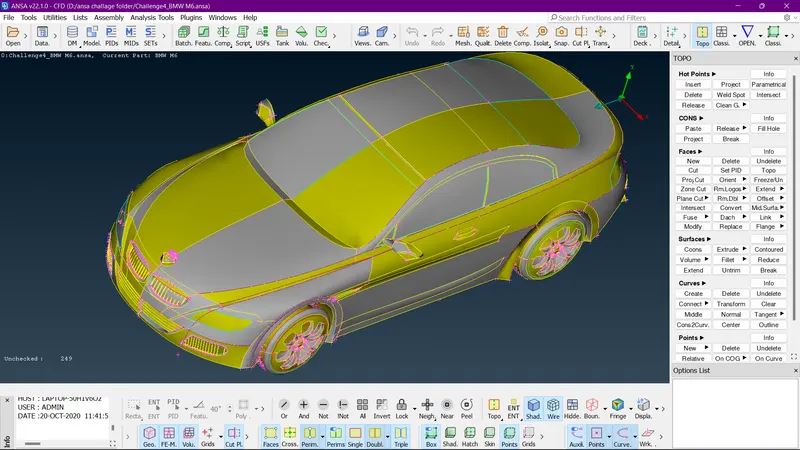
5. Now we will do geometry checks for the model to check geometry and interection errors.
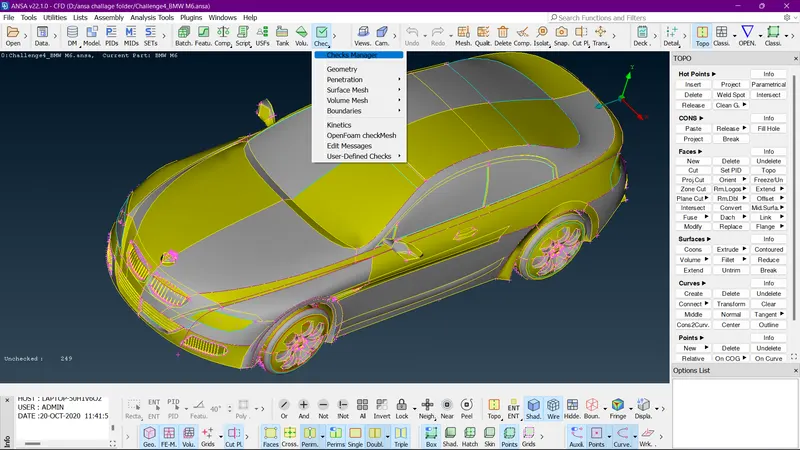
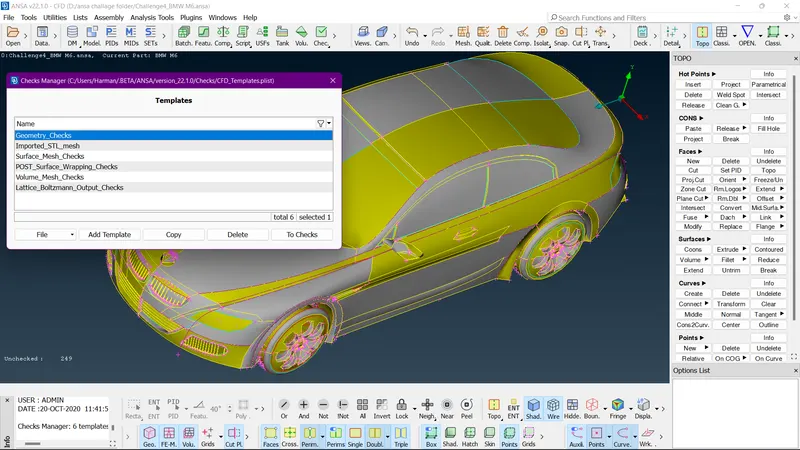
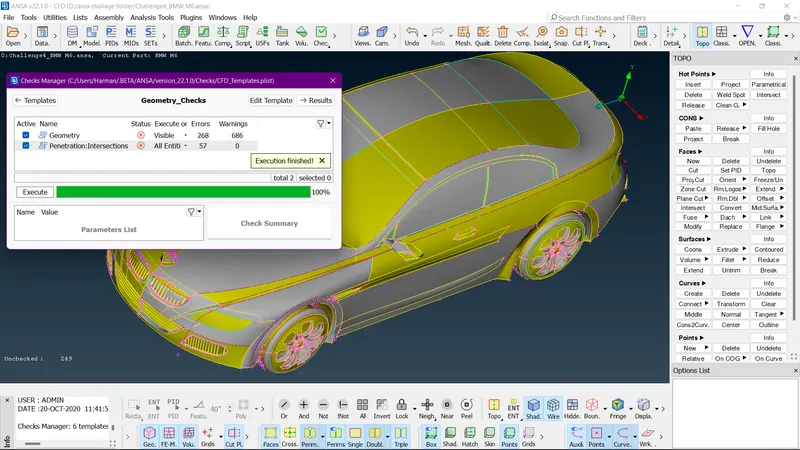
6. We can see that there are many geometry and Intersection errors.
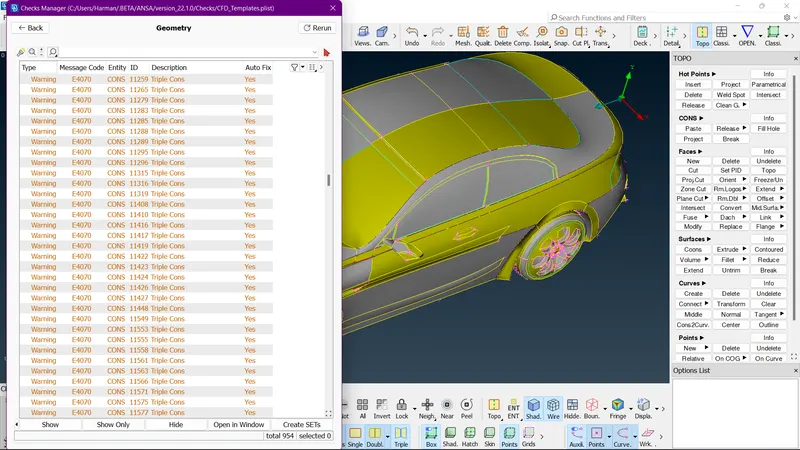
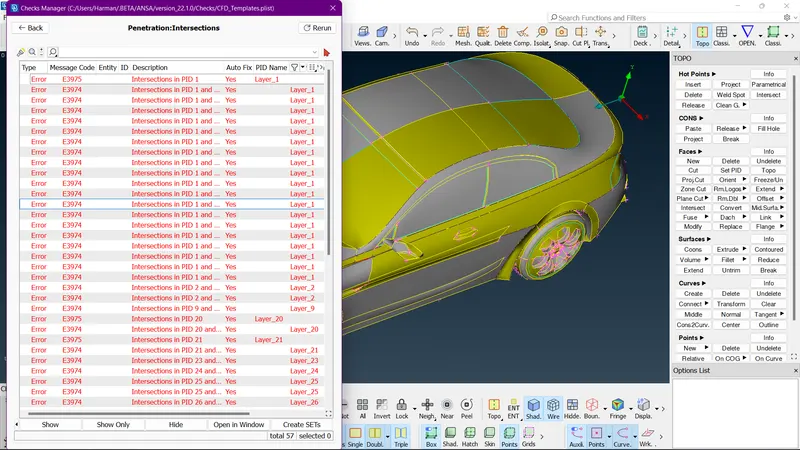
7. We can see that the BMW car is devided into 2 identical parts , So we will delete any one part and work on other for geometry cleanup.
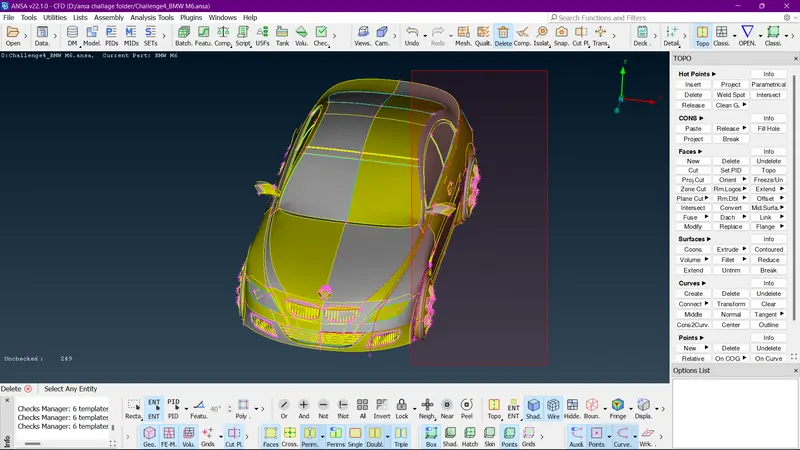
8. We can see that we have BMW logo there is no need to delete it because its not a symmetrical thing.
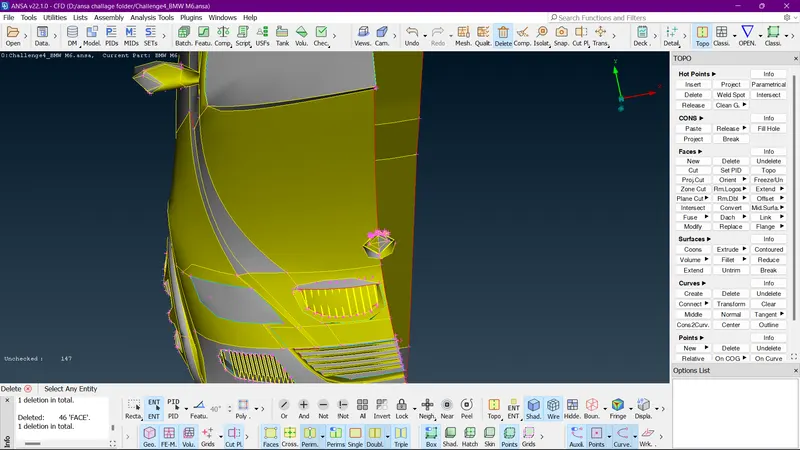
9. Now we can see that the logo is showing in distoted type, this is the problem of resolution. So we will first set up the resolution.
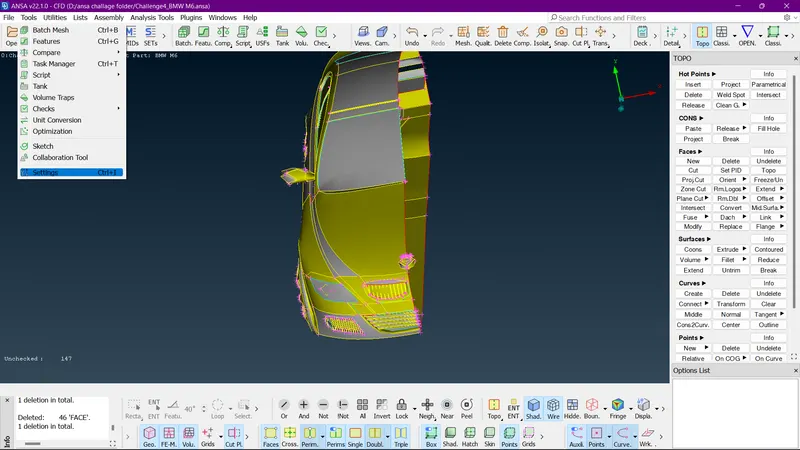
10. We will now swlect tools(settings).
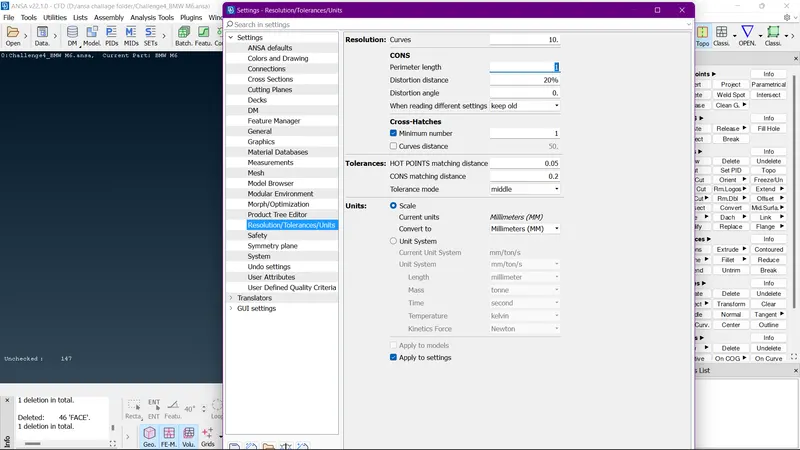
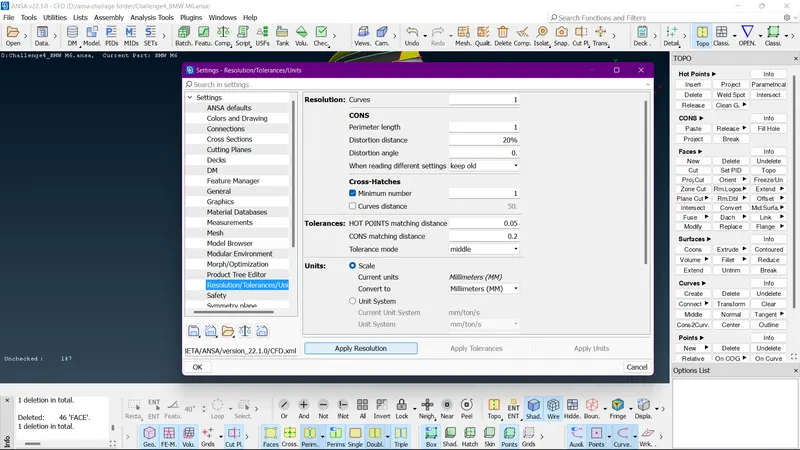
11. In Setting we have to change value to 1mm for curves and Perimiter Length andleft click on Apply Resolution.
12. We can hide the logo for now and put on the lock option.
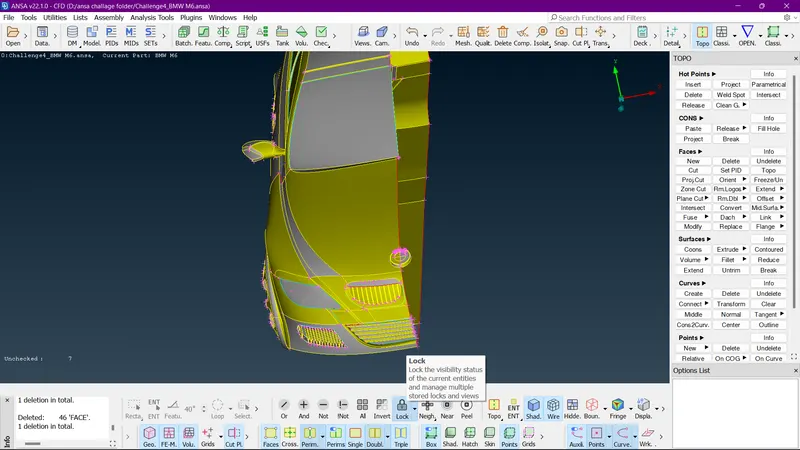
13. Now we will check teh geometry for the errors.
14. We can see that we are having the solid type fill on the front grill, which is not needed.
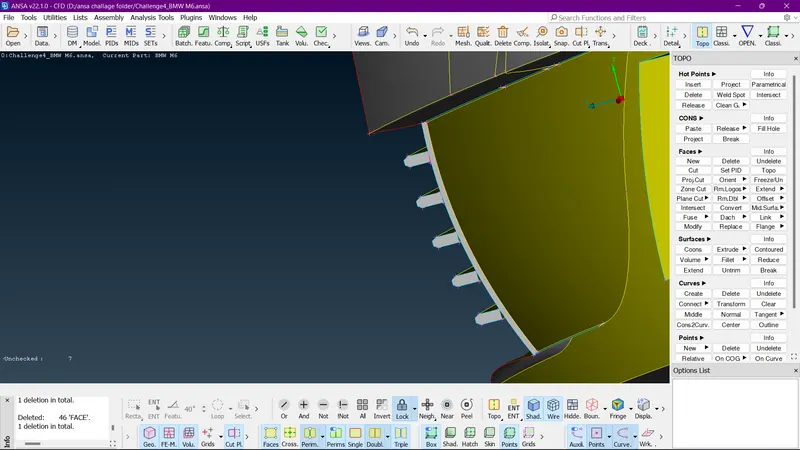
15. now lets start cleaning up with the grill 1 and hide all te other parts using NOT,
16. lets delete the unwanted faces first .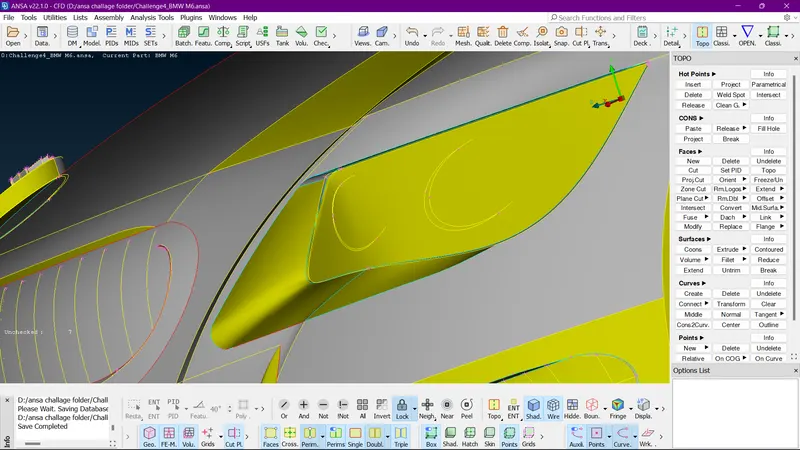
17. we can see that we have a blue cons here so we can delete this part because the surface is inside and can be deleted.
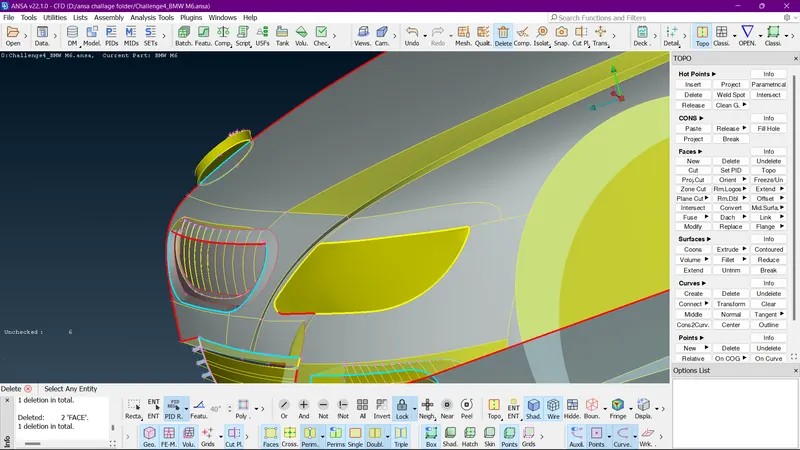
18. we an see that the face have no single coons only one red coon available inside the car head lamps.
19. we will use paste command to clear red coon error.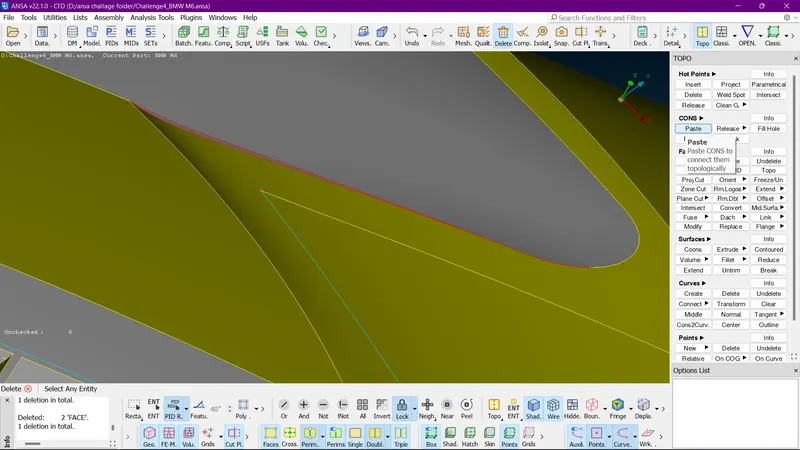
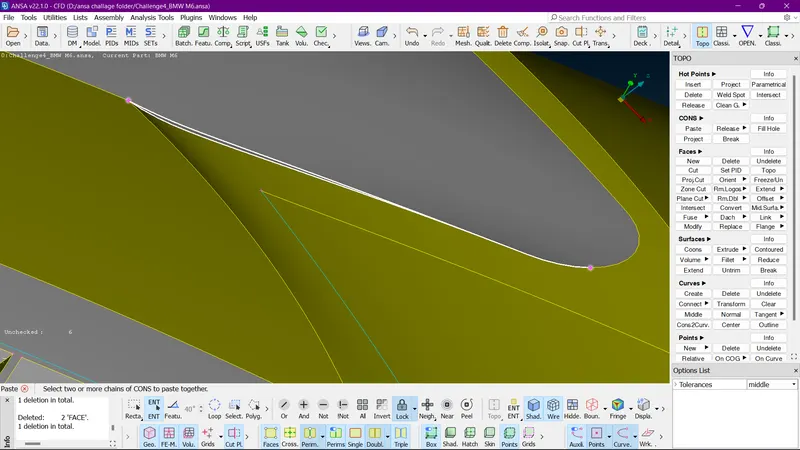
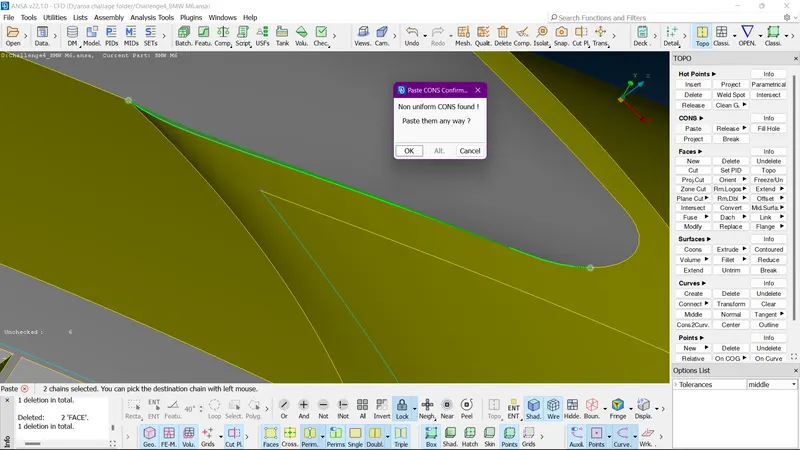
20. Click ok and then cons will be pasted.
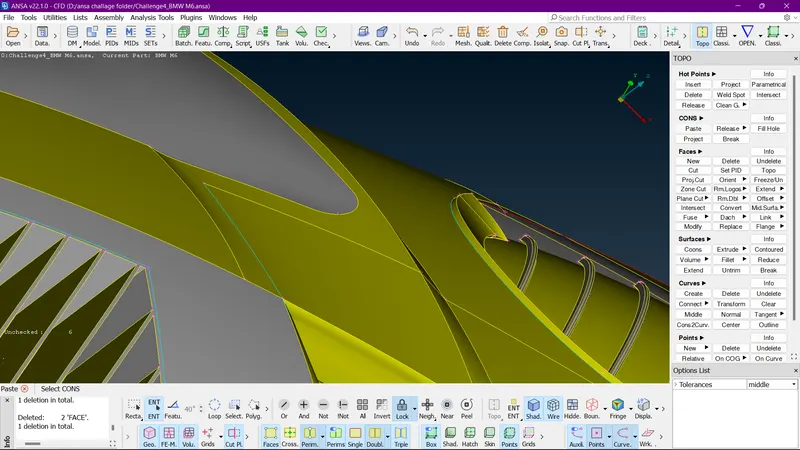
21. we can see a tripple coon just below the light area, lets check why its there.
22. we will check from inside.
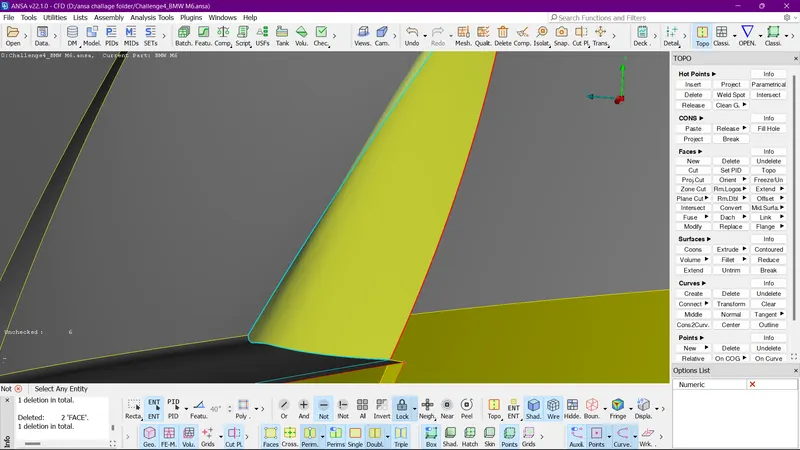
23. we can see that there is tripple coon due to this surface inside we can just delete the surface using universal delete and the triple con will be gone.
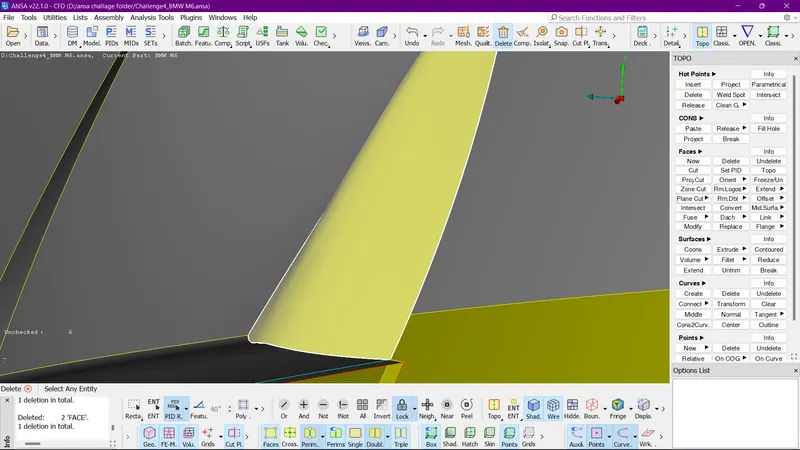
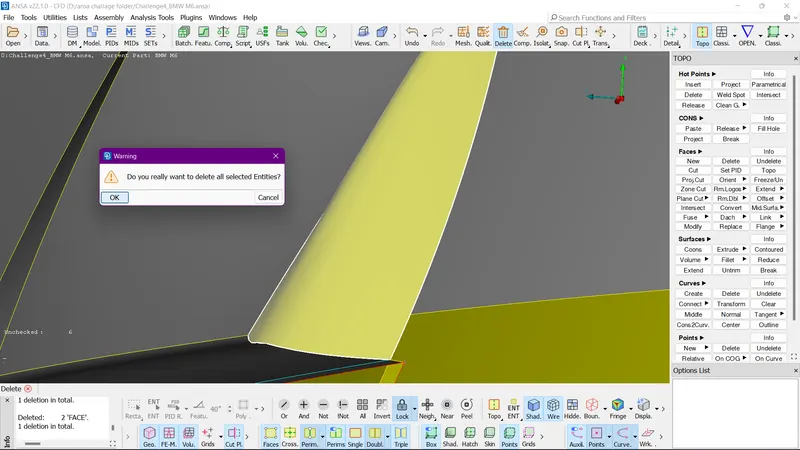
24. when we click ok the surface is removed nd we ca see that the triple con is gone.
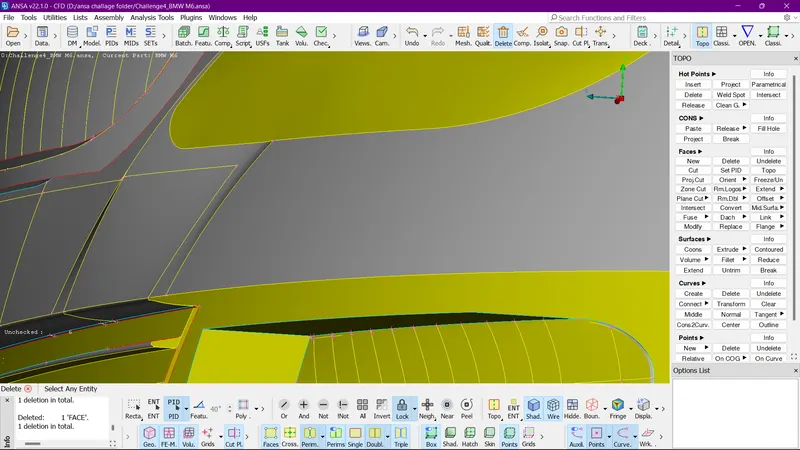
25. Now we will check other parts .
26. We can see that there is as surface which can e deleted and not neccessary, so we will again use universal delete to remove the surface.
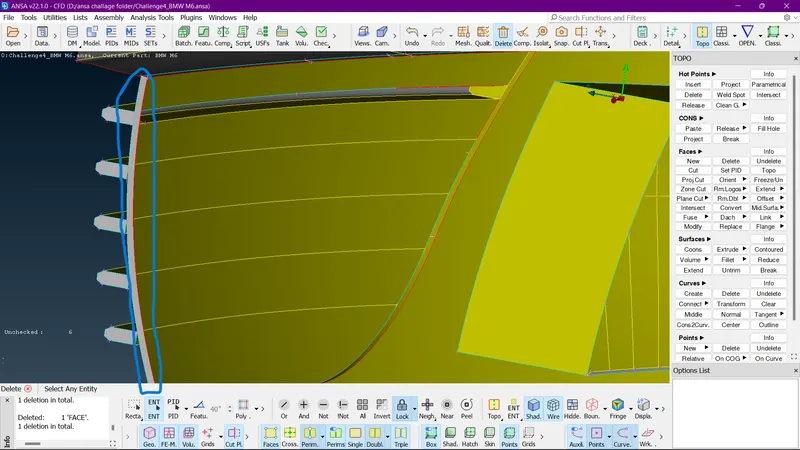
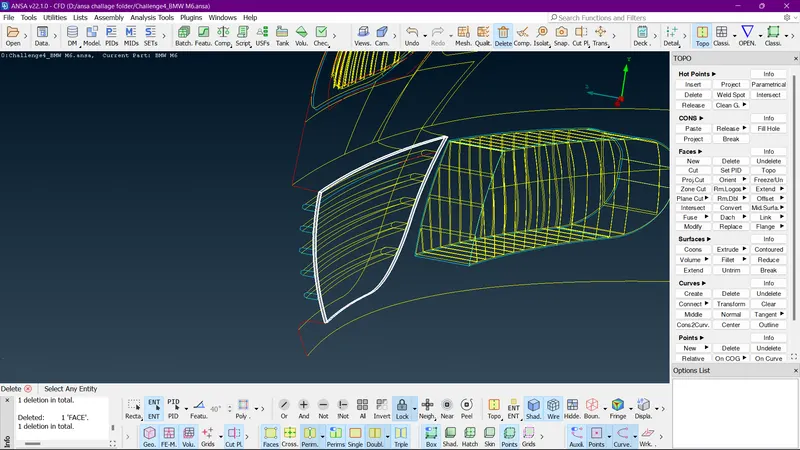
27. middle click and click ok to delete the surfaces.
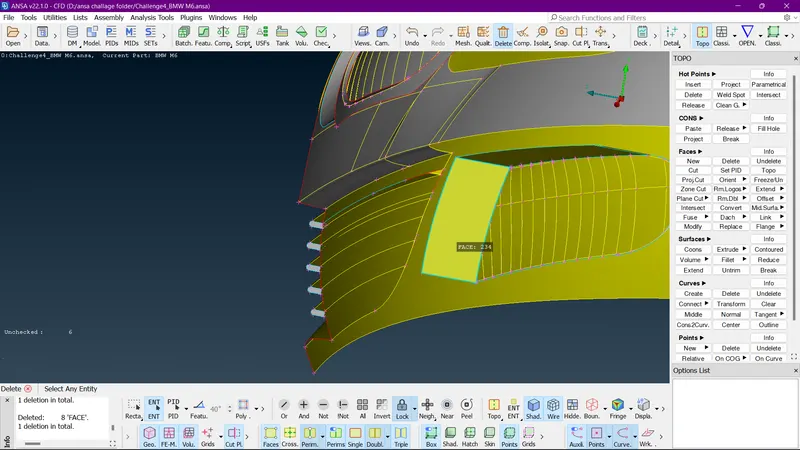
28. we can see the suface is deleted. now we can work on the front grill, for tha twe will hace to hide othr components so that we can have some closer look over the frill errors and try to do the surface cleanup.
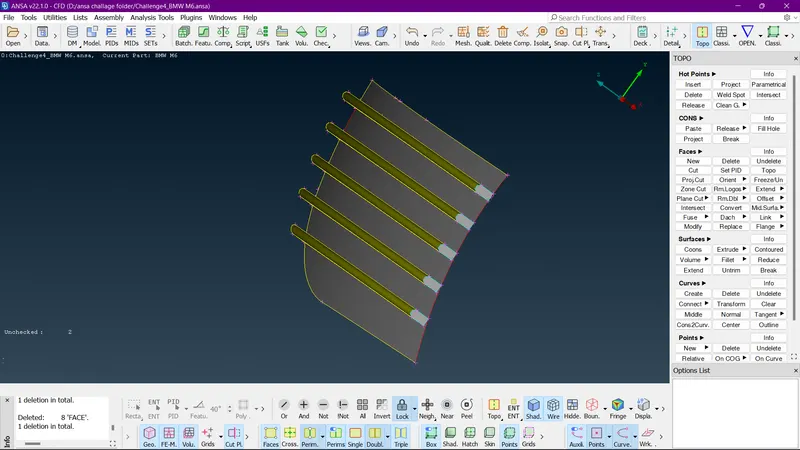
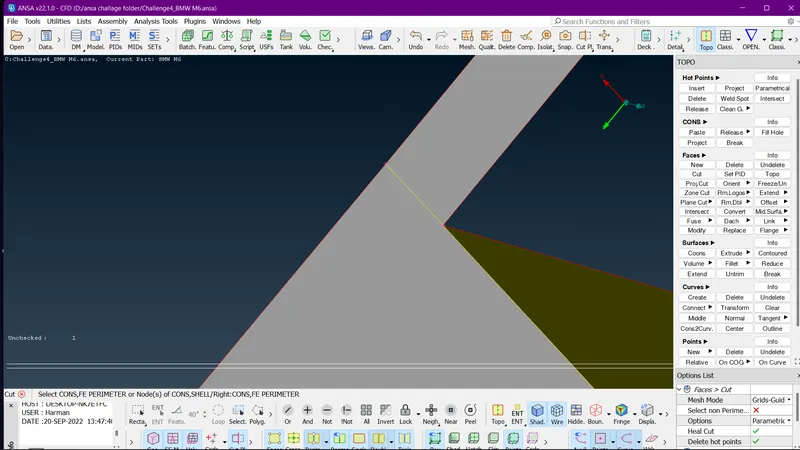
29. As we have hidden all other surfaces we have the grill and now we can do the surface cleanup easily.
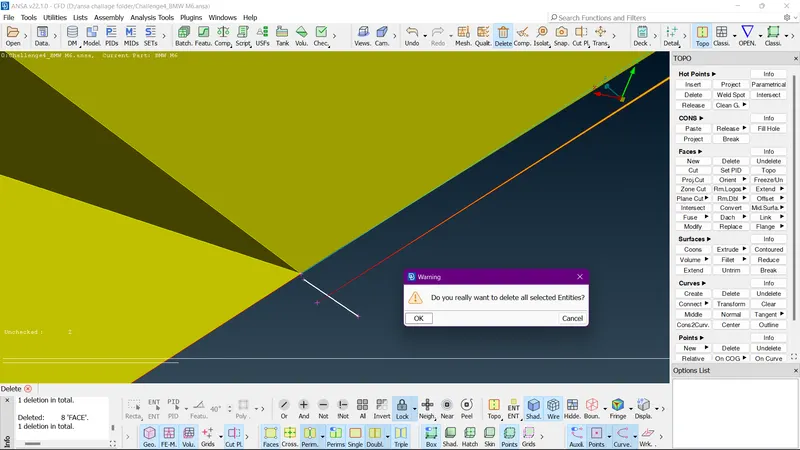
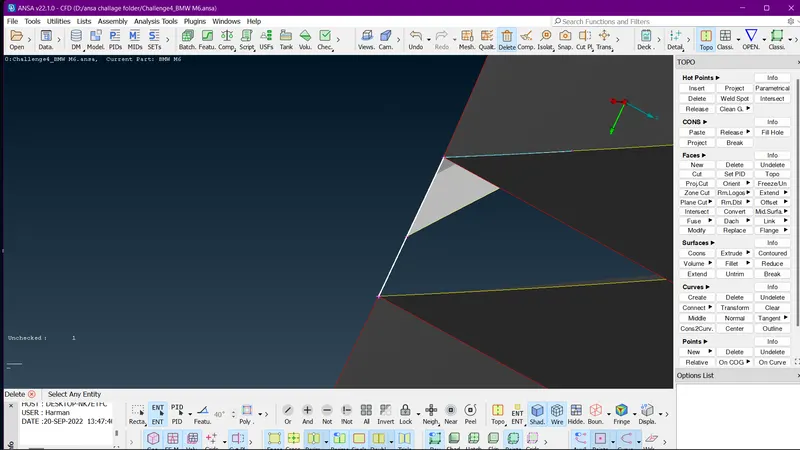
30. we can see that we have some small surface which are not neccessary, we should delete them using universal delete.
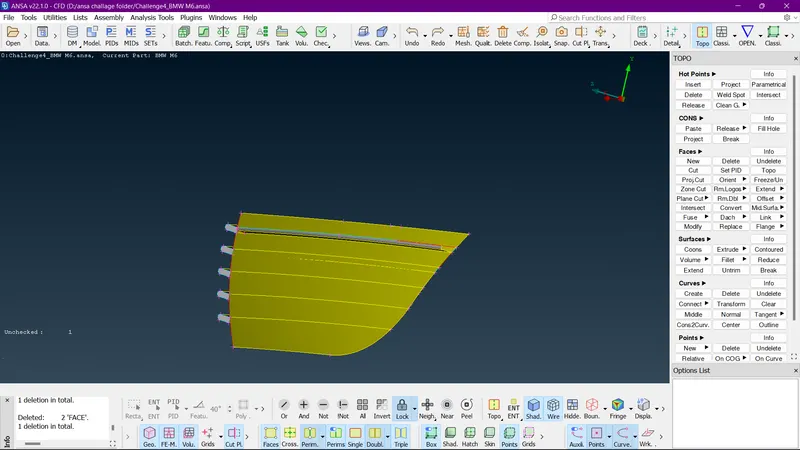
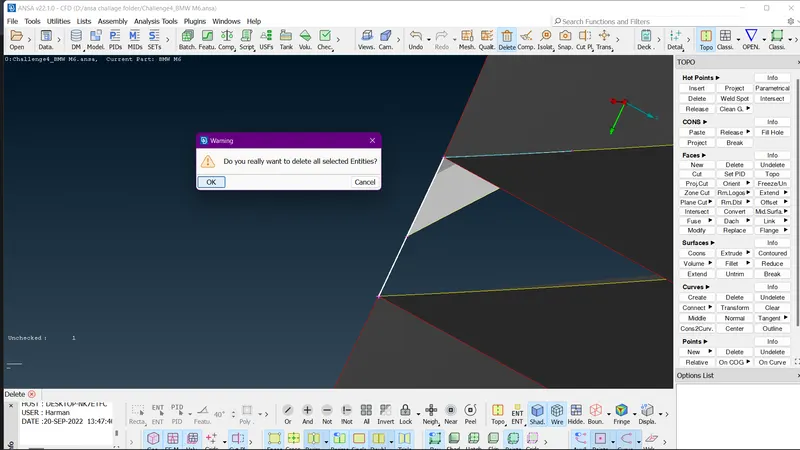
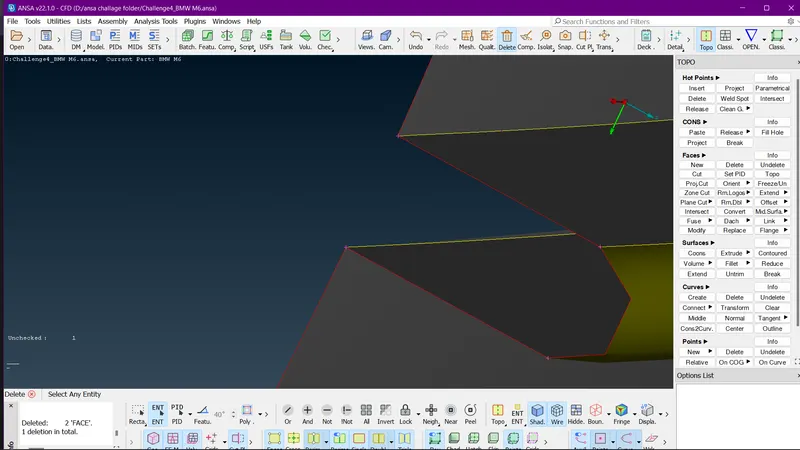
31. we can see that there are extra hot points . we will delete those extra hot points using HOTPOINTS ( DELETE ).
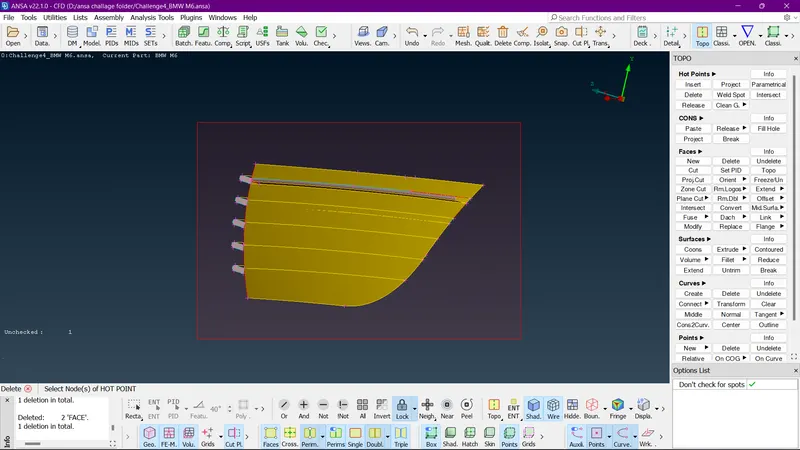
32. Go for middle click and the extra hot points removed and nowwe should do TOPO once.
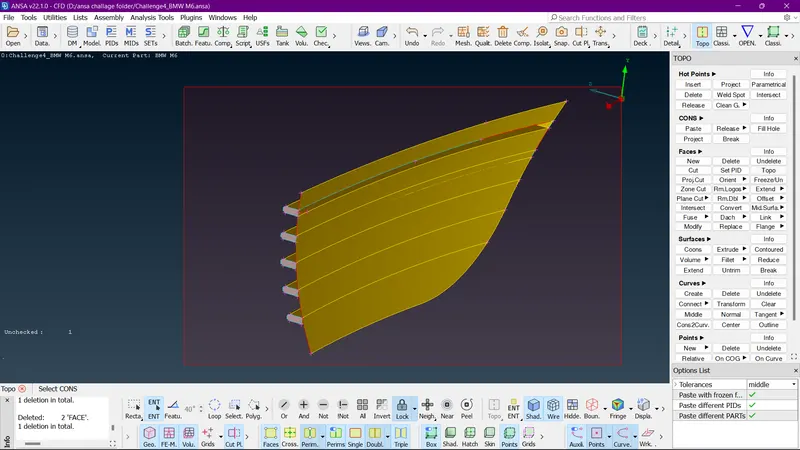
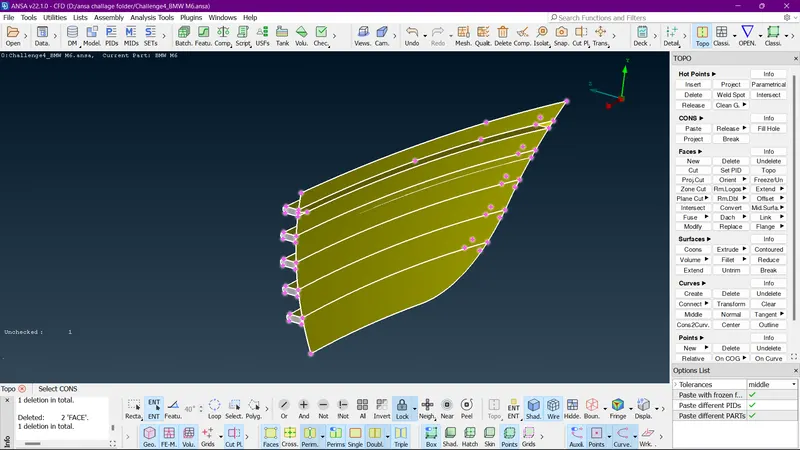
33. middle click will fiinish the topo command and remove some errors automatically.
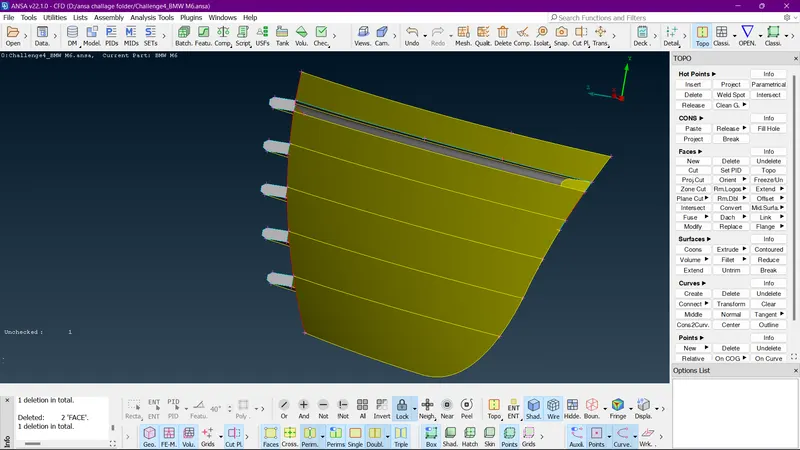
34. we can see that some errors are removed and can also see some surfaces creating tripple cons. we will delete the surfaces using universal delete.
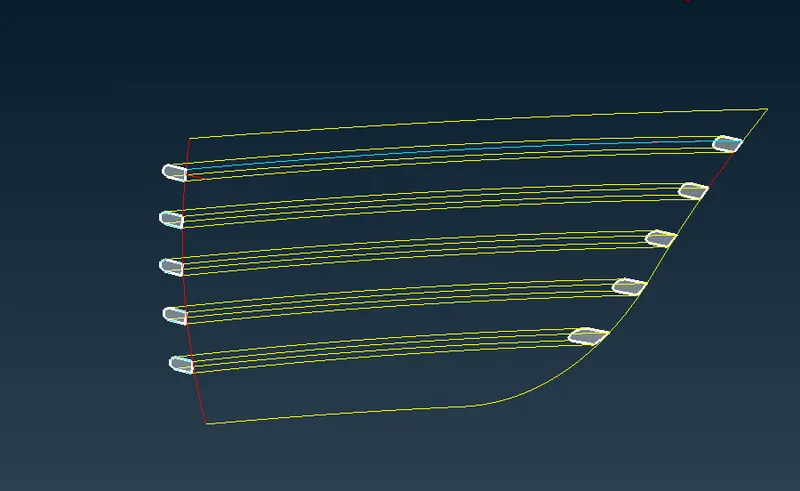
35. middle click nd hit ok .
36. we can see that the surfaces are remaining and need to be delted. so we will again use universal delete to delete them.
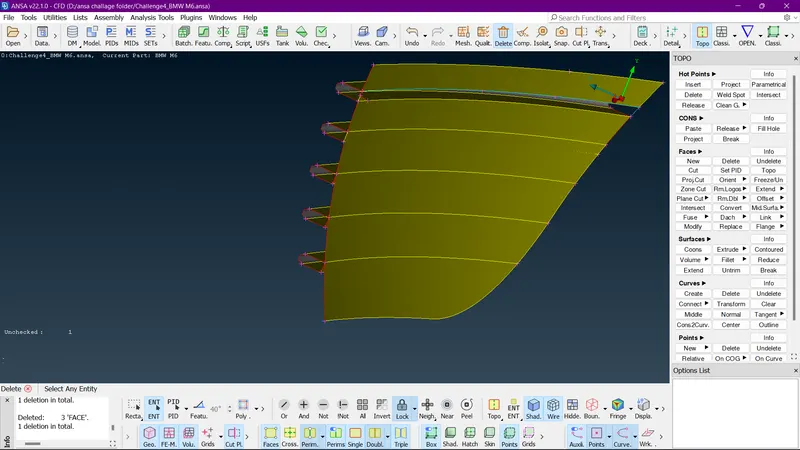
37. we can see that in corner there is a small surface present which we have to delete using universal delete.
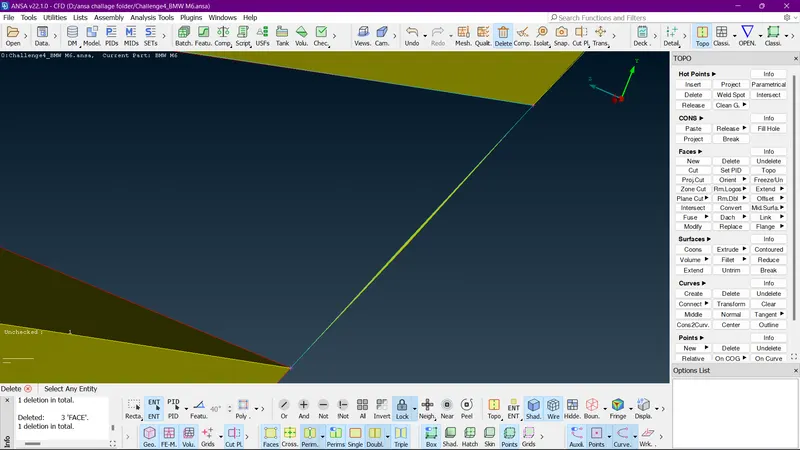
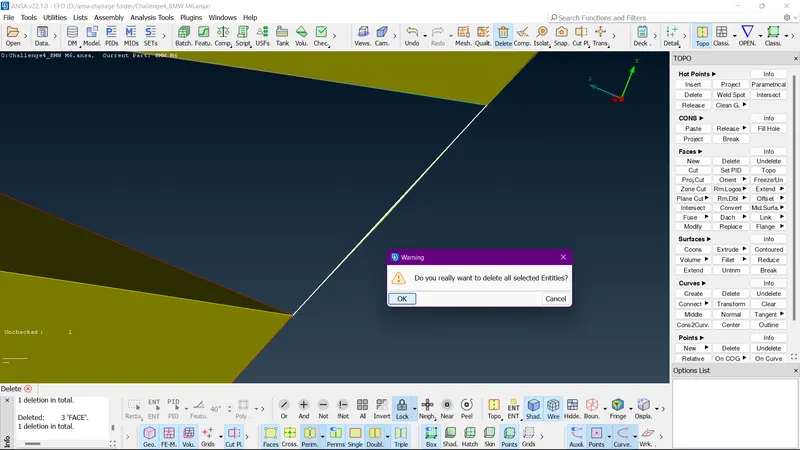
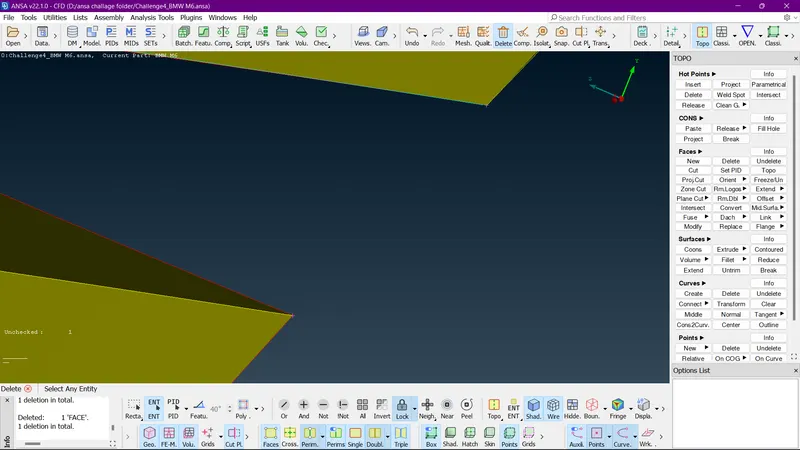
38. We can see the suface is removed.
39. Now when we see the grill from outside there is a surface present inside all grills. we need to delete them using universal delete.
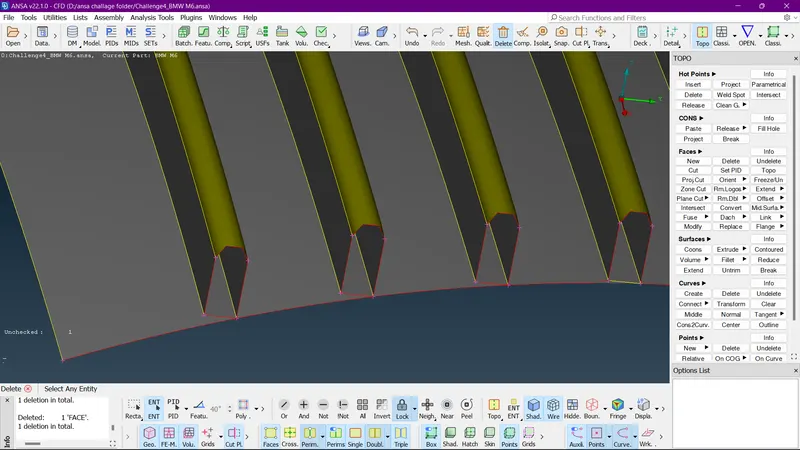
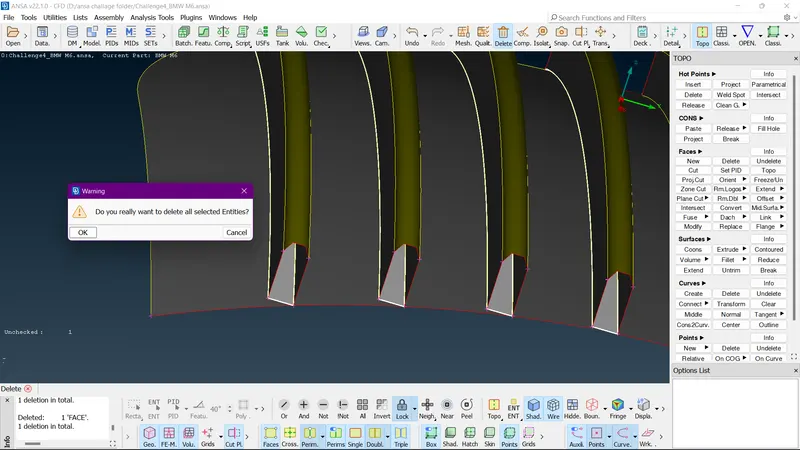
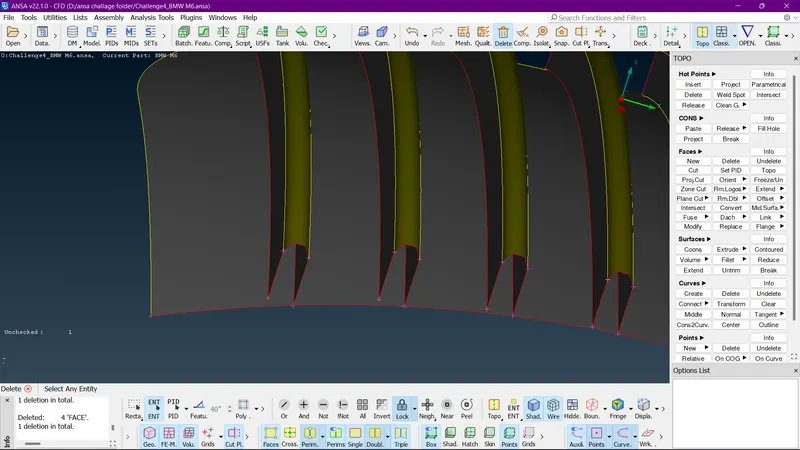
40. We can see the grill surfaces are not fully attached with the grill base surface.
41. before that we have some issue in the upper part of the grill.
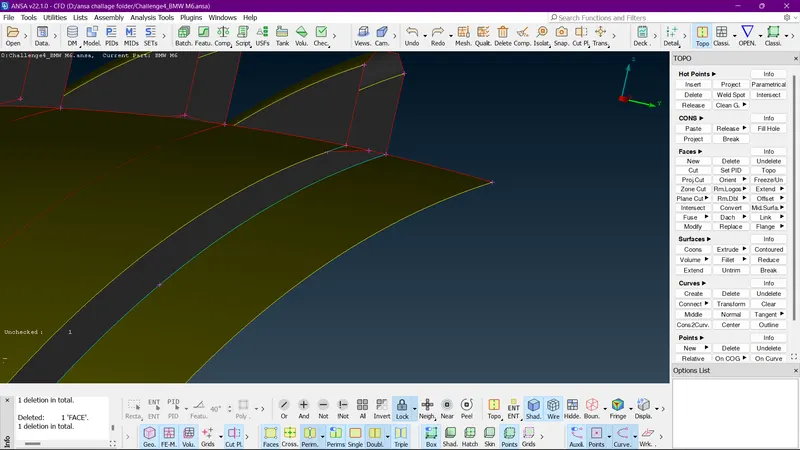
42. we can see there is small surface the edge of the frill fins we need to delete it.
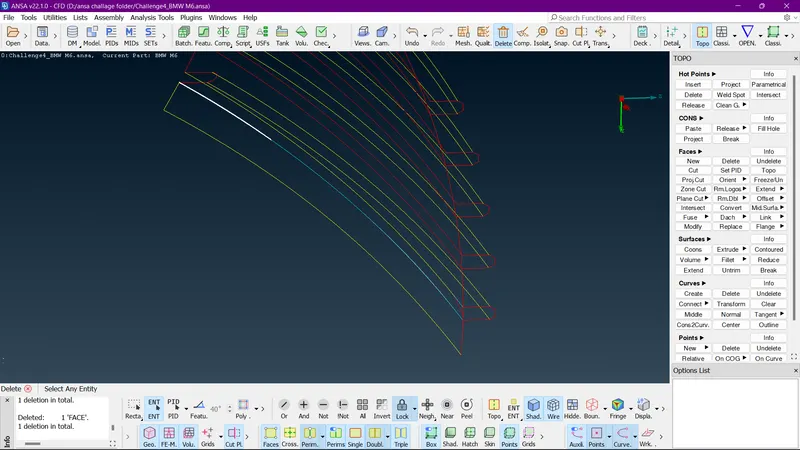
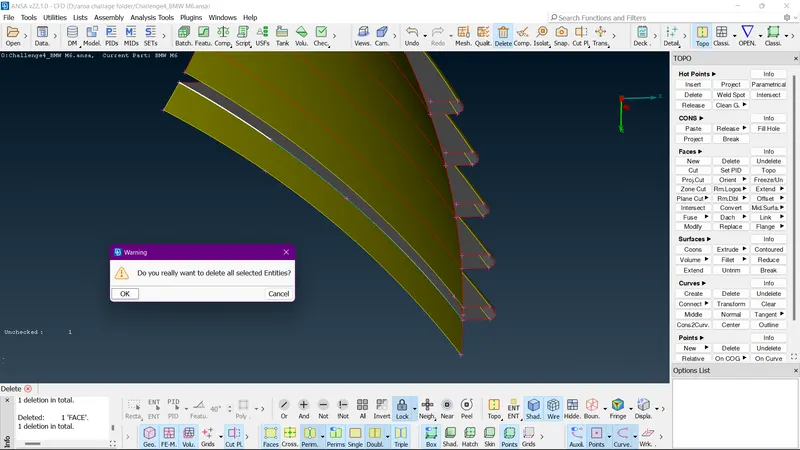
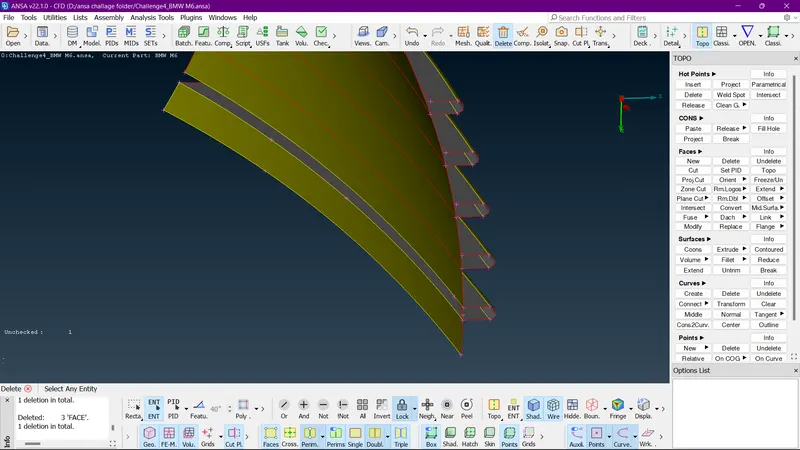
43. Now we can see that whole of the blue line removed due the surface we deleted, but these is one more surface which need to be deleted in the upper part of the grill.
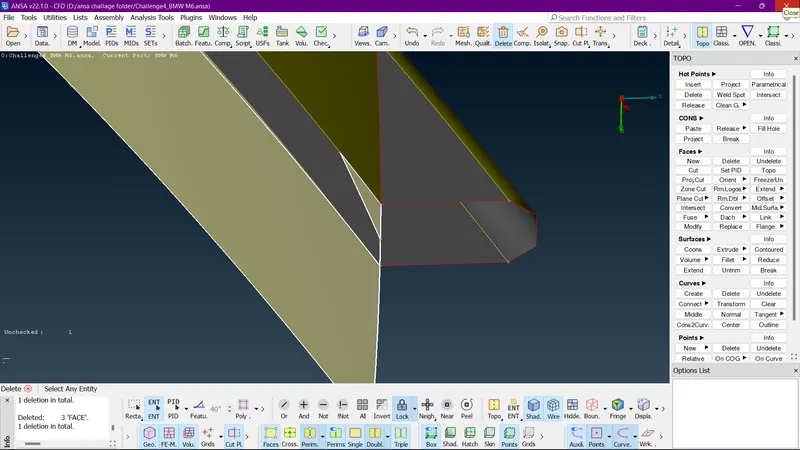
44. As we can see that the surface need to be split to delete the triangular surface. we will use CUT ( FACES ) to seperate the surface.
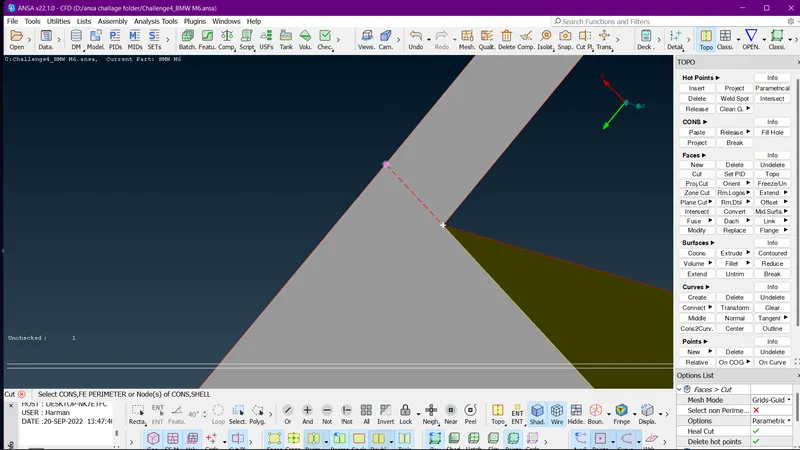
45. Now we can see the surface is cut and seperate, now lets try deleting the surface using universal delete.
46. We can see the surface is getting selected seperately, and we can delete the surface using universal delete.
47. like this surface we have to set alll the fins of the grill.
48. As we can see the fins surd=face are not connected with each other properly. we will use CONS ( PROJECT ) option to project curves over the surface.
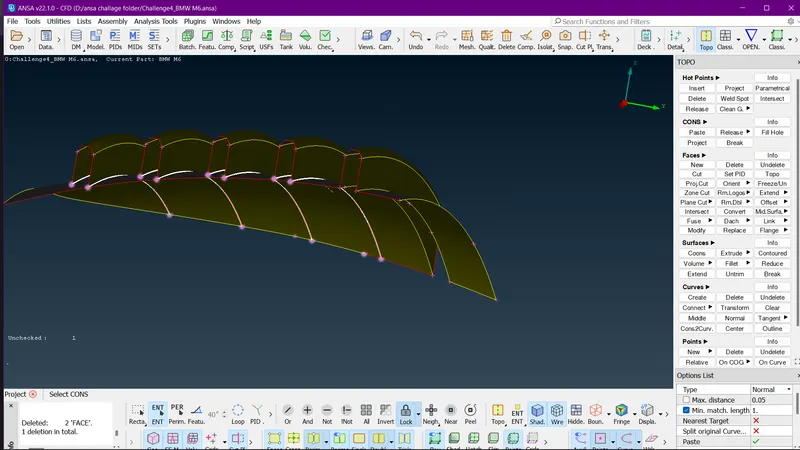
49. Middle click to select surface on which you want to project cons and again middle click to confirm surface. and command is executed.
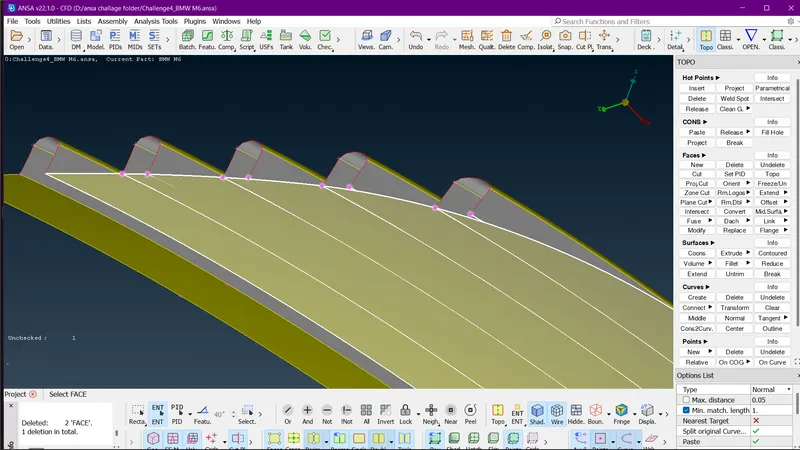
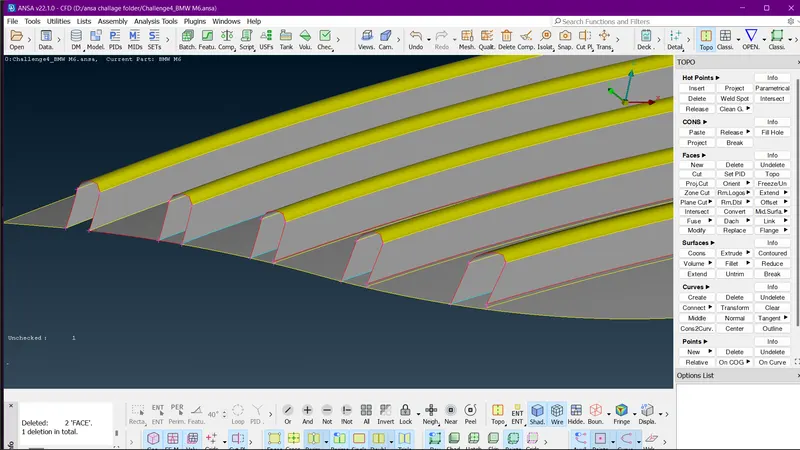
50. We will now first delete the surface which can be deleted usinfg Univrsal Delete.
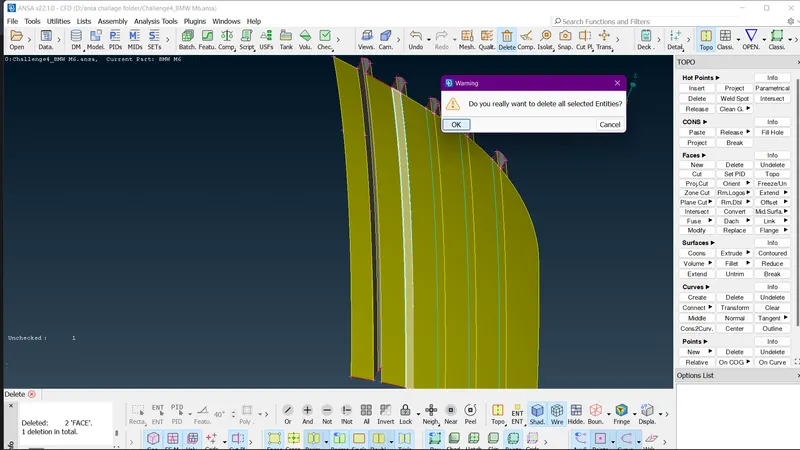
51. we can delete only this surface other are selecting a full surface which is to be split properly like this.
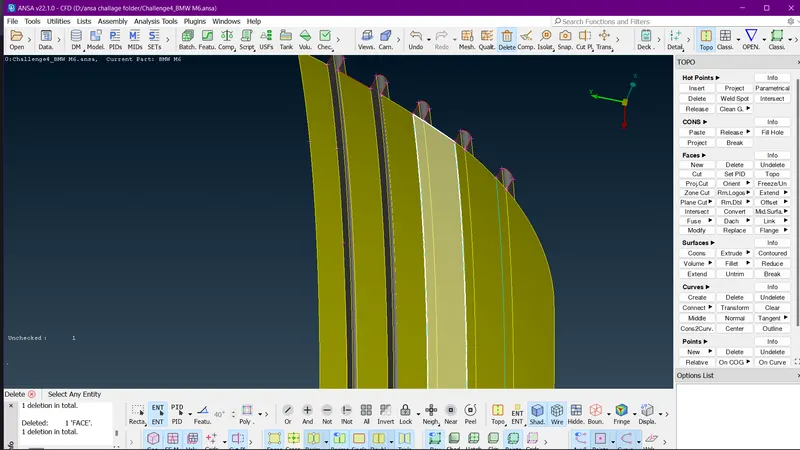
52. we can see here its showing that the coons are not connected. So that why the surfaces are not deleted.
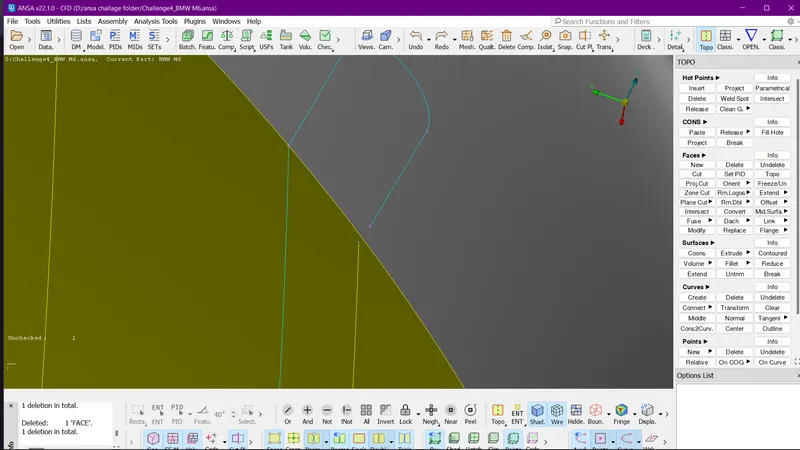
53. we will use project(hotpoints) option to create a projection of the hot points.
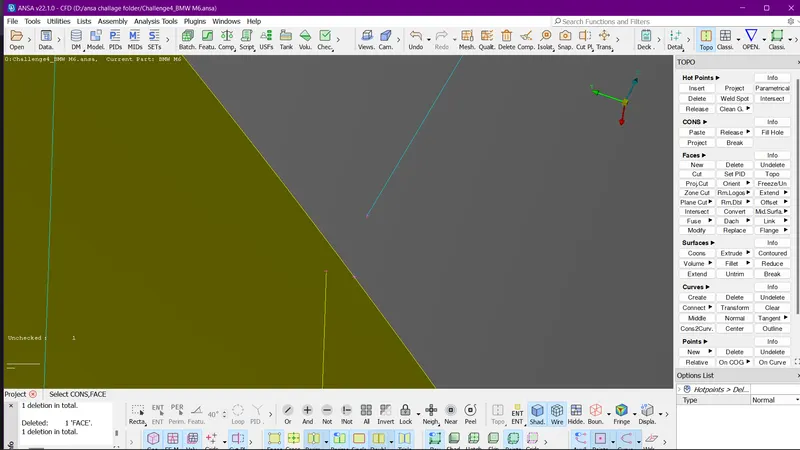
54. we can see that the hot point is getting projected in wrong direction. so now we will use FACES ( CUT ).
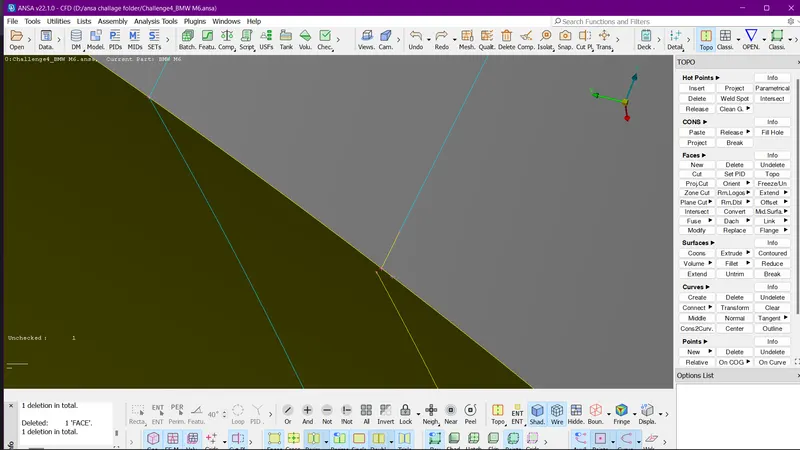
55. we can see the hot point is projected right . now we will make the cut on the surface using the same hot point we projected. and delete all oher hot points and the middle surfaces.
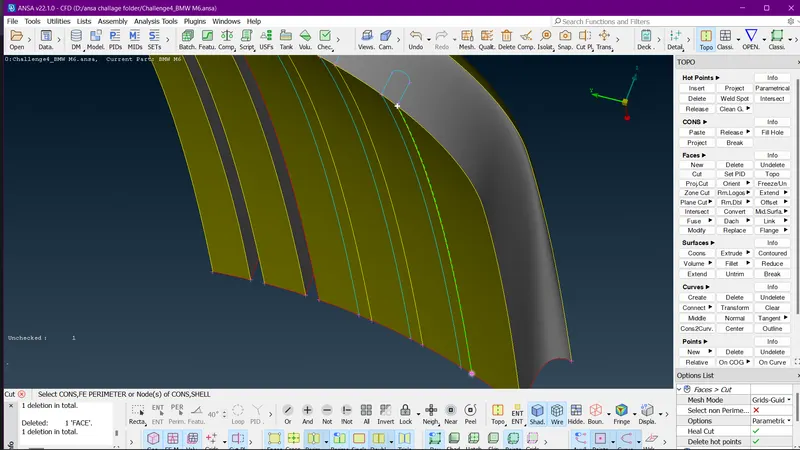
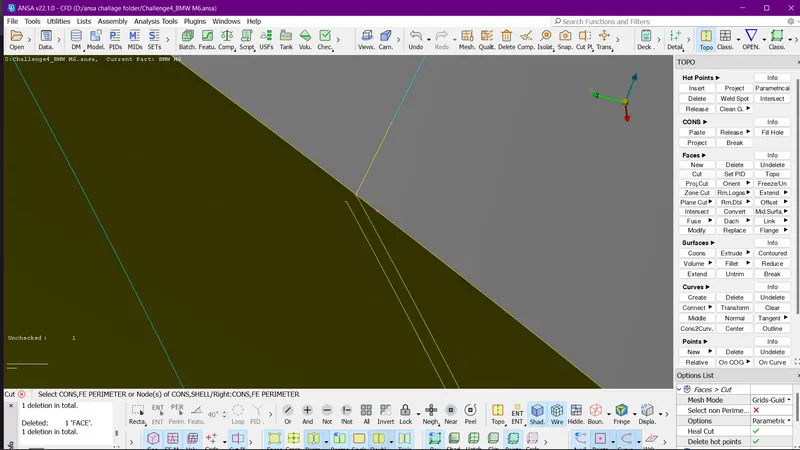
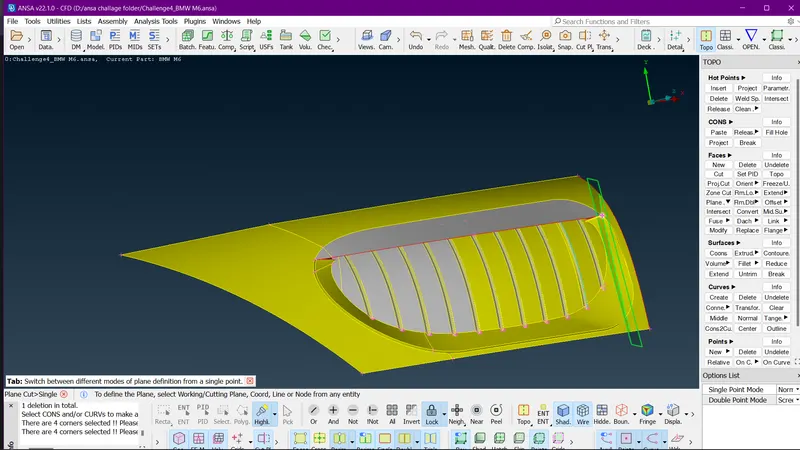
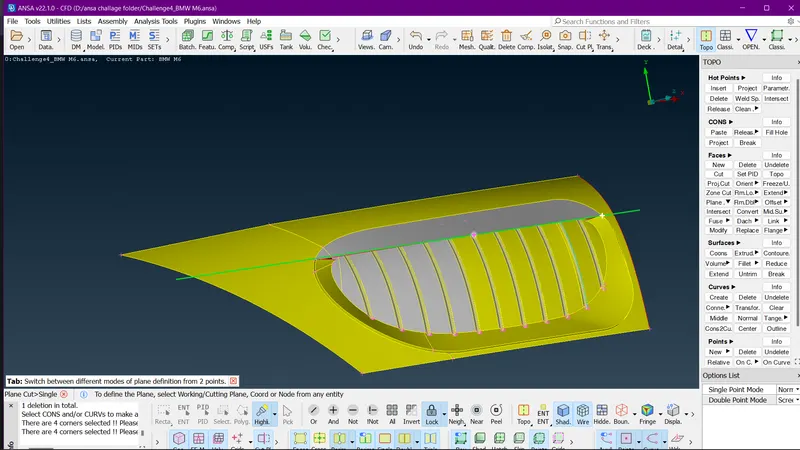
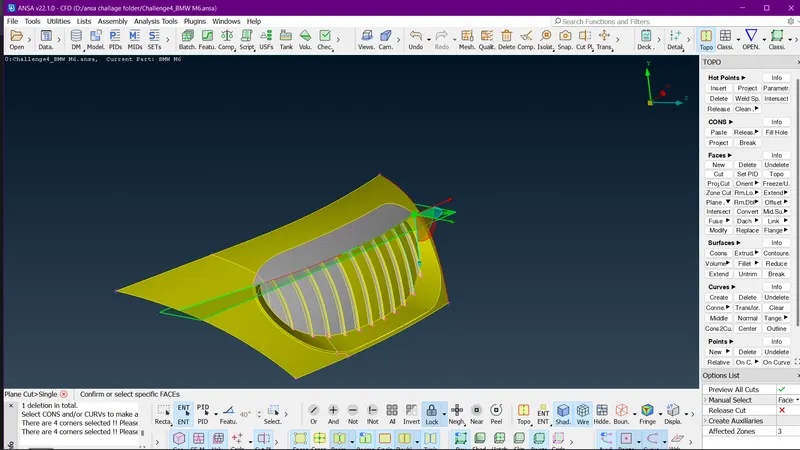
56. Deleting surfaces using universal delete.
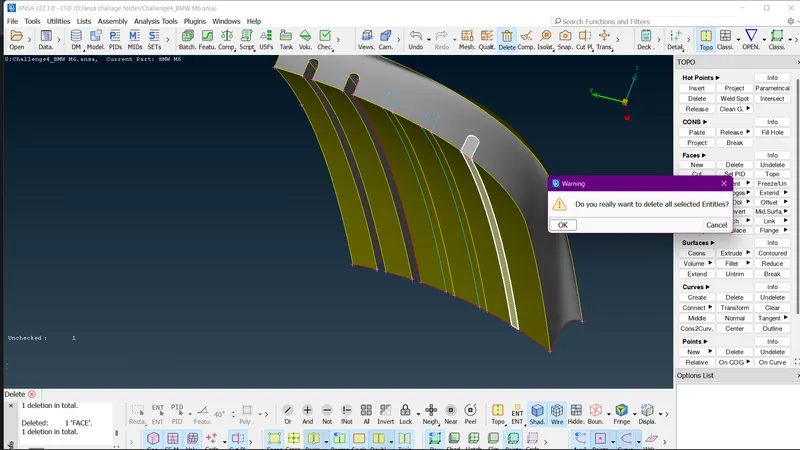
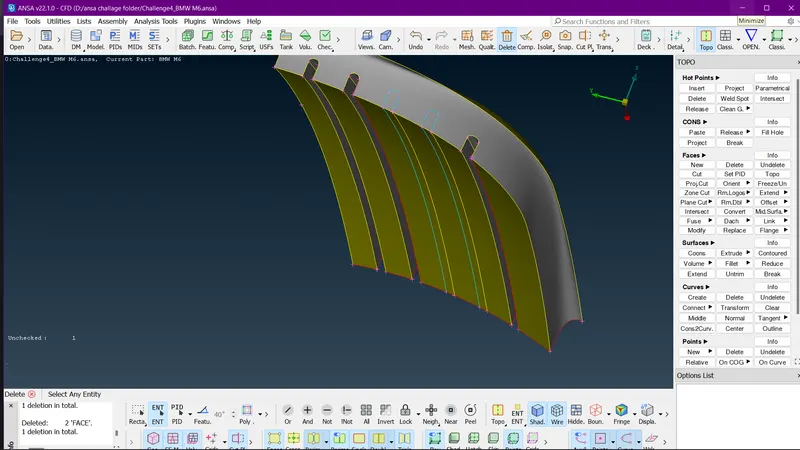
57. we can see the surface is deleted , now we will do the same prcedure for all the remaining fins.
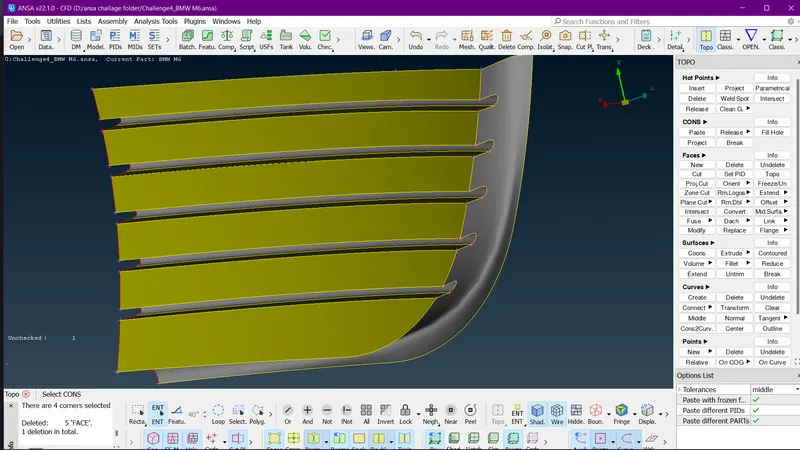
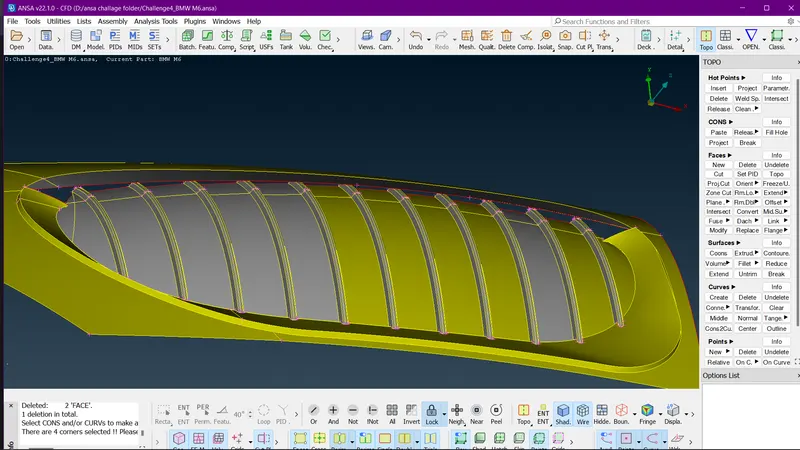
58. we have cleared everythin in the center griil of BMW.
59. we will now go for ALL and then we will hide all part except the front upper grill an put lock on it.
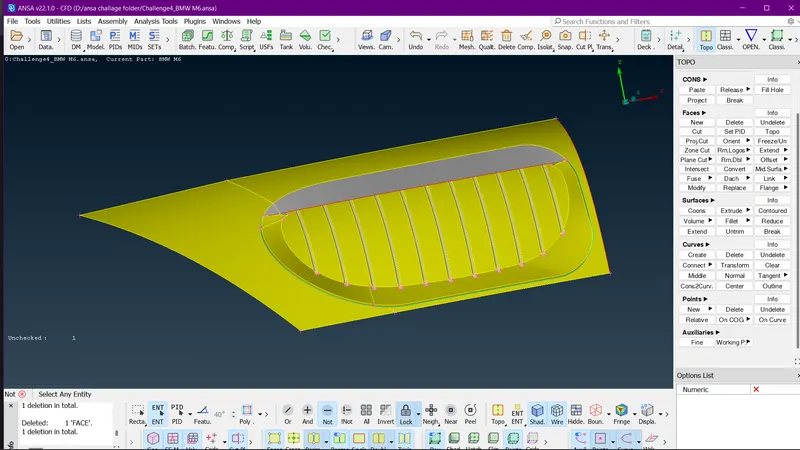
60. we will now work on the this grill for geometry cleanup.
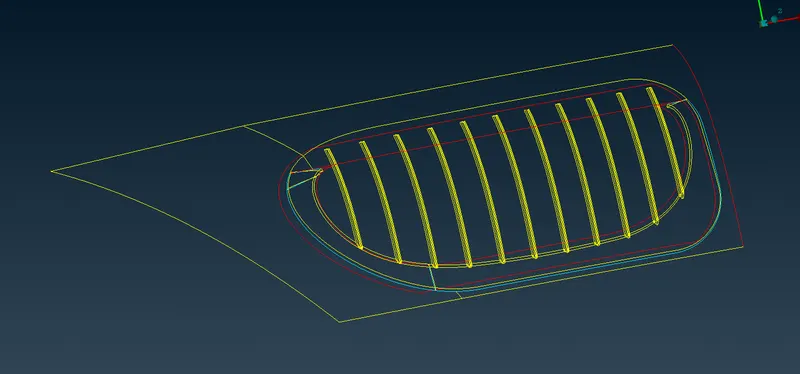
61. we can see all the tripple and single coons present in the grill geometry.
62. we will try deleting the surfaces which are not neccessary in the geometry using universal delete.
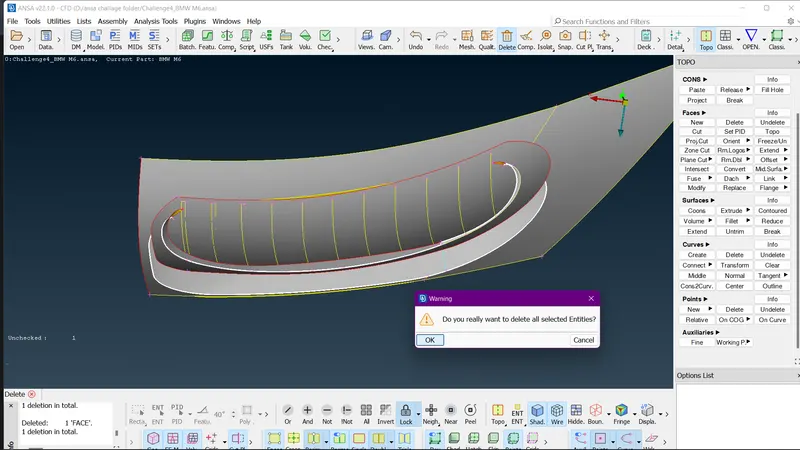
63. now we can see that all the Blue cons are removed.
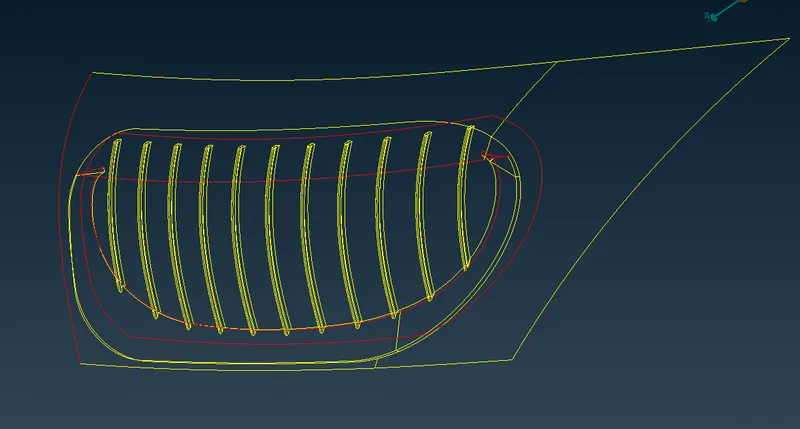
64. Now we will delete the rear surface because its not needed.
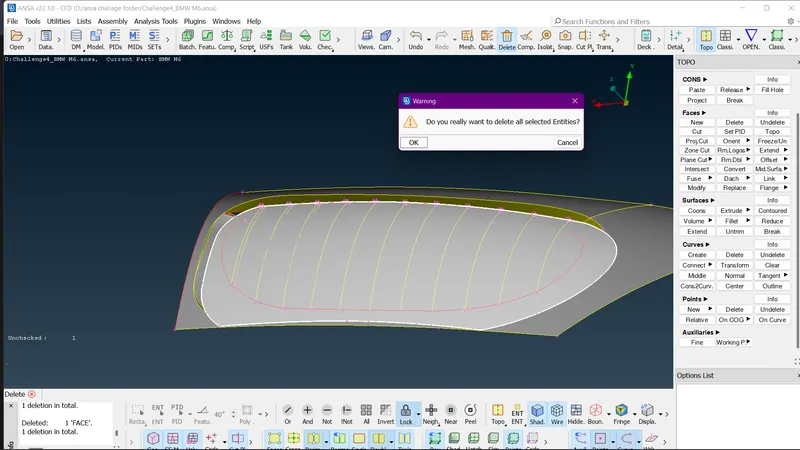
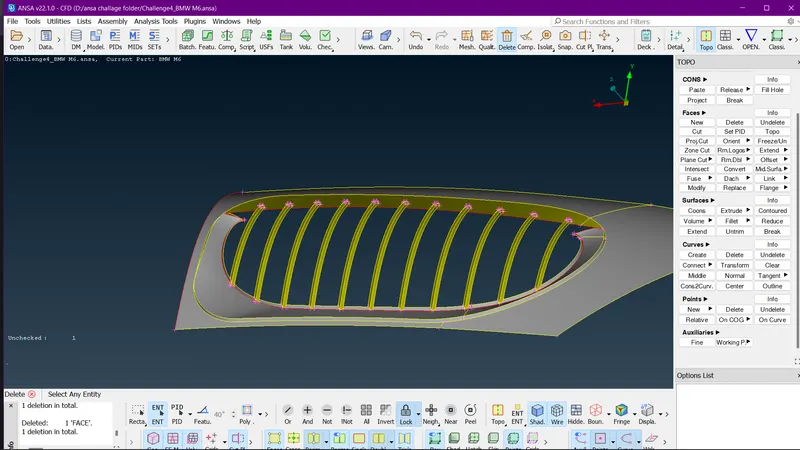
65. Now we will delete back surface of the fins as its an internal volume and not needed.
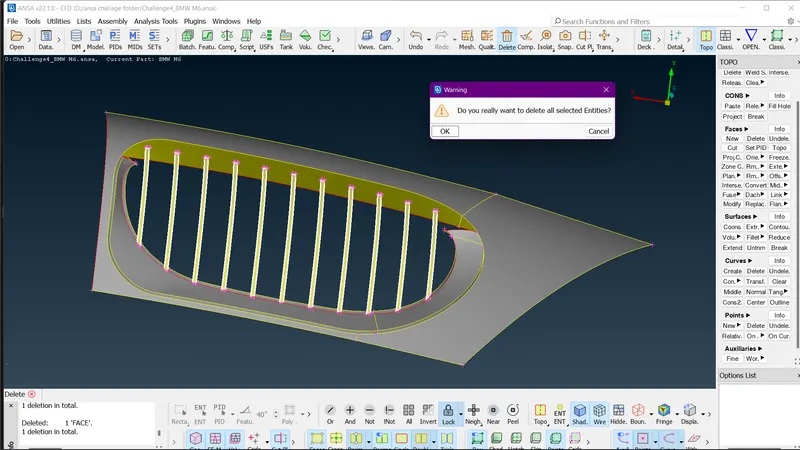
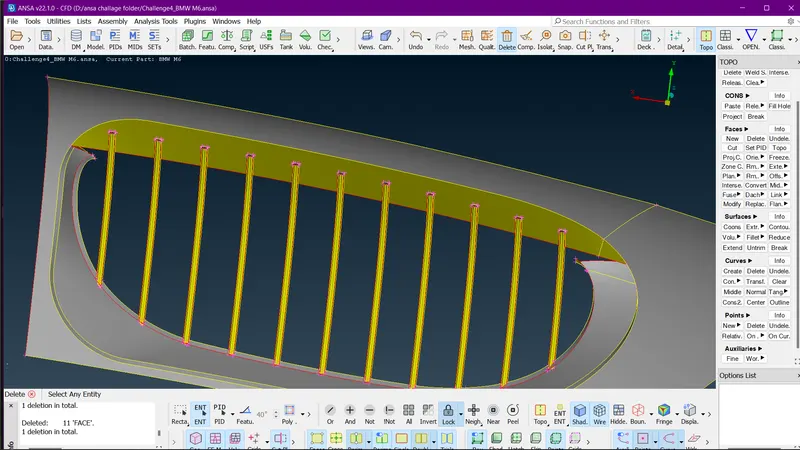
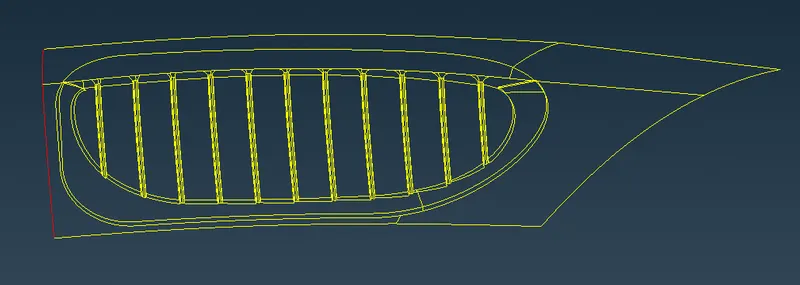
66. After deleting we can see that there are some surfaces distorted we need to make a zigzag cut .
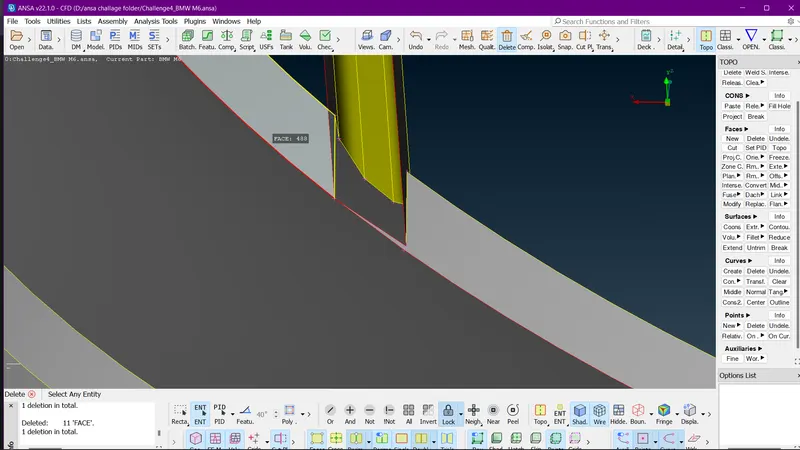
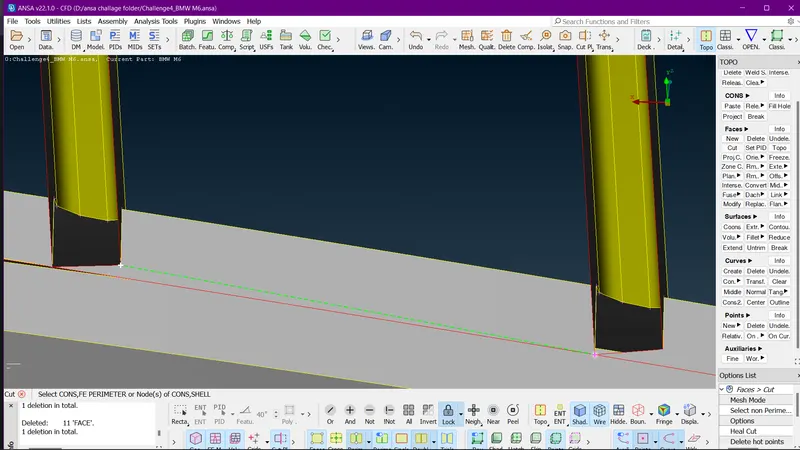
67. we will perform this cut throughtout the grill at the fins bottom surface and delete the surfaces needed to delete. using universal delete.
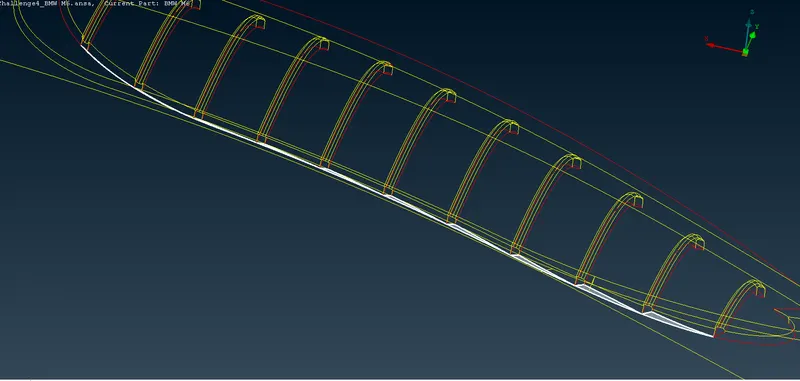
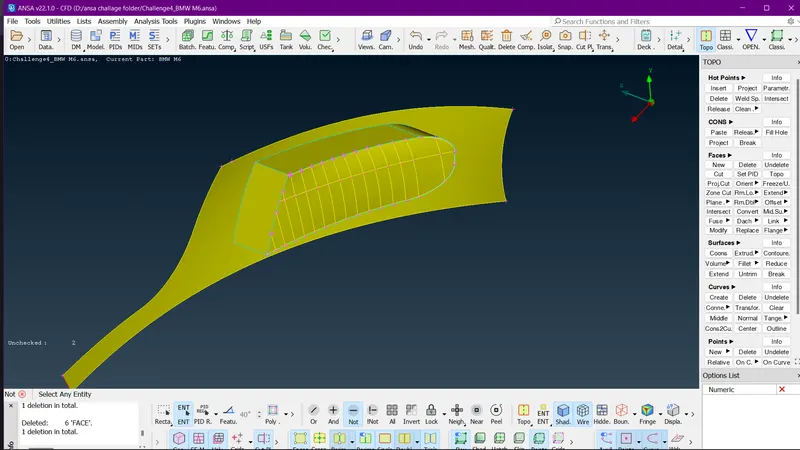
68. We can see all the surfaces are deleted.
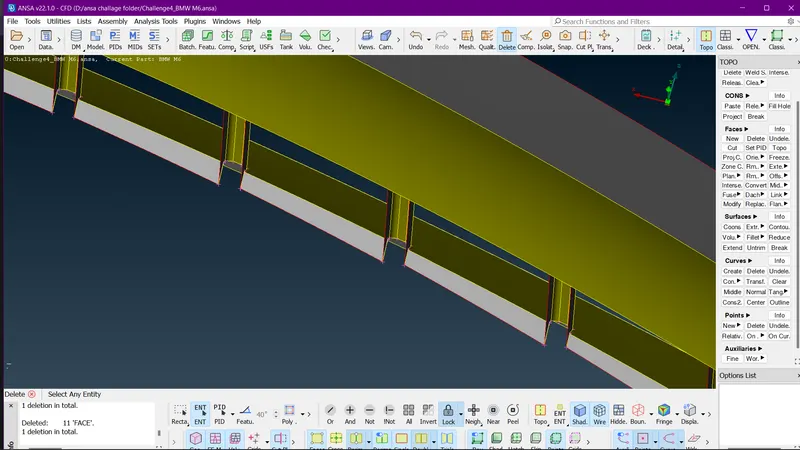
69. We have to make surfaces btw the fins using FACES ( NEW ).
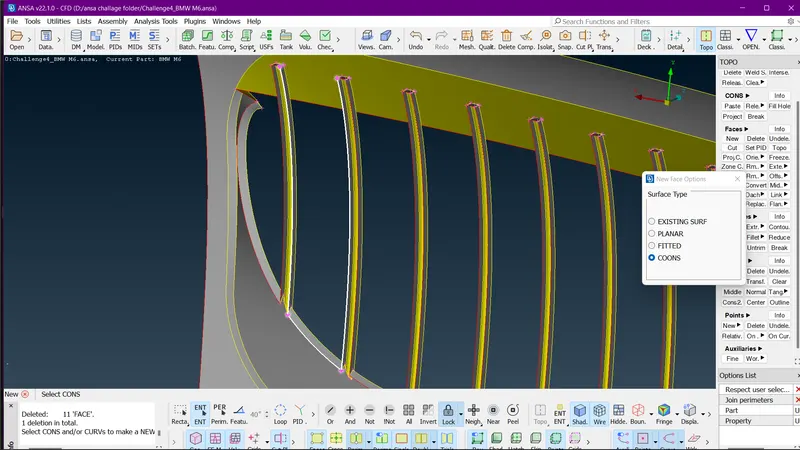
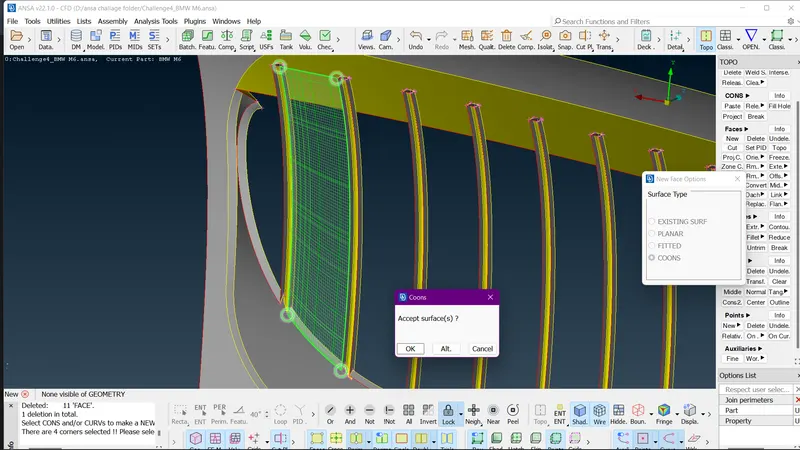
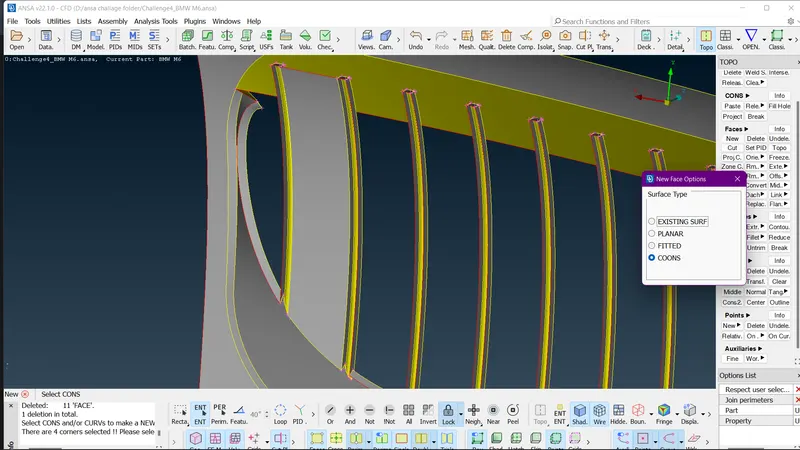
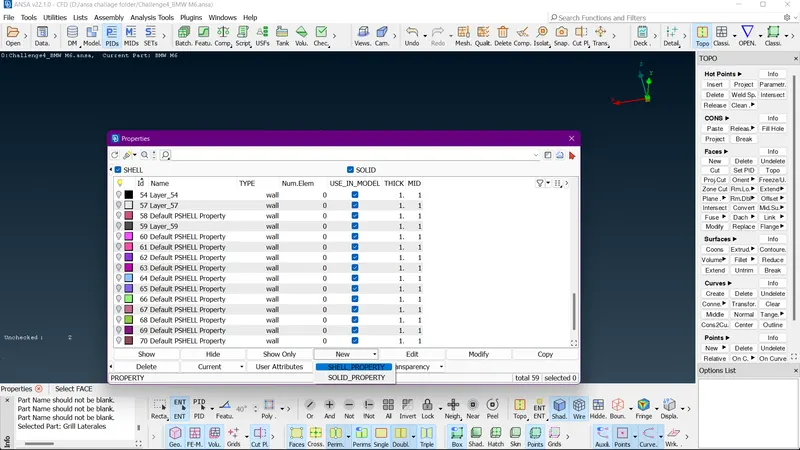
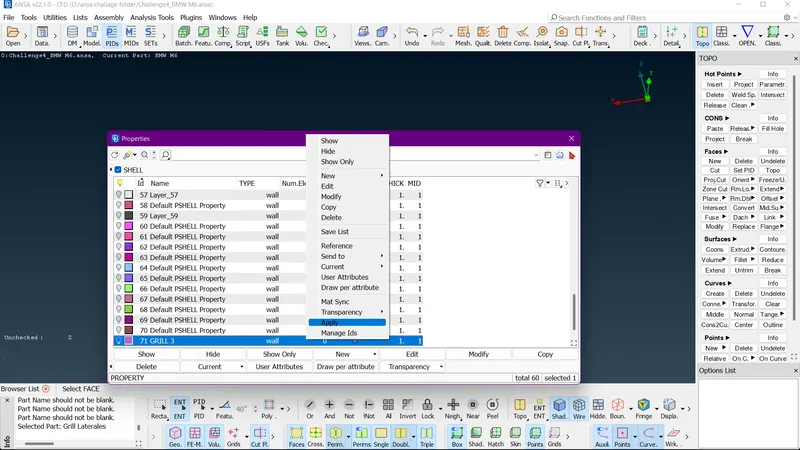
70 we can see the surface is created, we need to do this with all the fins.
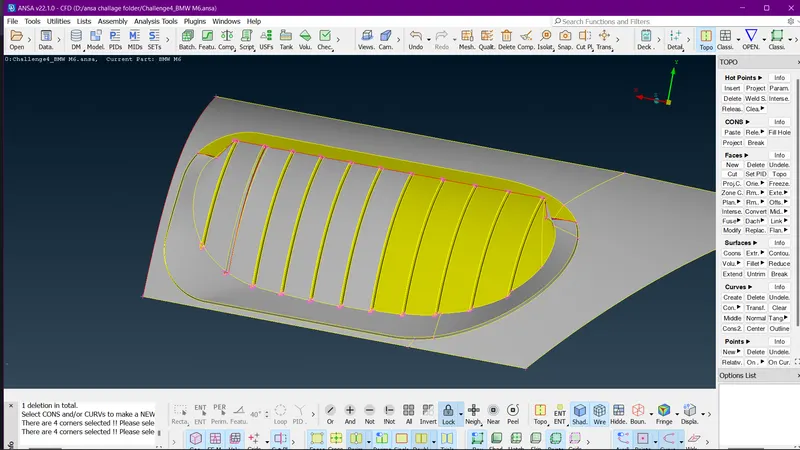
71. As we have created all the missing surfaces. we will make a plane cut through the outer surface coon.
72. Before that we have to split the coon into 2 parts using PARAMETRICAL ( HOT POINTS ).
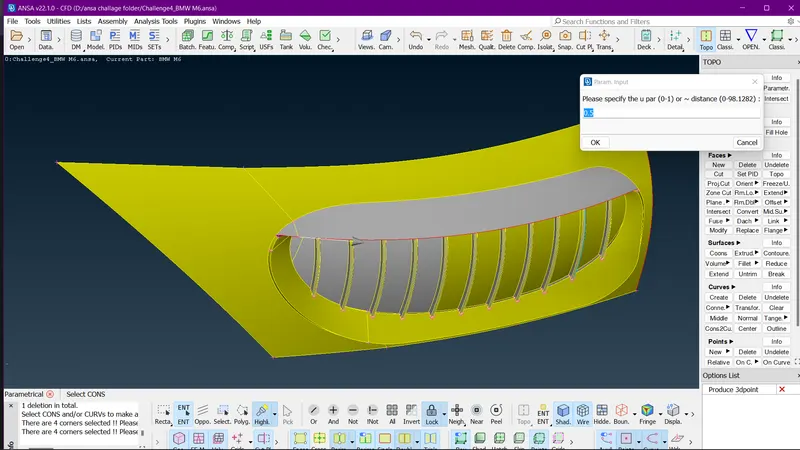
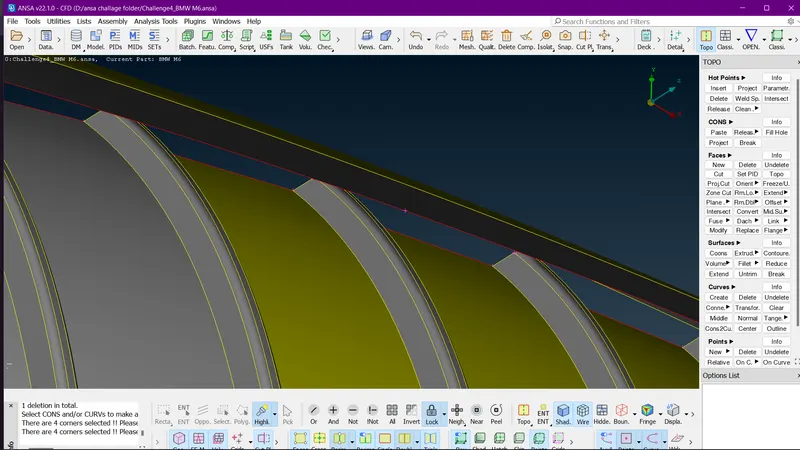
73. Now we can make the plane cut using these hot points. and select the 3 points and middle click to do the plane cut.
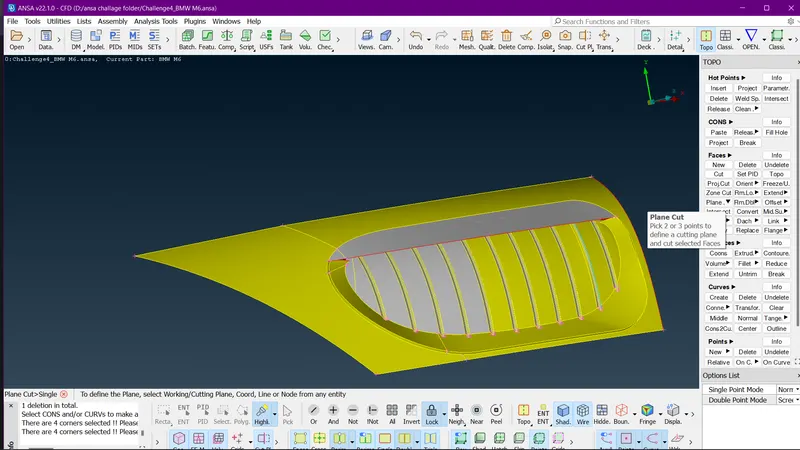
74. now we can se the surface cut is done and the fins are split into 2 pieces.
75. Now we will hide using NOT and delete upper part fins using universal delete.
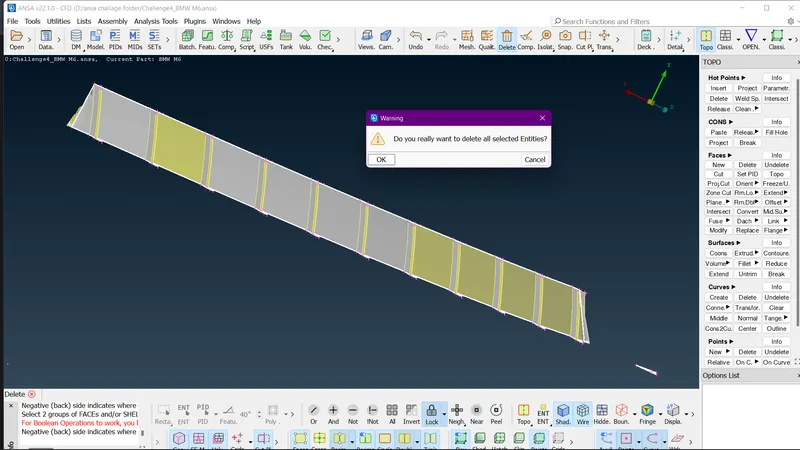
76. now go for ALL and we can see the upper part is deleted.
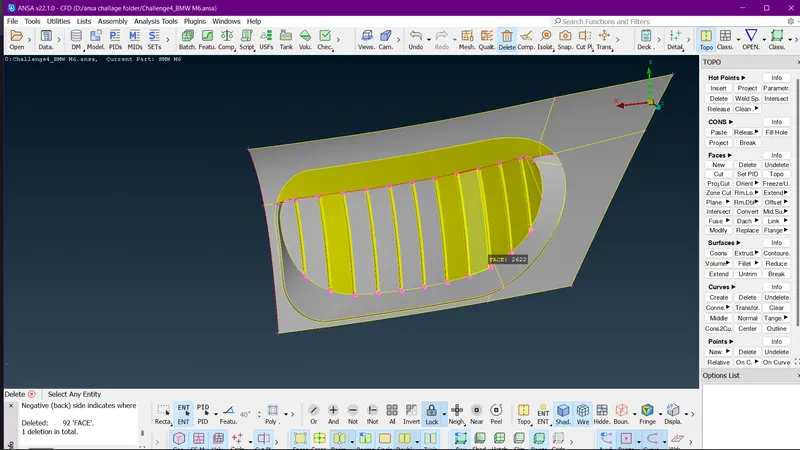
77. now we will project hot point on the top suface bottom coon from the fins hot points.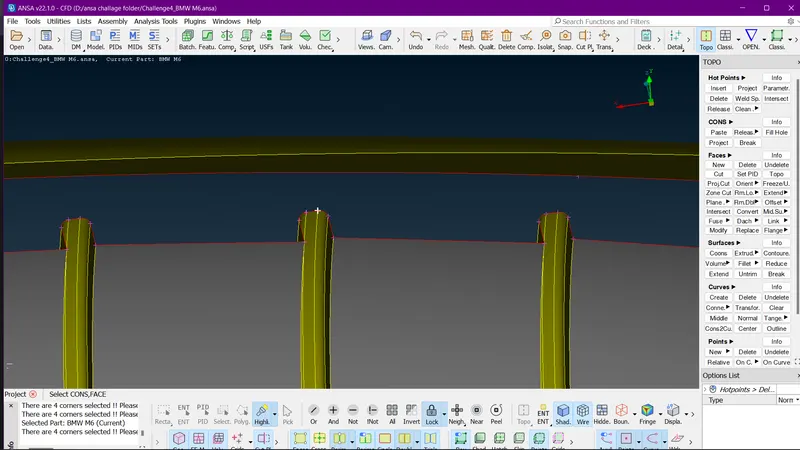
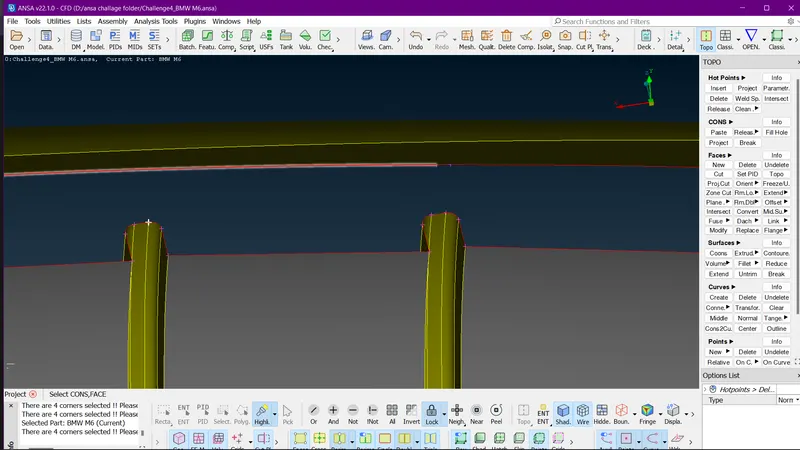
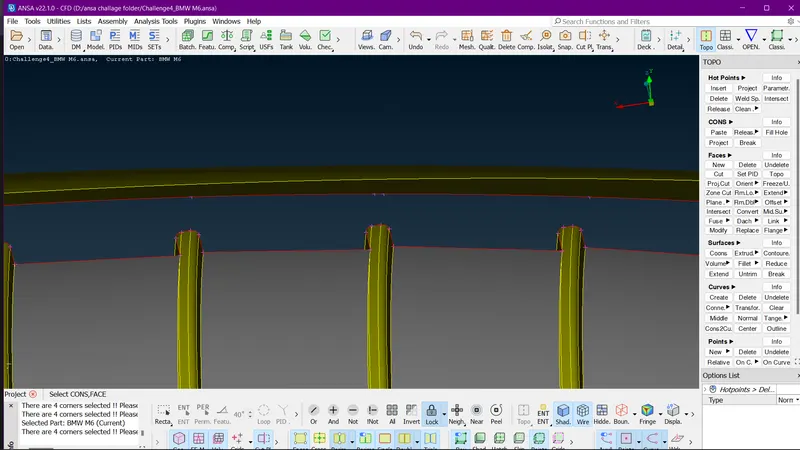
77. we will project all fins hot points like this .
78. Once the Hot points are project we will make surfaces btw the upper surface and the fins.
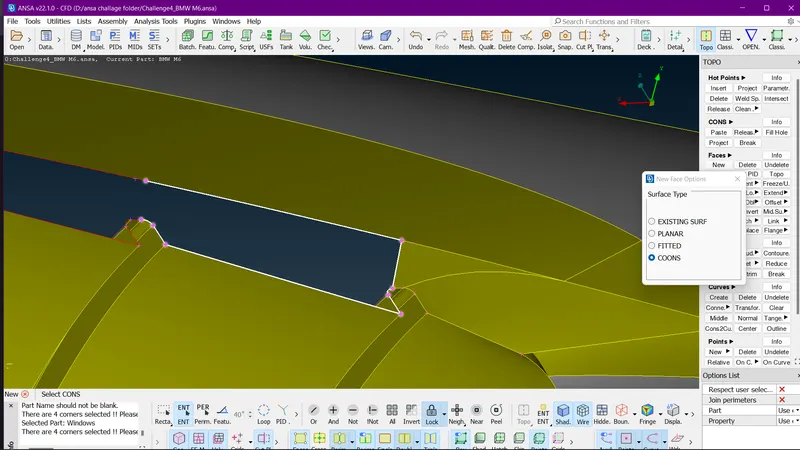
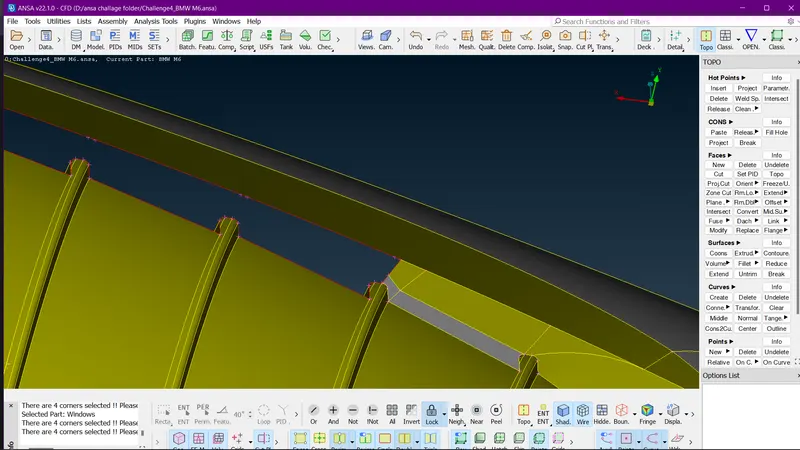
79. we will do all the other surfaces like this.
80. Proceeded with this but the surface creation was not good . so manualy using INSERT ( HOT POINTS ) created hot points in between and make the surfaces by NEW (FACES ( ENT / LOOP )) OPTION. and got this result.
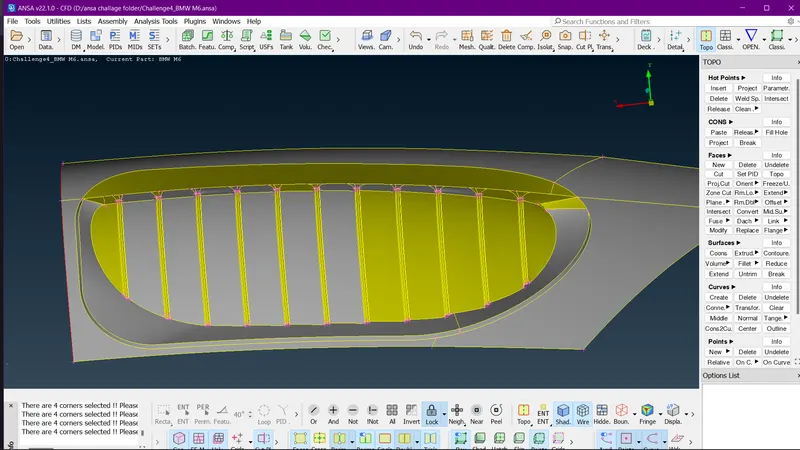
81. So we have cleared all errors in the Grill.
82. we can proceed to work on the third grill .
83. click on All and hide all the components Except the Third grill.
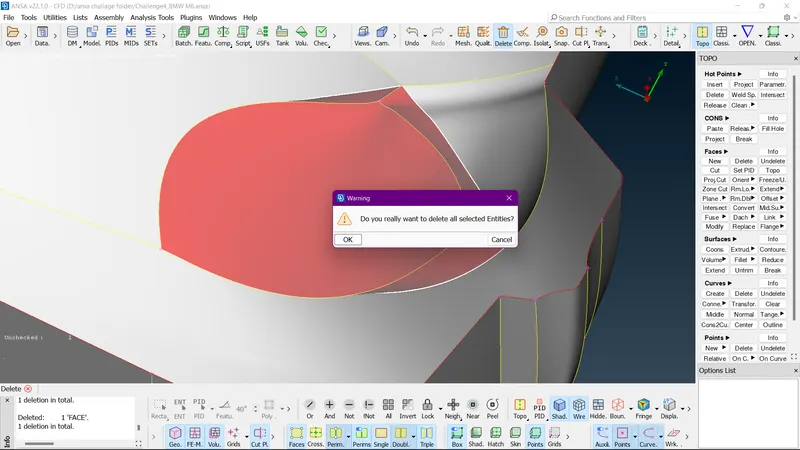
84. Now we will do Geometry cleanup for the third grill.
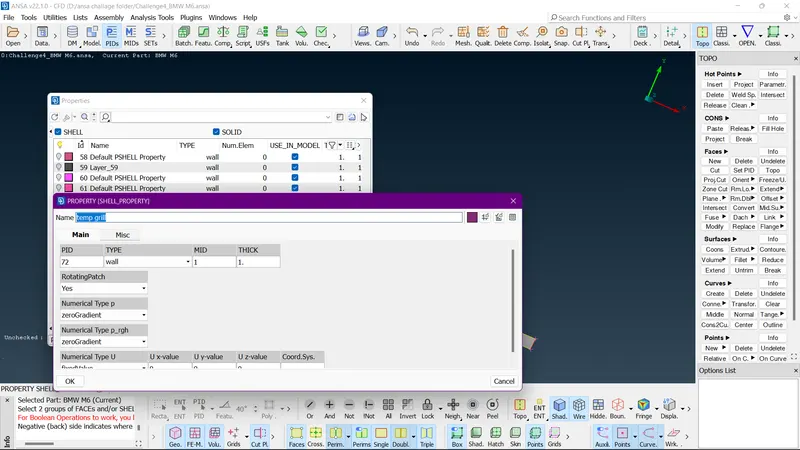
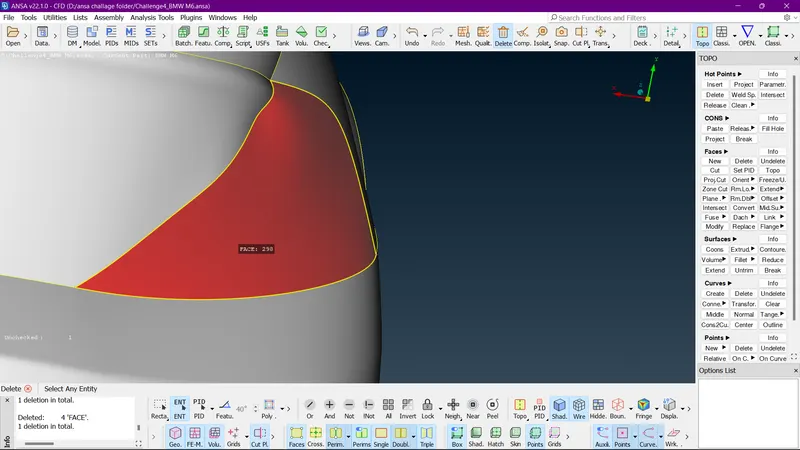
85. Lets first define PID for the grill.
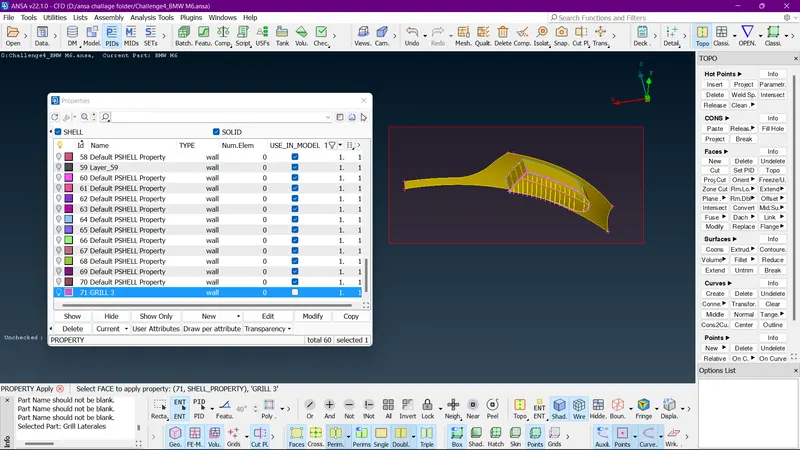
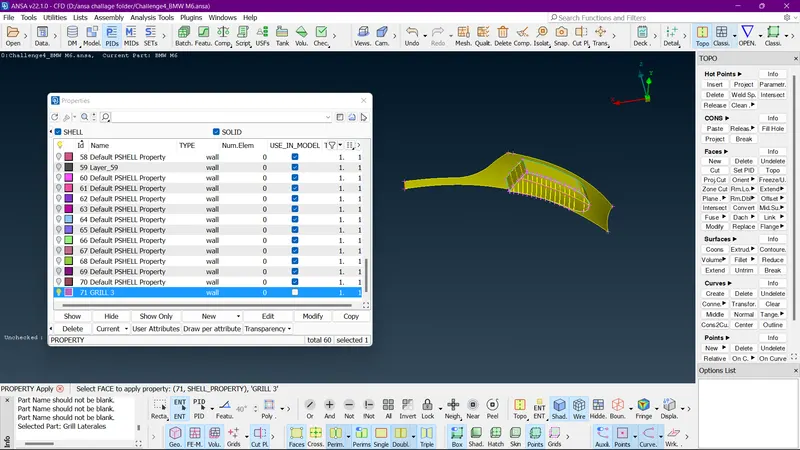
86. we will now project hotpoints on the coons using Parametrical (hot points)
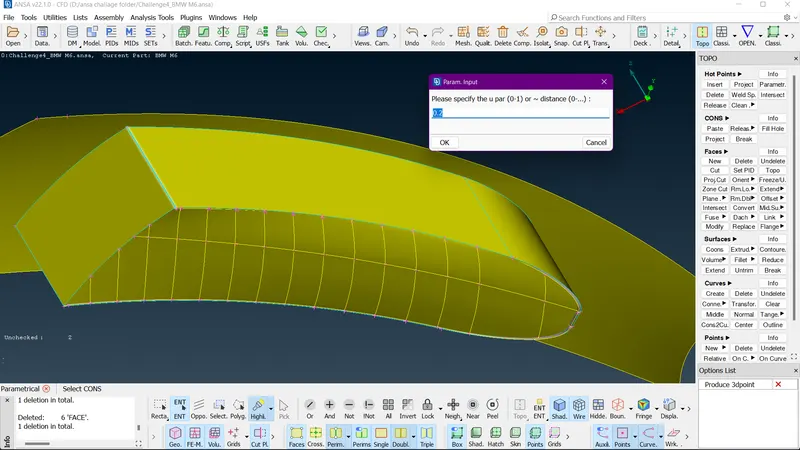
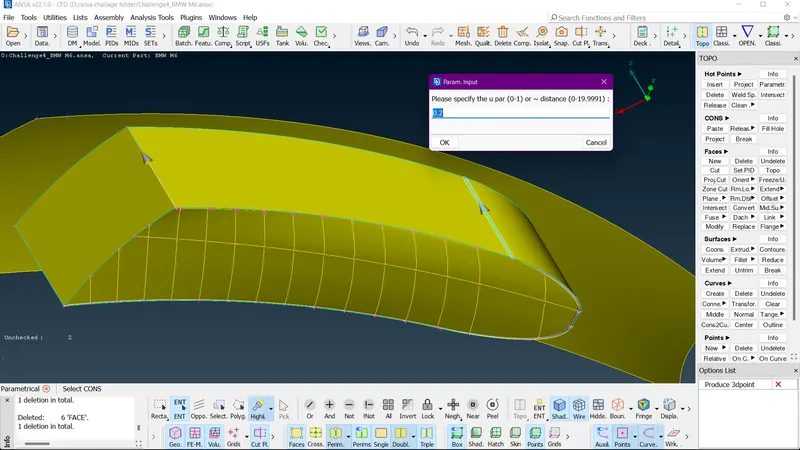
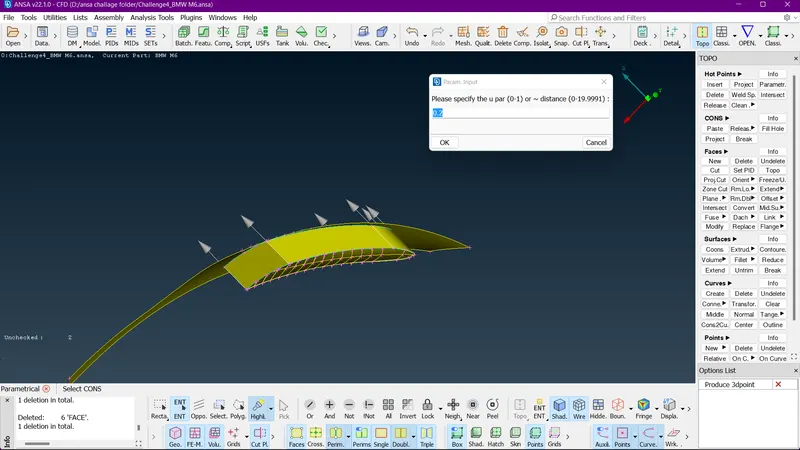
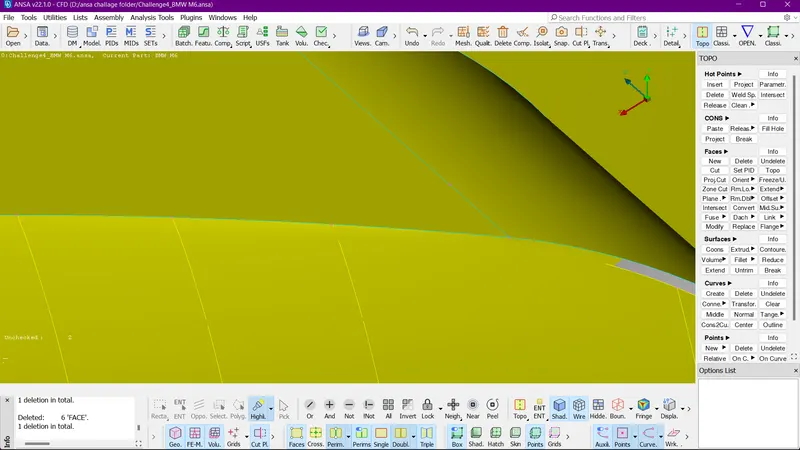
87. now we will make coons by joining these points all around the grill usinh FACES ( CUT ).
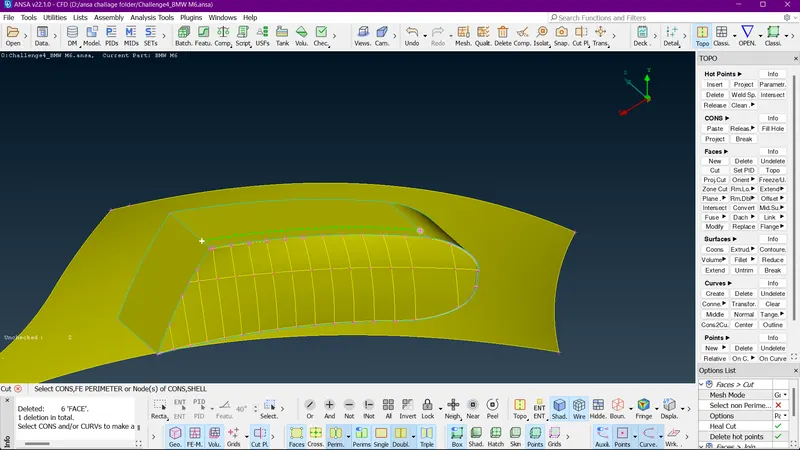
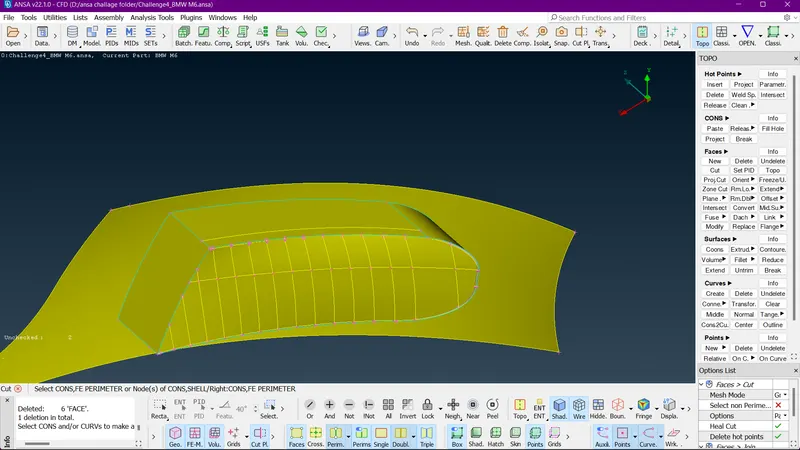
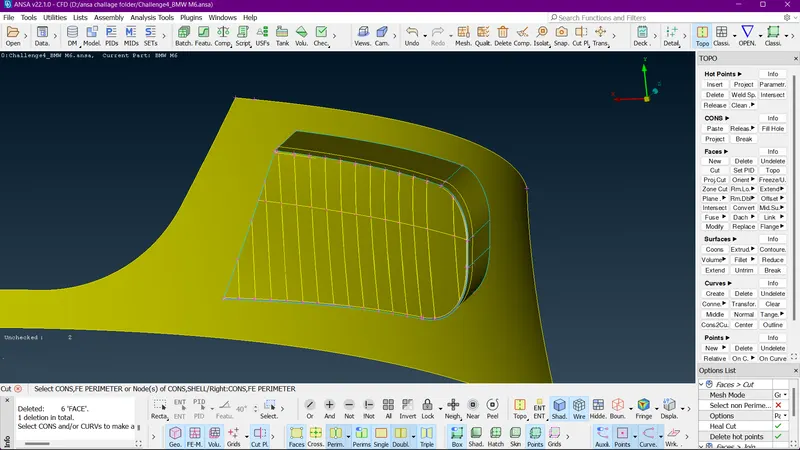
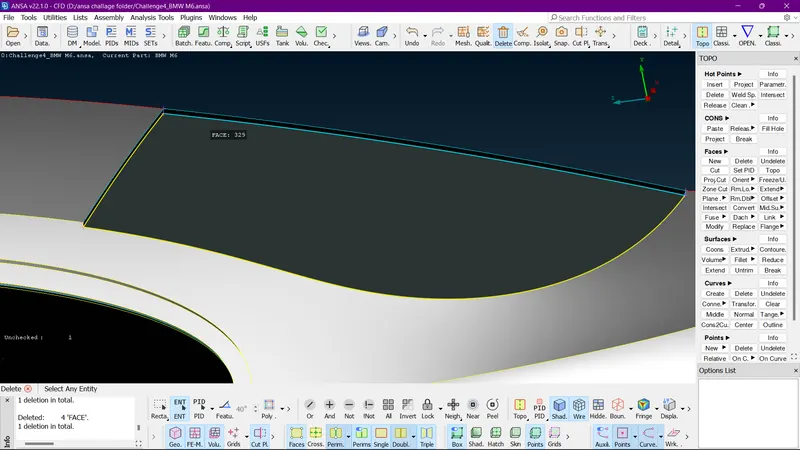
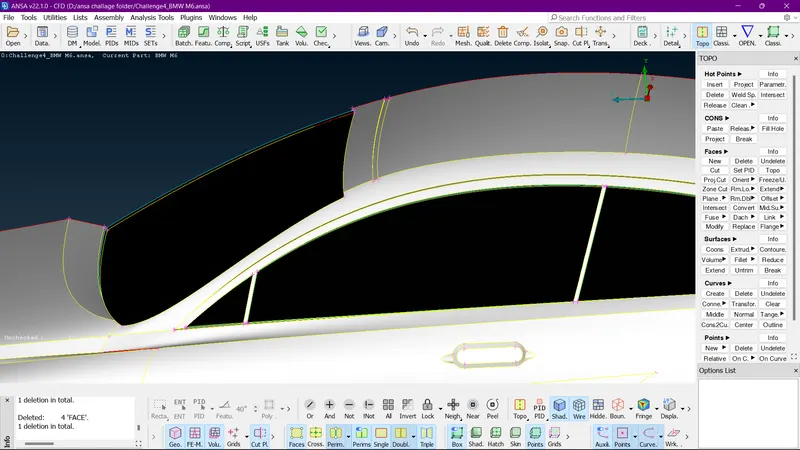
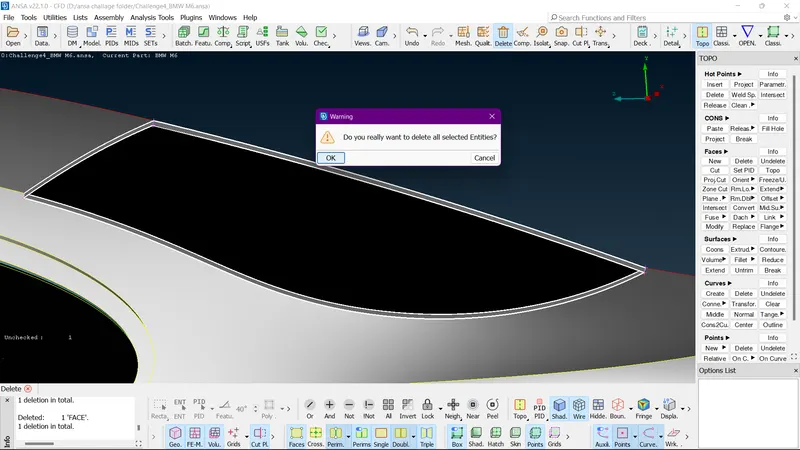
88. we can see that coons are created. now we can make surfaces using FACES (NEW (FITTED ( LOOP ))).
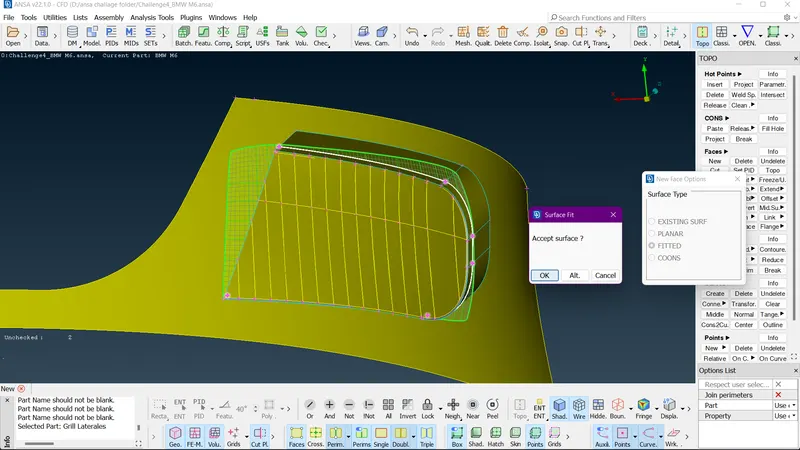
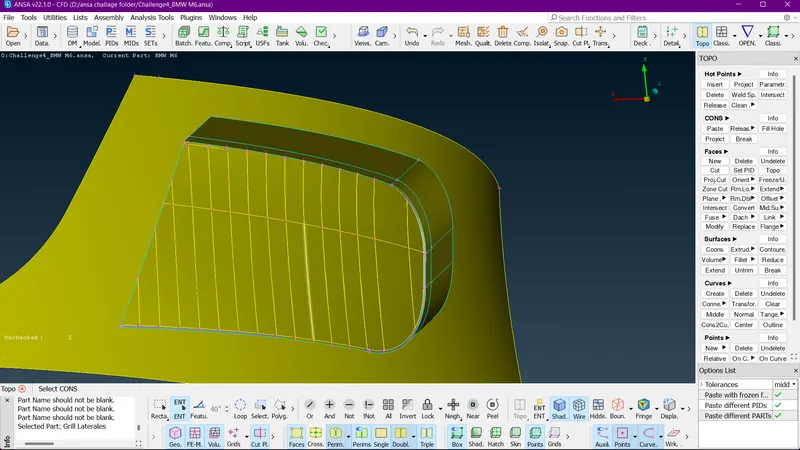
89. we will assign this surface different PID as temp grill.
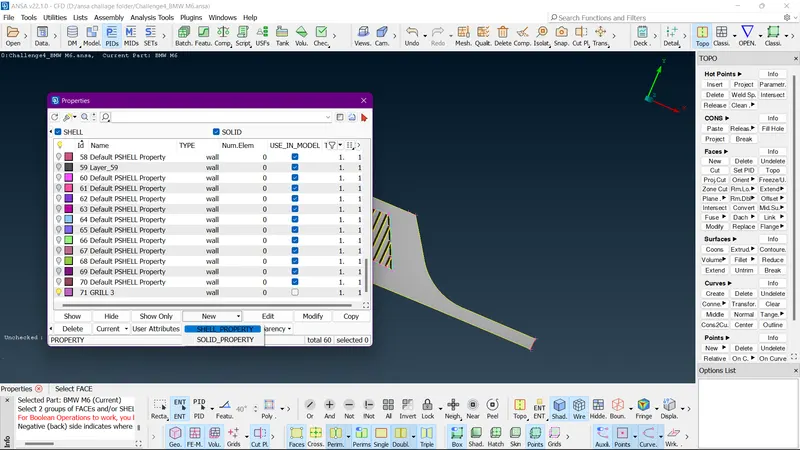
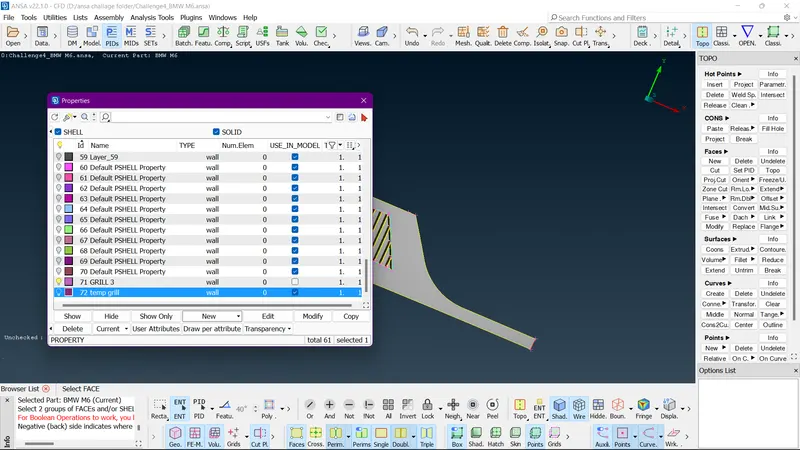
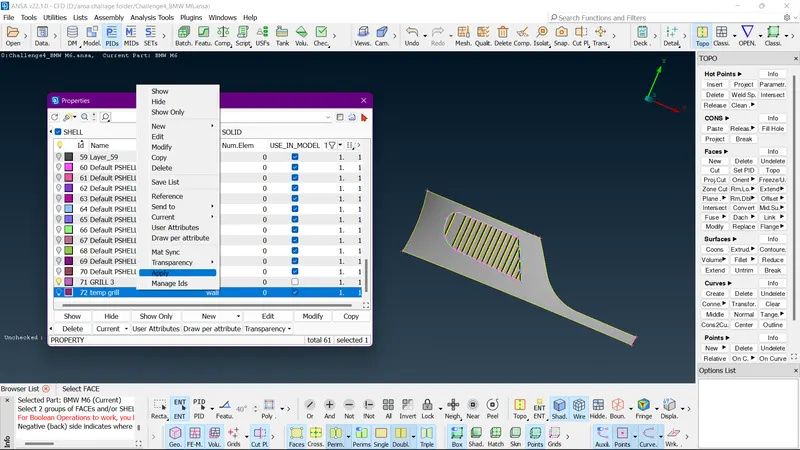
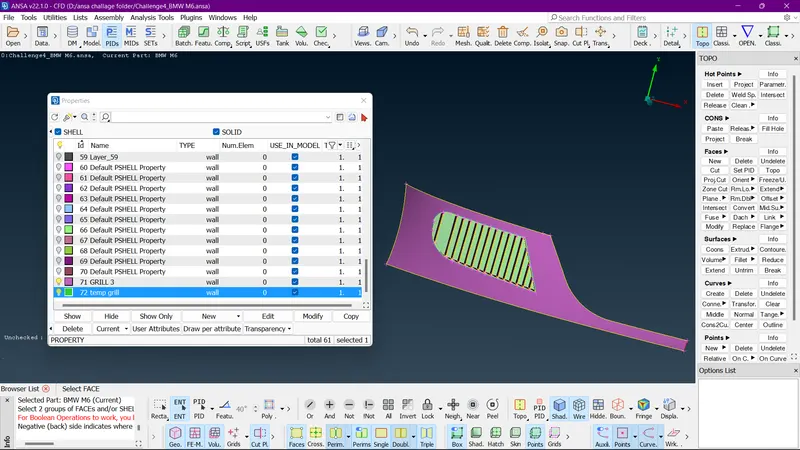
89. We can see now the surface is created and now we will use FACES ( INTERSECT ) option to delete the unwanted surfaces.
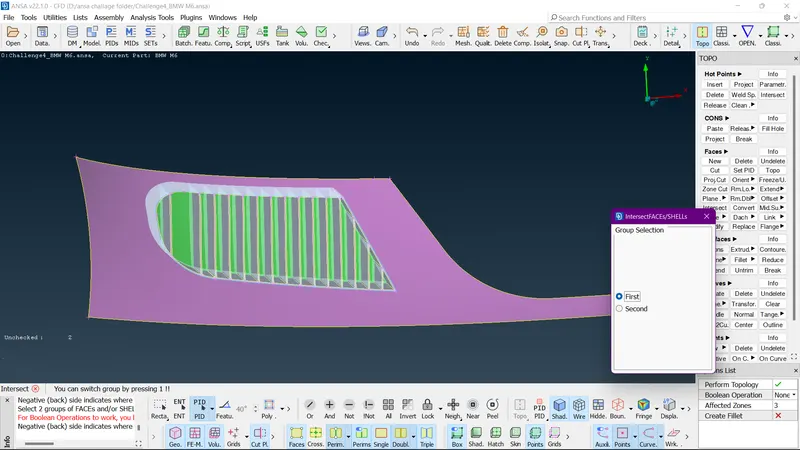
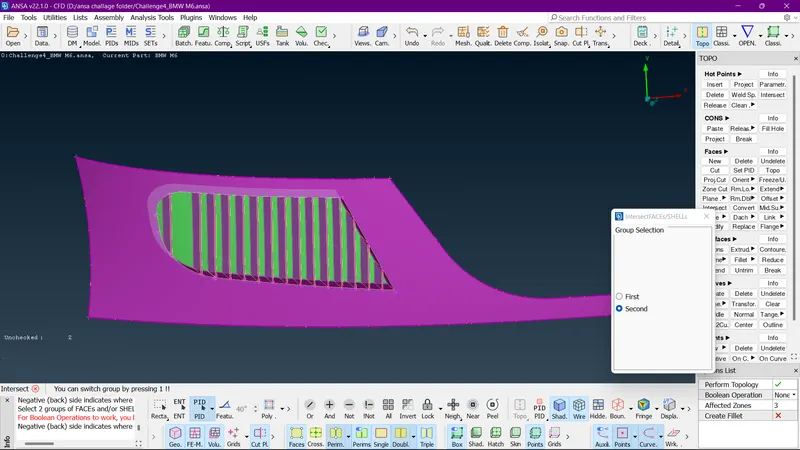
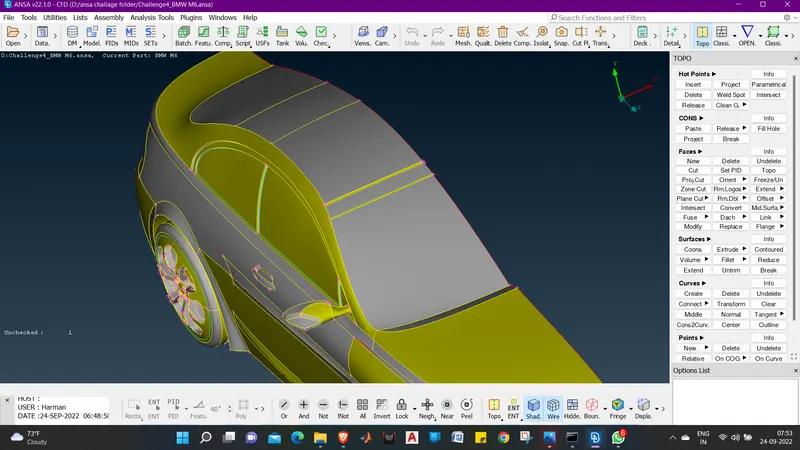
90. Now we will KEEP the surfaces we need else we will delete by the delete option in the dilogue window.
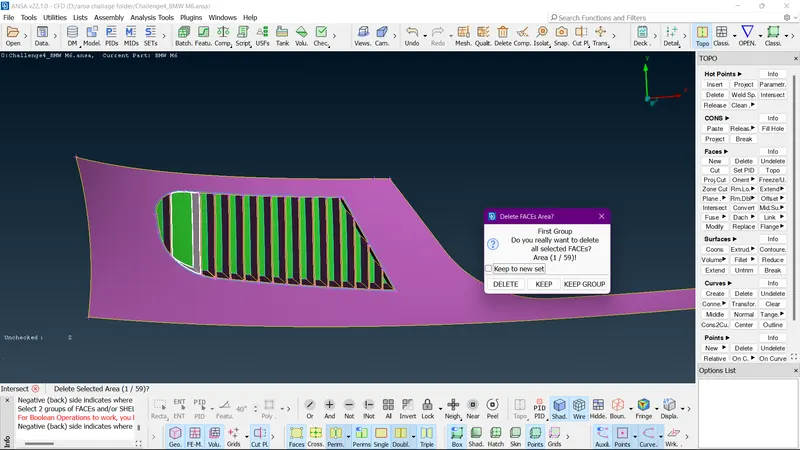
91. Now after deleting all the unwantd surfaces through intersect we have cleared all the errors for the grill.
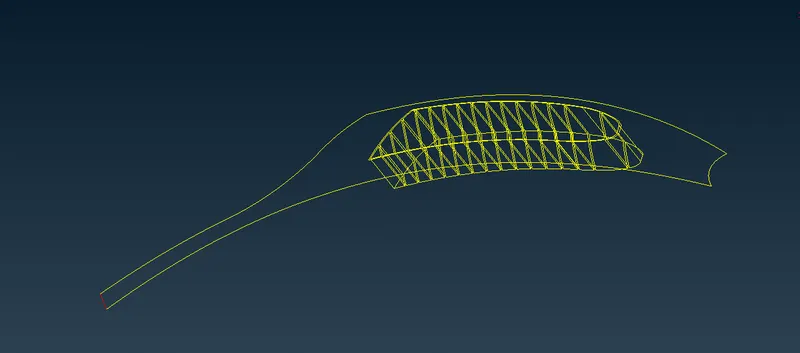
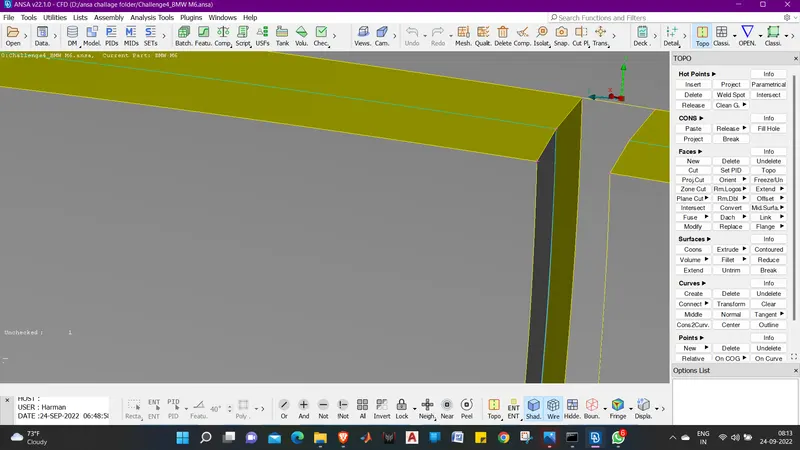
92. Now we will remove lOCK and do ALL .
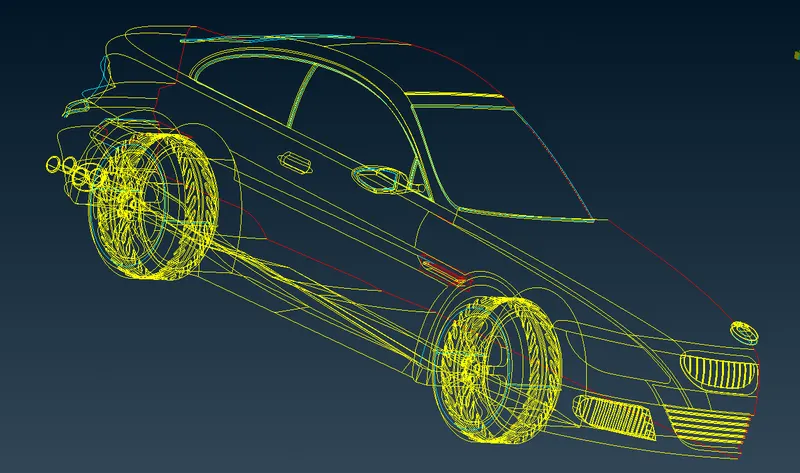
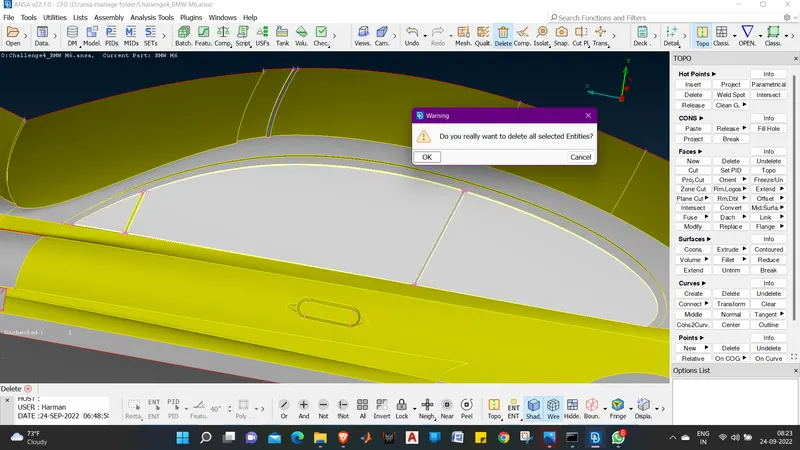
93. we can see the grills are now cleared and now we will fo for cleanup of other parts.
94. lets start from rear.
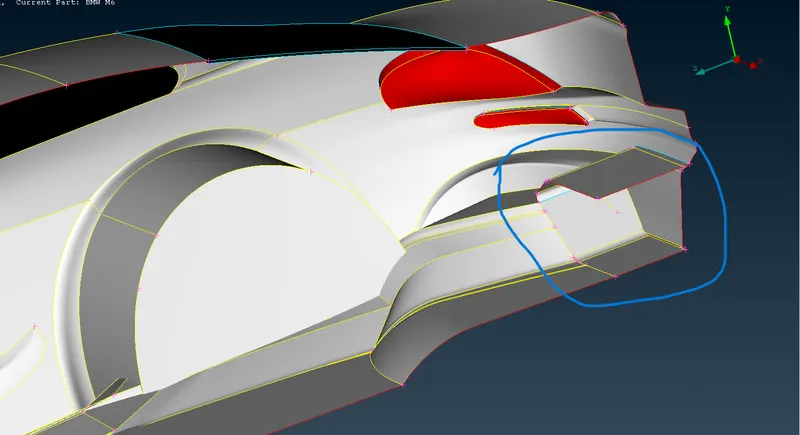
95. here in this picture we can see theere is an unwanted surface inside causing the tripple con at rear.
96. lets delete the surface.
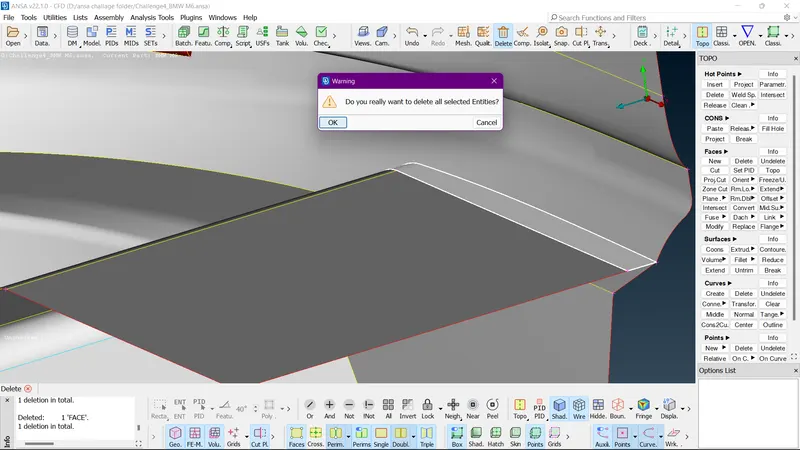
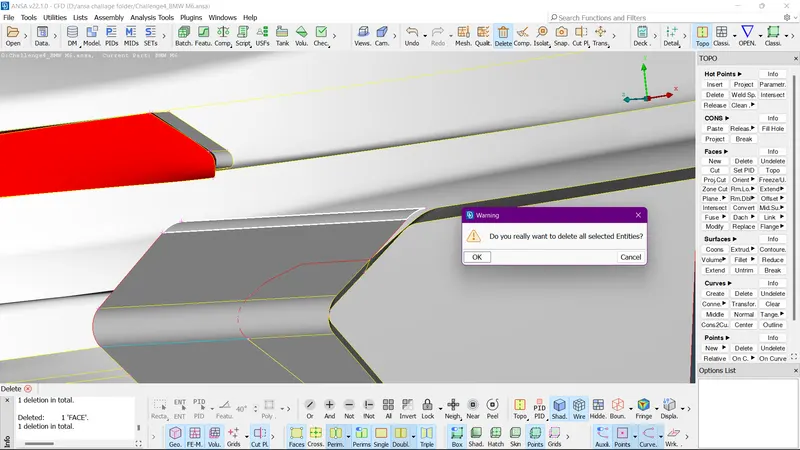
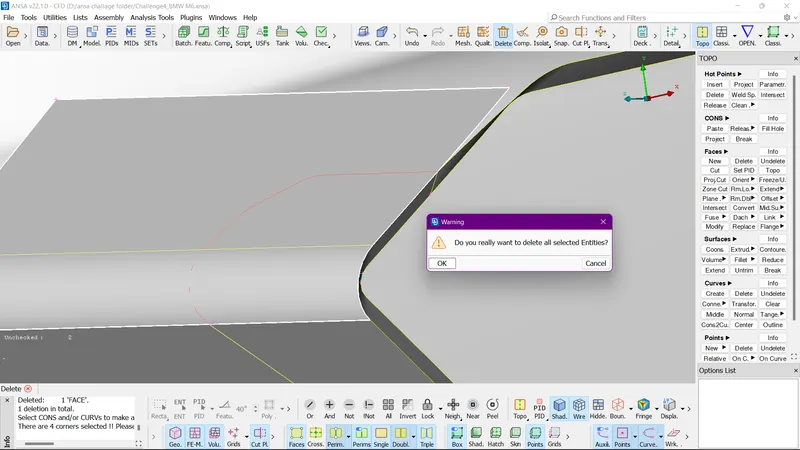
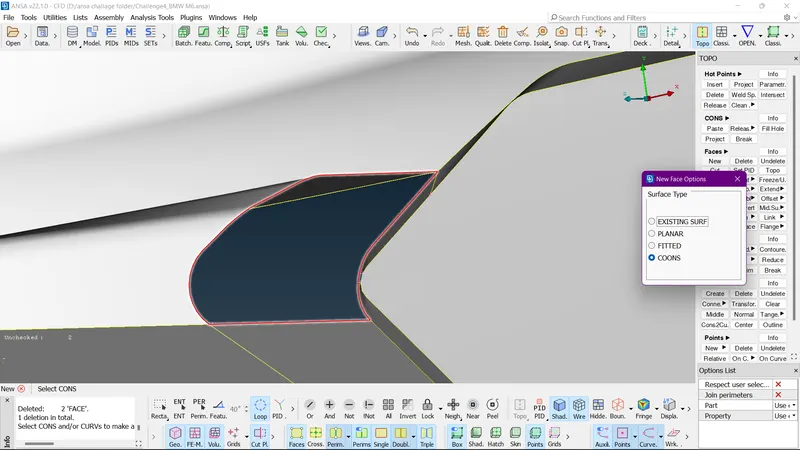
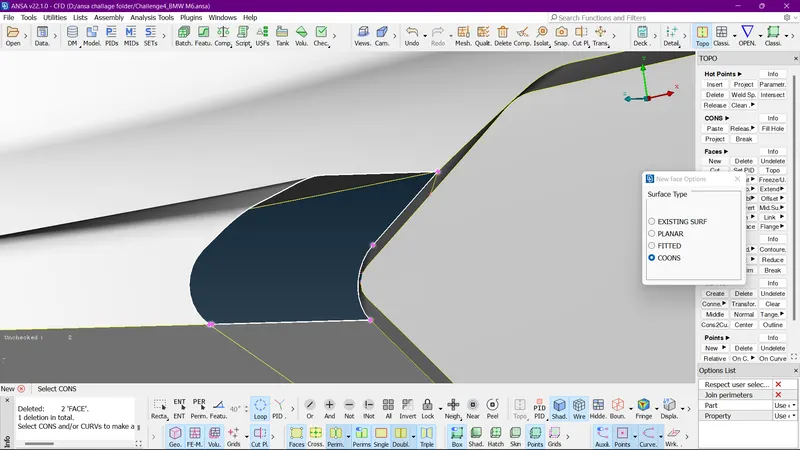
95. when we delete these surfaces the surfaces which we need also gets deleted.
96. We will make new surfaces using FACES ( NEW (COONS(LOOP))).
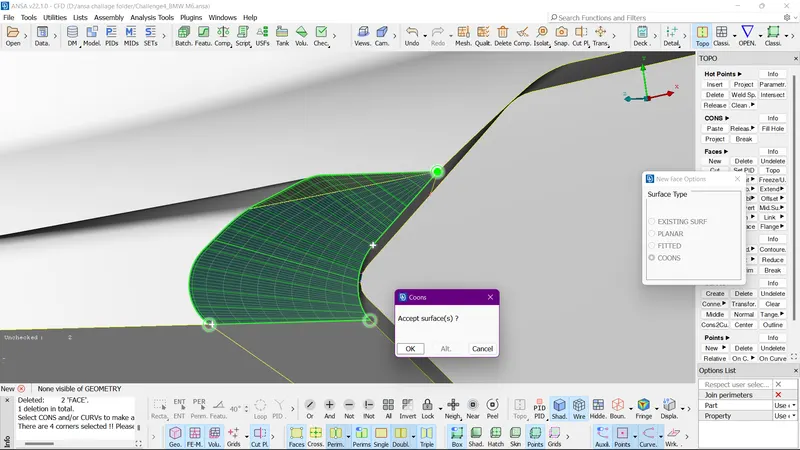
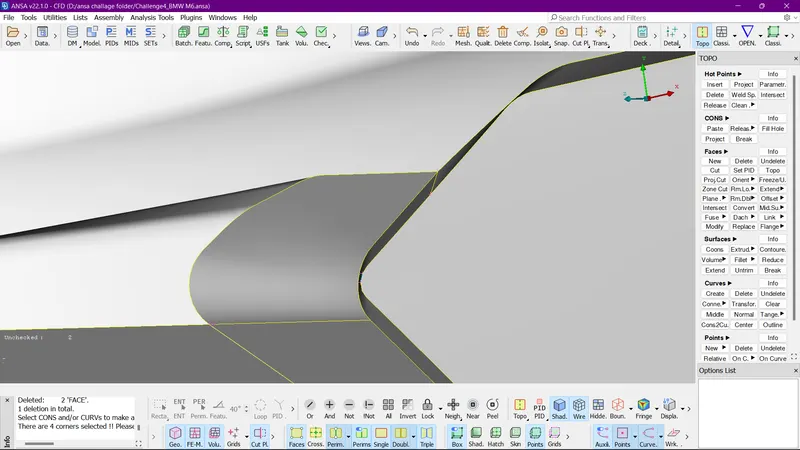
97. We have successfully created surface over there .
98. Now lets check for other errors.
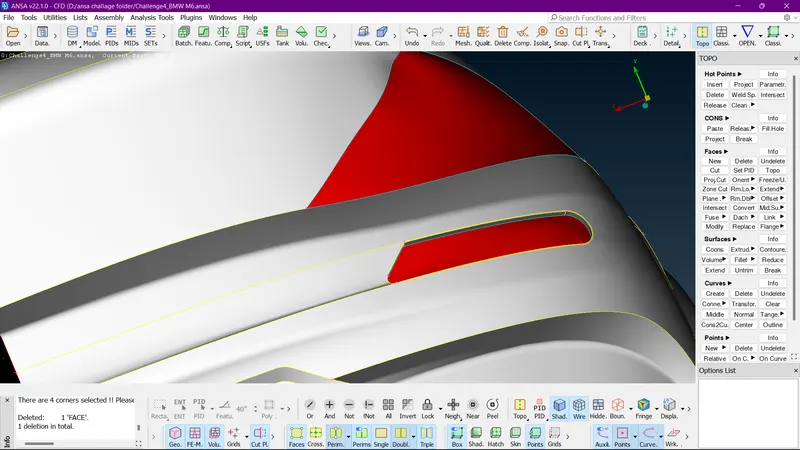
99. Now we can see there is a blue con present on the light and below it.
100. We need to delete the surfaces causing triple cons using universal delete.
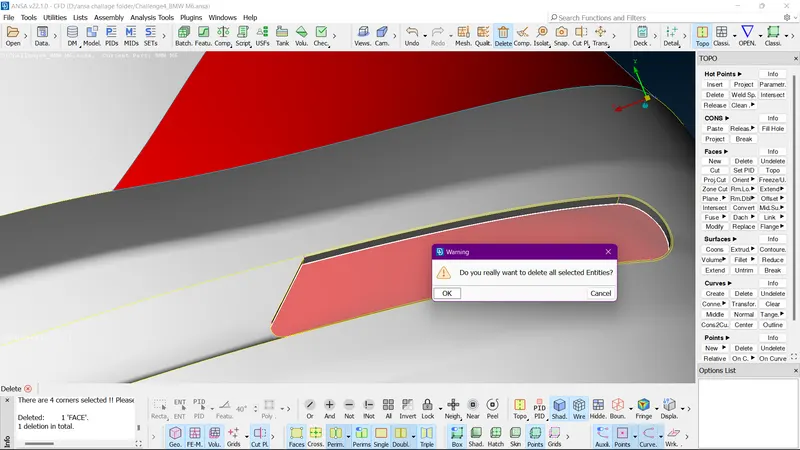
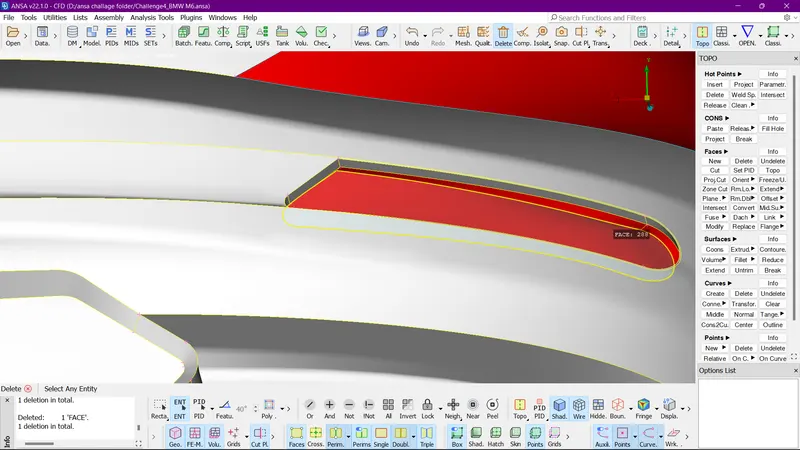
101. now we can see that in the rear brake light there are triple cons which also need to be deleted
102. we will use Universal delete option to delete the extra surface to make the triple cons disapper causing dur to 3 surfaces matching at edges.
103. we can see that the cons are gone and rear brake light is clear from errors.
104. In the front and rear windshield we can see there are triple cons present.
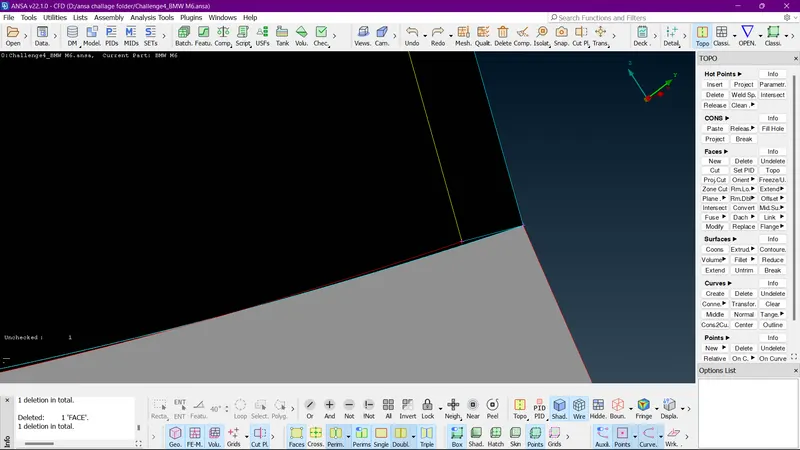
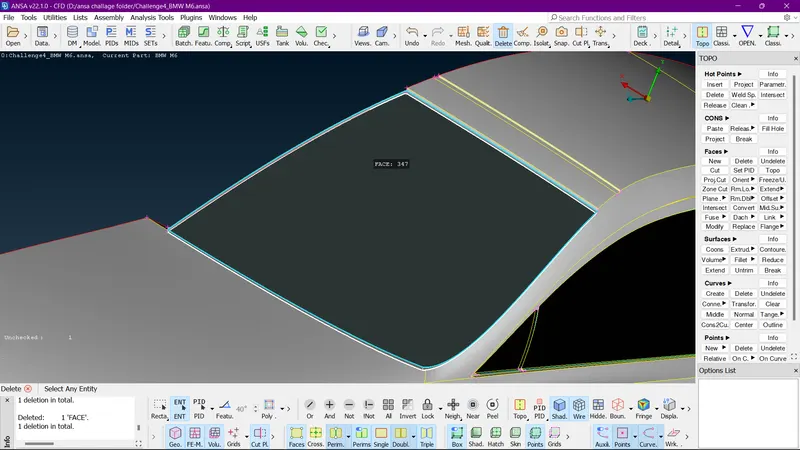
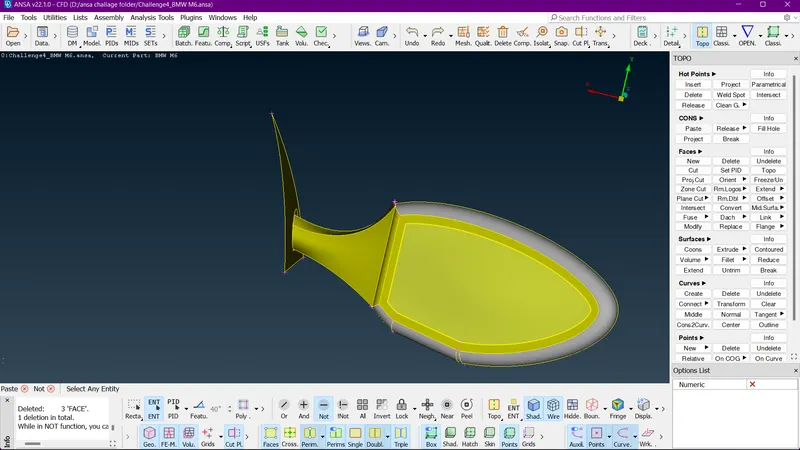
105. lets delete the unnecesary surfaces , to delete all the errors.
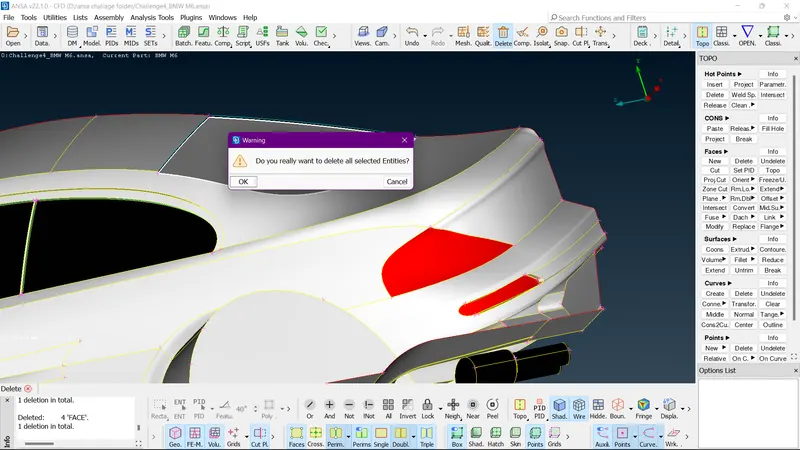
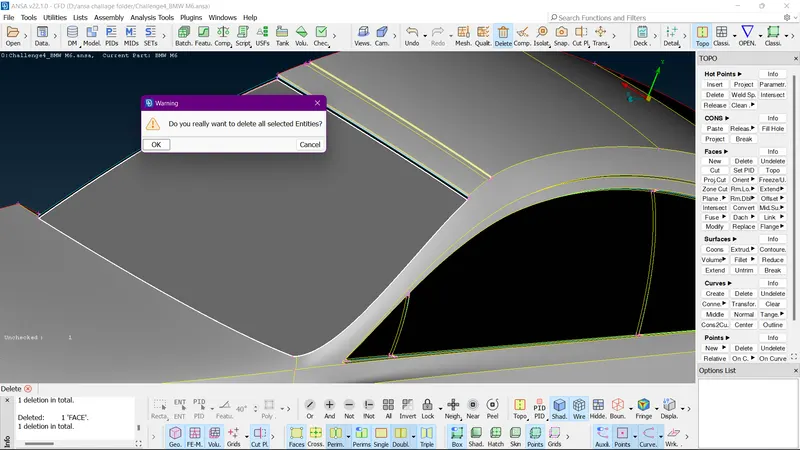
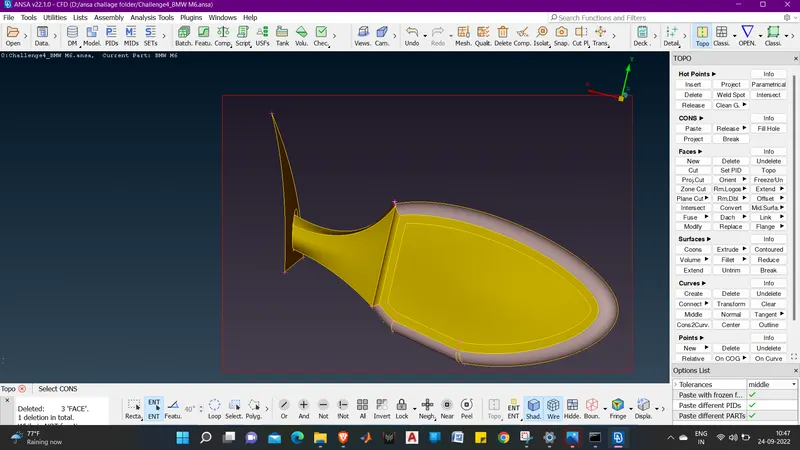
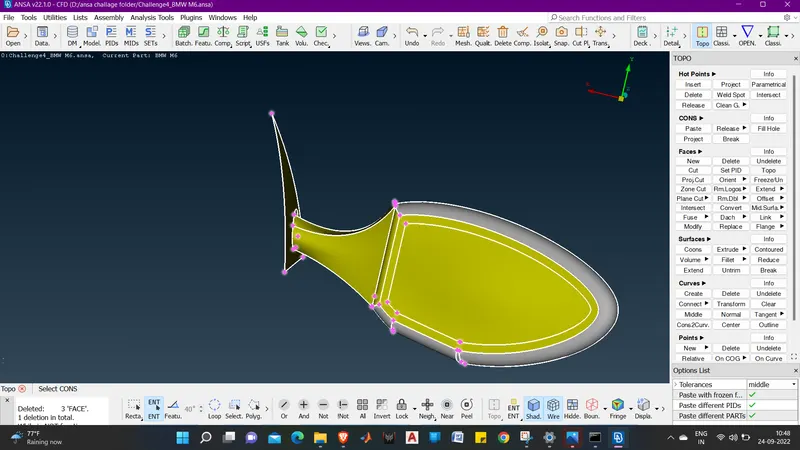
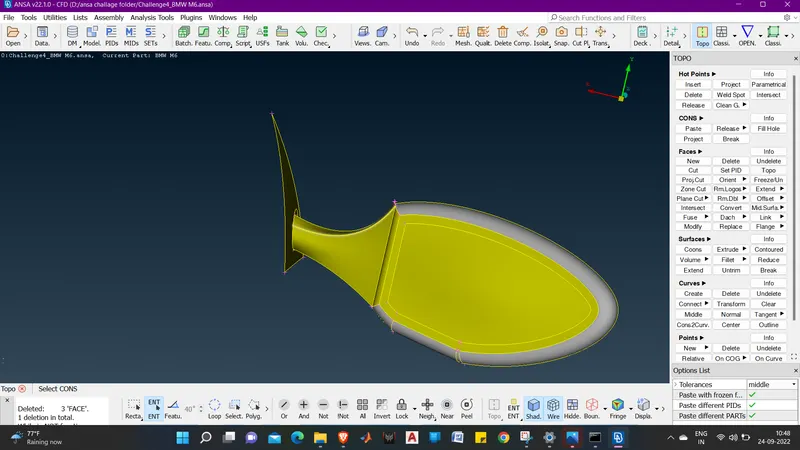
106. Now we can see the front and rear windshield are clear from the triple cons.
107. As we can see In the side windows of the car there are also some triple cons .
108. let see how we can clear that.
109. so we have to delete inner faces to remove the triple con error
110. we will use universal delete option to delete the surfaces.
111. Click ok to execute the command.
112. we can see the triple cons are removed. but we can see that in the side looking mirror its showing triple cons.
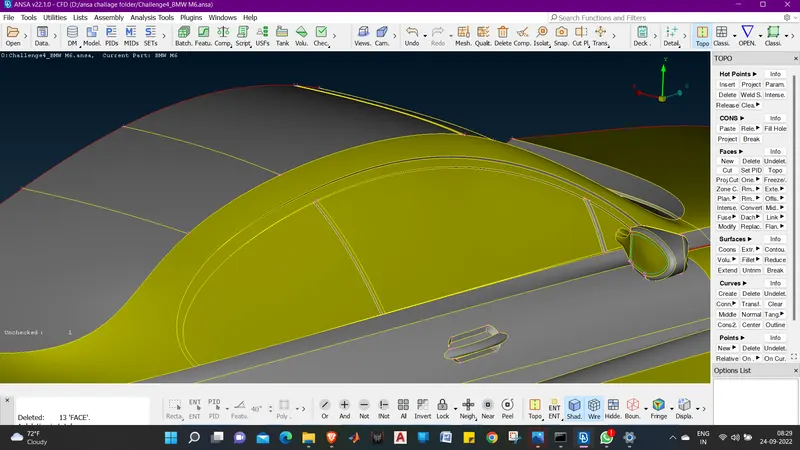
113. lets take a closer look over the side mirror.
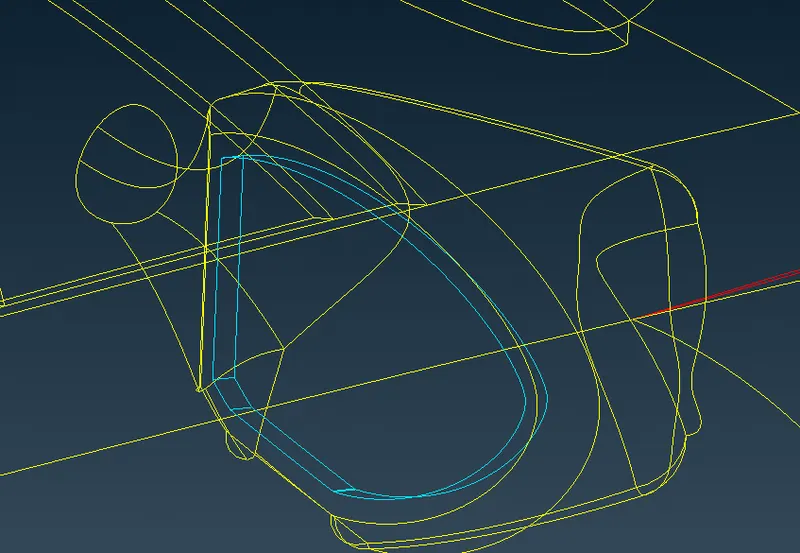
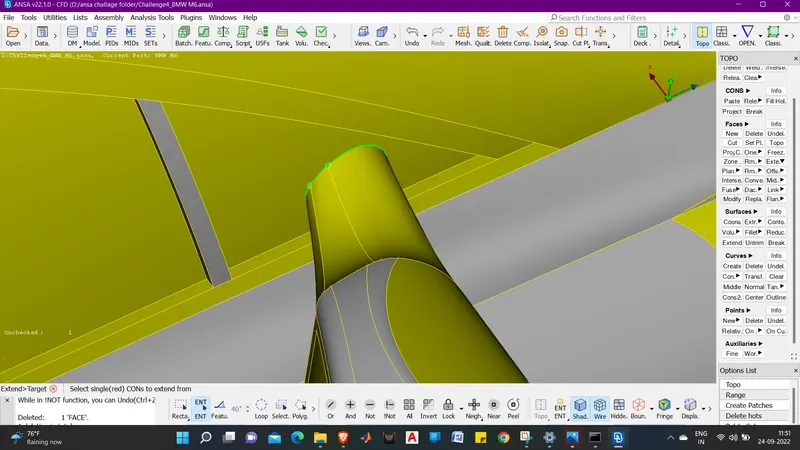
114. we can see that the triple cons are inside also. the reason why the triple con is here is that the surfaces inside are not necessary for outer flow and causing the triple con error.
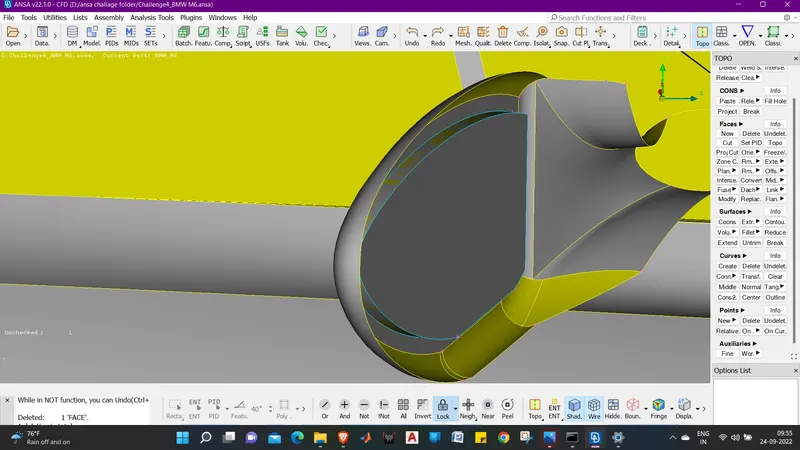
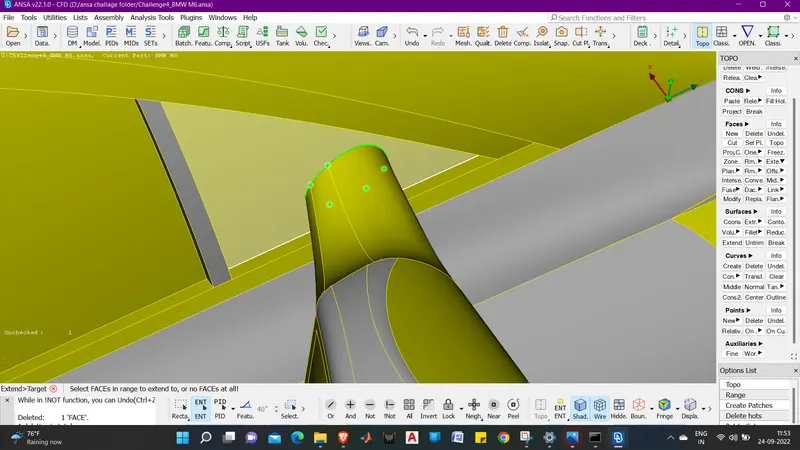
115. now we can see the surfaces are causing these triple con errors.
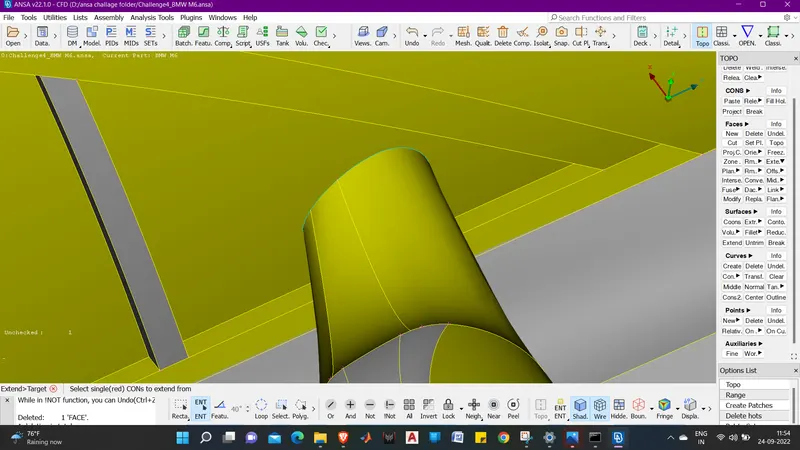
116. Now lets try deleting the surfaces using NOT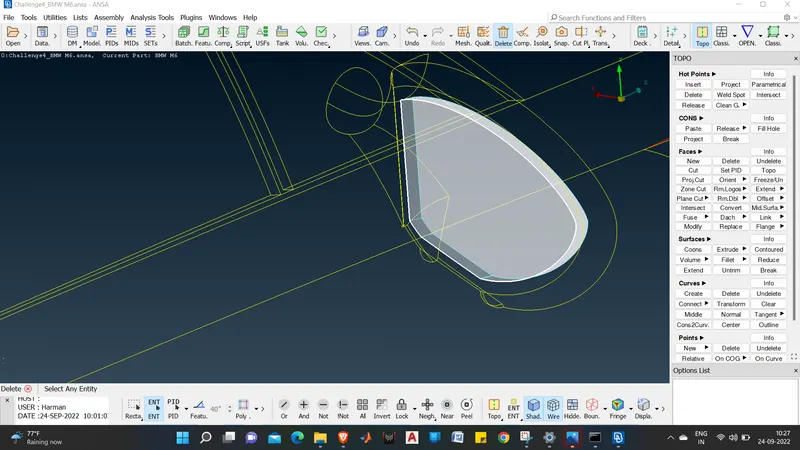
117. we will delete the selection middle click to confirm the surfaces and click ok.
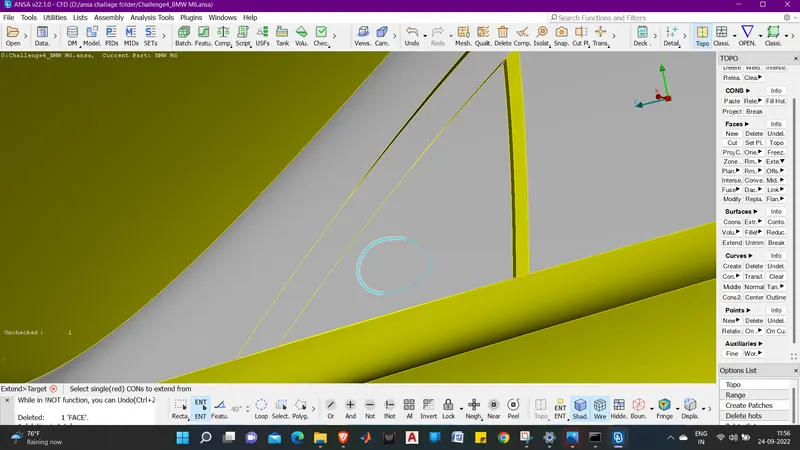
118. we can see that even after deleting these surfaces we have triple coon present .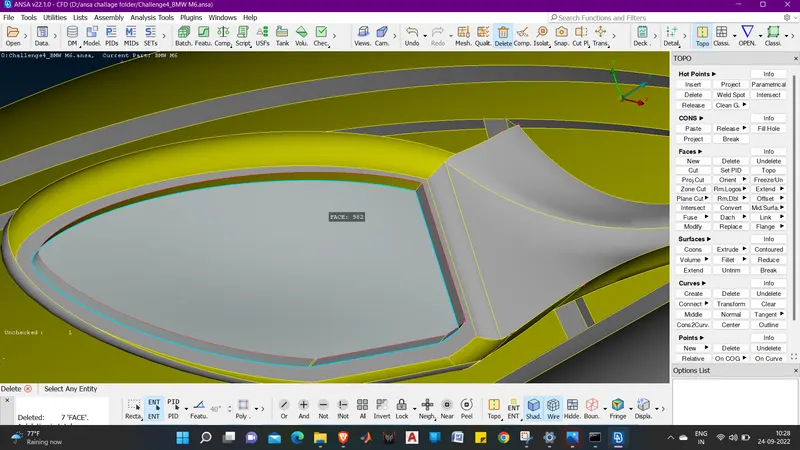
119. now we will delete the remaining surface using universal delete.
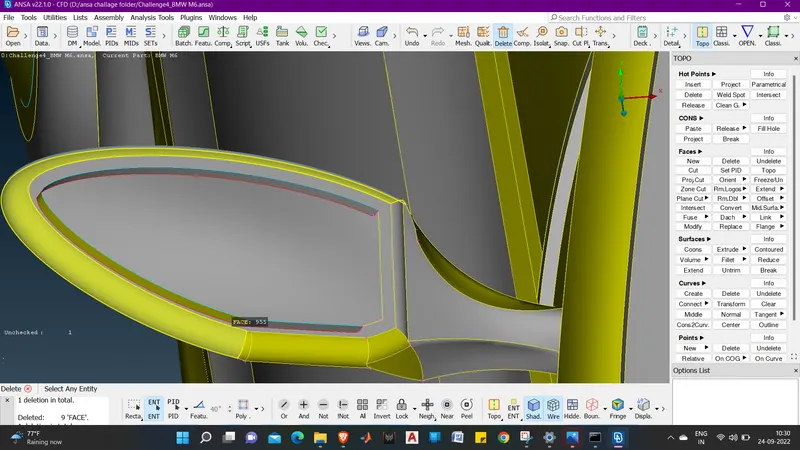
120. click ok and the surface will be deleted.
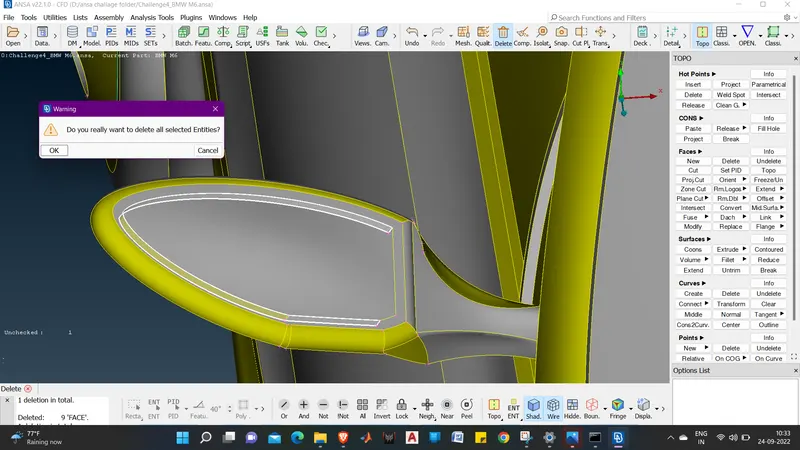
121. after deleting we can see there is no more surface creating triple cons.
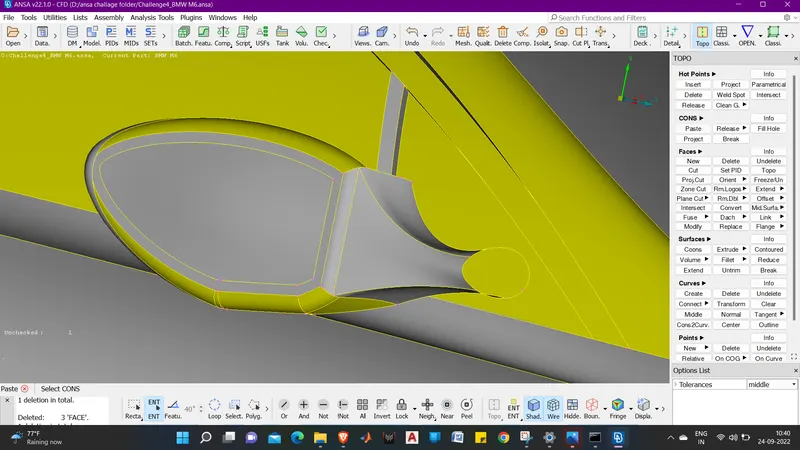
122. we can see that the mirror have no connection with the body because if it has it would create a triple con .
123. so lets find out why its not there.
124. for that we have to hide the other part of the body leaving the surface where its to be conected and the side mirror. using NOT.
125. we can see that there is no gap in between., so lets hit a TOPO if it clears the poblem.
126. we can see that its still the same .
127. so we will delete the inner circular face first and see what happens.
128. we will use Universal delete to delete the surface.
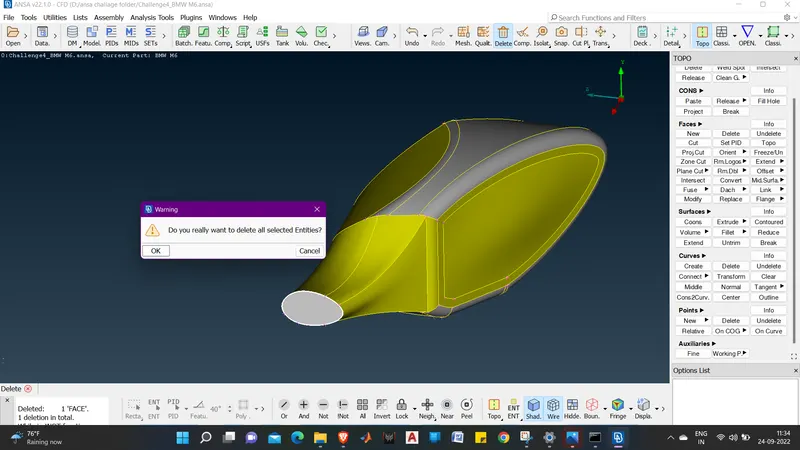
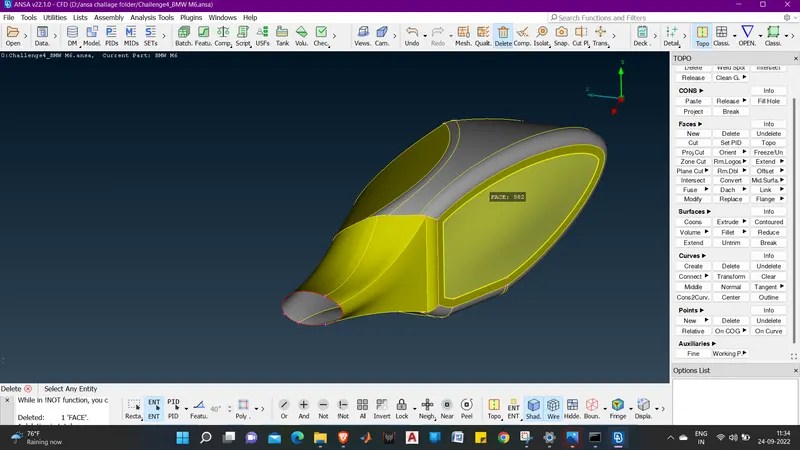
129. we can see that the surface is deleted and producing red Cons.
130. lets unhide all the components using ALL .
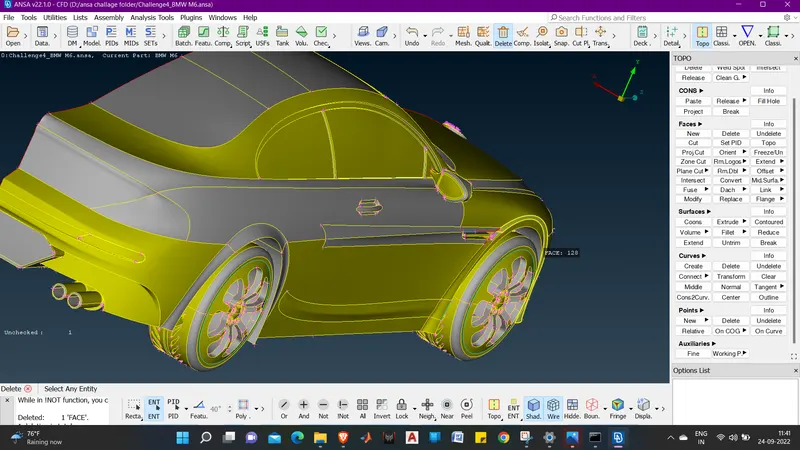
131. we will now use EXTEND (FACES) to extend the coons over the surface.
132. click on EXTEND.
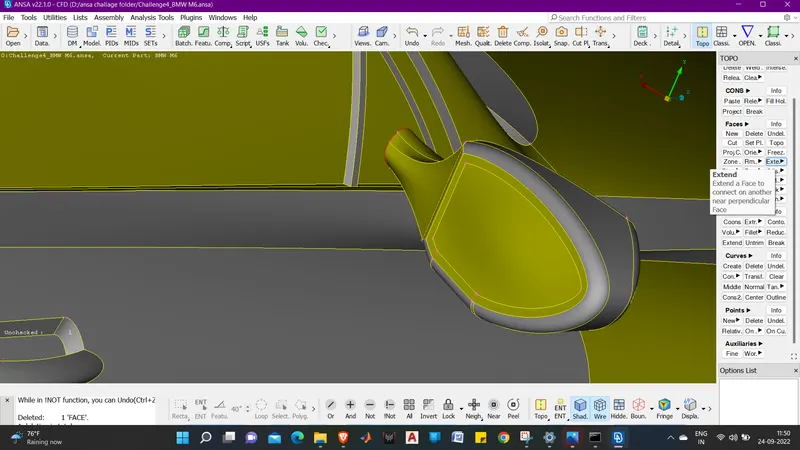
133. now select all teh red coon on the side mirror edge and middle click.
134. And now aelect the suface to which you want to extend the coons.
135. now middle click and the coons will be extended to surface.
136. Now we can see triple cons showing on that surface.
137. we will rotte the model and see whats there inside.
138. We can see that there is a surface created due to extending the cons.
139. We will delete the surface using UNIVERSAL DELETE.
140. but its not deleting as its selecting the whole surfac. lets try other method.
141. use CTRL + Z to come to point where red coons were shown on the mirror edge.
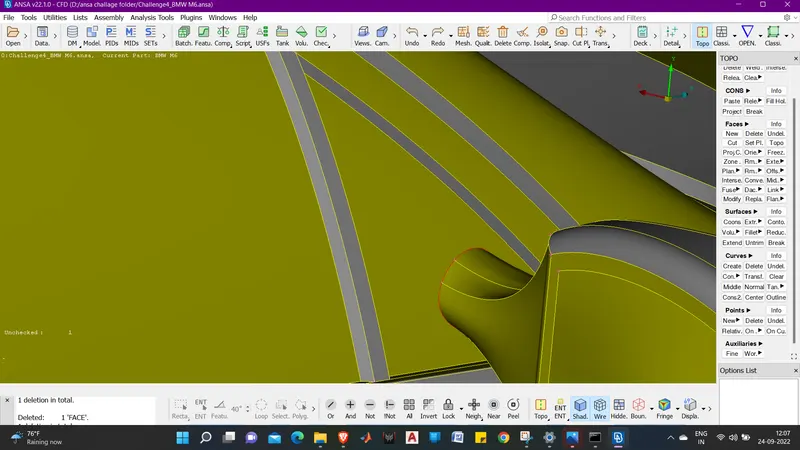
142. now we will use PROJECT ( CONS) to project cons on the surface.
143. click on PROJECT ( CONS ) and the select the cons and middle click.
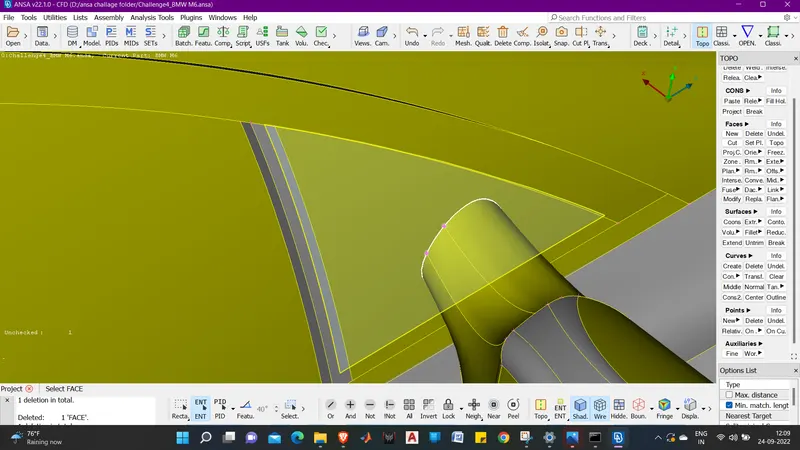
144. now select the surface on which you wnat to project the cons.
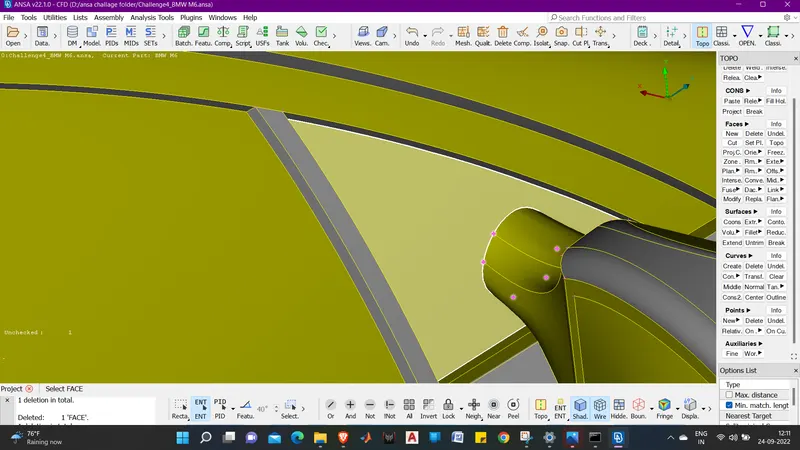
145. And again middle click to execute the command.
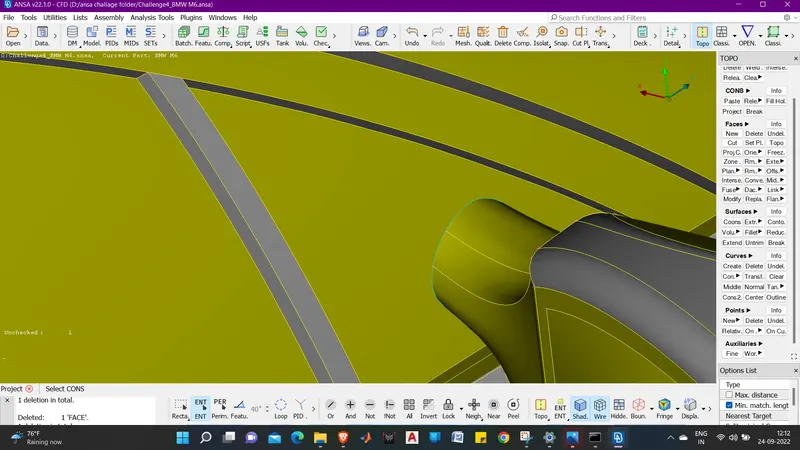
146. now lets delete the surface causing the triple con from inside.
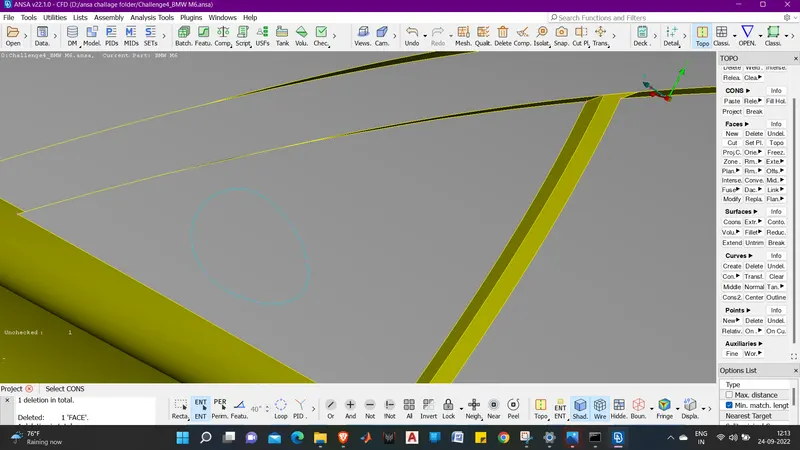
147. We will use UNIVERSAL DELETE to delete the surface.
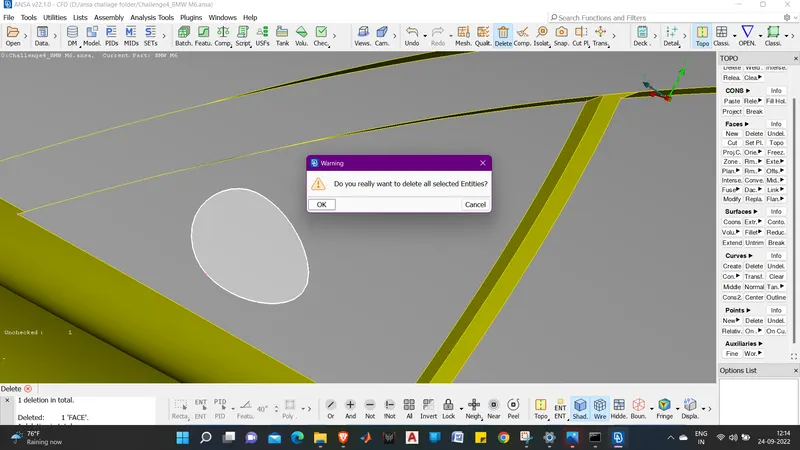
148. now we have delted the surface the geometry looks resolved with no errors.
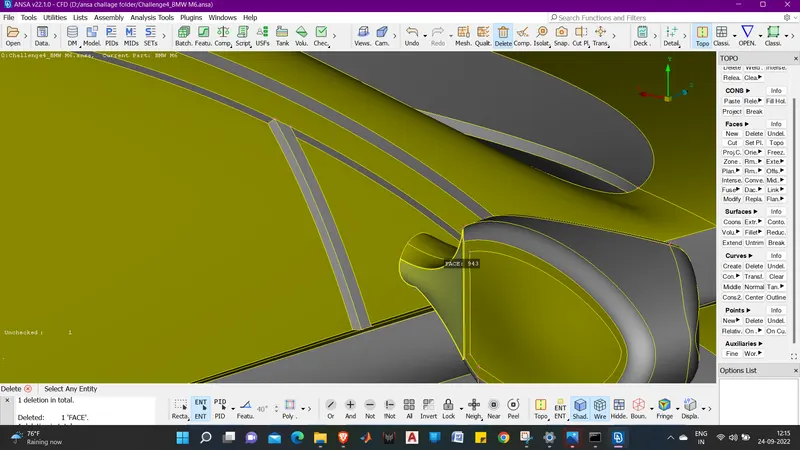
149. now lets see for other errors visually.
150. we can see tat there are lot of errors in this area.
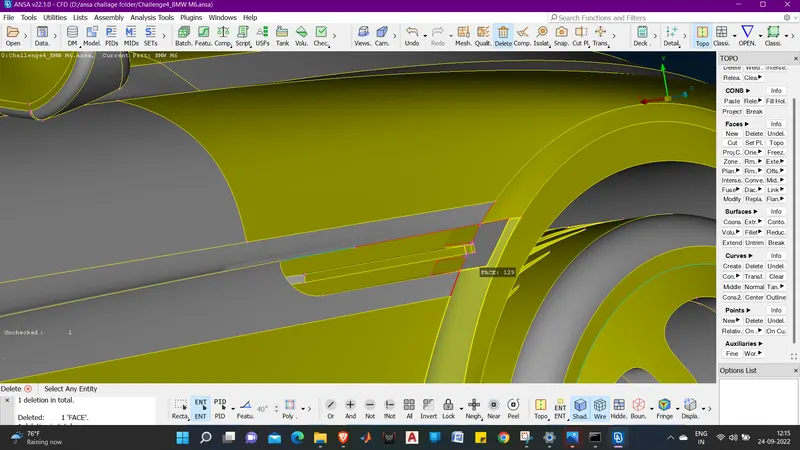
151. So we will isolate this part using NOT.
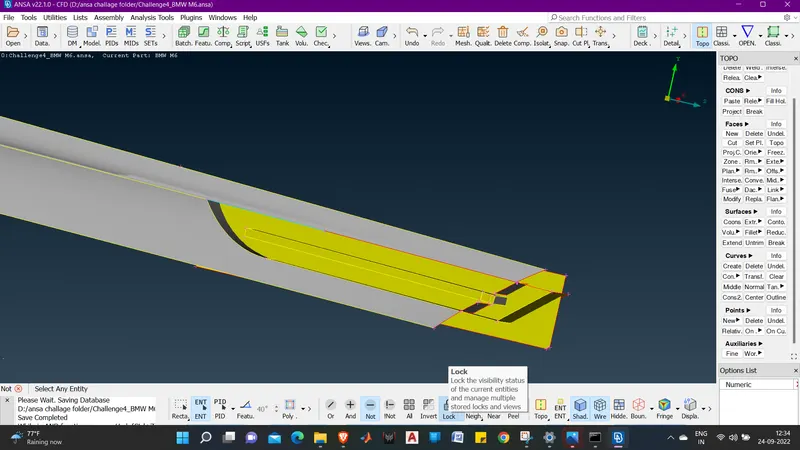
152. now click on LOCK , so that even if we do ALL accidently the hidden sufaces won't unhide.
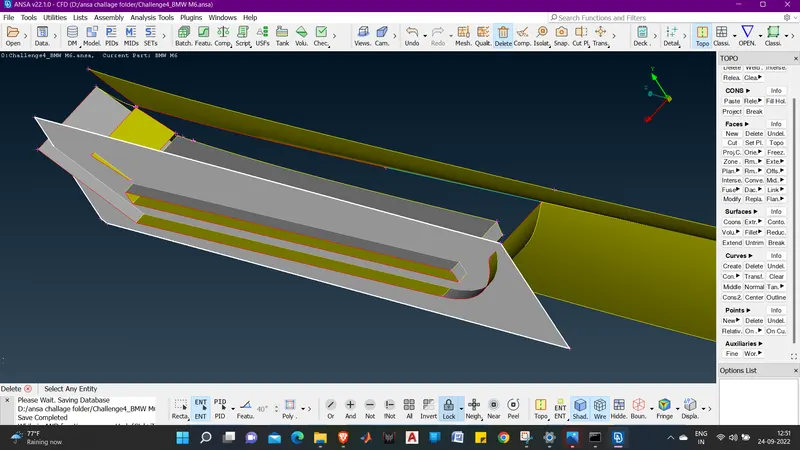
153. We have to delete the selected surface as it can make major intersection errors using UNIVERSL DELETE.
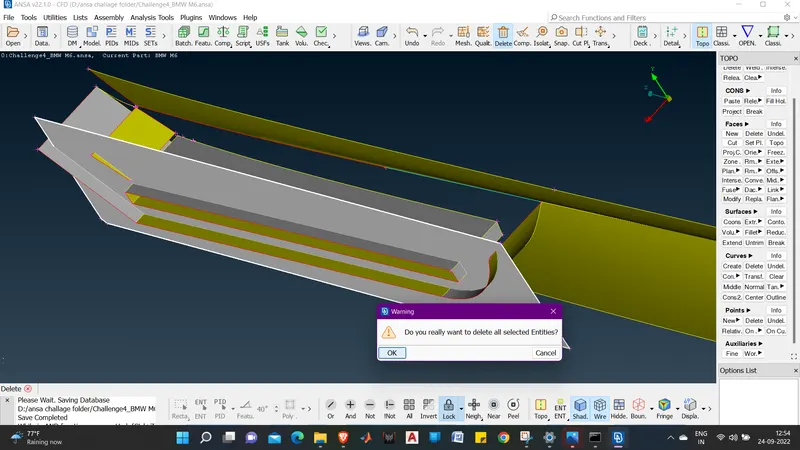
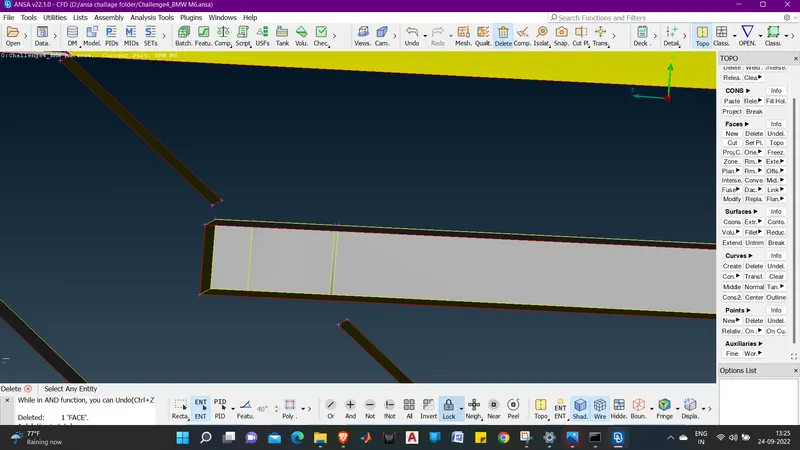
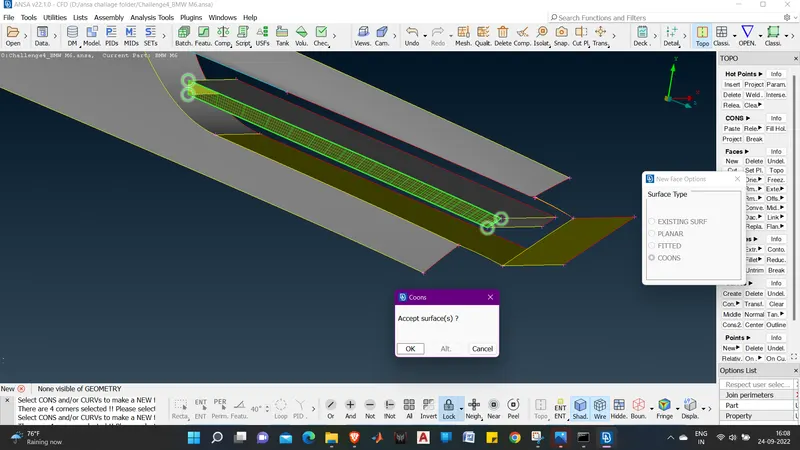
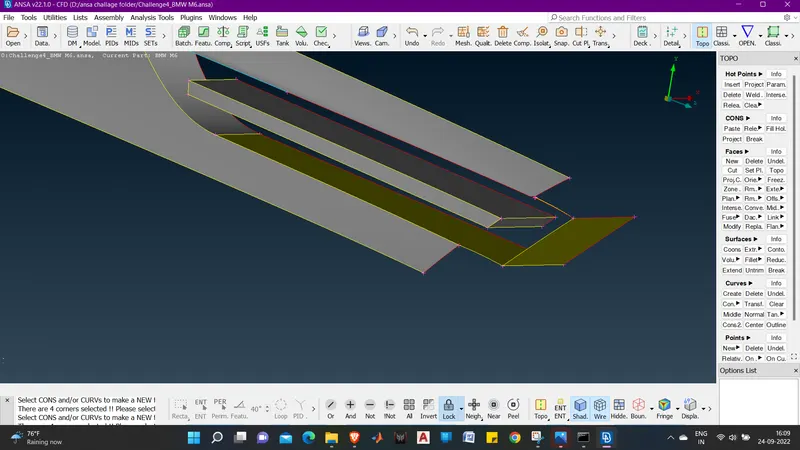
154. We can see that the surfaces are not joined .
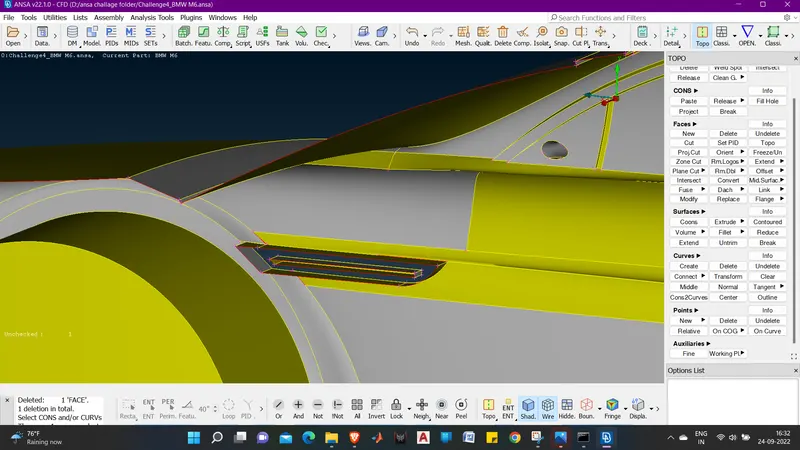
155. so now we will extend that surface using TARGET ( EXTEND ( FACES )).
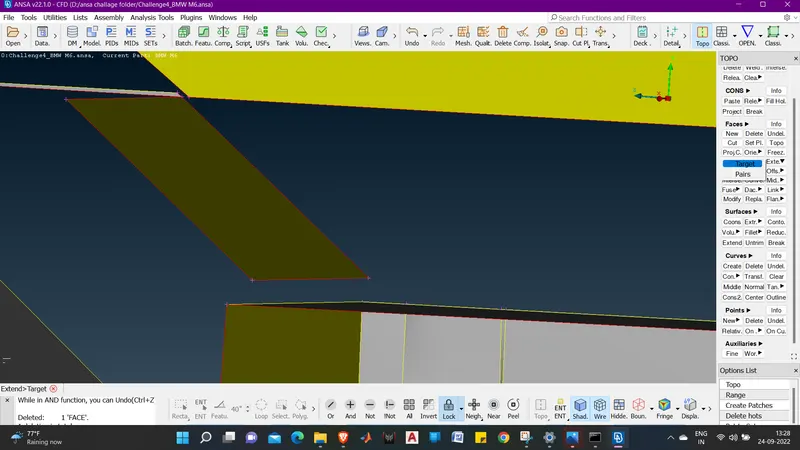
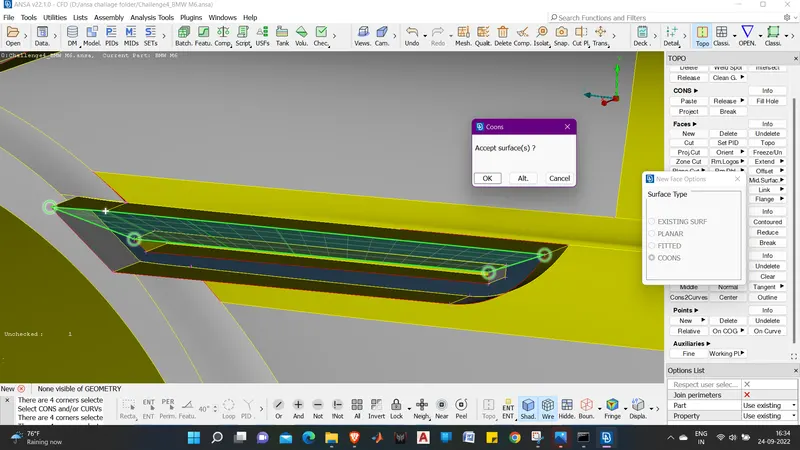
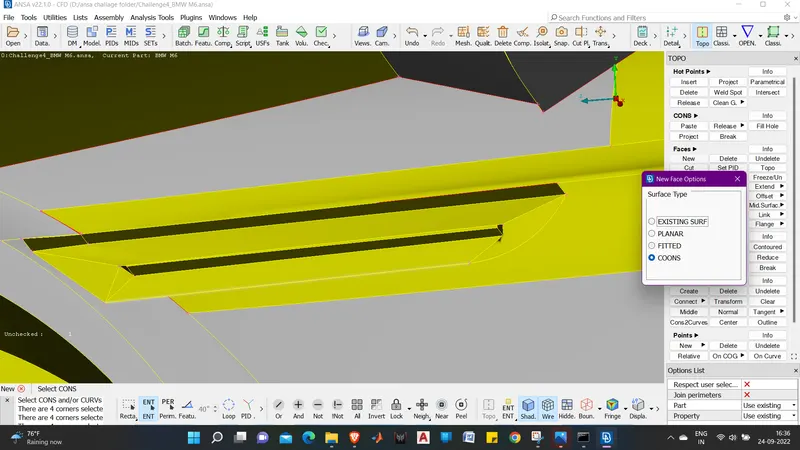
156. select the triple con.
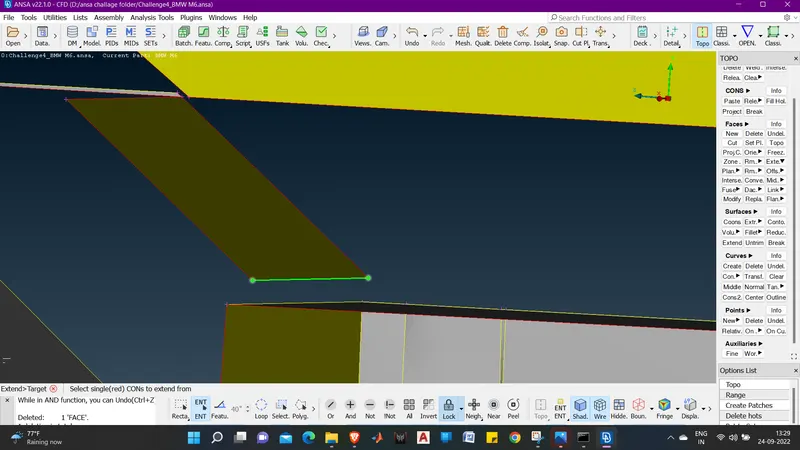
157. middle click and select the surface on which you want to project.
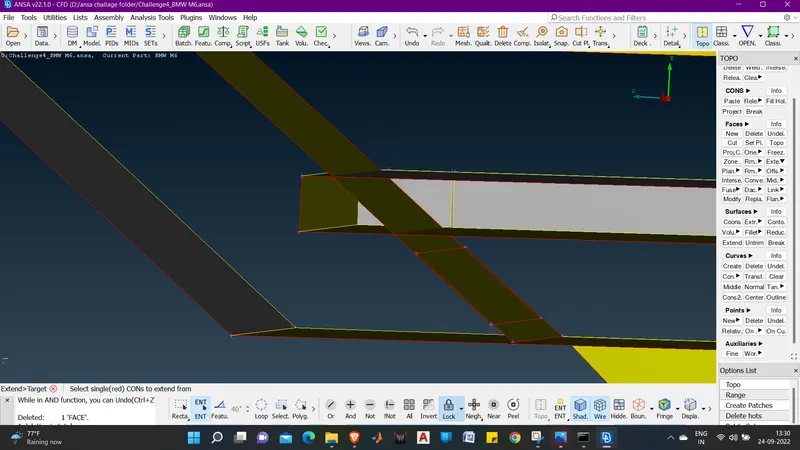
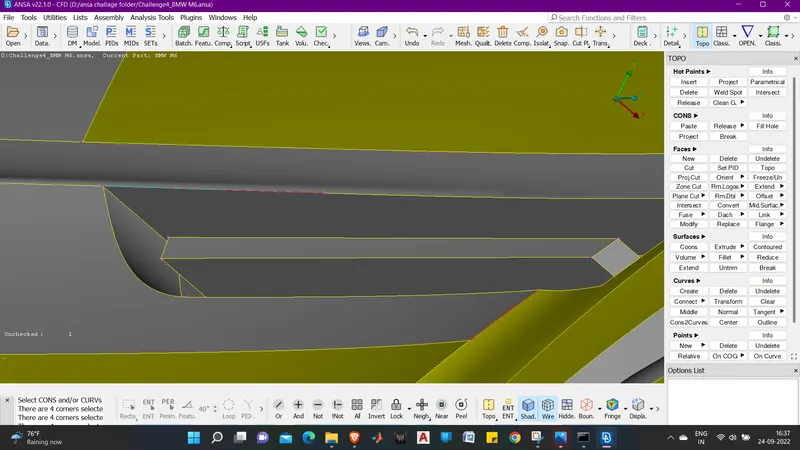
158. we can se the surface got extended beyond the surface.
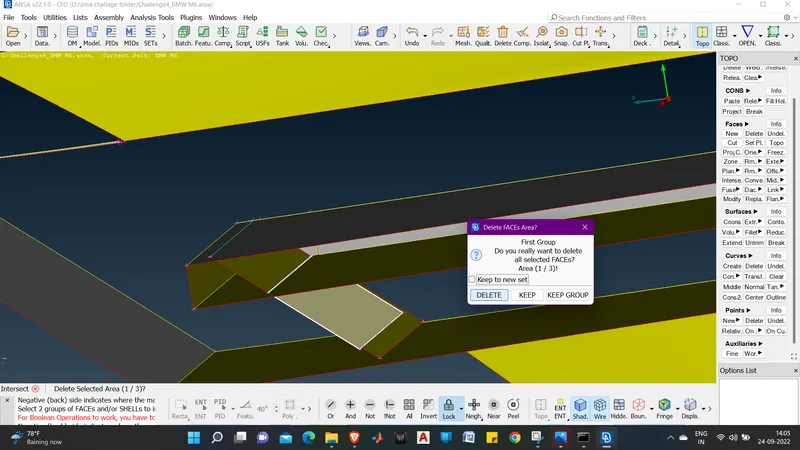
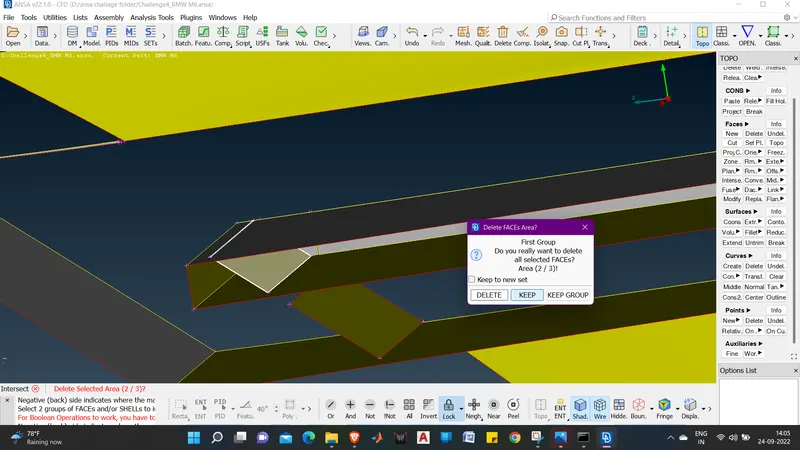
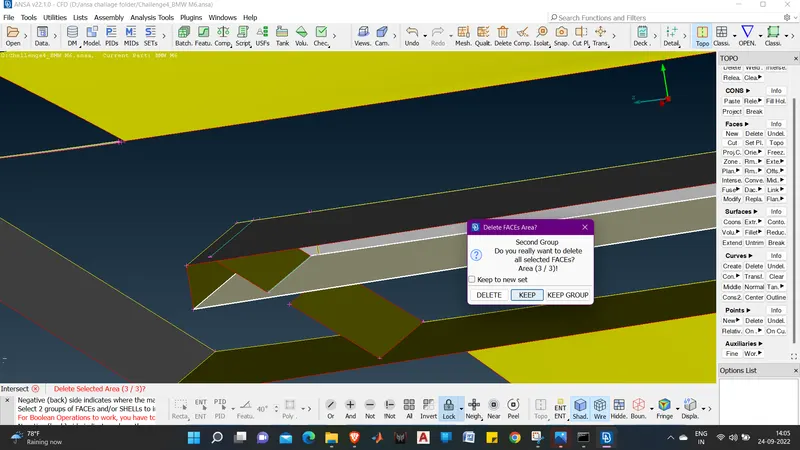
159. now we will use INTERSECT ( FACES ).
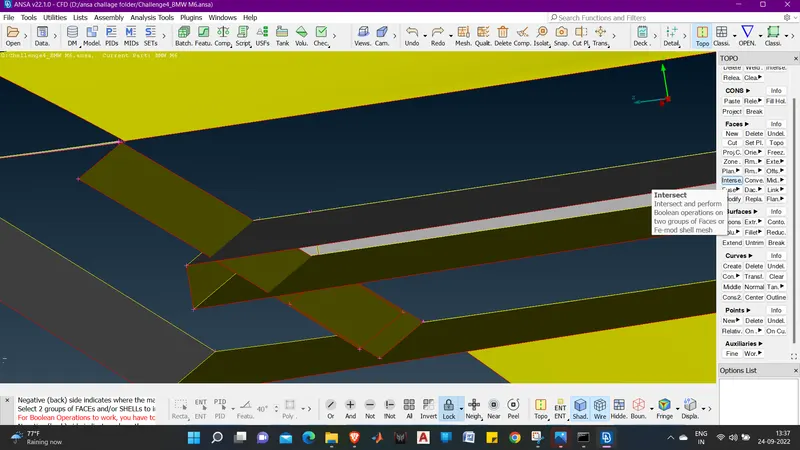
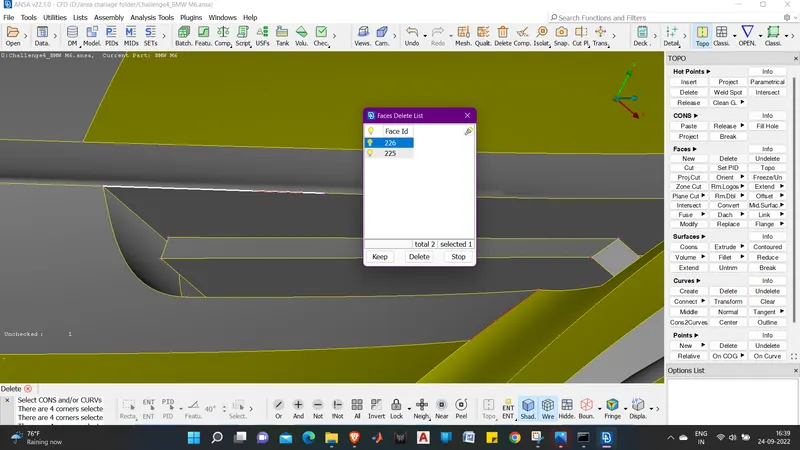
160. we will first select face 1 and middle click.
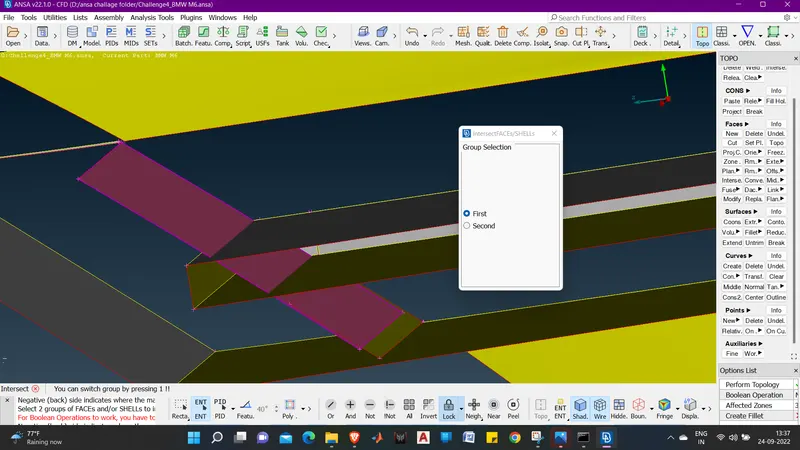
162. then we will select face 2 and middle click.
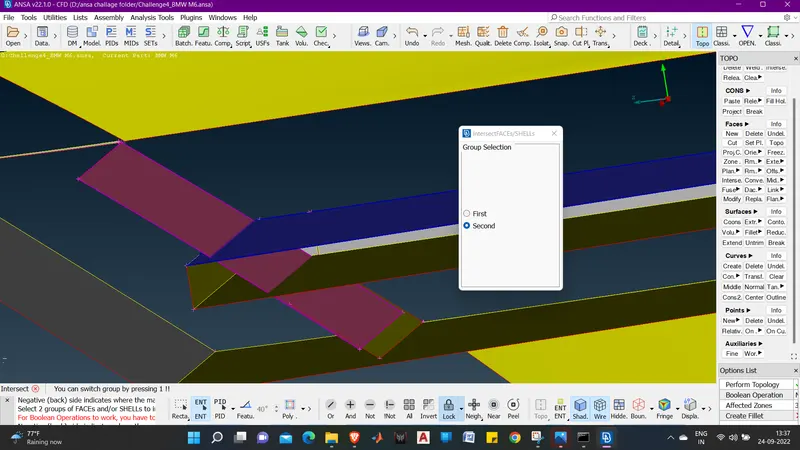
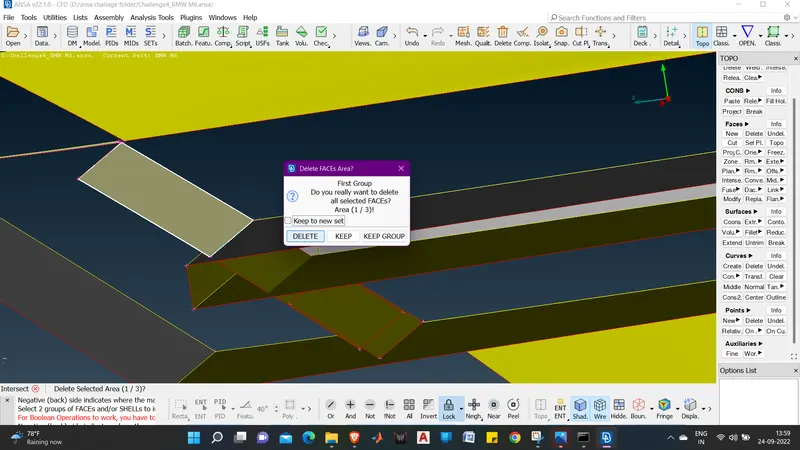
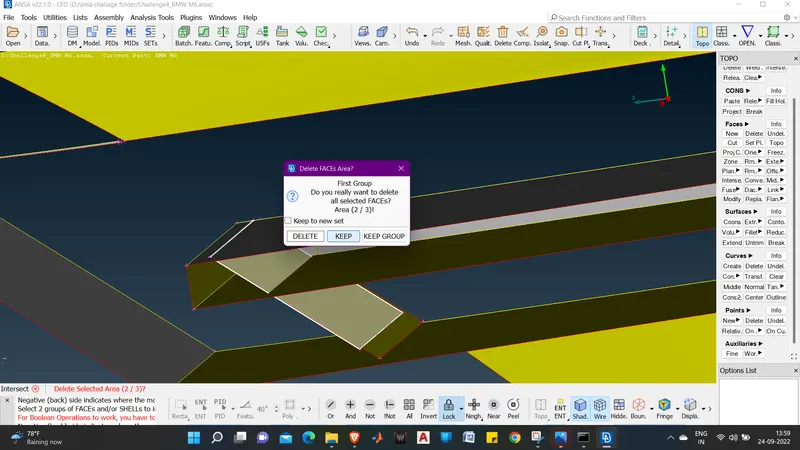
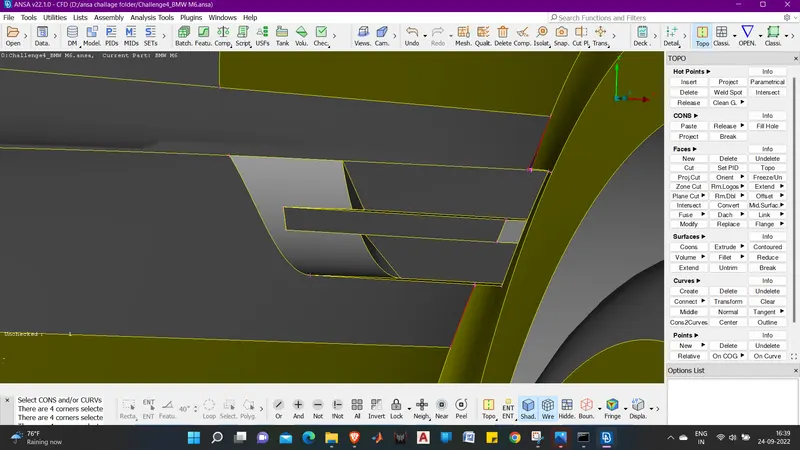
163. when we middle click the window open, it shows the surface one by one which we want to delete and keep.
164. when we click on one of the options it shows next fce to delete or keep.
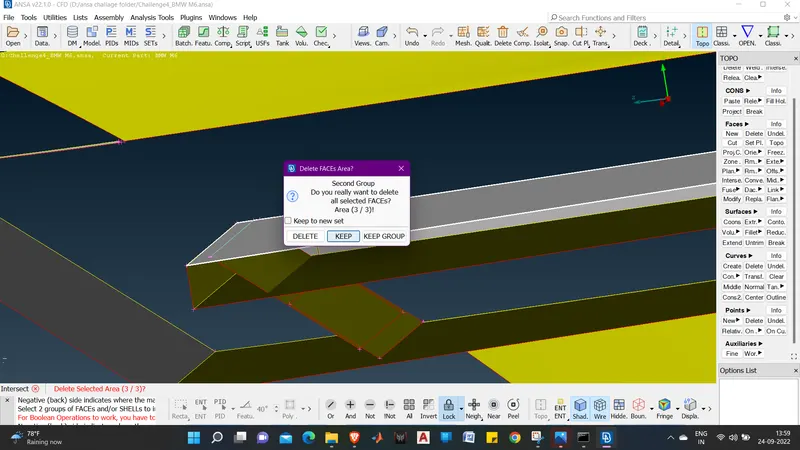
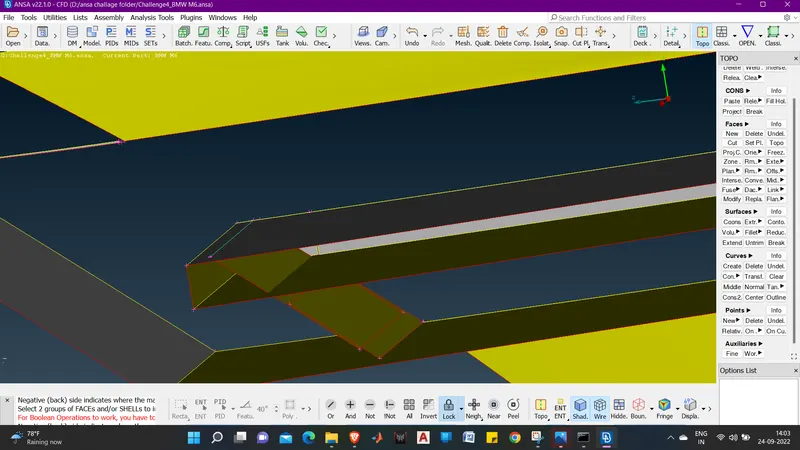
165. now we can see the surface part is still left so we will again go for INTERSECT ( FACES ).
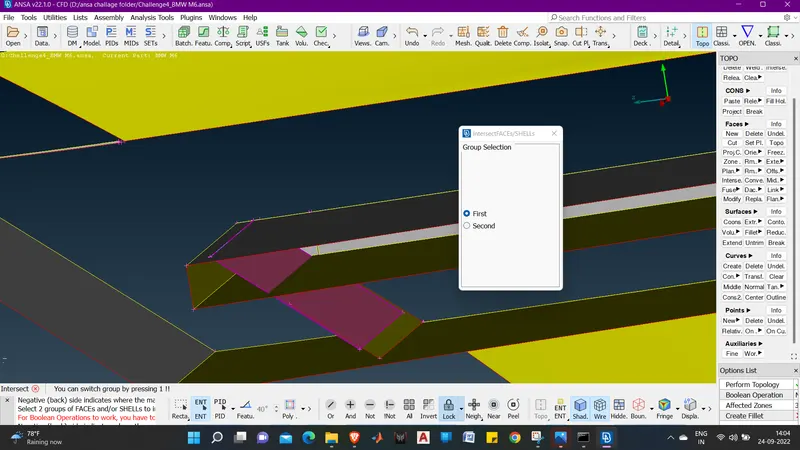
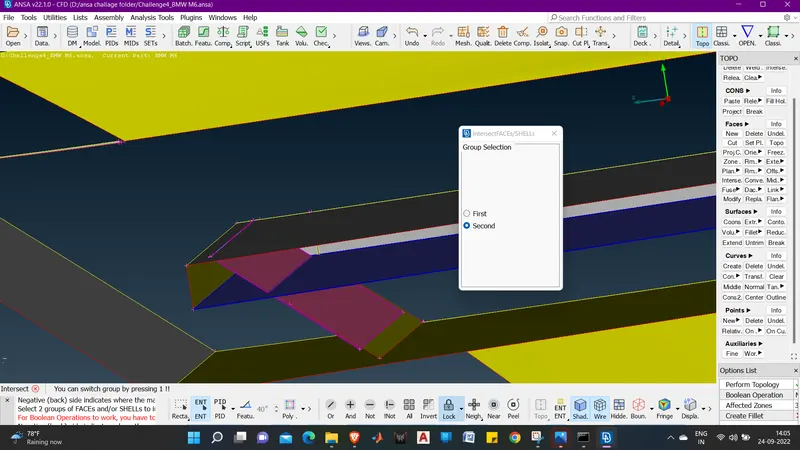
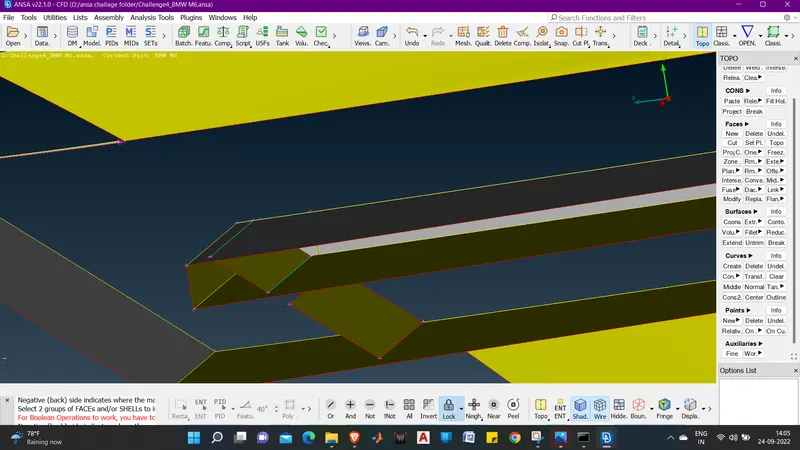
166. Now we have deleted the surfaces which were not needed.
167. Now we will use CUT ( FACES ) to make a cut and seperate the faces, so that we can delete the surfaces which are not required.
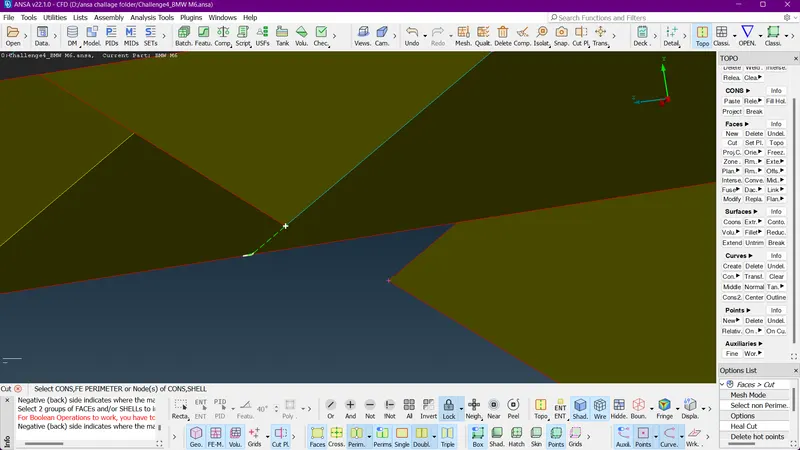
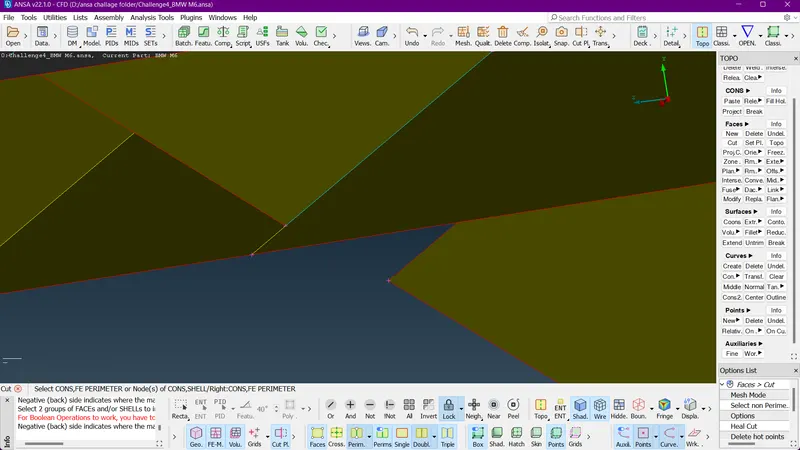
168. we can see the cut is made . so we have to make this cut on the other side also.
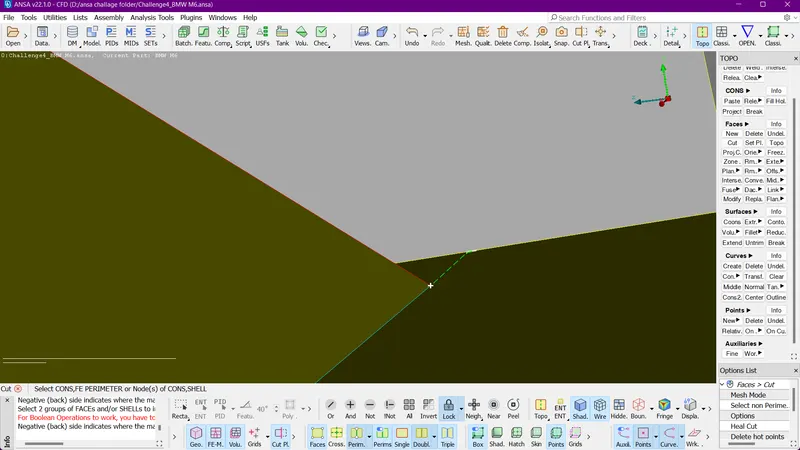
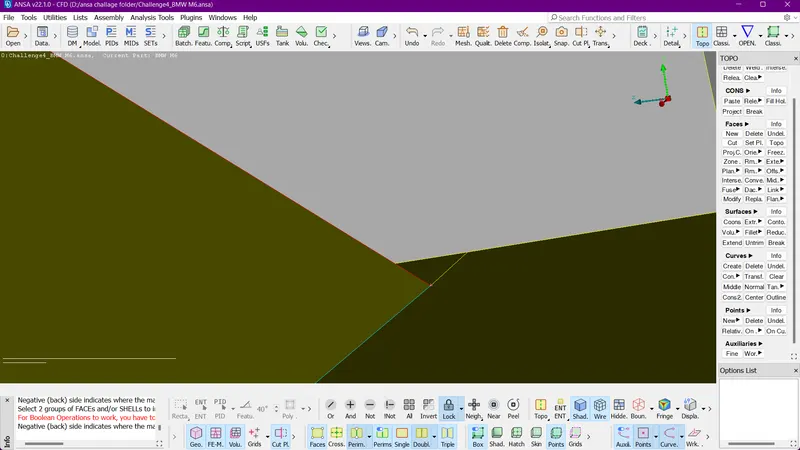
167. we will do the same on the upper part and delete the sufaces not required using UNIVERSAL DELETE
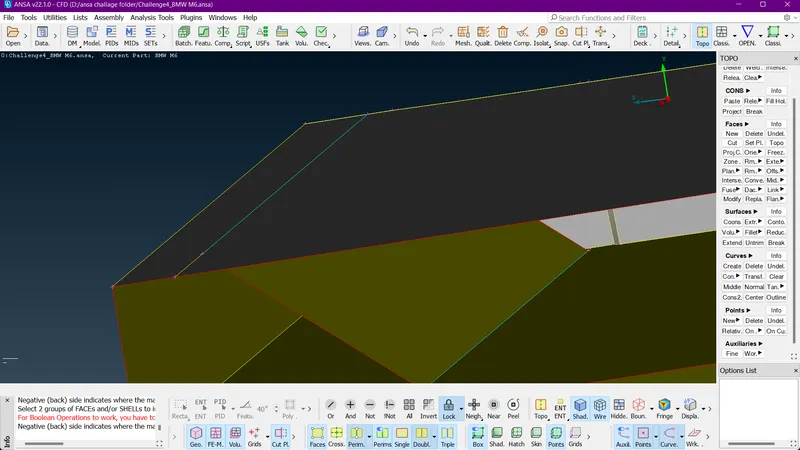
168. Now lets delete the surfaces using UNIVERSAL DELETE.
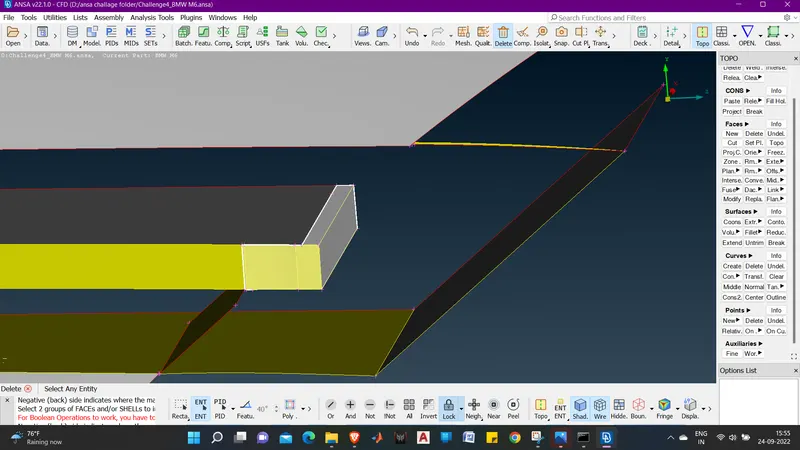
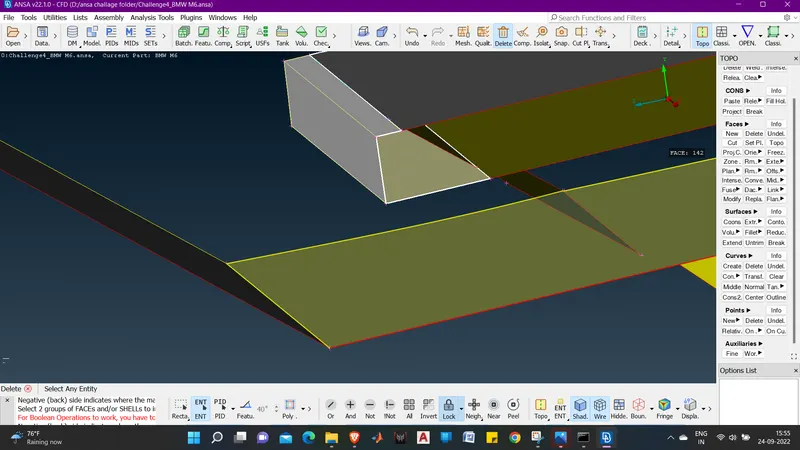
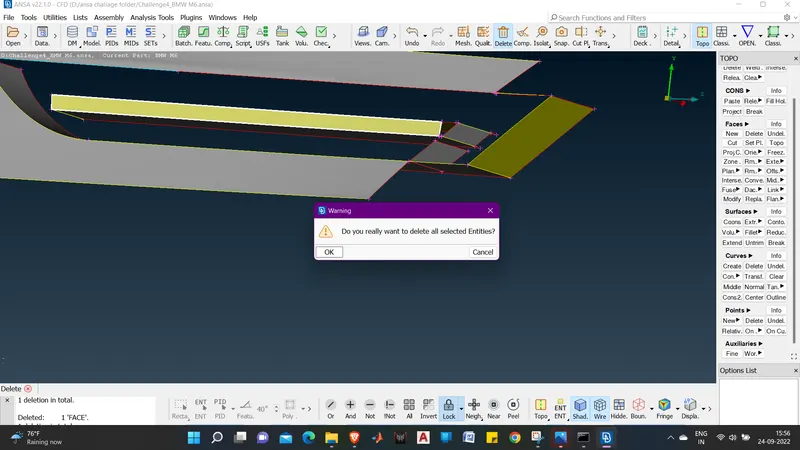
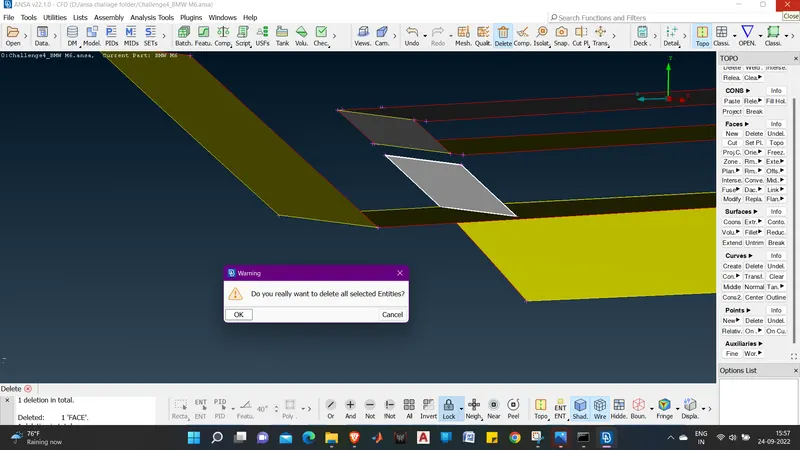
169. deleting all these faces we can see we have cleared the geometry a bit.
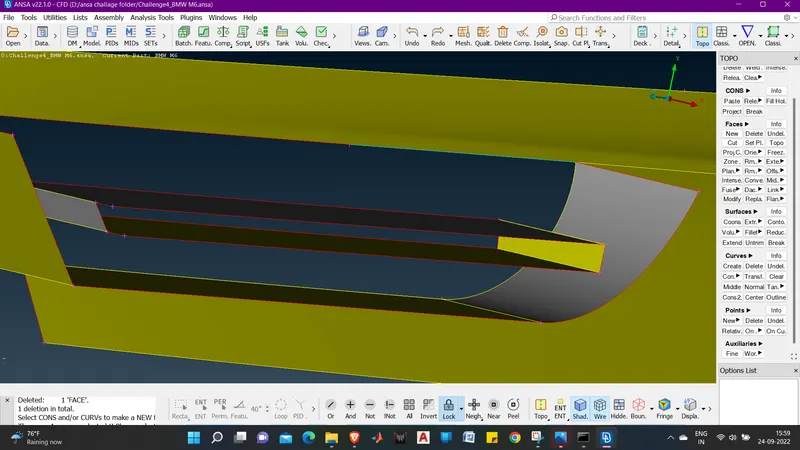
170. NOw we will use NEW to make new surface.
0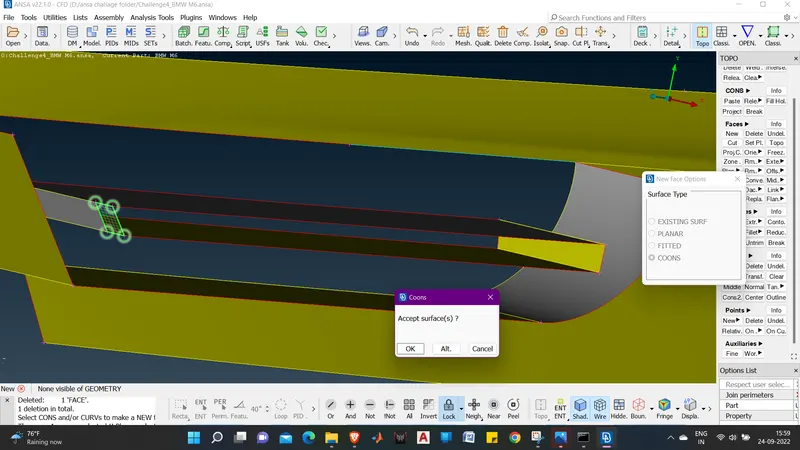
171. we can see some distortion in the face. so we will use CUT ( FACES ) and delete the extra surface.
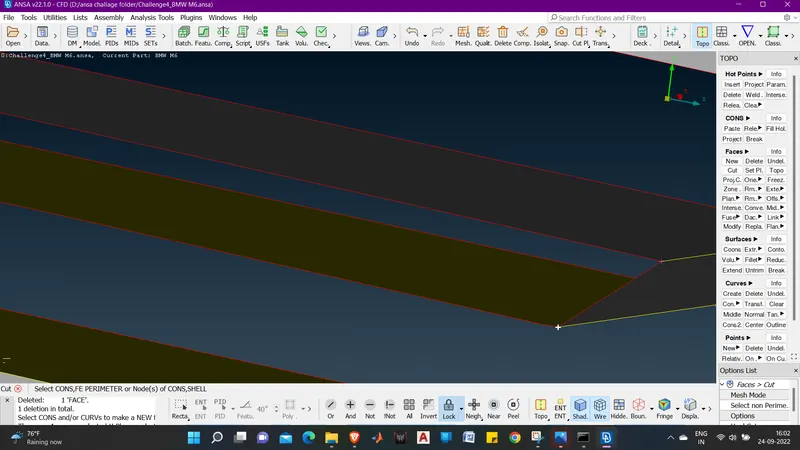
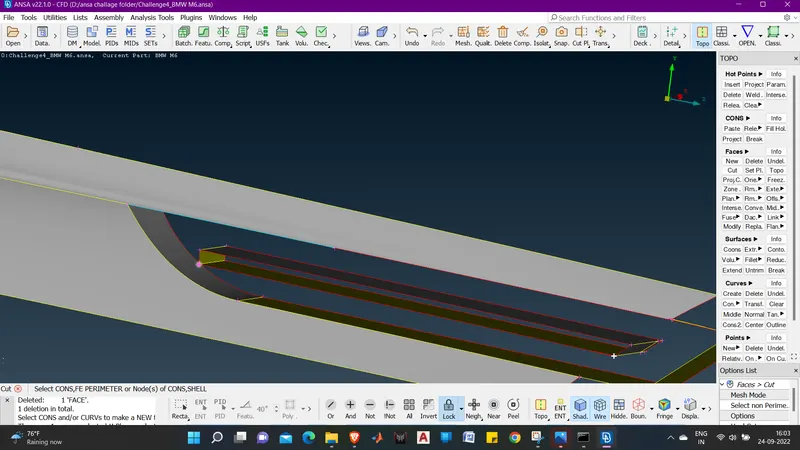
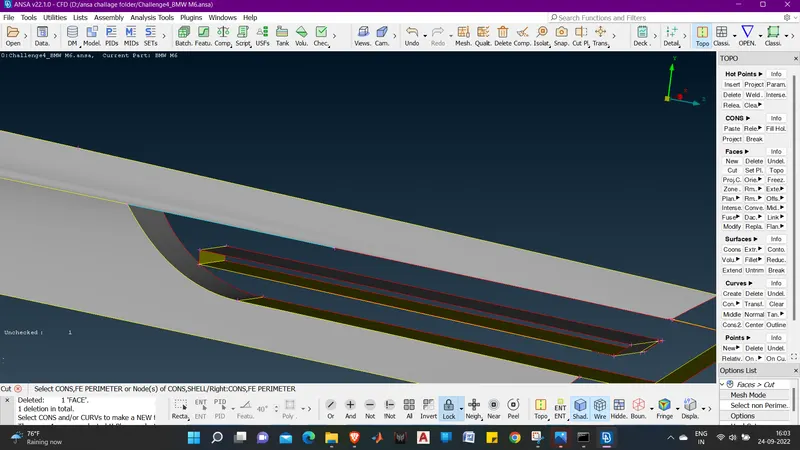
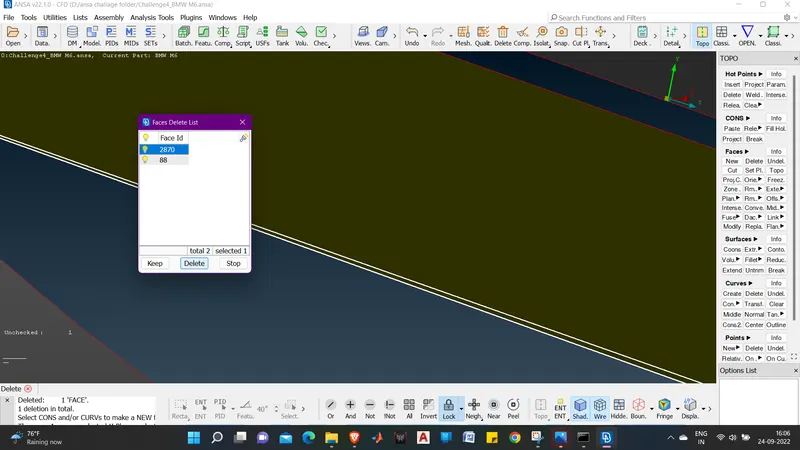
172. we will delete the under surface. using DELETE (FACES).
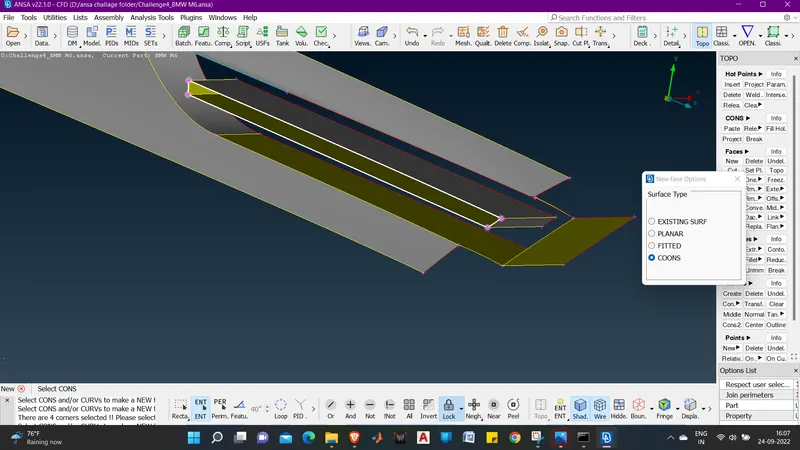
173. We will make a new surface now in front using COONS (NEW(FACES).
174. Now we will remove LOCK and click on ALL.
175. now we will make new surface inside to make it one volume.
176. now we can see the surface closed from inside.
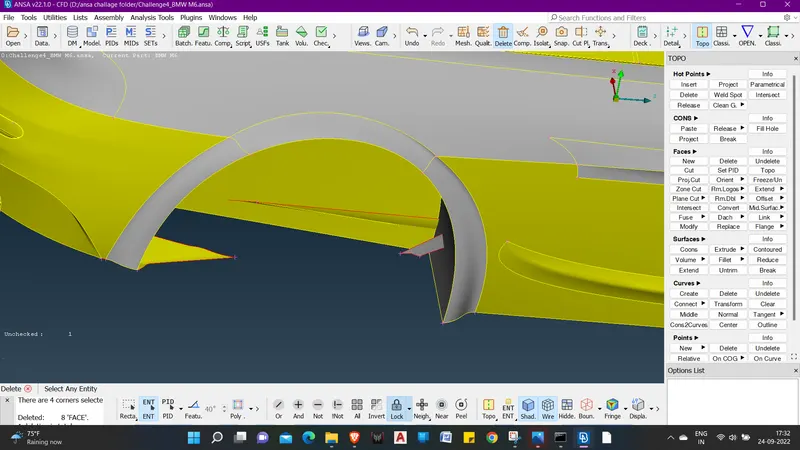
177. now lets see from the outside, we can see the triple con showing there.
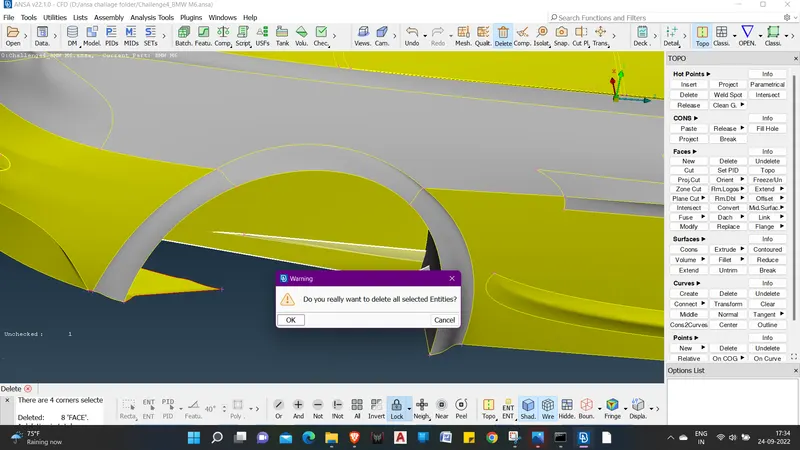
178. there must be a small surface there.
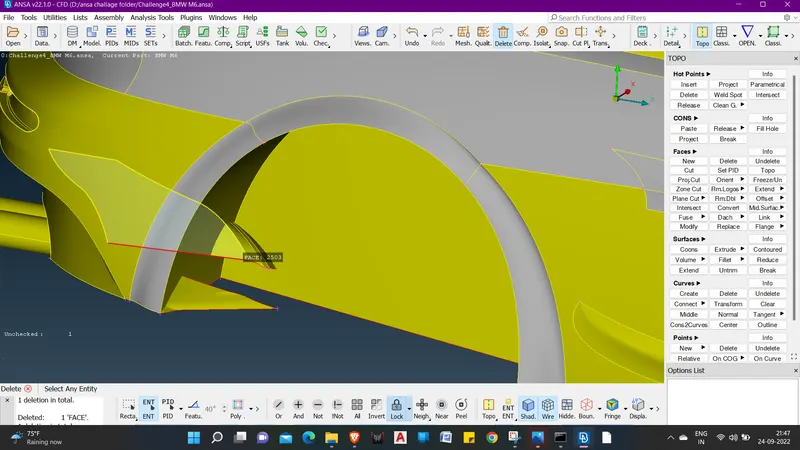
179. we will use DELETE ( FACES ) to delete these surfaces.
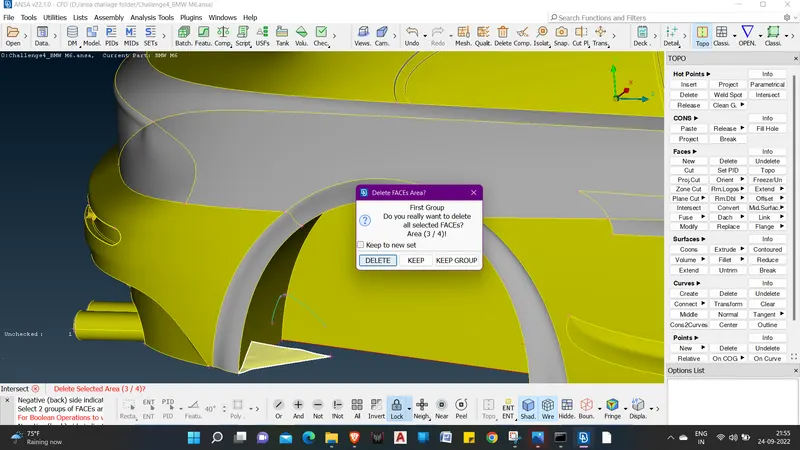
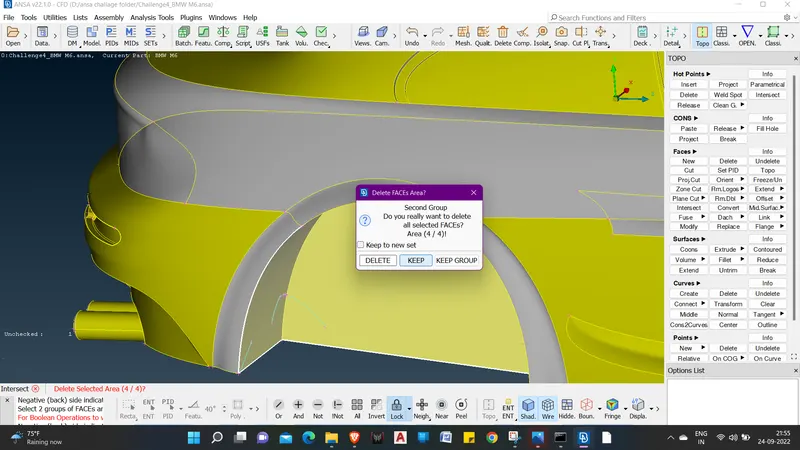
180. we can see that there is small surface which needs to be deleted. select delete and executethe command.
181. we can see that there are some red cons present.
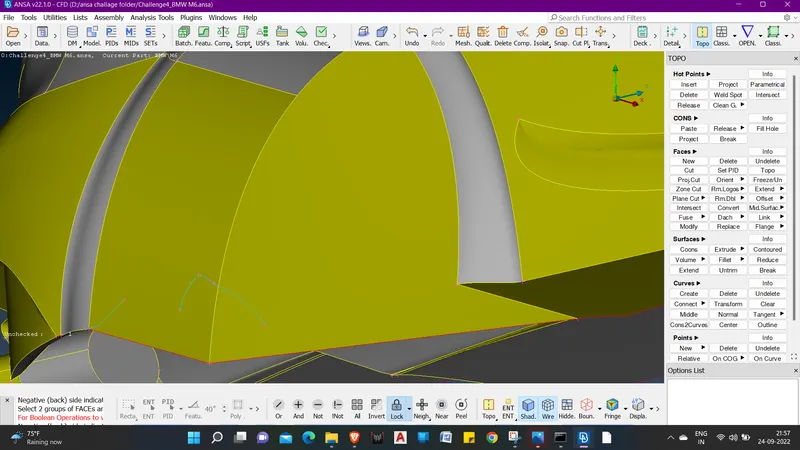
182. we will make surface to clear red con error.
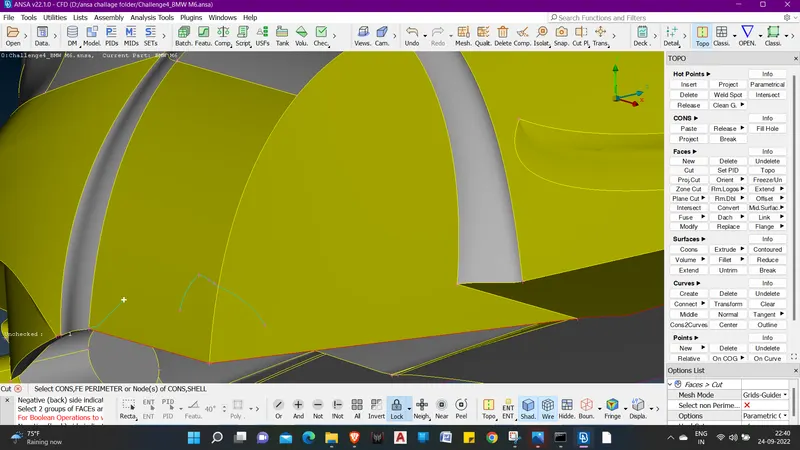
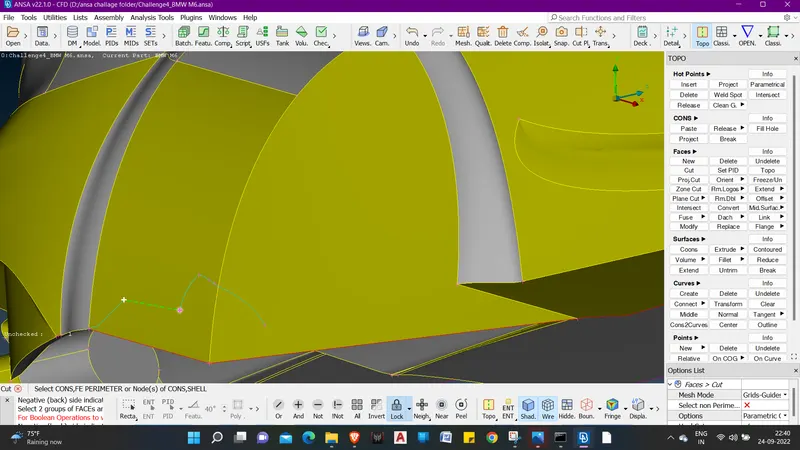
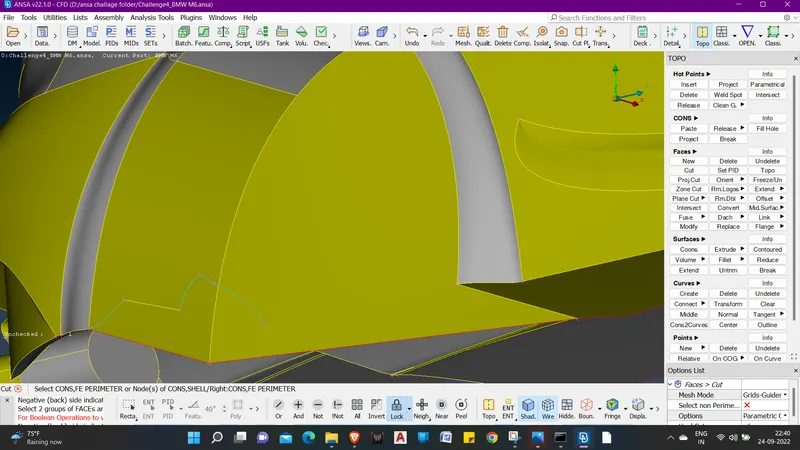
183. using COONS ( NEW ( FACES )).
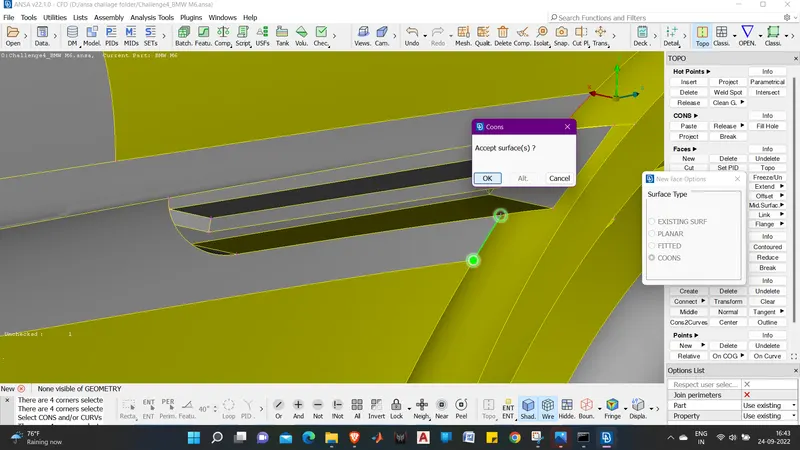
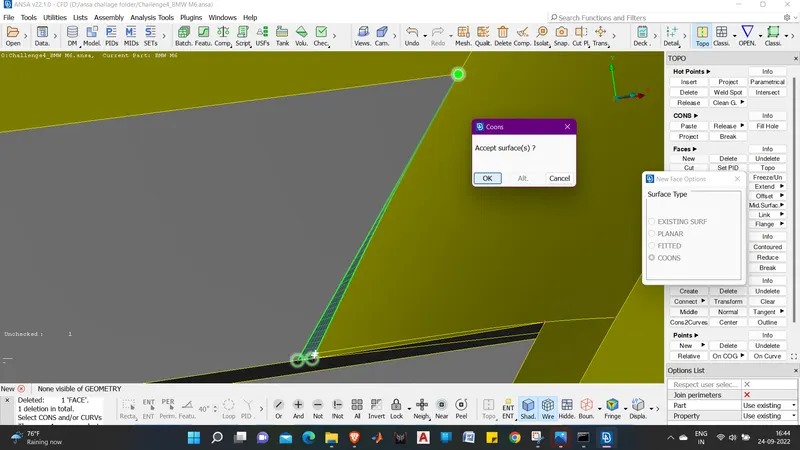
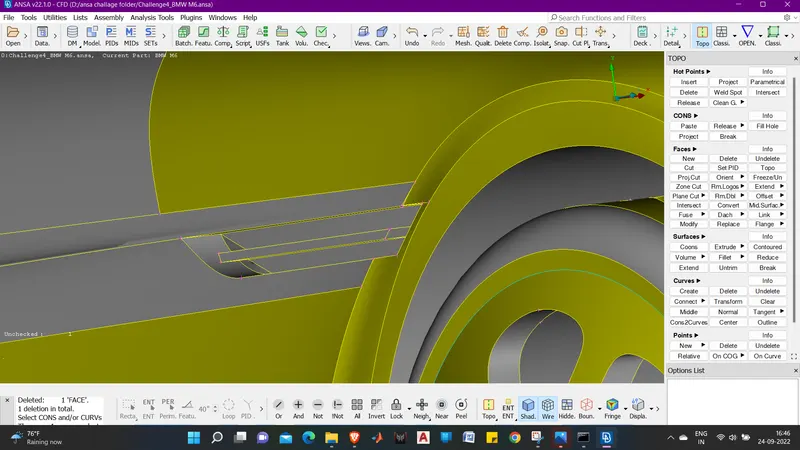
184. we can see that the error are cleared in these parts.
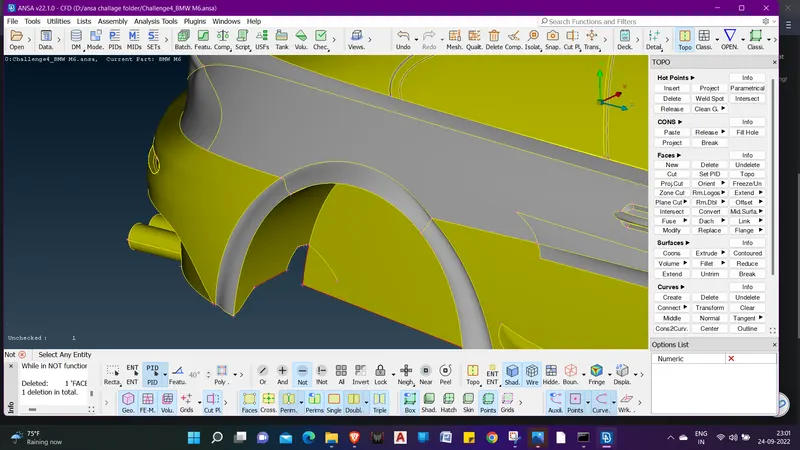
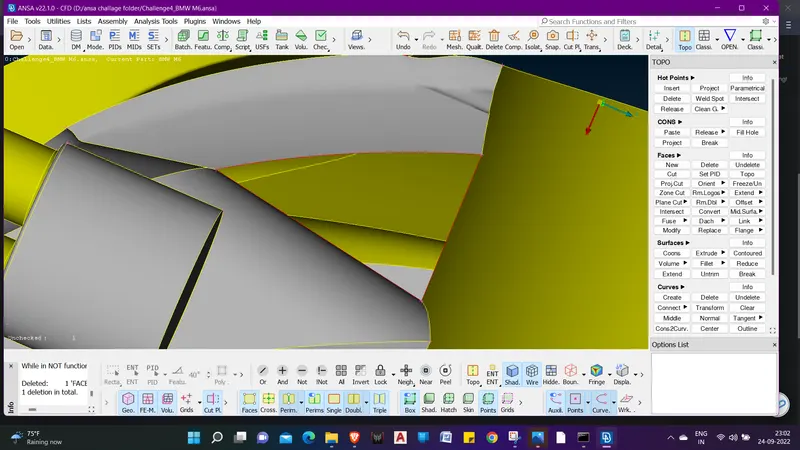
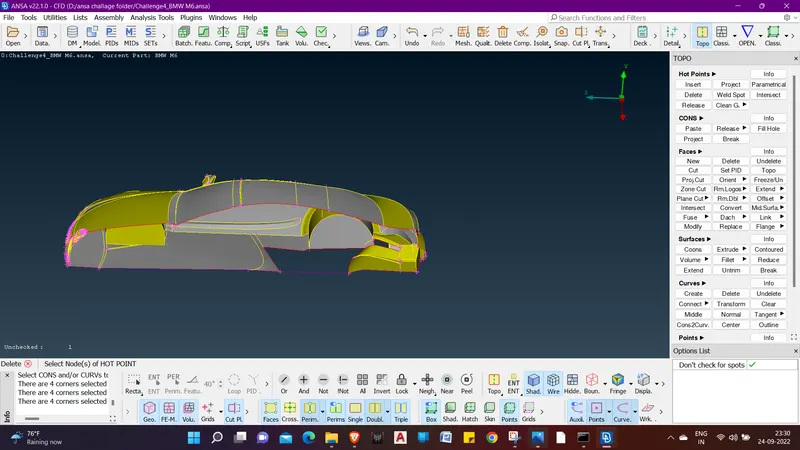
185. we will now work on geometry cleanup for floor part.
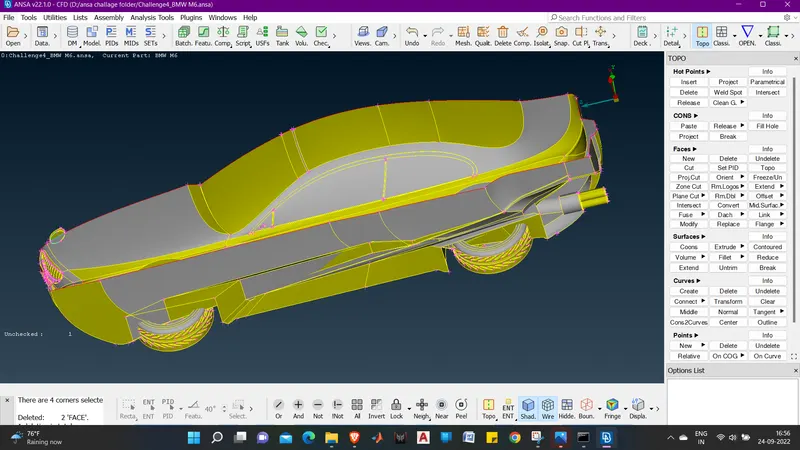
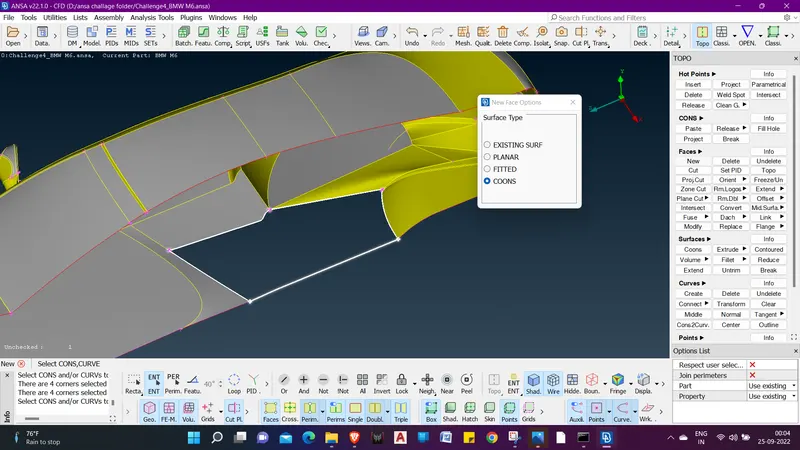
186. lets hide the tyres by using NOT.
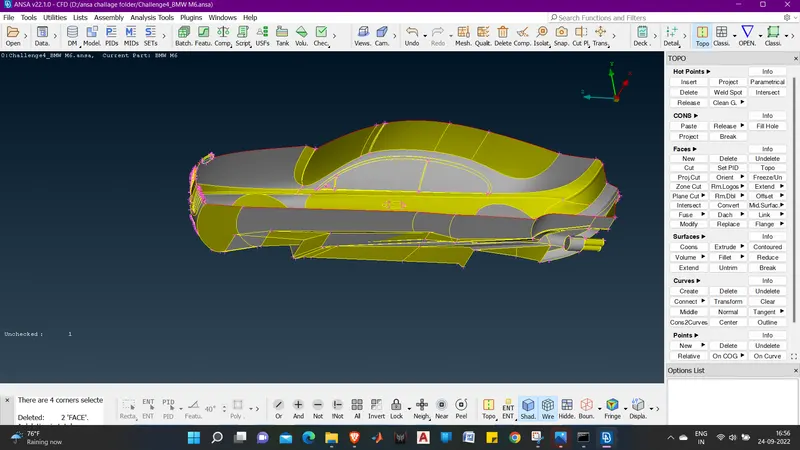
187. we can see that there is are many overlaping sufaces.
188. we will use a new command COONS TO CURVES ( CURVES).
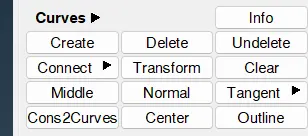
189. what does the command does?
:- The command extract a curve from the surface edge and even if ewe delete the surface the curve. so the curve made by this command works as giding curve.
190. lets see how will it help us here.
191. Click on CURVES TO COONS.
192. select the curve and middle click, the curve will be made.
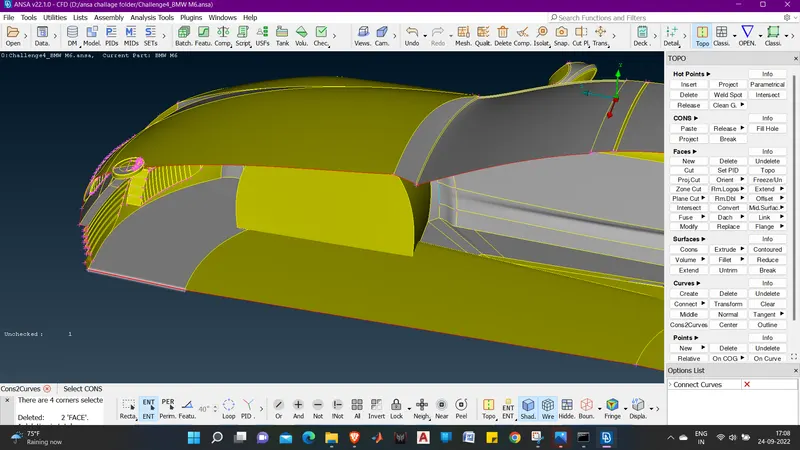
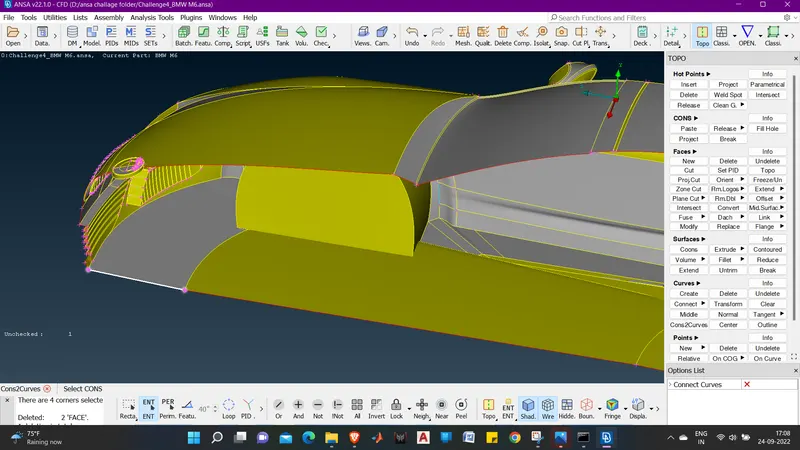
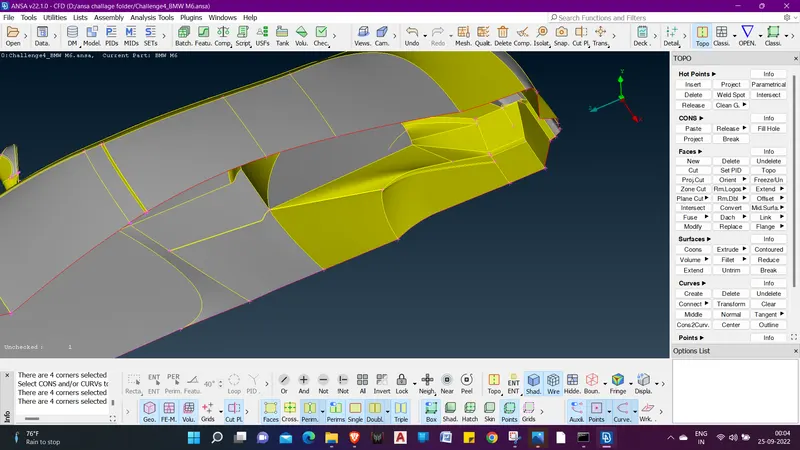
193 we will hide the surface. by using NOT.
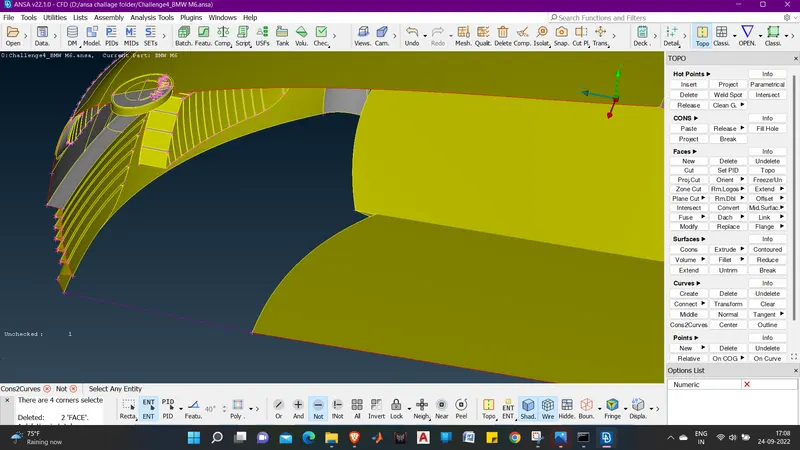
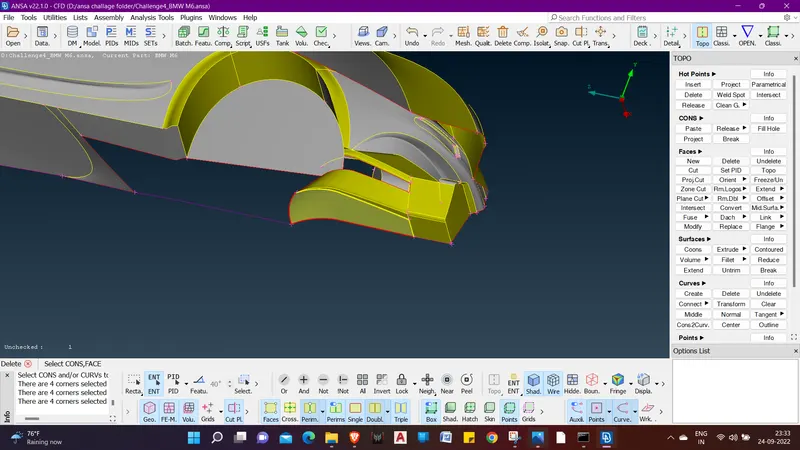
194. We can see that the curve remains there even if we hide the surface.
195. We will use it all over the edge before the floor cleanup.
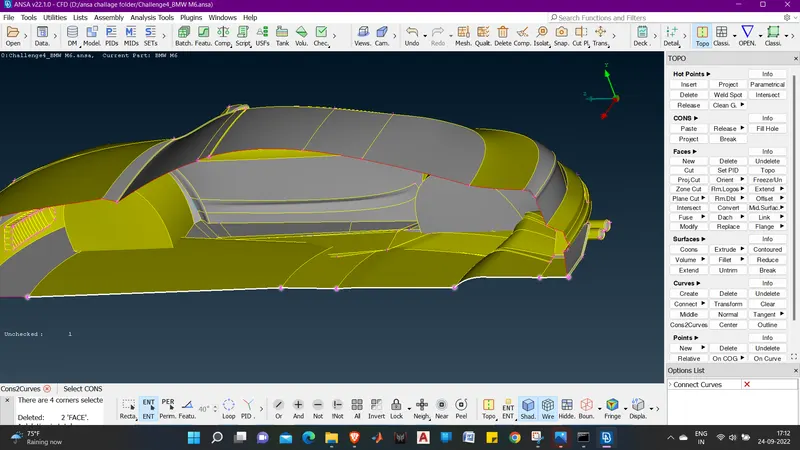
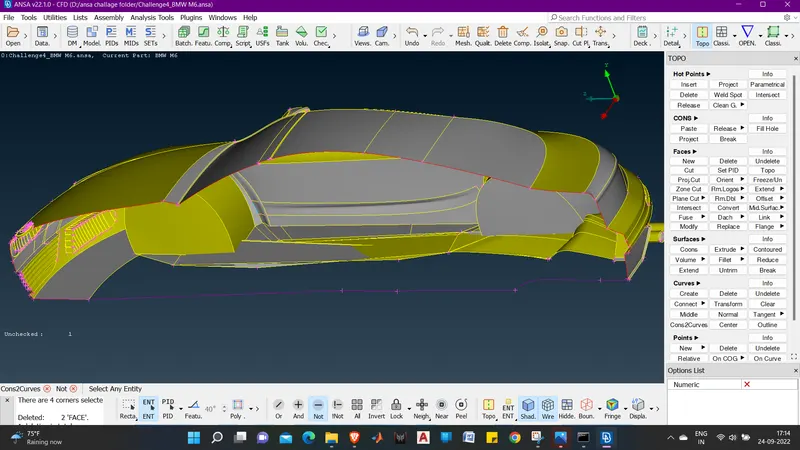
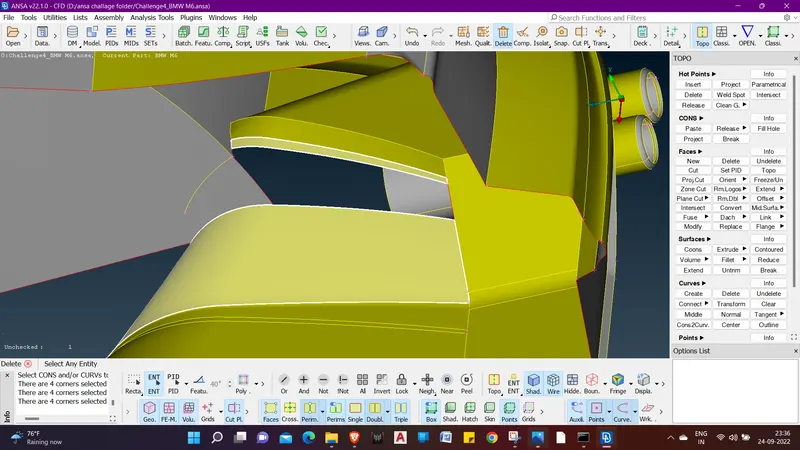
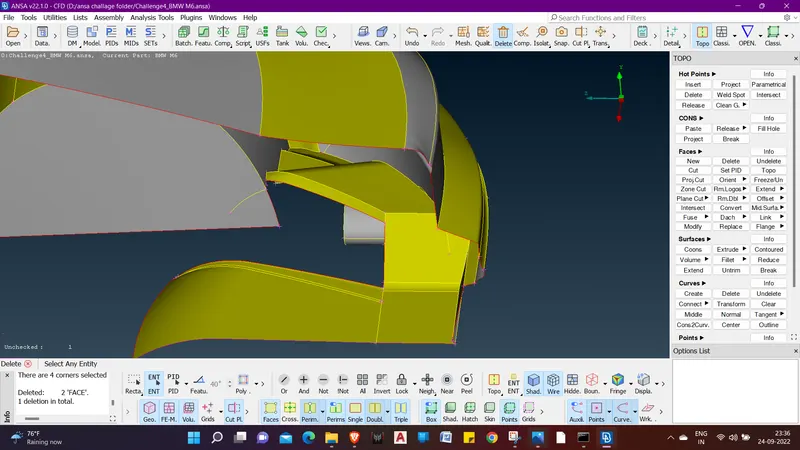
196. we can see that we have made the curves.
197. now lets start deleting unneccessary surfaces and overlaping surfaces using universal delete.
198. we will start from the rear tyre area.
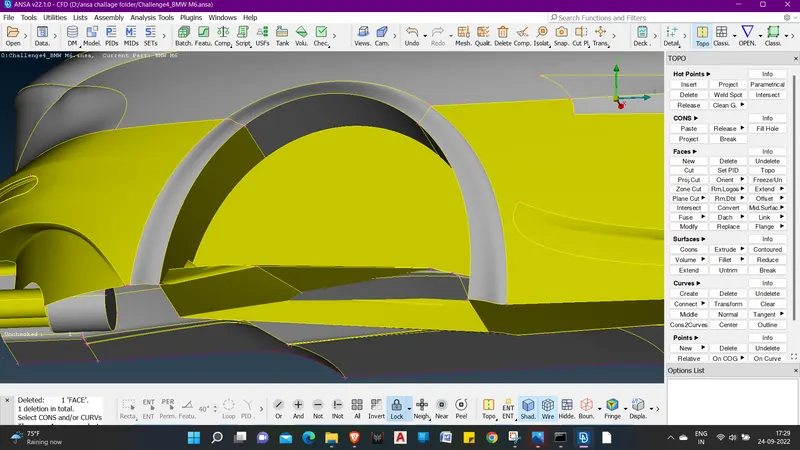
198. Selecting surfaces and deleting it.
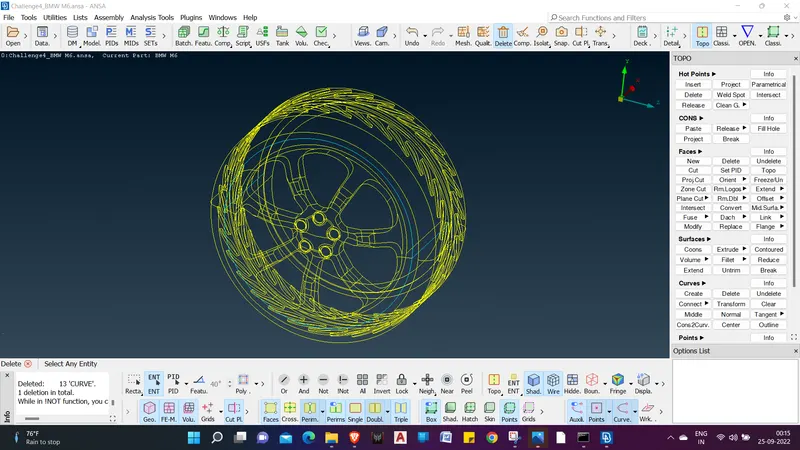
199. After deleting the faces we can see that there are some faces left for deletion. so we will again use universal Delete for deleting these faces.
200. when we delete we are left with surfaces which we can't just delete, we need to use INTERSECT to remove them.
201. so we will use intersect to delete the suface cming out of the car mud guard.
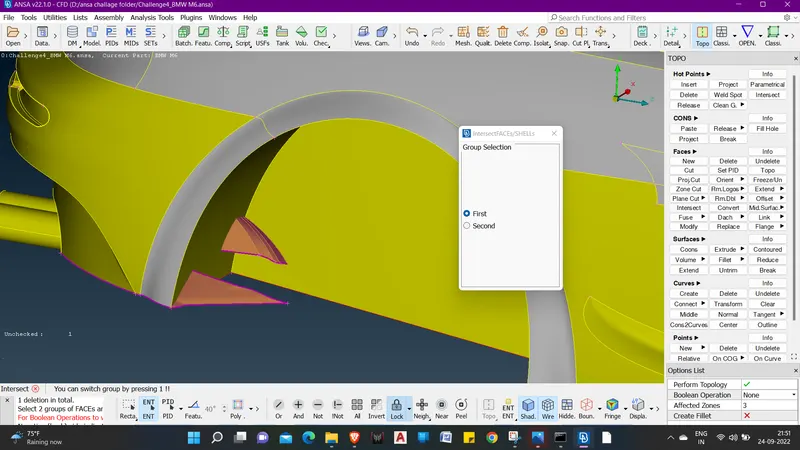
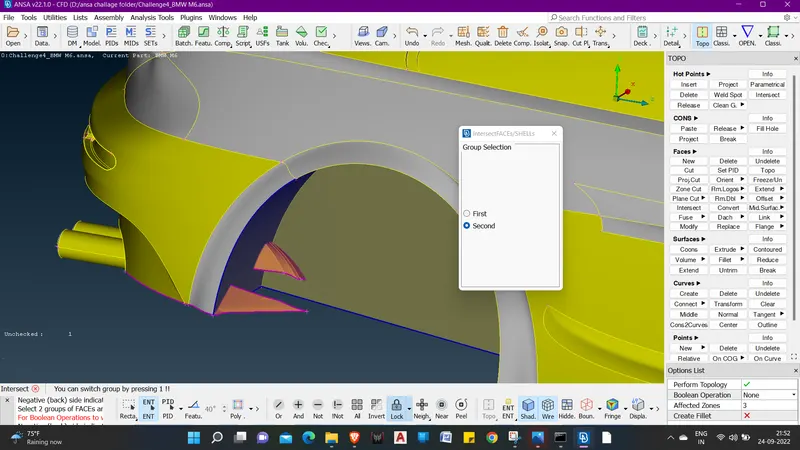
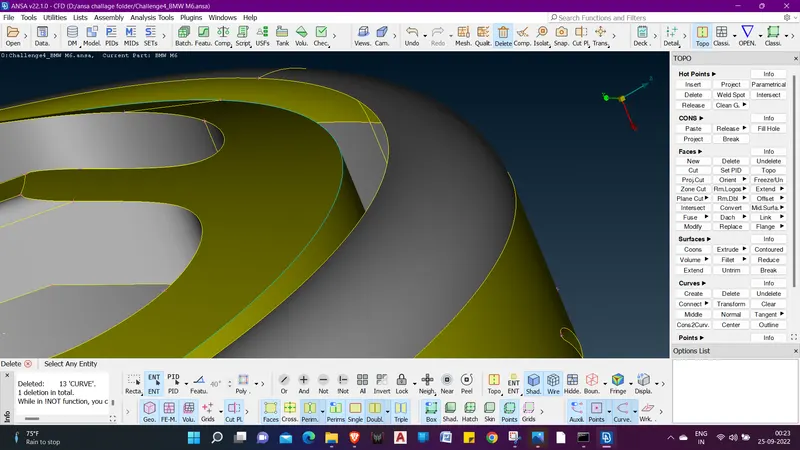
202. we will now delete and keep the necessary surfaces.
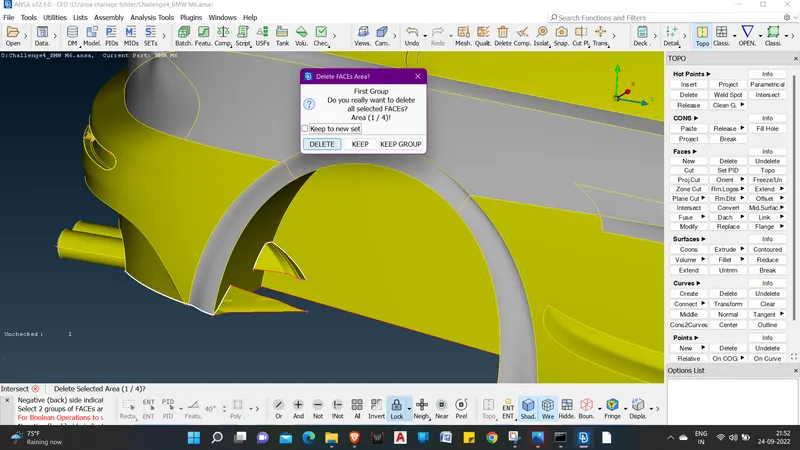
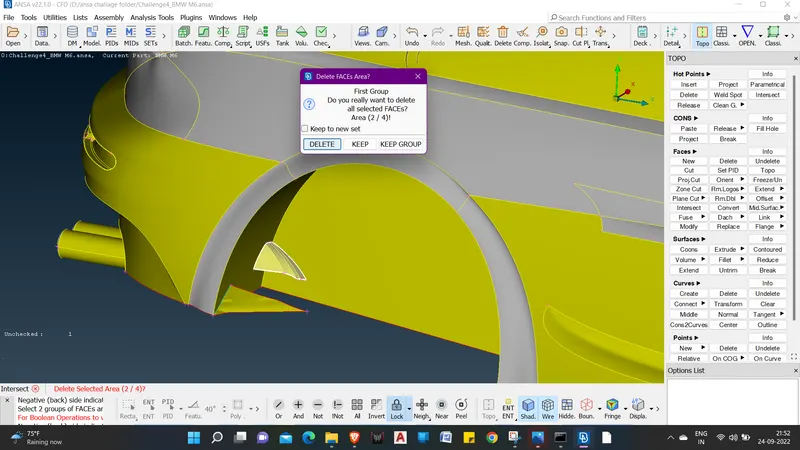
203. now we can see the extra surfaces are removed from the mudguard and left with some blue cons.
204. we will just make a cut to join the blue coons.
205. now we will just delete the part of surface using UNIVERSAL DELETE.
206. Now we will check under the surface to check for errors and we found one.
207. now we will make a surface using NEW (FACES ).
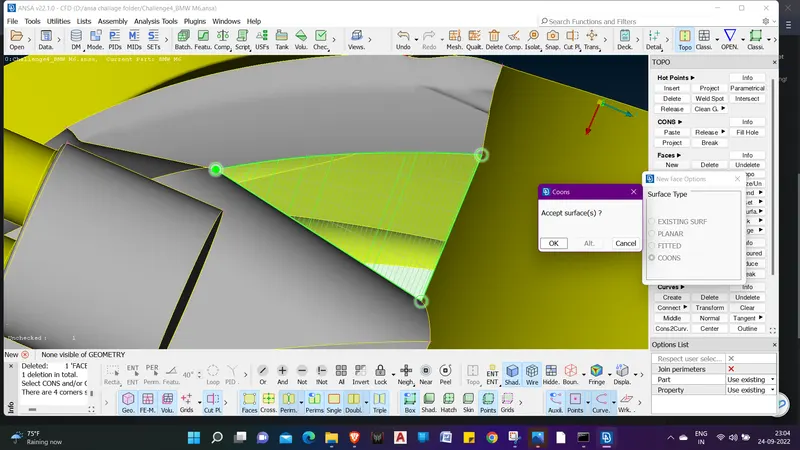
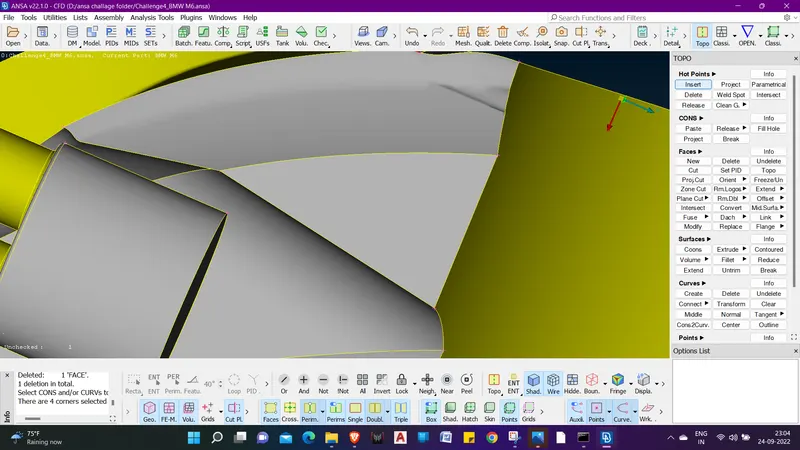
208. we are now done cleaning the error in this surface.
209. lets find out more in there.
210. now we will just fo for the front tyre area to clean up.
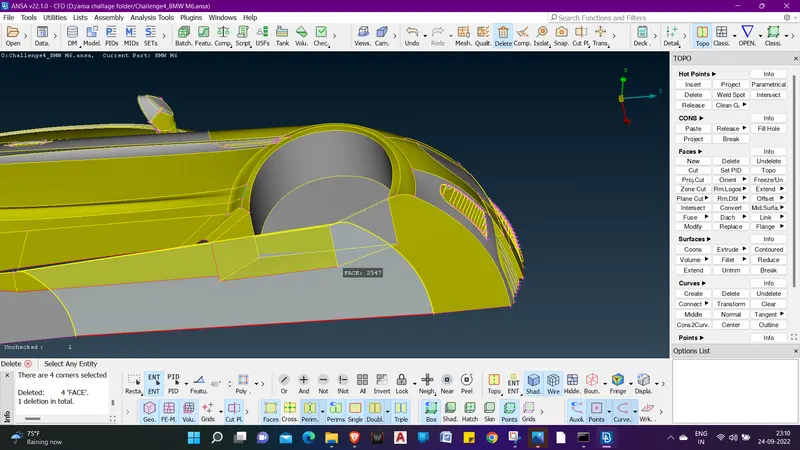
211. we will use universal delete to delete the surfaces.
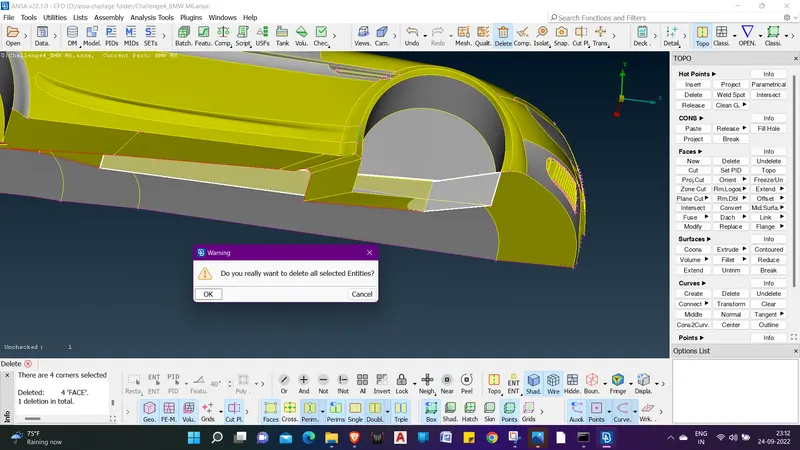
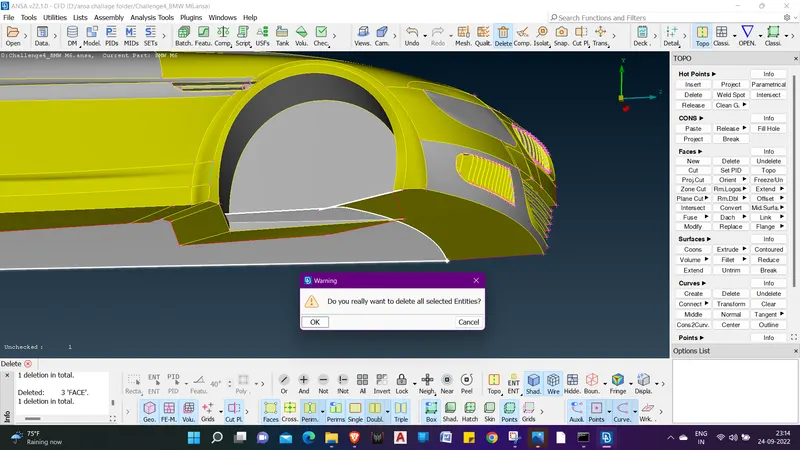
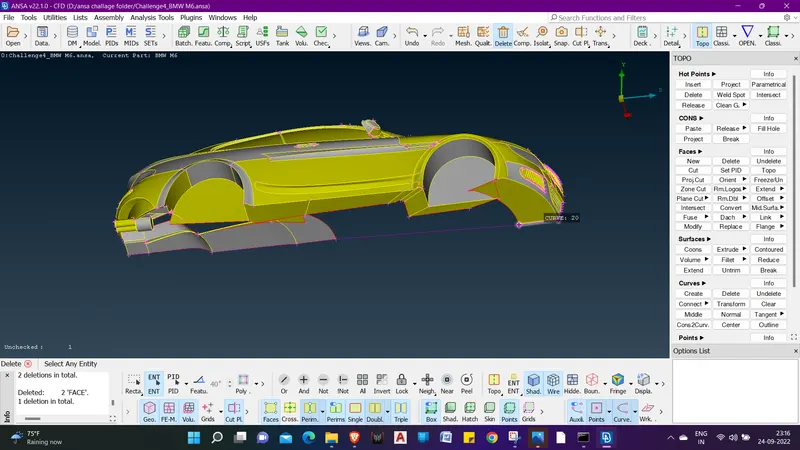
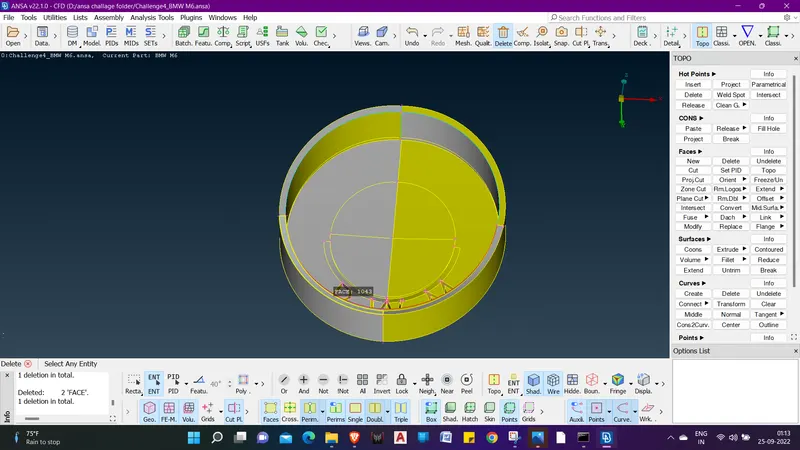
212. now we have deleted these surfaces we have one surface which is paniterating the front mudguard.
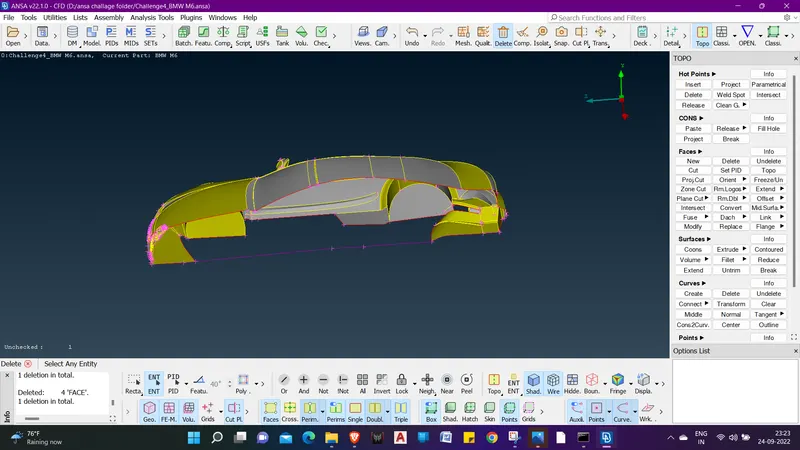
213. Now we have deleted many surfaces we have got the front trye area cleared up.
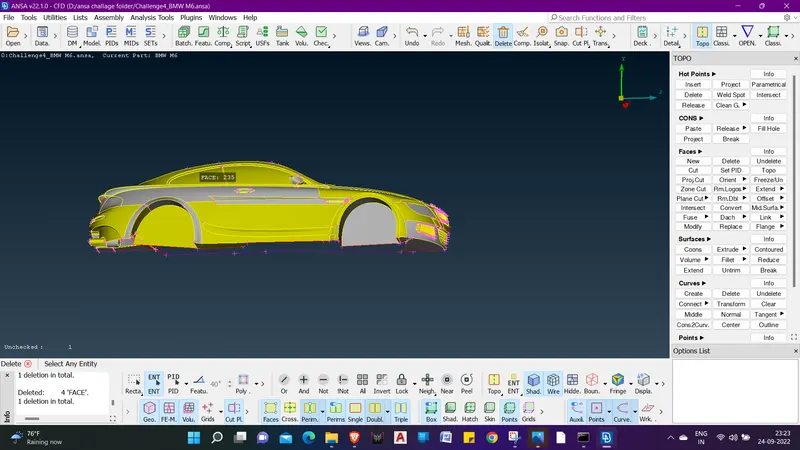
214. Now we have to make some surfaces usinf NEW (FACES).
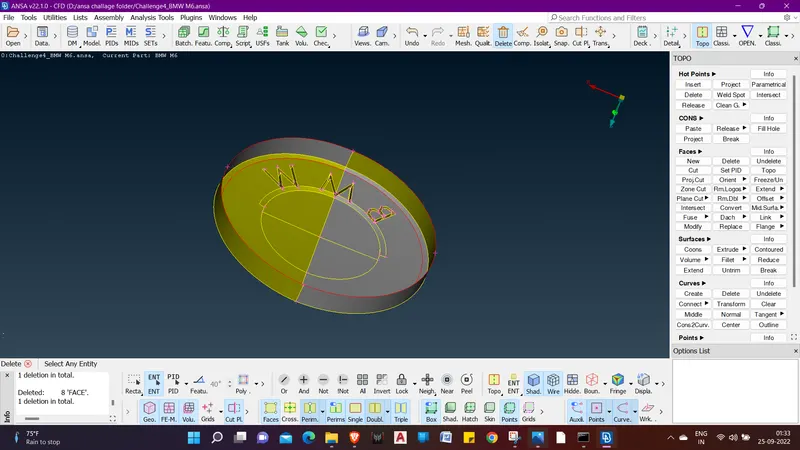
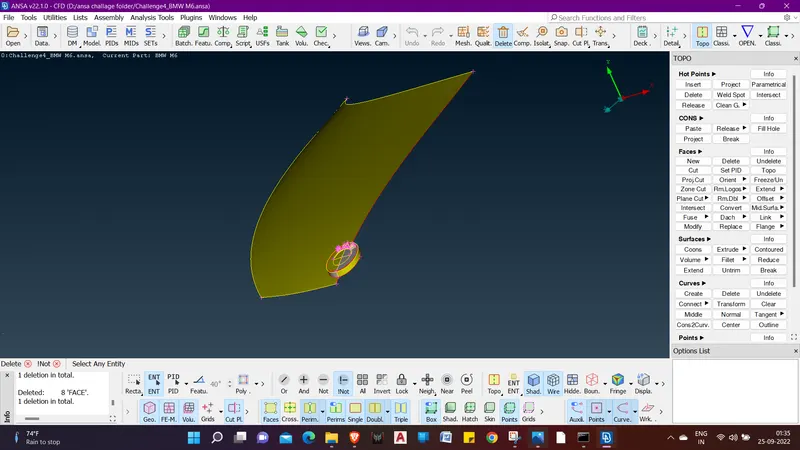
215. The geometry looks better as we had made new faces.
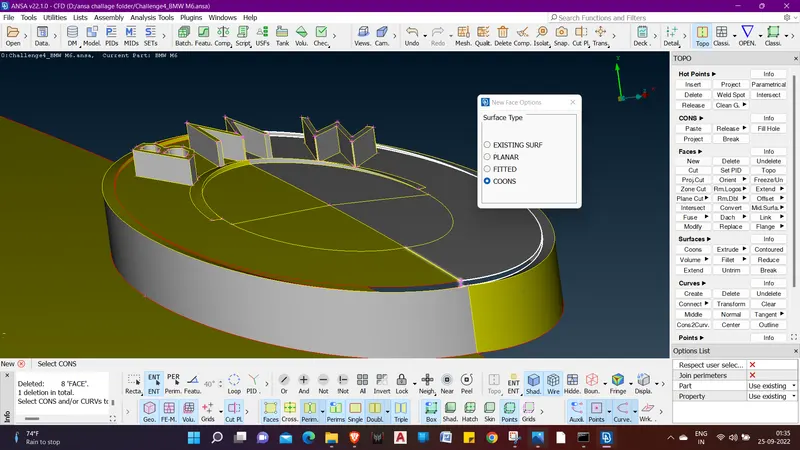
216. Now the rear part may make aconcern due to curvy parts , we can't mek survaces over there.
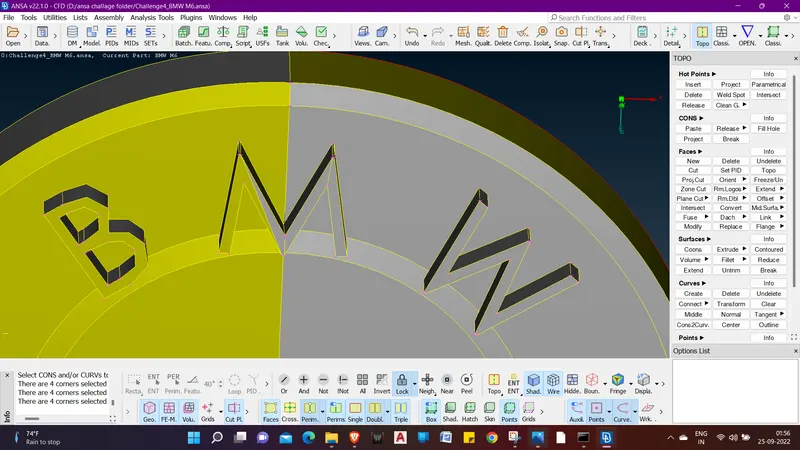
217. for that we have to delete one surface to make us some space to form a surface easily.
218. we will delete some faces using UNIVERSAL DELETE.
219. Now we will make new surfaces using FACES ( NEW ).
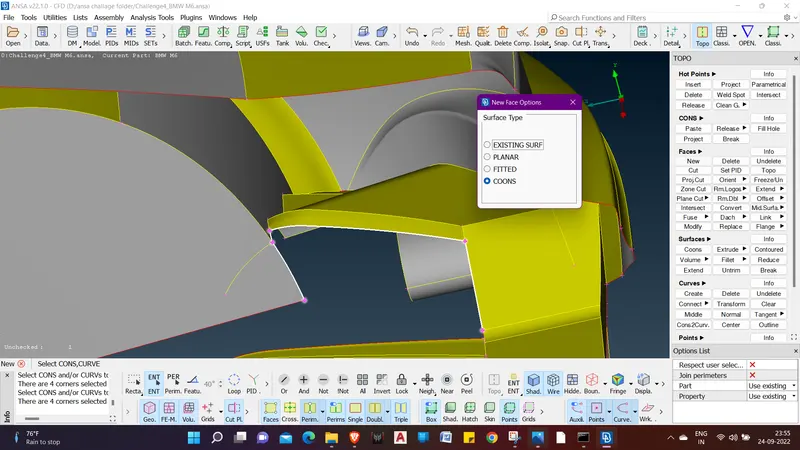
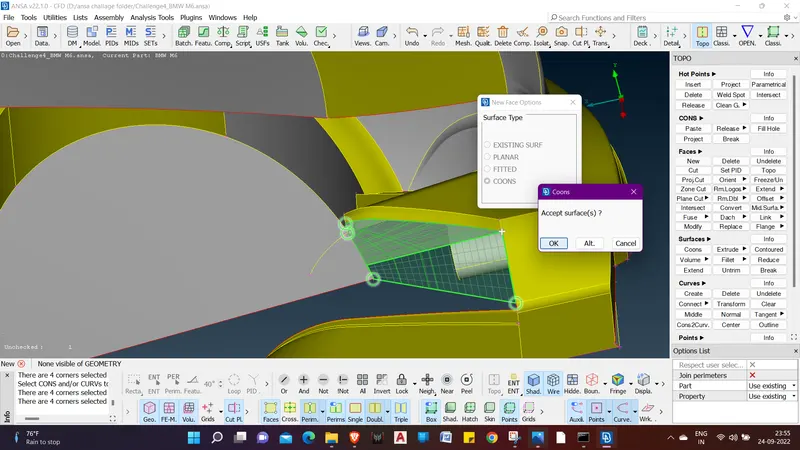
220. like this we will create surfaces.
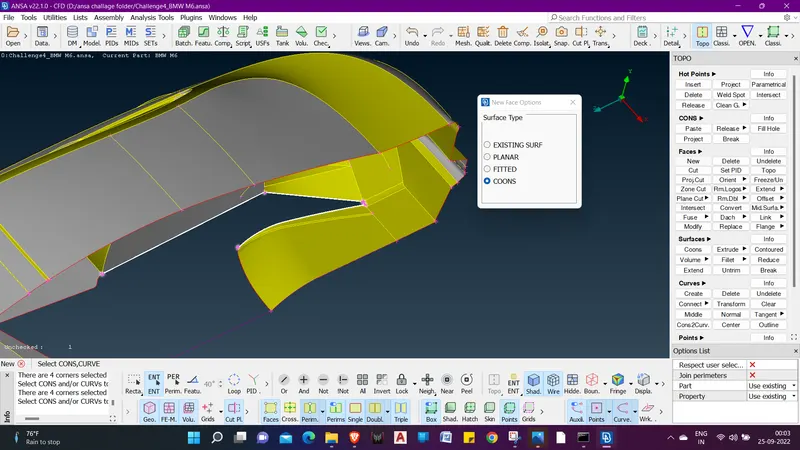
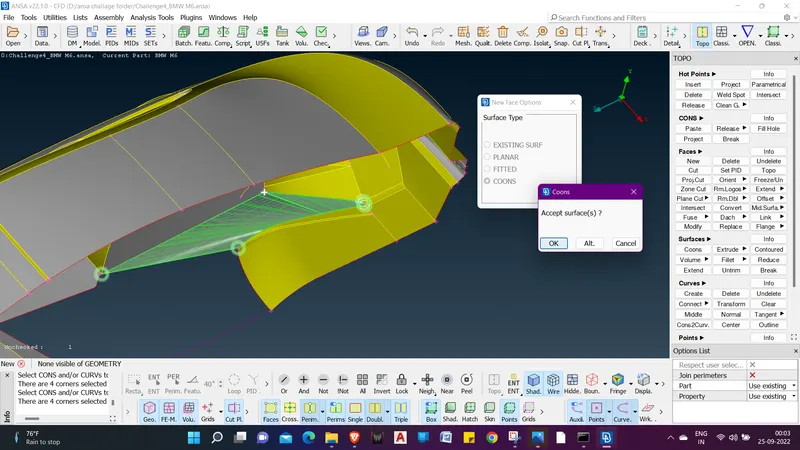
221.we can see that the floor is fully resolved out of errors.
222. now we will work on tyres.
223. using !NOT we will hide the tyres and middle click it.
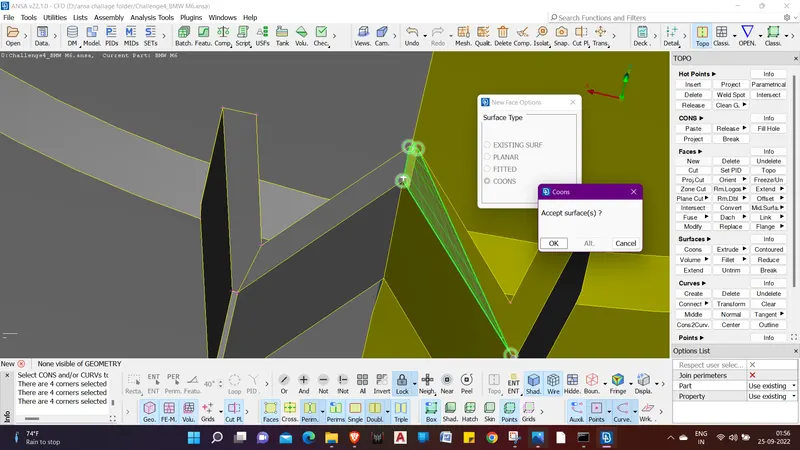
224. Now we will hide the surface to see what causing the triple con error.
225. after hiding we can see tat thre is an extra surface which is not needed.
226. Now we will delete the surface using universal delete.
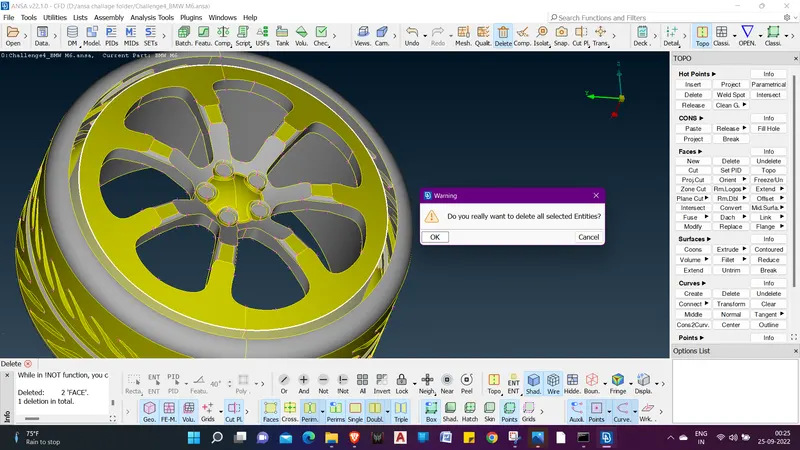
227. Two times we have to delete the surfaces because there were overlaping surfaces.
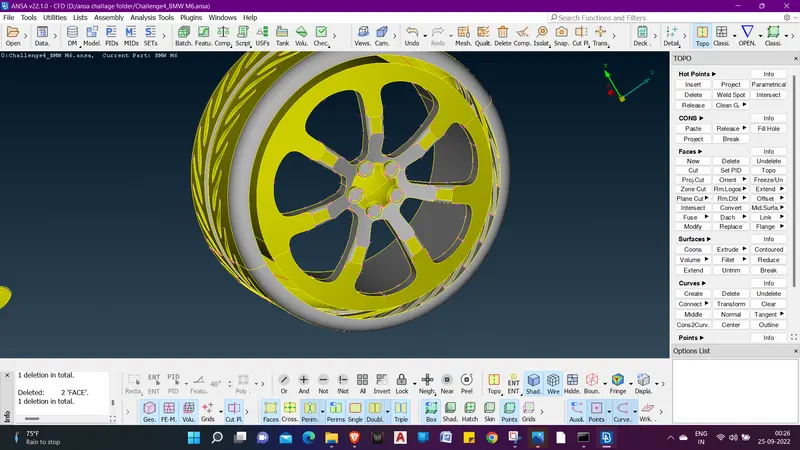
228. now we will unhide this surface and go and check on th other side to check for errors.
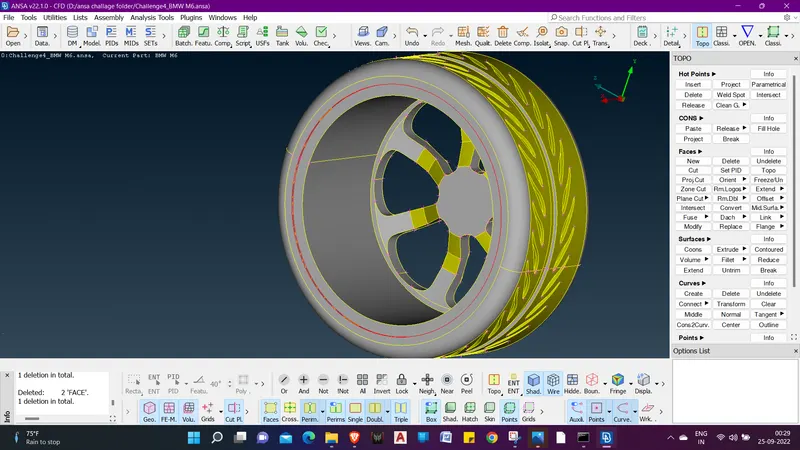
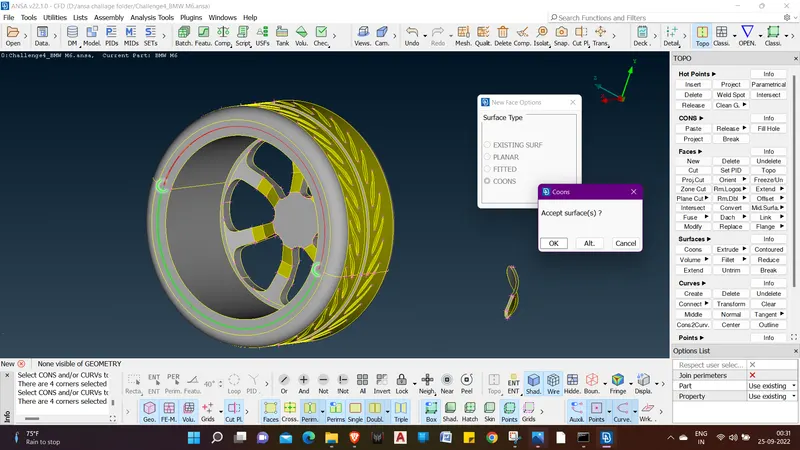
229. Now we can see that there are single cons present. so to clear these cons we have to make NEW surfaces.
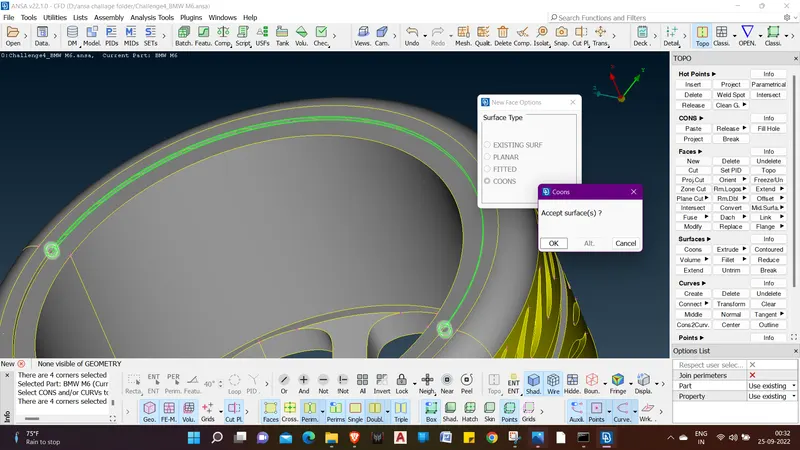
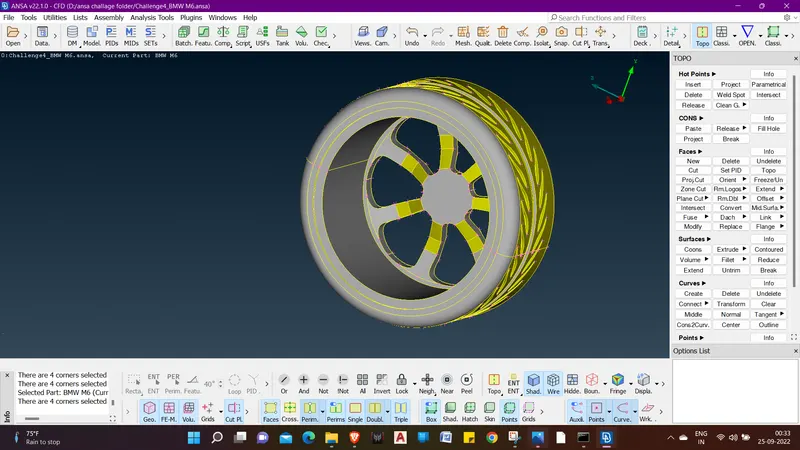
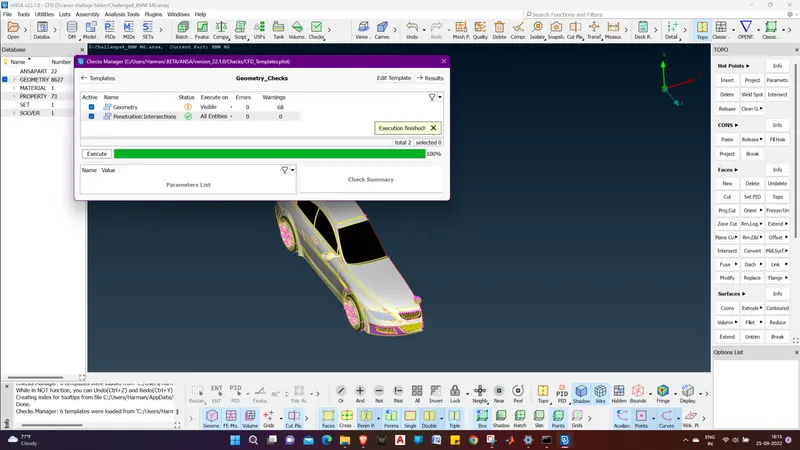
230. Now we will do the same thing with the other tyre.
231. now both the tyres are done with cleanup.
232. only left is logo. so remove LOCK and click on ALL
234. lets work on logo now.
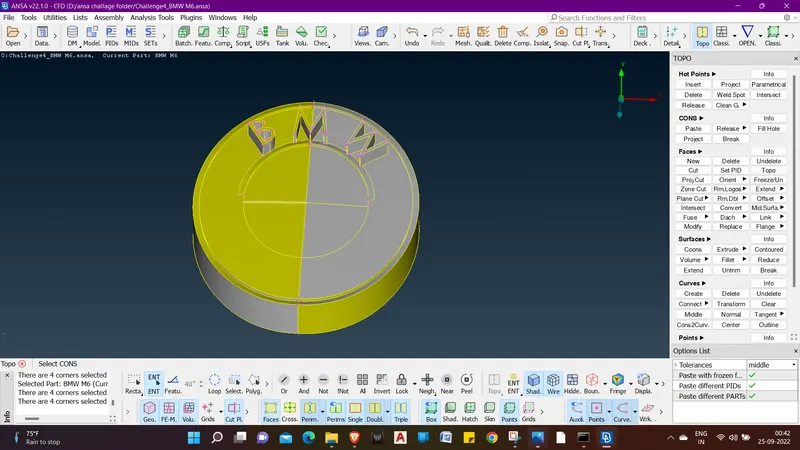
235. Now we will delete the surfaces under logo.
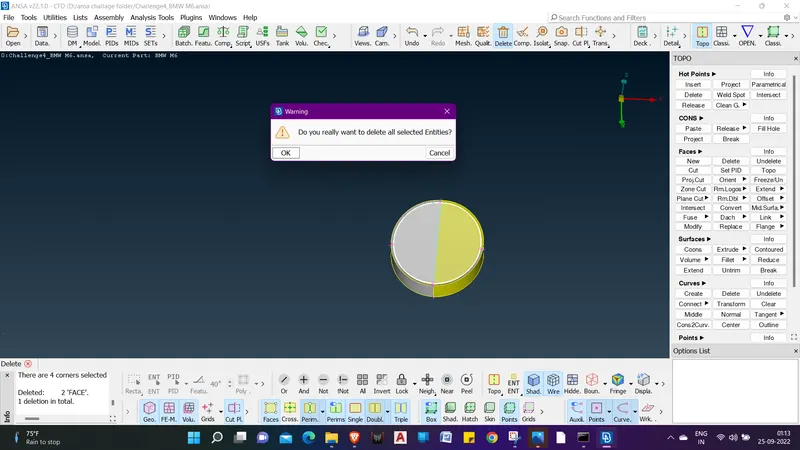
236. on deleting these surface we got to know there are sime surfaces causing the triple cons.
237. We need to delete these surfaces using universal delete.
238. we will click on all And then again hide other surfaces except the bonet and logo using !NOT.
239. Lets clean up the red cons over the logo.
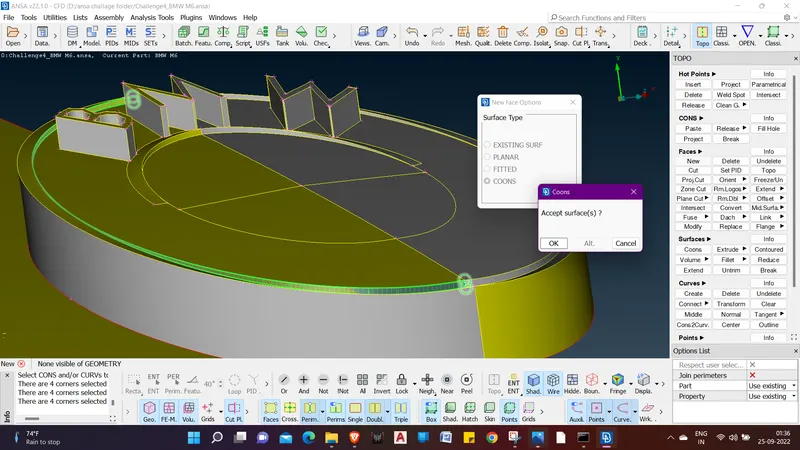
240. we have logo cleared from top side.
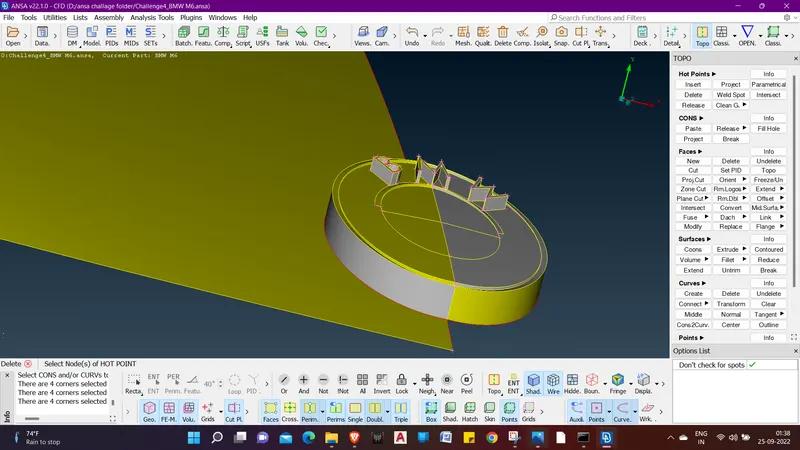
241. Now we will see wheteher there is any error under the logo.
242. So when we rotate the model we get to know there is a big single con over the logo.
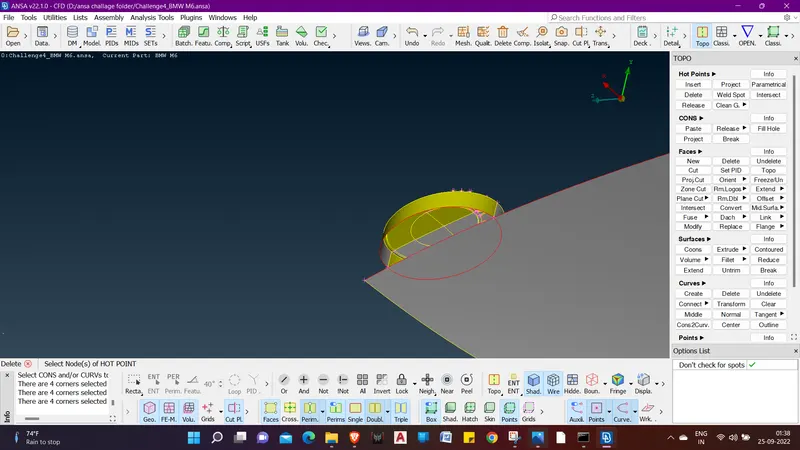
243. we will use EXXTEND to extend the red coon over the bonet surface.
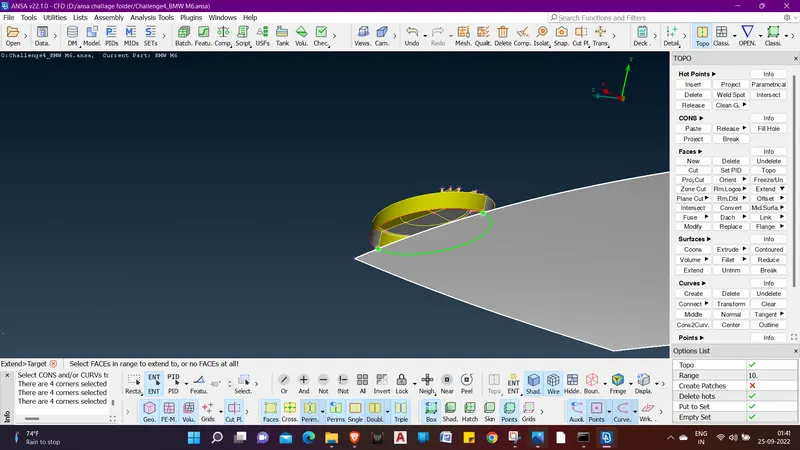
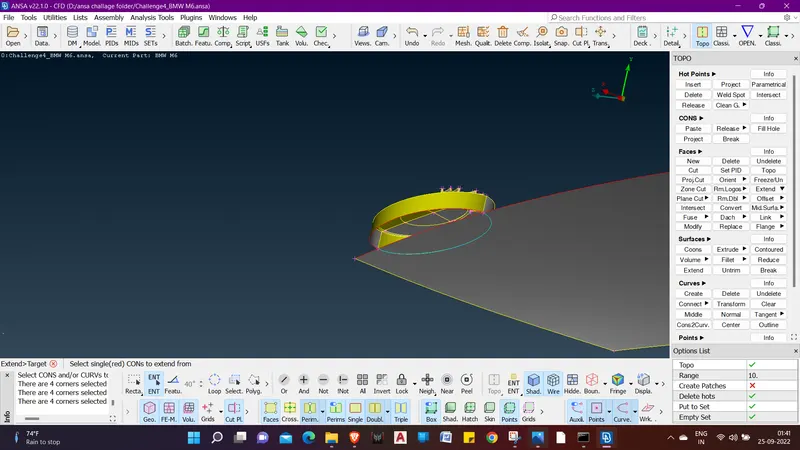
244. now we can see that the blue con is there, Now we can delete the surface using universal delete.
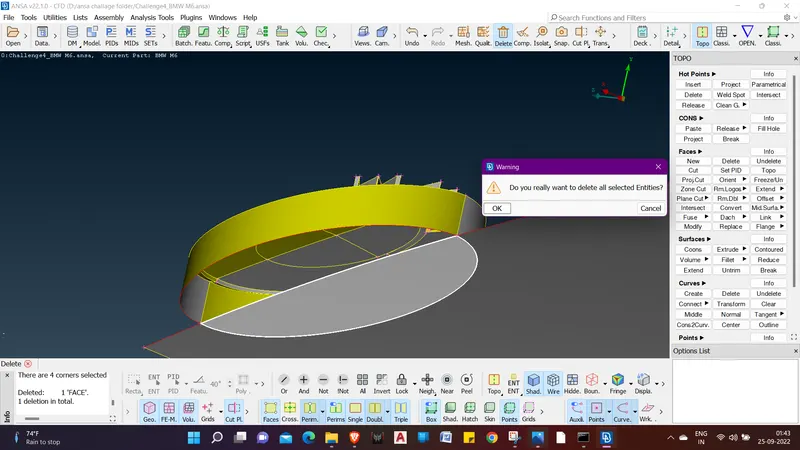
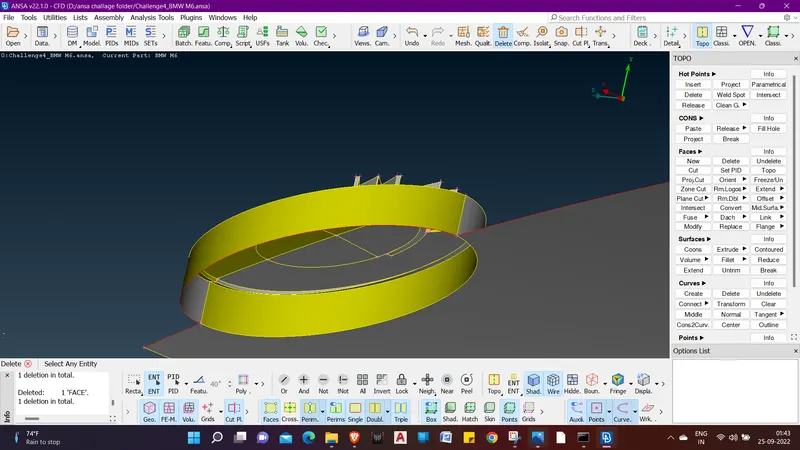
245. we can see that the logo is cleared now.
246. hide all parts exept logo using !NOT. and switch to fire frame mode to see whether there is any error.
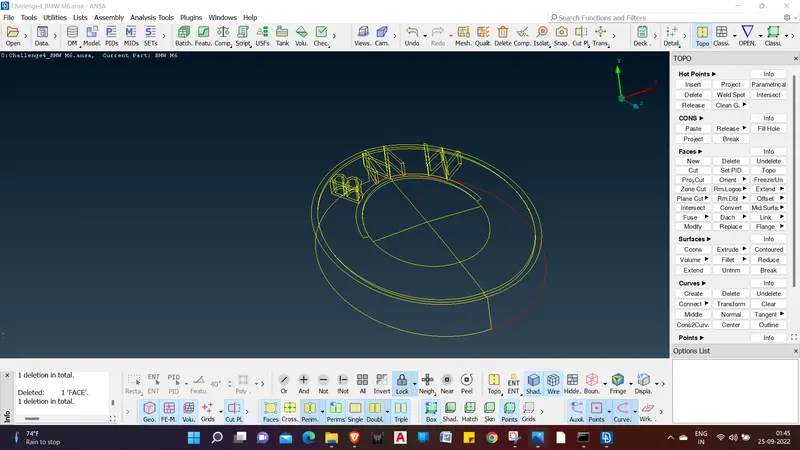
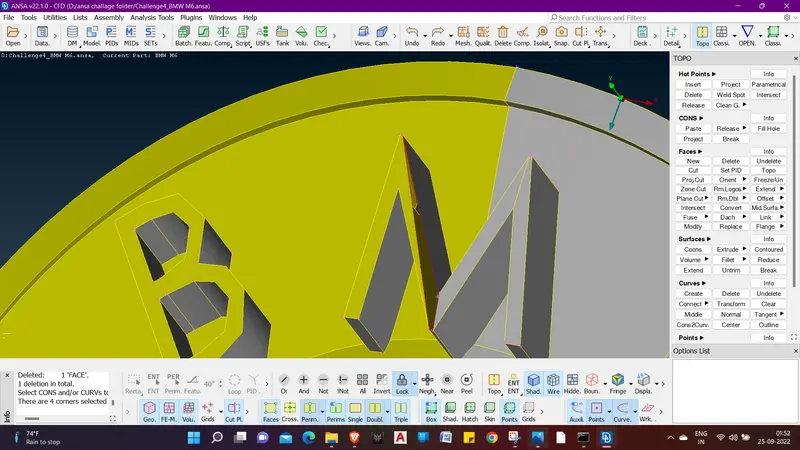
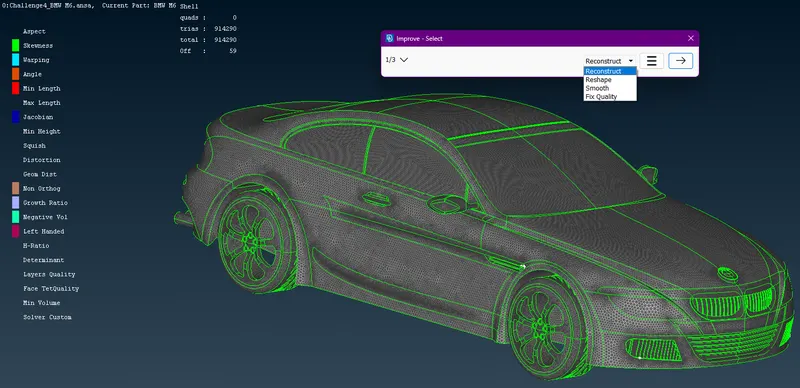
247. now we will zoom a little bit. we found a triple con in the 'M' of BMW.
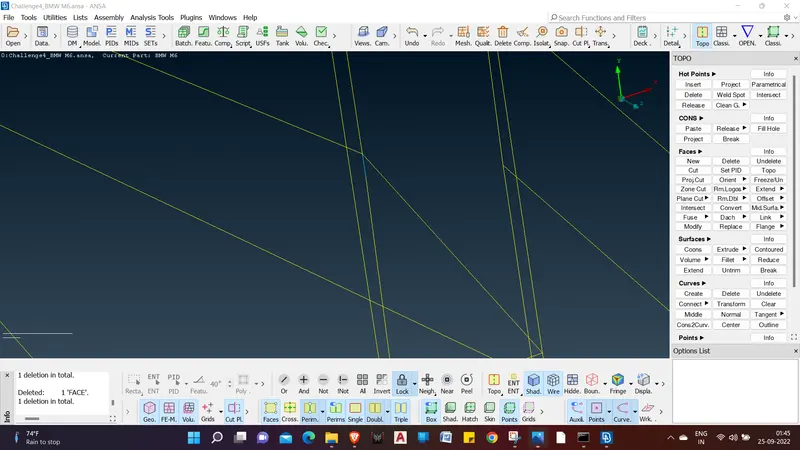
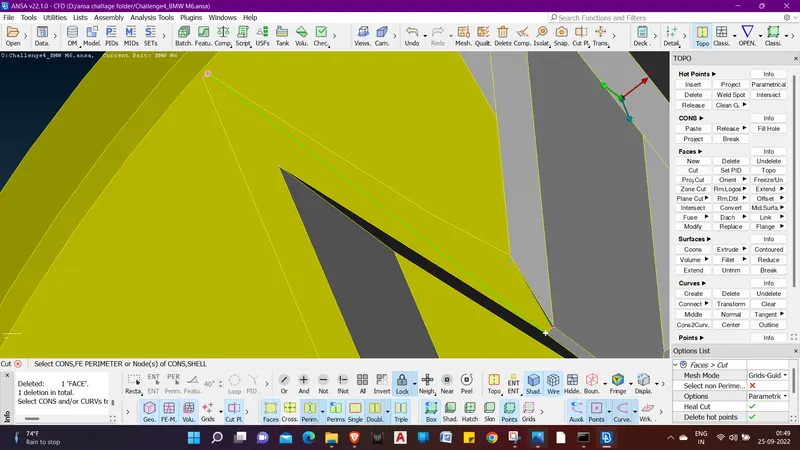
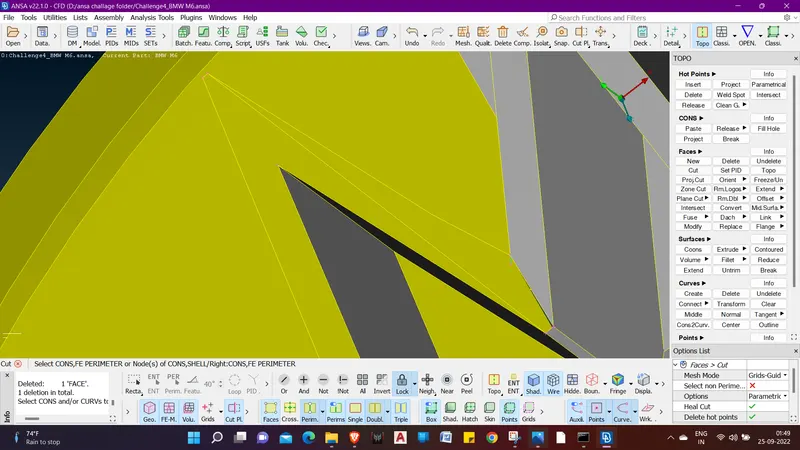
248. lets check out whats the issue here.
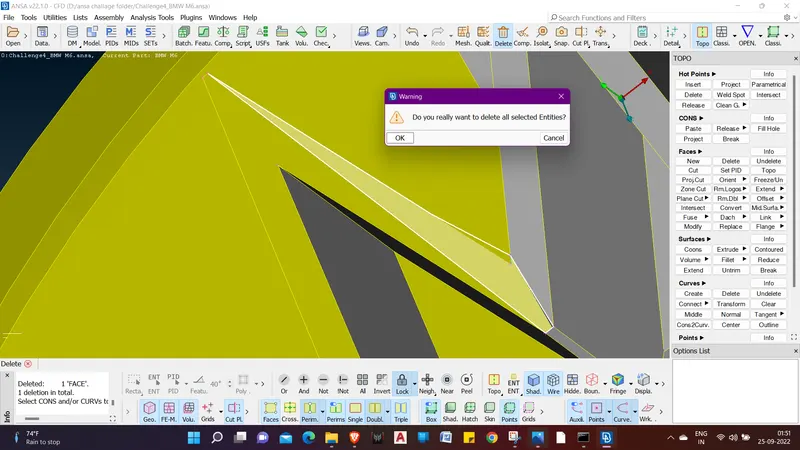
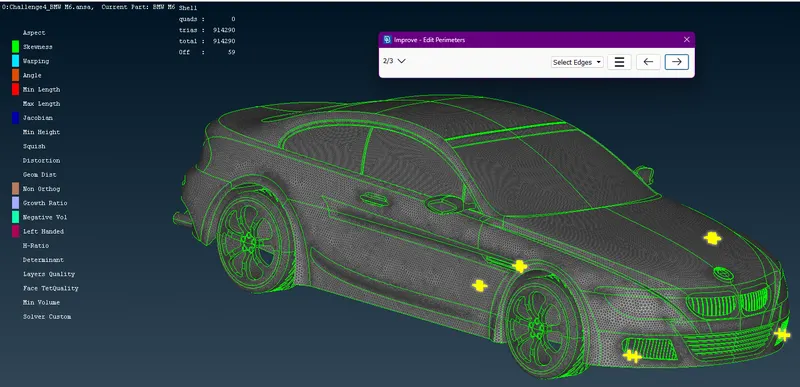
249. we will make a cut over there so that we can delte one surface.
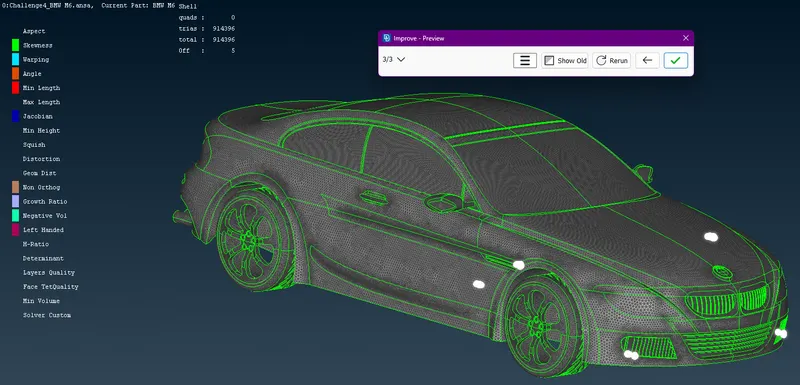
250. Now lets delete the surface using universal Delete.
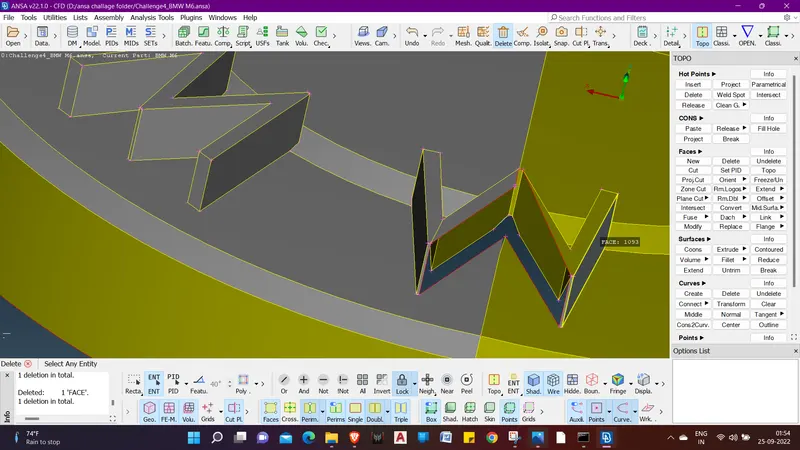
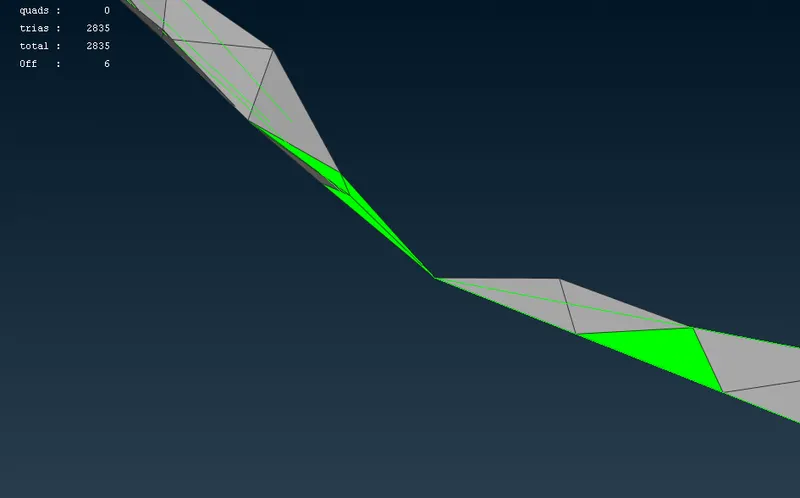
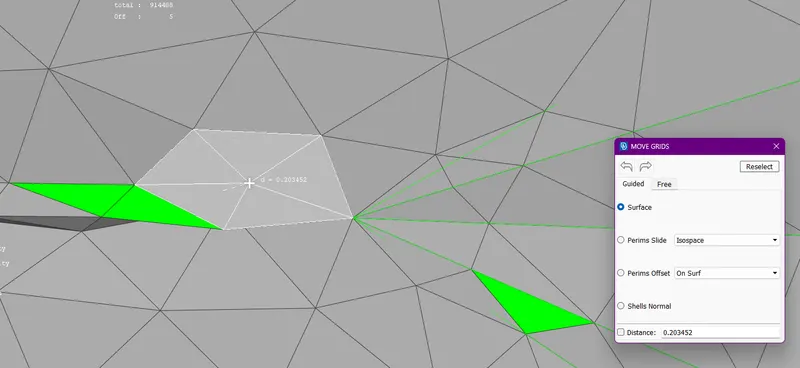
251. lets make a new surfaces over there using NEW.
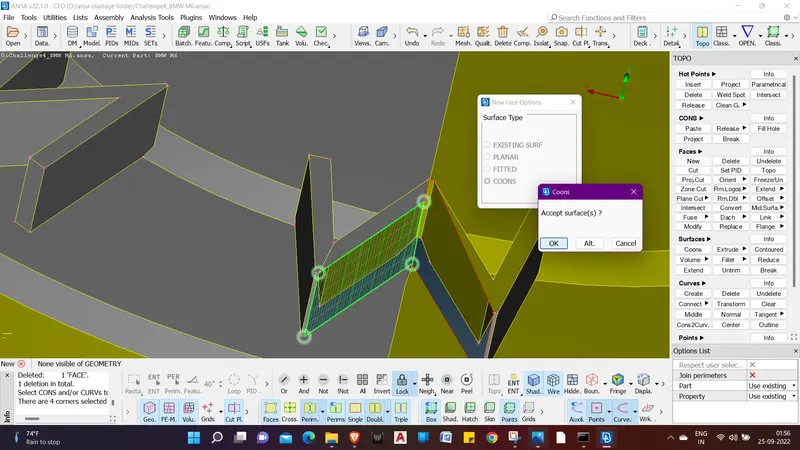
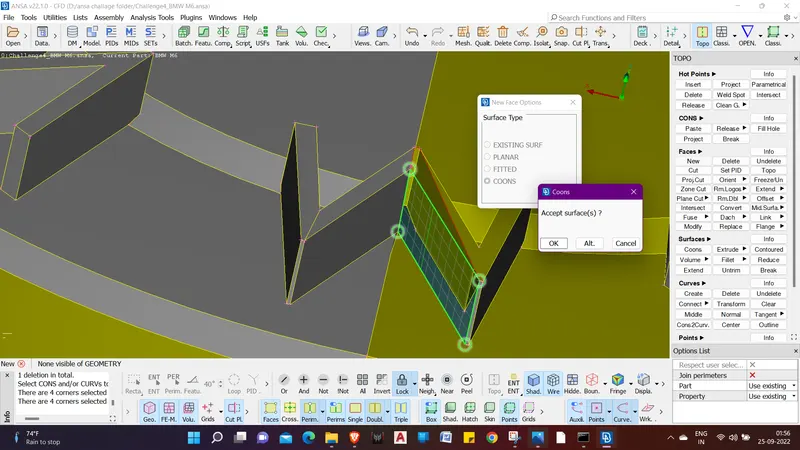
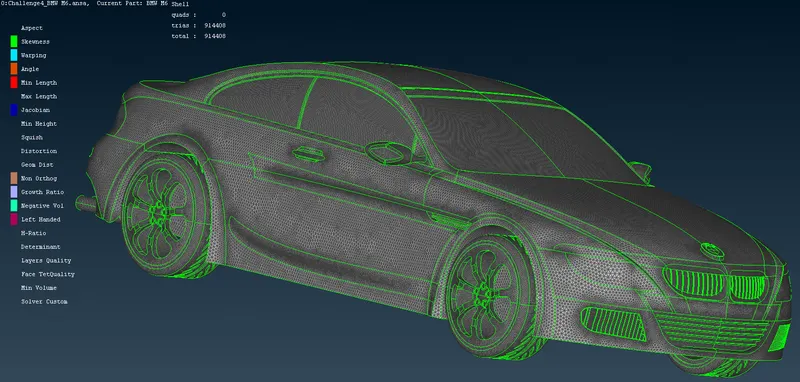
252. now we can see that we have cleared the whole logo from errors.
253. lets do ALL and go for Geometry check.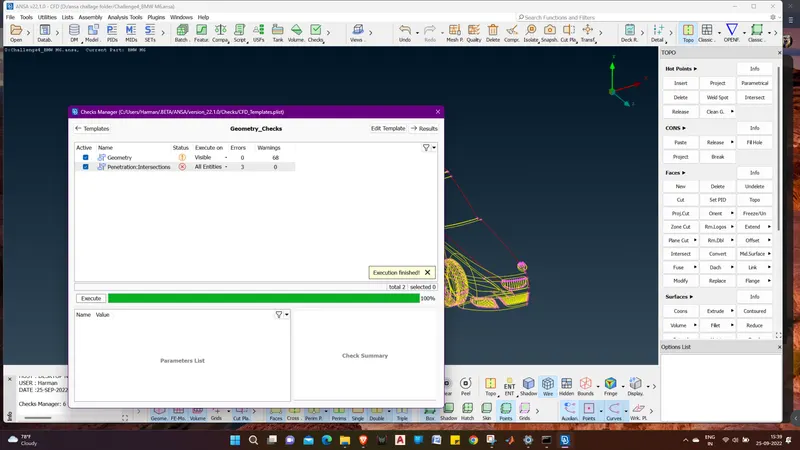
254. we will resolve the errors and again go for geometry check.
256. Now we will Assign the different PIDs of the model.
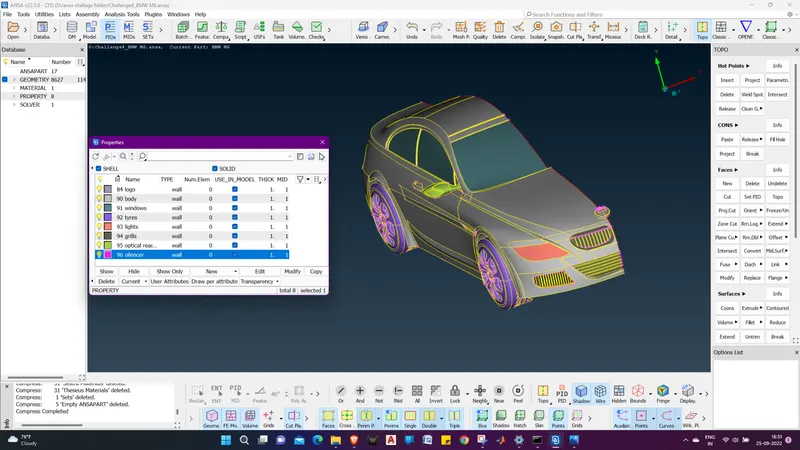
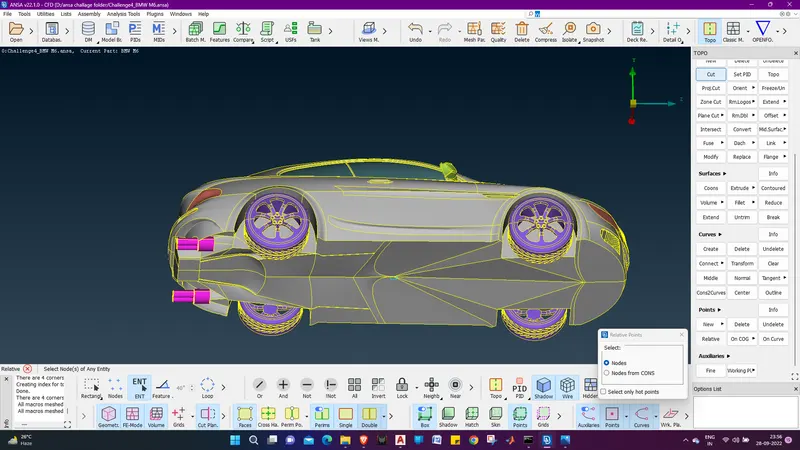
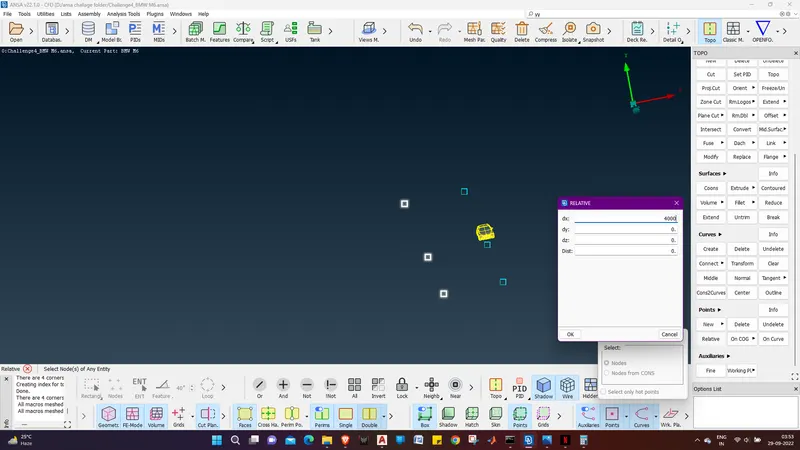
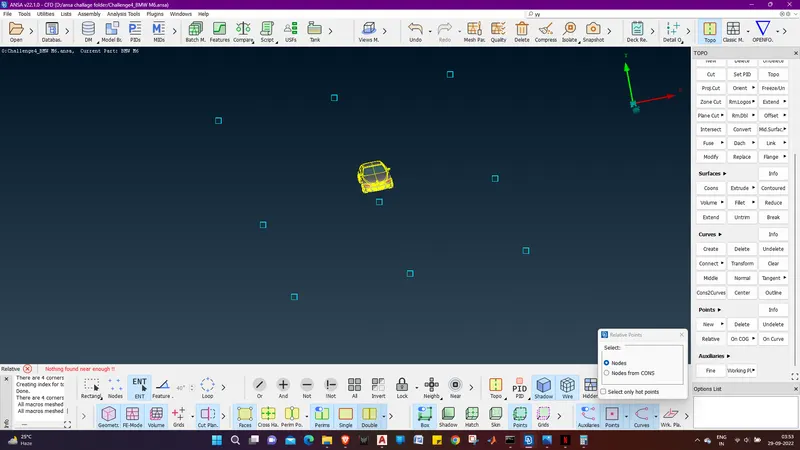
257. After assigning the PIDs we will Give PIDs the target length.
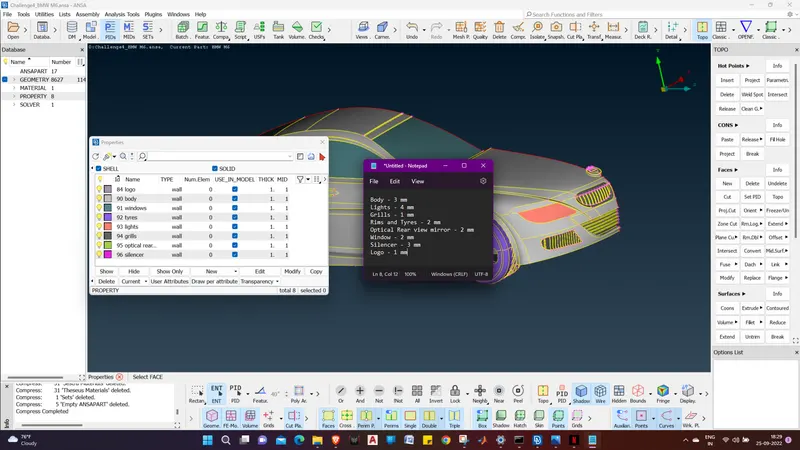
258. Different Target Length for Different PIDs.
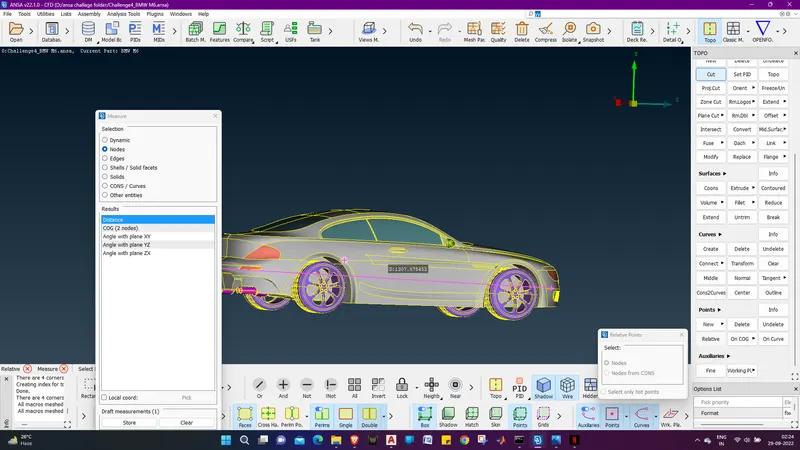
S.no. Component Target length Min. Target Length Max. Target Length
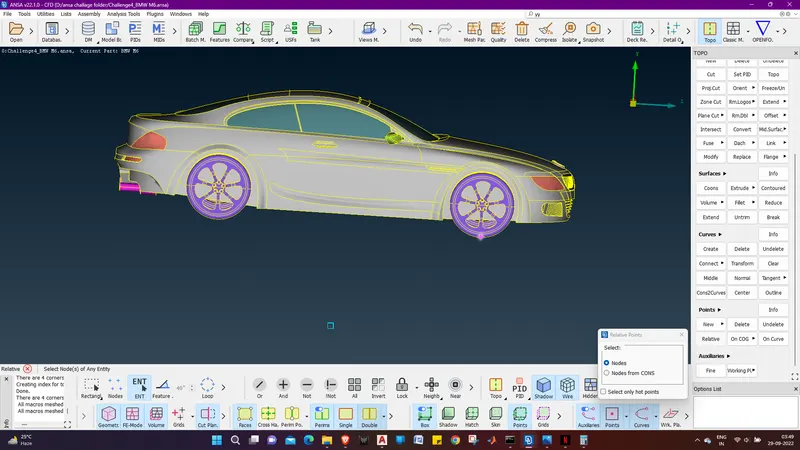
A.) Body - 3 mm 1 mm 5 mm
B.) Lights - 4 mm 1 mm 7 mm
C.) Grills - 1 mm 0.5 mm 1.5 mm
D.) Rims and Tyres - 2 mm 1 mm 3 mm
E.) Optical Rear view mirror - 2 mm 1 mm 3 mm
F.) Window - 2 mm 1 mm 3 mm
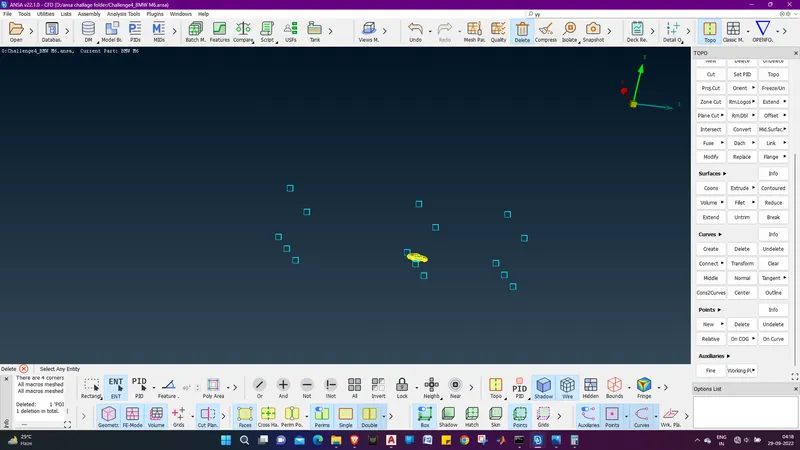
G.) Silencer - 3 mm 1 mm 5 mm
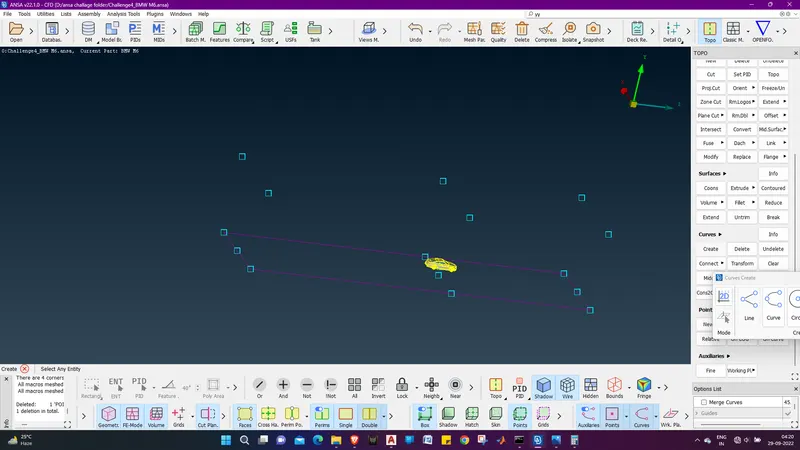
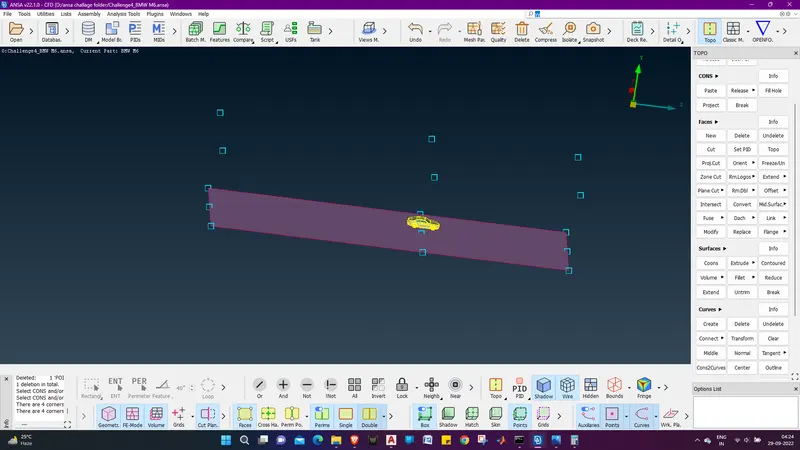
H.) Logo - 1 mm 0.5 mm 1.5 mm
259. After assigning the Target Lengths to the Different PIDs. we will Give the whole model a Quality Criteria, keeping in mind that the Quality criterial range should be bigger thant the target length range.
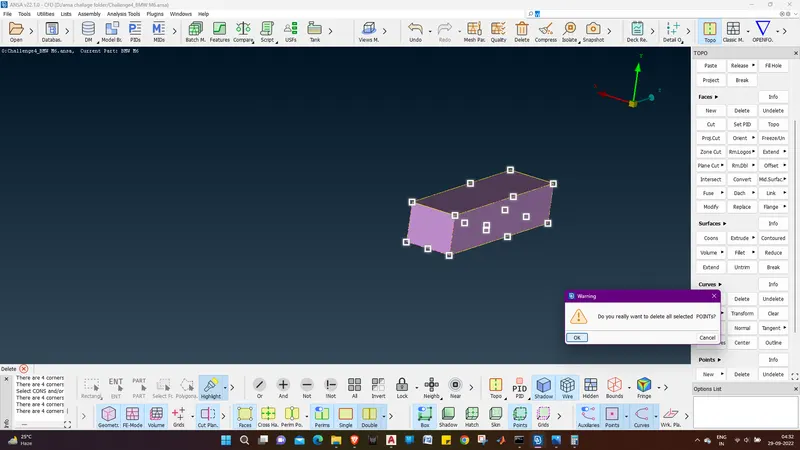
259. Quality criteria For Model .
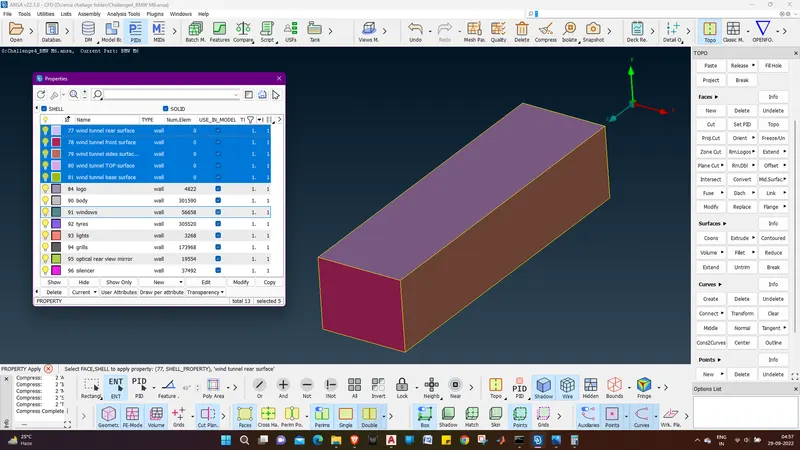
A.) Minimum length :- 0.1 mm.
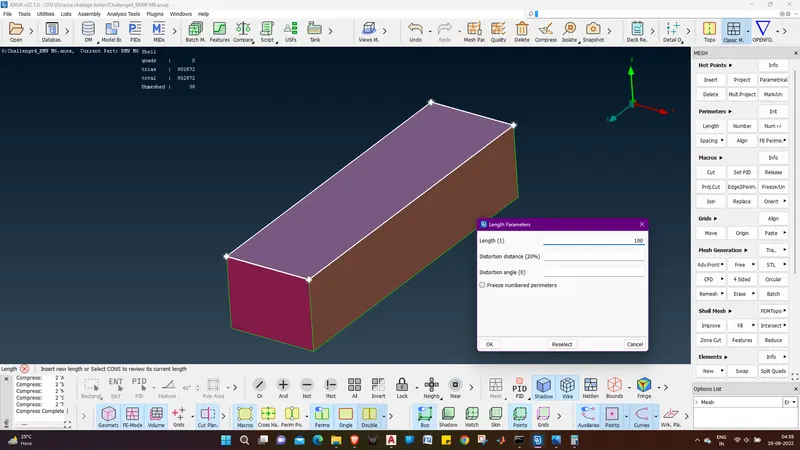
B.) Maximum Length :- 7 mm.
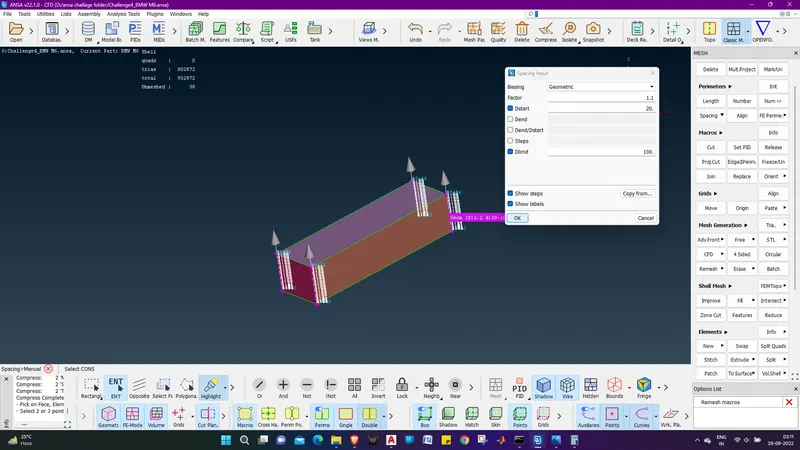
260. we will one by one mesh the parts Using the CFD mesh .
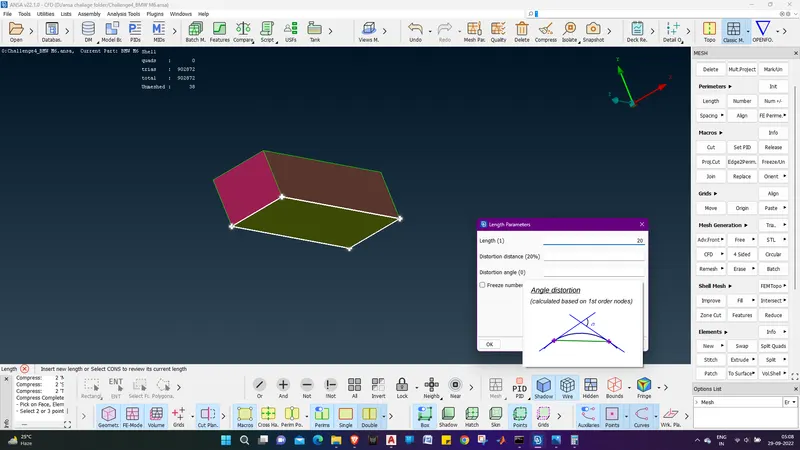
261. when we mesh the model some parts will remain unmeshed.
262. At that time we can use FREE mesh for it.
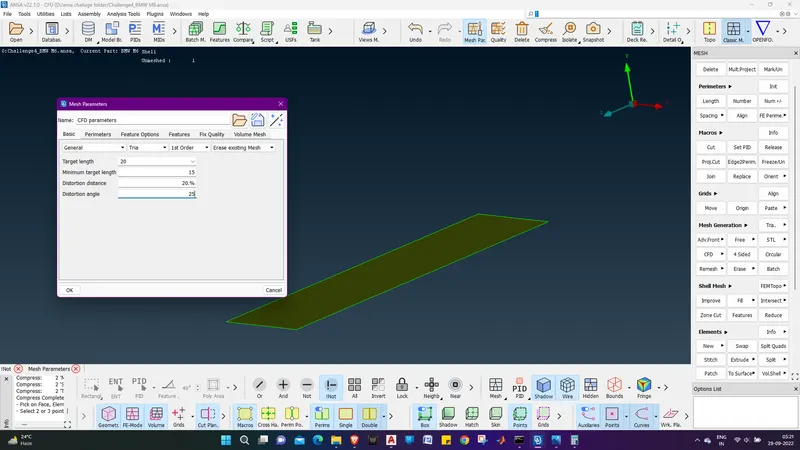
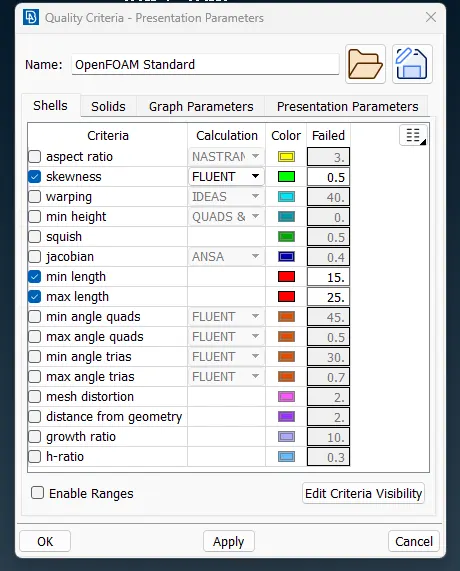
263. we have to trobleshoot till the time when there is no off elements lefta and zero unmeshed parts.
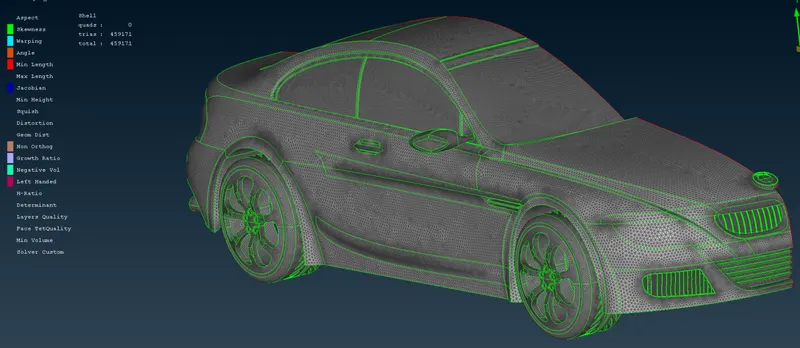
264. After meshing all this we need to make the other part using UNIVERSAL TRANSFORM.
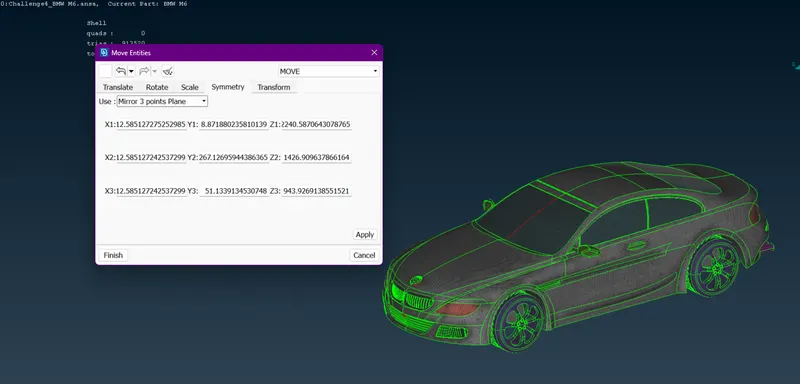
265. we will resolve the erros now and then proceed for checking out fo unmeshed components.
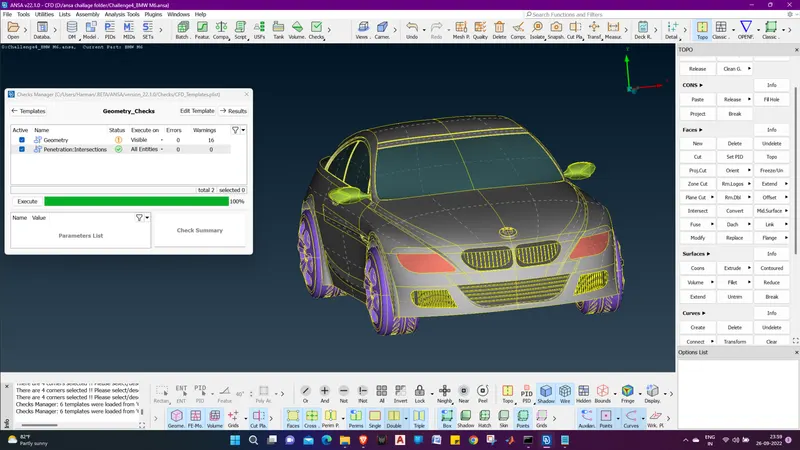
266. getting unmeshed surfaces we will again assign target lengths and mesh parameters and Use FREE mesh for making zero unmeshed components.
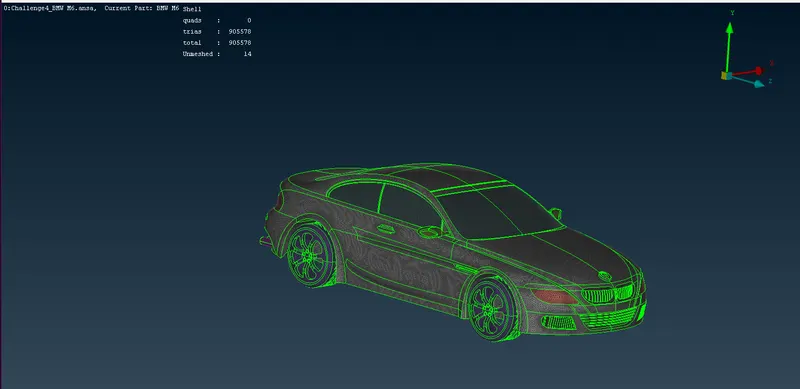
267. Now we can see that there is no unmeshed element .
268. now we will check for off elements in the geometry.
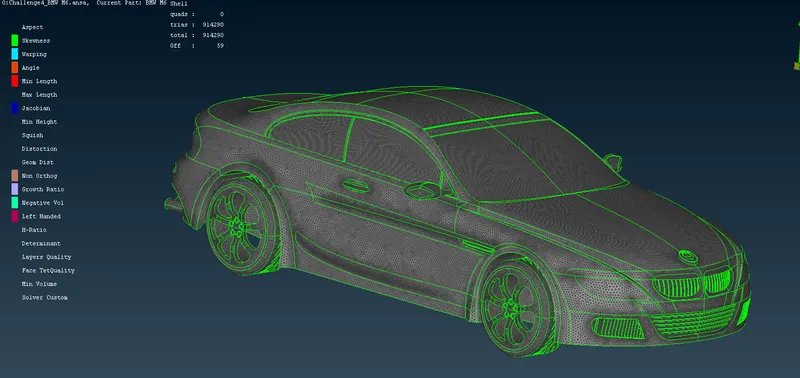
269. now we will resolve off elements by making a right click on OFF and click on improve.
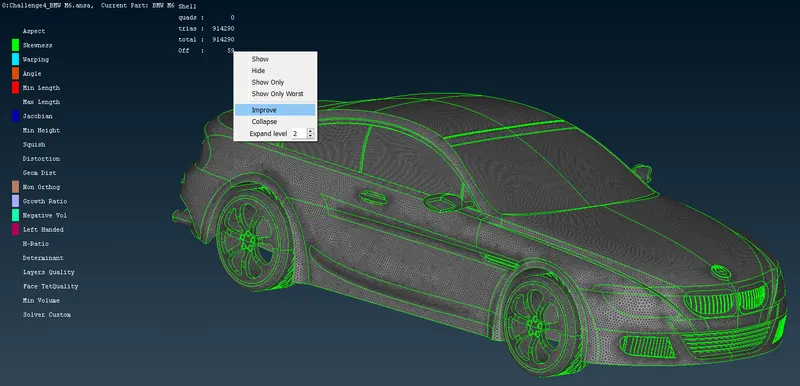
270. Now we will click on recostruct .
271. Now we will click on the right arrow to continue to the ssecond step.
272. Now we will again click on the right arrow to continue to third step. whicj reduces the number of OFF elements.
273. we perform the procees one more time if the number of OFF element increases, we resolve remaining manually by moving nodes.
274. after resolving all the off elements we can see there is no OFF element and zero unmeshed surfaces.
275. now we will proceed to making up of the wind tunnel.
276. criteria for wind tunnel, considering length of car as x
1. Front wall distance :- 4x
2. Back wall distance :- 6x
3. Side wall distance :- x
4. Top wall distance :- 3x
base distance :- should be more than the tyre distance from vehicle base or tyre shouldn't touch the base of wind tunnel. so safe distance to be taken as x/4.
278. now we will make points on the car base center using relative points.
279. we have a reference point here , from this reference point we will make more points regarding the walls.
280. lets measure the car first at its length.
281. so for the bottom face of wind tunnel the distance will be x/4 which is 350.
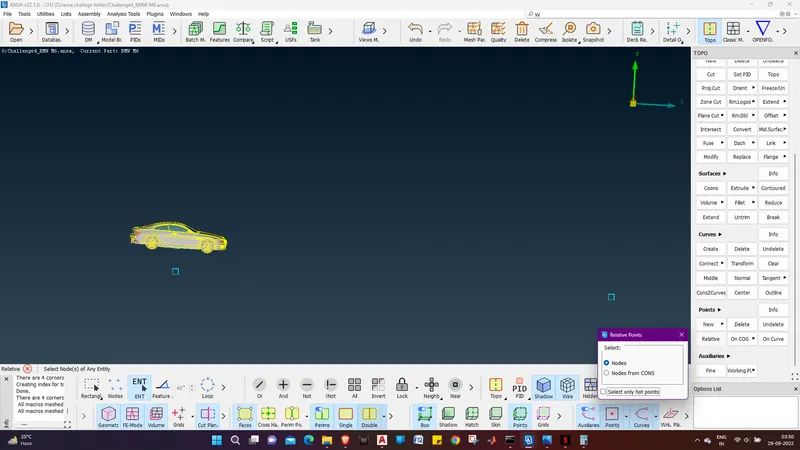
282. so for the front we will take 4x which is 5231.2
282. so adding the half value x to 4x we get 4.5x = 5900
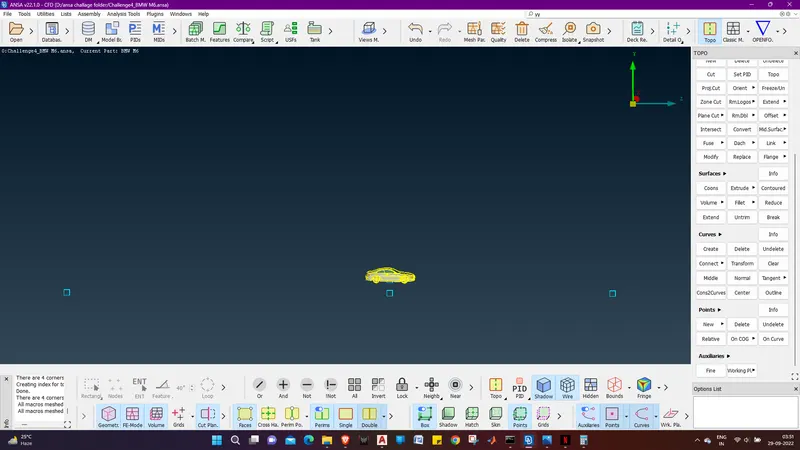
283. For the rear we will take 6x, which is 7848 from rear node. so the total distance is 8550.
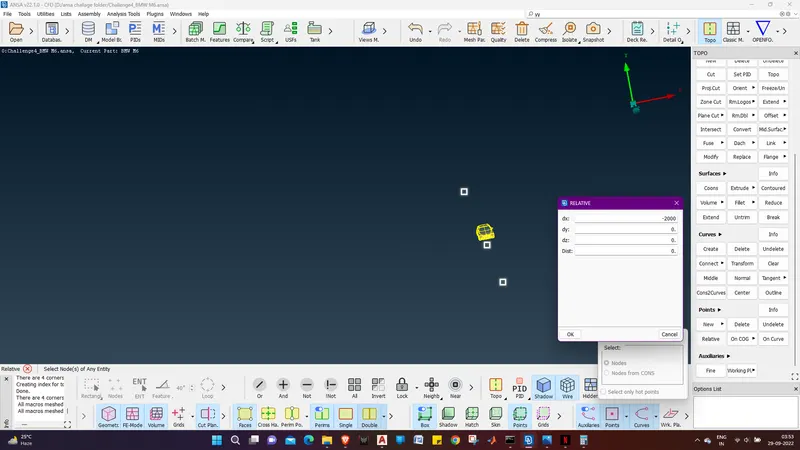
284. For the side we will take x, which is 1308 from side node. so the total distance is 2000. selecting the 3 point earlier created.
285. now we will measure the car eight from its floor to top face. which is 300.
286. now thw distance for t he top face will be 350+300+(1308 * 2) = 3266
287. lets consider it as 3280.
288. now we will make curves on the points and try making surfaces.
289. now we have made cures we will make a base surface.
290. we will make surfaces for the side top front and back.
291. now we will assign PIDs to the WinD TUNNEL faces.
292. Now we will go for meshing criteria .we will give the top surface as 100 mm and the bottom surface as 20.
293. The Side surface will have variable mesh from 20-100 mm rising from bottom surface to top surface.
294. now we will assign the target length to the bottom surface as 20 mm.
295. now we will assign side surfaces target length from 20-100.
296. we will hide all the PIDs except the bottom surface and set the mesh parameter range as 15-25 and quality criteria 15-25.
297. now we will mesh the bottom surface using SPOT MESH (vissible).
298. same process we will do with the top surface .
299. For the side surfaces we will use spot mesh.
300. The wind Tunnel is meshed.
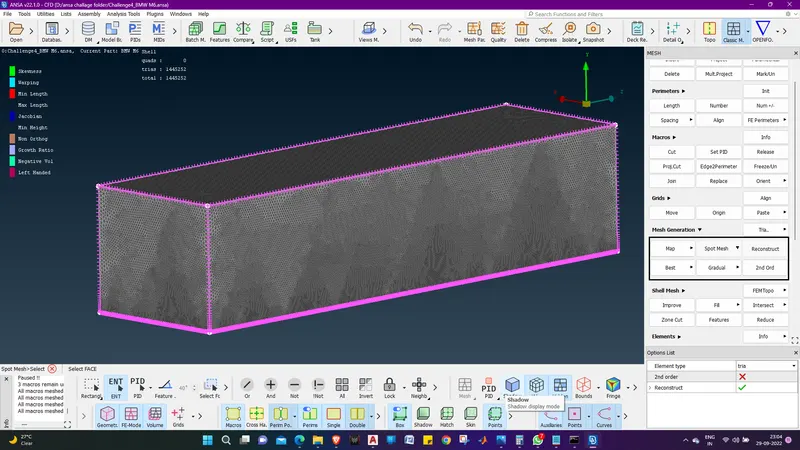
Results :-
The wind tunnel andthe car is meshed properly with the given target length and quality criterian.
please find the attachment in the google drive link.
https://drive.google.com/file/d/17MPt6ltk_JBbvwYhE8q6nqAmsNTqi-5d/view?usp=sharing