Week 5 Challenge : Surface wrap on Automotive Assembly
Aim :-
For the given models, check for the geometrical errors and delete surfaces which are unwanted for Surface wrap as shown in the videos. After clearing geometry, Merge all 3 models and perform surface wrap.
Target length for Wrap = 3 mm
Write a detailed report on steps followed to finish this challenge.
Procedure:-
1. We have 3 models
a.) Engine Model
b.) Gearbox Model
c.) Transmission Model
2. First we will open the Engine model in ANSA.
3. We can see when the file is opened in ANSA it will show in wire frame mode.
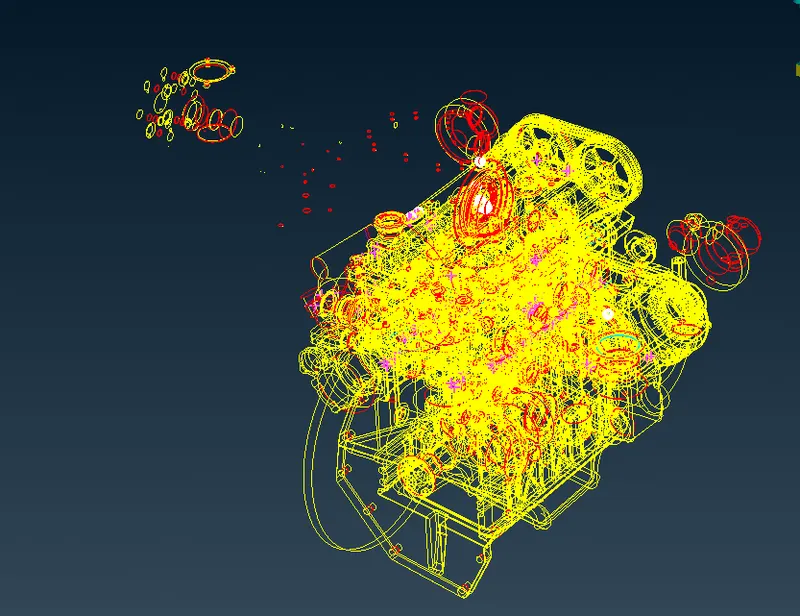
4. We will switch on the shadowmode and the wireframe goes of and we can see the model with surfaces.
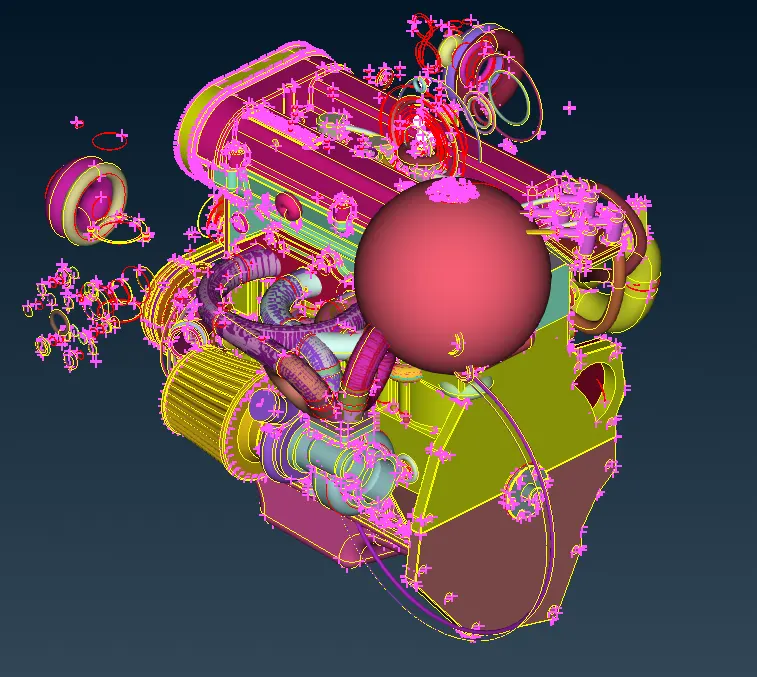
5. we will now do the geometry cleanup by deleting the unneccessary surfaaces .
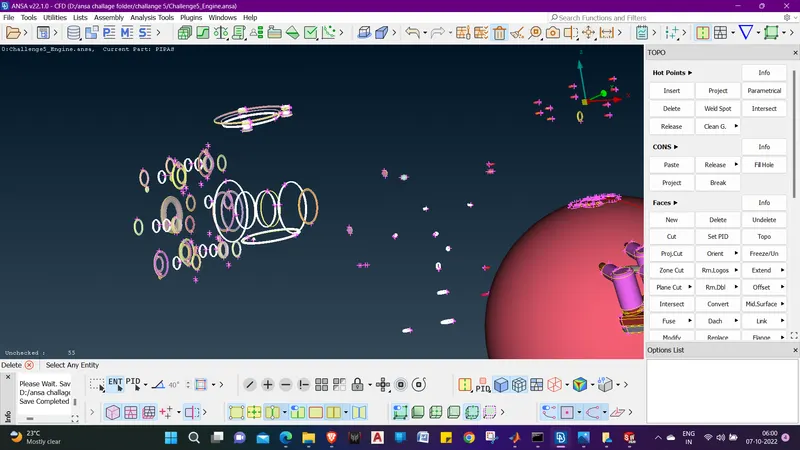
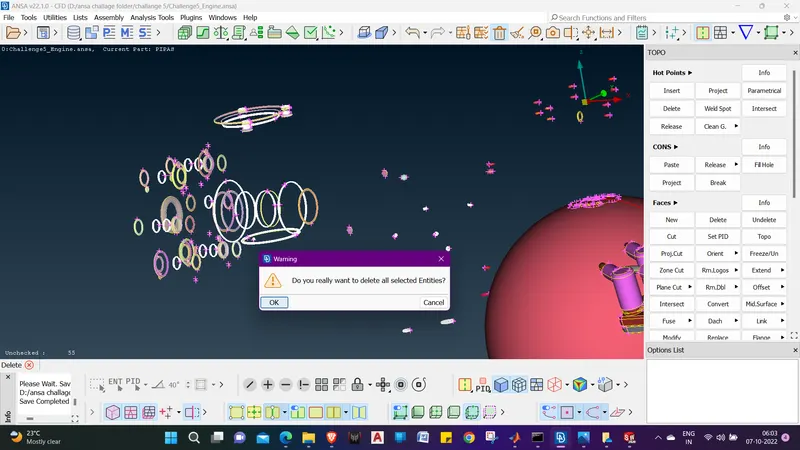
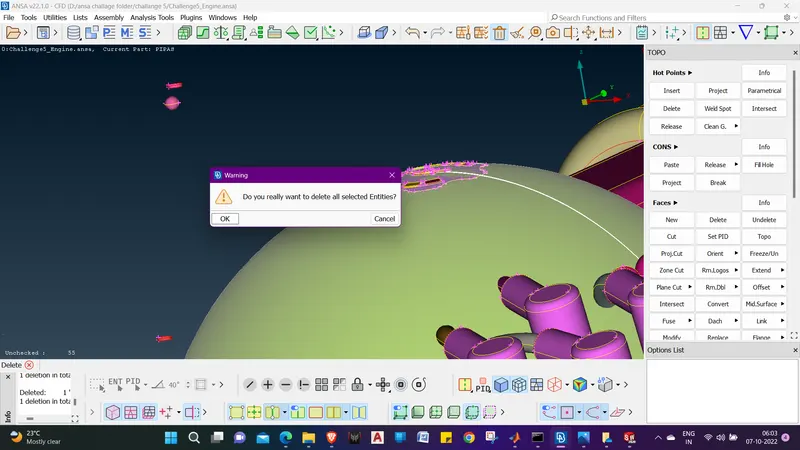
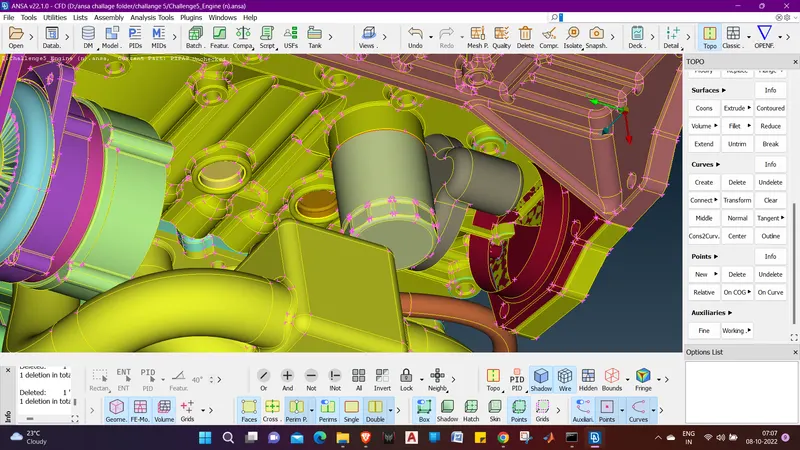
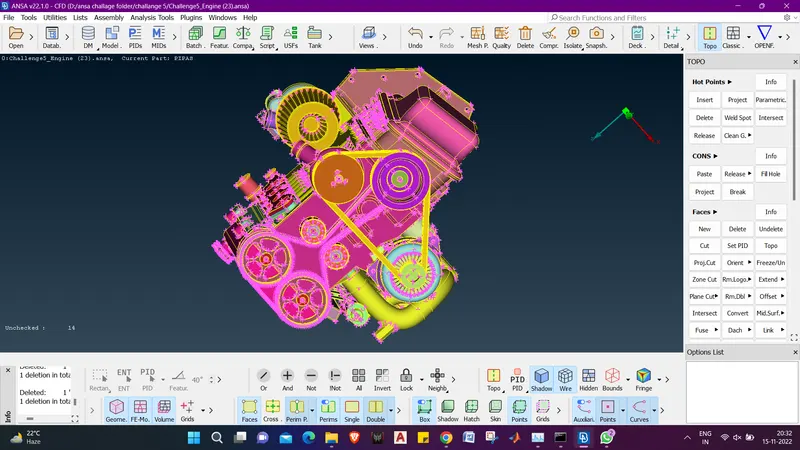
6. Now we can see that thre are only 14 unchecked surfaces.
7. lets isolate them by right click and selecting show only option to see what happens.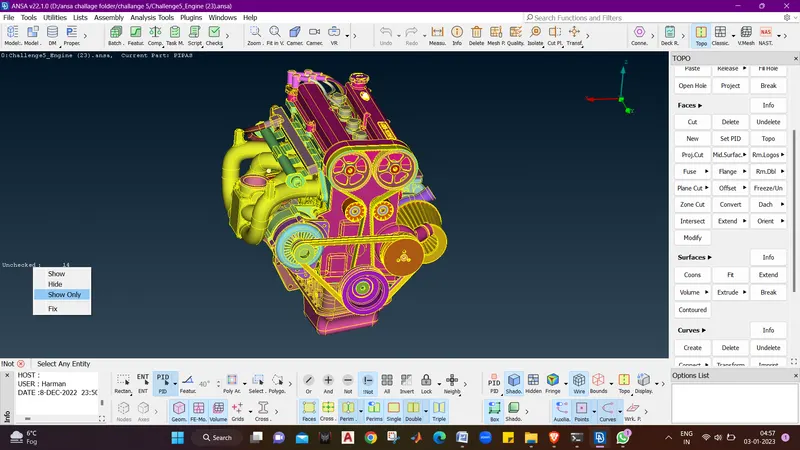
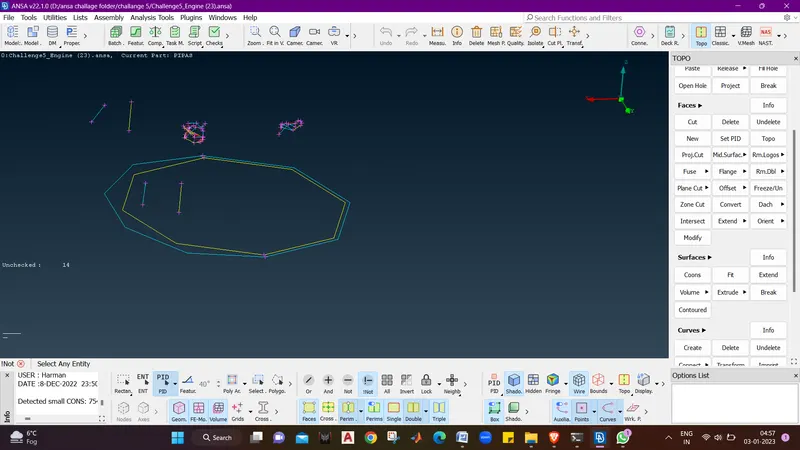
8. we can see that there are surfaces which look ike lines , we have to delete these unchecked surfaces.
9. After deleting these surfaces aur model is free for wrap mesh.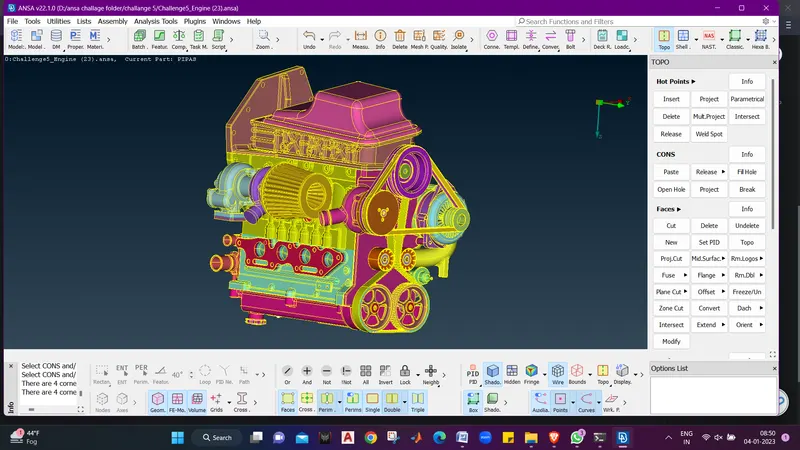
10. now we will open other part of the engine which is transmission.
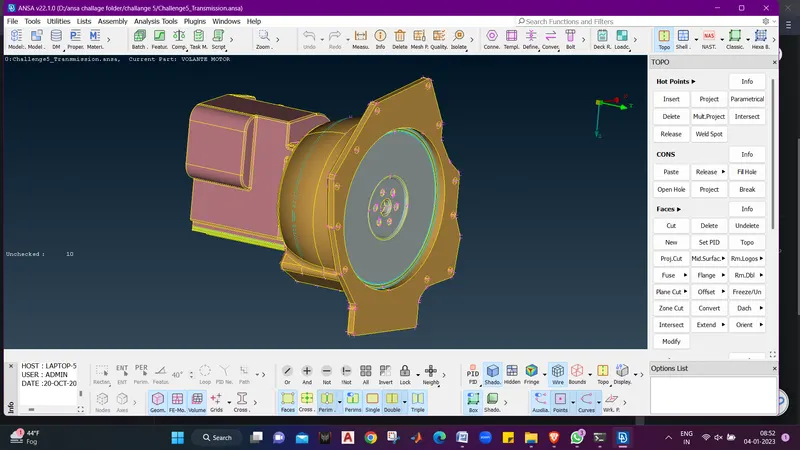
11. now we do geometric cleanup for this.
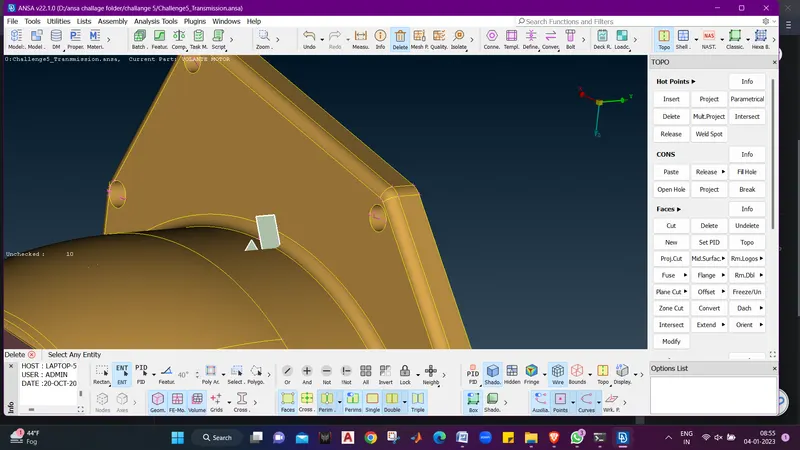
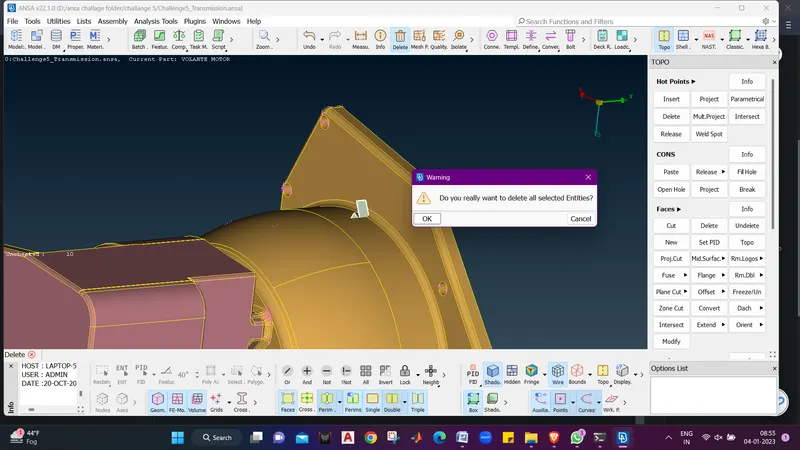
12. After resolving geometry save the model.
13. Now open the 3rd part Gearbox and go for geomerty cleanup.
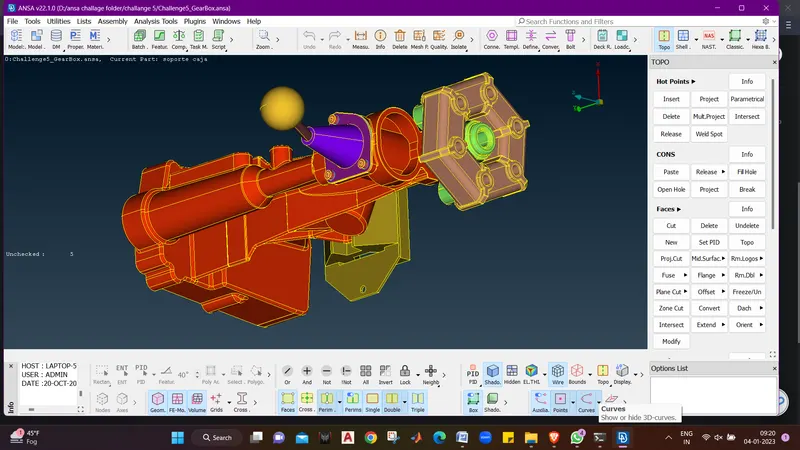
14. Now we will do the geometry cleanup.
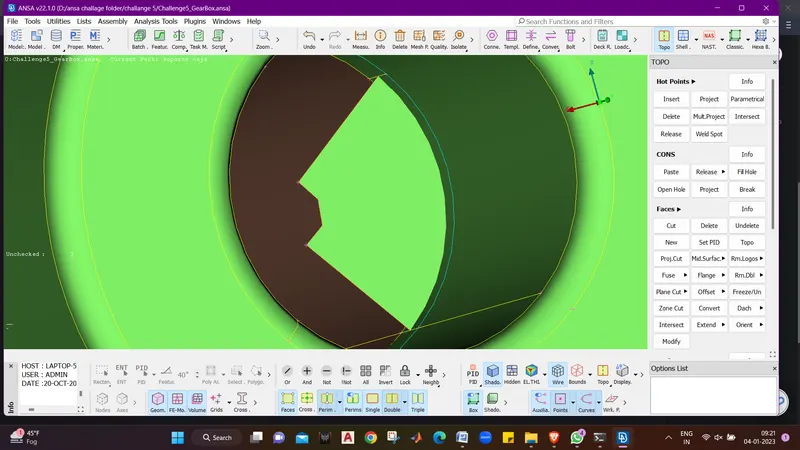
15. After cleanup the geometry is clear.
16. Now we will save the model.
17. Now we will open the engine model again.
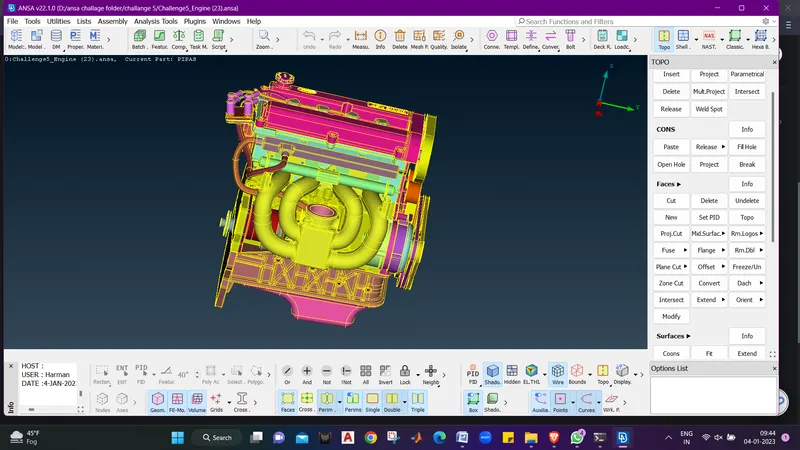
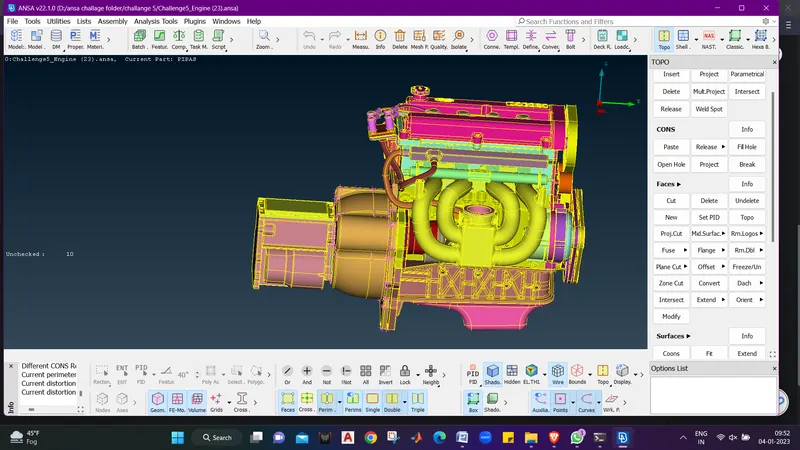
18. Now we will merge the 3 parts one by one
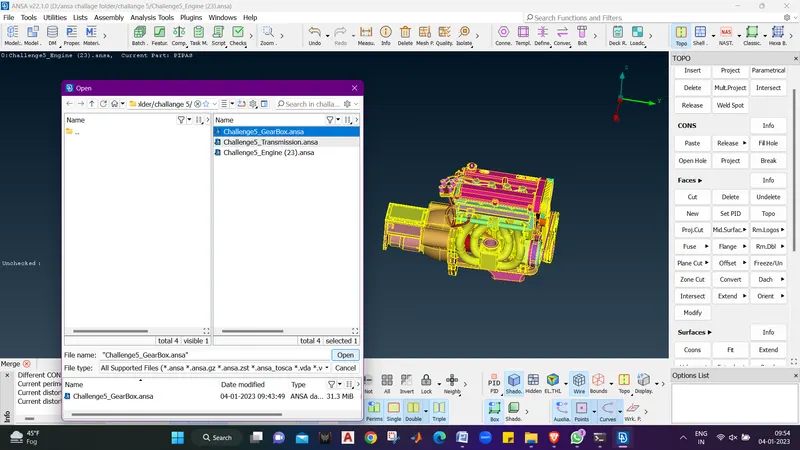
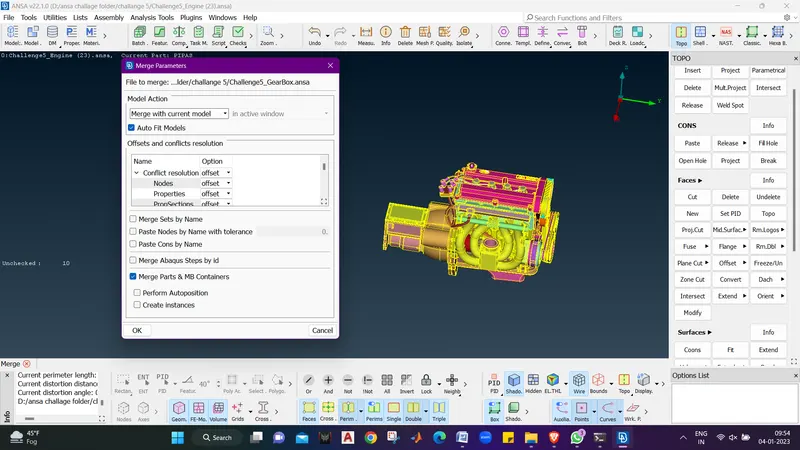
19. first we will merge transmission with engine
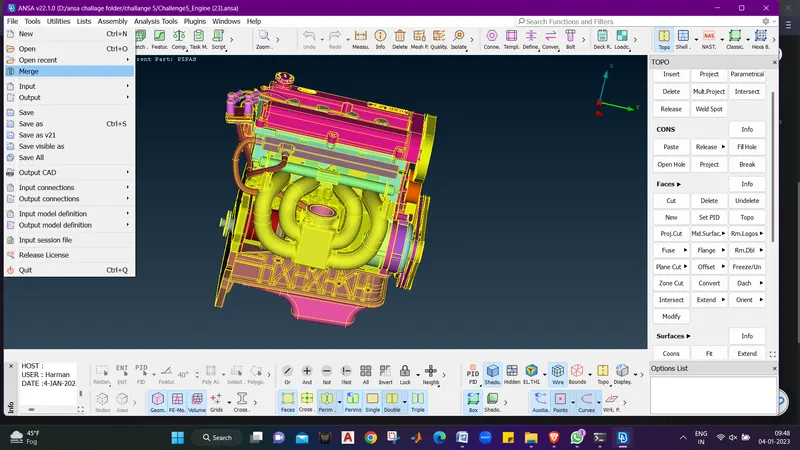
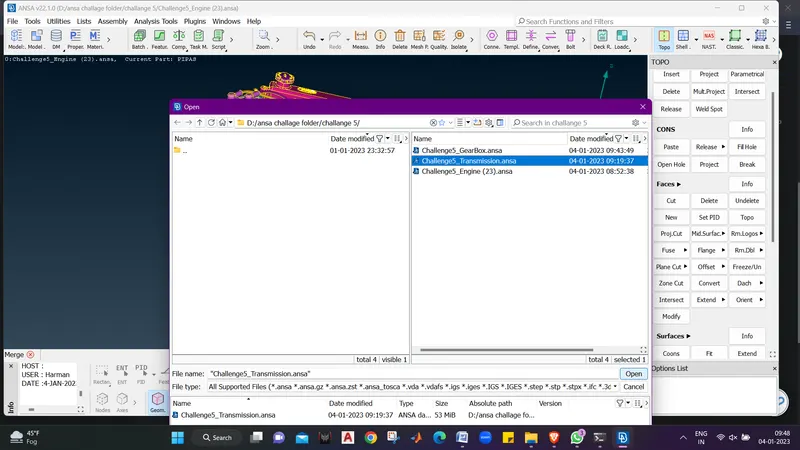
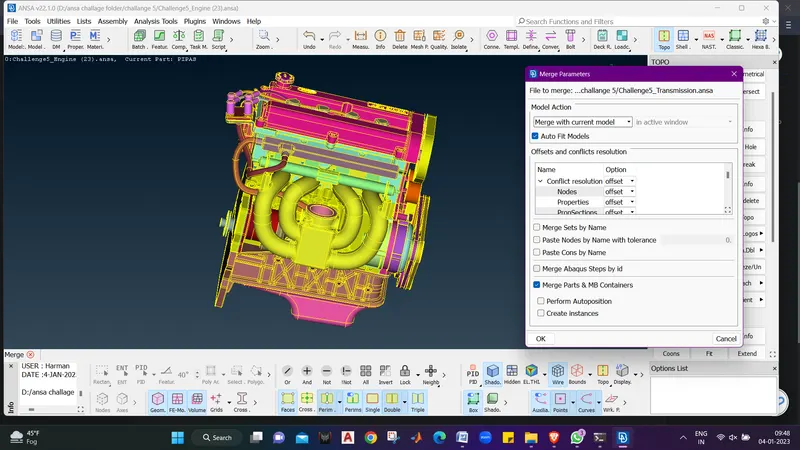
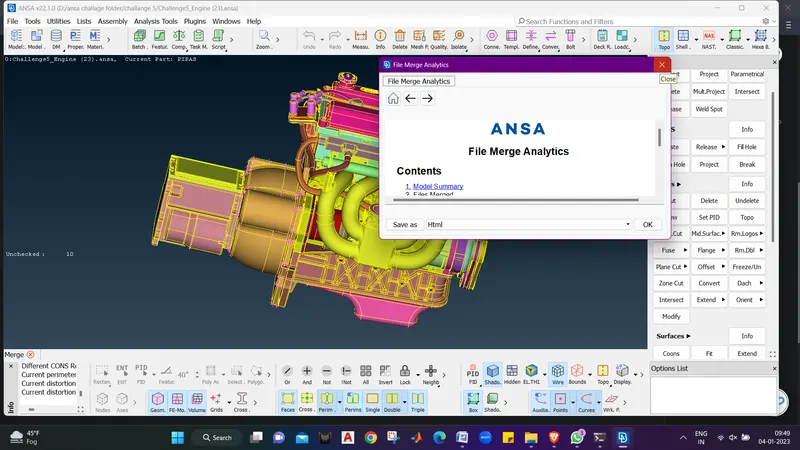
20. Click ok and we can see the merge command is executed.
21. Now we will merge the gearbox with the engine.
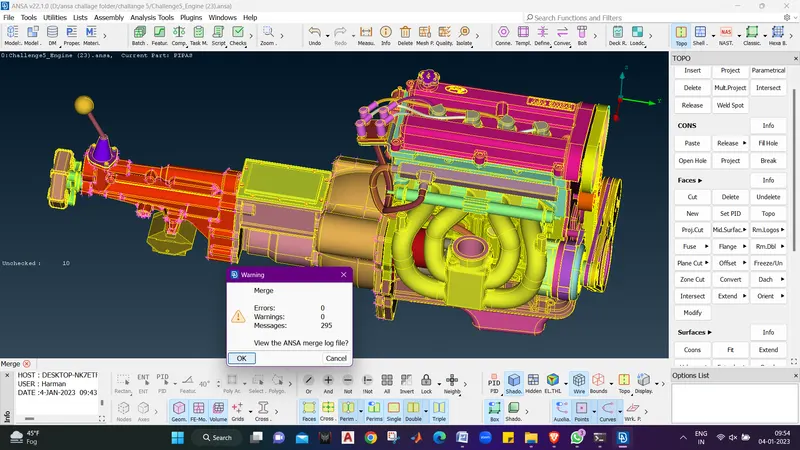
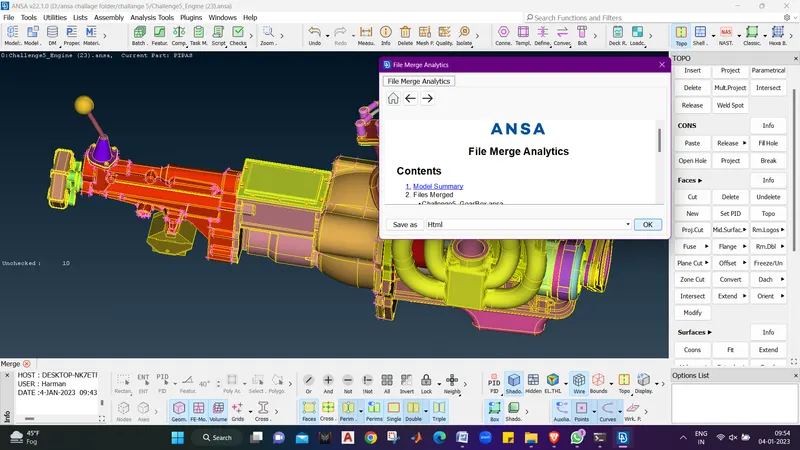
22. We can see that the all the parts are merged.
23. Now we will close all the holes .
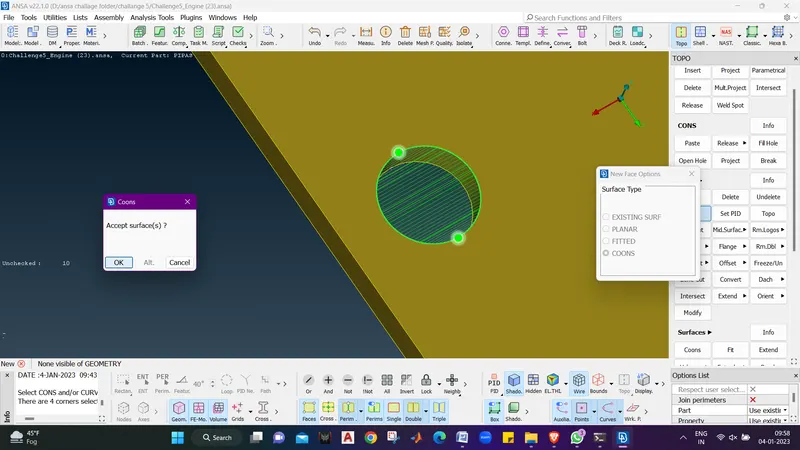
24. After closing all the wholes we will go for wrap mesh.
25. Now click on the wrap in Elements toolbar.
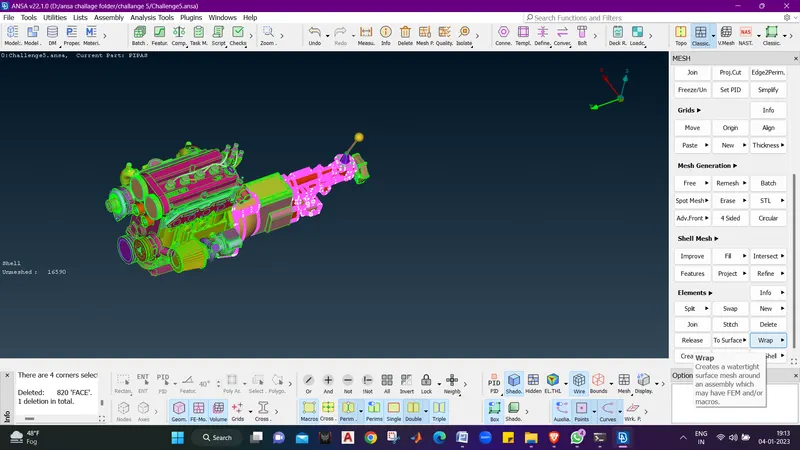
26. We can sse the elemnts status as empty.
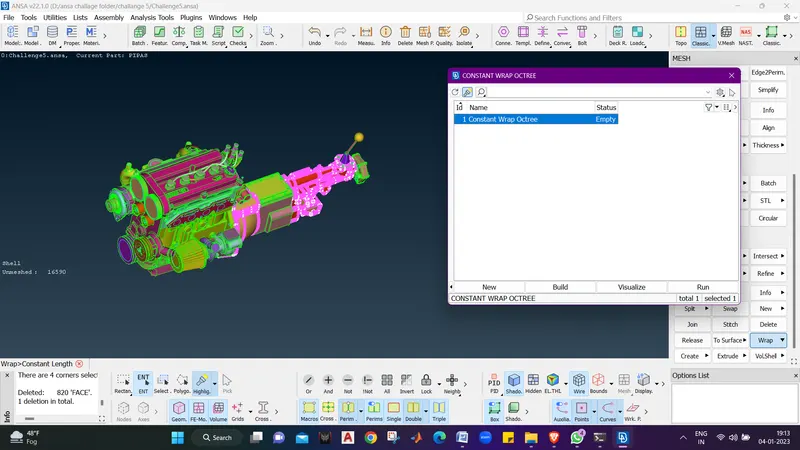
27. when we click on Empty a dilogue box opens which shows contents as 0 and parameters as untitled.
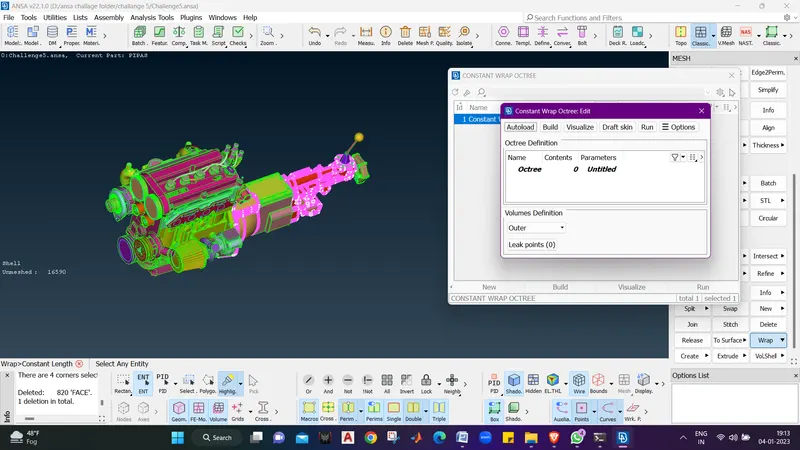
28. Double click on untitled and a dilogue box open showing the target length , change the target length to 3 mm.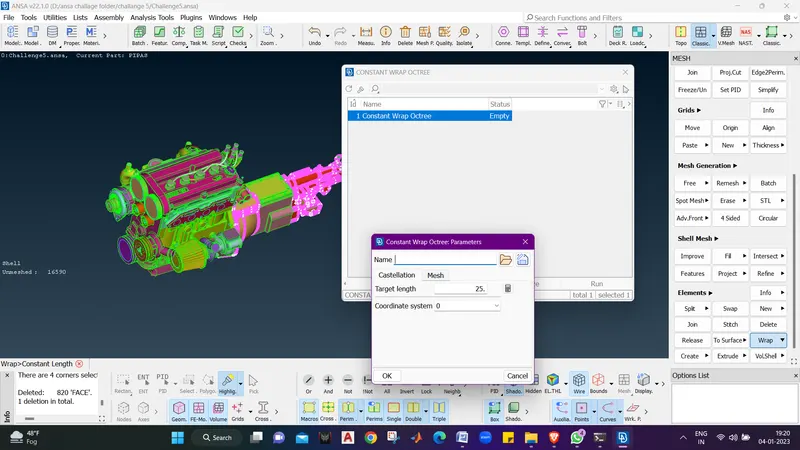
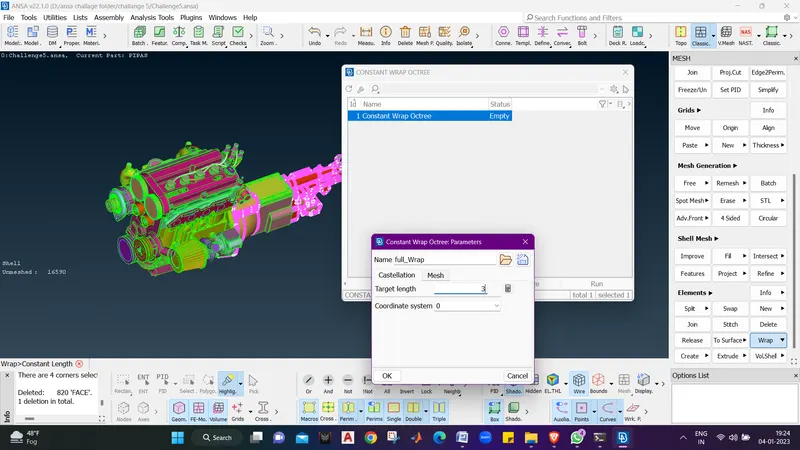
29. Click on Mesh.
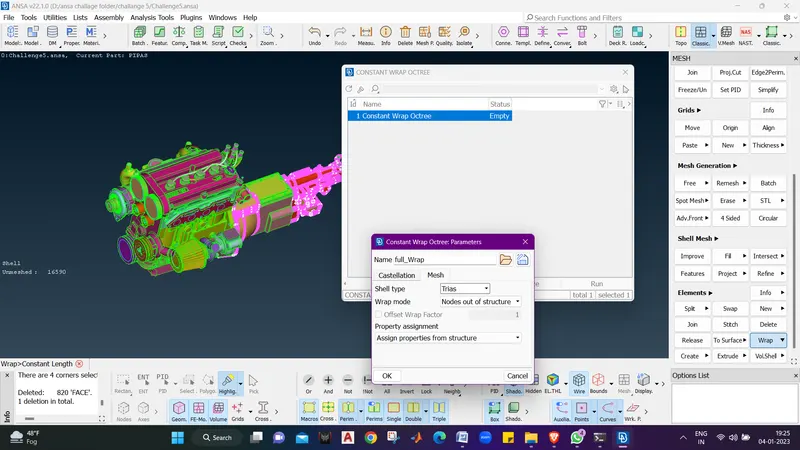
30. Leave everything as default in Mesh window and rename the wrap as Full_Wrap and clickok.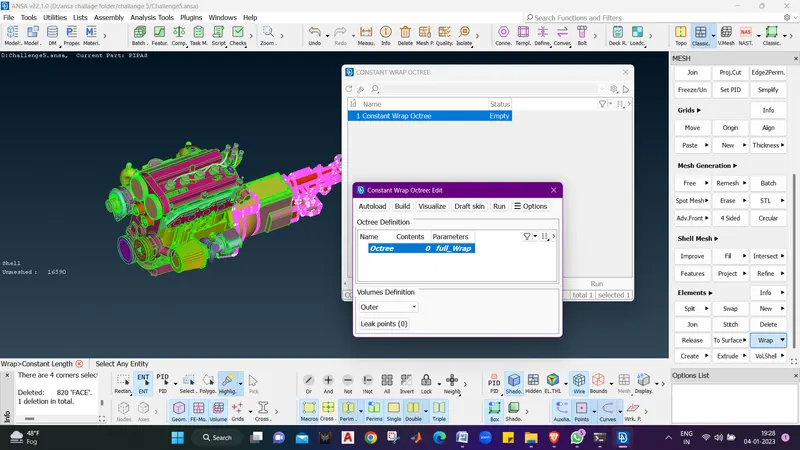
32. Now we will double click on the 0, a new dilogue box opens showing the PIDs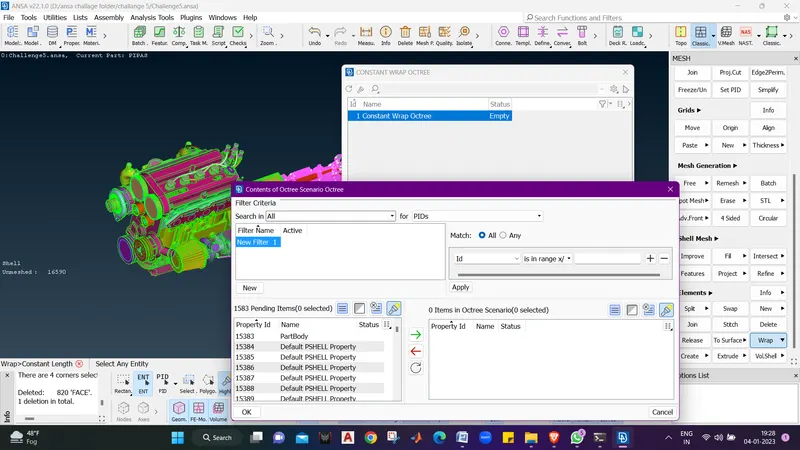
33. Now select the PIDs and clcik on the green mark alll the selected PIDs will go in the right BOX.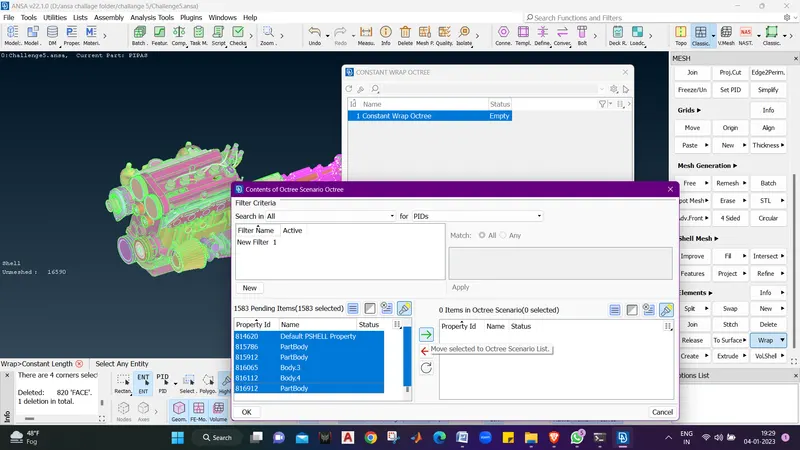
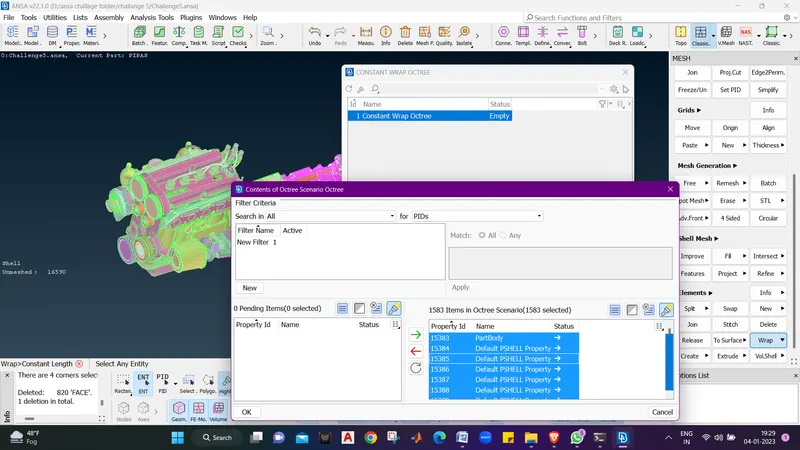
34. Now rename to Full_Wrap
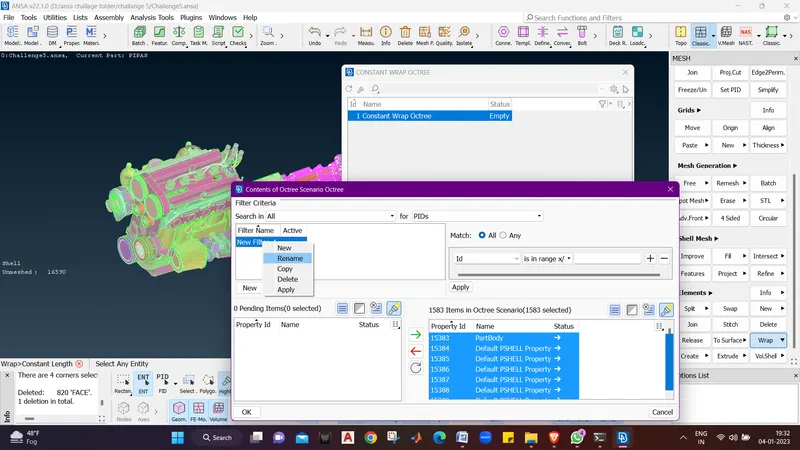
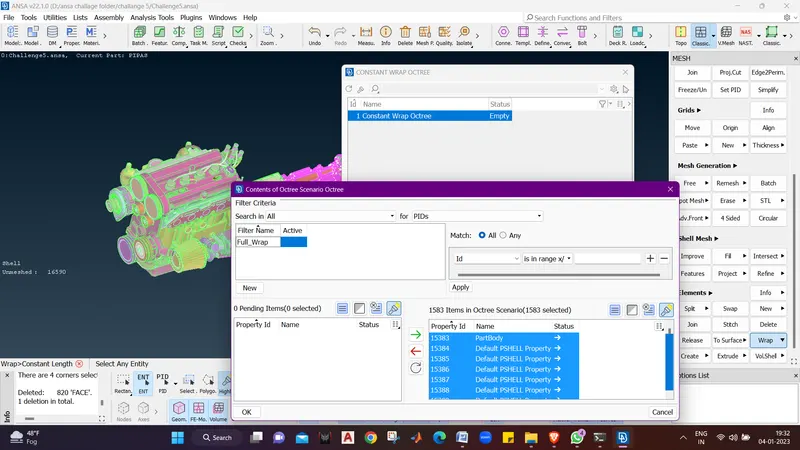
35. Now we can see that the contents are changed from 0 to 99.
36. Now click on Run to run the wrap..
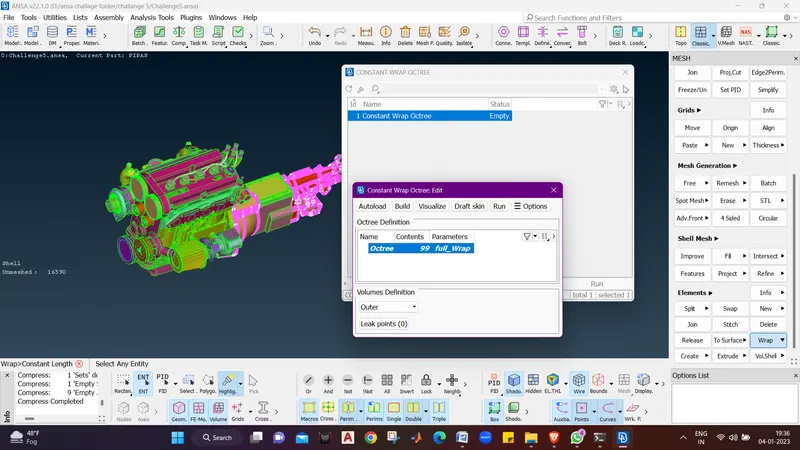
37. Now we can see that the wrap is done successfully.
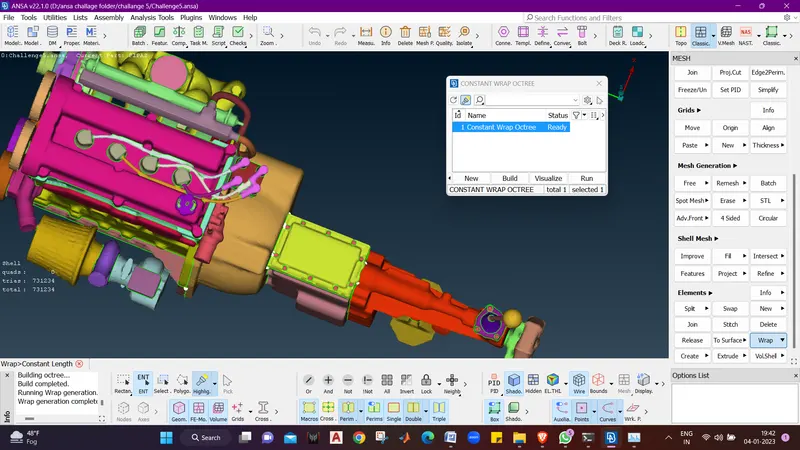
38. Now we will uncheck the PERIMS butoon to hide the triple, double and triple cons and analyse the geometry.
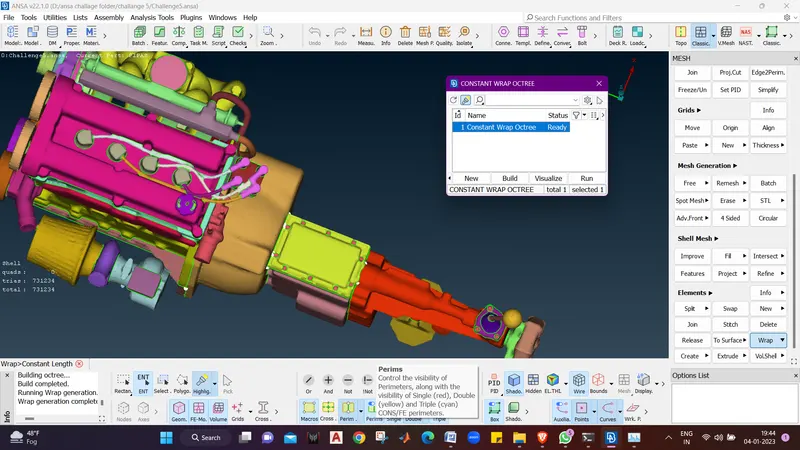
39. after checking didn't find any error .
40. So the wrap is Successful.
LEARNING OUTCOMES :-
Surface Wrap :- Surface wrap creates awater type surface around an assembly ,where water type serface means no gaps between Surfsces or a smooth surface which can form a common volume inside.
it help in creating volumes in one go and mostly helpfull for creating a windtunnel for external flow analysis.
Merging Bodies using MERGE.
Geometry cleanup
RESULT :-
We have succesfully surface Wrap the model.
LInk for the model is as follows
https://drive.google.com/file/d/1pXYxFuCPkfNwb7RCkLiCMGYuu4rjfR1s/view?usp=share_link
Conclusion :-
Surface wrap will reduce computationall time and helps to determine a geometry in one volume.