AutoCad_Residence floor plan, Seating plan, Toilet and Utility room plan_Week 4
1. HOUSE PLAN
Aim:
To Creating a House Plan using Autocad
Commands Used:
* Line
* Layers
* Trim
* Dimension
Procedure:
Step 1:
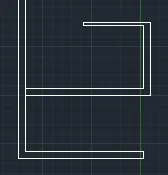
1. In the command prompt (L) enter
2. In the command prompt specify first point as (1,1)
3. In the command prompt write (@-12'6",0)
4. In the command prompt write (0,6')
5. In the command prompt write (12'6",0)
6. In the command prompt write (0,6'8")
7. In the command prompt write (6'4",0)
8. In the command prompt write (0,4.5")
9. In the command prompt write (offset)
10. In the command prompt select object
11. In the command prompt specify offset distance as 4.5"
12. In the command prompt write TRIM
13. In the command prompt trim the unwanted object
Step 2:
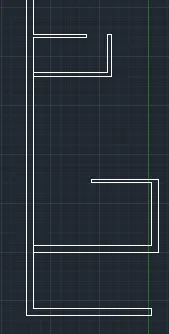
1. In the command prompt write L enter
2. In the command prompt specify first point as Kitchen starting point
3. In the command prompt write (@0,18',0.5")
4. In the command prompt write (@8'3",0)
5. In the command prompt write (0,4'6")
6. In the command prompt write OFFSET
7. In the command prompt specify distance as 4.5"
8. In the command prompt offseting the interior wall of Toilet
Step 3:
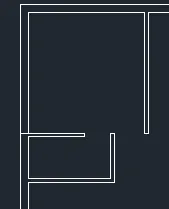
1. In the command prompt write L enter
2. In the command prompt specify first point as the point we created a bedroom first point
3. In the command prompt write (@11'7.5",0)
4. In the command prompt write (@0,12')
5. In the command prompt write (@4.5",0)
6. In the command prompt write (@0, 12')
7. In the command prompt write (@11'6"0)
8. In the command prompt write (@0,12')
9. In the command prompt write (@-8'1.5",0)
10. In the command prompt write (@0,5'7")
11. In the command prompt write (@4.5",0)
12. In the command prompt write (@0,5'7")
13. In the command prompt write OFFSET
14. In the command prompt specify offset distance as 4.5" as exterior wall
15. In the command prompt write TRIM
16. In the command prompt trimming the unwanted object
17. Similarly do the procedure for other rooms
Step 4:
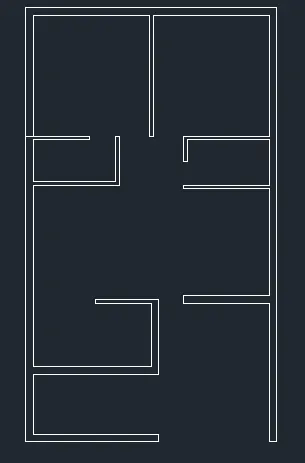
Drawing of Doors and Windows

1. In the command prompt write CIRCLE
2. In the command prompt specify first point as interior wall of bedroom
3. In the command prompt write circle
4. In the command prompt write TRIM
5. In the command prompt trimming the object and create a door
6. Similarly do this for other room doors
Applying Layers
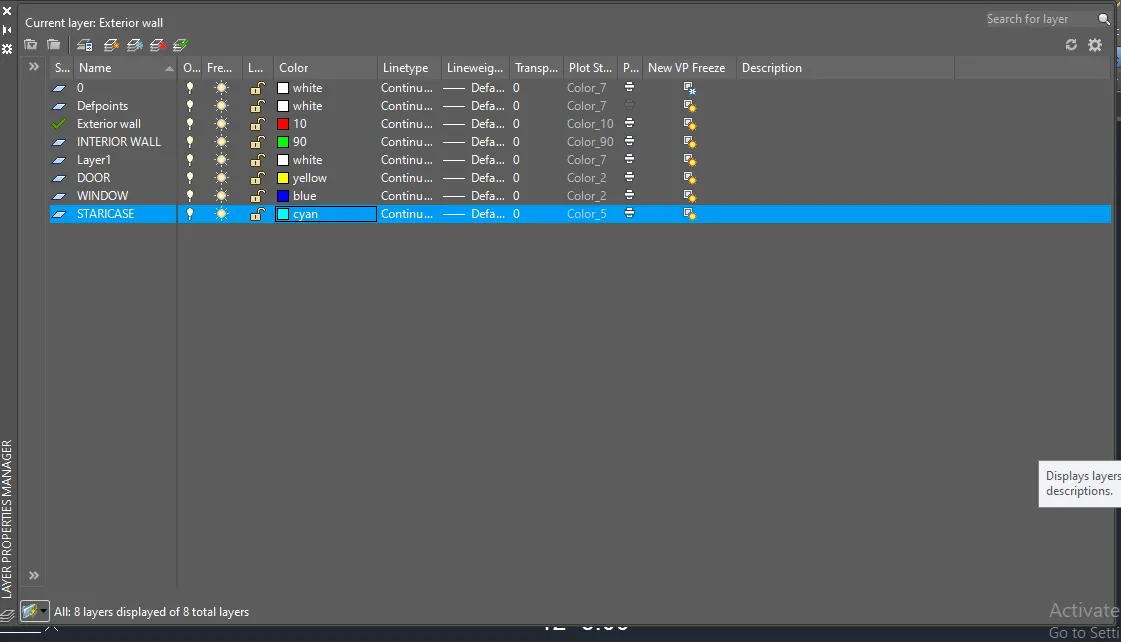
Create a plan by using Layers
1. In the command prompt write Layers
2. In the Layer box specify components and their colours, linetype, lineweight etc..,
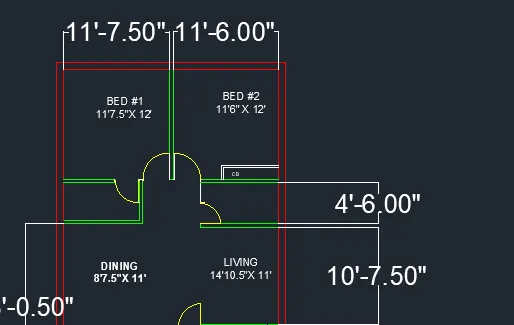
Result:
2.TOILET ROOM
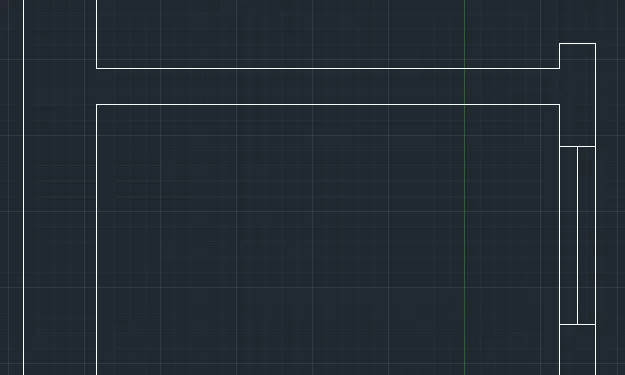
1. In the command prompt write L enter
2. In the command prompt specify first point as (1,1)
3. In the command prompt write (@1900,0)
4. In the command prompt write (@0,2100)
5. In the command prompt write offset
6. In the command prompt specify offset distance as 300mm
7. In the command prompt writre L enter
8. In the command prompt write (@1900,0)
9. In the command prompt write (@0,2100)
10.In the command prompt write offset
11. In the command prompt specify offset distance as 300mm
Drawing of doors and windows
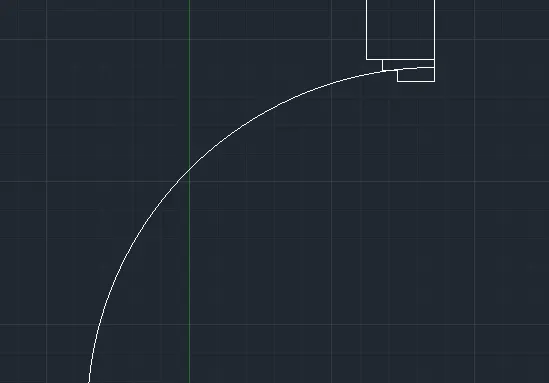
Complete the door as the width of the door is 832 and 828 respectively
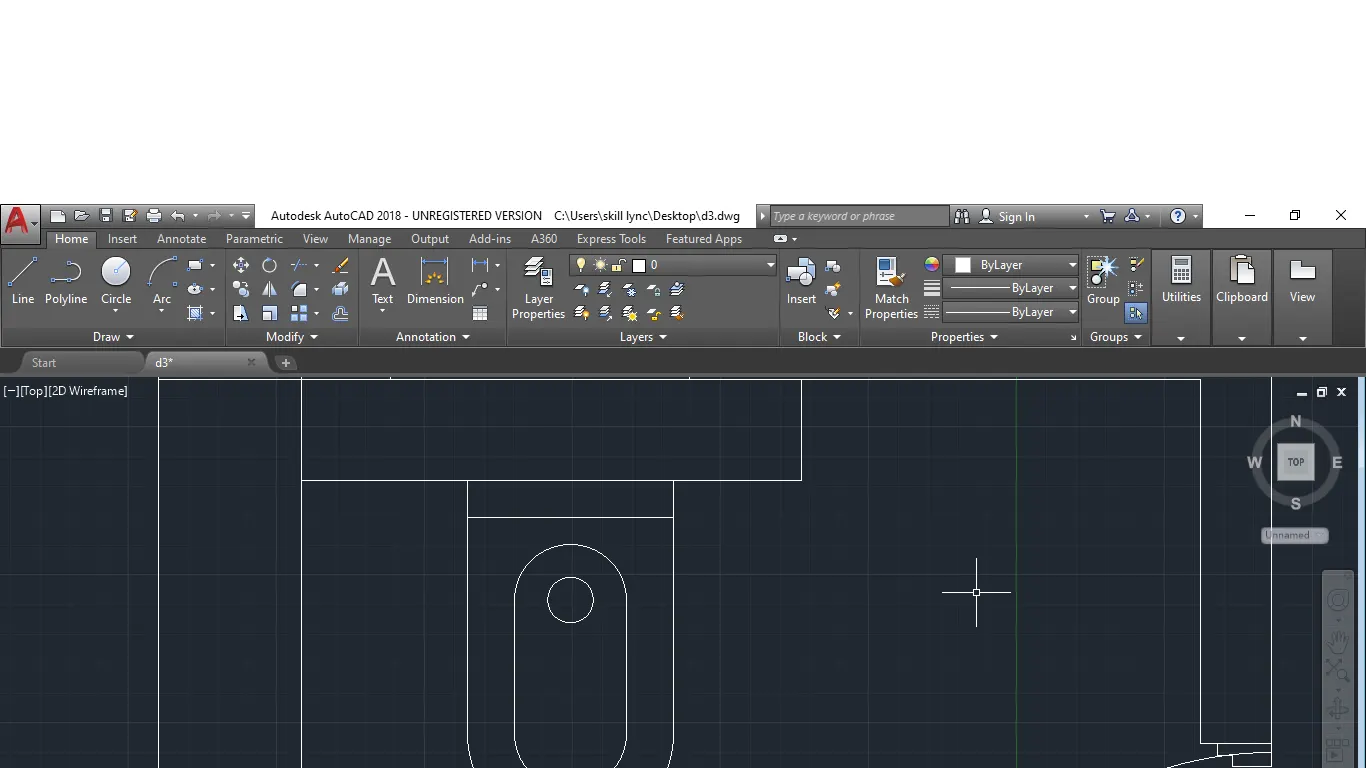
Drawing the toilet components using line and blend curve commands all the compenents dimensions are assumed values
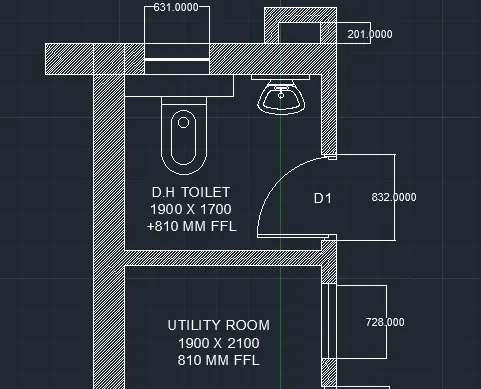
Hatch the exterior wall part using the command HATCH
3.CANOPY DRAWING
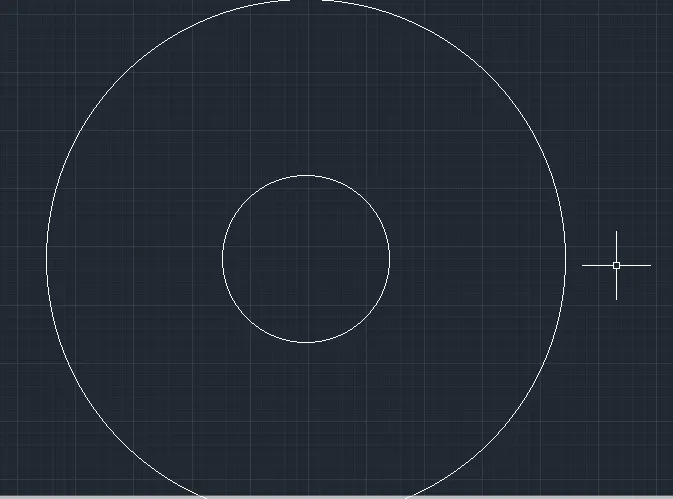
1. In the command prompt write CIRCLE
2. In the command prompt specify radius as 1398
3. In the command prompt write CIRCLE
4. In the command prompt specify radius as 452
CANOPY MAKING
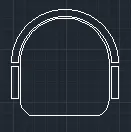
NOTE: All the dimensions of canopy is assumed value
1. In the command prompt write L enter
2. In the command prompt write (@200,0)
3. In the command prompt write L enter
4. In the command prompt draw vertical line in the right and left side of horizontal line
5. In the command prompt write BLEND CURVE
6. In the command prompt draw the blend curve by selecting horizontal and vertical line
7. In the command prompt write MIRROR
8. In the command prompt select the object as we created and mirroring it
9. In the command prompt write draw arc and rectangle at the nearer of we created object.
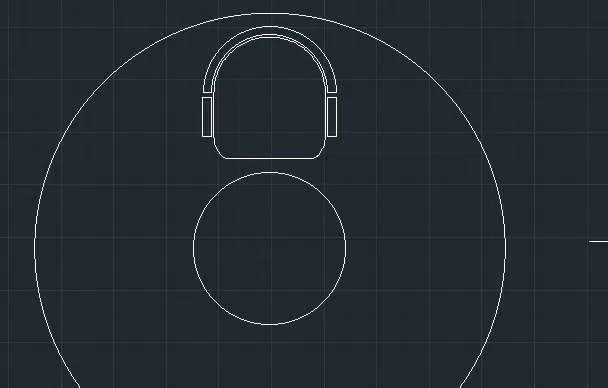
Insert the canopy into the circle with the midpoint of smaller and larger circle with the help of osnap
1. In the command prompt write ARRAY
2. In the command prompt select the canopy object
3. In the command prompt select POLAR ARRAY
4. In the command prompt select center point as centre of the smaller circle
5.. In the command prompt write 4 object in the polar array option
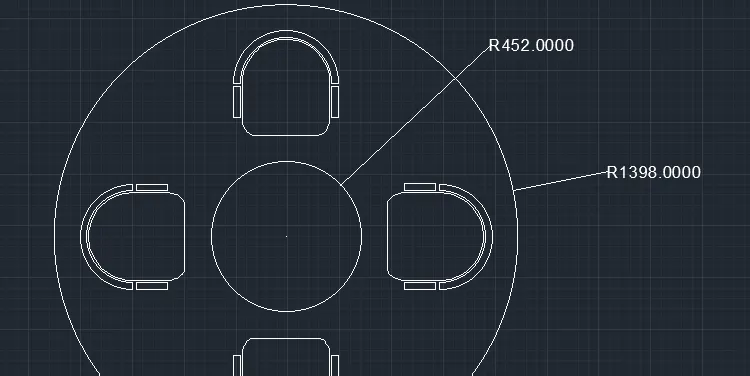
complete the drawing by commanding DIMRADIUS.