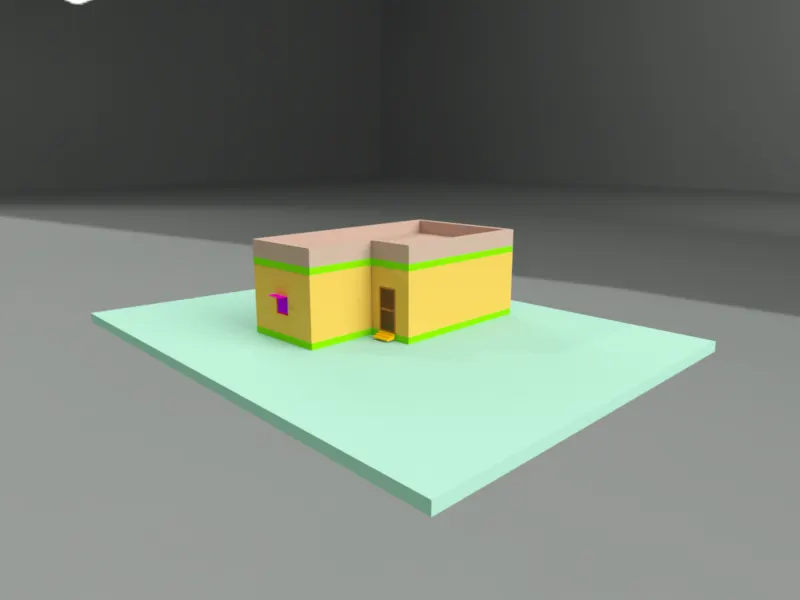
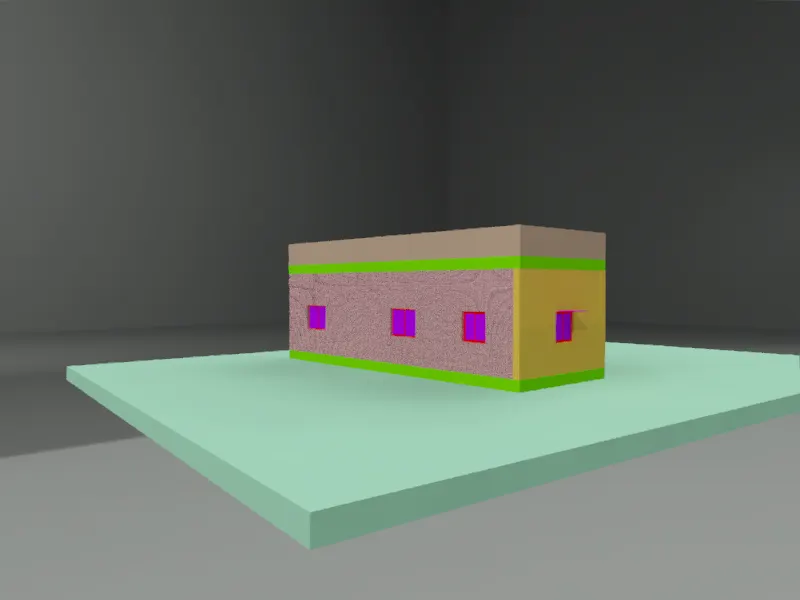
AutoCad_3d Model of Residential Building with Rendered view_Project 2
Aim:
To Creating a 3d model of Residential Building using Autocad
Commands Used:
* Line
* Offset
* Trim
* Copy
* Move
* DC (Design Centre)
* Layers
* Extrude
* Join
* Materials
* Tool Palettes (Ctrl + 3)
* Box
* Rectangle
* Subtract
* Union
Procedure:
Step 1:
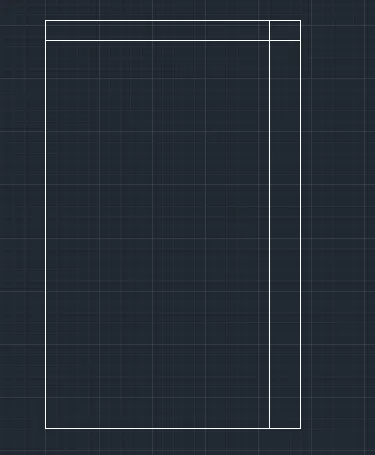
1) In the command prompt write REC
2) Specify the points as 25',40'
3) Close the rectangle
Step 2:
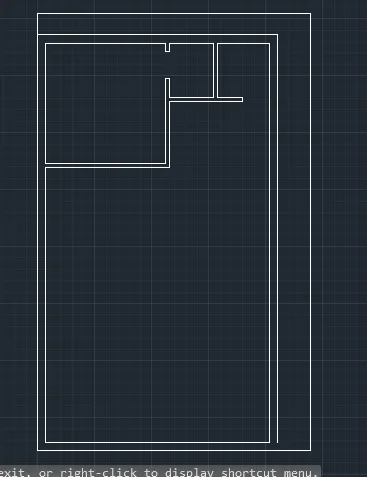
1) In the command prompt write offset
2) Specify offset distance as 9" for exterior wall and 4.5" for interior wall
3) In the command prompt write L enter
4) Specify first point and draw the bedroom and toilet part in the plan
Step 3:
1) Similarly draw all other rooms using Line command
2) While drawing Staircase use copy command for treads
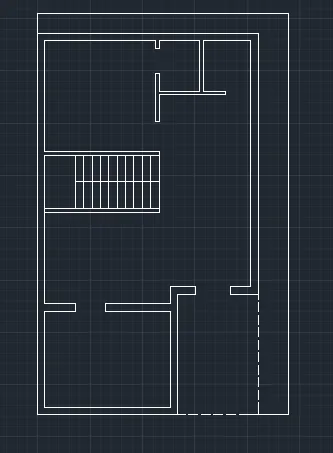
Step 4:
1) Draw the Window and Ventilator components
2) Make the components as Block
3) And Insert it into the necessary area
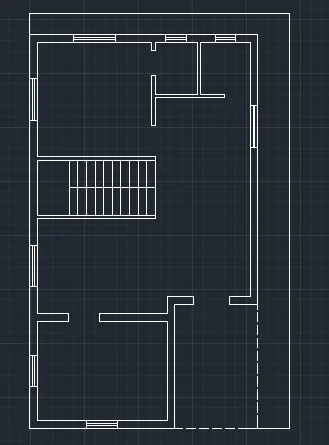
Step 5:
1) In the command prompt write Layers
2) Set new layer and name it
3) Choose the colour as our wish
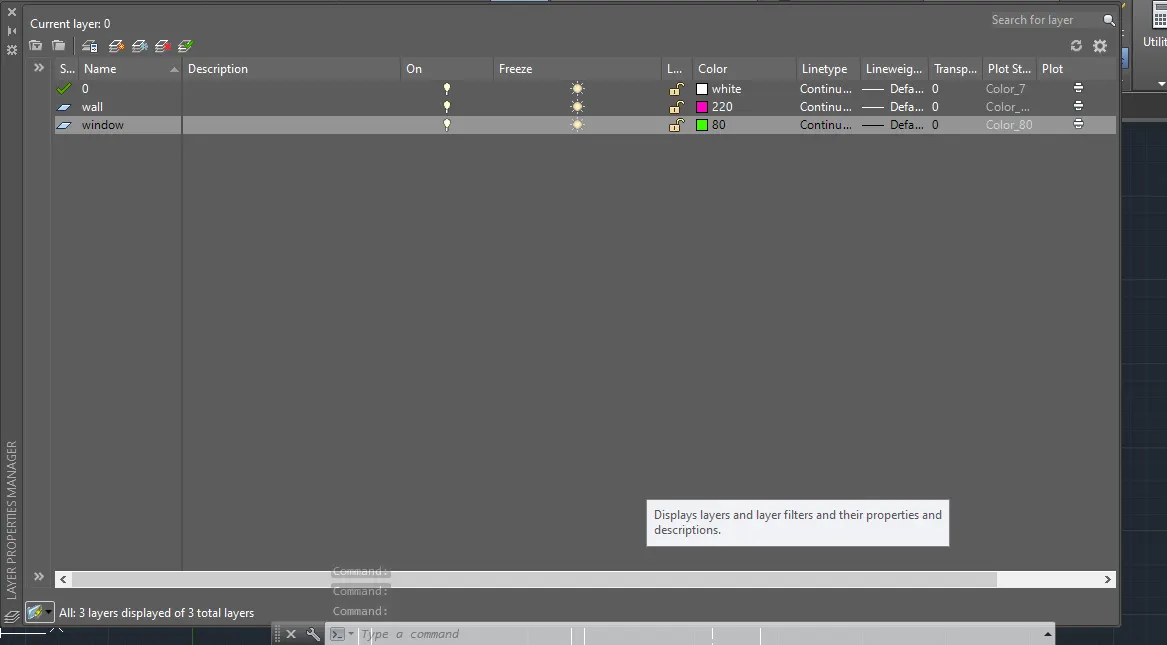
Step 6:
1) By using Layer command allocate the properties in the suitable lines.
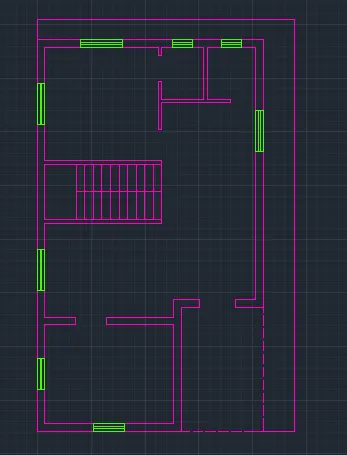
Step 7:
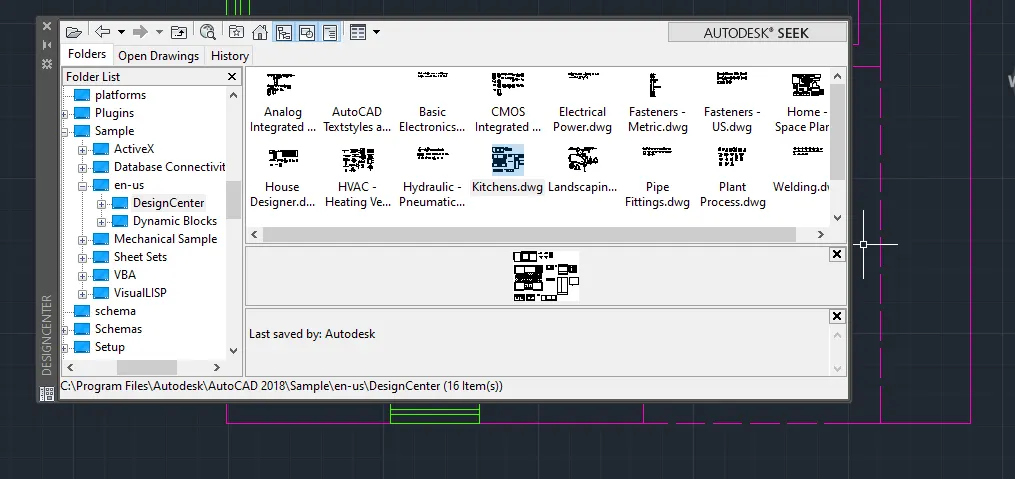
1) In the command prompt write DC
2) Select the suitable Component from the dialogue box for our plan
3) Drag the component into the plan area and place wherever necessary
Step 8:
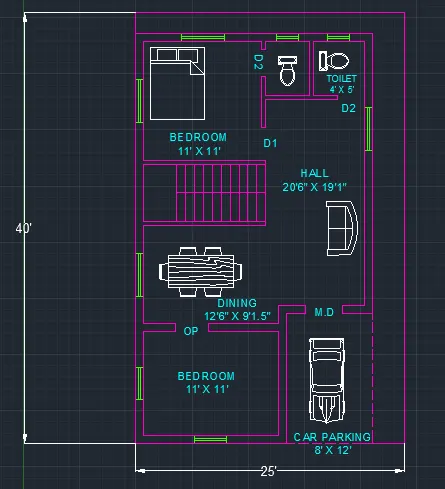
1) In the command prompt write TEXT
2) Write the text in the suitable area
3) In the command prompt write DIMLINEAR
4) Mark the dimension and complete the floor plan of the building
Step 9:
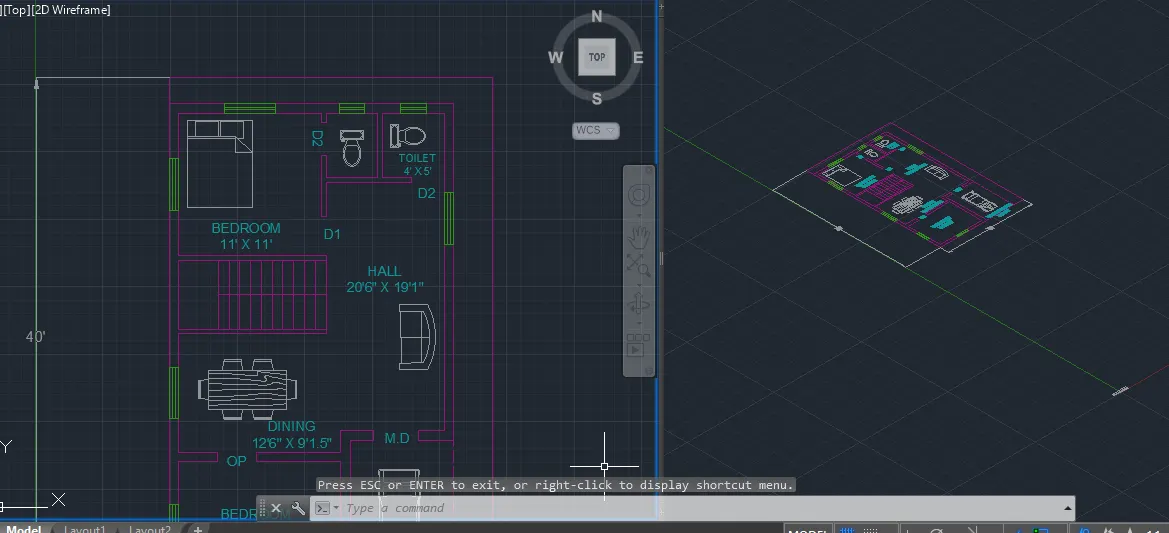
1) Click the icon of (-) in the drawing area
2) Select 2 Vertical
3) On the other side of the drawing area switch into the Isometric View
4) Lock all the layer in the floor plan
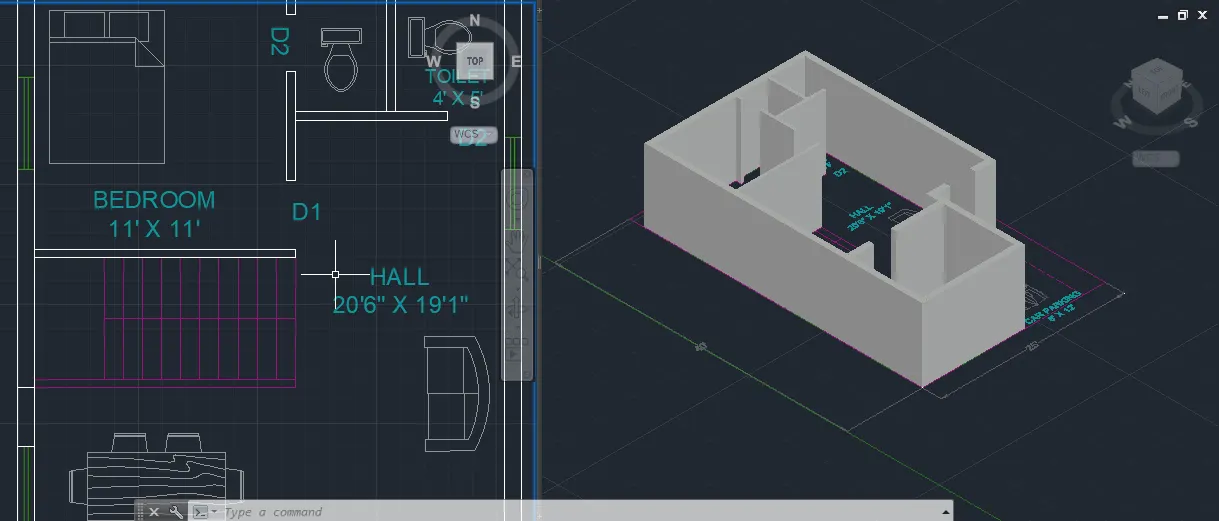
Step 10:
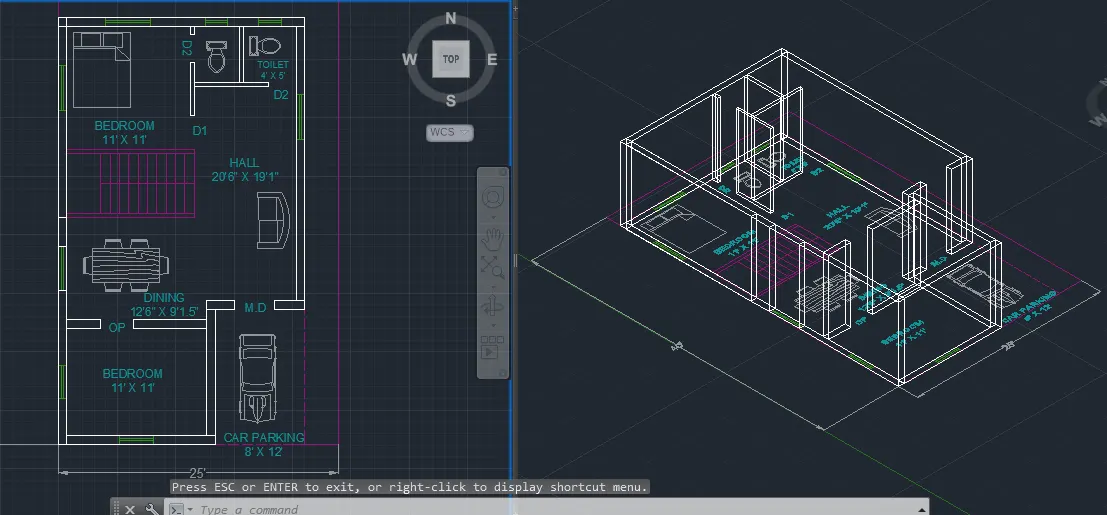
1) Make the extrusion using Rectangle method
2) In the command prompt write EXT
3) Select Object
4) Specify Extrusion height as 10'
Step 11:
1) Switch the isometric view from 2d wireframe to Realistic
2) Complete the Extrusion
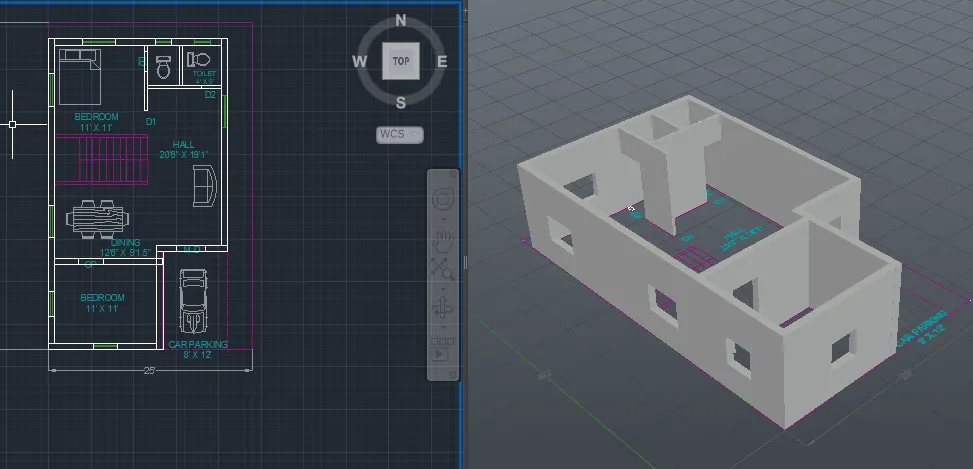
Step 12:
1) In the command prompt write Subtract
2) Select the source object
3) After selecting source object now select the removal object
4) Cut the Window and vetilator component
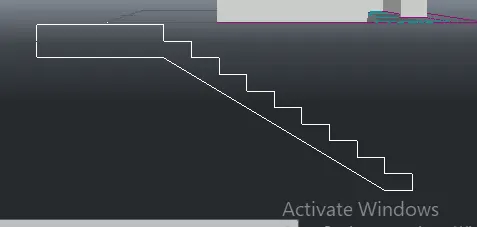
Step 13:
1) In the command prompt write L enter
2) In the command prompt write 0,6"
3) In the command prompt write 10",0 and close the line
4) In the command prompt write Copy
5) Select ARRAY
6) Put 10 in the command box and join the base line to top
7) In the command prompt write Join
8) Select object and make all the line as poly line
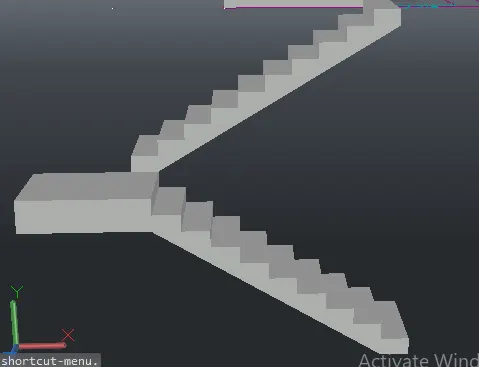
Step 14:
1) In the command prompt write Extrusion
2) Select object and specify extrusion height as 2'6"
3) Similarly do the same procedure for another side of the staircase
Step 15:
1) In the command prompt write MOVE
2) Select object and move the staircase into the required place in the floor plan area
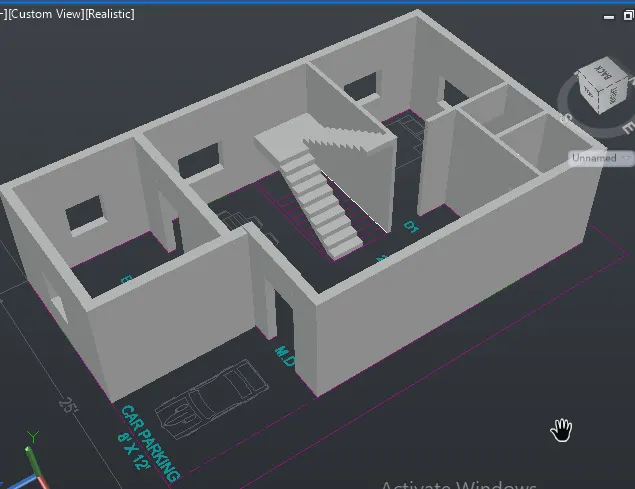
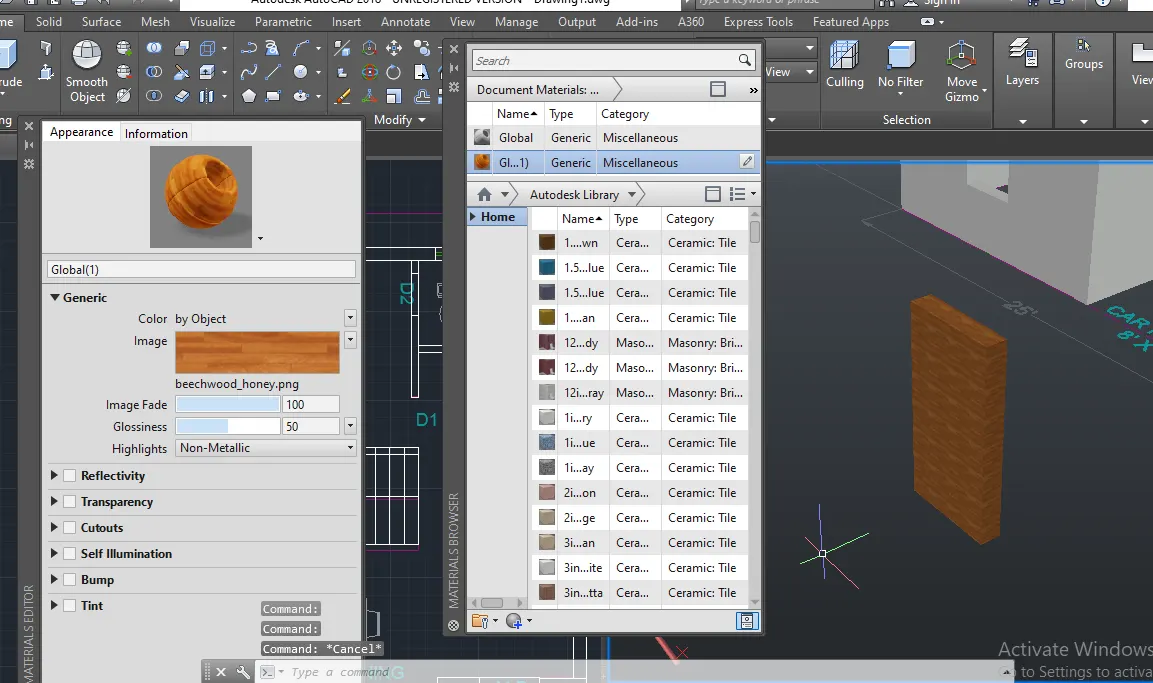
Step 16:
1) For door creation write Box and draw the door
2) In the command prompt write Materials
3) Select the suitable materials and insert the materials for door part
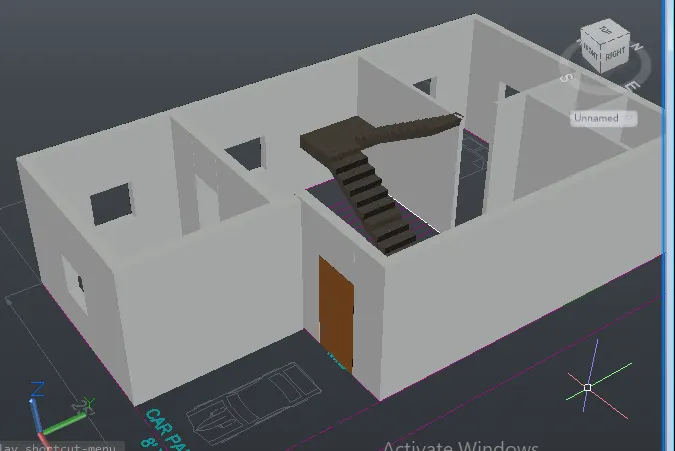
Step 17:
1) Move the door object in the required place
2) Similarly apply materials for stair case also
3) We can assign different materials for both rise and tread by click ctrl button
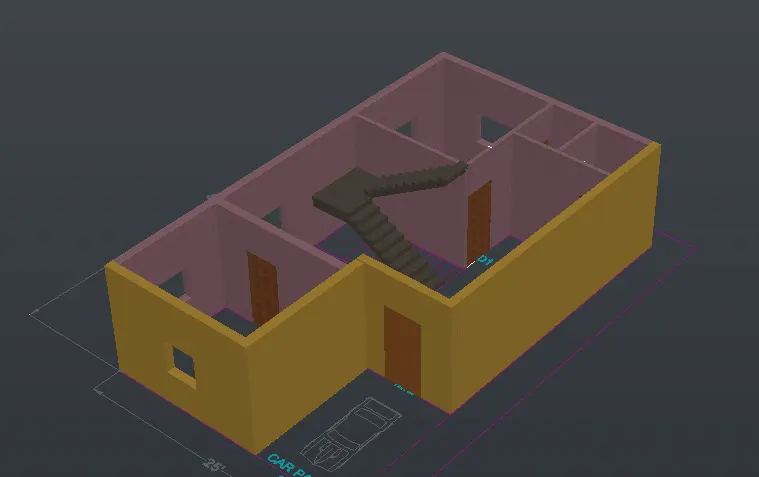
1) Similarly apply the materials for other doors and interior walls
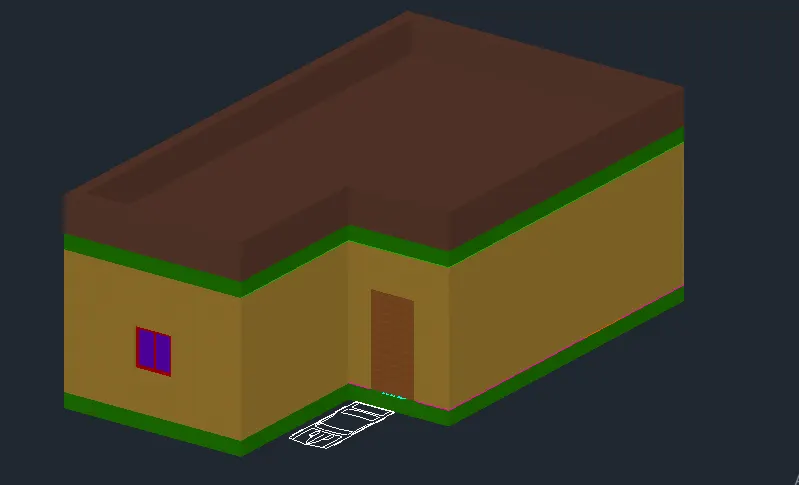
2) And complete the 3d view of the Residential Building
Creation of Windows:
Step 18:
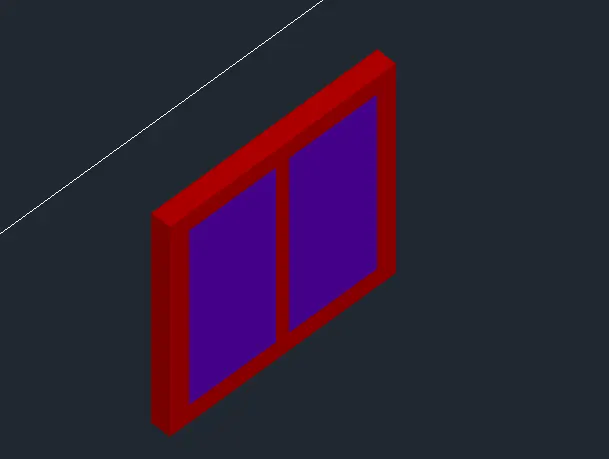
1) In the command prompt write UCS
2) Select Face and choose the face
3) In the command prompt write REC
4) Draw the Rectangle at the size of 4" x 3"
5) In the command prompt write offset
6) Specify the offset distance as 2"
7) Offset object inside the rectangle
8) Trim the unwanted objects using TRIM command
9) In the command prompt write PRESSPULL
10) Select the window object and presspull distance as 2"
11) Choose the glass and frame colour of the window using layers
Step 19:
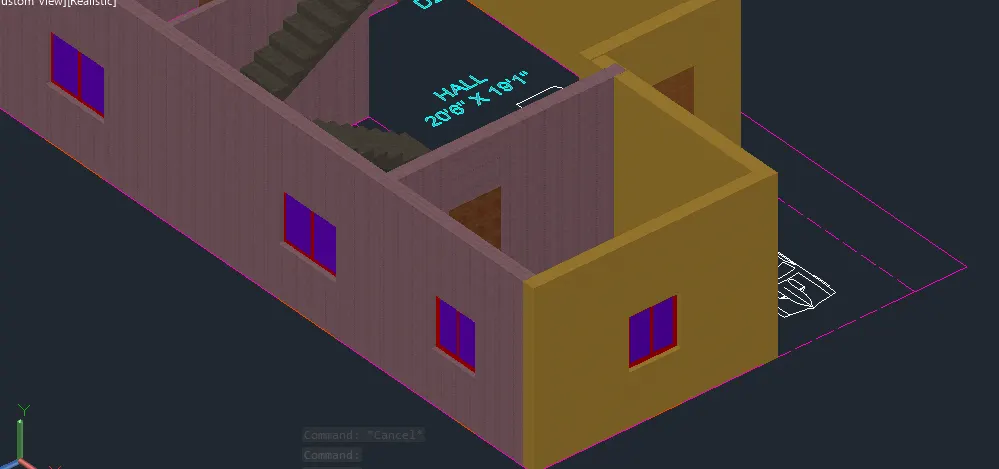
1) In the command prompt write Copy
2) Select the object and place it wherever is necessary
3) Complete the window drawing and close the command
Creation of Roof, Parappat and Plinth:
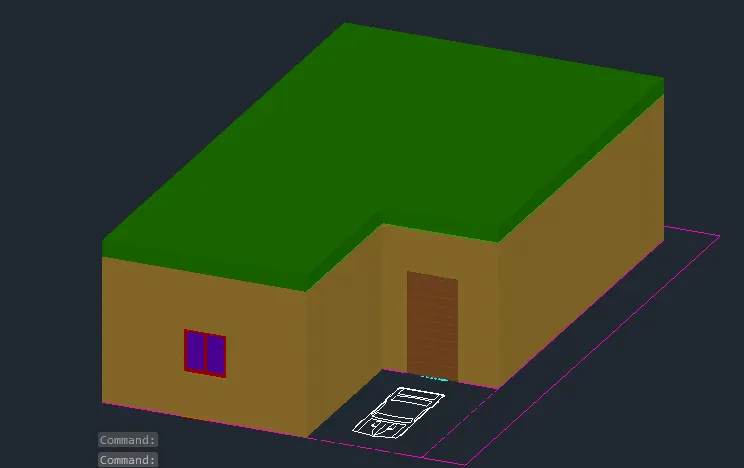
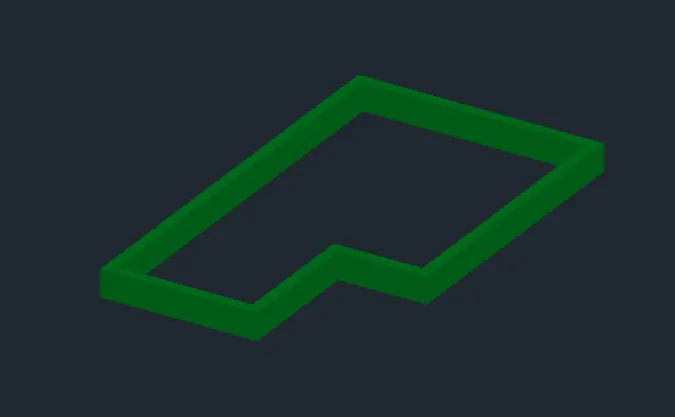
Step 21:
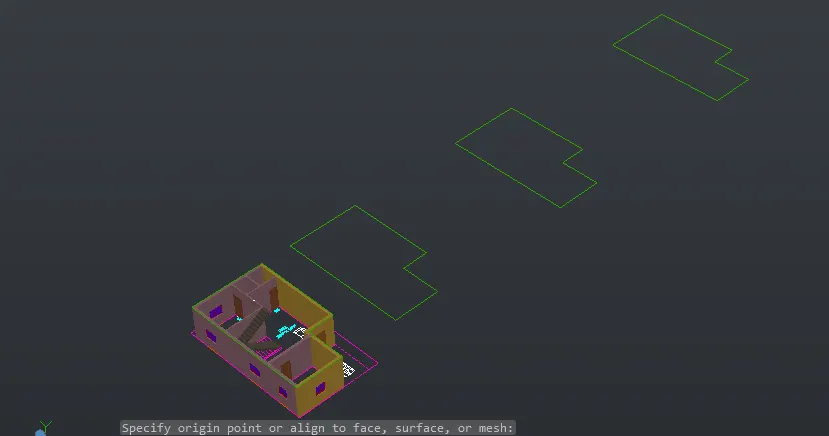
1) In the command prompt write Polyline
2) Draw the line on top of the object we created
3) In the command prompt write copy
4) Paste it 3 times ( Roof, Plinth, Parappat) at nearer to the drawing created
Step 22:
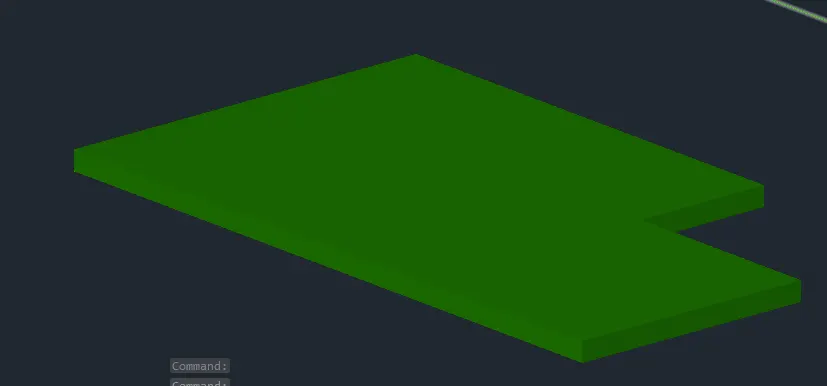
1) In the command prompt write Presspull
2) Select the first copied object and presspull it at some distance
3) Close the presspull command
4) In the command prompt write Copy
5) Select the source object and paste it at top of the object we created
6) Close the copy command
Step 23:
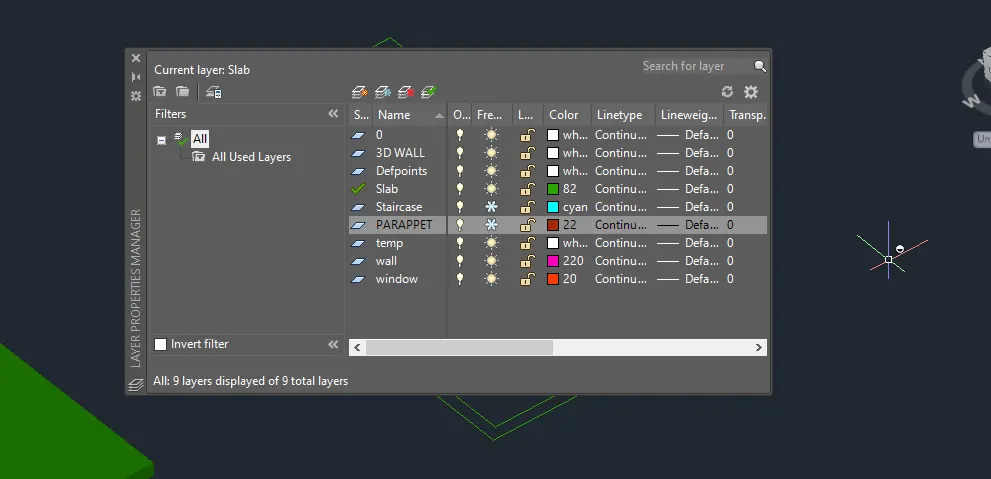
Parappat:
1) In the command prompt write Layer
2) Create a new layer and name it as Parappat
3) Choose the suitable colour and set current layer
Step 24:
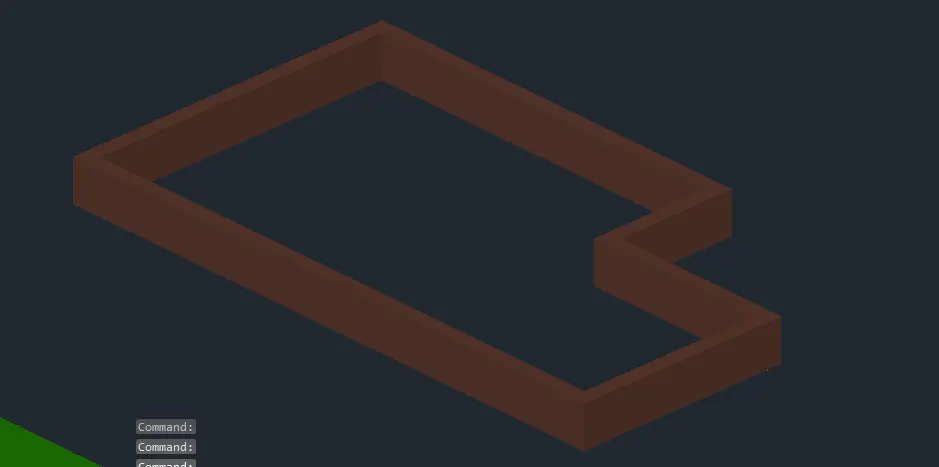
1) In the command prompt write offset
2) Specify offset distance as 9" (Wall thickness)
3) Offset the parappat object and write Presspull in the command prompt
4) Presspull it at some distance and close the command
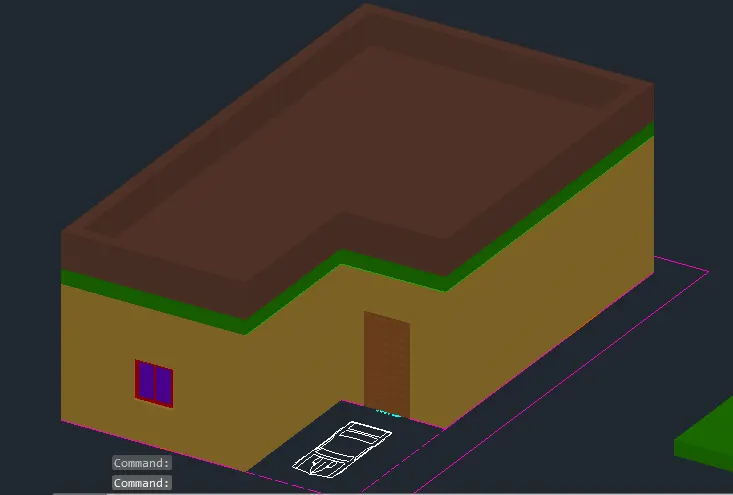
5) In the command prompt write copy
6) Select source object and paste it on top of the slab object
Step 25:
Plinth:
1) In the command prompt write offset
2) Specify offset distance
3) Offset the pllinth object and write Presspull in the command prompt
4) Presspull it at some distance and close the command
5) In the command prompt write copy
6) Select source object and paste it on top of the parappat object
Elevation of the building:
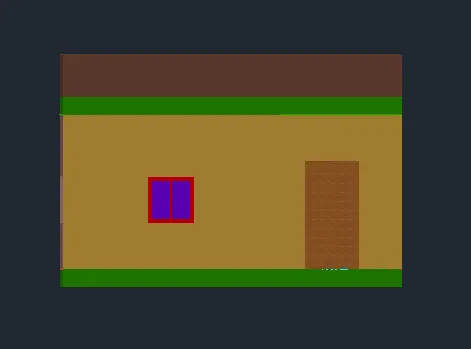
Step 26:
Rendering part:
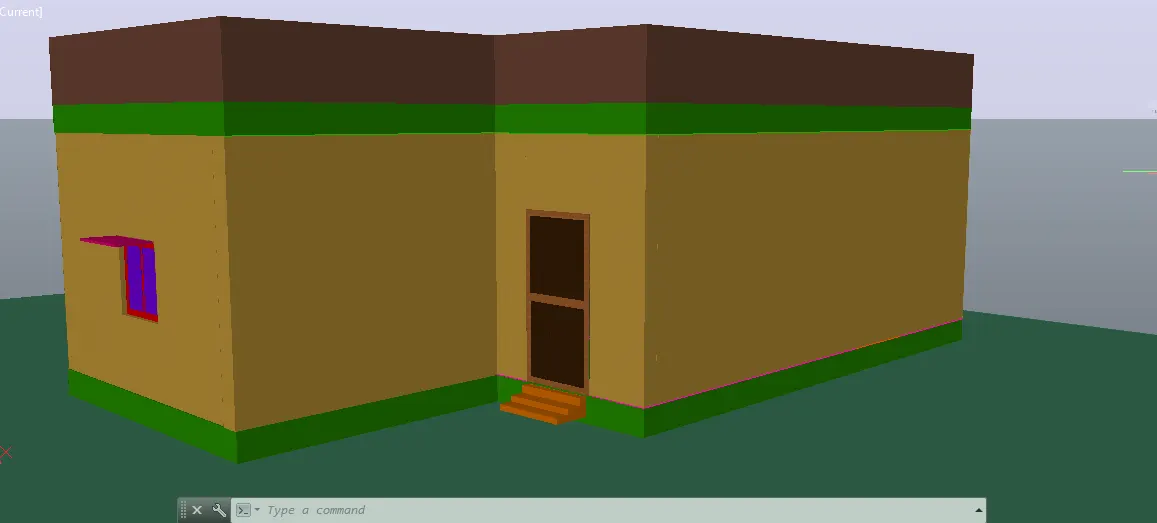
1) In the command prompt write Camera
2) Select Name and name it as View 1
3) Place the camera and set the viewing angle
4) similarly do this for another camera and name it as view 2
View 1
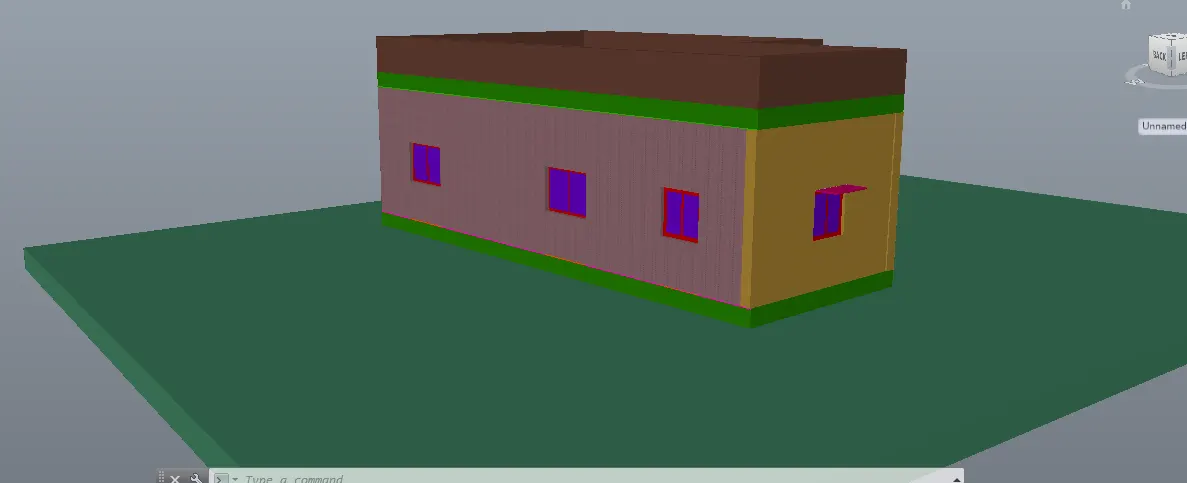
View 2
Step 27:
1) In the ribbon select Visualise
2) In that select Render settings and choose the background of the image
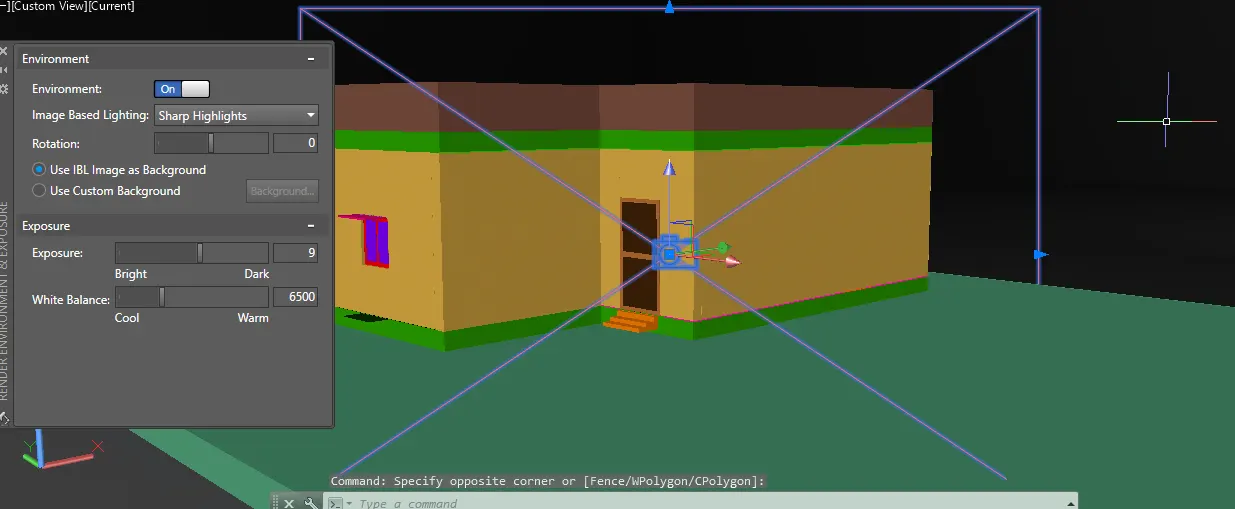
Step 28:
1) Once the rendering settings has finished type the command RR
2) And rendering process has been starts
3) Before rendering check the shadows and light settings had been updated
4) Finish the rendering process and save the image
Result: