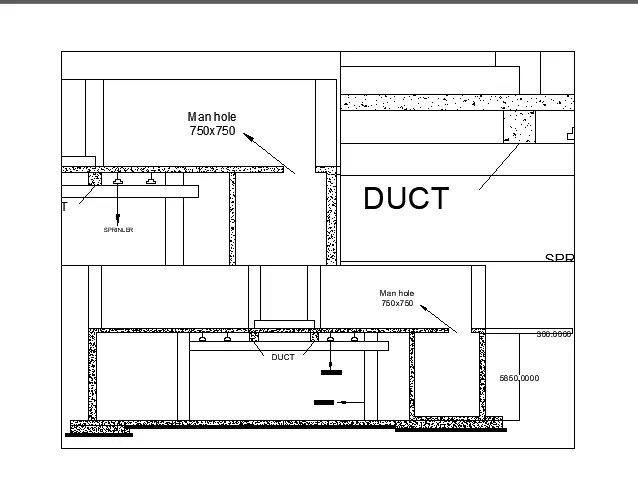
AutoCad_Creation of Layout_Week 10
1) Floor Plan Layout
Aim:
To Creating the layout of floor plan and section of challenge 7 project using Autocad
Commands Used:
* Layout
* mview
* ms
* PS
* ATTEDIT
Procedure :
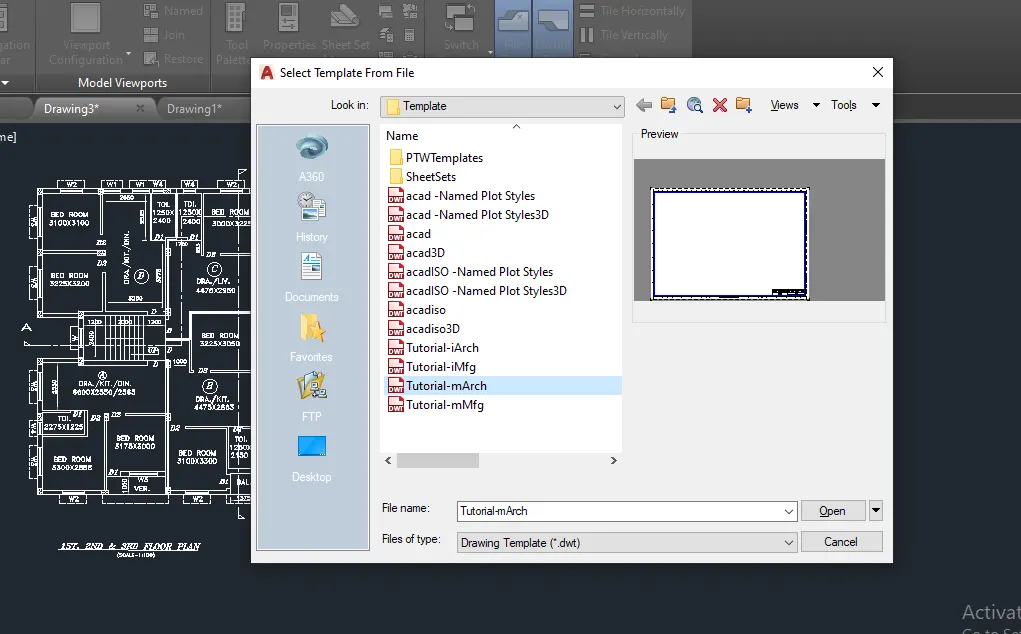
Step 1:
1) From the floor plan drawing write the command Layout
2) Select Tempelate
3) Select Tutorial-mArch from the tempalate
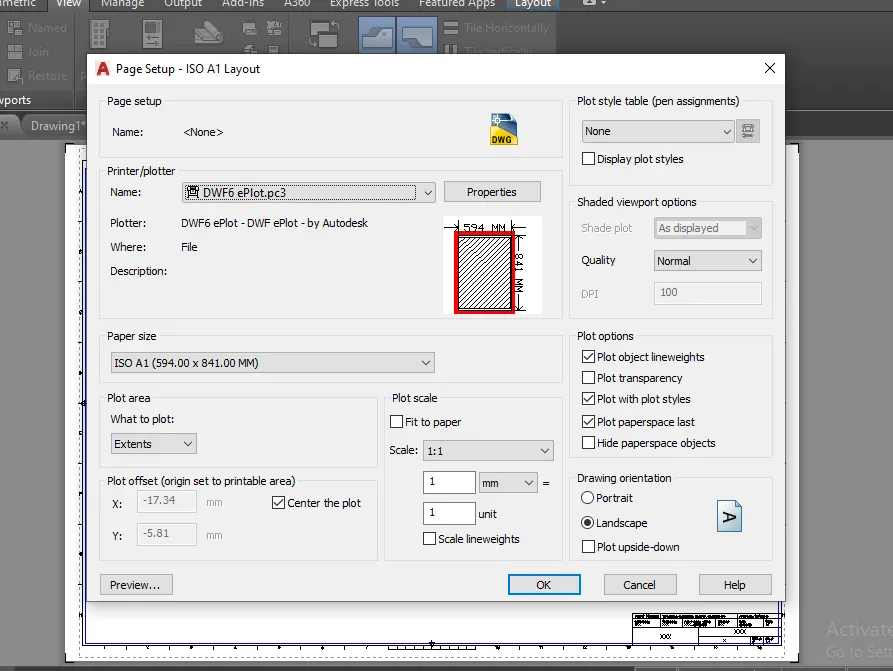
Step 2:
1) From the floor plan drawing Click left click of Layout tab
2) Select Page Setup Manager
3) Choose paper size as A1
4) Then click ok
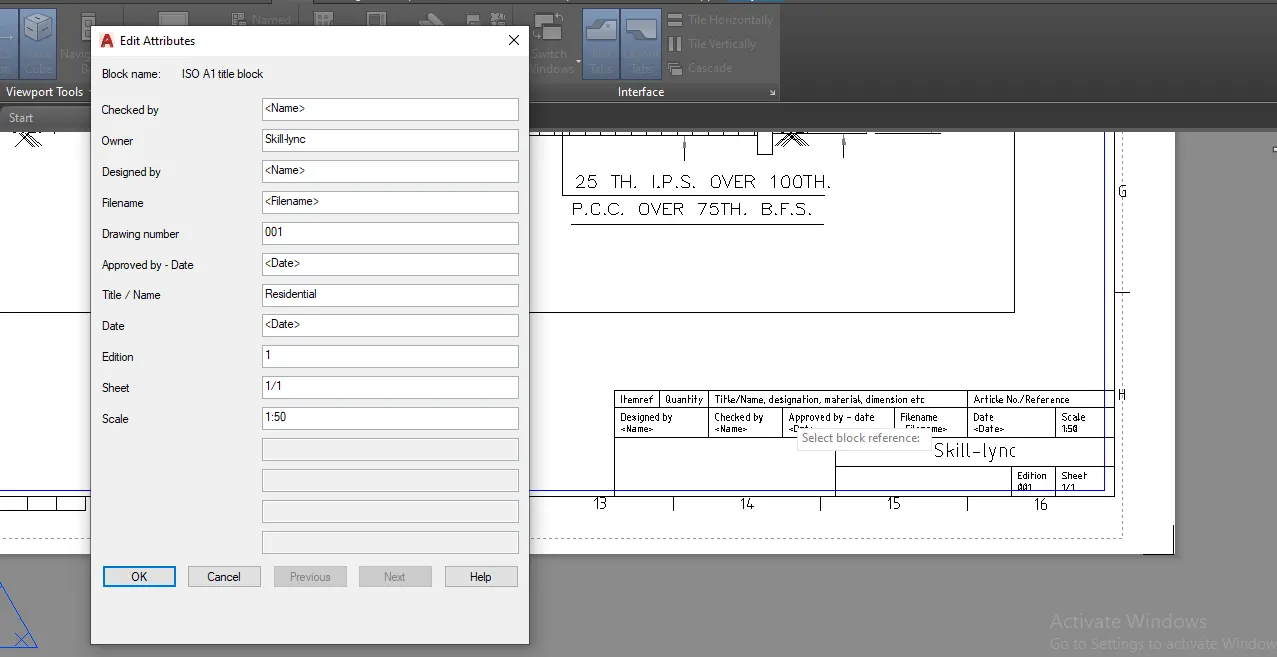
Step 3:
1) From the layout area command ATTEDIT
2) Select block as title block in the layout area
3) Edit the texts in the relevent space as your wish.
Step 4:
1) From the layout area type MVIEW
2) Select the plot area and insert the objects
3) USE MS and PS for editing and zooming the object
Result:
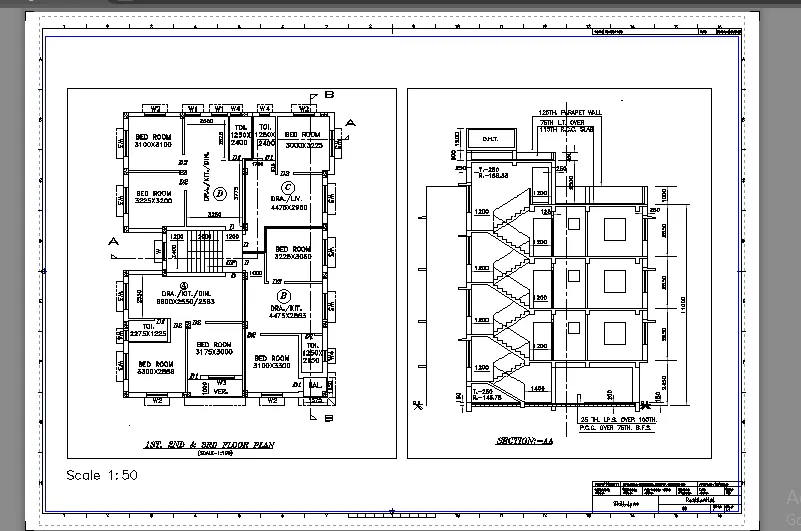
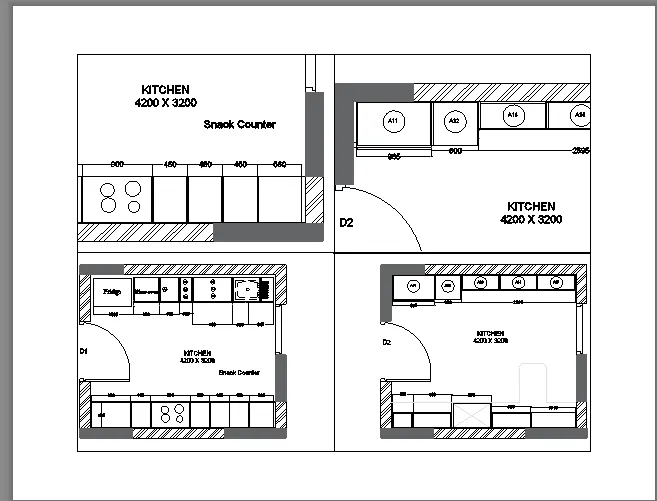
2) Kitchen layout
Aim:
To creating the Kitchen layout drawn in Challenge 9 using Autocad
Commands Used:
* Layout
* Mview
* MS
* PS
Procedure :
Step 1:
1) From the floor plan drawing Click left click of Layout tab
2) Select Page Setup Manager
3) Choose paper size as A4
4) Then click ok
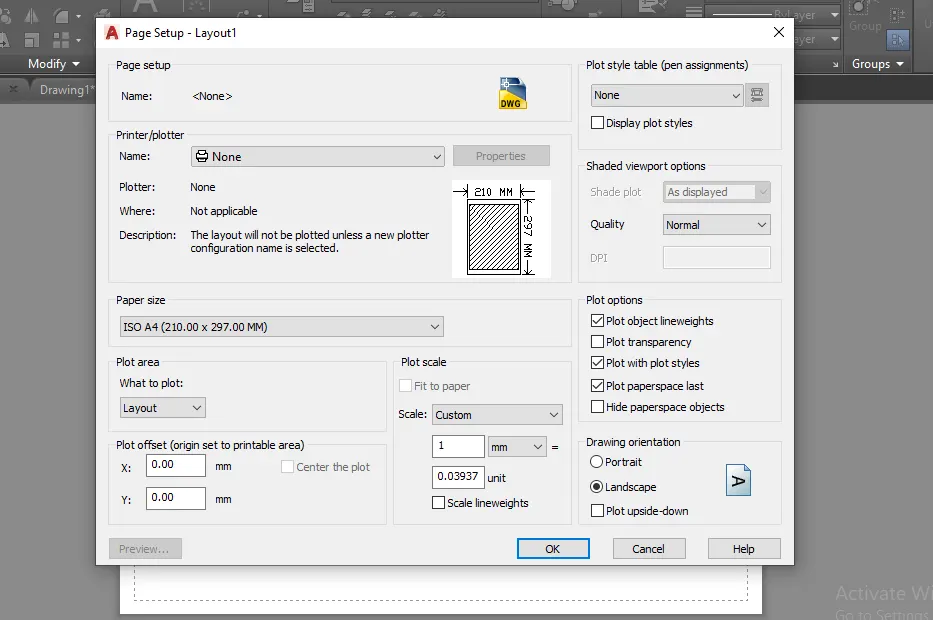
Step 2:
1) In the command prompt write Layout
2) Select New and choose suitable name
3) From the layout area Command MVIEW
4) Select the plot area and paste the object
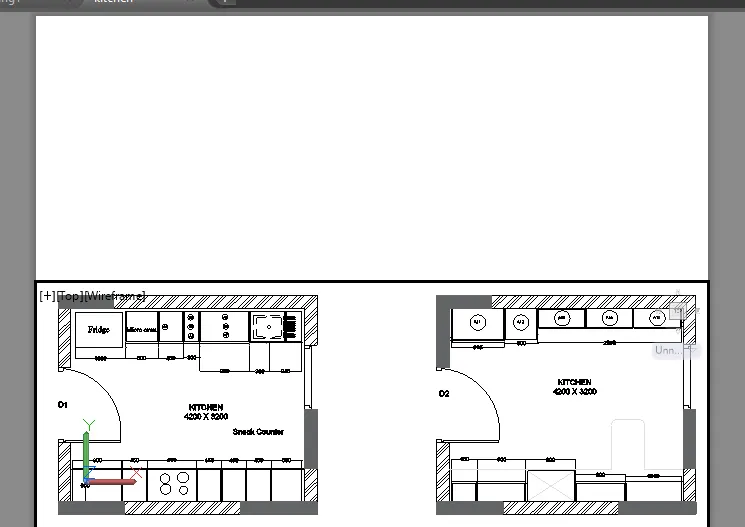
Step 3:
1) In the plot area type MSVIEW
2) Select the area and paste another object to show
3) Use MS and PS commands for edititng and zooming the object inside plot area
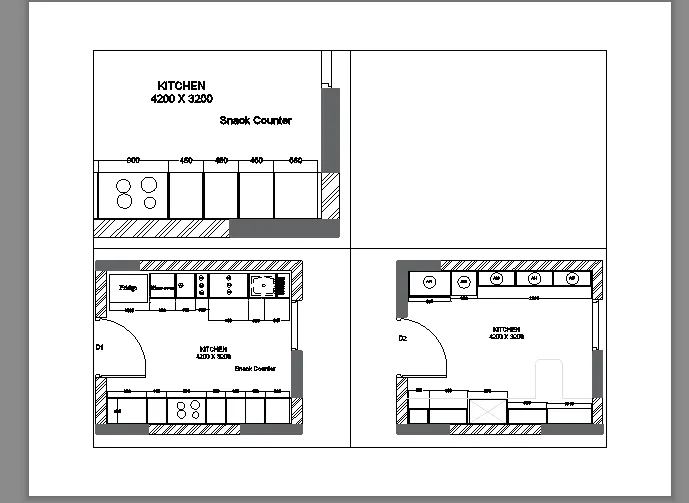
Result:
3) Industry building Layout
Aim:
To creating a Layout for the sections created in Challenge in 9
Commands Used:
* Layout
* Mview
* MS
* PS
Procedure:
Step 1:
1) From the floor plan drawing Click left click of Layout tab
2) Select Page Setup Manager
3) Choose paper size as A4
4) Then click ok
5) In the command prompt write Layout
6) Select New and choose suitable name
7) From the layout area Command MVIEW
8) Select the plot area and paste the object
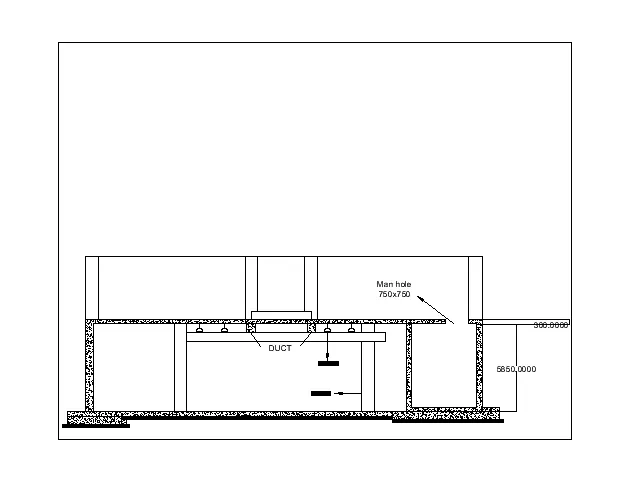
Step 2:
1) In the plot area type MSVIEW
2) Select the area and paste the other objects to show
3) Use MS and PS commands for edititng and zooming the object inside plot area
4) Then click enter and complete the layout
Result