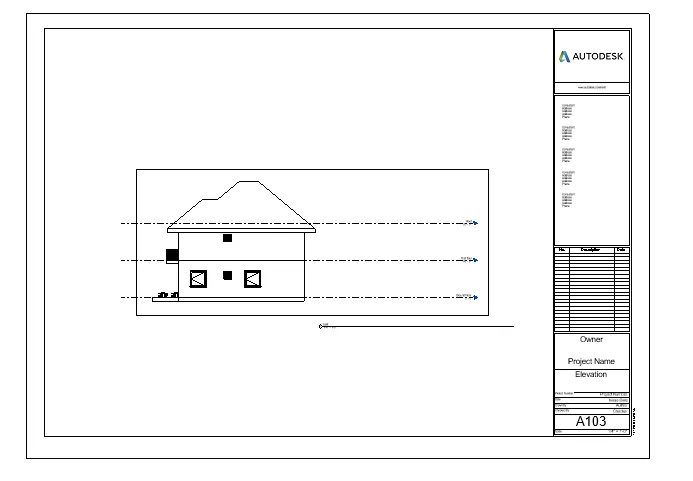
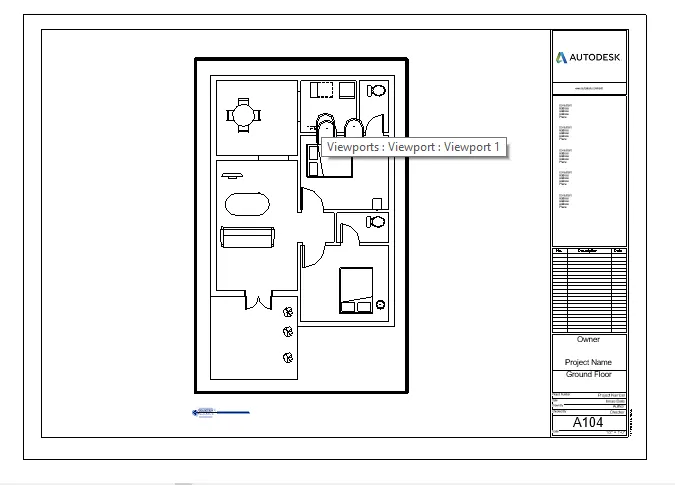
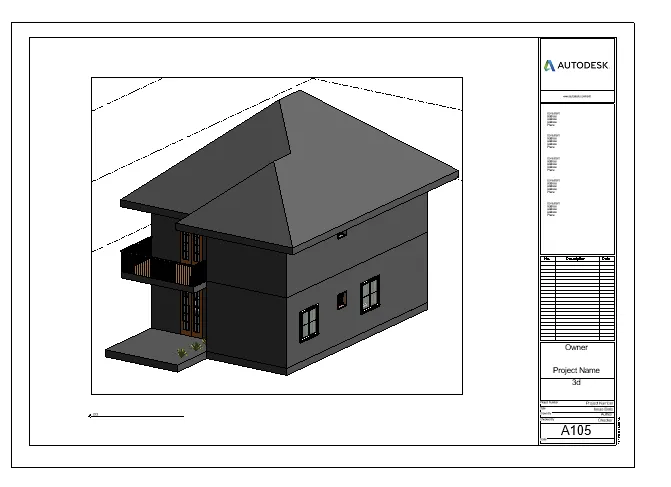
REVIT_3D Rendering of a House plan_Project 1
Aim:
To creating a ceiling, Roof, Dimension, Section, Sheet, Plan views for the layout created already using Revit Application
Tools Used:
*Ceiling
* Roof
* Section
* Sheet
* Alligned/Linear dimension
* Room
Procedure:
Step 1:
1) Open a file which already created last week challenge
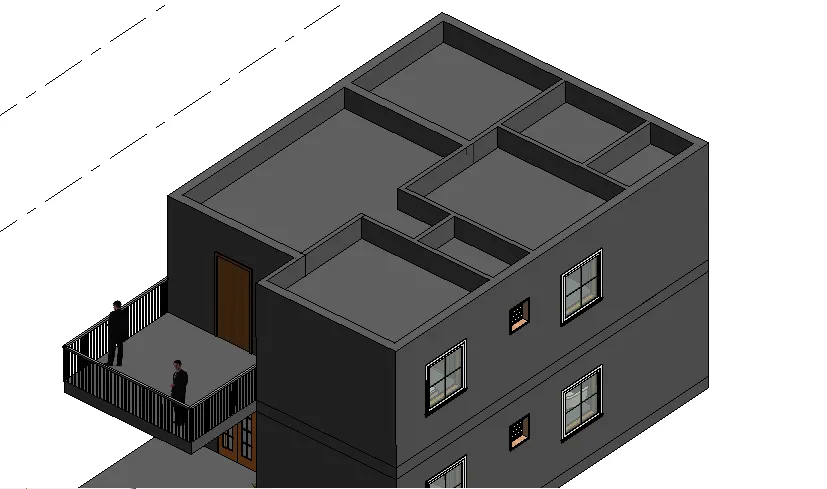
2) Select Ceiling tool from Architectural tab
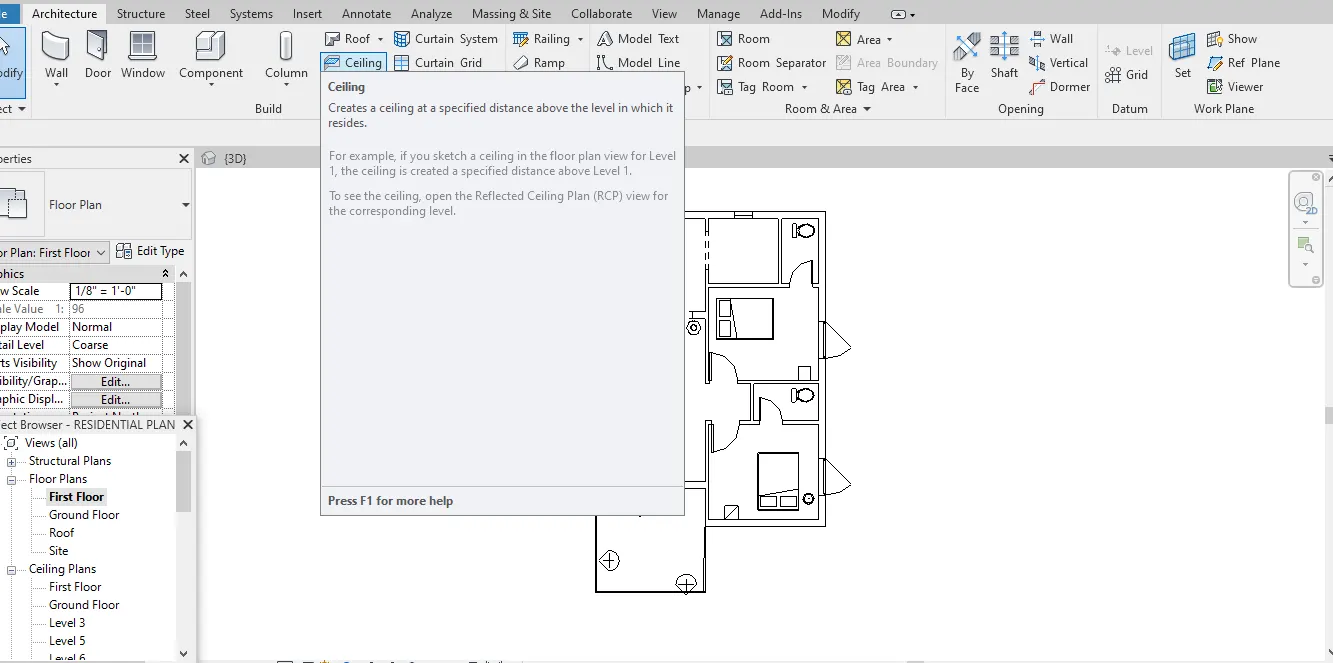
Step 2:
1) Pick Line or Pick select object option from modify tab
2) Draw a outline of the area which want to be cealed
3) Click tick mark on the modify tab
4) A pink colour outline is now created and change the view as 3d
Roof:
Step 1:
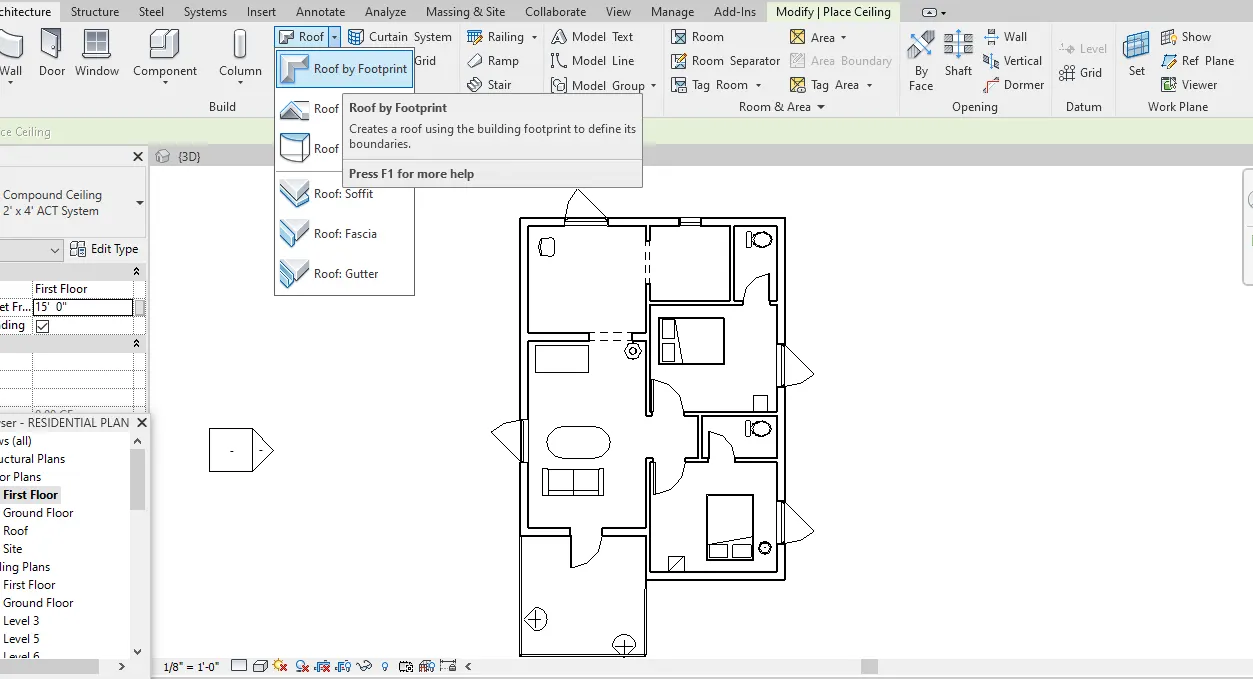
1) Select Roof tool from Architectural tab
2) Choose Roof by footprint option under the Roof tool
Step 2:
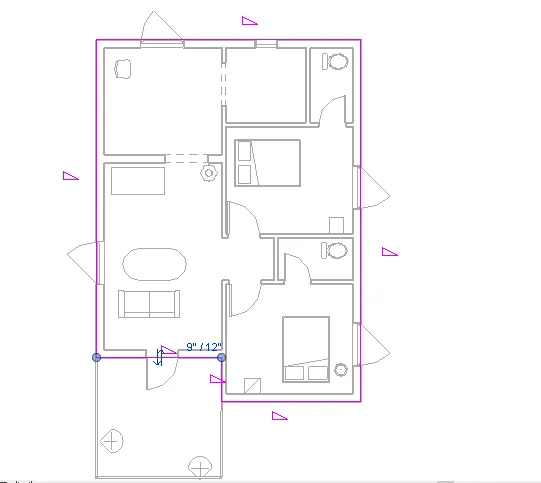
1) Pick Line or Pick select object option from modify tab
2) Draw a outline of the area which want to be roof
3) Click tick mark on the modify tab
4) A pink colour outline is now created and change the view as 3d
P.S: Roof must be drawn only at top level of the building
Step 3:
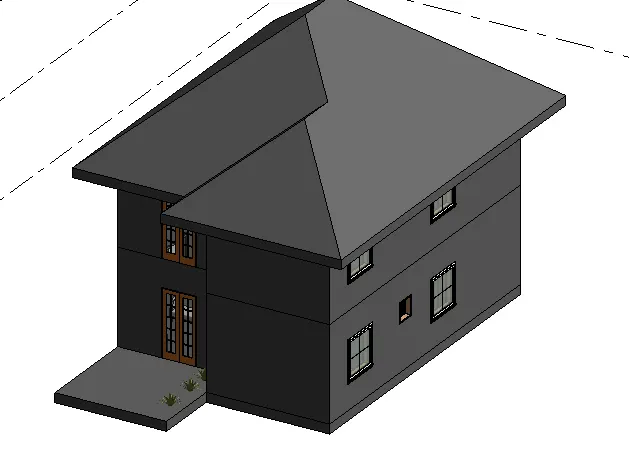
1) Now change the view as 3d
2) Using the property option change the slope angle as 10 degree
3) Now the roof has been created
Plan Vies:
Step 1:
1) Select Plan View tool from View tab
2) Select Floor Plan/ Structural Plan under the Plan view tool
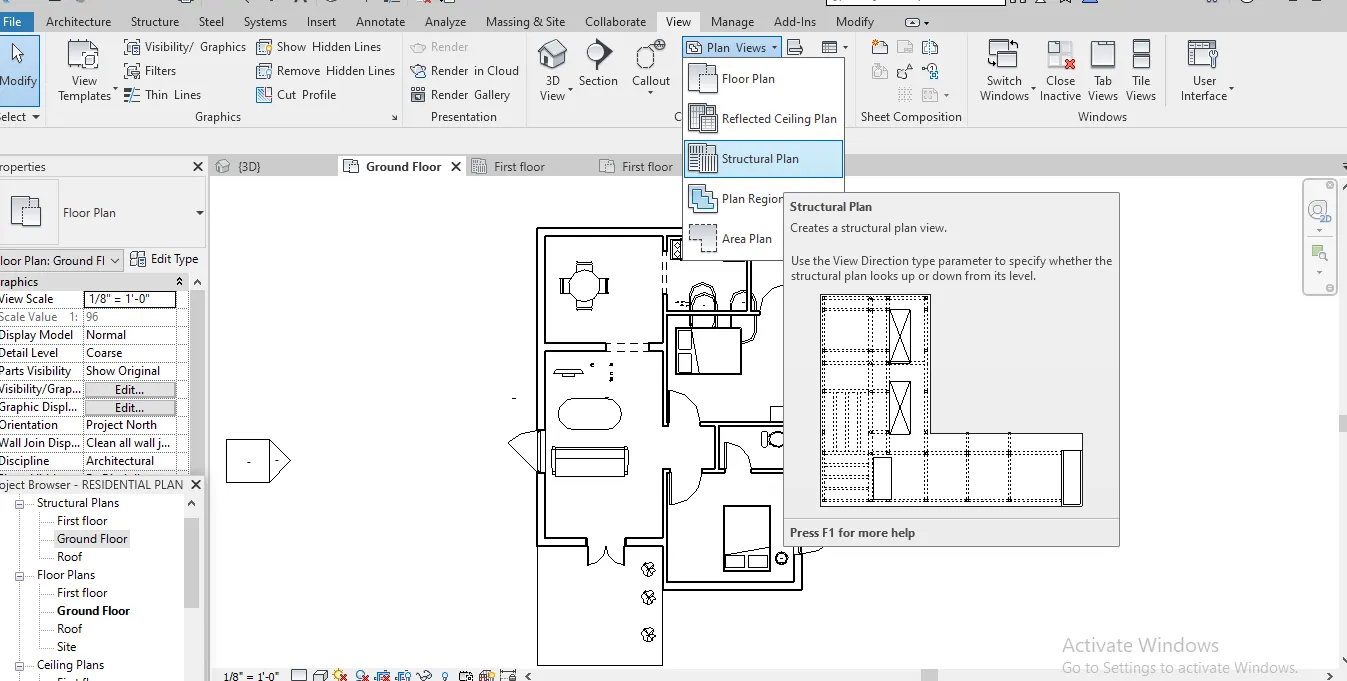
Step 2:
1) Select the area that you want to create a plan view
2) After selecting the area change the property setting in Property option
3) By using Visibility/Graphic Option in Property
4) Choose Structural and select the components you want to show/hidden
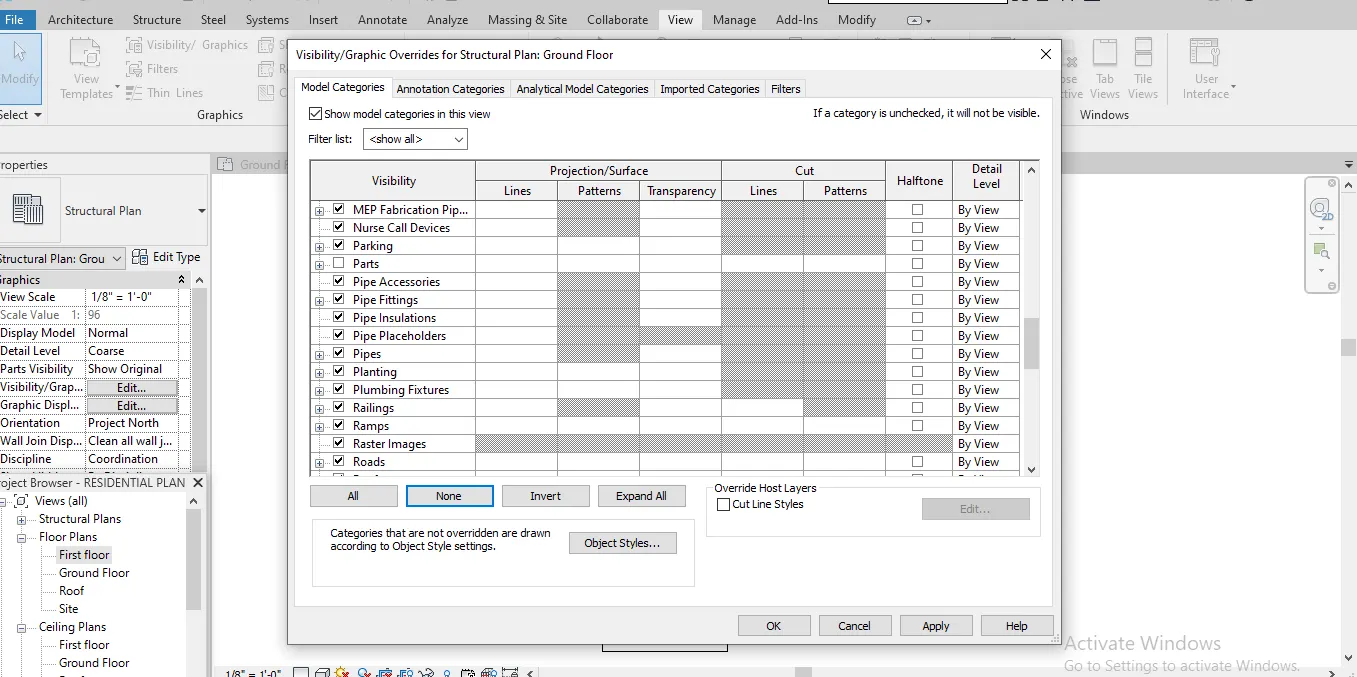
Step 3:
1) Click apply and select ok
2) Now the plan view of Structural has been created
3) Rename the view as Structural in Property ribbon
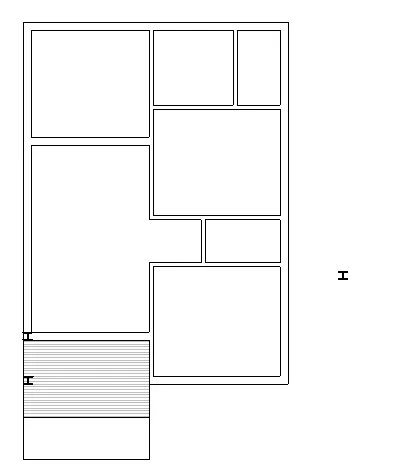
Step 4:
As doing for Structural plan
1) Select the area that you want to create a plan view
2) After selecting the area change the property setting in Property option
3) By using Visibility/Graphic Option in Property
4) Choose Architectural and select the components you want to show/hidden
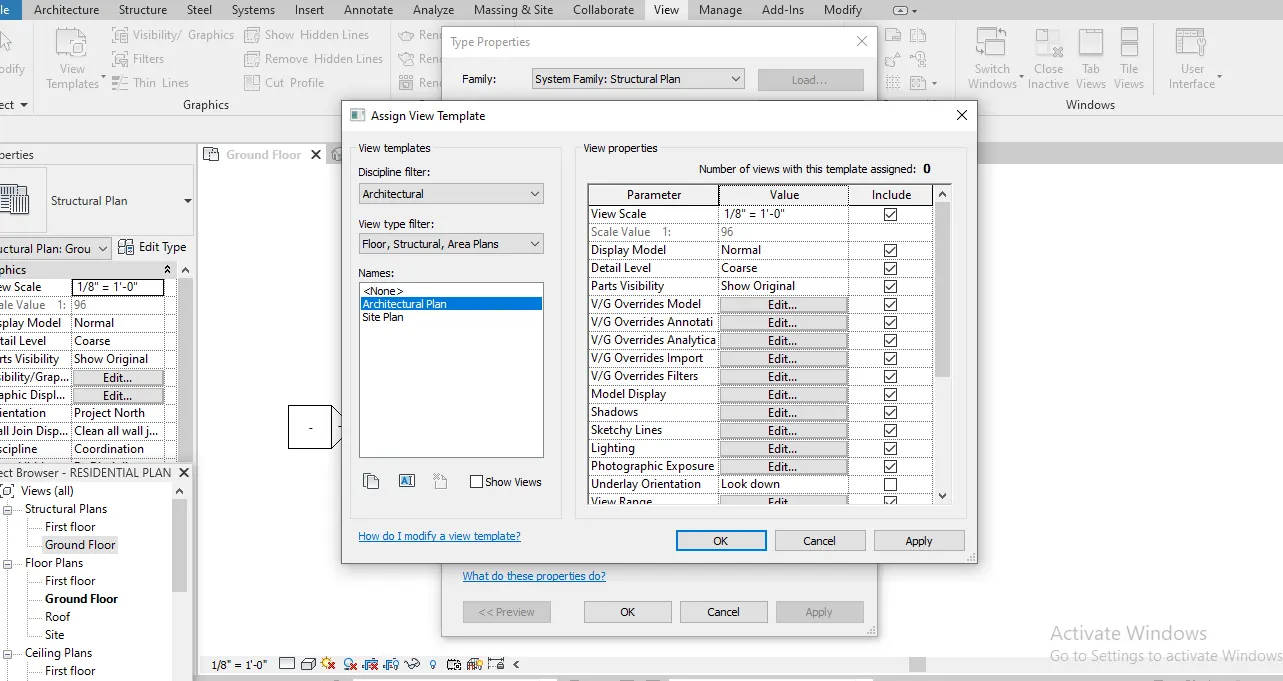
Step 5:
1) Click apply and select ok
2) Now the plan view of Structural has been created
3) Rename the view as Architectural in Property ribbon
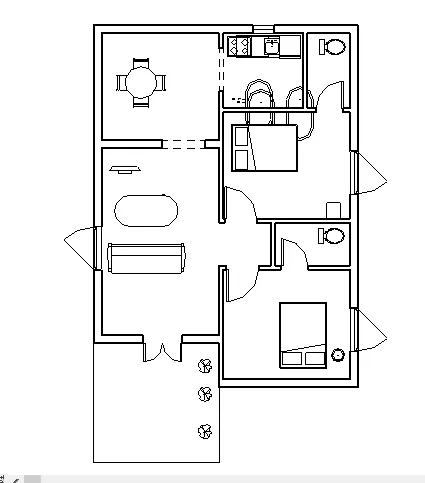
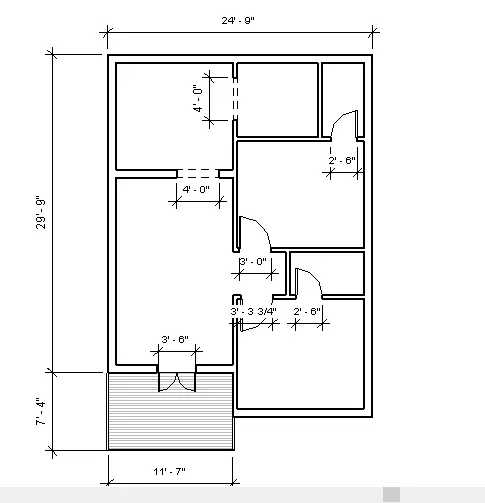
Dimension:
Step 1:
1) Click Annotate tab and select Alligned/Linear dimension
2) Select the area you want to be show dimension
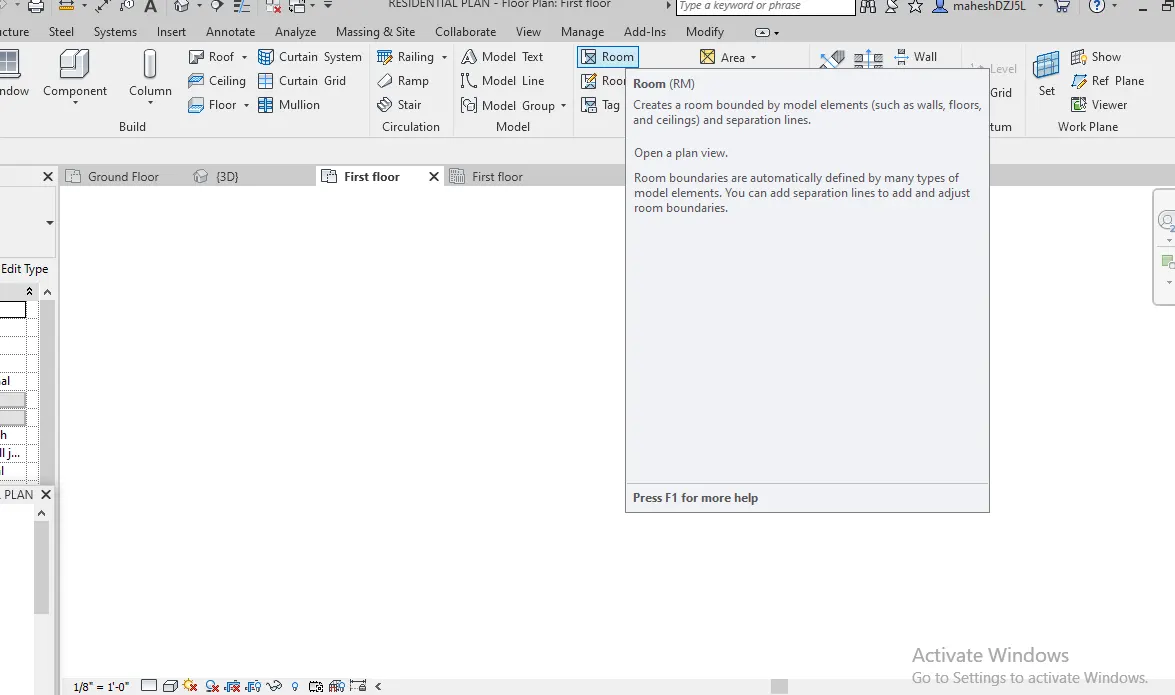
Step 2:
1) For room sizes select Room option in Architectural tab
2) Pick the rooms
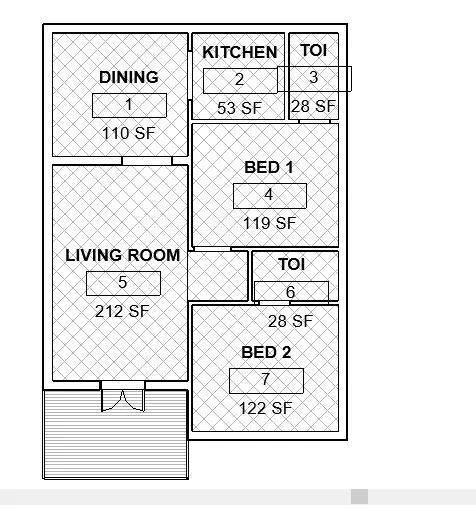
Step 3:
1) After picking the rooms select show volume option in Properties
2) And also Select Plan region from Annotate tab
3) Pick the rooms and rename it
4) Press esc
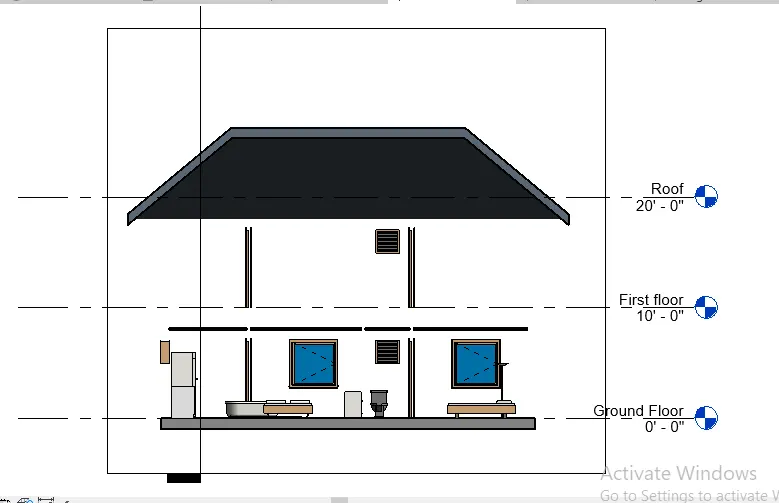
Sections:
Step 1:
1) Select Section from View tab
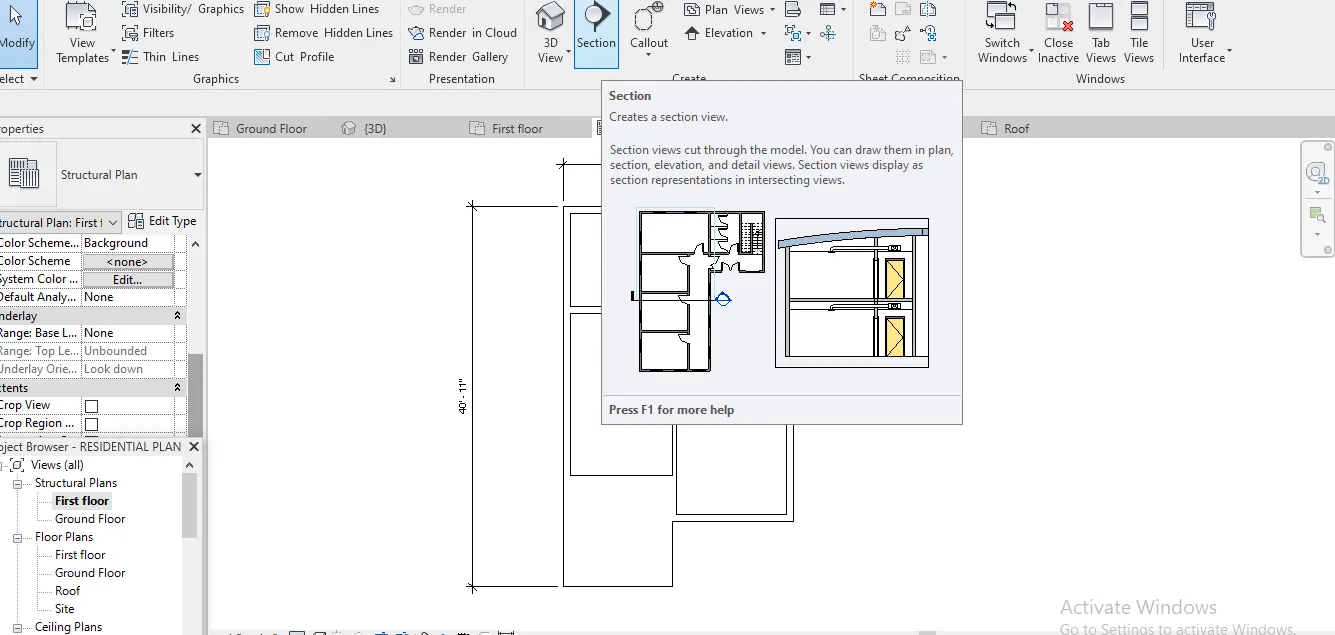
Step 2:
1) Pick the line option or Pick object option from modify tab
2) Draw a section cut of the rooms which you want to be show section
3) After drawing the section select ESC
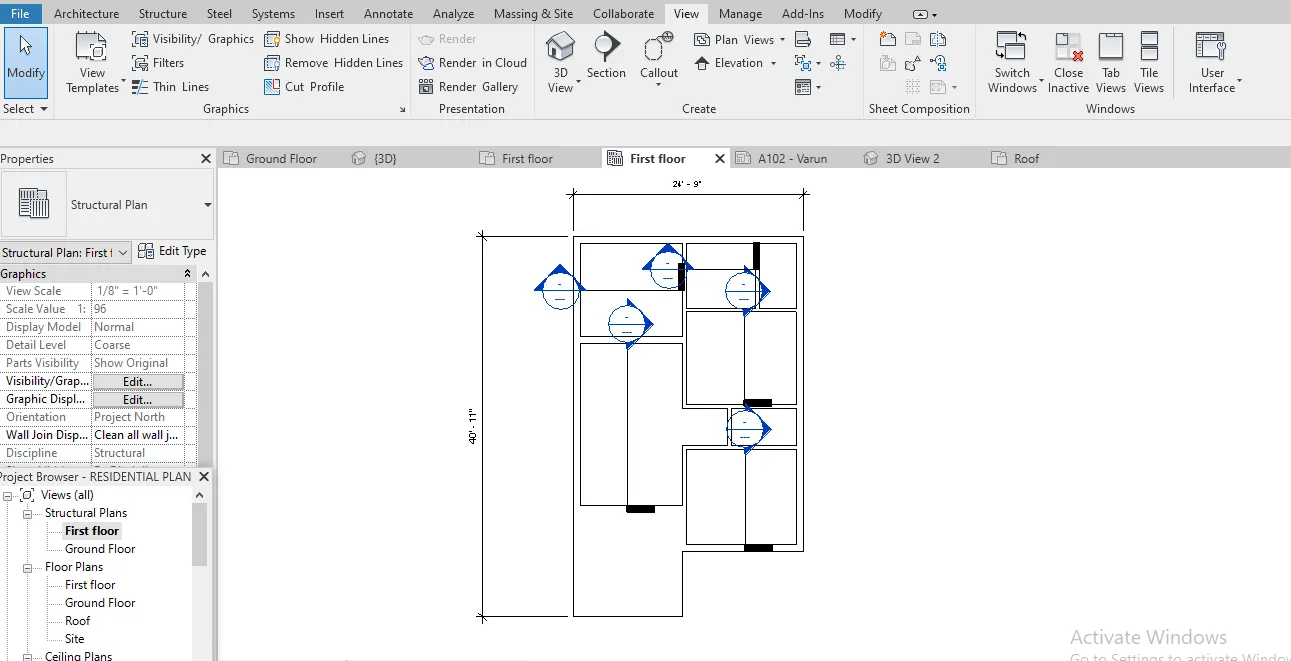
Step 3:
1) Rename all the sections which we created as Kitchen, Living, Bedroom etc
2) Rename process have to be done by using Properties
3) Click ok after renamed it
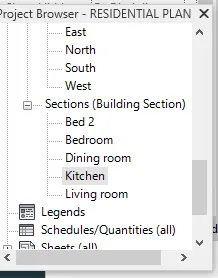
Step 4:
1) Click the sections which we created
2) Now the section has been created successfully
3) We can change the visual styles of Section as Wireframe, Realistic, Shaded etc..,
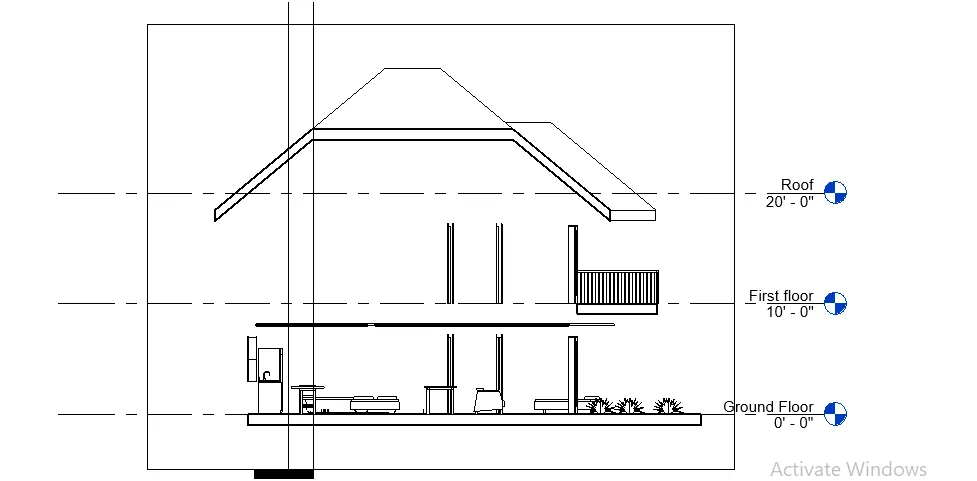
Sheets:
1) Click Create a sheet option from View tab
2) Choose existing sheet from project or Select new sheed from Autodesk library
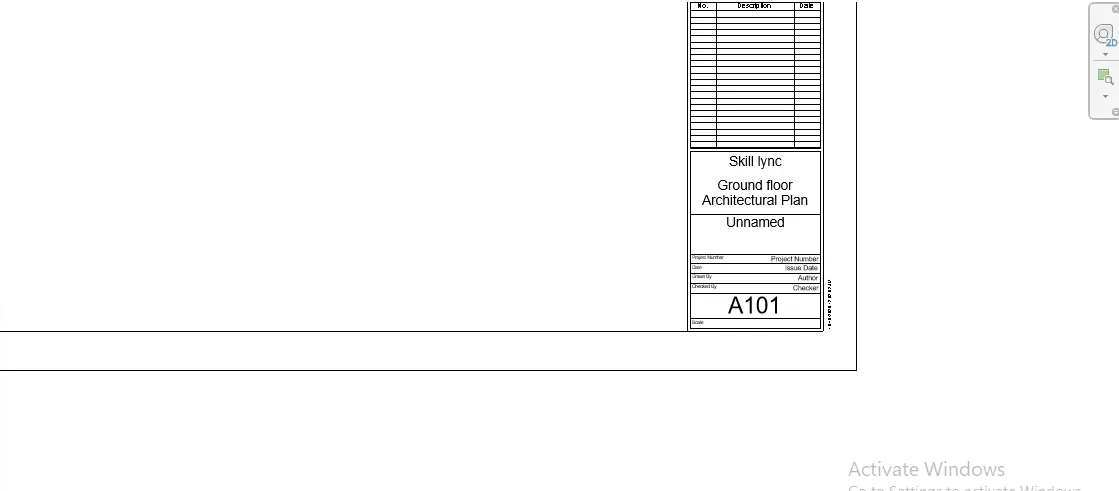
Step 2:
1) Change the Project information by clicking the sheet
2) Rename it as First floor
3) Drag the first floor plan into the sheet
4) Before dragging just crop the first floor plan and save it
5) After dragged into the sheet change the scale and make sure the image is visible
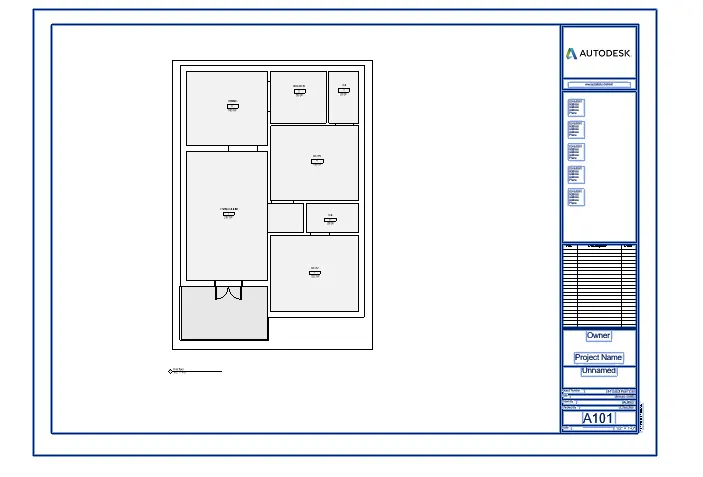
Similary create the sheet of Ground floor plan, Elevations, 3d view etc..,